

This creamy homemade Instant Pot Yogurt Recipe is easy to make with little clean-up. This yogurt is the perfect addition to your morning meals, smoothies, over Middle Eastern dishes like kafta or in dressings.

Creamy Homemade Instant Pot Yogurt: Your Ultimate Guide
Embark on a culinary journey to create your own luscious, homemade yogurt right in your Instant Pot. Forget store-bought varieties loaded with sugars and artificial flavors; this simple Instant Pot Yogurt recipe delivers a rich, creamy, and undeniably fresh product with minimal effort and surprisingly little cleanup. Perfect for health-conscious individuals and busy families alike, making your own yogurt opens up a world of versatile culinary possibilities. Whether you enjoy it plain for a wholesome breakfast, blended into vibrant smoothies, as a tangy topping for savory Middle Eastern dishes like kafta, or as the base for delectable dressings, this homemade yogurt will quickly become a staple in your kitchen.
Why Choose the Instant Pot for Homemade Yogurt?
While traditional methods for making yogurt, like those passed down through generations in my family from Lebanon, or even modern slow cooker techniques (such as this Slow Cooker Yogurt recipe) certainly have their charm, the Instant Pot offers an unparalleled blend of convenience and precision. Many modern pressure cookers, especially the Instant Pot, come equipped with a dedicated “Yogurt” function. This feature simplifies the process by handling both the heating (scalding) and incubation phases with precise temperature control, eliminating much of the guesswork and constant monitoring traditionally associated with yogurt making. This means you can achieve consistently perfect, creamy yogurt batch after batch, making it an ideal choice for beginners and experienced home cooks alike. The closed environment of the Instant Pot also helps maintain sterility, crucial for successful fermentation, and keeps your kitchen counters clutter-free.
Learning how to make yogurt at home, whether with a traditional Homemade Yogurt {Laban} recipe or a modern appliance, gives you full control over ingredients and texture. If you don’t typically enjoy plain yogurt, the beauty of homemade is that you can sweeten and flavor it yourself with natural ingredients. For example, a simple vanilla yogurt can be made by adding just 1 teaspoon of pure vanilla extract for each quart of finished yogurt.
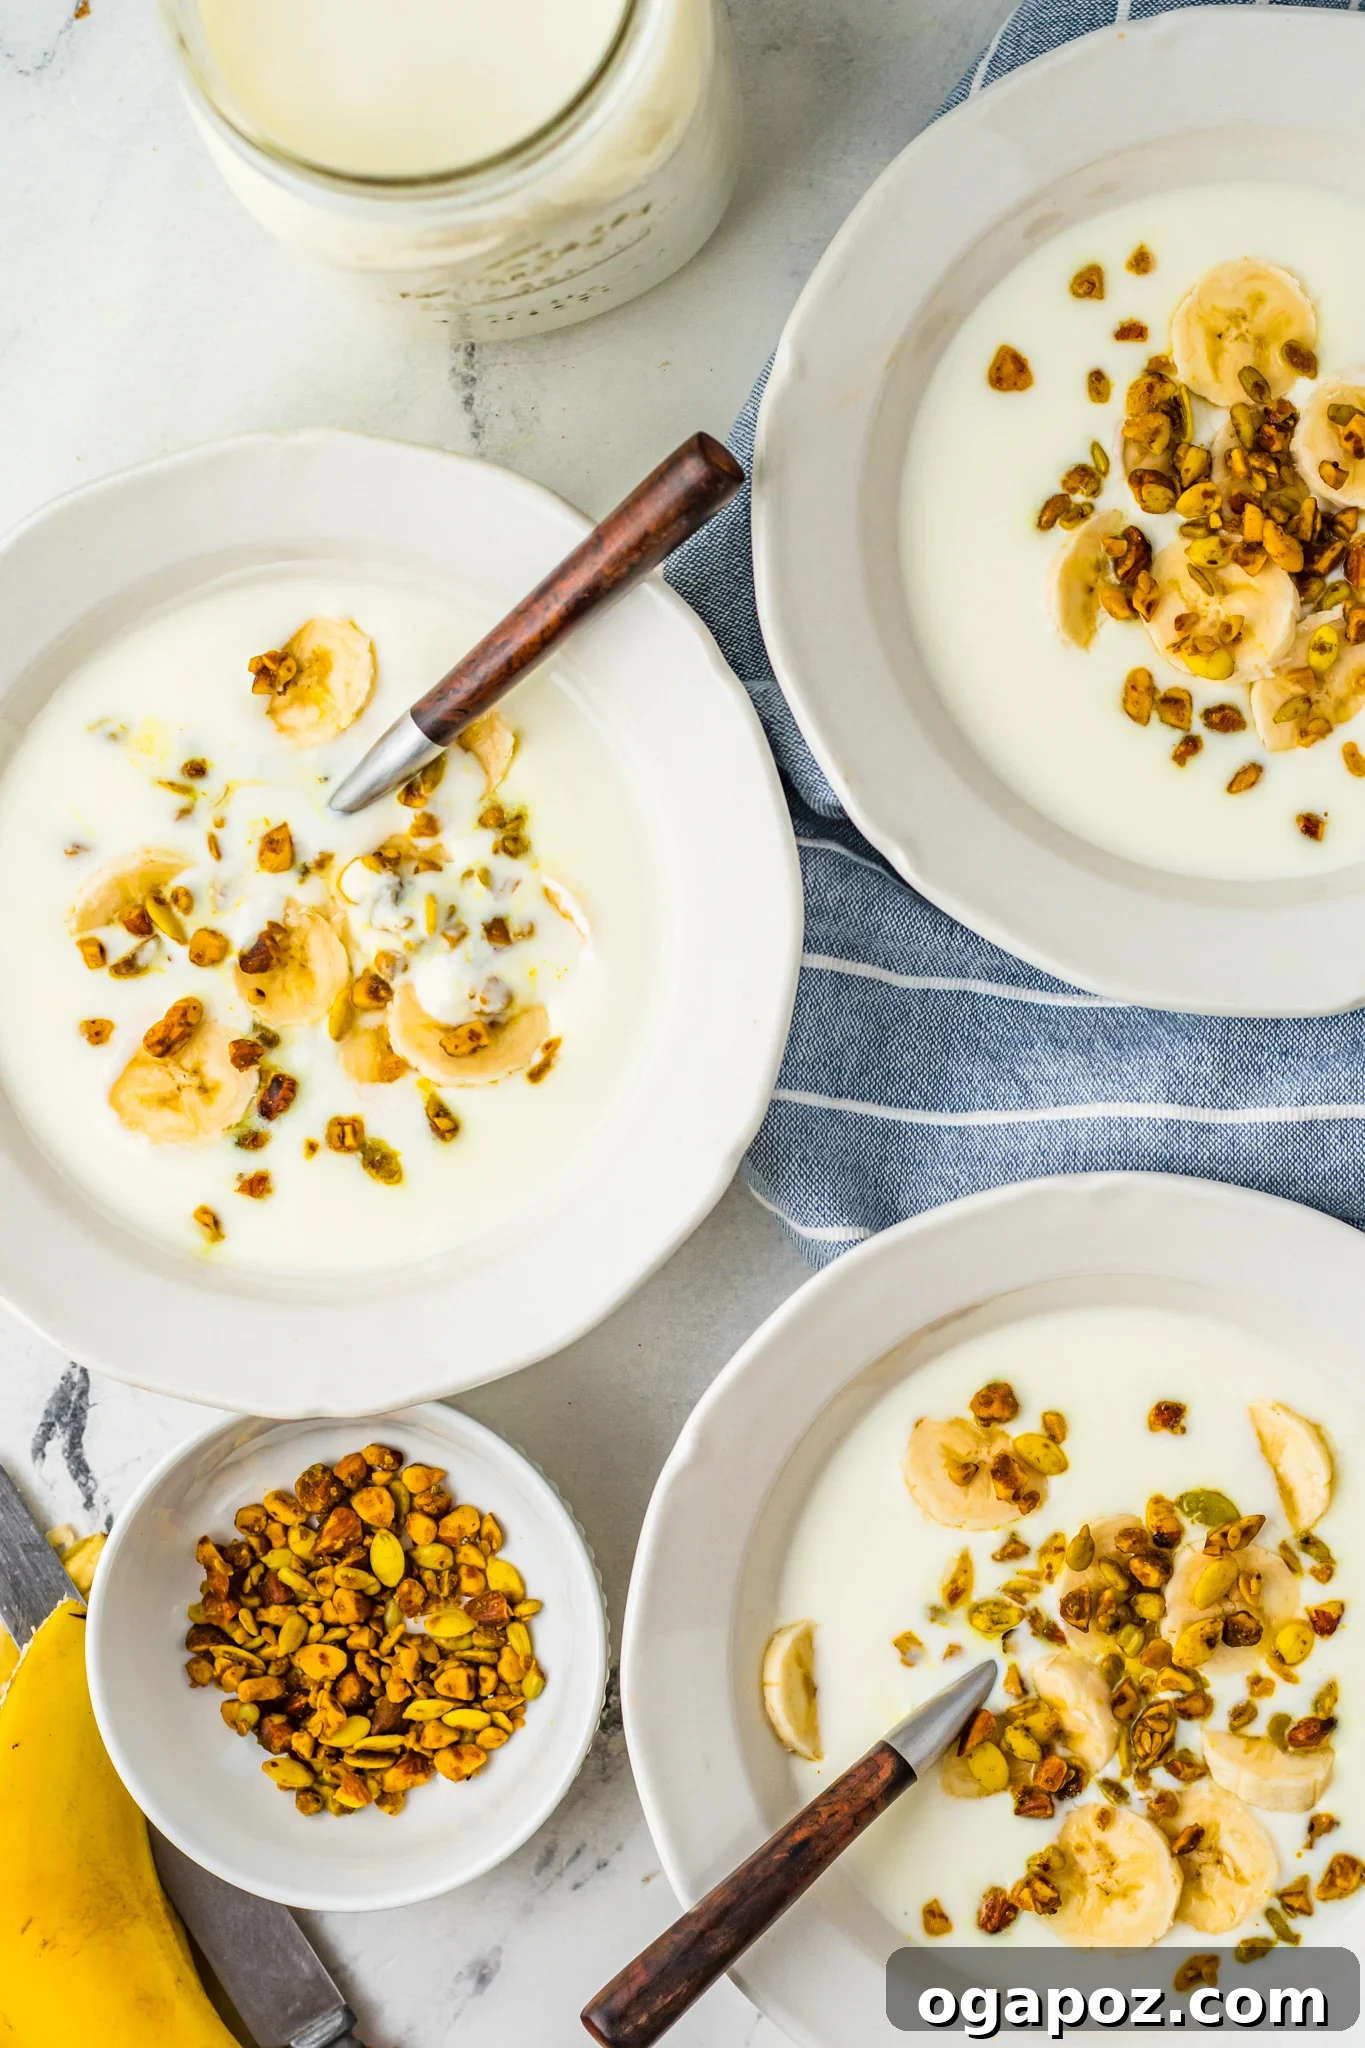
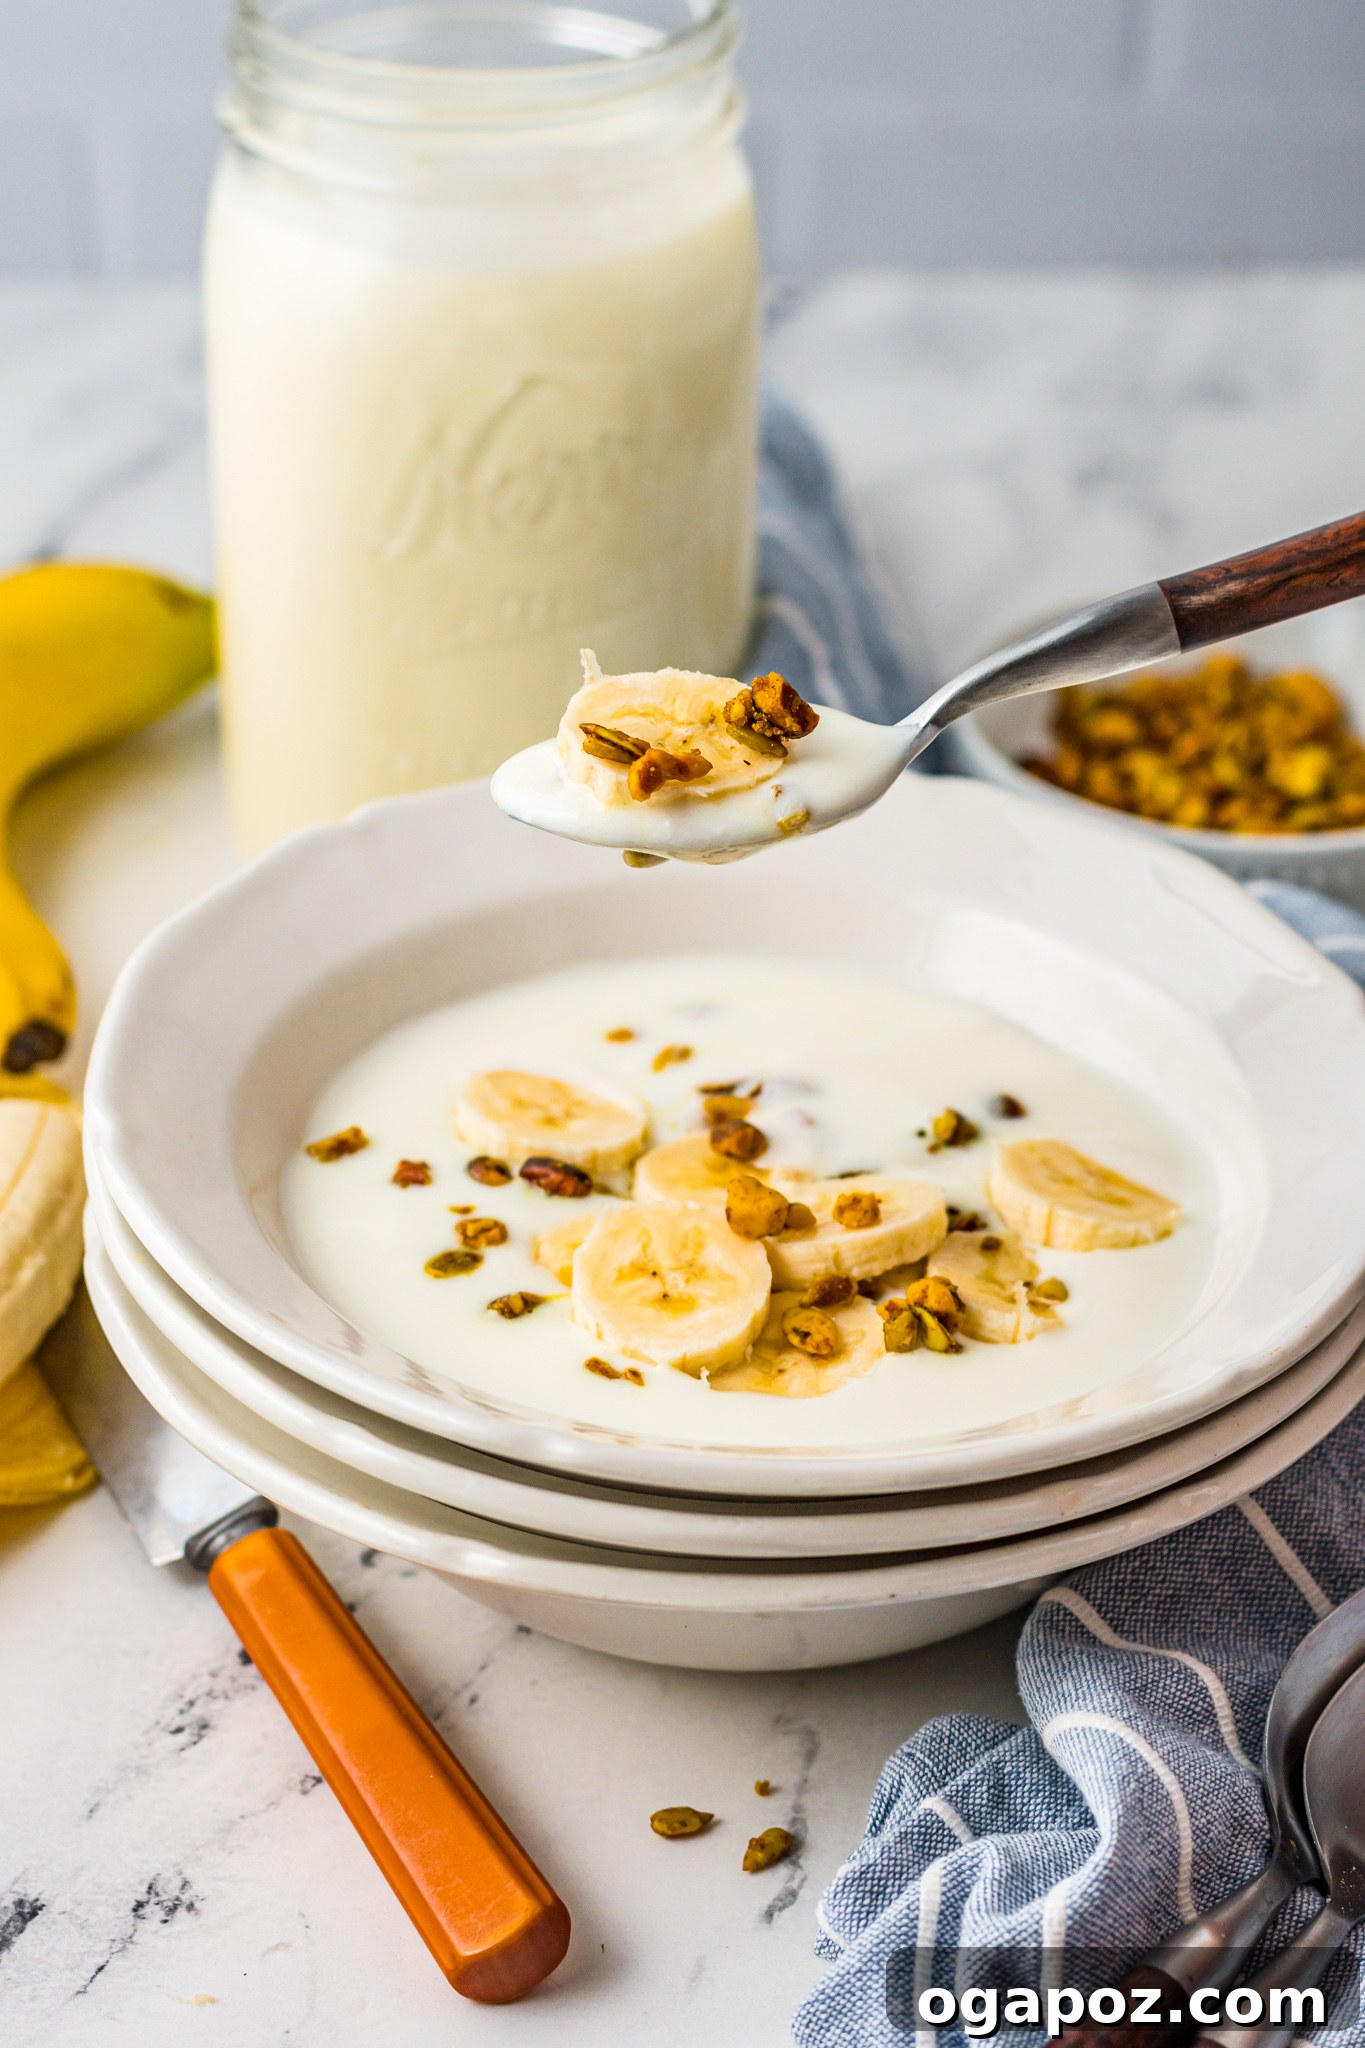
We absolutely love starting our day with a bowl of this creamy Instant Pot Yogurt, especially when paired with a sprinkle of Coconut Cranberry Chia Seed Granola and a refreshing Fruit Salad with Lemon Poppy Seed Dressing. It’s a wholesome, satisfying, and customizable meal every time!
Essential Tools and Ingredients for Instant Pot Yogurt
Crafting perfect homemade yogurt requires just a few key components. With these in hand, you’ll be well on your way to enjoying delicious, fresh yogurt whenever you desire.
- High-Quality Milk: The foundation of your yogurt.
- Whole Milk: For the creamiest, thickest yogurt, whole milk is highly recommended. Its higher fat content contributes to a luxuriously smooth texture and rich mouthfeel.
- 2% Milk: If you prefer a lighter yogurt, 2% milk can be used, but be aware that the final product will naturally be thinner. For a slightly thicker result with 2% milk, you might consider increasing the amount of starter yogurt by a tablespoon or two, or straining the finished yogurt to achieve a Greek-style consistency.
- Other Options: While dairy milk is traditional, some Instant Pots can also be used to make non-dairy yogurts (like almond or soy), though the process and results may vary and often require specific non-dairy starters and thickeners. Always check your Instant Pot model’s manual for specific instructions on non-dairy options.
- Yogurt with Live Active Cultures (Starter Yogurt): This is where the magic begins.
- You absolutely must use plain, unsweetened yogurt that explicitly states it contains “live and active cultures” on the label. These beneficial bacteria are what will ferment your milk into new yogurt.
- Avoid flavored or sweetened yogurts, as the sugars and additives can interfere with the fermentation process and may introduce undesirable flavors, or even prevent the cultures from activating properly.
- A good quality plain Greek yogurt or a plain full-fat yogurt from a reputable brand makes an excellent starter. Alternatively, once you’ve made your first batch, you can save a few tablespoons of your homemade yogurt to culture your next batch, making the process even more economical!
- Instant Pot or Pressure Cooker with a “Yogurt” Setting: This is the star appliance that simplifies the entire process.
- Ensure your specific Instant Pot model (or other brand of pressure cooker) features a dedicated “Yogurt” button or function. This setting is designed to maintain the precise temperatures required for both scalding the milk and incubating the cultures, making the process incredibly straightforward and fool-proof.
- Reliable Thermometer: Precision is key to successful yogurt making.
- A digital kitchen thermometer is highly recommended for accurate temperature readings. This is crucial for both heating the milk to the correct scalding temperature (to kill unwanted bacteria and change milk proteins) and cooling it to the ideal incubation temperature (to protect your delicate starter cultures).
- Alternatively, a candy thermometer or even a clean meat thermometer can work in a pinch, as long as it provides accurate readings within the desired temperature range.
- Whisk or Spoon: For gentle stirring and ensuring even distribution of the starter.
- Glass Jars or Air-Tight Containers: For storing your delicious homemade yogurt once it’s ready.
How to Make Instant Pot Yogurt: A Step-by-Step Guide
Making yogurt in your Instant Pot is a surprisingly straightforward process that can be broken down into a few key stages. Follow these steps for consistently creamy and delicious homemade yogurt.
Step 1: Sanitize Your Instant Pot Liner
Before you begin, it’s crucial to ensure your Instant Pot inner pot is scrupulously clean. Any residual food particles or unwanted bacteria can interfere with the yogurt cultures and potentially spoil your batch. For best results, rinse the stainless steel inner pot with boiling water to help “sterilize” it. This minimizes the risk of unwanted microorganisms competing with your starter cultures, ensuring a purer and better-tasting yogurt.
Step 2: Scald the Milk
This step is vital for two reasons: it kills any undesirable bacteria present in the milk that could compete with your yogurt cultures, and it denatures the milk proteins, resulting in a thicker, firmer yogurt. You have two primary methods for scalding:
- Using the Instant Pot (Recommended for Convenience): Pour your milk directly into the Instant Pot inner liner. Secure the lid (though you don’t need to seal it, just place it on top to keep contaminants out). Select the “Yogurt” function and press “Adjust” until the display reads “Boil” or “bOLL” (depending on your model). The Instant Pot will then heat the milk to 180°F (82°C) – this process can take some time. Once it beeps, indicating it has reached temperature, allow the milk to sit in the pot for an additional 5 minutes to ensure proper scalding.
- On the Stovetop: Alternatively, you can heat the milk in a large saucepan on your stove. Heat it over medium-low heat, stirring frequently to prevent scorching, until it reaches 180°F (82°C). Use your thermometer to verify the temperature.
Step 3: Cool the Milk to Incubation Temperature
After scalding, the milk is too hot for your delicate yogurt cultures. It must be cooled to a specific temperature range before adding the starter. Aim for a temperature between 105°F and 115°F (40°C-46°C).
- Natural Cooling: Remove the Instant Pot liner from the base and let it cool at room temperature. This typically takes about an hour, depending on your kitchen’s ambient temperature.
- Ice Bath (Faster Method): To speed up the cooling process, partially fill your sink or a large bowl with a few inches of cold water and plenty of ice. Carefully place the Instant Pot liner (or saucepan) into the ice bath, ensuring no water spills into the milk. Stir the milk gently as it cools to help distribute the temperature evenly. Monitor the temperature with your thermometer and remove the pot from the ice bath once it reaches the target range. It’s crucial not to let the milk cool below 105°F (40°C), as this can hinder the cultures’ activity and result in thin or failed yogurt.
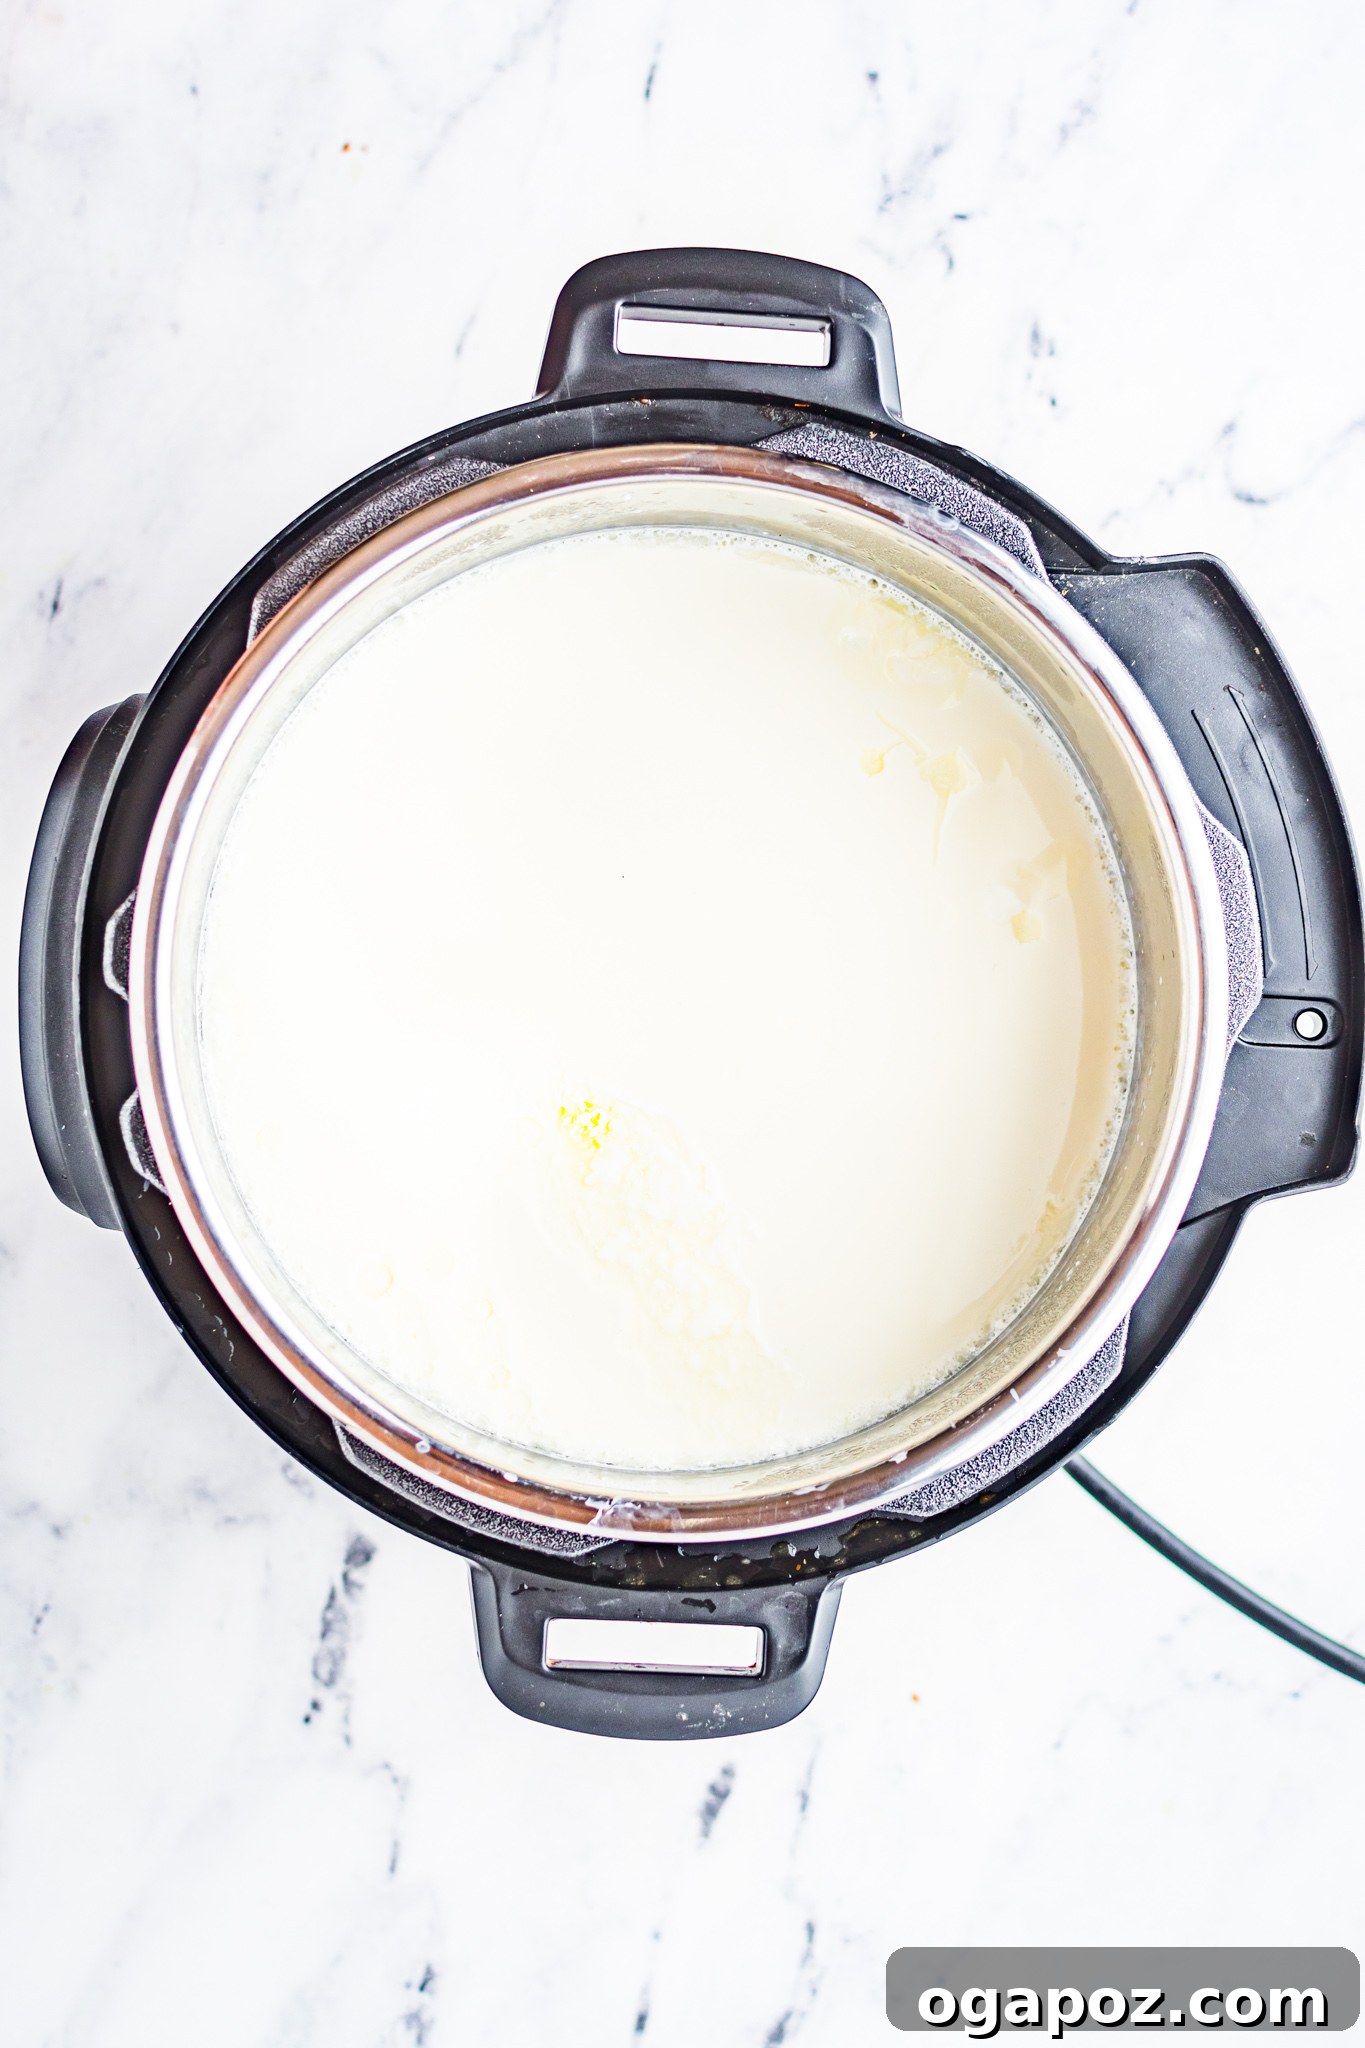
Once cooled, stir the milk gently and use a spoon or skimmer to remove any film or “skin” that may have formed on the surface during the cooling process. This ensures a smoother yogurt texture.
Step 4: Incorporate the Yogurt Starter
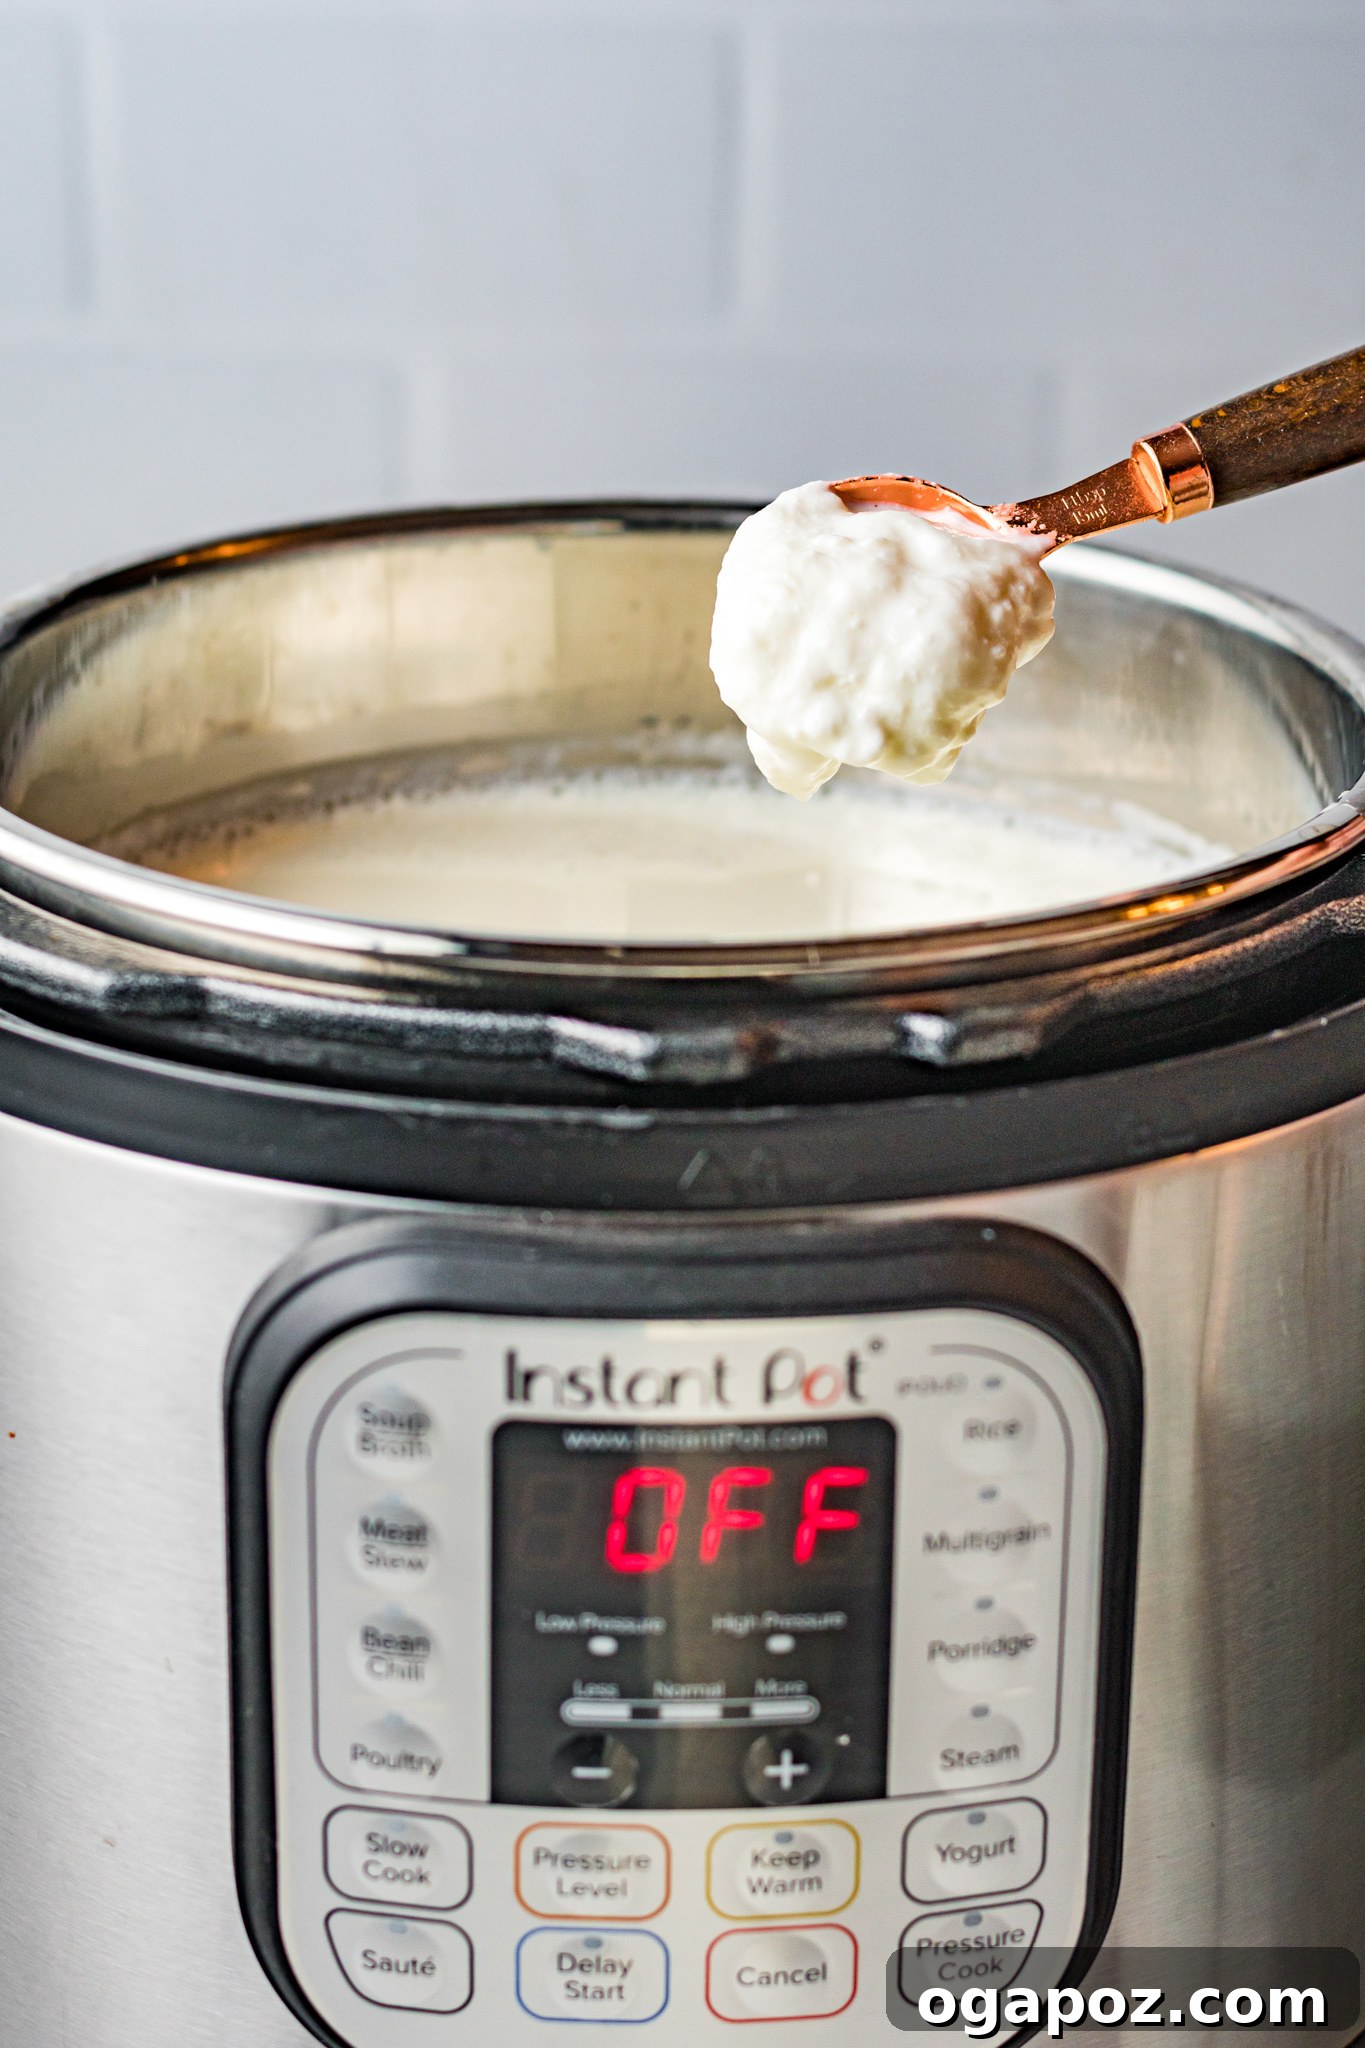
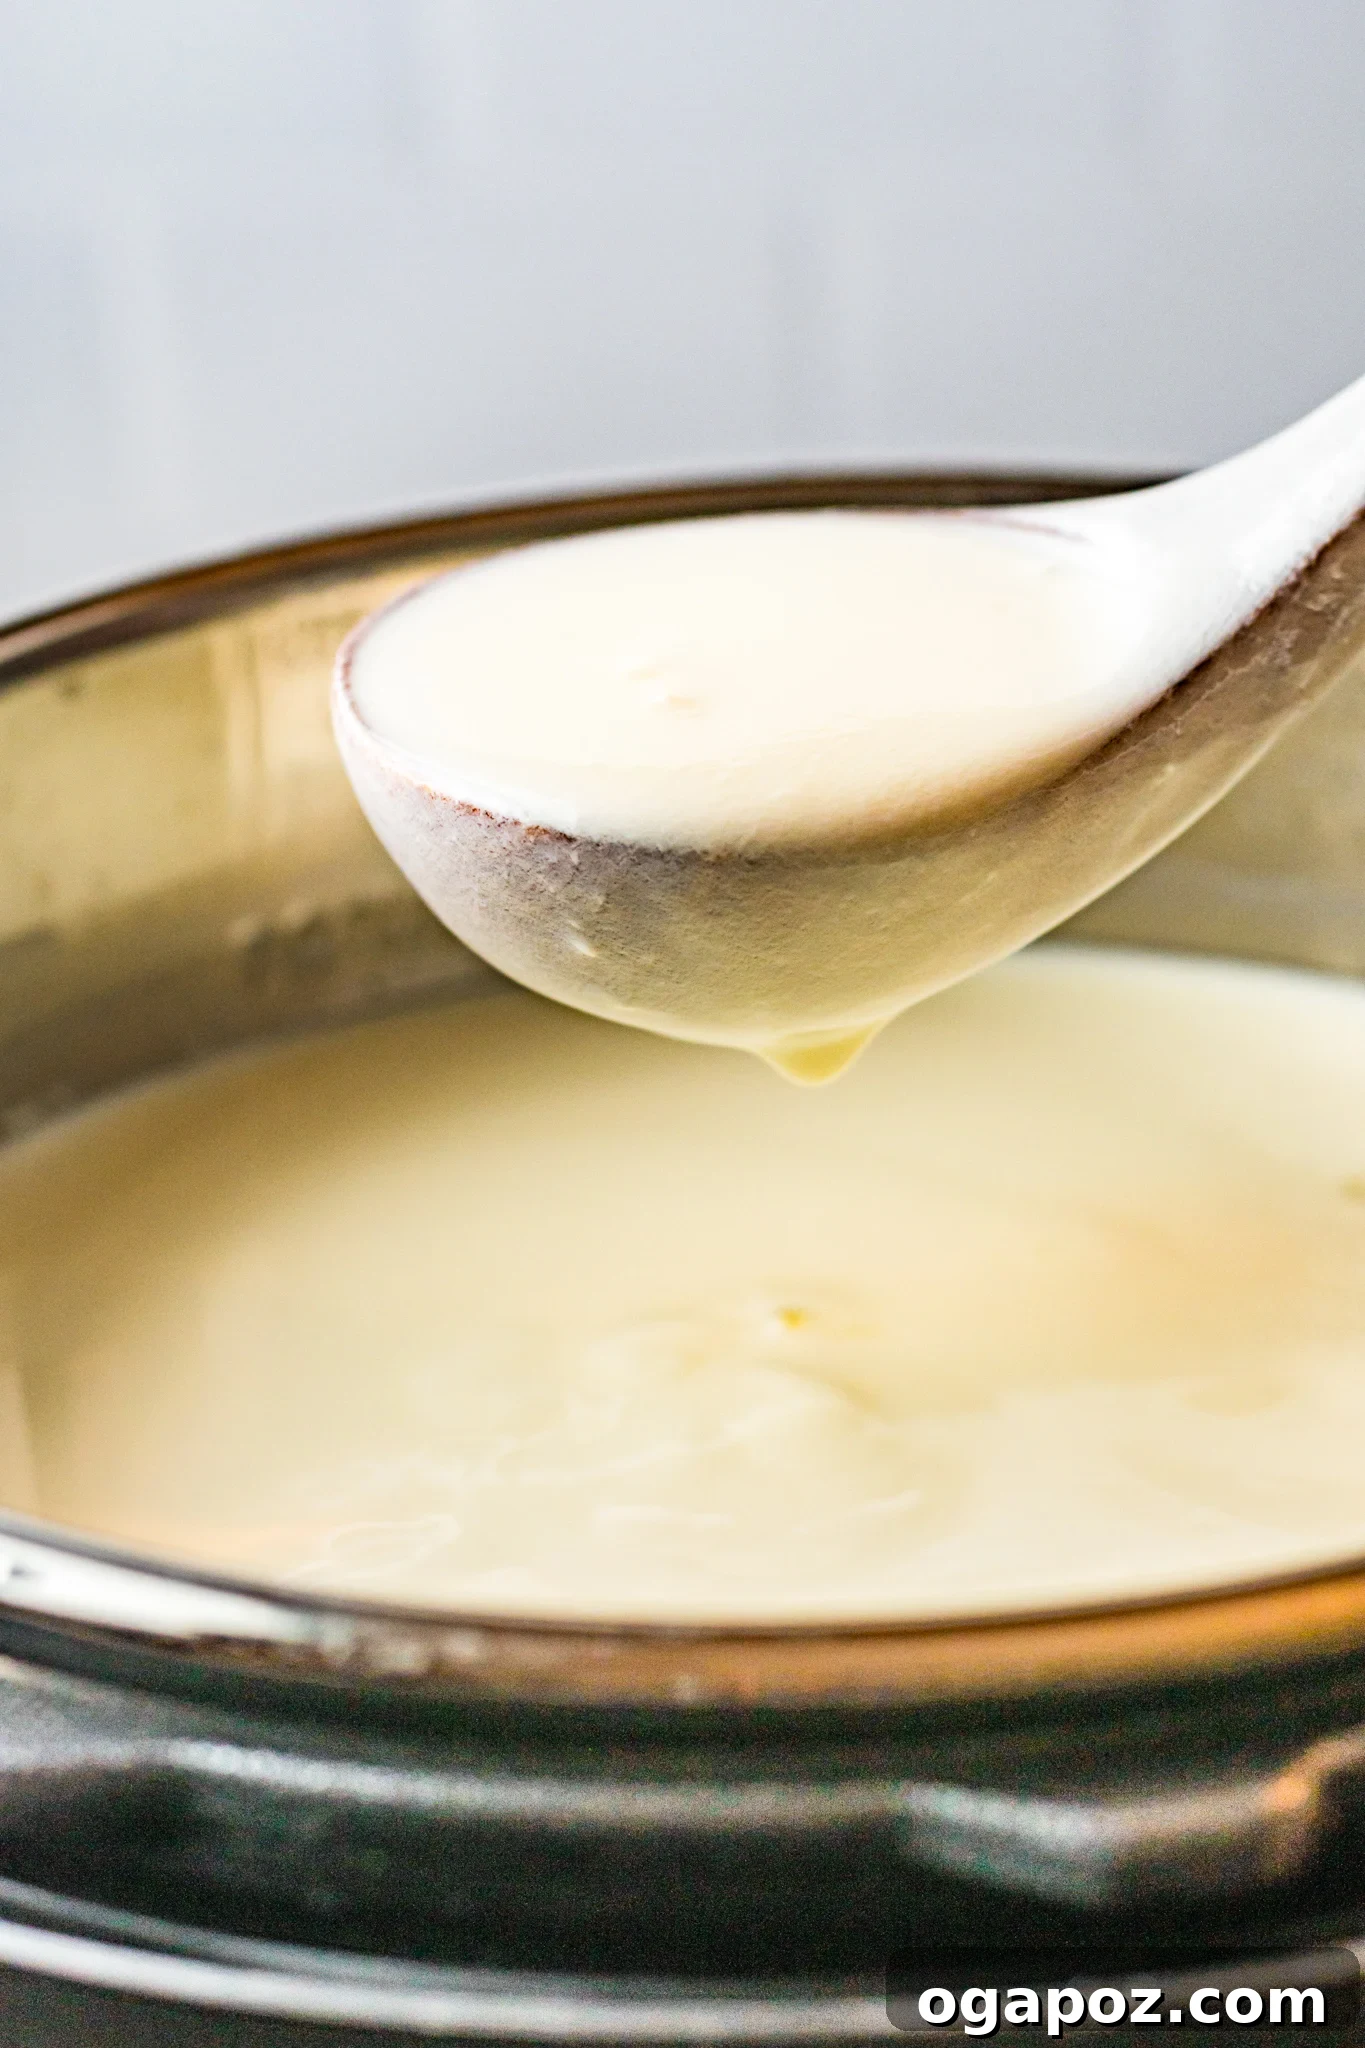
In a small bowl, whisk your cultured yogurt starter with a ladleful of the cooled milk until smooth. This helps temper the starter and prevents it from clumping when added to the larger batch. Pour this mixture back into the main pot of cooled milk and whisk gently but thoroughly to ensure the cultures are evenly distributed throughout the milk. This is the moment your future yogurt begins!
Step 5: Incubate the Yogurt
Place the Instant Pot liner back into the Instant Pot base. Secure the lid (again, no need to seal). Select the “Yogurt” function again, and this time, adjust the setting until the display shows a time (e.g., 8:00 for 8 hours). The standard incubation time is 8 hours, which yields a mildly tangy yogurt. For a more pronounced tang and a higher concentration of probiotics, you can extend the incubation period to 10 to 18 hours. Experiment with different times to find your preferred level of tanginess and thickness.
Once incubation is complete, the Instant Pot will beep. Carefully remove the inner pot. At this stage, the yogurt will still be warm and appear somewhat liquid. Do not stir it! Cover the pot and transfer it to the refrigerator to chill for at least 4-6 hours, or preferably overnight. Chilling is essential for the yogurt to fully set and thicken to its desired consistency.
Once chilled and set, your homemade Instant Pot yogurt is ready to enjoy! Store it in clean, airtight glass jars or containers in the refrigerator for up to 10-14 days. Remember, the longer it sits, the tangier it may become.
Expert Tips for Making Perfect Instant Pot Yogurt
Achieving consistently perfect homemade yogurt is easy once you understand a few key principles. Here are some essential tips to guide you:
- Always Use a Live Starter: Your yogurt starter must contain live and active cultures and be unsweetened and unflavored. If your starter is sweetened or lacks live cultures, your milk will not ferment, and you’ll end up with spoiled milk instead of yogurt. Always check the ingredient label carefully!
- Adjusting for 2% Milk (or Lower Fat): If you opt for 2% milk, anticipate a runnier final product compared to whole milk yogurt. To counteract this, consider adding an extra tablespoon of cultured yogurt starter when inoculating the milk. After the yogurt is initially made and chilled, you might notice a layer of liquid (whey) on top; you can pour this off for a slightly thicker consistency, or simply stir it back in.
- Transforming into Greek Yogurt: For a wonderfully thick, protein-rich Greek yogurt, follow the recipe directions as normal. Once your yogurt is fully chilled and set, line a fine-mesh strainer with a few layers of cheesecloth or sturdy paper towels. Place this strainer over a deeper bowl or pan to collect the draining liquid (whey). Gently pour the finished yogurt into the lined strainer. Allow it to drain in the refrigerator for several hours, or preferably overnight, until it reaches your desired thickness. The longer it drains, the thicker it will become. Scoop the thickened Greek yogurt into a clean jar and store it in the refrigerator.
- Understanding and Utilizing Whey: Whey is the translucent, yellowish liquid that separates from yogurt during incubation or straining. Far from being waste, whey is packed with protein and beneficial nutrients! Don’t discard it. You can save the whey to add to smoothies for an extra protein boost, use it as a liquid in baking (like for bread or pancakes), or even as a starter for fermenting vegetables.
- Optimal Storage for Freshness: Properly stored, your homemade Instant Pot yogurt will stay fresh and delicious in the refrigerator for 10 to 14 days. While it’s often safe to consume for a bit longer, you might notice its tanginess increasing over time as the cultures continue to work slowly. Always store it in airtight containers to prevent it from absorbing other odors from the fridge.
- Sweetening Your Yogurt: Homemade plain yogurt offers the perfect canvas for customization. You can sweeten it to your liking with a variety of natural sweeteners. Popular choices include granulated sugar, honey, maple syrup, or agave nectar. Start with about ½ cup of your chosen sweetener per gallon of milk, or approximately 2 tablespoons per quart, and adjust to taste. Always add sweeteners after the yogurt has fully chilled and set.
- Flavoring Your Yogurt: Beyond sweetness, you can infuse your yogurt with a myriad of flavors. For classic vanilla yogurt, stir in about 1 teaspoon of pure vanilla extract per quart of finished yogurt. Other delicious additions include fruit extracts (like almond or lemon), cinnamon, cardamom, or even cocoa powder for a chocolate treat. Fresh fruit purées or jams are also excellent additions.
- Creating a Continuous Supply: One of the best advantages of homemade yogurt is the ability to perpetuate your starter. As soon as your current batch is finished incubating and before you sweeten or flavor it, set aside a few tablespoons to use as the starter for your next batch. You can even freeze portions (e.g., 1 tablespoon per ice cube tray compartment) for longer-term storage. This ensures you always have a ready supply of active cultures.
- Scaling the Recipe: This recipe uses 1 gallon of milk, yielding approximately 16 cups of yogurt. You can easily adjust the quantity to suit your needs, making as much or as little as your Instant Pot liner will safely accommodate (typically up to the “Max Fill” line). Just remember the ratio: use 1 tablespoon of cultured yogurt starter per quart (4 cups) of milk.
Serving Suggestions and Culinary Inspirations
Your creamy homemade Instant Pot yogurt is incredibly versatile. Here are just a few ideas to get you started, from breakfast to savory meals and snacks:
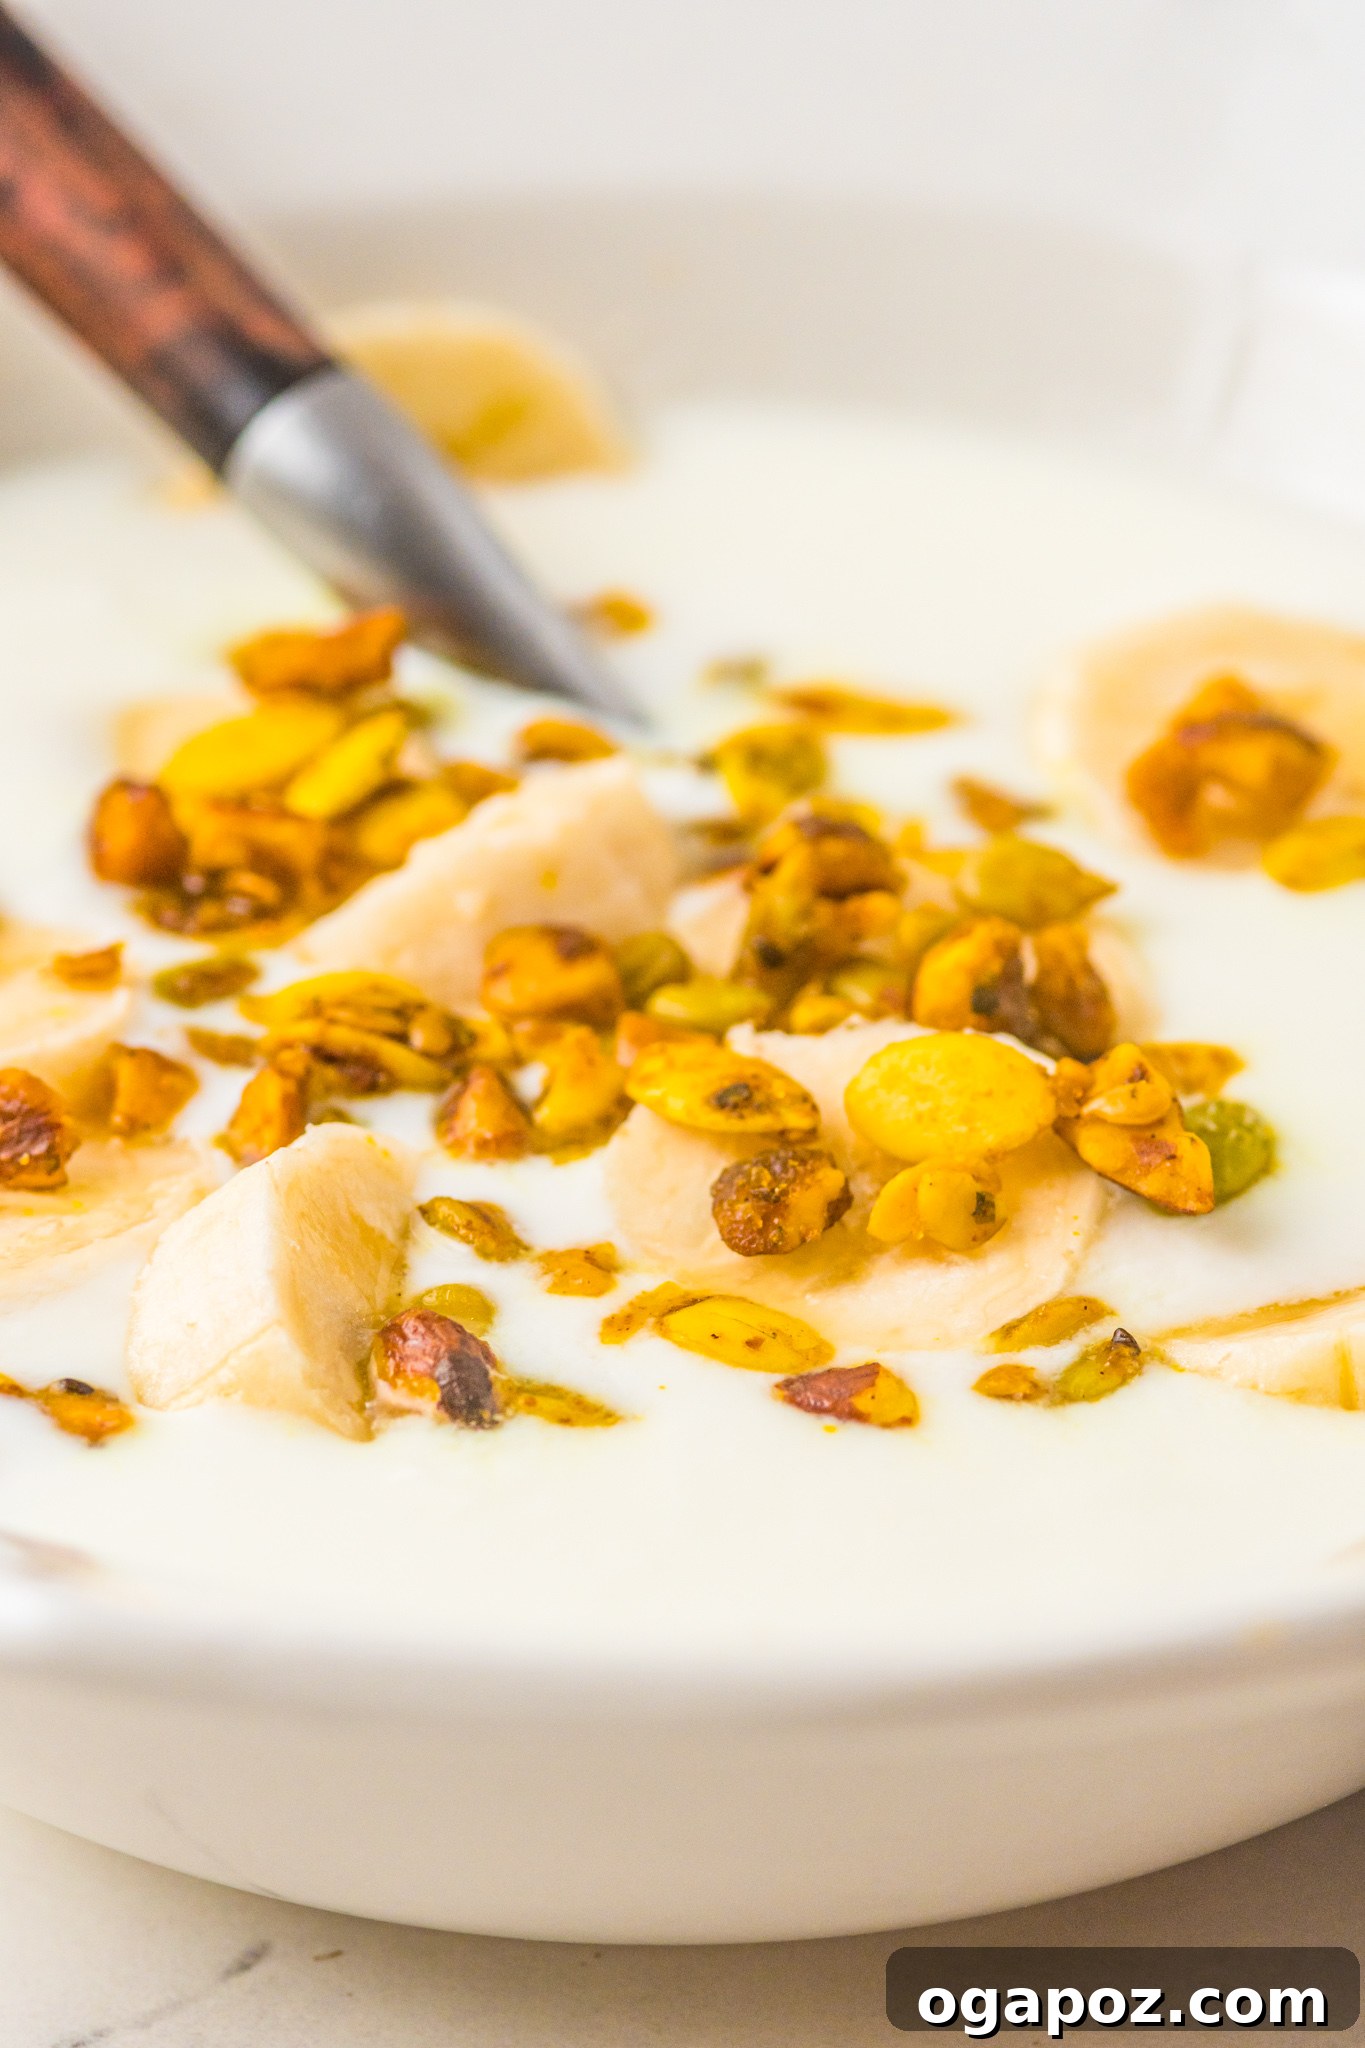
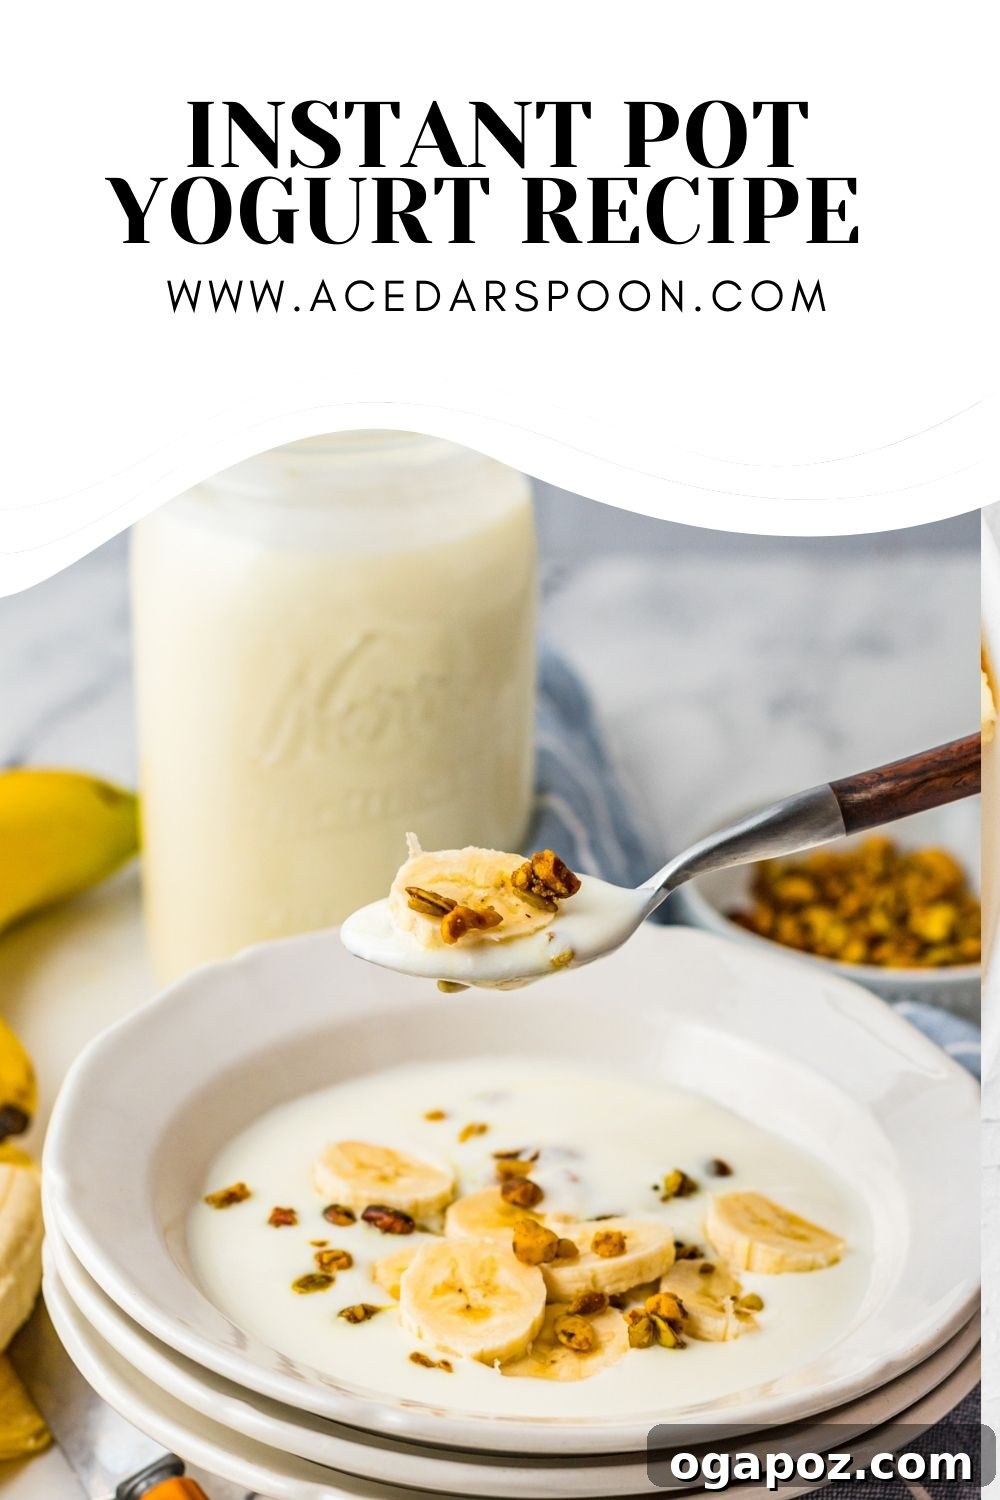
- Breakfast Powerhouse: Enjoy a bowl topped with your favorite granola (like this Coconut Cranberry Chia Seed Granola), fresh berries, nuts, a drizzle of honey, or a sprinkle of cinnamon. Pair it with a vibrant Fruit Salad with Lemon Poppy Seed Dressing for a truly wholesome start to your day.
- Smoothie Enhancer: Add a generous scoop to your morning smoothies for extra creaminess, protein, and probiotics. It blends beautifully with any fruit and vegetable combination you can imagine.
- Savory Dishes: Embrace its tangy profile in savory applications. It’s a fantastic accompaniment to Middle Eastern dishes like grilled meats (kafta), falafel, or kebabs. You can also use it as a base for creamy sauces or dressings.
- Dips and Spreads: Mix with fresh herbs, minced garlic, a squeeze of lemon juice, and a pinch of salt for a quick and healthy dip for vegetables, pita bread, or chips. Think of classic tzatziki or a simple labneh-style spread.
- Healthy Desserts: Layer with fruit and granola for a delicious parfait, or freeze it into homemade yogurt popsicles for a refreshing and guilt-free treat.
- Marinades: The natural acidity of yogurt helps tenderize meat and poultry, making it an excellent base for flavorful marinades that result in incredibly juicy dishes.
Delicious Recipes That Use Homemade Yogurt
Once you have a steady supply of homemade Instant Pot yogurt, you’ll find endless ways to incorporate it into your cooking. Here are some fantastic recipes where your fresh, creamy yogurt will truly shine, adding both flavor and nutritional benefits:
CUCUMBER TOMATO SALAD WITH YOGURT DRESSING
ZA’ATAR ROASTED CAULIFLOWER WITH YOGURT TAHINI SAUCE
GREEK YOGURT WAFFLES
FROZEN YOGURT GRANOLA BITES
SOUTHWESTERN GREEK YOGURT DEVILED EGGS
STRAWBERRY BANANA YOGURT POPSICLES
TAHINI YOGURT DRESSING
Tried this recipe? Share your thoughts and creations! We’d love to hear from you.
Instant Pot Yogurt Recipe
This creamy homemade Instant Pot Yogurt Recipe is easy to make with little clean-up.
Prep Time: 5 minutes
Cook Time: 9 hours
Total Time: 9 hours 5 minutes
Yields: 16 cups
Ingredients
- 1 gallon whole milk
- 4 Tablespoons cultured yogurt (make sure it is not sweetened or flavored yogurt and contains live active cultures)
Instructions
- Clean Your Instant Pot: Make sure your Instant Pot inner pot is very clean. Rinse it out with boiling water to “sterilize” the pot, which will help the yogurt taste better and prevent contamination.
- Heat the Milk: You can do this in the Instant Pot or in a pan on the stove.
- Stovetop Method: Heat on medium-low, stirring occasionally, so the milk doesn’t scorch, until it reaches 180°F (82°C).
- Instant Pot Method: Place the milk in the Instant Pot liner and put the lid on (no need to seal). Use the “Yogurt” button and set to “Boil” (or “bOLL”). This will take a while. When the pot beeps, check the temperature of the milk with a thermometer; it needs to be 180°F (82°C). Allow it to sit in the Instant Pot for an additional 5 minutes.
- Cool the Milk: Remove the pot from the Instant Pot base (or from the stove). Allow the milk to cool to a temperature between 105°F and 115°F (40°C-46°C). This will take about an hour at room temperature. For quicker cooling, plug the sink and add a couple inches of cold water and plenty of ice, then set the milk pot in the ice water. Do not allow it to cool less than 105°F (40°C).
- Remove Skim: Stir the milk and remove any film or “skim” that has formed on the top.
- Stir in the Yogurt Starter: In a small bowl, whisk the cultured yogurt starter with a small amount of the cooled milk until smooth. Then, pour this mixture back into the main pot of milk and whisk thoroughly to ensure the cultures are evenly distributed.
- Incubate the Yogurt: Place the Instant Pot liner back into the base. Put the lid on (no need to seal). Select the “Yogurt” button and set the incubation time for 8 hours for a mildly tangy yogurt. For a tangier yogurt with more cultures, allow it to incubate for 10 to 18 hours. After incubation, do not stir. Cover the pot and refrigerate for at least 4-6 hours (preferably overnight) for the yogurt to fully set and thicken.
Notes
- Sweetening: Add approximately ½ cup of your preferred sweetener (granulated sugar, honey, or syrup) per gallon of finished yogurt. If more is needed, add one tablespoon at a time until desired sweetness is achieved. Always sweeten after the yogurt has been made and chilled.
- Flavoring: Add about 1 teaspoon of flavoring per quart of finished yogurt. For example, use 1 teaspoon of vanilla extract per quart for vanilla yogurt. Mix well after chilling.
- Serving Size: A serving size is 1 cup, and this recipe makes 1 gallon or 16 cups of yogurt. You can easily halve the recipe as well, and it works just the same.
Nutrition Information
Nutrition information is automatically calculated, so should only be used as an approximation and can vary based on specific ingredients and preparation.
- Calories: 145 kcal
- Carbohydrates: 11 g
- Protein: 8 g
- Fat: 8 g
- Saturated Fat: 5 g
- Polyunsaturated Fat: 0.3 g
- Monounsaturated Fat: 2 g
- Cholesterol: 29 mg
- Sodium: 92 mg
- Potassium: 363 mg
- Sugar: 12 g
- Vitamin A: 388 IU
- Vitamin C: 0.03 mg
- Calcium: 297 mg
- Iron: 0.003 mg
Tried this recipe? Mention @acedarspoon or tag #acedarspoon!