
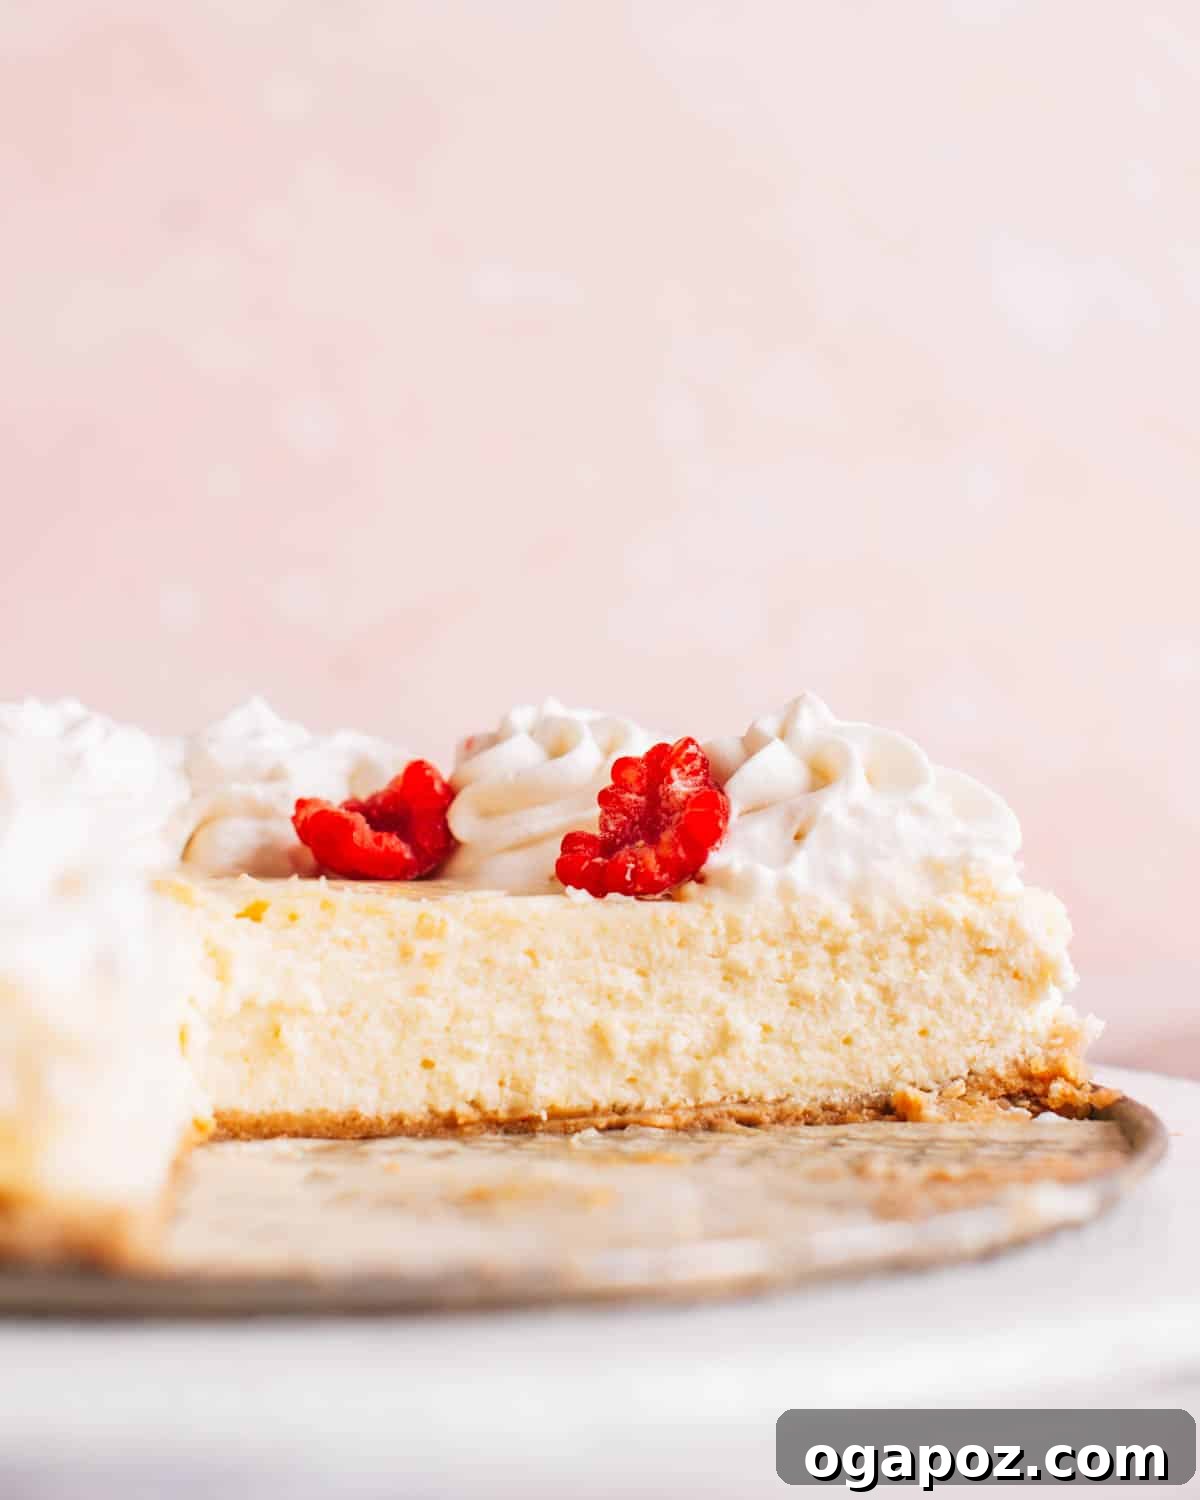
Unlock the secrets to baking a truly perfect Philadelphia Cheesecake with our expert tips and a remarkably easy, 3-ingredient filling. This recipe isn’t just a dessert; it’s a timeless classic, celebrated for its rich, creamy texture and delightful simplicity. Once you experience the velvety smoothness and balanced sweetness of this homemade masterpiece, you’ll understand why it has remained a perennial favorite across generations. Get ready to impress with a cheesecake that’s both elegant and effortlessly delicious.
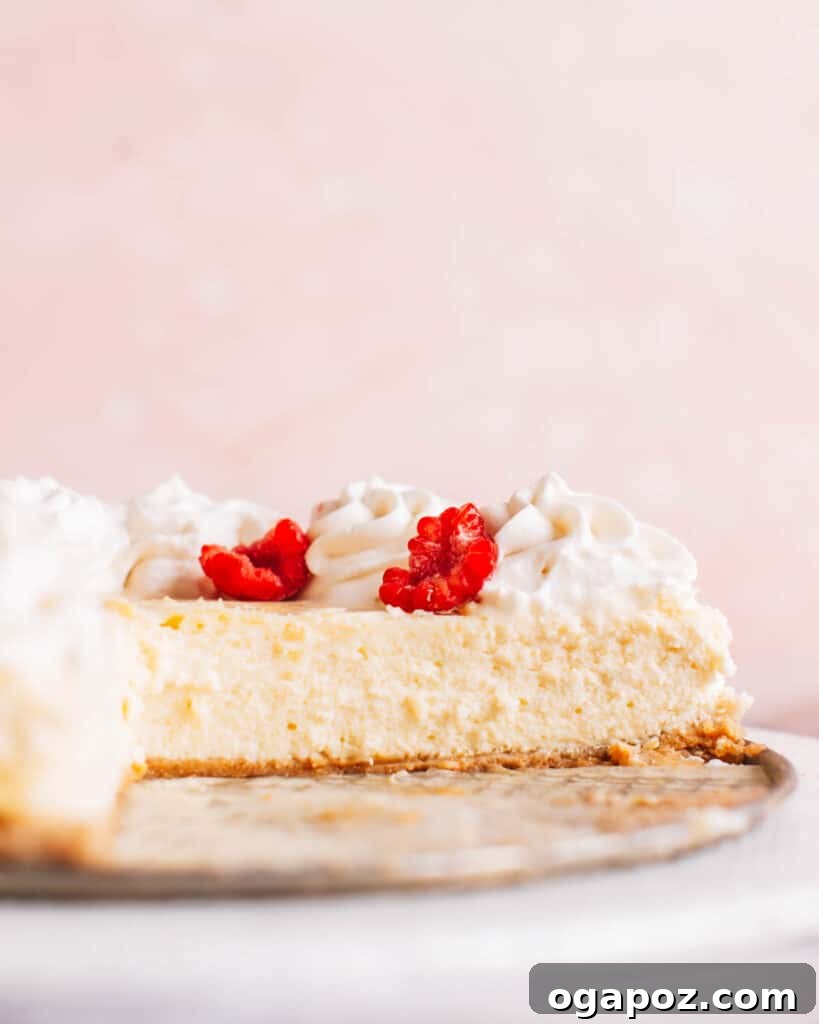
What Our Readers Say
⭐️⭐️⭐️⭐️⭐️ “This is my go-to cheesecake recipe. I’ve made it for years, and everyone absolutely loves it! The tips for preventing cracks are a game-changer.”
– Linda M.
Why This Philadelphia Cheesecake Recipe Will Become Your Favorite
Are you searching for a dessert that combines luxurious creaminess with straightforward preparation? If so, prepare to fall in love with this Philadelphia Cheesecake recipe. It’s not just another dessert; it’s an experience that delivers rich, indulgent flavors without the fuss. Here’s why this recipe stands out and is destined to become a staple in your kitchen:
- Effortless 2-Ingredient Crust: Forget complicated pastry work! Our foundational graham cracker crust requires only two simple ingredients: graham cracker crumbs and butter. This minimal ingredient list makes the crust incredibly quick to prepare, saving you time and effort while delivering a perfectly crunchy, buttery base that complements the creamy filling beautifully. It’s the ideal start to an easy-to-make yet impressive dessert.
- Simple, 3-Ingredient Cheesecake Filling: The heart of this classic Philadelphia cheesecake lies in its incredibly simple, yet profoundly delicious, filling. With just three core ingredients – Philadelphia cream cheese, granulated sugar, and eggs – this recipe is designed to be virtually foolproof. It minimizes complexity without compromising on the signature rich, tangy, and sweet flavor profile that defines a classic cheesecake. Even novice bakers can achieve spectacular results.
- Unforgettably Creamy and Delicious: There’s a reason this particular cheesecake holds a cherished spot in dessert repertoires: its unparalleled creamy texture and exquisite taste. The luscious, velvety cream cheese filling melts in your mouth, perfectly balanced by the sweet, crumbly graham cracker crust. It’s a harmonious blend of textures and flavors that satisfies every craving. If you’re a fan of minimal baking, you might also enjoy our easy No Bake Cheesecake recipe, offering similar delightful creaminess without turning on the oven!
- Foolproof Baking Techniques: This recipe incorporates scientific baking principles and straightforward instructions that help minimize common cheesecake challenges like cracking. From how to properly mix the ingredients to optimal baking and cooling methods, we provide insights that empower you to achieve a picture-perfect cheesecake every time.
- Versatile for Any Occasion: Whether it’s a casual family gathering, a festive holiday celebration, or simply a treat for yourself, this Philadelphia cheesecake is always appropriate. Its classic appeal means it never goes out of style, and its adaptability to various toppings makes it suitable for customizing to any event or personal preference.
Essential Ingredients and Tools for Your Philadelphia Cheesecake
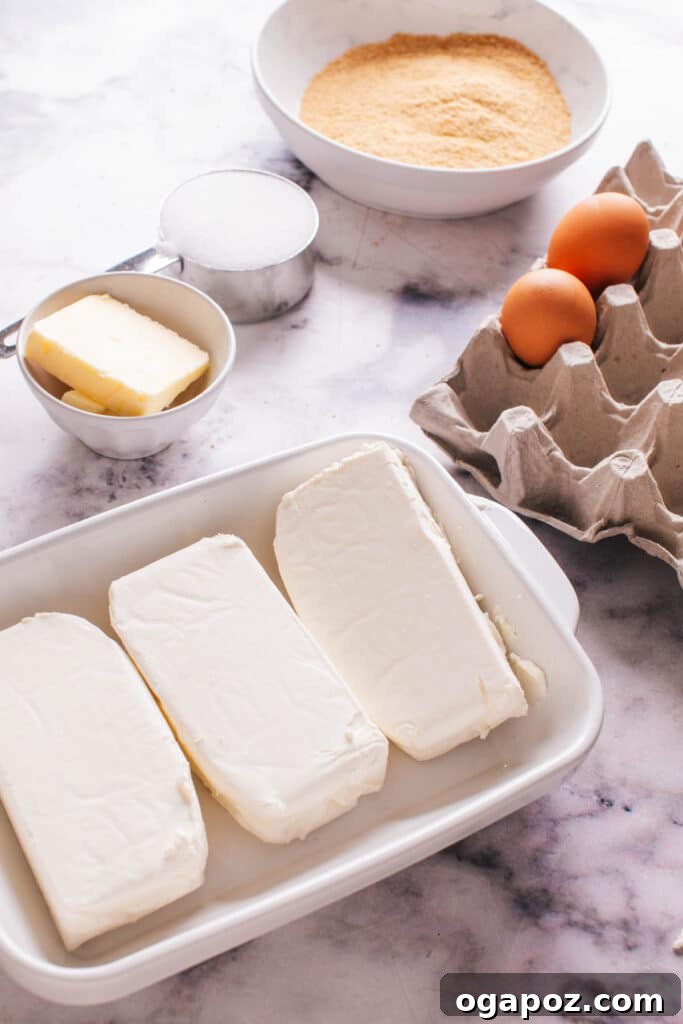
Creating a magnificent Philadelphia Cheesecake starts with gathering the right components. Here’s a detailed look at what you’ll need to ensure your cheesecake turns out perfectly smooth, rich, and delicious.
Key Ingredients
Each ingredient plays a crucial role in achieving the iconic taste and texture of a Philadelphia Cheesecake:
- Graham Cracker Crumbs: These form the quintessential base of your crust, offering a delightful sweet and slightly spiced flavor with a crumbly, yet firm, texture. You can easily purchase pre-crushed crumbs or make your own by pulsing whole graham crackers in a food processor until finely ground. A good quality crumb ensures a sturdy and flavorful foundation.
- Melted Butter: The unsung hero of the crust, melted butter acts as the binding agent, holding the graham cracker crumbs together to create a cohesive and rich base. Unsalted butter is generally preferred to control the overall saltiness, but salted butter can be used if you appreciate a slight savory note.
- Philadelphia Cream Cheese: This is the star of the show and the defining ingredient of a true Philadelphia Cheesecake. It’s imperative to use full-fat Philadelphia cream cheese for the creamiest, richest filling. Its distinctive tangy flavor and smooth consistency are what give this cheesecake its unique character. Ensure it’s softened to room temperature for a lump-free batter.
- Granulated Sugar: Sugar does more than just sweeten the cheesecake; it perfectly balances the inherent tanginess of the cream cheese, creating a harmonious flavor profile. It also contributes to the smooth texture of the filling.
- Eggs: Eggs are vital for setting the cheesecake. As they cook, their proteins coagulate, providing structure and stability to the filling. They also contribute to the cheesecake’s characteristic smooth, custardy texture. Like cream cheese, ensure eggs are at room temperature for optimal emulsification and a uniform batter.
- Optional 4th Ingredient: Flavorings: While truly optional, a flavoring can elevate your cheesecake.
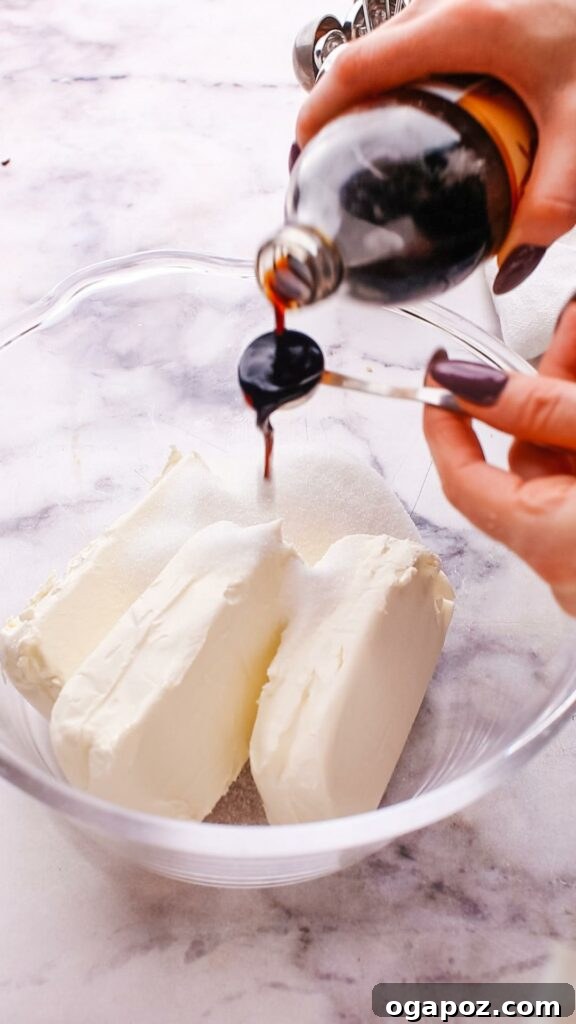
- Vanilla Extract: A teaspoon of pure vanilla extract adds a warm, classic vanilla cheesecake flavor that enhances the richness of the cream cheese.
- Almond Extract: For a more sophisticated twist, a mere 1/4 teaspoon of almond extract offers a distinct, delicate nutty aroma. Be mindful, as its flavor is quite potent.
- Lemon Zest: For a bright, zesty dimension, finely grate the zest of one lemon into the filling. The citrus oils provide a fresh counterpoint to the richness.
- Mini Chocolate Chips: Stirring in a handful of mini chocolate chips creates delightful pockets of melted chocolate, turning your classic into a chocolate chip cheesecake dream.
Variations and Substitutions to Explore
- Alternative Crust Crumbs: Don’t limit yourself to graham crackers!
- For a **gluten-free cheesecake**, simply use gluten-free graham crackers.
- Swap in **chocolate wafer cookies** for a darker, richer chocolate crust.
- **Vanilla wafers (Nilla wafers)** create a milder, sweeter base.
- Experiment with **gingersnap cookies** for a spiced crust, perfect for fall flavors.
- Crushed **Oreo cookies** (including the cream) make a beloved chocolate base that requires no additional butter.
- Cream Cheese Brands: While Philadelphia Cream Cheese is iconic for a reason, other high-quality, full-fat cream cheese brands can be used. Ensure they are brick-style cream cheese for the best consistency.
- Sugar Alternatives: For a reduced-sugar or sugar-free option, you can experiment with granular sugar substitutes designed for baking. Adjust quantities according to the specific sweetener’s potency.
- Flavored Cheesecakes: Beyond the basic flavorings, consider adding:
- **Coffee or Espresso Powder:** For a subtle coffee flavor.
- **Citrus Juices:** A tablespoon of lemon or lime juice can enhance the tanginess.
- **Spices:** A pinch of cinnamon, nutmeg, or cardamom can add warmth.
Essential Baking Tools
Having the right equipment ensures a smooth baking process and a beautiful final product:
- 9-Inch Springform Pan: This is indispensable for cheesecake baking. Its removable sides allow for easy unmolding of the delicate cheesecake without damaging its perfect edges. Look for one with a good seal to prevent leaks, especially if using a water bath.
- Electric Mixer (Handheld or Stand Mixer): Crucial for achieving a smooth, lump-free cream cheese filling. While a stand mixer with a paddle attachment offers hands-free convenience, a good handheld electric mixer works just as effectively for blending ingredients to the desired consistency.
- Large Mixing Bowls: You’ll need at least two: one for preparing the crust and another, larger bowl for mixing the creamy filling.
- Measuring Cups and Spoons: Accuracy is paramount in baking, so precise measuring tools are essential for consistent results.
- Oven: A reliable oven with consistent temperature control is key to baking your cheesecake evenly and preventing issues like cracking or uneven setting.
- Instant-Read Thermometer (Optional but Recommended): For optimal doneness, an instant-read thermometer helps you hit the perfect internal temperature of 145°F, ensuring a perfectly set cheesecake without overbaking.
How to Make a Classic Philadelphia Cheesecake: Step-by-Step
Baking a show-stopping Philadelphia Cheesecake is far simpler than many imagine. With our clear, easy-to-follow guide and a few pro tips, you’ll achieve a perfectly smooth, creamy dessert every time. Let’s embark on this delicious baking journey!
Step 1: Preparing the Flawless Crust
A great cheesecake starts with a solid foundation. This simple, two-ingredient crust comes together in minutes:
- Begin by preheating your oven to 350ºF (175ºC). This ensures your oven is at the correct temperature for baking your crust and later, your cheesecake.
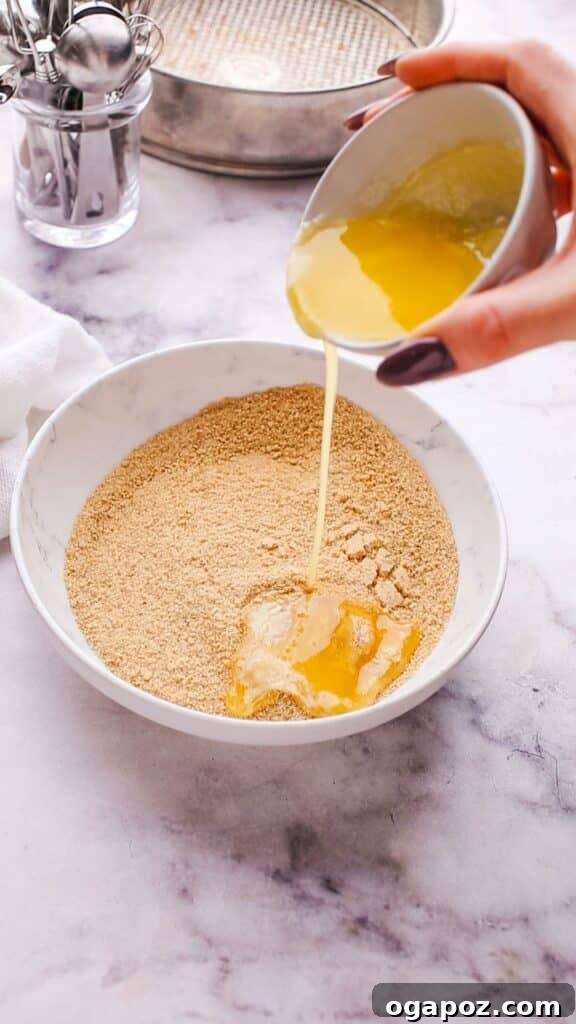
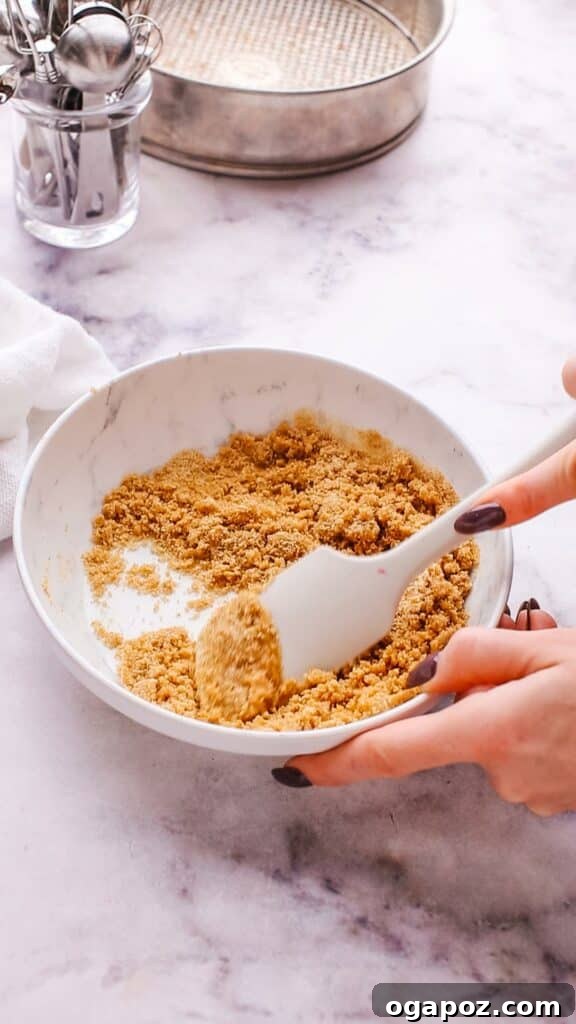
- In a medium-sized bowl, combine 1 ¼ cups of finely crushed graham cracker crumbs with ¼ cup of melted butter. Mix these thoroughly until the crumbs are evenly moistened and resemble wet sand.
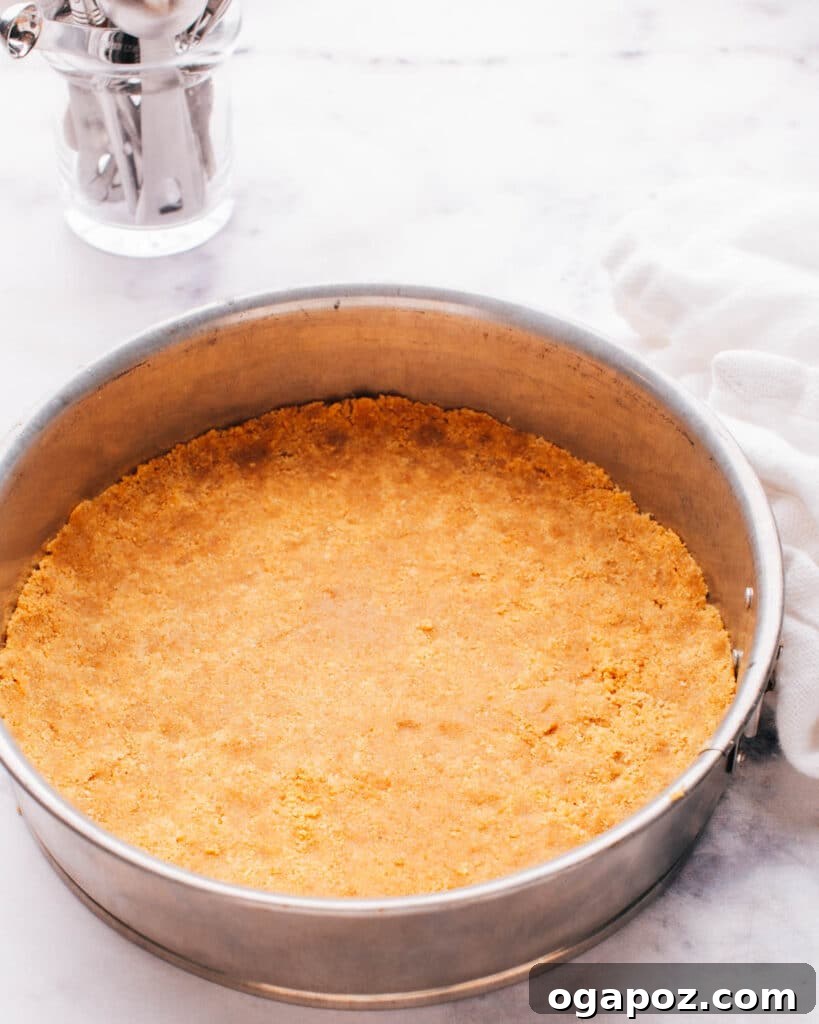
- Pour the crumb mixture into the bottom of a 9-inch springform pan. Using the bottom of a flat glass or your fingers, press the mixture firmly and evenly across the bottom of the pan. A well-compacted crust is essential to prevent crumbling when sliced. You can bake the crust for 8-10 minutes if you prefer a slightly crispier base, or simply chill it for 15-20 minutes while you prepare the filling.
Step 2: Crafting the Velvety Filling
This is where the magic happens – creating the creamy, luscious heart of your cheesecake. Attention to detail here will result in a perfectly smooth texture:
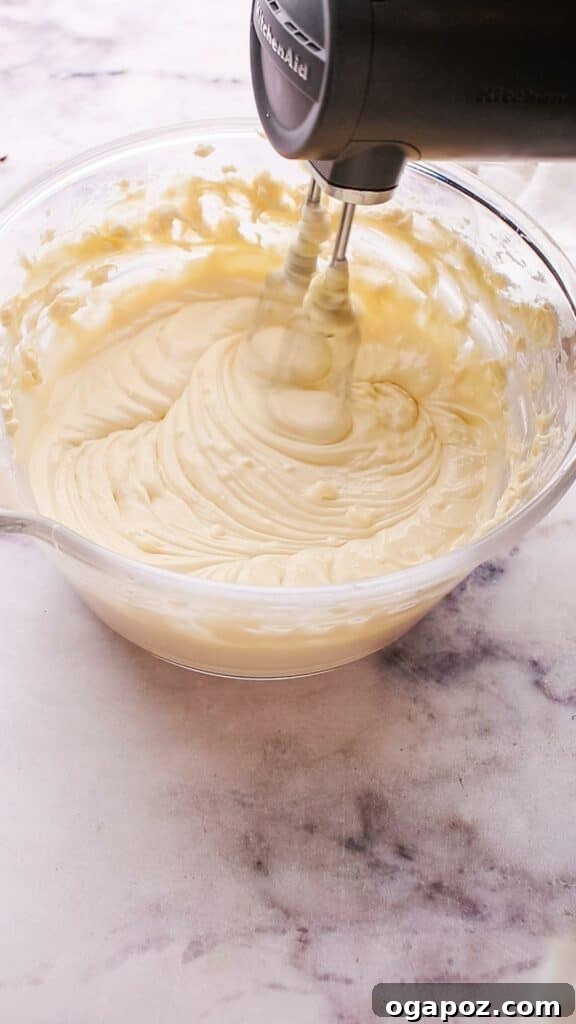
- In a large mixing bowl, using an electric mixer, beat three 8-ounce packages of softened Philadelphia cream cheese with ¾ cup of granulated sugar. Begin on low speed, gradually increasing to medium, and beat until the mixture is completely smooth and creamy. Ensure there are no lumps of cream cheese remaining.
- Important Tip for Smoothness and Crack Prevention: Do not beat the cream cheese mixture at high speed or for an excessive amount of time. Over-mixing incorporates too much air into the batter, which can cause the cheesecake to puff up significantly during baking and then collapse and crack as it cools.
- Add any optional flavorings at this stage, such as 1 teaspoon of vanilla extract, ¼ teaspoon of almond extract, or the finely grated zest of a lemon. Mix until just combined.
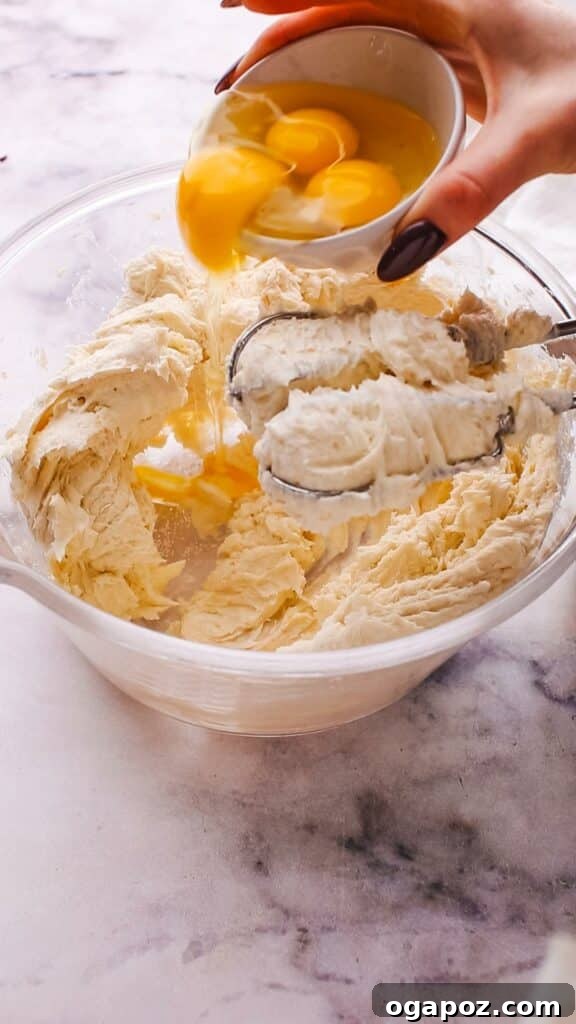
- Next, add the three eggs, one at a time. After each egg, mix on the lowest speed possible, just until the egg yolk disappears into the batter. Again, avoid over-mixing. Excessive beating after adding the eggs is the most common culprit for cracks. You’re aiming to combine, not to aerate.
Step 3: Baking Your Cheesecake to Perfection
Baking is a delicate balance of heat and time to achieve that desirable “almost set” center:
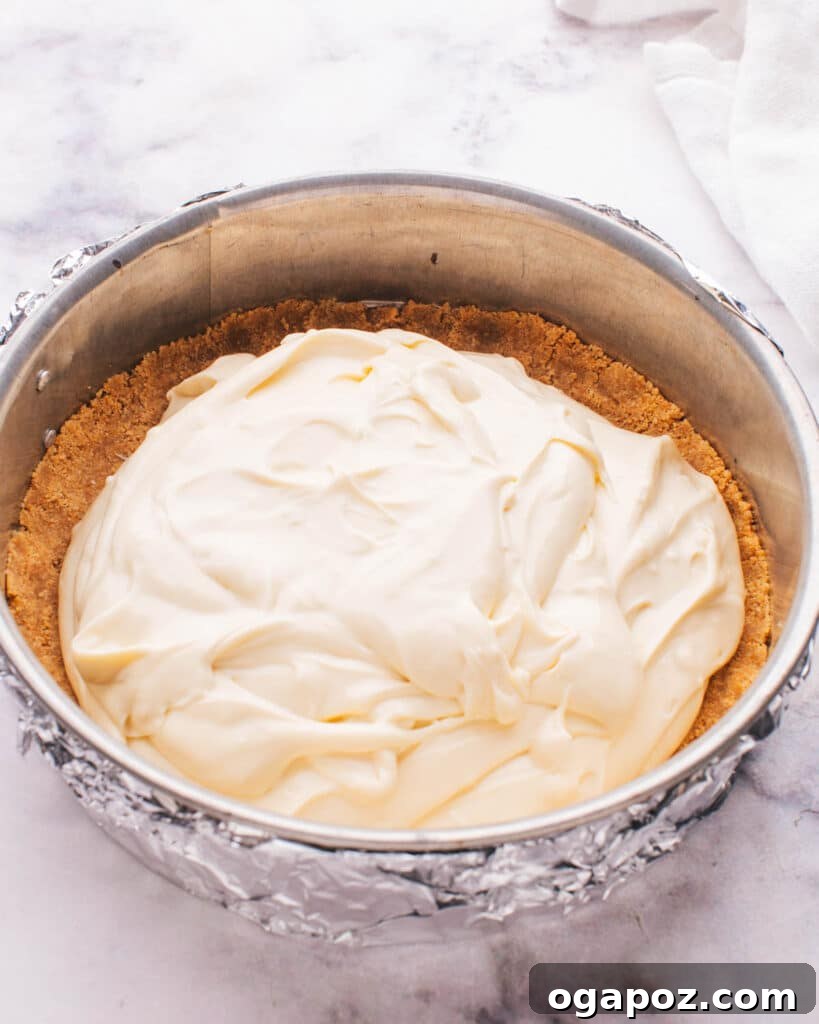
- Carefully pour the creamy filling over the prepared graham cracker crust in the springform pan. Gently tap the pan on the counter a few times to release any large air bubbles that might be trapped, which can also contribute to cracking.
- Bake the cheesecake in your preheated 350ºF (175ºC) oven for 35-45 minutes. The exact time may vary slightly depending on your oven. You are looking for a center that is almost set but still has a slight jiggle when you gently nudge the pan. The edges should appear set and slightly golden.
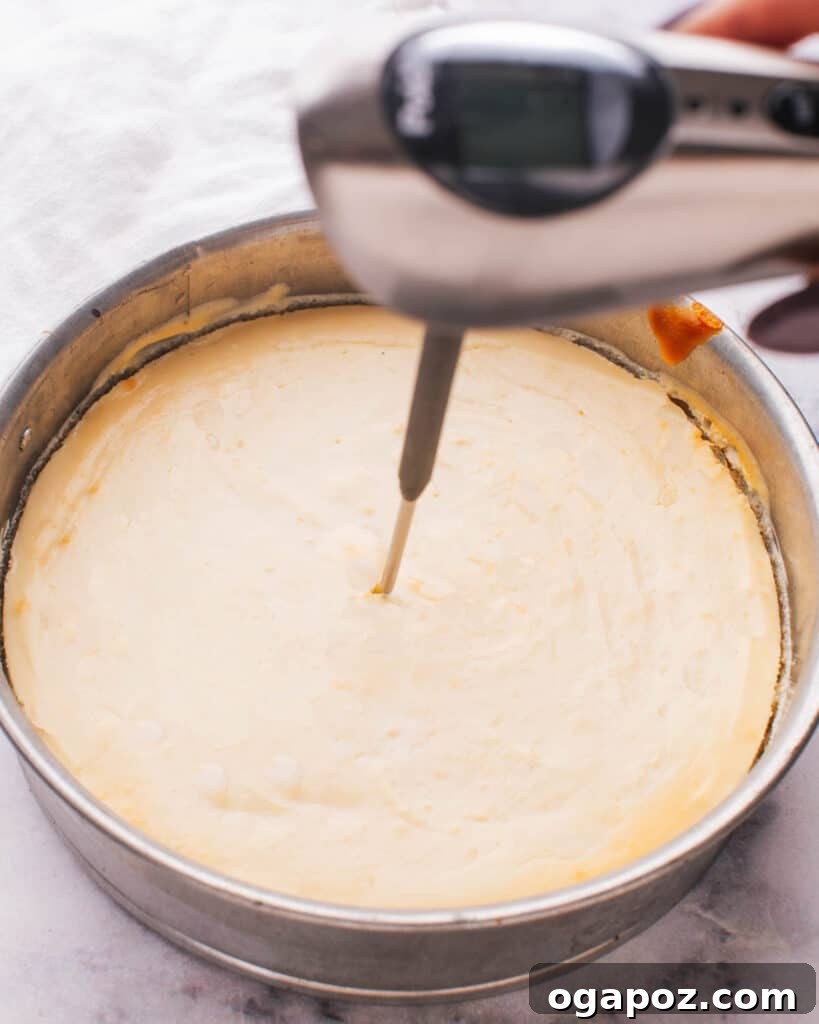
- The Thermometer Trick: For ultimate precision, insert an instant-read thermometer into the center of the cheesecake (it will make a small, nearly invisible hole). The ideal internal temperature for doneness is 145ºF (63ºC). While the USDA recommends an internal temperature of 160ºF (71ºC) for dishes containing eggs, this will be achieved through carry-over cooking. The cheesecake will continue to cook and rise in temperature as it cools. Removing it at 145ºF ensures a wonderfully creamy texture, preventing it from drying out or becoming rubbery.
- Once baked, turn off the oven and prop the oven door slightly ajar (you can use a wooden spoon). Let the cheesecake cool gradually in the turned-off oven for about 1 hour. This gentle cooling process is critical for preventing sudden temperature changes that cause cracking.
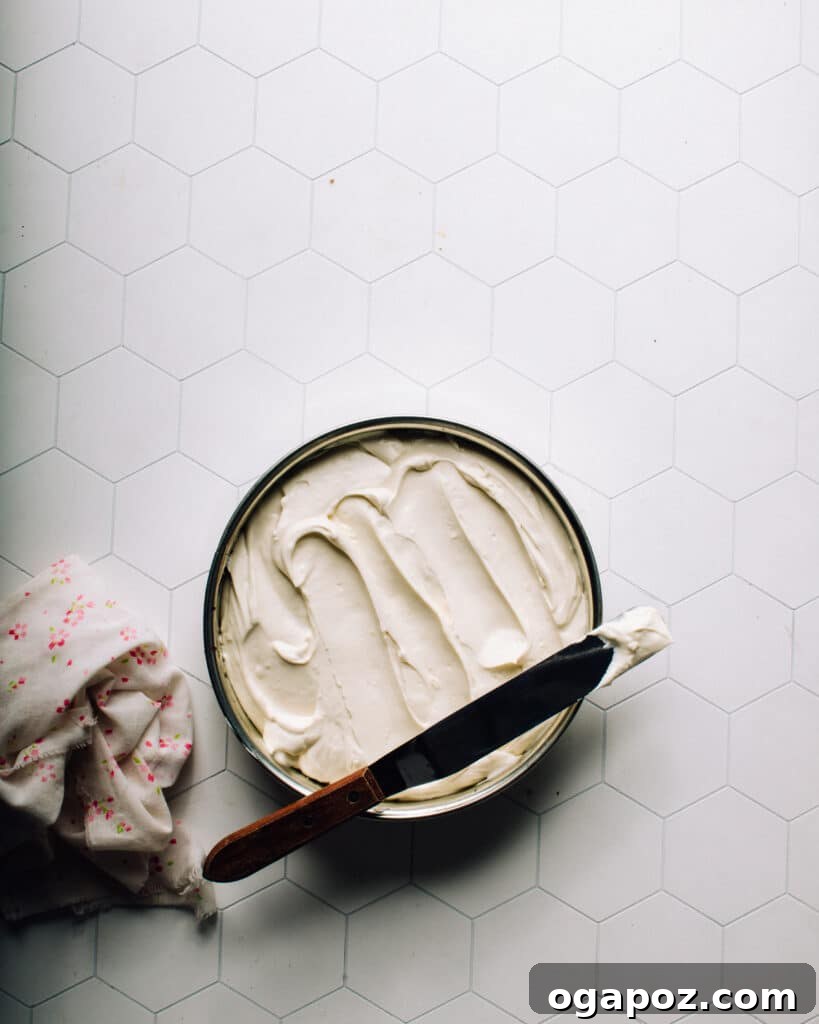
After cooling in the oven, transfer the cheesecake to a wire rack to cool completely to room temperature. Once at room temperature, cover the cheesecake loosely with plastic wrap and refrigerate for at least 4 hours, or ideally overnight. This extended chilling period is crucial for the cheesecake to fully set, firm up, and develop its optimal creamy texture and flavor. Running a thin knife around the inside edge of the pan before refrigeration can help prevent the cheesecake from sticking as it cools and contracts, making removal much easier.
Serving Your Perfect Philadelphia Cheesecake
The moment of truth! Presenting your homemade Philadelphia Cheesecake is the delightful culmination of your baking efforts. Here’s how to ensure every slice is as perfect as the first.
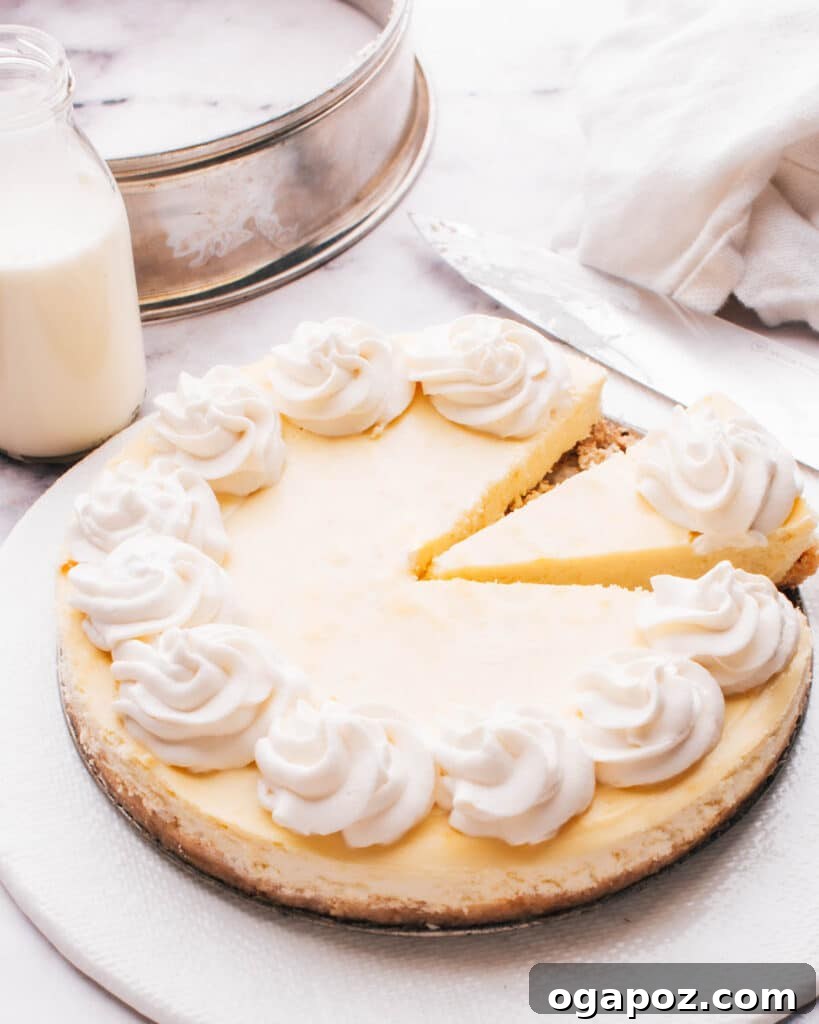
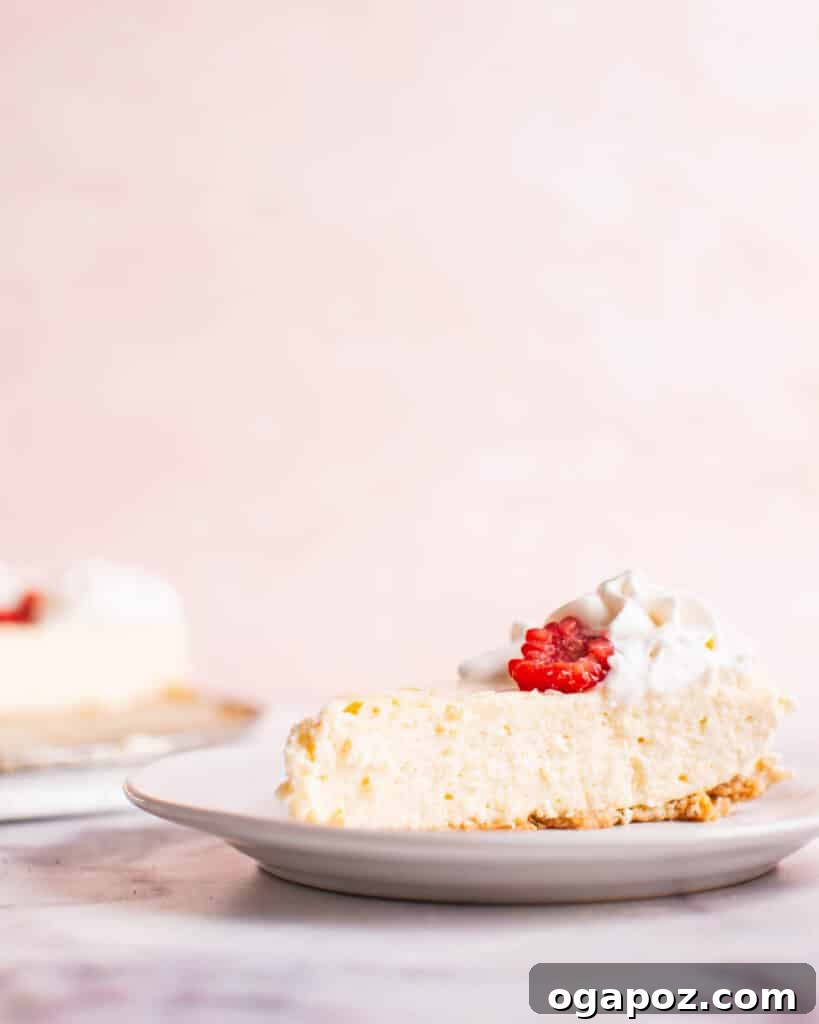
After your cheesecake has enjoyed its essential 4+ hours of chilling in the refrigerator, it’s truly ready for its grand debut. You have the option to serve it chilled, which offers a firmer texture and refreshing coolness, or allow it to sit at room temperature for about 20-30 minutes before serving. This slight warming can enhance the nuanced flavors and create an even creamier, more luxurious mouthfeel.
To achieve those coveted, clean, and beautiful slices that truly showcase your baking prowess, a sharp knife is your best friend. For restaurant-quality cuts, dip your sharp knife into hot water, wipe it completely dry, and then make your cut. Repeat this process for each slice – dip, wipe, slice – to prevent sticking and ensure every piece looks as good as it tastes. This simple technique makes a significant difference in presentation.
Elevate with Tasty Toppings for Your Cheesecake
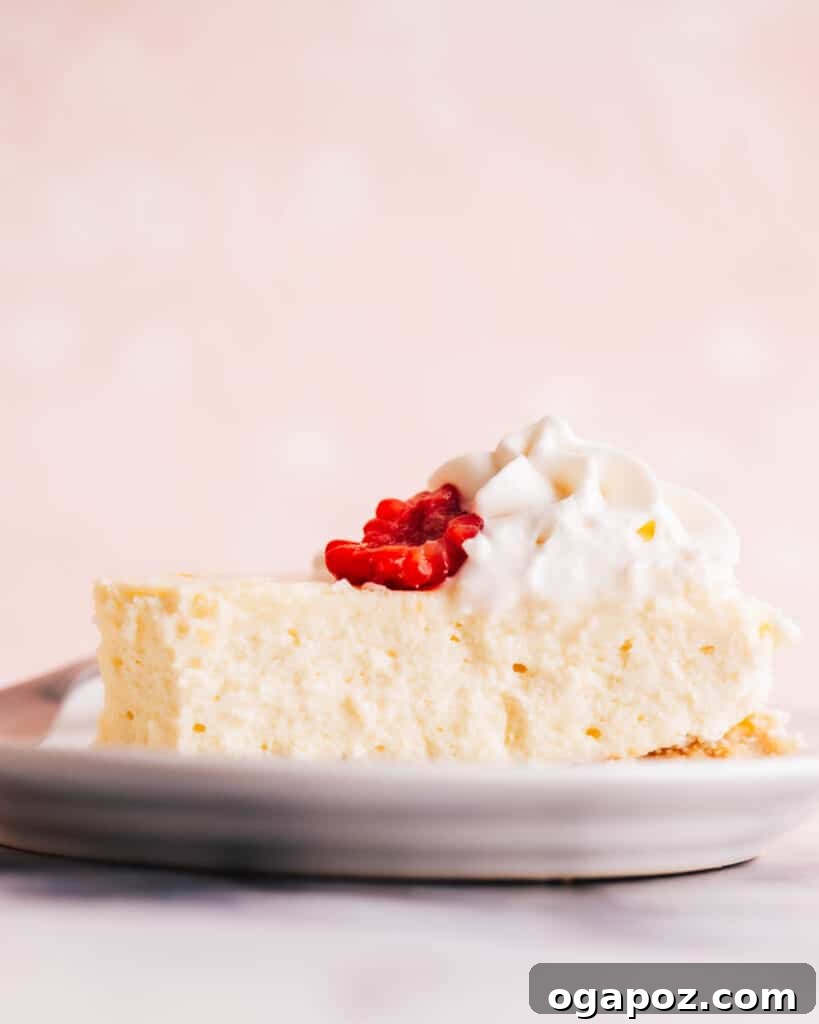
The inherent simplicity and balanced flavor of a classic cheesecake make it an ideal canvas for an array of complementary toppings. Here are some of our favorite ways to customize and enhance your Philadelphia Cheesecake:
- Fresh Fruit Medley: Nothing brightens a cheesecake like fresh berries. Top individual slices or the entire cake with vibrant fresh strawberries, blueberries, raspberries, or sliced kiwi for a burst of color and refreshing tartness. For a classic strawberry cheesecake, lightly macerate fresh strawberries in a little sugar for 15 minutes before spooning over slices.
- Decadent Sauces and Syrups: Add an extra layer of indulgence with a generous drizzle.
- Caramel Sauce: A warm, gooey caramel sauce adds a rich, buttery sweetness.
- Chocolate Syrup: For the chocolate lovers, a classic chocolate syrup or homemade chocolate ganache is irresistible.
- Fruit Compotes: A homemade or store-bought fruit compote (like cherry, blueberry, or mixed berry) adds a cooked fruit sweetness and delightful texture. Store-bought cherry pie filling is a popular, convenient choice!
- Light & Airy Whipped Cream: A cloud-like dollop of freshly whipped cream provides a light, airy contrast to the dense creaminess of the cheesecake. A sprinkle of powdered sugar and a touch of vanilla extract in your homemade whipped cream will make it extra special.
- Crunchy Crumbles or Nuts: For an added textural dimension, consider sprinkling crushed cookies (like Oreos or shortbread), toasted chopped nuts (pecans, walnuts, or almonds), or even a delicate streusel topping just before serving. This provides a satisfying crunch with every bite.
- Lemon Curd or Raspberry Coulis: For a gourmet touch, a tangy lemon curd or a vibrant raspberry coulis can cut through the richness beautifully, offering a sophisticated flavor pairing.
Mastering the Art of No-Crack Cheesecakes: Pro Tips
The dreaded cheesecake crack can be frustrating for any baker. As a food scientist, I understand the science behind perfect baking, and I’m thrilled to share my tried-and-true, science-backed tips for achieving a flawless, crack-free Philadelphia Cheesecake every single time. These techniques focus on managing air incorporation and temperature fluctuations, which are the primary culprits behind cracks.
- Strictly Avoid Overmixing: This is arguably the most critical rule. When you overbeat the cream cheese and especially the eggs, you incorporate excessive amounts of air into the batter. During baking, these air bubbles expand, creating pressure that can lead to ruptures on the surface as the cheesecake cools and contracts. Beat ingredients just until combined and smooth, using low to medium speed.
- Embrace Gentle, Gradual Cooling: Sudden temperature changes are a major enemy of a smooth cheesecake top. After baking, don’t immediately pull your cheesecake out of the hot oven into a cool kitchen. Instead, turn off the oven and prop the door slightly ajar (a wooden spoon works perfectly). Allow the cheesecake to cool gradually inside the cooling oven for at least an hour, or even longer, until it reaches room temperature. This slow transition prevents the surface from shrinking too rapidly, which causes cracks.
- Ensure Room Temperature Ingredients: Always start with cream cheese and eggs that are at room temperature. This isn’t just a suggestion; it’s vital. Room temperature ingredients emulsify much better, meaning they blend together more smoothly and uniformly. This creates a cohesive batter without lumps, which translates to a smoother, more stable cheesecake filling less prone to cracking. Cold ingredients can lead to overmixing as you try to get them smooth, or result in a lumpy batter. Here’s my guide to quickly bringing ingredients like eggs and cream cheese to room temperature.
- Consider a Water Bath (Bain-Marie) for Extra Assurance: While not strictly necessary for this recipe if other tips are followed, a water bath provides an incredibly gentle, moist heat environment for baking. By surrounding the cheesecake pan with hot water, it helps to:
- Maintain a consistent, lower temperature around the cheesecake, preventing the edges from baking faster than the center.
- Add moisture to the oven, preventing the cheesecake’s surface from drying out and cracking.
It’s an extra step that offers significant insurance against cracks and results in an even silkier texture.
- Bake to the Perfect Internal Temperature: Overbaking is a common cause of dry, cracked cheesecakes. Stop the baking process when your cheesecake reaches an internal temperature of 145ºF (63ºC) using an instant-read thermometer. As the cheesecake stands and cools, carry-over cooking will continue to raise its temperature to the safe zone of 160ºF (71ºC) recommended for eggs. Baking beyond this point increases the likelihood of a dry, cracked surface.
Note: Using a thermometer will make a small hole in the very center of the cheesecake, but it will be practically unnoticeable once you slice into it or add a topping.
How to Create a Water Bath for Your Cheesecake (Bain-Marie)
A water bath, or bain-marie, is an optional yet highly effective technique for baking cheesecakes. It provides gentle, even heat and a moist environment, dramatically reducing the risk of cracks and resulting in an exceptionally creamy, silky texture. If you’re aiming for absolute perfection, this is your secret weapon. Here’s a step-by-step guide:
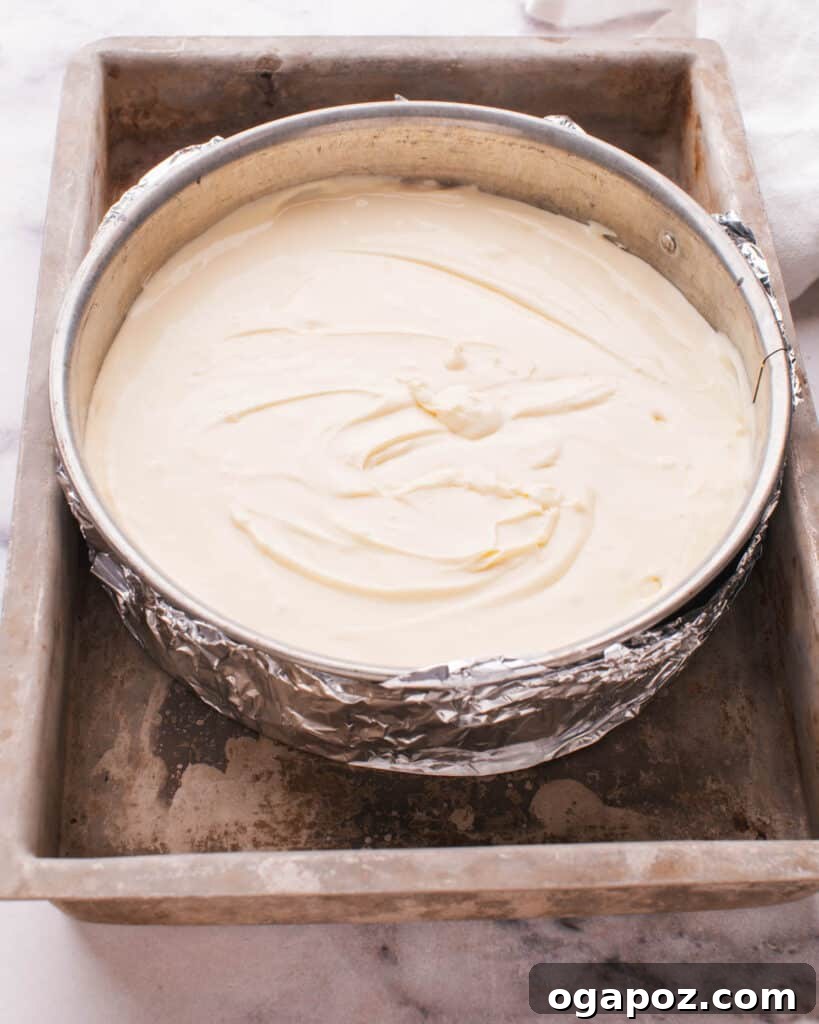
- Prepare Your Springform Pan: Before pouring in your cheesecake batter, wrap the outside of your springform pan with at least a double layer of heavy-duty aluminum foil. Ensure the foil extends all the way up the sides of the pan and creates a tight seal. This is crucial to prevent any water from seeping into the pan and ruining your crust.
- Position in a Larger Roasting Pan: Place your foil-wrapped springform pan, containing the cheesecake batter, into a larger roasting pan. Any oven-safe pan that is larger than your springform and has sides high enough to hold water (at least halfway up the springform) will work.
- Add Hot Water: Once the cheesecake batter is in the springform pan and smoothed on top, carefully pour very hot (preferably boiling) water into the larger roasting pan. The water level should reach approximately halfway up the sides of the springform pan. Exercise extreme caution to avoid splashing any water onto the cheesecake batter itself.
- Baking with the Water Bath: Gently transfer the entire roasting pan, with the cheesecake and water bath inside, into your preheated oven. Bake according to your cheesecake recipe’s instructions, adjusting for the slightly longer baking time a water bath might require (as the heat is gentler). The water bath typically helps achieve that perfect, uniform set.
IMPORTANT SAFETY CONSIDERATIONS:
- Always use a heat-safe baking pan for the outer bath. Metal baking dishes, particularly aluminum, are highly recommended. Glass dishes can be prone to thermal shock and may crack or shatter with rapid temperature changes, making them less ideal for a water bath.
- Be aware that the entire roasting dish, including its rim (even where water doesn’t touch), will become extremely hot as soon as you pour in the hot water. Always use sturdy oven mitts when handling the roasting pan to transfer it to and from the oven.
- Move slowly and deliberately during the transfer process. A sudden jolt or tilt could cause hot water to splash out, potentially scalding you or spilling into your cheesecake, which would compromise its texture and taste.
Quick Tip: How to Soften Cream Cheese in the Microwave
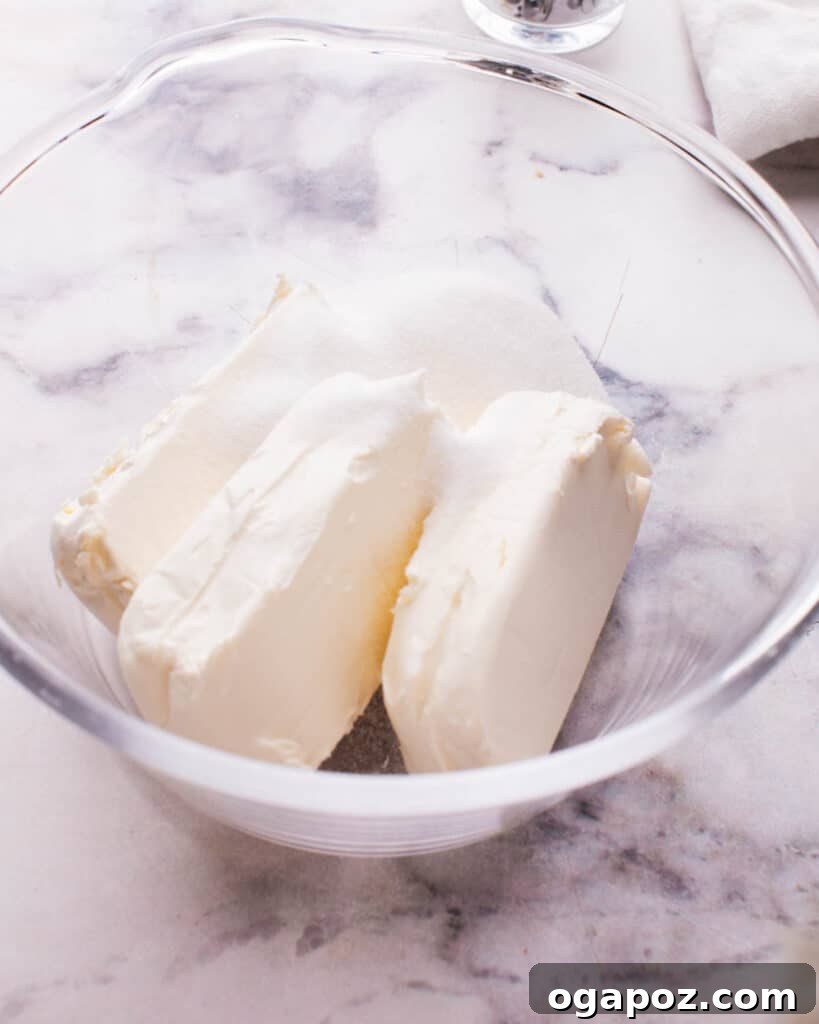
Starting with room temperature cream cheese is fundamental for a smooth, lump-free cheesecake batter. If you forgot to take your cream cheese out in advance, the microwave can be a quick and effective solution. Follow these steps carefully to soften it without melting or cooking it:
- Unwrap and Cut: Remove the cream cheese from its foil or plastic packaging. For faster and more even softening, cut the block of cream cheese into smaller, evenly sized pieces or cubes. This exposes more surface area to the microwave energy.
- Microwave-Safe Dish: Place the cut cream cheese pieces onto a microwave-safe plate or shallow dish. Ensure they are somewhat spread out.
- Low Power Setting: This is key! Set your microwave to a low power setting, typically 30-50% power. High power settings can cause the cream cheese to heat unevenly, cook the edges, or turn it into a runny mess.
- Short Bursts, Frequent Checks: Heat the cream cheese in very short intervals, usually 15-second bursts. After each burst, immediately remove the plate and check the consistency of the cream cheese. Gently press a piece with your finger; it should yield softly.
- Flip and Rotate: Between bursts, use a spoon or spatula to flip and gently redistribute the cream cheese pieces. This helps to ensure even softening and prevents any single part from overheating.
- Repeat as Needed: Continue with these short bursts, flipping, and checking until the cream cheese reaches your desired softness – it should be pliable and easily mashable, but not melted or warm to the touch.
Remember that microwave ovens vary significantly in power. The first time you try this, pay extra close attention to avoid overheating the cream cheese. A few extra seconds can turn perfectly soft cream cheese into a liquid puddle, which won’t yield a desirable cheesecake texture.
Make Ahead and Storage Guide for Your Philadelphia Cheesecake
One of the many joys of baking a Philadelphia Cheesecake is its excellent make-ahead potential and superb storage qualities. Proper planning and storage ensure you can enjoy this delectable dessert at its peak flavor and texture, whether you’re serving it immediately or saving it for later. Here’s everything you need to know:
- Making Ahead: This cheesecake is an ideal candidate for preparing in advance. You can bake and fully chill the cheesecake 1-2 days before you plan to serve it. This allows ample time for the filling to firm up completely and for the flavors to meld and deepen, often resulting in an even more delicious and stable dessert.
- Refrigerating for Short-Term Storage: Once baked and completely cooled, your Philadelphia Cheesecake should be stored in the refrigerator. Cover it tightly with plastic wrap or transfer it to an airtight container to prevent it from absorbing refrigerator odors and to maintain its freshness. It will remain wonderfully fresh and delicious for up to 4 days.
- Freezing for Long-Term Storage: For extended enjoyment, Philadelphia Cheesecake freezes exceptionally well. To freeze an entire cheesecake, ensure it’s completely chilled. First, wrap it tightly in several layers of plastic wrap, then an additional layer of heavy-duty aluminum foil. This double wrapping helps prevent freezer burn. It can be stored in the freezer for up to 2 months. For individual slices, freeze them unwrapped on a baking sheet until firm, then wrap each slice individually in plastic wrap and foil before returning to the freezer.
- Thawing Frozen Cheesecake: To thaw a frozen cheesecake (whole or slices), transfer it to the refrigerator and allow it to thaw slowly overnight. This gradual thawing process is crucial for maintaining the cheesecake’s delicate texture and preventing condensation. Avoid thawing at room temperature, as this can lead to a watery texture.
- Room Temperature Serving Recommendation: While delicious chilled, many connoisseurs find that cheesecake offers its best flavor and creamiest texture when allowed to sit at room temperature for approximately 20-30 minutes before serving. This slight warming brings out the subtle notes of the cream cheese and any added flavorings.
- Storing Toppings Separately: If you plan to use fresh fruit, whipped cream, or sauces as toppings, it’s always best to store them separately from the cheesecake. Add your desired toppings just before serving to maintain their freshness, texture, and visual appeal. This prevents the cheesecake from becoming soggy and ensures the toppings are at their freshest.
Frequently Asked Questions About Philadelphia Cheesecake
Got more questions about perfecting your Philadelphia Cheesecake? Here are quick, concise answers to some of the most commonly asked queries, addressing everything from ingredients to troubleshooting.
What is the primary difference between Philadelphia and New York Cheesecake?
Philadelphia cheesecake is celebrated for its distinctly lighter, creamier, and smoother texture, primarily achieved by using only cream cheese as its main dairy component. In contrast, New York cheesecake is typically denser, richer, and often incorporates sour cream or heavy cream alongside cream cheese, contributing to a more robust and sometimes tangy flavor profile.
How long can Philadelphia cheesecake filling be stored before baking?
Once prepared, the cheesecake filling should be baked relatively soon. For optimal freshness and safety, it’s best to bake the filling within 24 hours if stored properly covered in the refrigerator.
Is mascarpone a better choice than Philadelphia cream cheese for cheesecake?
The preference between mascarpone and Philadelphia cream cheese for cheesecake is entirely personal. Mascarpone delivers an incredibly rich, even creamier texture with a milder, less tangy flavor. Philadelphia cream cheese provides the classic, slightly tart, and lighter creamy taste that defines a traditional Philadelphia cheesecake.
How long does leftover cheesecake filling last in the fridge?
If you have leftover cheesecake filling that hasn’t been baked, it can typically last for about 2-3 days in an airtight container in the refrigerator. However, it’s always best to bake it promptly.
What’s the best way to store extra cheesecake filling?
Store any unbaked extra cheesecake filling in an airtight container in the refrigerator. You can use it within a few days to make mini cheesecakes or cheesecake bars. It can also be frozen for longer storage, though its texture might slightly change upon thawing.
How can I thicken my Philadelphia cheesecake filling if it seems too thin?
If your filling appears too thin, first ensure that your cream cheese was properly softened and all ingredients were at room temperature, and that you’ve mixed it adequately to combine but not over-aerated. If it’s still too thin before baking, adding a tablespoon or two of all-purpose flour or cornstarch (mixed thoroughly) can help. Cooking the mixture briefly on very low heat while stirring constantly can also thicken it, but be careful not to scramble the eggs.
What are some creative uses for extra cheesecake filling?
Don’t let extra filling go to waste! Use it to make delightful cheesecake bites, serve it as a creamy dip with fresh fruit and graham crackers, or spread it on pancakes, waffles, or toast for a decadent breakfast or brunch treat.
Can you freeze a finished Philadelphia cheesecake?
Yes, absolutely! Philadelphia cheesecake freezes very well. For best results, wrap the completely chilled cheesecake tightly in plastic wrap, then in aluminum foil. It can be frozen for up to 2 months. Thaw it overnight in the refrigerator before serving.
How do I ensure a smooth filling without any lumps?
The secret to a lump-free filling is ensuring your Philadelphia cream cheese is fully softened to room temperature before you begin mixing. Beat the cream cheese alone first until it’s perfectly smooth before adding sugar and other ingredients. If lumps persist, you can briefly pass the mixture through a fine-mesh sieve or give it a very quick pulse in a food processor (again, avoid over-mixing and incorporating air).
What are the fundamental ingredients in Philadelphia cheesecake filling?
The classic Philadelphia cheesecake filling typically comprises three core ingredients: softened full-fat Philadelphia cream cheese, granulated sugar, and eggs. Optional additions like vanilla extract or lemon zest enhance the flavor profile.
Why do cheesecakes sometimes crack on top?
Cheesecake cracks are often caused by overmixing the batter (incorporating too much air), baking at too high a temperature, or cooling the cheesecake too quickly (sudden temperature changes). Following the tips in our “How to Prevent Cheesecake Cracking” section will help you avoid this common issue.
Is a springform pan truly essential for making Philadelphia cheesecake?
While a springform pan is highly recommended for its ease of release and ability to create a perfectly round cheesecake, it’s not strictly mandatory. You can use a regular round cake pan lined with parchment paper, allowing the paper to overhang the sides to create “handles” for easy lifting. Just be sure to create a very sturdy crust.
What are the best toppings to pair with a classic Philadelphia cheesecake?
The versatility of Philadelphia cheesecake allows for numerous delicious toppings. Popular choices include fresh berries, homemade or store-bought fruit compotes (cherry, blueberry), caramel sauce, chocolate syrup, and a dollop of freshly whipped cream. Citrus zest or crushed nuts also add a delightful touch.
Is a water bath a requirement for baking Philadelphia cheesecake?
No, a water bath is not strictly necessary for a Philadelphia cheesecake, especially if you follow the gentle cooling and proper mixing techniques. However, using a water bath (bain-marie) is an excellent “extra insurance” method that helps bake the cheesecake more gently and evenly, significantly reducing the chances of cracks and promoting an incredibly smooth, custardy texture.
Explore More Fan-Favorite Cheesecake Recipes
If you’ve loved mastering the Philadelphia Cheesecake, we invite you to dive into more of our cherished cheesecake creations. From no-bake wonders to rich chocolate indulgences, there’s a cheesecake for every craving and occasion:
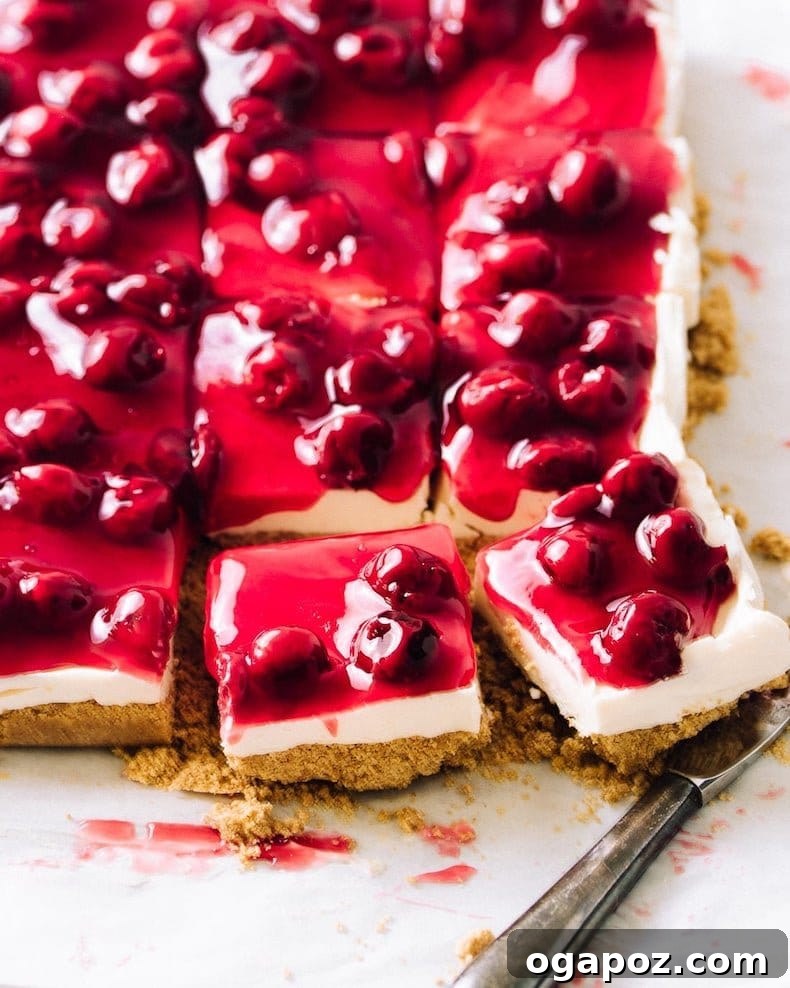
- No-Bake Cherry Cheesecake Bars: A refreshing and easy dessert, perfect for warm weather.
- Cheesecake Popsicles: A fun, unique, and chilled treat that kids and adults adore.
- Decadent Chocolate Cheesecake: Rich, intense, and utterly satisfying for chocolate lovers.
- Spiced Pumpkin Cheesecake Bars: A delightful autumn favorite with a comforting blend of spices.
- Easy Caramel Apple Cheesecake Recipe: A harmonious blend of sweet apples, gooey caramel, and creamy cheesecake.
- Sweet Potato Cheesecake with Oat Pecan Crust: A unique and flavorful twist, perfect for holiday tables.
Classic Philadelphia Cheesecake Recipe
Recipe Video
Watch our step-by-step video guide for visual instructions on creating this perfect Philadelphia Cheesecake:
Ingredients
For the Crust:
- 1 ¼ cups graham cracker crumbs
- ¼ cup melted butter
For the Filling:
- 3 8-ounce packages Philadelphia cream cheese softened to room temperature
- ¾ cup granulated sugar
- 3 large eggs at room temperature
- Optional: 1 tsp Vanilla Extract or ¼ tsp Almond Extract
Instructions
-
1. Prepare Oven & Crust: Preheat your oven to 350ºF (175ºC). In a bowl, mix graham cracker crumbs and melted butter until well combined. Press this mixture firmly onto the bottom of a 9-inch springform pan to form an even crust. (You can bake the crust for 8-10 minutes if desired, or chill it while making the filling.)
-
2. Mix the Filling: In a large bowl, using an electric mixer, beat the softened cream cheese with sugar on medium speed until the mixture is smooth and blended, with no lumps. Stir in any optional vanilla or almond extract.
-
3. Add Eggs Carefully: Add eggs one at a time, mixing on very low speed after each addition only until just combined. Do not overmix after adding the eggs, as this can introduce too much air and cause cracking.
-
4. Pour & Bake: Pour the smooth cheesecake mixture over the prepared crust in the springform pan. Gently tap the pan on the counter a few times to release any large air bubbles. Bake for 35-45 minutes, or until the edges are set and the center still has a slight wobble. For precision, the internal temperature should read 145ºF (63ºC) on an instant-read thermometer.
-
5. Cool Gradually: Once baked, turn off the oven and open the door halfway. Allow the cheesecake to cool gradually inside the oven to room temperature (about 1 hour). This slow cooling process helps prevent cracks.
-
6. Chill & Serve: Once cooled to room temperature, refrigerate the cheesecake for at least 4 hours (ideally overnight) to allow it to fully set. Before serving, run a thin knife around the inside edge of the pan to loosen the cake, then remove the springform rim. Slice with a hot, clean knife (wiped dry between cuts) and serve.
Notes
- Avoid over-mixing the batter, particularly after adding eggs, to prevent excess air incorporation which leads to cracks.
- Ensure all ingredients, especially cream cheese and eggs, are at room temperature for a smooth, homogenous batter.
- For added insurance against cracking and an extra creamy texture, consider using a water bath (bain-marie) during baking. Refer to the detailed guide in the article.
- Cool the cheesecake gradually in the turned-off oven with the door ajar after baking.
Room Temperature Ingredients:
- For the smoothest texture without lumps, always ensure your cream cheese is at room temperature before you begin mixing. Refer to the article section on how to quickly soften cream cheese in the microwave if needed.
- Eggs should also be at room temperature for better emulsification.
Serving Suggestions:
- For the best flavor and texture, pull the cheesecake out of the fridge and let it sit at room temperature for about 20 minutes before slicing and serving.
- Enhance your cheesecake with your favorite toppings such as fresh berries, fruit compote or pie filling, a drizzle of chocolate or caramel sauce, or a dollop of whipped cream.
Storage & Make Ahead:
- Leftover cheesecake should be covered tightly and refrigerated, where it will remain fresh for up to 4 days.
- Philadelphia Cheesecake freezes exceptionally well for longer storage (up to 2 months). Wrap tightly in plastic wrap and then foil. Thaw overnight in the refrigerator. Refer to the article for detailed make-ahead and freezing tips.
Nutrition
Nutrition information is automatically calculated and should only be used as an approximation. Actual values may vary based on specific ingredients and preparation methods.
Tried this recipe? Share your thoughts below!