
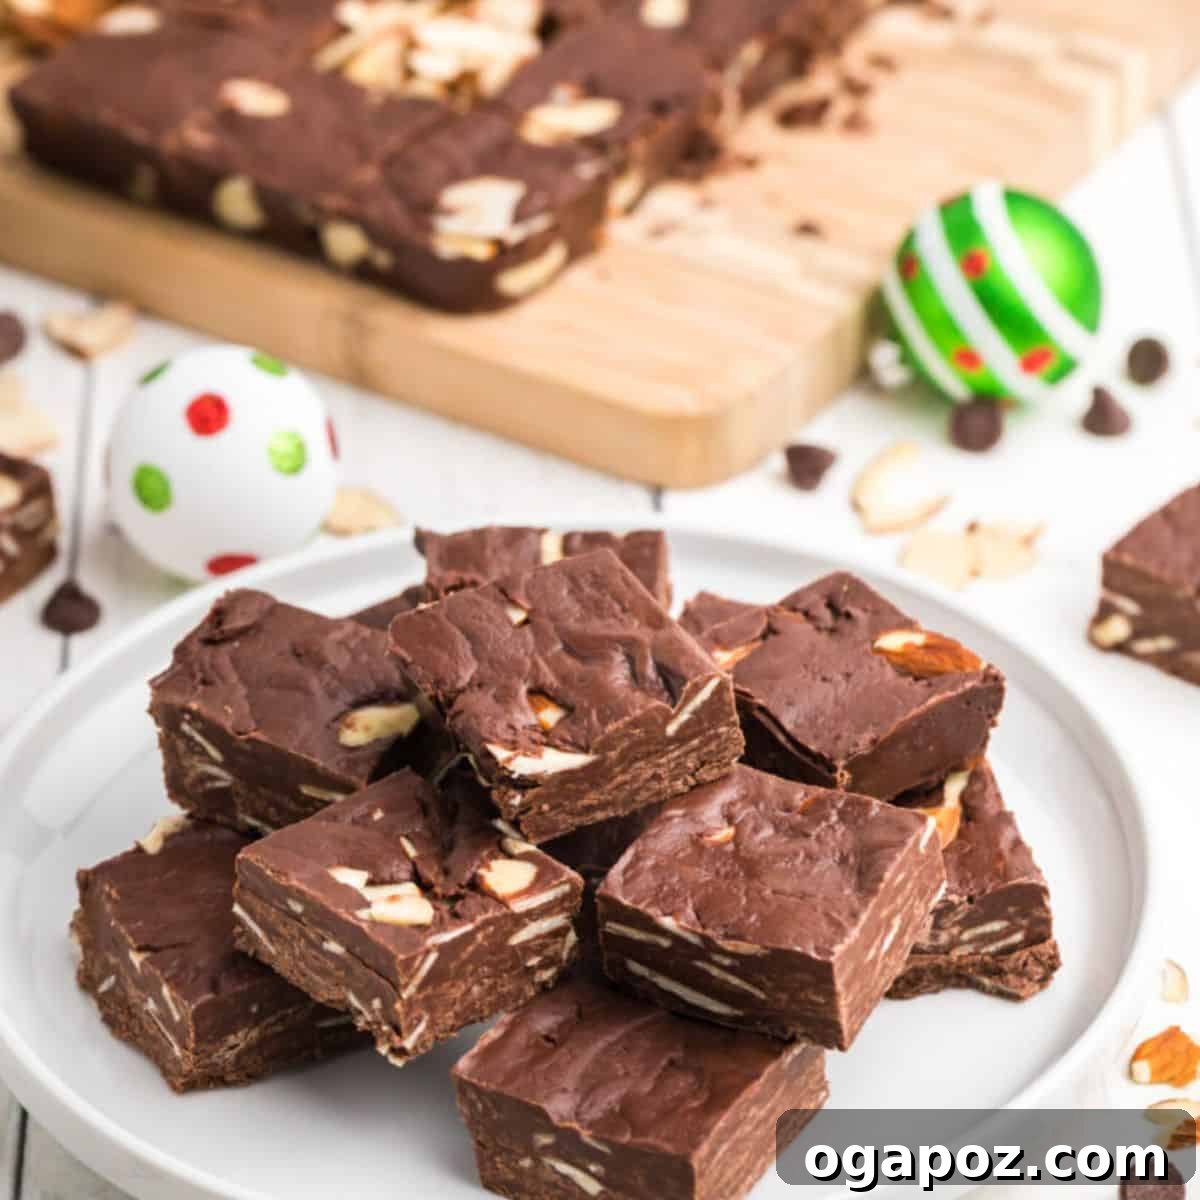
Effortless 4-Ingredient Chocolate Fudge: Your Ultimate Guide to Sweet Perfection
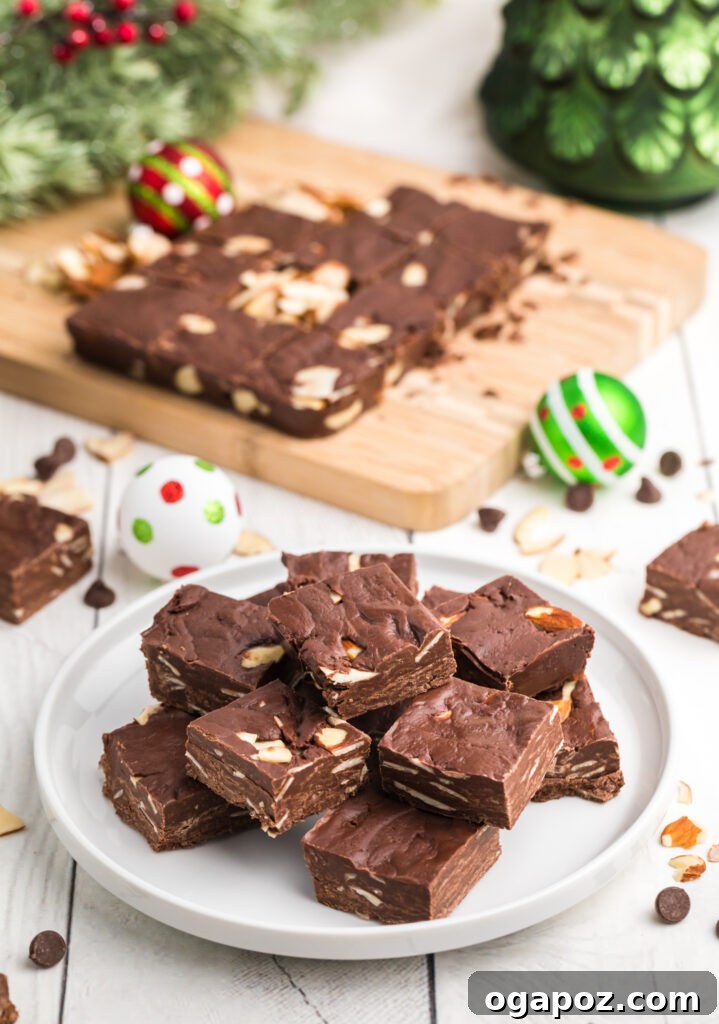
Welcome to the delightful world of homemade treats! Is there anything quite as satisfying as a rich, creamy piece of fudge melting in your mouth? For many, the holidays wouldn’t be complete without its decadent presence. But what if we told you that creating this beloved confection could be incredibly simple, requiring just four staple ingredients and minimal effort? This Easy Chocolate Fudge recipe is precisely that – a foolproof pathway to a luscious dessert, perfect for gracing your holiday dessert table or presenting as a thoughtful, handcrafted gift.
What truly elevates this recipe is its remarkable simplicity and unparalleled versatility. Unlike traditional fudge, which often demands meticulous attention to a candy thermometer and precise temperature control, our method ingeniously employs sweetened condensed milk to guarantee a perfect consistency every single time. This ingenious approach means that even the most novice bakers can confidently whip up a batch of glorious fudge, yielding consistently delicious results. While today’s recipe spotlights the classic and beloved pairing of slivered almonds and almond extract, envision the vast possibilities for customization. You can effortlessly switch up the flavors and add-ins to craft a truly unique treat tailored for any season or celebration.
Imagine the sheer joy of creating a batch of festive peppermint chocolate fudge, speckled with vibrant crushed candy canes, offering a refreshing burst of mint with every bite. Or perhaps a rich, velvety vanilla fudge, generously studded with crunchy walnuts or pecans. The inherent beauty of this recipe lies in its incredible adaptability, allowing your culinary creativity to flourish. For those who adore a refreshing minty twist, incorporating peppermint extract and a generous sprinkle of crushed candy cane pieces can transform this dessert into a winter wonderland delight, echoing the delightful crunch found in our Oatmeal White Chocolate Peppermint Cookies or the quintessential holiday classic, Peppermint Bark. Prepare to effortlessly impress your friends and family with this fuss-free, utterly delicious, and surprisingly simple chocolate fudge!
Essential Ingredients for Your Perfect Homemade Chocolate Fudge
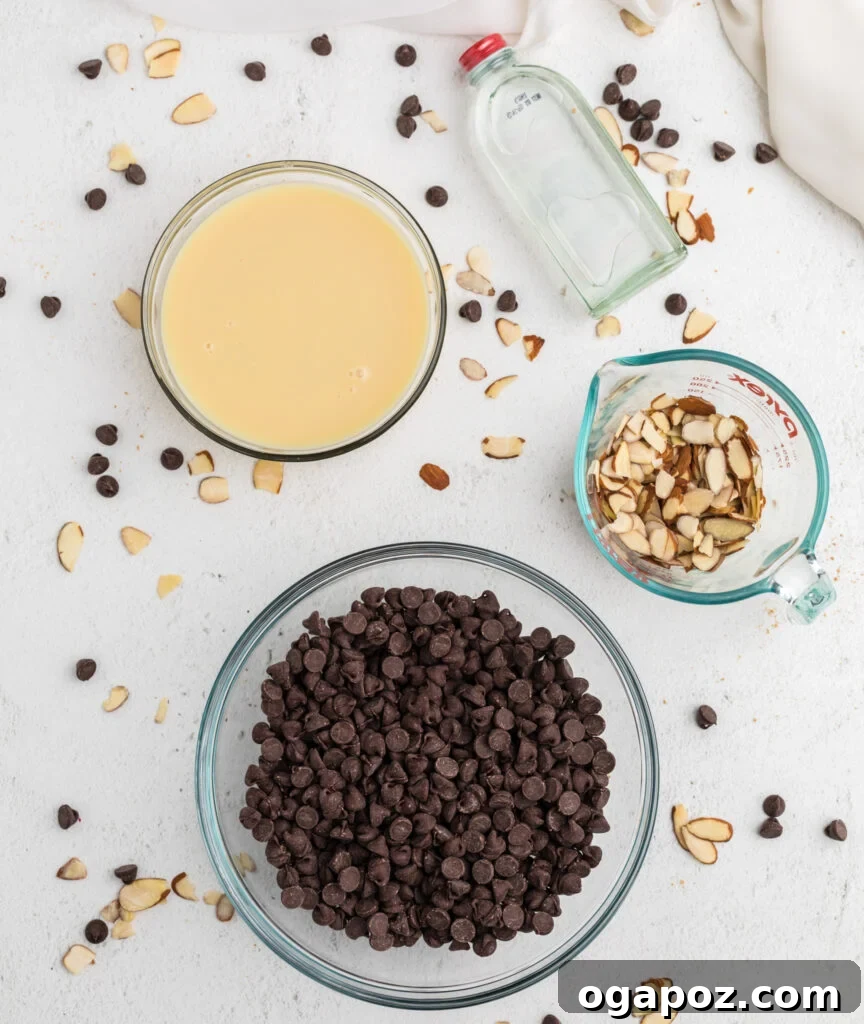
The secret to this easy chocolate fudge truly lies in its select few ingredients, each playing an indispensable role in cultivating its irresistible texture and profound flavor. While the complete list with precise measurements is conveniently located in the detailed recipe card below, let’s delve deeper into what makes these components so exceptionally special and effective.
- Chocolate Chips: These form the very heart and soul of our decadent fudge! This recipe particularly shines with the use of semi-sweet chocolate chips, which possess the ideal melting properties to create a rich, exceptionally smooth, and glossy base. However, your chocolate choices are not limited. Feel empowered to use high-quality chocolate chunks or even a finely chopped chocolate bar for an even more profound depth of flavor and a gourmet touch. For an exciting variation, consider opting for white chocolate chips to craft a creamy, distinct white chocolate fudge, or combine milk and dark chocolate chips for a custom, nuanced blend that caters to your palate. Remember, the quality of your chocolate directly impacts the final taste, so always choose your favorite brand for the best results.
- Sweetened Condensed Milk: This is unequivocally our culinary secret weapon and the cornerstone of this simplified fudge-making process! Sweetened condensed milk serves a dual purpose, acting as both an intense sweetener and the critical binding agent that delivers the necessary thick, irresistibly creamy consistency. Crucially, it eliminates the need for a candy thermometer or any advanced candy-making expertise, making this recipe incredibly foolproof. Its inherent syrupy texture ensures that the fudge sets perfectly, achieving that desirable firm-yet-creamy texture. It is vital to use *sweetened* condensed milk, and not evaporated milk, as they are entirely different products with distinct characteristics.
- Almond Extract: Chosen to harmoniously complement the slivered almonds, almond extract infuses the fudge with its distinct, warm, and subtly sweet aroma, adding a layer of sophisticated flavor. This extract naturally pairs beautifully with chocolate, enhancing its complexity. Nevertheless, this is precisely where your creative spirit can truly flourish! Classic vanilla extract is a timeless and universally loved alternative, offering a comforting and familiar flavor profile. For a jubilant, festive touch during the colder months, peppermint extract yields a refreshing and invigorating winter treat. More adventurous options might include fragrant orange zest, a subtle dash of coffee extract to intensify the chocolate, or even a hint of rum extract for a sophisticated, adult-friendly twist.
- Almonds: Slivered almonds contribute a delightful crunch and a distinctly nutty flavor that provides a beautiful textural contrast to the otherwise smooth and velvety chocolate base. They also impart an elegant, finished appearance to your homemade fudge. If almonds aren’t your preferred nut, or if you’re seeking alternative textures and flavors, chopped pecans or walnuts are fantastic and equally delicious substitutes. For an added dimension of flavor, consider lightly toasting your nuts before incorporating them into the mixture. Beyond nuts, explore adding crushed candy canes for a festive and crunchy texture, soft mini marshmallows for a chewy bite, or even buttery toffee bits for delectable caramel notes.
Crafting Your Easy Chocolate Fudge: A Detailed Step-by-Step Guide
As its name proudly suggests, this chocolate fudge recipe is wonderfully easy! With just four primary ingredients and a few straightforward steps, you’ll be able to create a magnificently decadent treat that’s perfect for sharing with loved ones, gifting to friends and family, or simply indulging in yourself. Here’s how to bring this sweet, simple magic into your kitchen:
- Step 1: Gentle Melting of Chocolate & Milk: In a sturdy, medium-sized saucepan, combine your chosen chocolate chips with the sweetened condensed milk. Place this saucepan over a gentle medium-low heat. The paramount rule here is slow and continuous stirring. You want the chocolate to melt gradually and smoothly, preventing any scorching or burning. Keep stirring diligently until the entire mixture achieves a completely smooth, uniform, and glossy consistency, with all the chocolate fully melted and perfectly integrated with the milk. This crucial step typically takes approximately 5-7 minutes. Pay attention to the visual cues: the mixture should appear rich and consistent, without any lumps.
- Step 2: Infuse with Desired Flavor: Once your chocolate mixture has reached that perfect, velvety smoothness, promptly remove the saucepan from the heat. This is crucial to prevent the chocolate from overheating, which can lead to a grainy texture. Now, stir in your almond extract (or whichever flavoring you’ve chosen) with enthusiasm. Ensure it is thoroughly and evenly mixed into the warm chocolate base for a consistent distribution of its aromatic essence. The delightful aroma that fills your kitchen will be a testament to your efforts!
- Step 3: Add the Perfect Crunch and Texture: Gently, yet thoroughly, fold in the slivered almonds. If you’re incorporating other exciting add-ins such as chopped walnuts, festive candy cane pieces, chewy dried cranberries, or mini marshmallows, this is the opportune moment to introduce them. Stir until these additions are evenly dispersed throughout the rich, glossy chocolate fudge mixture, ensuring every bite offers a balanced symphony of flavors and textures.
- Step 4: Prepare and Pour into Dish: Prepare a 9×9 inch square baking dish by lining it completely with parchment paper. Allow a generous overhang on the sides – this thoughtful detail will serve as convenient handles, enabling you to effortlessly lift the set fudge slab out later. Alternatively, if you are fortunate enough to possess a silicone baking dish, it works exceptionally well as the fudge will simply pop right out without any need for parchment paper. Carefully pour or scoop the warm fudge mixture into the prepared dish, then gently spread it evenly across the bottom with a spatula, ensuring a uniform thickness. For an impeccably smooth top surface and to release any trapped air bubbles, gently tap the dish against your counter a few times.
- Step 5: Chill to Utter Perfection: Place the prepared dish containing the fudge into the refrigerator. This chilling period is essential for allowing the fudge to firm up and properly set. This process typically requires approximately 2-3 hours. For the absolute best results and ease of cutting, ensure the fudge is completely firm before proceeding to the final step. If you’re pressed for time, you can also place it in the freezer for about 1 hour, but keep a close eye on it to prevent it from becoming too hard.
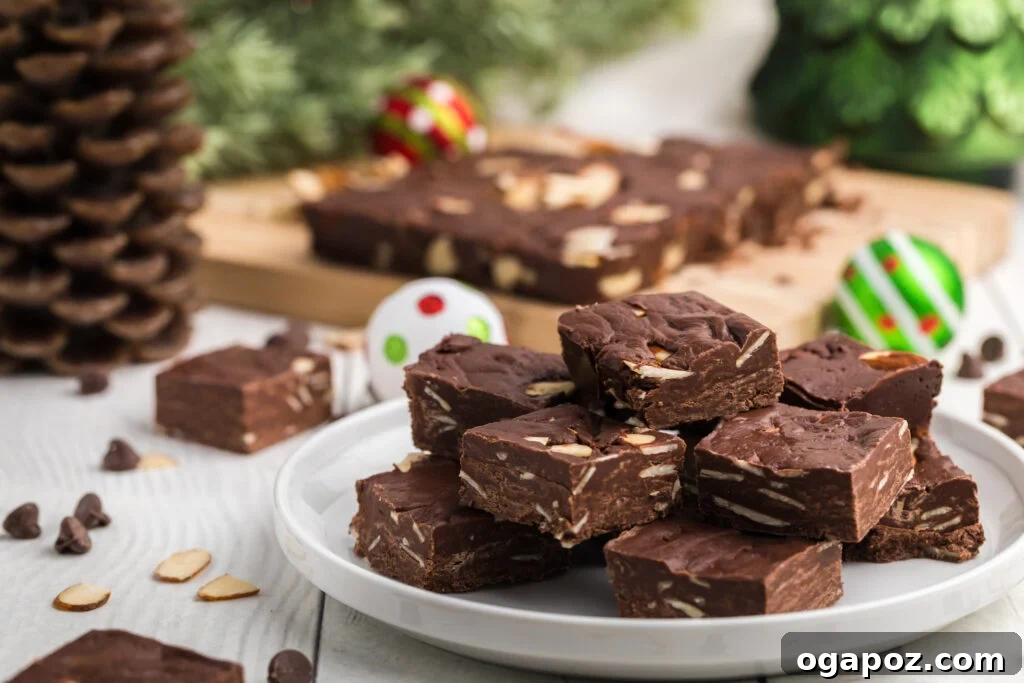
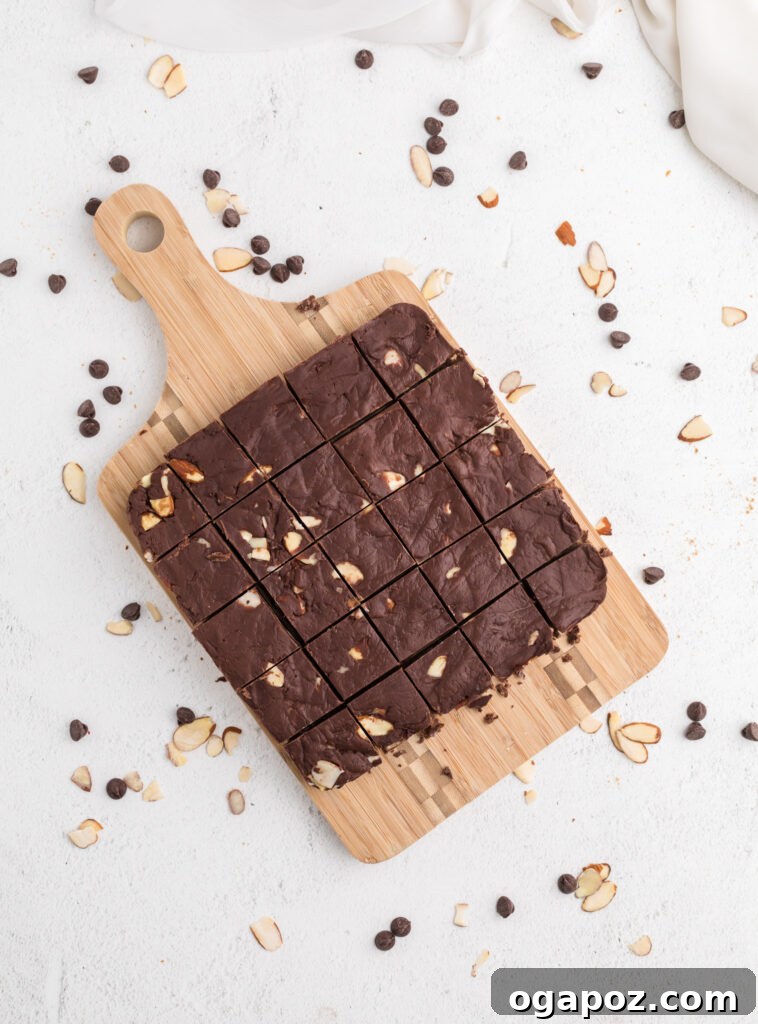
- Step 6: Slice and Elegant Serve: Once the fudge is thoroughly firm and set, utilize the parchment paper overhang (if you used it) to carefully lift the entire slab out of the dish. Transfer it onto a clean cutting board. For impeccably clean and neat squares, employ a very sharp knife that has been slightly warmed under hot water and then meticulously wiped dry before each cut. Slice the fudge into small, uniform, bite-sized squares. Remember, this fudge is quite rich and satisfying, so smaller pieces are often preferred. Artfully arrange the cut fudge squares on a beautiful platter and savor every delectable moment!
Microwave Magic: Crafting Delicious Fudge in a Flash
For those moments when you crave fudge with even greater urgency, or simply prefer to bypass the stovetop entirely, your microwave oven emerges as your ultimate culinary ally! This alternative method is not only incredibly convenient but also consistently yields equally delicious and satisfying results.
To embark on your microwave fudge journey, begin by combining your chosen chocolate chips and the sweetened condensed milk in a generously sized (2 or 3-quart) microwave-safe bowl. Heat this mixture on high power for precisely one minute. Following this initial heating interval, carefully remove the bowl from the microwave and allow it to rest undisturbed for approximately 30 seconds. This crucial resting period permits the residual heat within the bowl and mixture to continue the melting process gently, thereby preventing any potential scorching of the chocolate. Stir the mixture vigorously until it begins to come together. If, after this initial stirring, the chocolate isn’t entirely melted and perfectly smooth, continue heating the mixture in shorter 30-second increments, meticulously stirring after each interval, until the mixture achieves that perfectly smooth, uniform, and glossy consistency you desire.
Once the chocolate is thoroughly melted and flawlessly combined with the condensed milk, stir in your chosen extract (such as almond or vanilla) and any preferred add-ins, like crunchy nuts or festive crushed candy canes. Promptly pour the warm fudge mixture into a prepared 9×9 inch square pan (remember to line it with parchment paper for effortless removal, or simply use a non-stick silicone dish). Place the fudge immediately into the refrigerator for approximately one hour to allow it to firm up and set. Once it is firmly set, simply cut it into neat 1-inch squares and serve with pride. This incredibly speedy method is perfectly tailored for those impromptu cravings, unexpected guests, or last-minute gifting needs!
Optimal Storage for Long-Lasting Freshness
To ensure your homemade chocolate fudge retains its peak flavor, delightful texture, and overall freshness for as long as possible, proper storage techniques are absolutely essential. Store the fudge in an airtight container at room temperature for up to one week. If you prefer a firmer fudge, or if you live in a warmer climate, refrigeration is recommended; when stored in the refrigerator, the fudge will maintain its quality for up to two weeks.
Moreover, homemade fudge boasts excellent freezer-friendly qualities, making it an ideal candidate for preparing ahead of time for future events or simply for extending its shelf life. To freeze, first wrap the fudge tightly and individually in plastic wrap, then place the wrapped pieces in a freezer-safe airtight container or a heavy-duty freezer bag. When properly stored, it can be frozen for up to three months without compromising its quality. To enjoy your frozen fudge, simply transfer it to the refrigerator to thaw overnight, or allow it to come to room temperature for a few hours. Freezing is an excellent strategy for managing larger batches or ensuring you always have a sweet treat on hand!
More Irresistible Dessert Recipes You’ll Love
If you’ve thoroughly enjoyed creating this easy chocolate fudge, we are confident that you will adore exploring more of our straightforward, yet incredibly delicious dessert recipes. Each one is perfect for a variety of occasions and guaranteed to satisfy even the most discerning sweet tooth!
Desserts
No Bake Cookie Recipe
Desserts
Chocolate Crinkle Cookie Recipe
Desserts
Christmas Shortbread Cookies
Desserts
Easy Cake Mix Sugar Cookies Recipe
Easy Chocolate Fudge Recipe
By Julia Jolliff
This effortless chocolate fudge comes together with just four simple ingredients and minimal effort, making it the perfect no-fuss dessert or gift for any occasion.
Ingredients
- 3 cups semi-sweet chocolate chips (or your preferred chocolate)
- 14 ounces Sweetened Condensed Milk (one standard can)
- 1 teaspoon almond extract (or vanilla, peppermint, etc.)
- 3/4 cup sliced or slivered almonds (or chopped pecans, walnuts, candy canes, etc.)
Instructions
- Heat Chocolate & Milk: In a medium saucepan over medium-low heat, combine chocolate chips and sweetened condensed milk. Stir continuously until the chocolate is completely melted and the mixture is smooth and glossy.
- Add Flavoring: Remove the saucepan from the heat. Stir in the almond extract until well combined throughout the fudge mixture.
- Mix in Add-ins: Fold in the sliced or slivered almonds, ensuring they are evenly distributed.
- Prepare Dish & Pour: Pour the warm fudge into a prepared 9×9 inch square dish. Line with parchment paper (leaving an overhang) for easy removal, or use a silicone pan. Spread the fudge evenly with a spatula.
- Chill: Place the dish in the refrigerator for 2-3 hours, or until the fudge is firm and fully set.
- Cut & Serve: Once set, lift the fudge out of the dish and carefully cut into small, bite-sized squares using a sharp, warm knife. Enjoy your delicious homemade fudge!
Notes
Store any remaining fudge in an airtight container in the refrigerator for up to two weeks. For longer storage, freeze for up to three months; thaw in the refrigerator or at room temperature before serving.
Nutrition (per 1 piece serving, approximation)
Nutrition information is automatically calculated and should only be used as an approximation. Values may vary based on specific ingredients and brands used.