
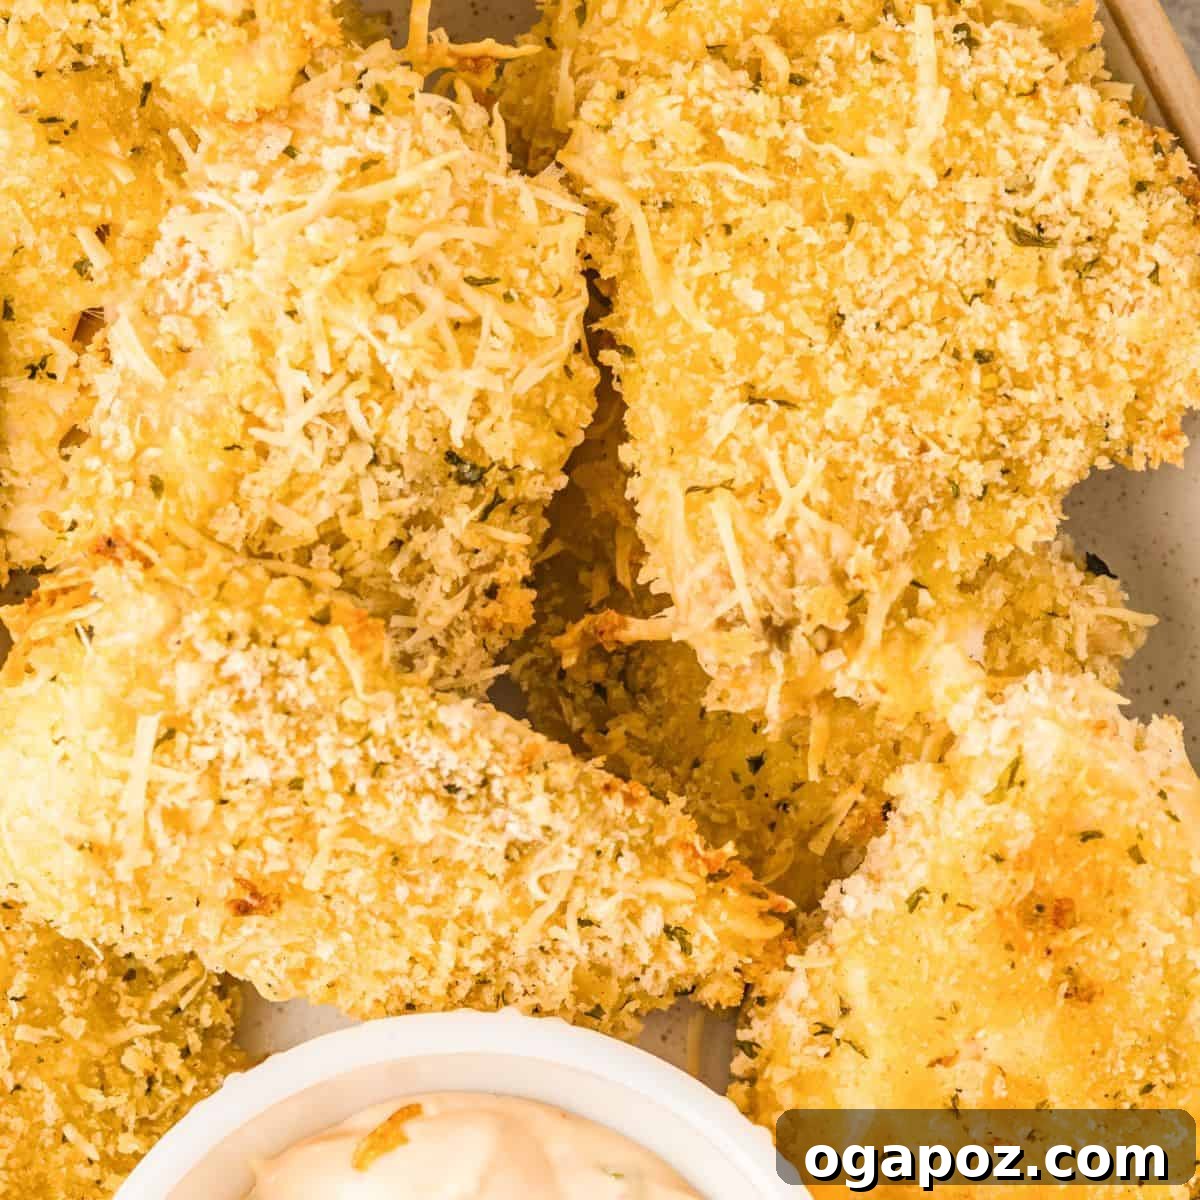
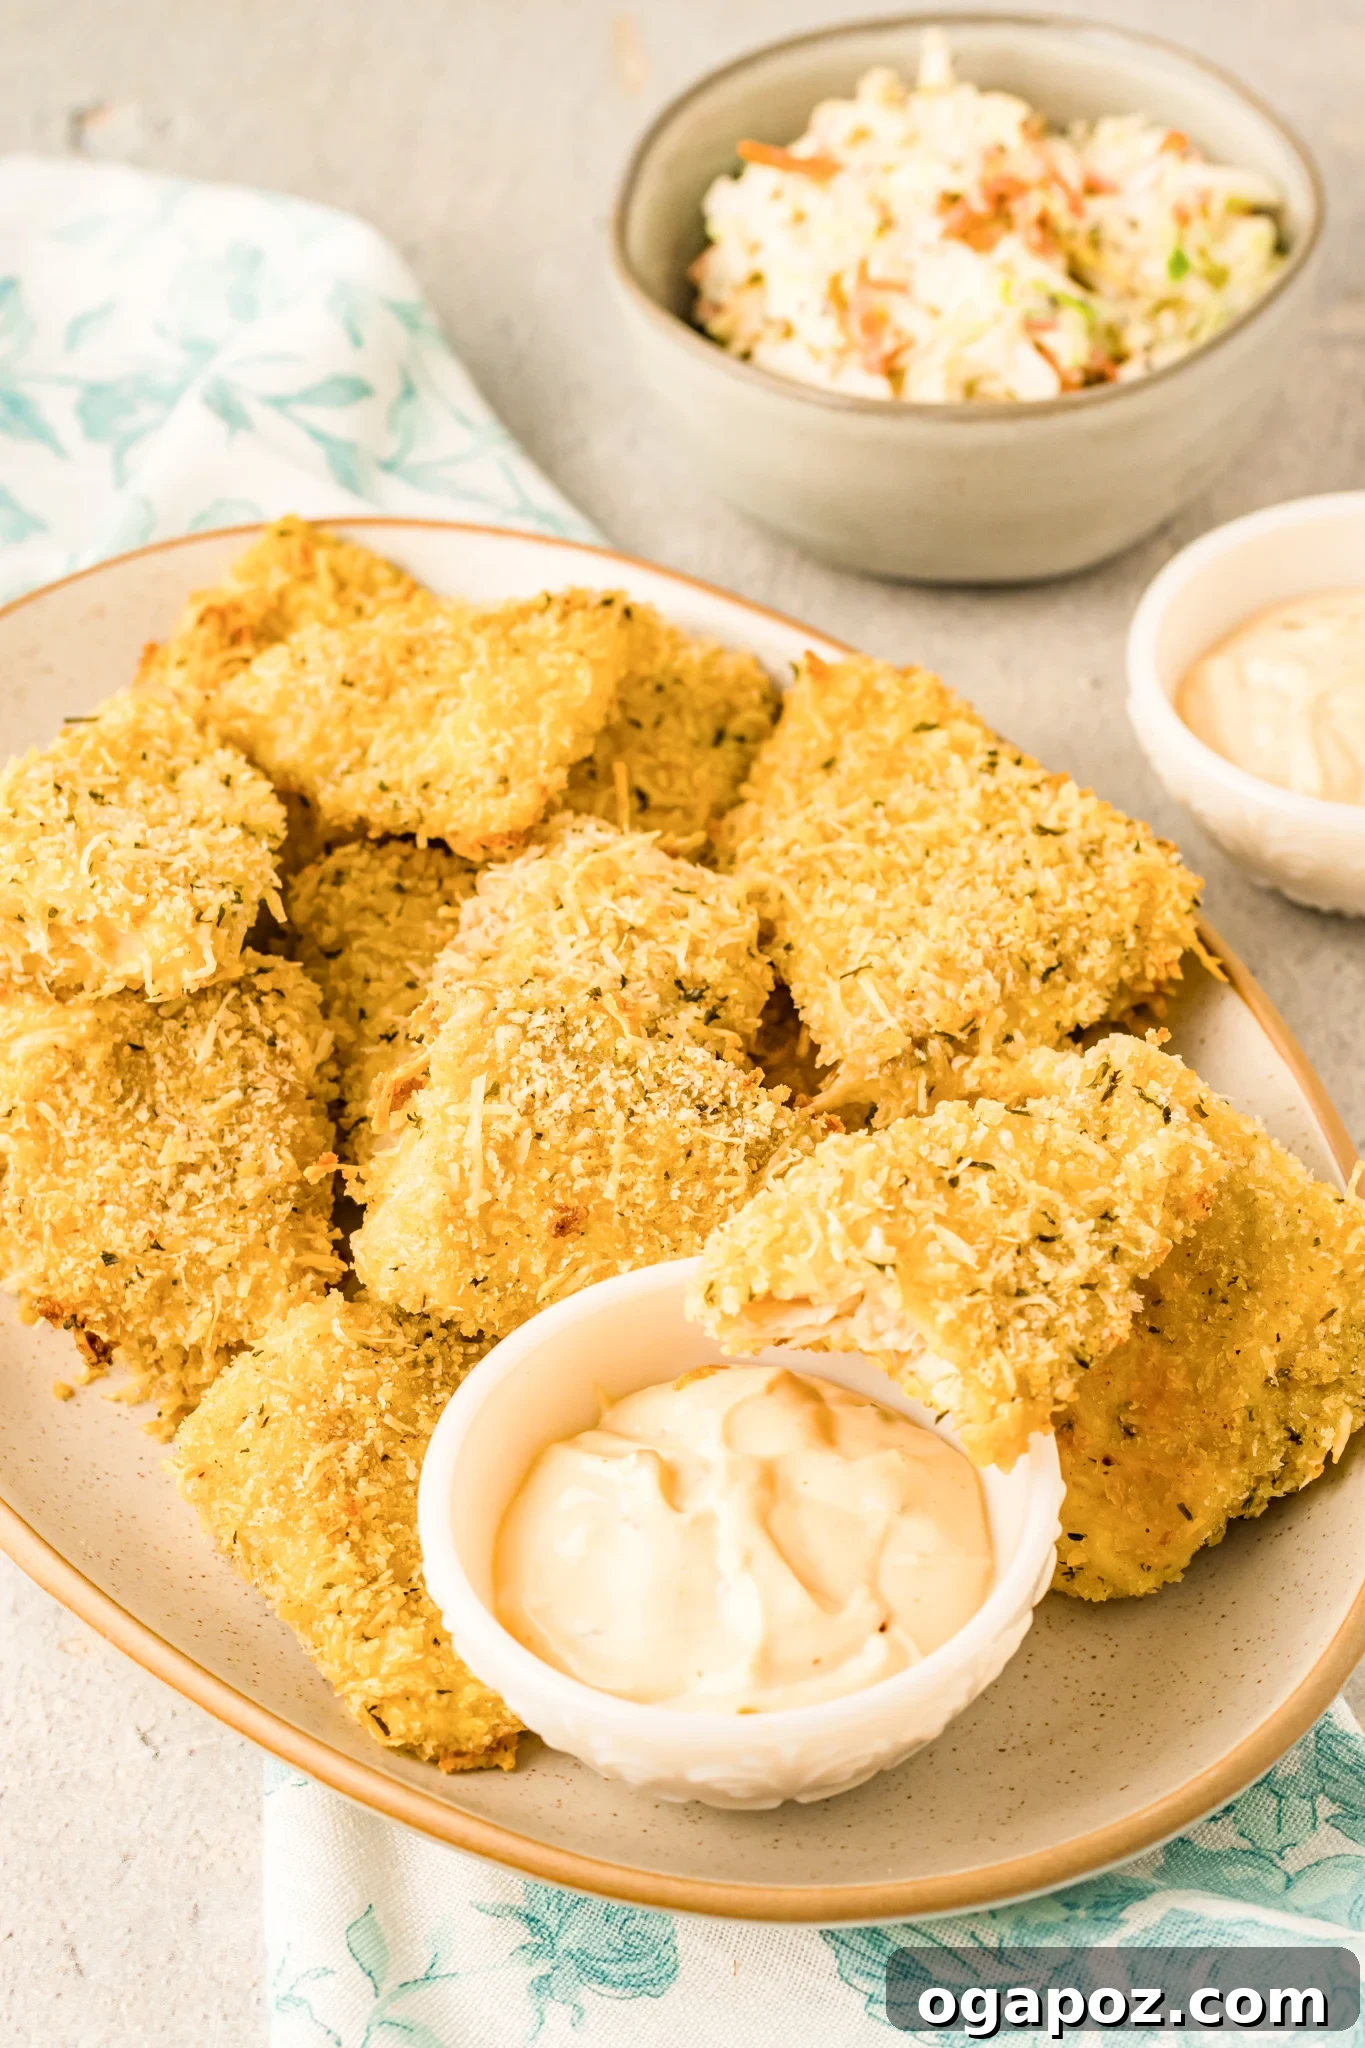
Transform your weeknight dinner with our irresistible Baked Parmesan Fish Sticks. Crafted from tender Tilapia fillets, expertly cut into strips or nuggets, then coated in a delightful panko and Parmesan cheese breading, and finally baked to golden perfection in the oven. This homemade version offers a healthier, more flavorful alternative to store-bought options, promising a crispy exterior and flaky interior every time. Pair them with our incredibly simple-to-make tartar sauce for the ultimate dipping experience.
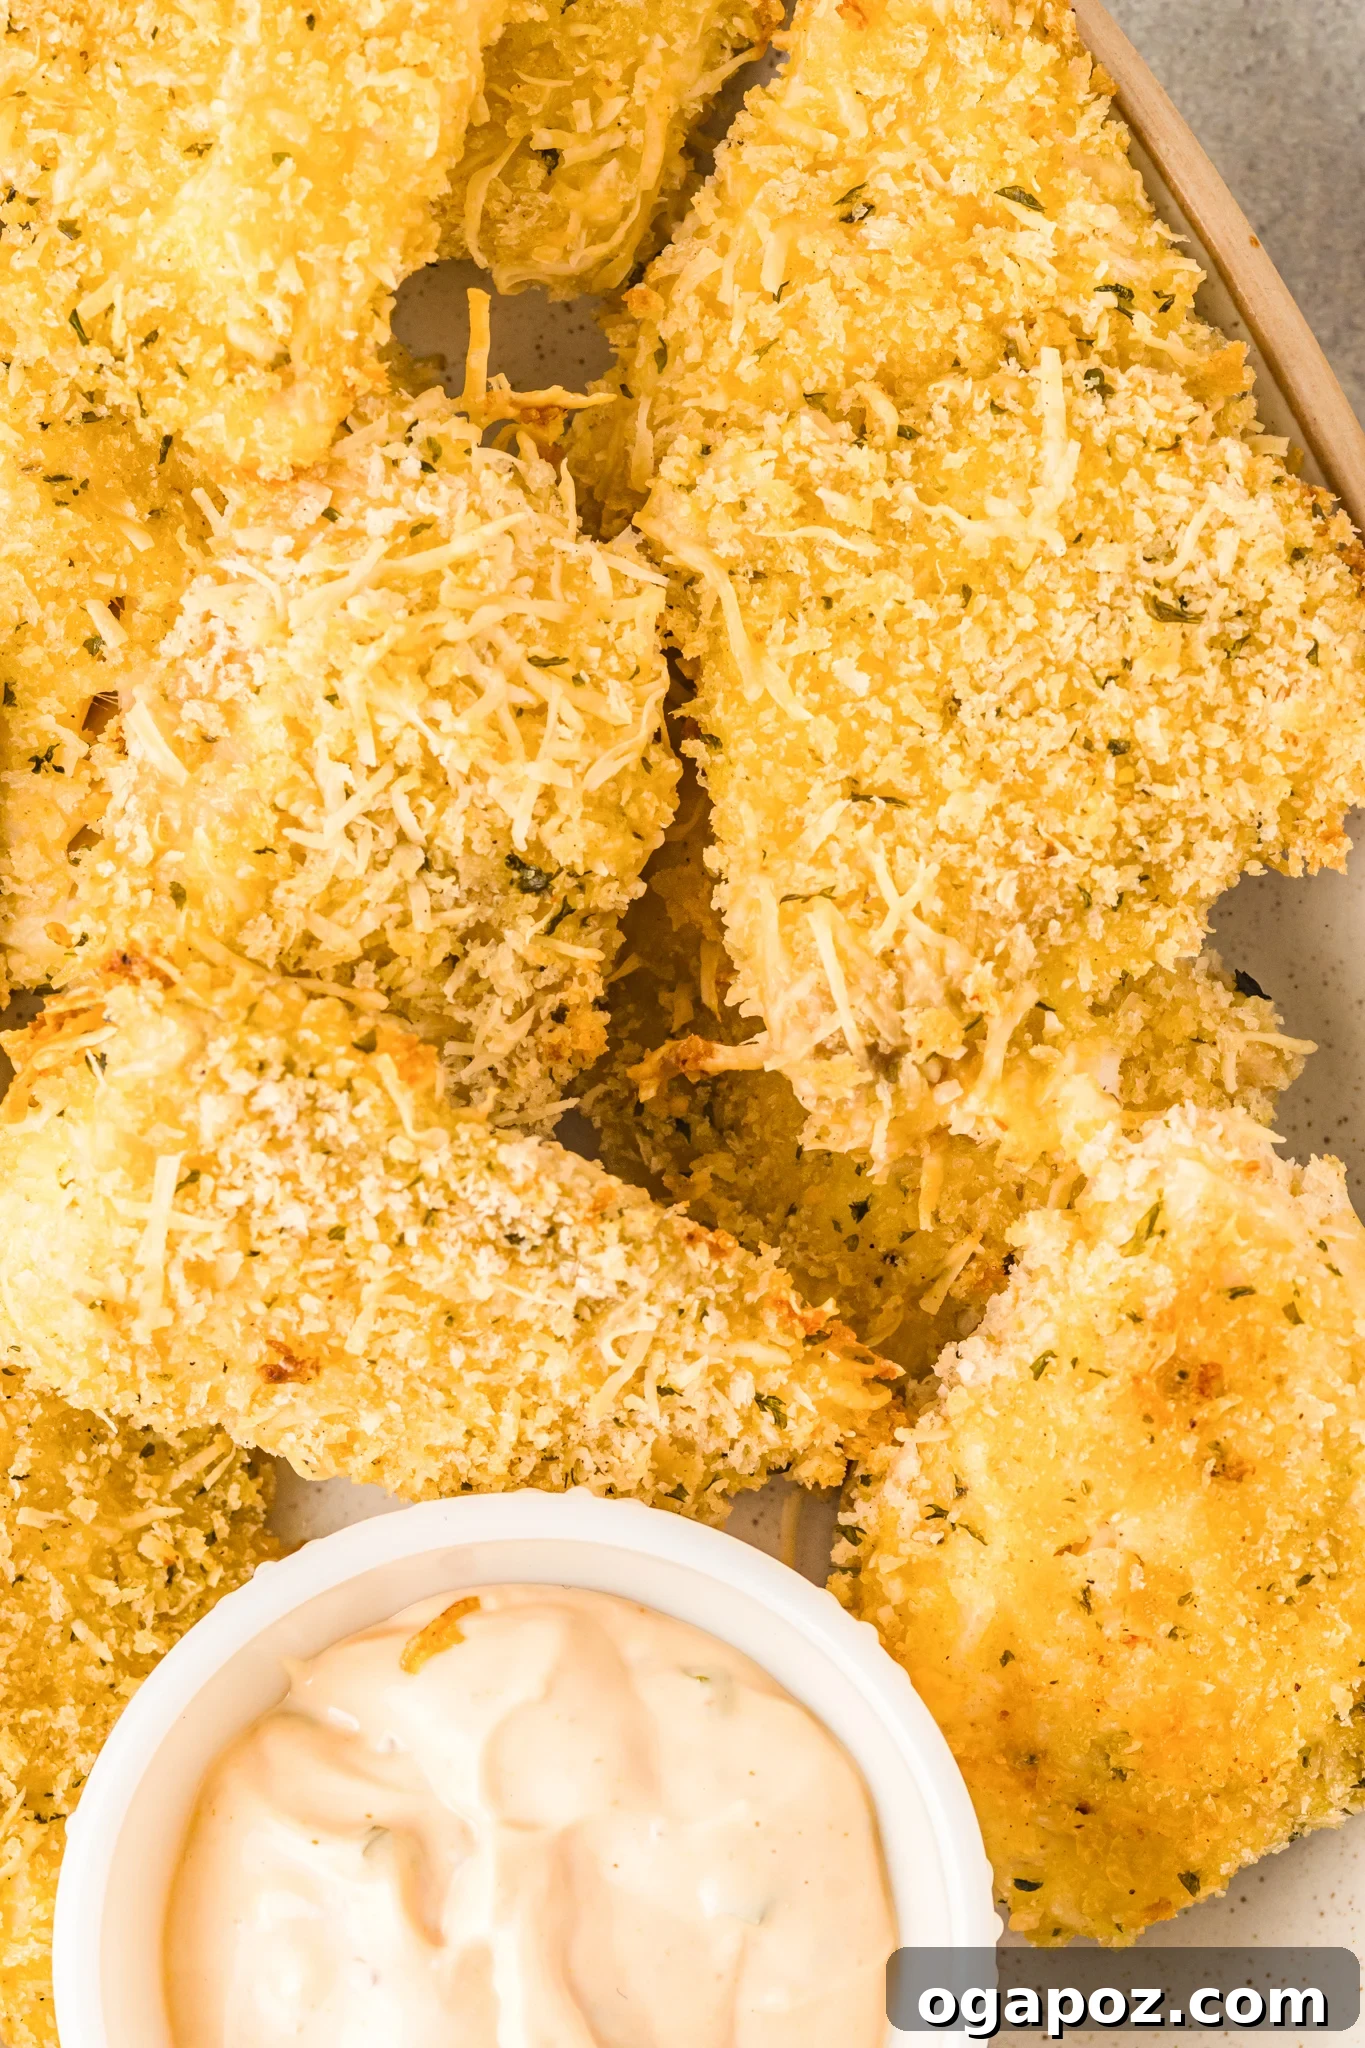
When searching for effortlessly delicious seafood dishes, these easy fish sticks are a true standout. They are a fantastic choice for Lent, busy weeknights, or simply when you want to introduce a variety of fish into your family’s meal rotation. I love to alternate between this recipe and other family favorites like Easy Pan-Fried Fish with Parmesan Crust and Panko Breadcrumbs, Mediterranean Tuna Patties, Air Fryer Cod, and Air Fryer Tilapia, ensuring our meals are always fresh and exciting.
This quick and easy fish recipe is designed to be prepared and enjoyed in just about 30 minutes, making it ideal for even the busiest evenings. Tilapia, a widely available freshwater white fish, is not only a fantastic source of lean protein but also provides essential omega-3 fatty acids, crucial for maintaining good health and a balanced diet. Its mild flavor and firm texture make it a perfect canvas for the savory Parmesan-panko crust.
One of the biggest advantages of making your own fish sticks from scratch is complete control over the ingredients. Say goodbye to unnecessary additives, preservatives, or artificial flavors often found in frozen, store-bought varieties. Here, it’s just fresh fish fillets coated in a simple, seasoned breading. The addition of finely grated Parmesan cheese to the panko mixture creates an extra layer of savory depth and unparalleled crispness, much like in my popular Baked Chicken Tenders recipe.
Why Choose Homemade Fish Sticks?
Beyond the simple pleasure of cooking for your family, homemade fish sticks offer numerous benefits. Firstly, they are significantly healthier. You control the oil content by baking instead of deep-frying, and you eliminate questionable ingredients. Secondly, the flavor is undeniably superior. Fresh tilapia, seasoned with care and coated in a crunchy Parmesan-panko mixture, tastes vibrant and real, unlike the often bland and processed taste of frozen alternatives. Lastly, it’s a customizable meal. Want more seasoning? Go for it! Prefer a different type of fish? The recipe is adaptable. It’s a culinary win-win for both taste and well-being.
The Perfect Fish Choice: Tilapia and Versatile Alternatives
Tilapia is an excellent choice for these fish sticks due to its mild flavor, which appeals to a wide range of palates, including picky eaters. Its delicate texture cooks quickly and absorbs the seasonings beautifully, making it ideal for a crispy breading. Furthermore, tilapia is generally affordable and widely available in most grocery stores, either fresh or frozen (just ensure it’s fully thawed and patted dry before use).
However, the beauty of this recipe lies in its versatility. If tilapia isn’t your preference or isn’t available, feel free to substitute it with other firm white fish. Excellent alternatives include:
- Cod: A classic choice for fish and chips, cod offers a mild flavor and flaky texture that holds up well to breading and baking.
- Halibut: Known for its firm, meaty texture and sweet, mild flavor, halibut makes for a more premium fish stick.
- Haddock: Similar to cod, haddock is a lean, white fish with a delicate flavor and flaky consistency.
- Pollock: Often used in commercial fish sticks, pollock is a budget-friendly option with a neutral taste and good texture.
- Salmon: For a richer flavor and higher omega-3 content, salmon can also be used, though its distinct taste will shine through the Parmesan.
Regardless of your fish choice, the key is to cut the fillets into uniform strips or nuggets to ensure even cooking and consistent crispness. Patting the fish thoroughly dry before breading is also crucial for achieving that desirable golden crust.
Recipe Ingredients You’ll Need
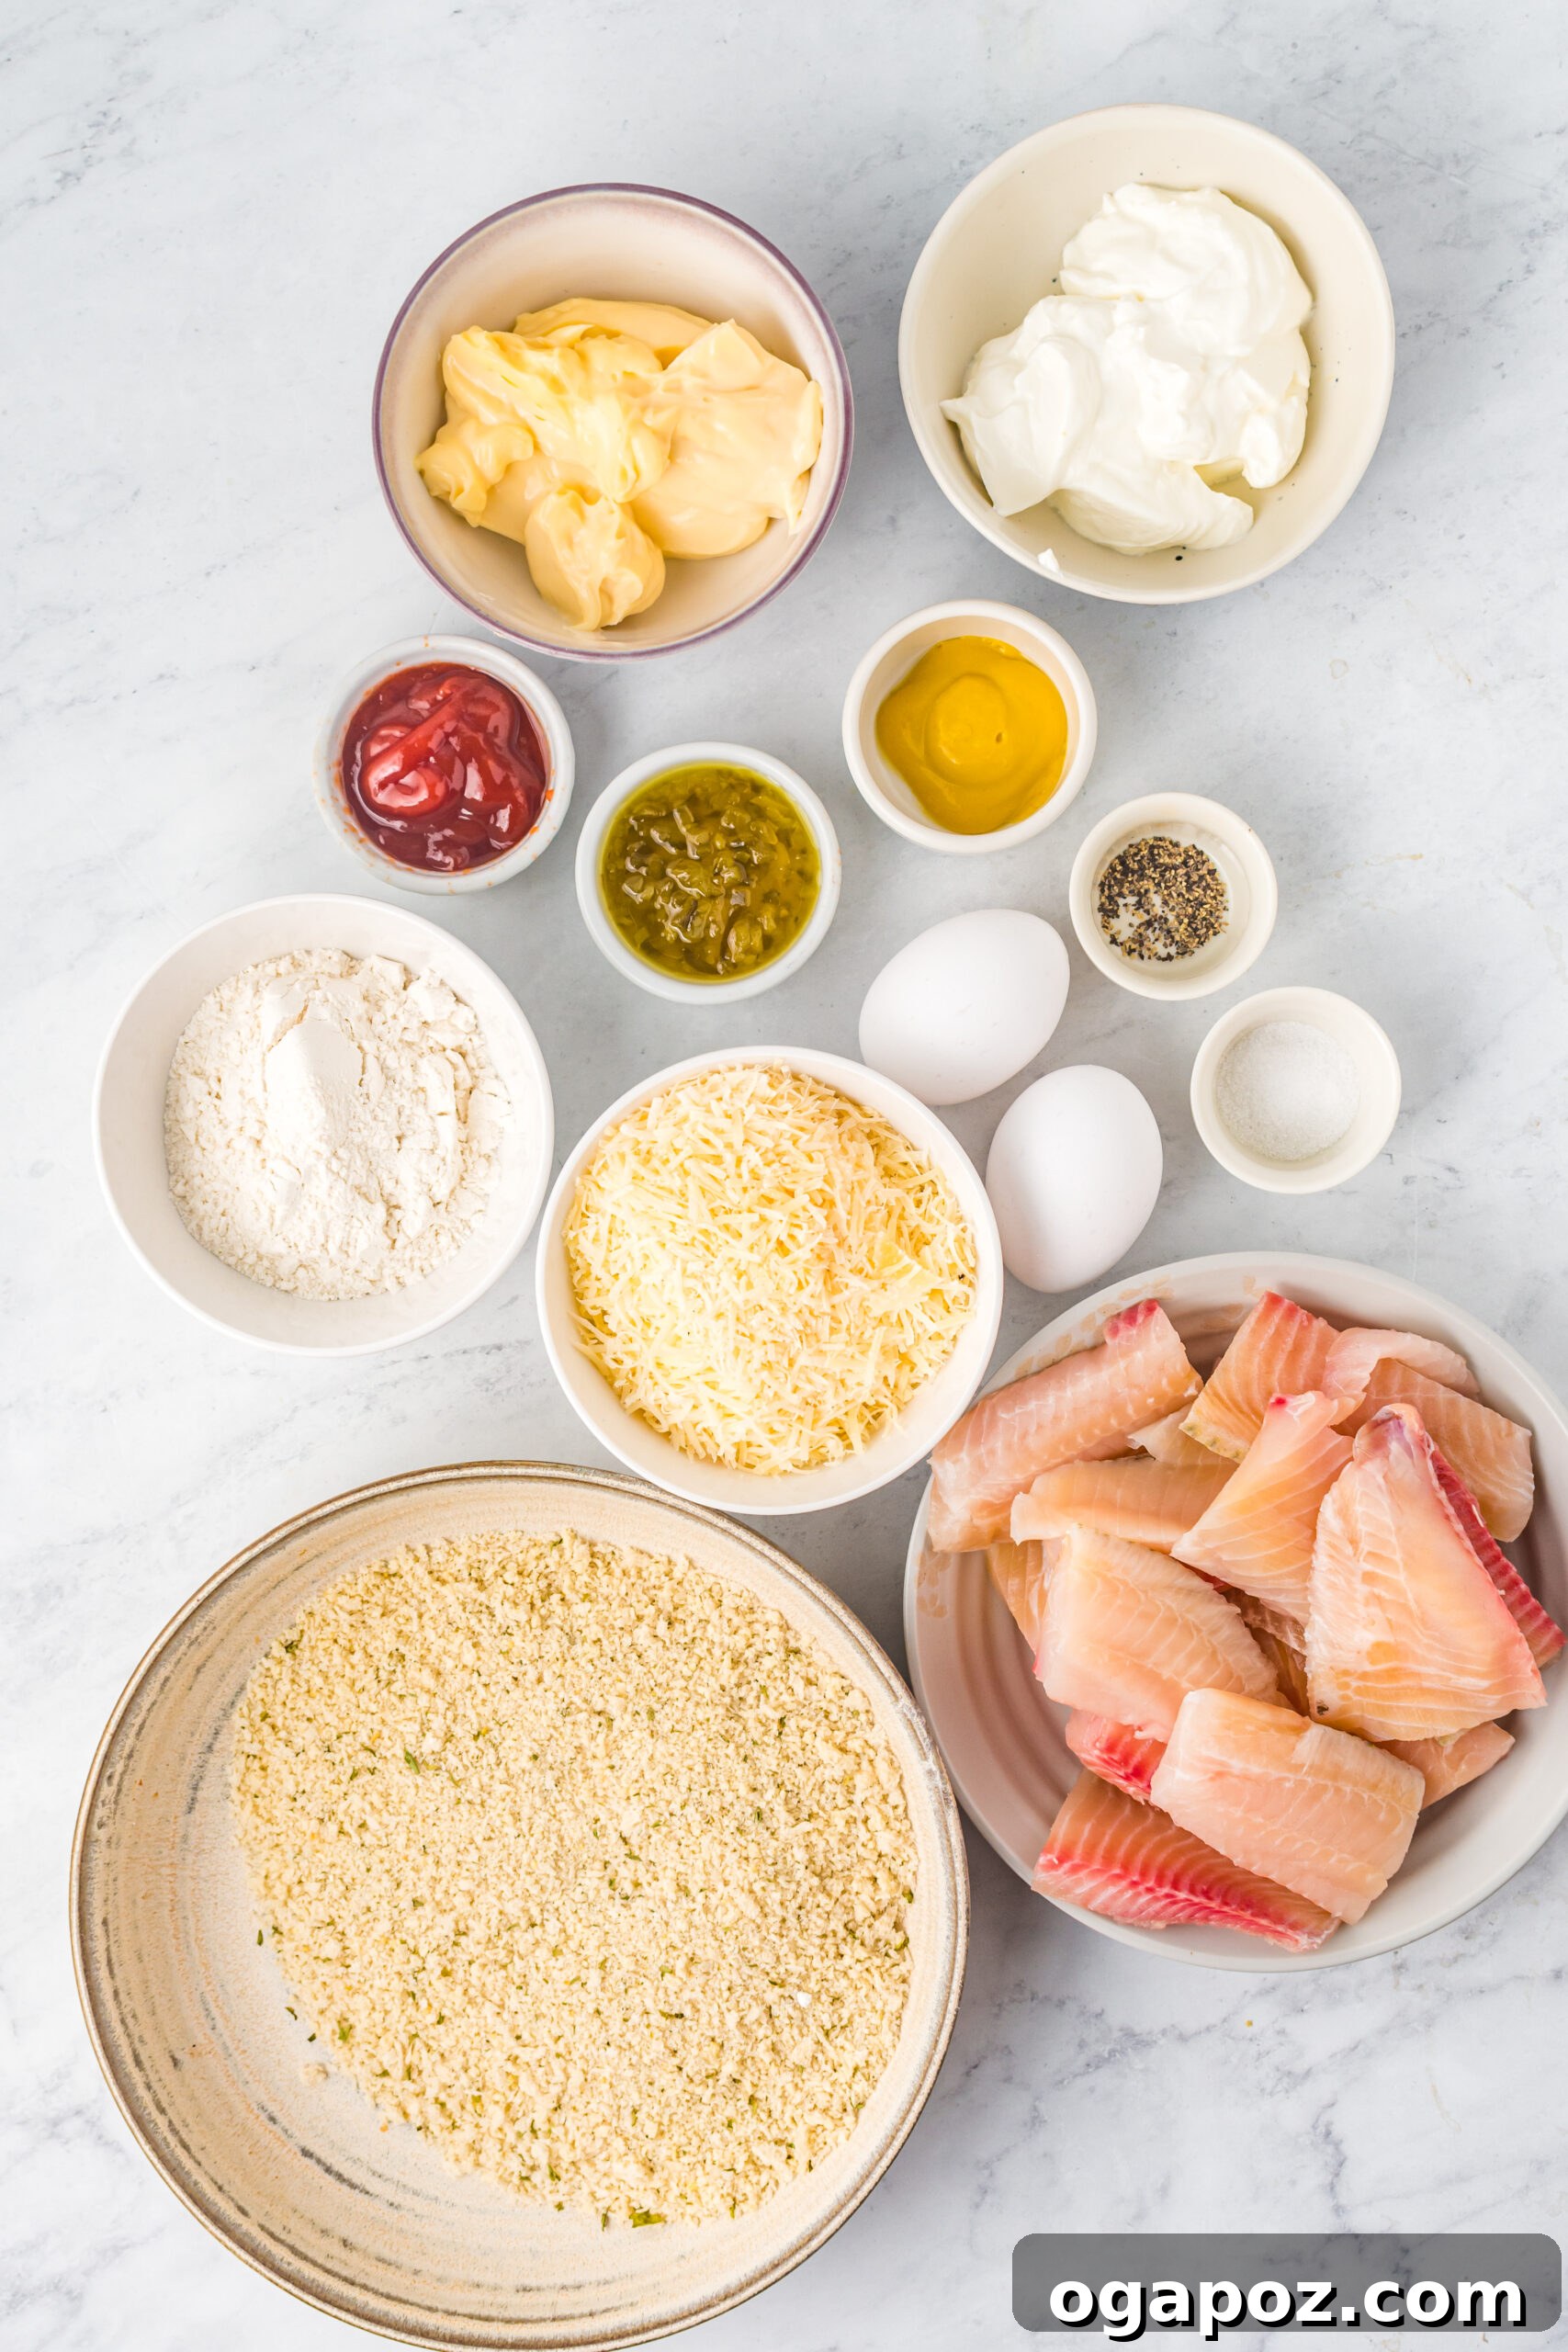
For exact ingredient amounts and detailed instructions, refer to the full recipe card provided below.
- All-Purpose Flour: This forms the essential first layer for our breading, helping the egg adhere to the fish. It’s crucial to season the flour generously with salt and black pepper (and a touch of Italian seasoning) as this is where much of the fish’s flavor will come from.
- Eggs: Beaten eggs act as the binding agent, allowing the seasoned flour and the flavorful panko-Parmesan mixture to stick to the fish fillets, creating a cohesive and crispy coating.
- Parmesan Cheese: Finely grated Parmesan cheese is a game-changer here, infusing the breading with a rich, salty, umami flavor that perfectly complements the mild fish. For a dairy-free option, you can certainly omit the cheese, though I highly recommend it for flavor.
- Panko Breadcrumbs: Panko is my secret weapon for achieving superior crispness. These Japanese-style breadcrumbs are lighter, flakier, and absorb less oil than traditional breadcrumbs, resulting in an exceptionally crunchy exterior. You can use plain panko or seasoned varieties; if using plain, consider adding a pinch more Italian seasoning. Regular breadcrumbs can be used in a pinch, but the texture won’t be quite as airy.
- Tilapia Fillets: As discussed, fresh tilapia fillets are ideal for their mild taste and quick cooking time. Cut them into uniform strips or “nuggets” for consistent results.
- Olive Oil Cooking Spray: A light mist of cooking spray ensures the fish sticks turn golden brown and extra crispy in the oven without the need for excessive oil.
If you enjoy versatile tilapia recipes, be sure to also try this Greek Baked Tilapia, Parmesan Crusted Tilapia, or this Easy Blackened Tilapia Fish.
How to Make Parmesan Fish Sticks
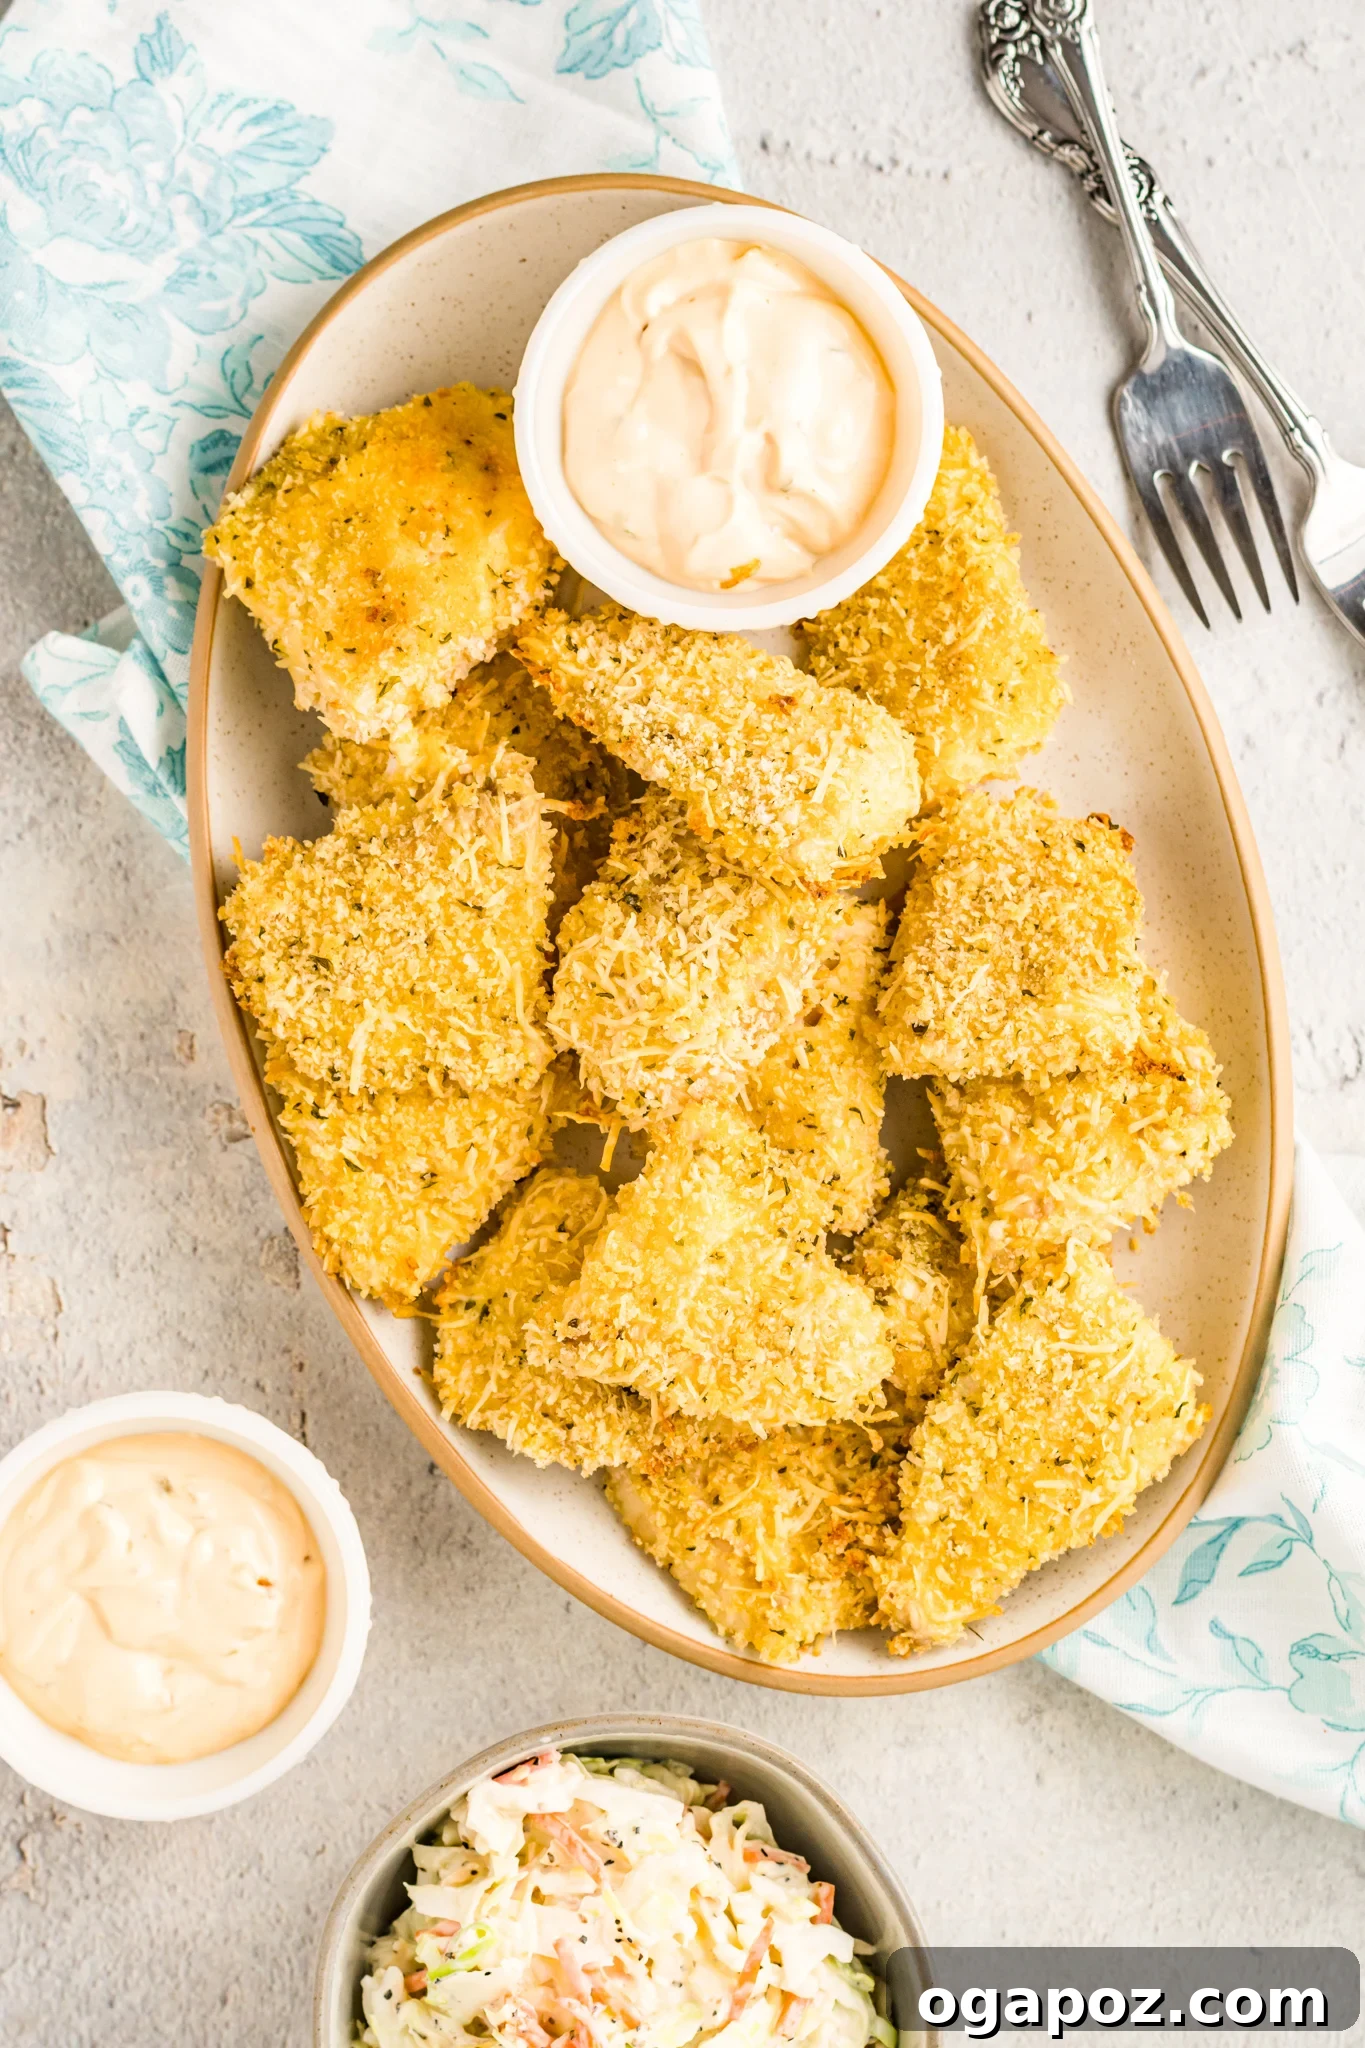
Creating these delightful baked fish sticks is a straightforward process, ensuring a stress-free cooking experience. Follow these simple steps for perfect results:
Step 1: Prepare Your Breading Station & Preheat Oven. Begin by preheating your oven to 400°F (200°C). Lightly spray a large baking sheet with olive oil cooking spray to prevent sticking and aid in browning. Next, set up your breading station with three shallow dishes:
- In the first dish, combine the all-purpose flour with salt, black pepper, and Italian seasoning. Whisk well to ensure the seasonings are evenly distributed.
- In the second dish, whisk the eggs until well beaten.
- In the third dish, combine the finely grated Parmesan cheese, panko breadcrumbs, and dried parsley flakes. Stir thoroughly to mix.
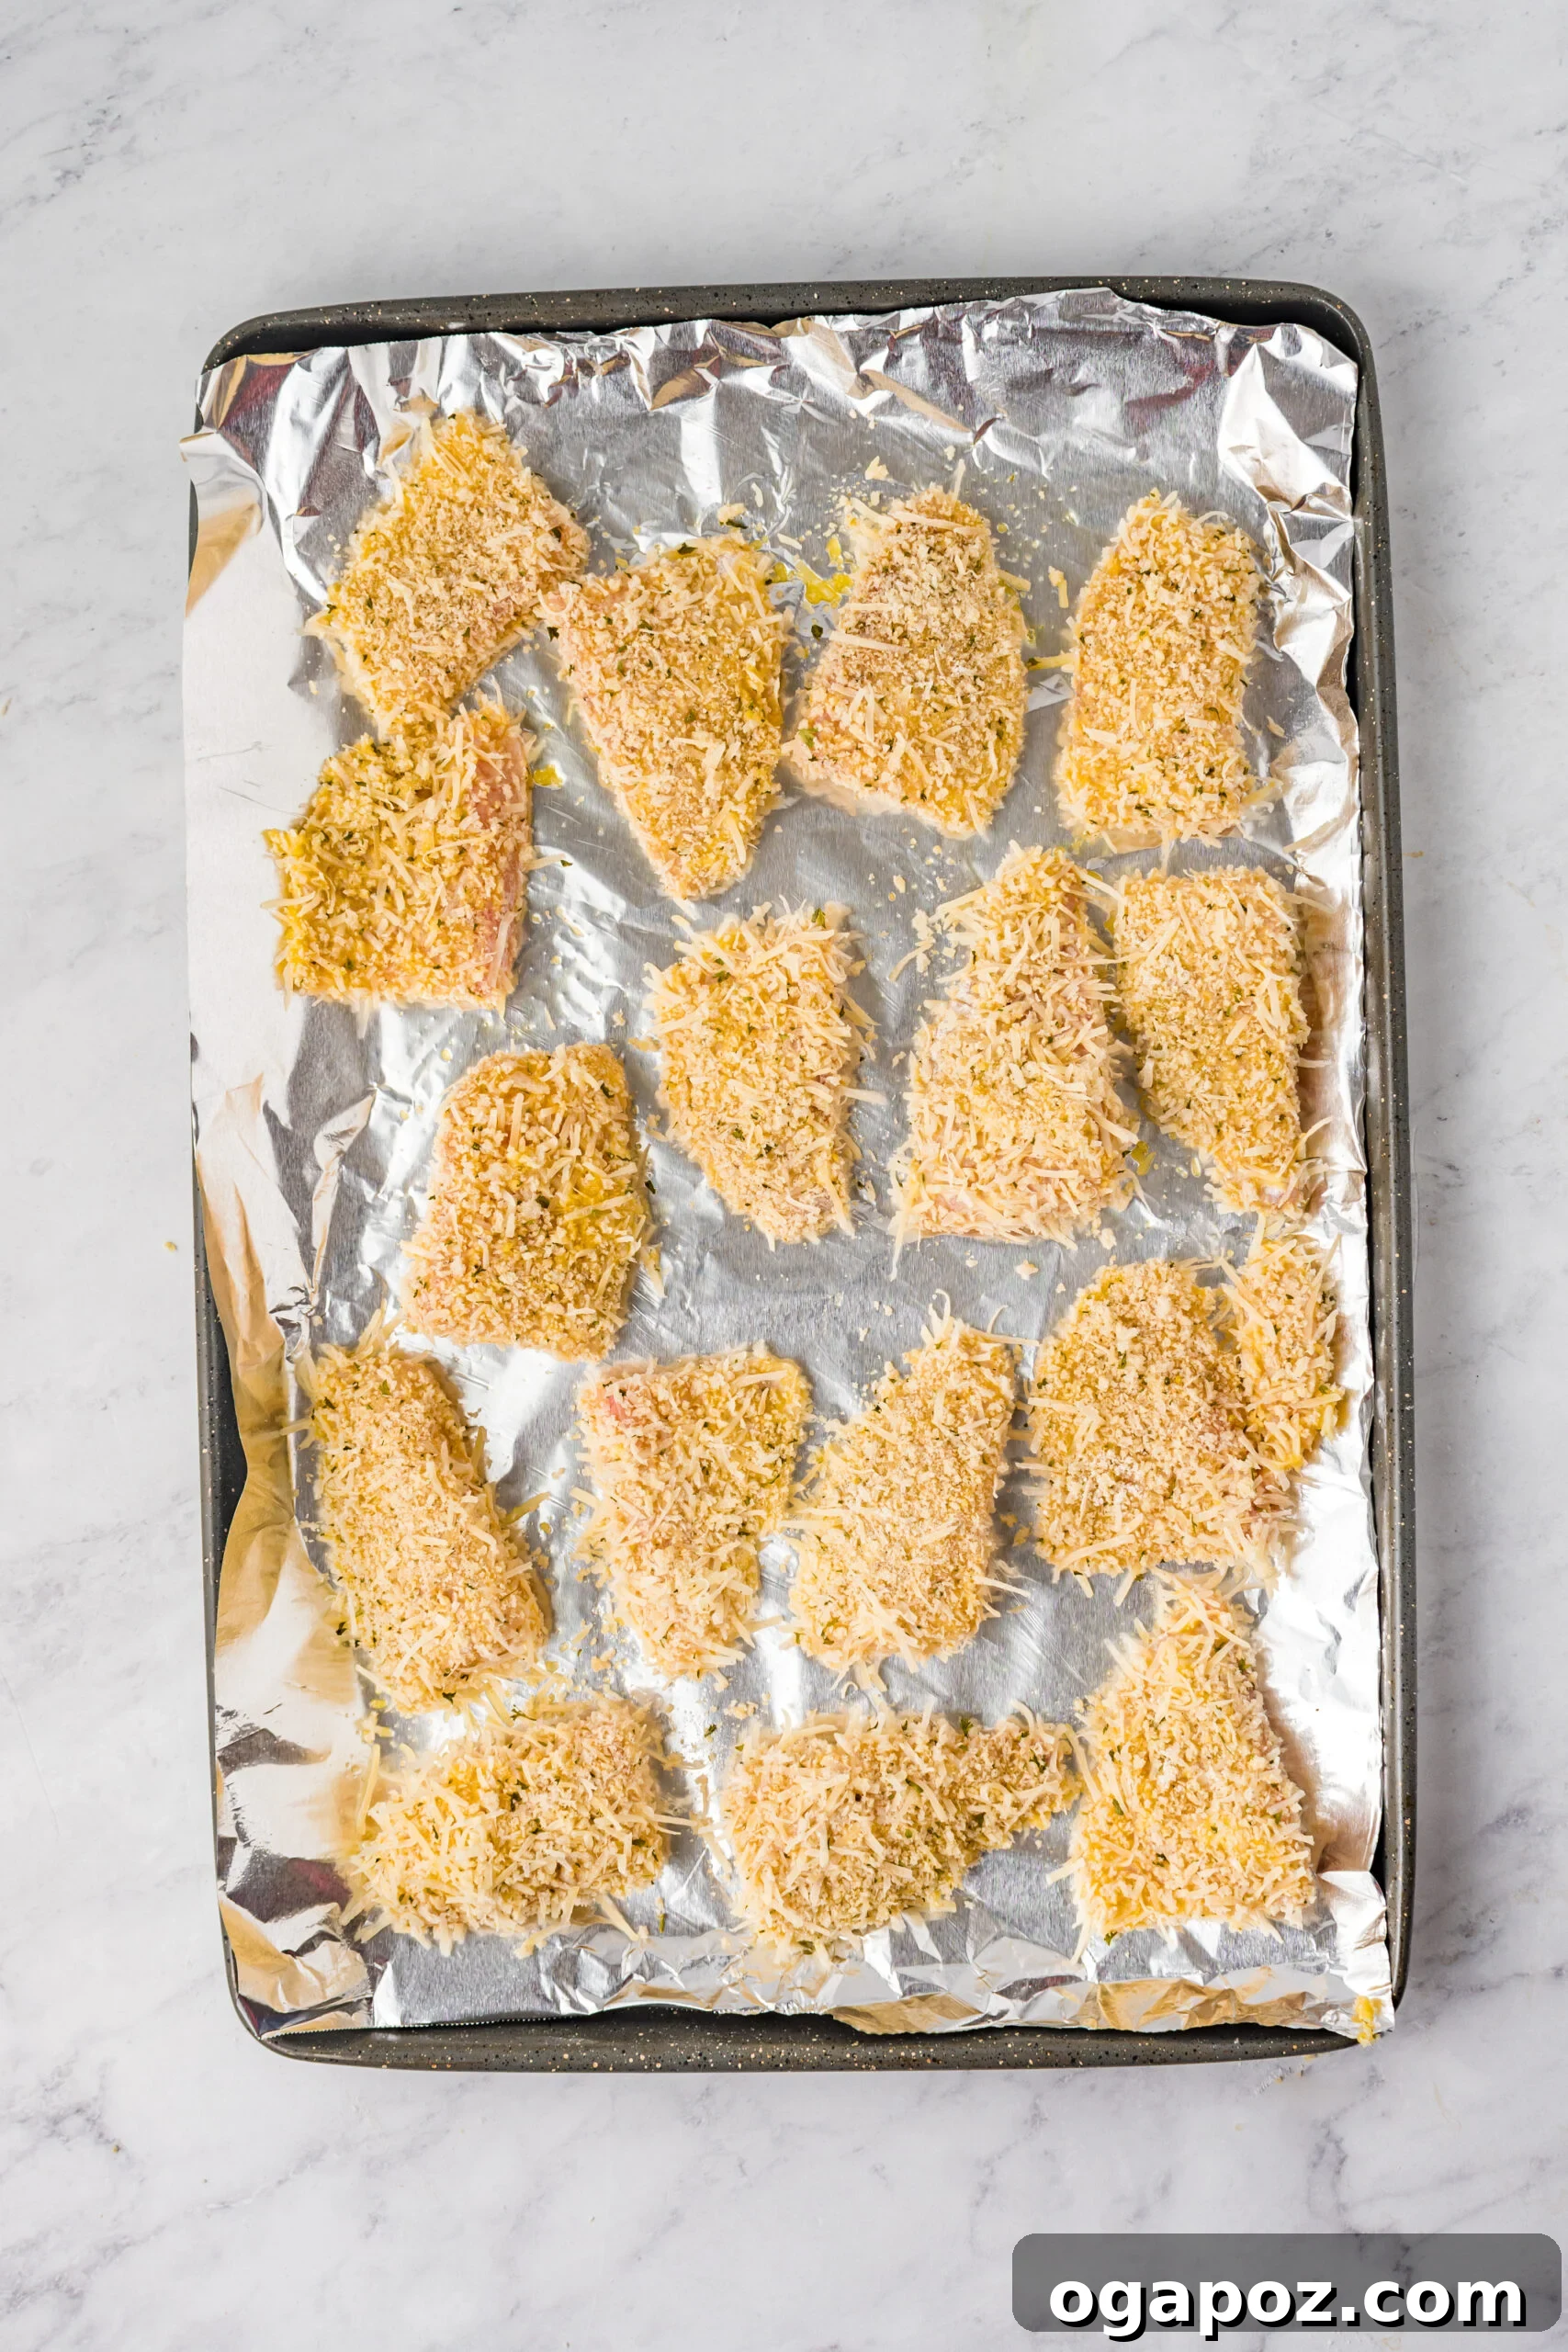
Step 2: Prepare the Fish & Dredge. Pat the tilapia fillets dry with paper towels – this is key for a crisp crust. Cut the fillets into even strips or nugget-sized pieces, about 1-inch thick. Take each piece of fish and dredge it first in the seasoned flour, ensuring it’s fully coated and shaking off any excess. Then, dip it into the beaten egg, allowing any excess to drip off. Finally, press the fish into the panko and Parmesan mixture, coating it completely and gently patting to help the breadcrumbs adhere.
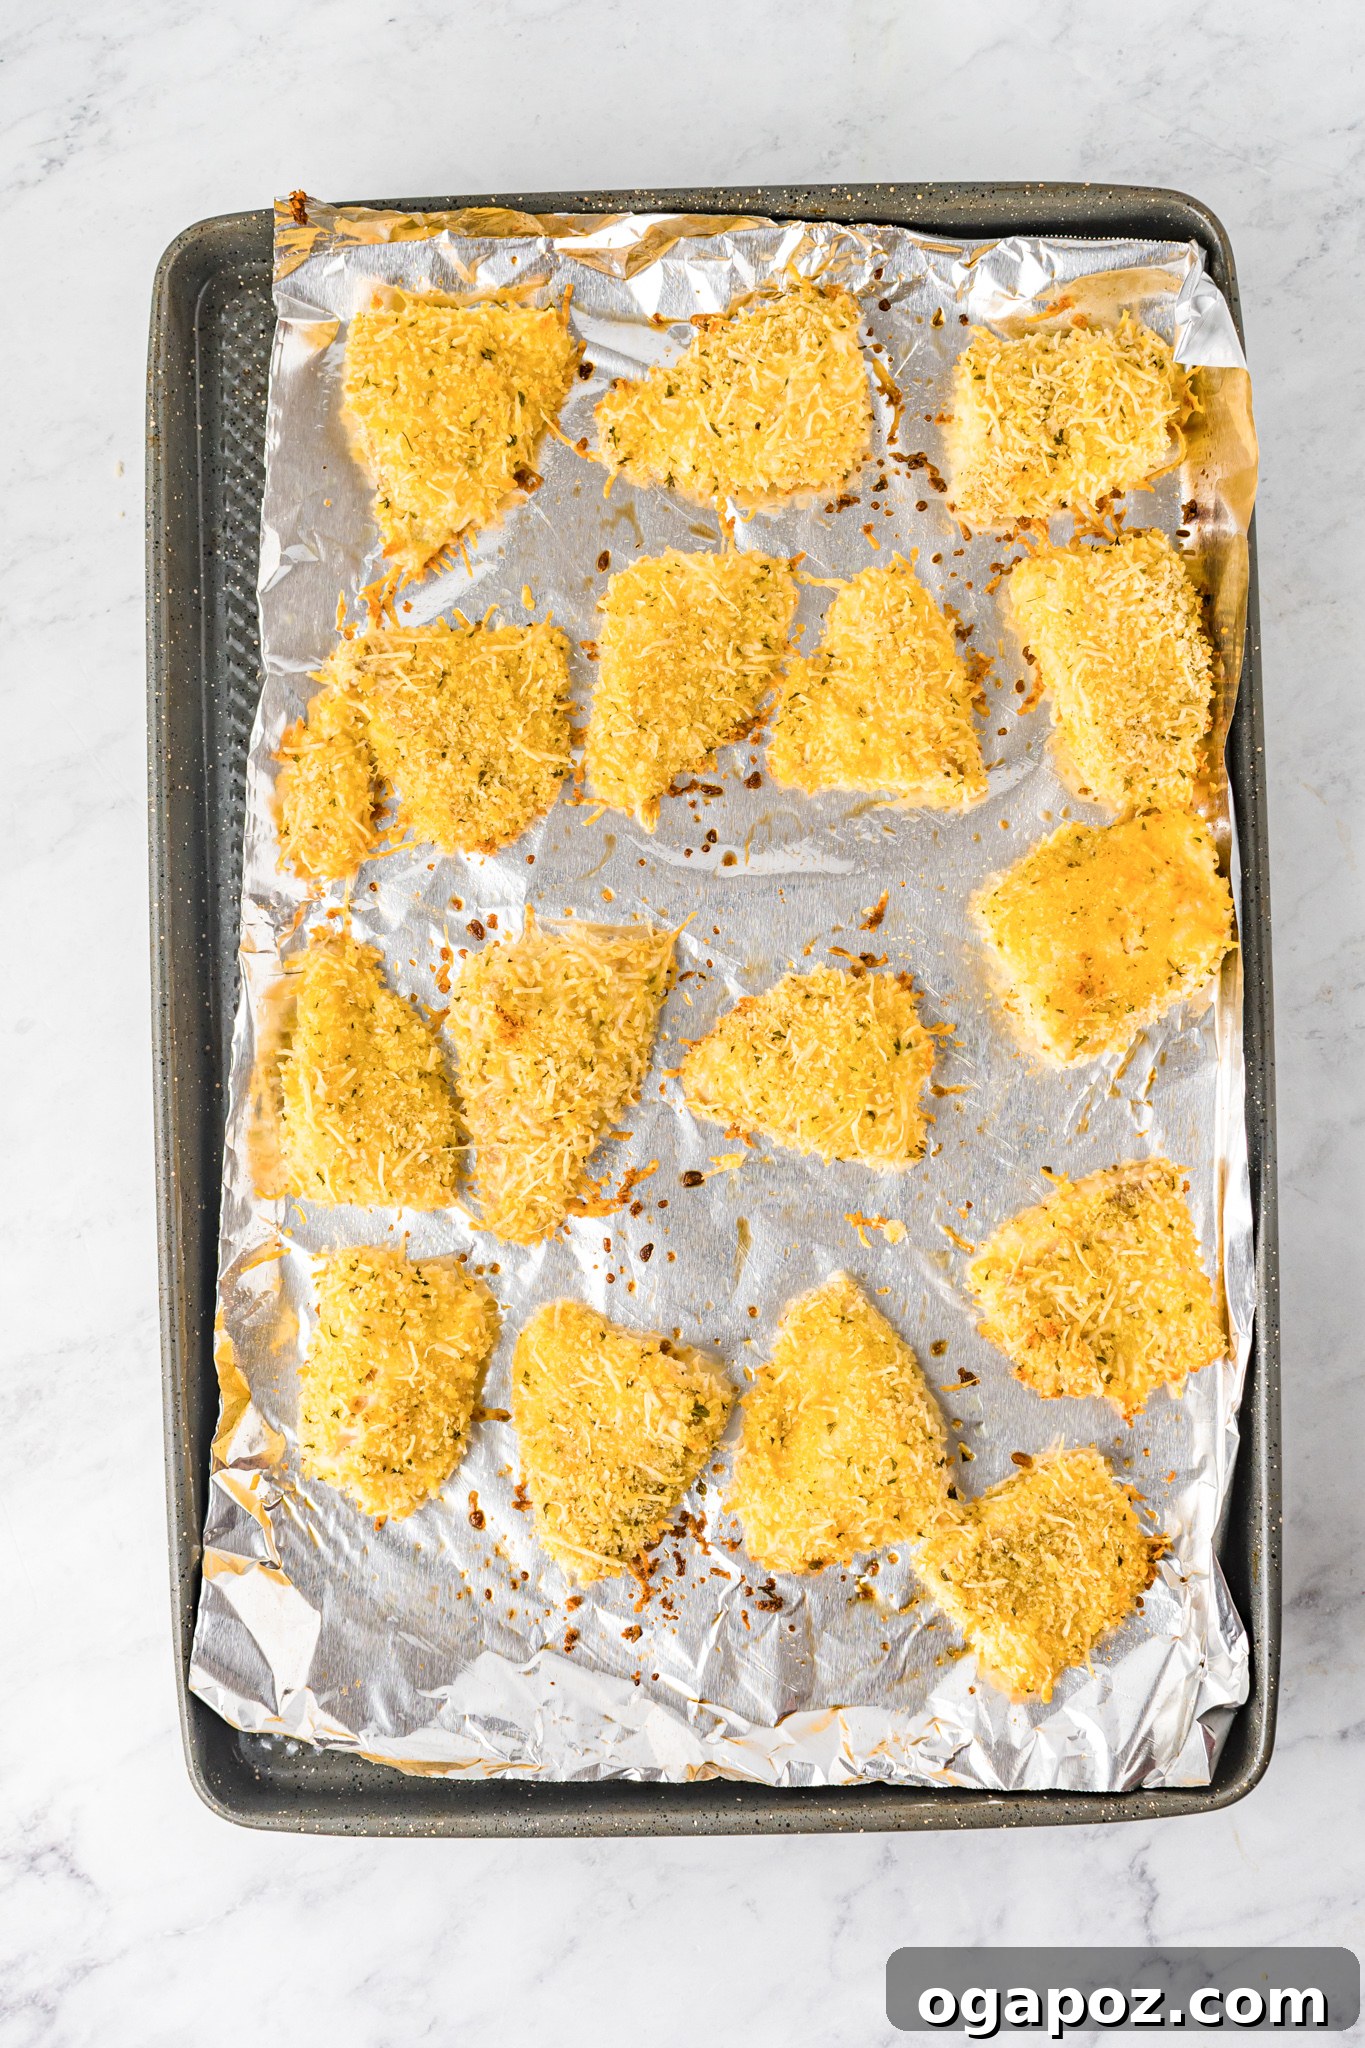
Step 3: Bake to Golden Perfection. Arrange the breaded fish sticks in a single layer on the prepared baking sheet, ensuring they are not overcrowded. This allows for even air circulation, which is essential for a crispy texture. Bake in the preheated oven for 10-12 minutes, or until the fish is cooked through and reaches an internal temperature of 145°F (63°C), and the coating is golden brown and crispy. Flip them halfway through baking for even crispness if desired.
Step 4: Prepare the Easy Dipping Sauce. While your fish sticks are baking, quickly whip up the delicious dipping sauce. In a small bowl, combine all the sauce ingredients (mayonnaise, sour cream, Dijon mustard, ketchup, and dill pickle relish). Stir well until thoroughly combined and smooth. Taste and adjust seasonings as needed.
Tips for Perfectly Crispy Baked Fish Sticks
Achieving that coveted golden-brown and crispy exterior on your baked fish sticks is easier than you think with a few simple tricks:
- Pat Dry, Pat Dry, Pat Dry: Excess moisture is the enemy of crispiness. Before you begin the breading process, ensure your fish fillets are thoroughly patted dry with paper towels. This allows the breading to adhere better and prevents steaming.
- Season Generously: Don’t underestimate the power of seasoning the flour. This is the first layer of flavor that directly touches the fish. A well-seasoned flour mixture (with salt, pepper, and Italian seasoning) makes a huge difference.
- Shake Off Excess: At each stage of the breading process – flour, egg, and panko mixture – gently shake off any excess. Too much flour or egg can lead to a gummy texture, while too much panko can result in a heavy coating.
- Don’t Overcrowd the Pan: Give your fish sticks space to breathe on the baking sheet. If they are too close together, they will steam instead of bake, resulting in a soggy crust. Use two baking sheets if necessary.
- A Spritz of Oil: A light spray of olive oil cooking spray over the breaded fish sticks before baking helps them achieve a beautiful golden color and an extra crispy texture.
- Internal Temperature Check: For food safety and optimal doneness, fish should reach an internal temperature of 145°F (63°C). A meat thermometer inserted into the thickest part of the fish stick will give you an accurate reading.
What to Pair with these Delicious Fish Sticks
These versatile baked Parmesan fish sticks pair wonderfully with a variety of side dishes, making them a fantastic centerpiece for any meal. Here are some ideas to complete your plate:
- Fresh Salads: A light, crisp salad provides a refreshing contrast to the richness of the fish.
- Mediterranean Bean Salad: A hearty and flavorful option with fresh herbs and a tangy dressing.
- Lemon Arugula Salad with Pine Nuts: Peppery arugula with a bright lemon vinaigrette and crunchy pine nuts.
- Summer Orzo Pasta Salad: A pasta salad packed with fresh vegetables and a zesty dressing.
- Easy Lebanese Salad: A simple yet vibrant cucumber and tomato salad.
- Hearty Vegetable Side Dishes: Boost your meal’s nutritional value with flavorful roasted or sautéed vegetables.
- Lebanese Green Beans: Tender green beans cooked in a flavorful tomato sauce.
- Turmeric Roasted Cauliflower: Earthy and subtly spiced, a delicious and healthy side.
- Mediterranean Roasted Vegetables: A colorful mix of bell peppers, zucchini, and onion, seasoned and roasted until tender.
- Steamed Asparagus: A simple and elegant side that complements fish beautifully.
- Comforting Potato Dishes: Potatoes are a classic accompaniment to fish, offering satisfying warmth and texture.
- Gouda Smashed Potatoes: Creamy on the inside, crispy on the outside, with a cheesy twist.
- Air Fryer Twice Baked Potato: Fluffy and flavorful, a more substantial potato option.
- Spicy Lebanese Potatoes: Potatoes tossed with garlic, cilantro, and a hint of spice.
- Lemon Cilantro Roasted Potatoes: Bright and zesty, a refreshing potato side.
Storage and Freezing Tips
Ensuring your homemade fish sticks remain delicious and safe to eat is easy with proper storage and reheating techniques:
- Refrigeration: Store any leftover baked fish sticks in an airtight container in the refrigerator for up to 3-5 days. To reheat, place them on a baking sheet in a warm oven (around 350°F / 175°C) for 10-15 minutes, or until heated through and crisp again. You can also use an air fryer at 375°F (190°C) for 5-7 minutes. Be careful not to overcook them, as this can dry out the fish.
- Freezing Cooked Fish Sticks: Once the fish sticks have been baked, allow them to cool completely. Arrange them in a single layer on a baking sheet and freeze until solid (about 1-2 hours). Transfer the frozen fish sticks to a freezer-safe airtight container or bag, separating layers with parchment paper to prevent sticking. They can be stored in the freezer for up to 3 months. When ready to enjoy, thaw them overnight in the refrigerator, then reheat as described above.
- Freezing Uncooked Fish Sticks: You can also freeze the fish sticks *before* baking. After breading, arrange them on a baking sheet and freeze until solid. Once frozen, transfer to a freezer-safe bag. When you’re ready to cook, bake from frozen (do not thaw) in a preheated 400°F (200°C) oven, adding about 5-10 minutes to the cooking time, or until golden and cooked through. This is a great meal prep strategy!
Recipe FAQ
Yes, absolutely! If using frozen fish fillets, ensure they are fully thawed in the refrigerator before use. Once thawed, it’s critical to pat them very dry with paper towels to remove any excess moisture. This step is essential for the breading to adhere properly and for achieving a crispy crust.
The secret to flavorful fish sticks lies in proper seasoning at every stage. Always season the flour generously with salt, pepper, and Italian seasoning before you begin the breading process. This first layer of seasoning directly flavors the fish fillets themselves. You can also add a pinch of garlic powder or onion powder to the flour mixture for extra depth.
Several key techniques help prevent sogginess. First, ensure you shake off any excess flour and egg mixture at each stage of the breading process. This creates a thinner, crisper coating. Second, and crucially, do not overcrowd your baking sheet. Arrange the fish sticks in a single layer with ample space between each piece. Overcrowding traps steam, leading to a soggy rather than crispy result. Finally, a light spray of olive oil before baking helps achieve that desired golden crispness.
Yes, you can easily adapt this recipe to be gluten-free. Simply substitute the all-purpose flour with a gluten-free all-purpose flour blend (one designed for baking or all-purpose use) and use gluten-free panko breadcrumbs. The rest of the ingredients, including the fish, eggs, and Parmesan cheese, are naturally gluten-free.
While panko breadcrumbs are highly recommended for their superior crispness, you can use regular fine breadcrumbs as a substitute. The texture might be slightly denser, but your fish sticks will still be delicious. You might want to toast the regular breadcrumbs lightly in a dry pan before mixing them with the Parmesan to enhance their flavor and crunch.
Tried this recipe? Leave a star rating and comment below! Subscribe to my newsletter or follow me on
Facebook,
Instagram, or
Pinterest for the latest.
Baked Parmesan Fish Sticks
Pin
Ingredients
- 1/3 cup all purpose flour
- 1/2 teaspoon salt
- 1/4 teaspoon pepper
- 1 teaspoon Italian seasoning
- 2 eggs, beaten
- 1 cup grated parmesan cheese
- 1 cup seasoned panko breadcrumbs
- 1 teaspoon dried parsley flakes
- 4 large tilapia fillets, cut into strips
- Olive oil cooking spray
For the dip:
- 1/3 cup mayonnaise
- 1/3 cup sour cream
- 1 tablespoon Dijon mustard
- 2 tablespoons ketchup
- 2 tablespoons dill pickle relish
Instructions
-
Preheat the oven to 400°F (200°C) and spray a baking sheet with cooking spray.
-
Combine the flour, Italian seasoning, salt, and pepper together in a shallow dish.
-
In another shallow dish, whisk the eggs.
-
In a third shallow dish, combine the Parmesan cheese, panko breadcrumbs, and parsley flakes; stir well. Cut the tilapia fillets into strips or nugget-sized pieces.
-
Dredge each piece of fish first in the seasoned flour, shaking off excess. Then, dip in the beaten egg, allowing excess to drip off. Finally, coat thoroughly in the panko-Parmesan mixture, gently pressing to adhere. Place the breaded fish on the prepared baking sheet.
-
Bake the fish for 10-12 minutes, or until golden brown, crispy, and the internal temperature reaches 145°F (63°C). Meanwhile, combine all the sauce ingredients together in a bowl and serve alongside the fish.
Notes
- Air Fryer Method: For an alternative cooking method, these fish sticks can be cooked in an air fryer. Preheat your air fryer to 400°F (200°C). Spray the breaded fish sticks with cooking spray, then air fry for 8 minutes. Flip them, spray again, and fry for an additional 4 minutes, or until golden and cooked through.
- Storage: Store leftover baked fish sticks in an airtight container in the refrigerator for up to 5 days. Reheat in a warm oven or air fryer for best crispness, being careful not to overcook.
Nutrition
Nutrition information is automatically calculated, so should only be used as an approximation.
There you have it – a comprehensive guide to crafting delicious, crispy, and healthy Baked Parmesan Fish Sticks right in your own kitchen. This recipe proves that homemade can be just as convenient and far more rewarding than store-bought alternatives. Whether you’re a seasoned chef or a kitchen novice, these fish sticks are a guaranteed hit that will delight your family and friends. So, gather your ingredients, follow these simple steps, and get ready to enjoy a fantastic, fuss-free meal. Happy cooking!