
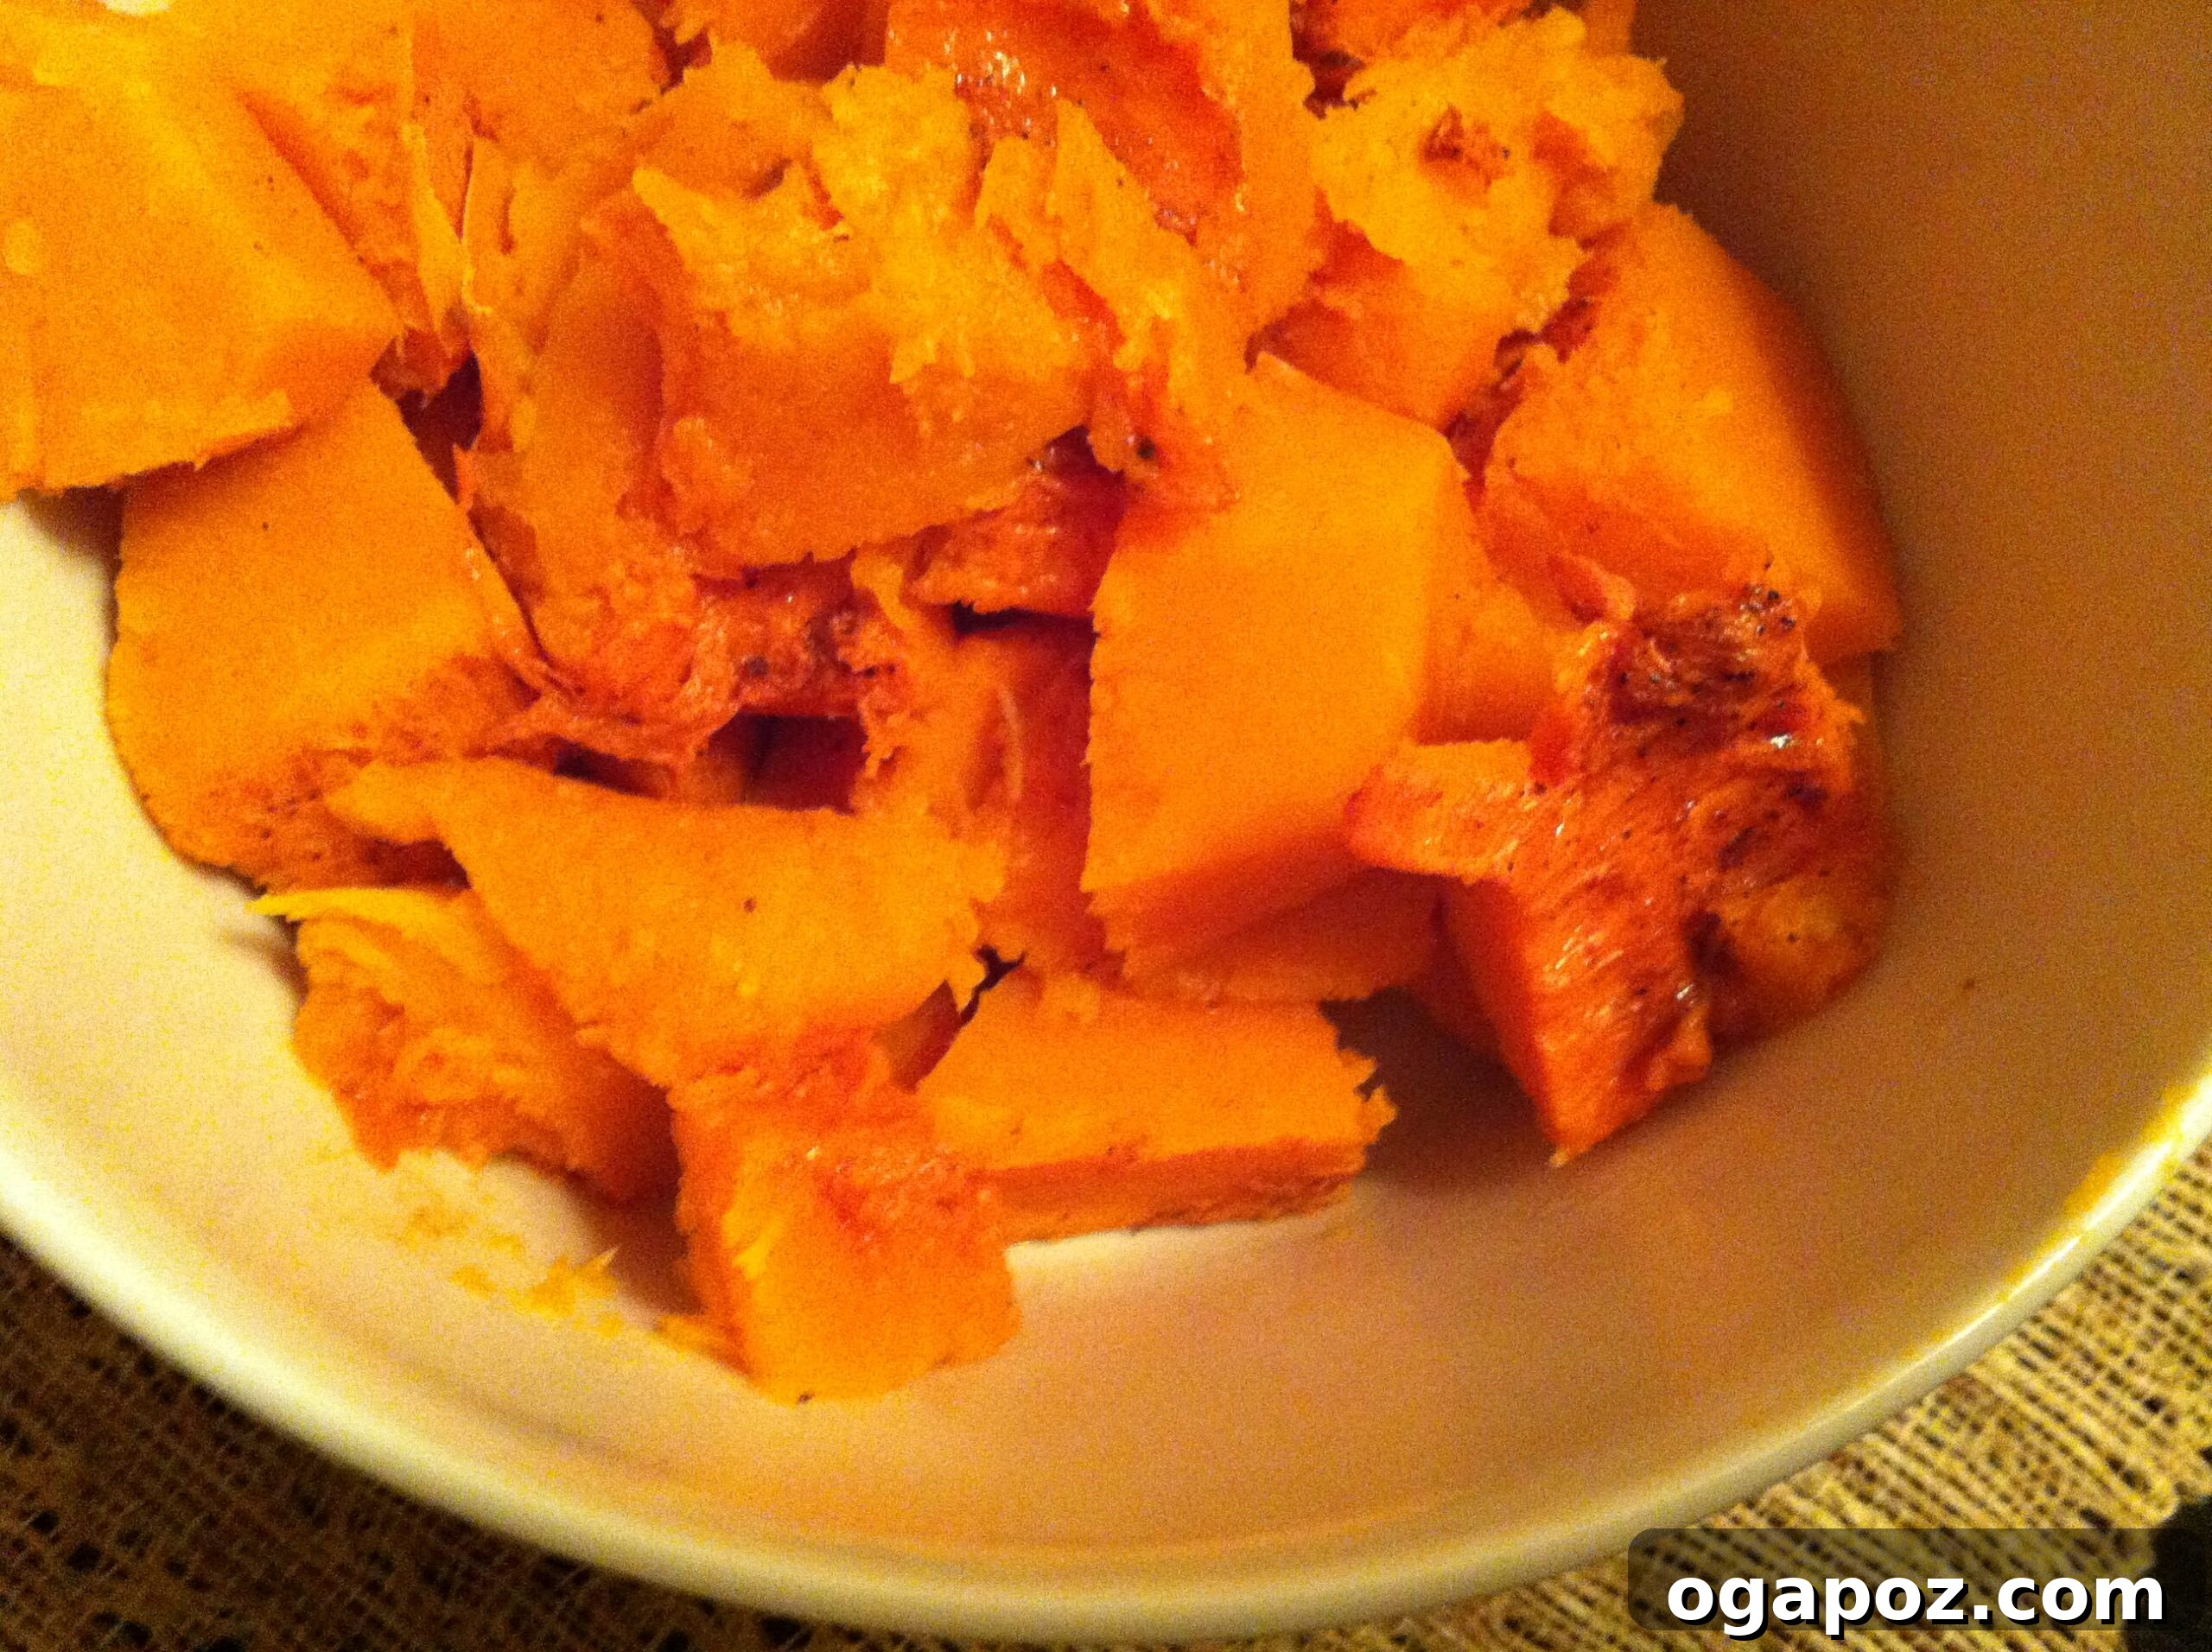
The Ultimate Guide to Roasting Butternut Squash & Seeds: Flavorful, Easy, and Healthy
Butternut squash, with its distinctive bell shape and vibrant orange flesh, is a true superstar of the autumn and winter culinary world. Beloved for its naturally sweet, nutty flavor and incredibly versatile nature, it’s a staple in countless kitchens. While there are many ways to prepare this delightful gourd, roasting stands out as the absolute best method for unlocking its full potential. It’s a process that not only enhances the squash’s inherent sweetness through caramelization but also makes the entire cooking experience surprisingly simple and fuss-free. Forget the days of tedious peeling and boiling; roasting butternut squash transforms it into a tender, flavorful delight with minimal effort.
Why Roasting Butternut Squash Is The Superior Method
For years, many people, myself included, defaulted to peeling and boiling butternut squash. While effective, this method often dilutes the flavor and results in a less appealing, watery texture. My culinary journey took a delightful turn when I discovered the magic of roasting, especially when preparing delicious dishes like butternut squash soup. The difference is night and day!
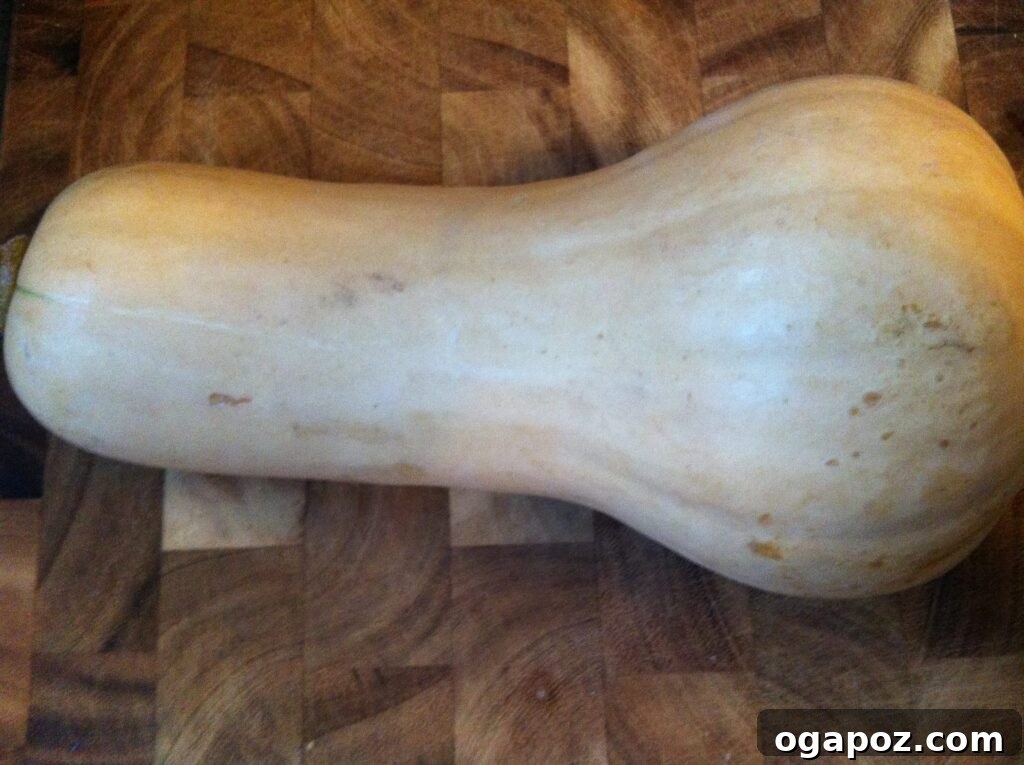
Roasting elevates butternut squash to new heights. The dry heat of the oven causes the natural sugars to caramelize, creating a rich, concentrated flavor and a beautifully tender, almost creamy texture that boiling simply can’t achieve. This method also eliminates the most “annoying” step for many — peeling the squash before it’s cooked. When roasted, the skin softens significantly, making it incredibly easy to scoop out the cooked flesh. Plus, roasting allows for an amazing opportunity to infuse the squash with a variety of complementary spices, further enhancing its already delicious taste profile.
Nutritional Benefits of Butternut Squash
Beyond its fantastic flavor and ease of preparation, butternut squash is a nutritional powerhouse. It’s an excellent source of dietary fiber, promoting digestive health and satiety. Rich in essential vitamins and minerals, it boasts an impressive amount of Vitamin A, crucial for vision and immune function, and a good dose of Vitamin C, an important antioxidant. It also contains potassium, magnesium, and B vitamins. Incorporating roasted butternut squash into your diet is a delicious way to boost your intake of wholesome nutrients, making it a truly healthy addition to any meal.
How to Perfectly Roast Butternut Squash: Step-by-Step
Ready to transform your butternut squash experience? This simple guide will walk you through the process, ensuring perfectly roasted, flavorful squash every time. Don’t forget to save those seeds – they’re destined to become a crunchy, addictive snack!
Ingredients for Roasted Butternut Squash:
- 1 medium butternut squash
- 1/4 teaspoon margarine or 1-2 tablespoons olive oil (per squash half)
- Sea salt, to taste
- Optional spices: nutmeg, cinnamon, rosemary, sage, thyme, cayenne pepper, maple syrup
Preparation and Cutting:
- Preheat Oven: Begin by preheating your oven to 400°F (200°C). This ensures the squash starts cooking immediately and achieves that desirable caramelization.
- Prepare Baking Sheet: Line a baking sheet with aluminum foil or parchment paper for easy cleanup.
- Cut the Squash: Place the butternut squash horizontally on a sturdy cutting board. Using a large, sharp chef’s knife, carefully cut the squash in half lengthwise. A pro tip for safety: if the squash is wobbly, trim a small slice off the bottom to create a flat, stable surface before cutting.


Scooping and Seasoning:
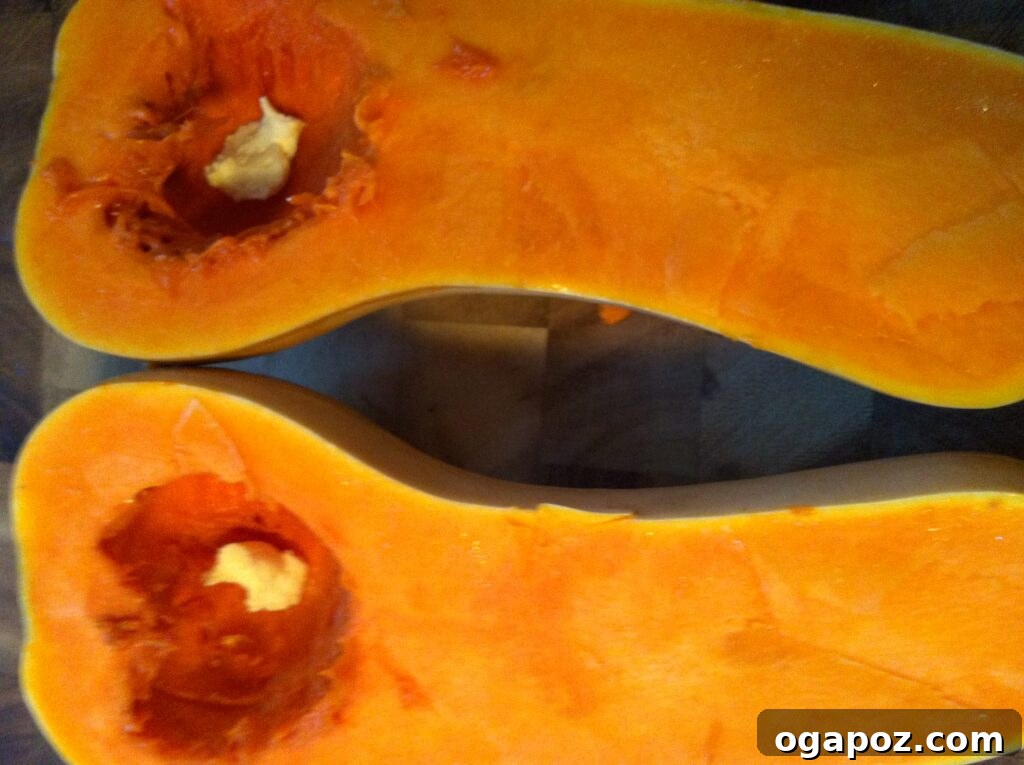
- Remove Seeds and Pulp: Use a spoon (a sturdy ice cream scoop works wonders!) to scrape out the seeds and stringy pulp from both halves of the squash. Be thorough, as this stringy material can be bitter. Set the seeds aside if you plan to roast them for a snack – we’ll cover that next!
- Place on Baking Sheet: Arrange the cleaned squash halves, cut-side up, on your prepared baking sheet.

- Add Fat: In each cavity of the squash, drop about ¼ teaspoon of margarine or drizzle 1-2 tablespoons of olive oil. The fat helps with flavor and allows the squash to cook evenly and caramelize beautifully.
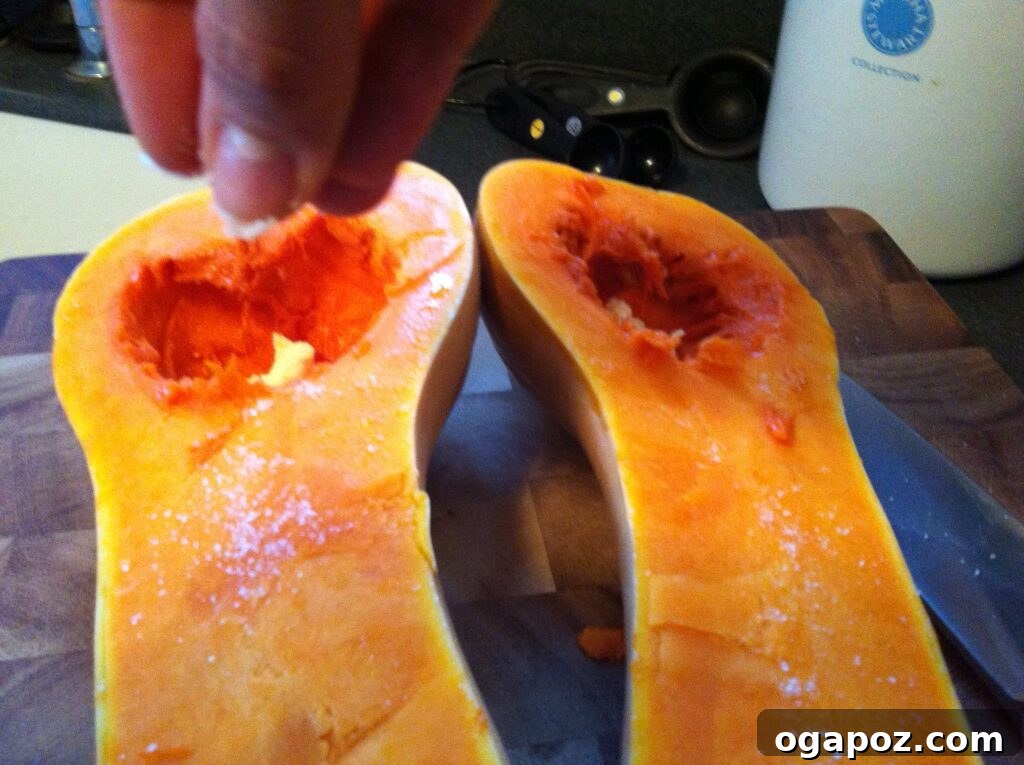
- Season Generously: Lightly sprinkle each squash half with sea salt. This is essential for bringing out the squash’s natural sweetness. Now, for the fun part: adding spices! While butternut squash is truly delicious with just salt, here are some ideas to elevate its flavor:
- Sweet & Warm: A pinch of nutmeg or cinnamon enhances its dessert-like qualities. Try a drizzle of maple syrup or a sprinkle of brown sugar for extra caramelization.
- Savory & Herbal: Fresh or dried rosemary, sage, or thyme pair wonderfully with the squash’s earthy notes.
- Spicy Kick: A tiny dash of cayenne pepper or a sprinkle of smoked paprika can add an exciting warmth.
Choose what you fancy! I often find that just a touch of sea salt is perfect, as the squash shines on its own.
Roasting and Serving:
- First Roast: Place the baking sheet with the squash in the preheated oven and roast for 25 minutes.
- Baste and Continue Roasting: Carefully remove the baking sheet from the oven. Using a pastry brush or spoon, baste the melted butter or oil along the entire inside surface of each squash half, mixing it with any spices you’ve added. Return the pan to the oven and bake for another 15 minutes, or until the squash is fork-tender. The total roasting time usually ranges from 40-50 minutes, depending on the size of your squash. You want it soft enough that a knife easily glides through the flesh.
- Cool and Serve: Once cooked, remove the squash from the oven and let it cool for a few minutes. The cooling process allows the squash to firm up slightly and makes it easier to handle.

- Remove Flesh: Using tongs and a knife or spoon, carefully scoop the tender butternut squash flesh from the skin. It should come off with ease. If it’s resistant, simply return it to the oven for a few more minutes.
- Enjoy: Place the roasted squash in a serving dish. It’s that easy, incredibly healthy, and unbelievably delicious!
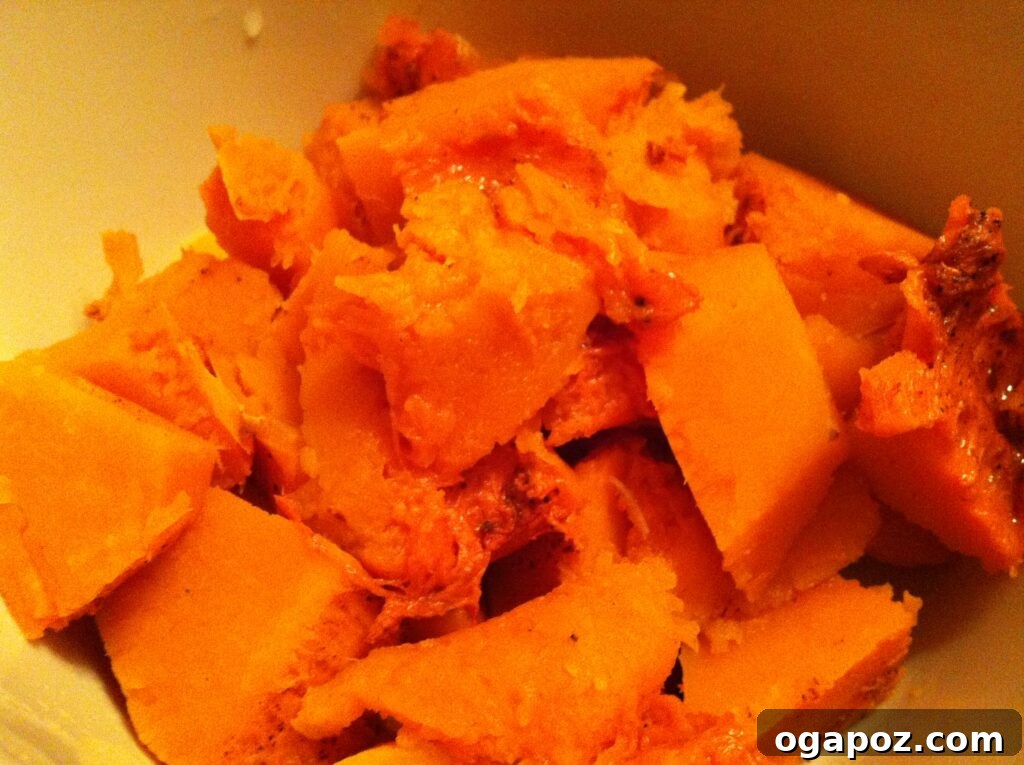
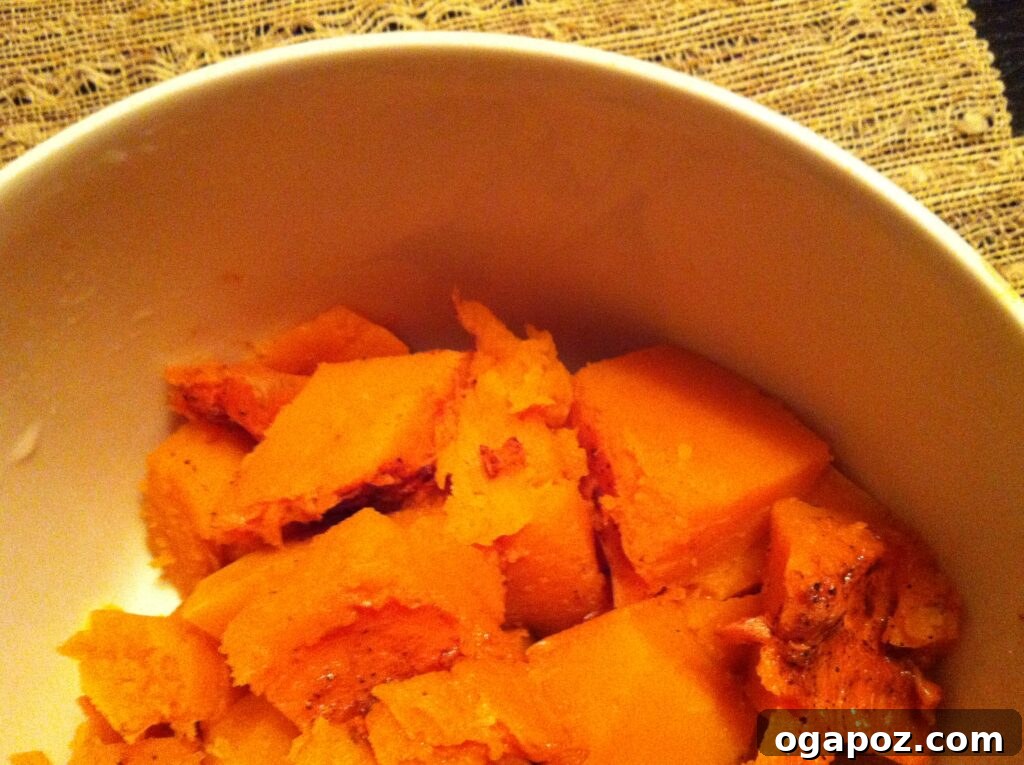
Serving Suggestions for Roasted Butternut Squash:
- Simple Side Dish: A perfect accompaniment to roasted chicken, pork, or fish.
- Soups & Stews: Puree the roasted squash to create a creamy, flavorful soup base without any added cream.
- Salads: Add cubes of roasted squash to a hearty winter salad for a burst of sweetness and color.
- Pasta & Risotto: Stir into pasta dishes or risottos for a comforting and nutritious meal.
- Mashed Squash: Mash with a little butter and seasoning for a wholesome alternative to mashed potatoes.
- Baked Goods: Use the puree in muffins, breads, or pies.
Roasted Butternut Squash Seeds: A Crunchy, Healthy Snack
Growing up, a highlight of carving pumpkins was always roasting the seeds. That satisfying crunch, often with a hint of saltiness, was irresistible! It made perfect sense that butternut squash seeds, so similar to pumpkin seeds, could be roasted in the same way. After a bit of research and experimentation, I can confirm: they are just as good, if not better! They make for an incredibly delicious, healthy, and easy snack that’s often overlooked.
Ingredients for Roasted Squash Seeds:
- Butternut squash seeds (saved from your roasted squash!)
- 1-2 teaspoons olive oil or melted butter
- Sea salt, to taste
- Optional spices: garlic powder, onion powder, chili powder, paprika, cinnamon-sugar mix
Preparing and Roasting the Seeds:
- Adjust Oven Temperature: If your oven is still at 400°F from roasting the squash, turn it down to 300°F (150°C). A lower temperature is ideal for roasting seeds to prevent burning and ensure even crispness.
- Clean the Seeds: Place the scooped-out seeds into a colander and rinse them under cold water. This helps to remove any remaining stringy pulp.
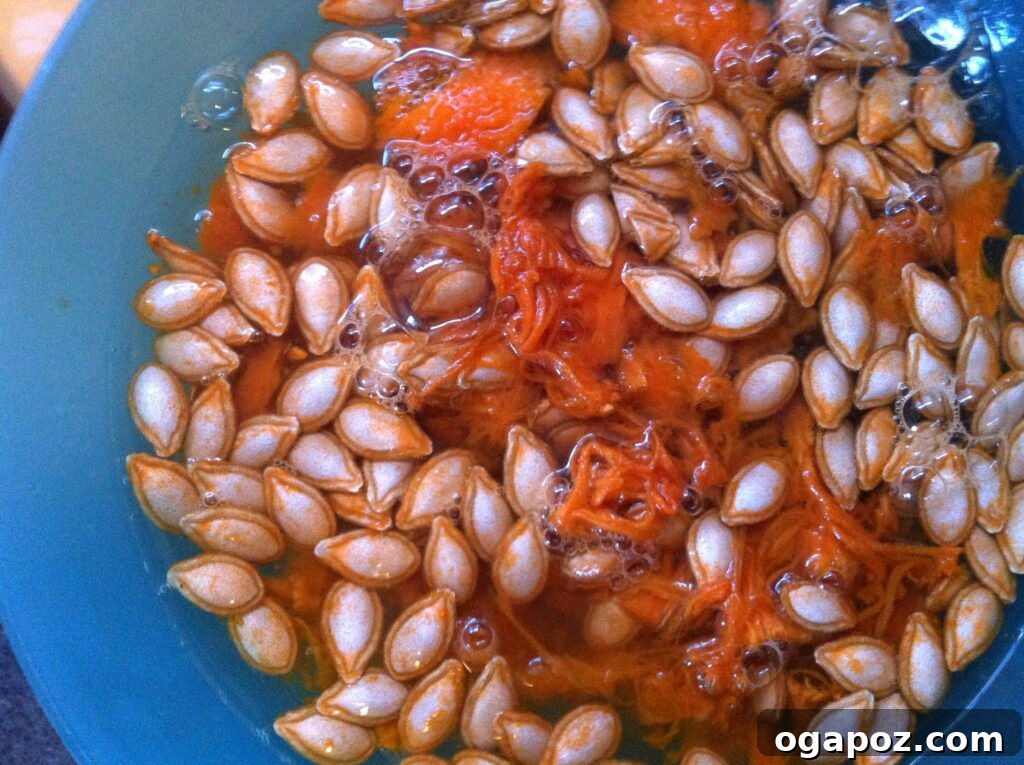
- Separate and Dry: After rinsing, painstakingly remove any lingering stringy bits from the seeds. Lay the cleaned seeds in a single layer on a few sheets of paper towel. Place another paper towel over them and gently pat dry for about 10 minutes. This step is crucial for crispy seeds, as excess moisture will steam them instead of roasting. Some seeds might stick to the towel, so be gentle when removing them.
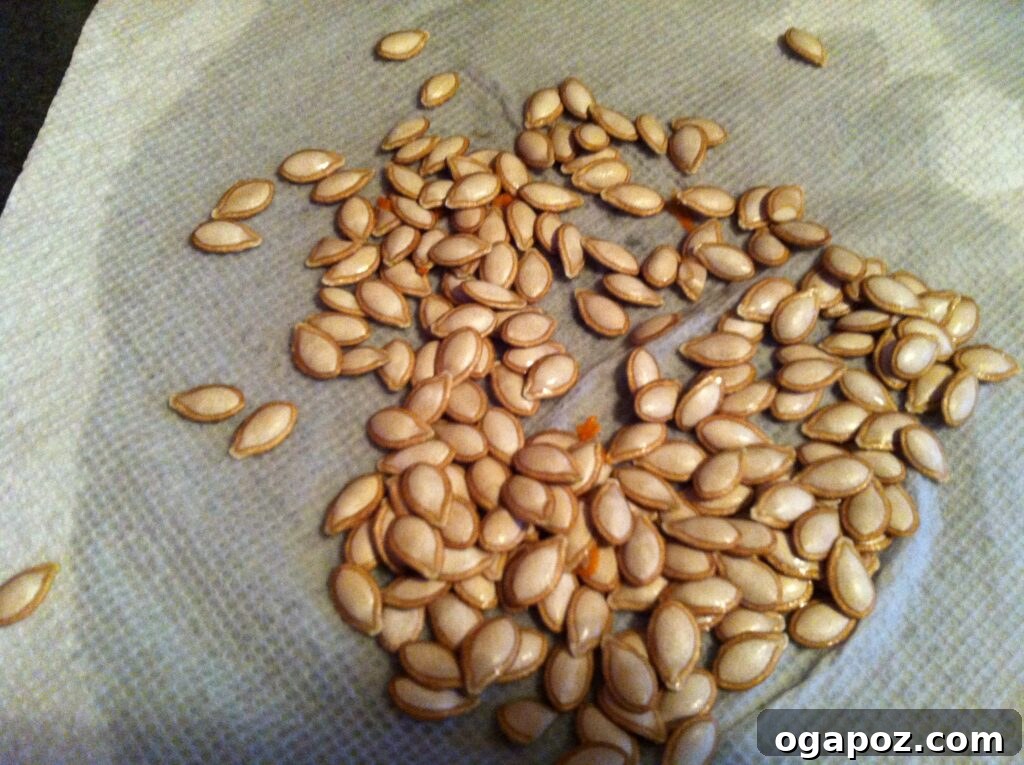
- Season the Seeds: Transfer the dried seeds to a small bowl. Drizzle with a teaspoon or two of olive oil or melted butter, then sprinkle with sea salt. Toss to ensure all seeds are lightly coated. Be mindful with the salt; a little goes a long way, and you can always add more later. You can also get creative here:
- Savory: Add a pinch of garlic powder, onion powder, or a dash of chili powder for a spicy kick.
- Sweet: Toss with a sprinkle of cinnamon and a tiny bit of sugar for a sweet treat.
- Spread on Baking Sheet: Spread the seasoned seeds in a single layer on the same foil-lined baking sheet you used for the squash.
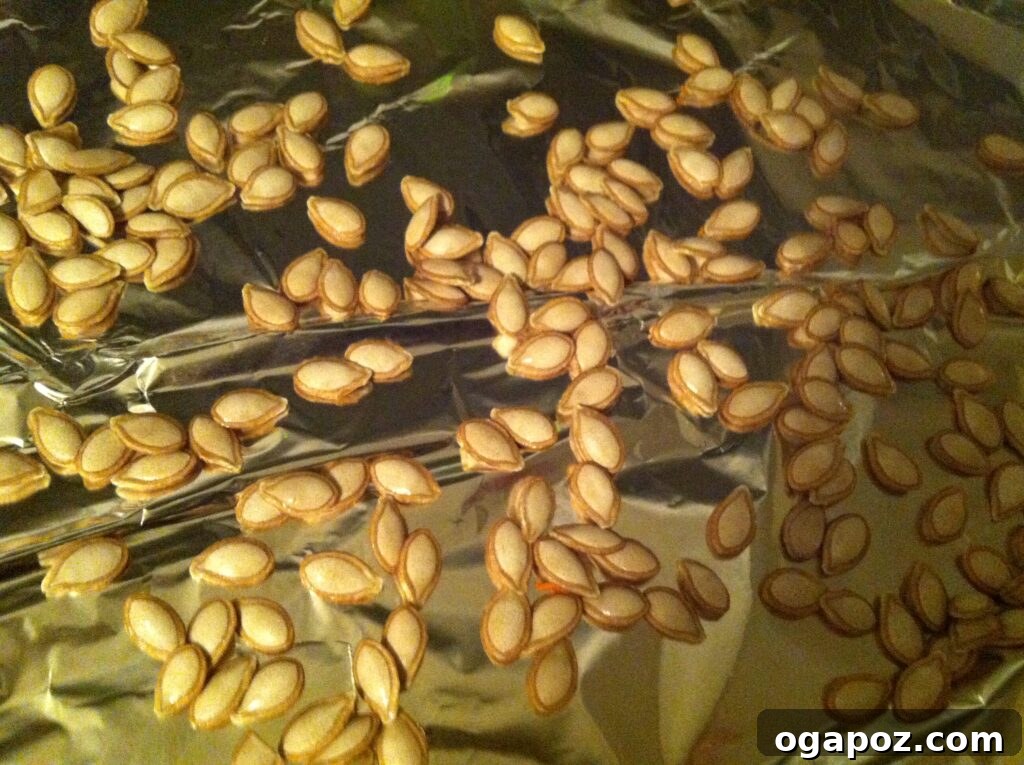
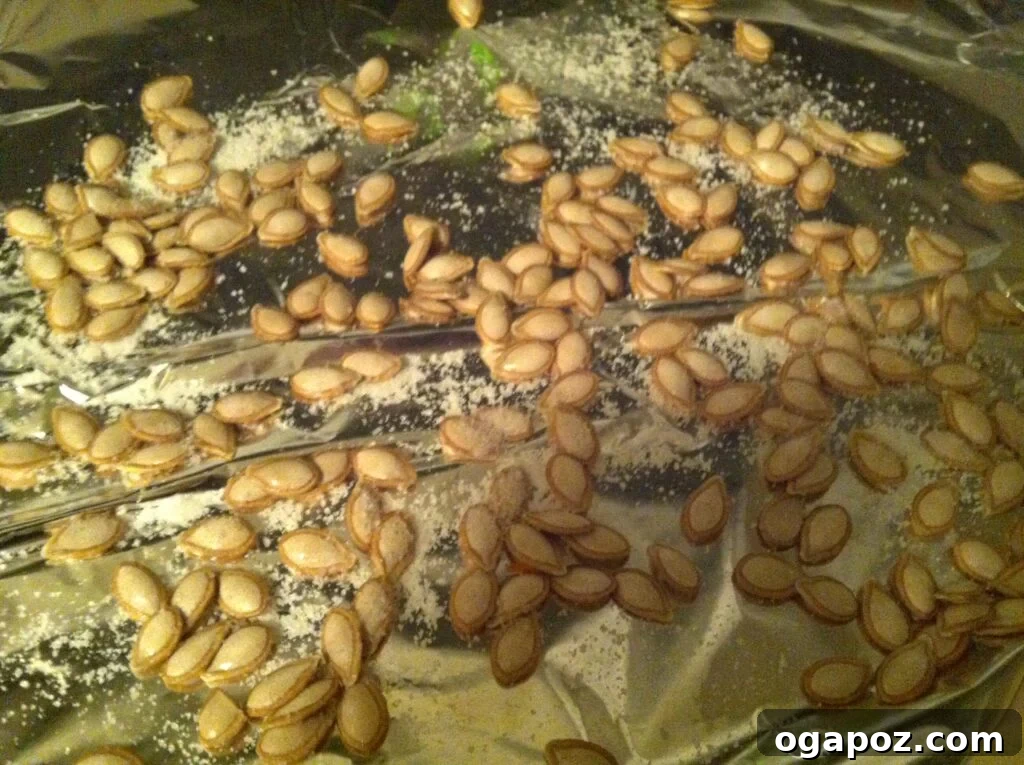
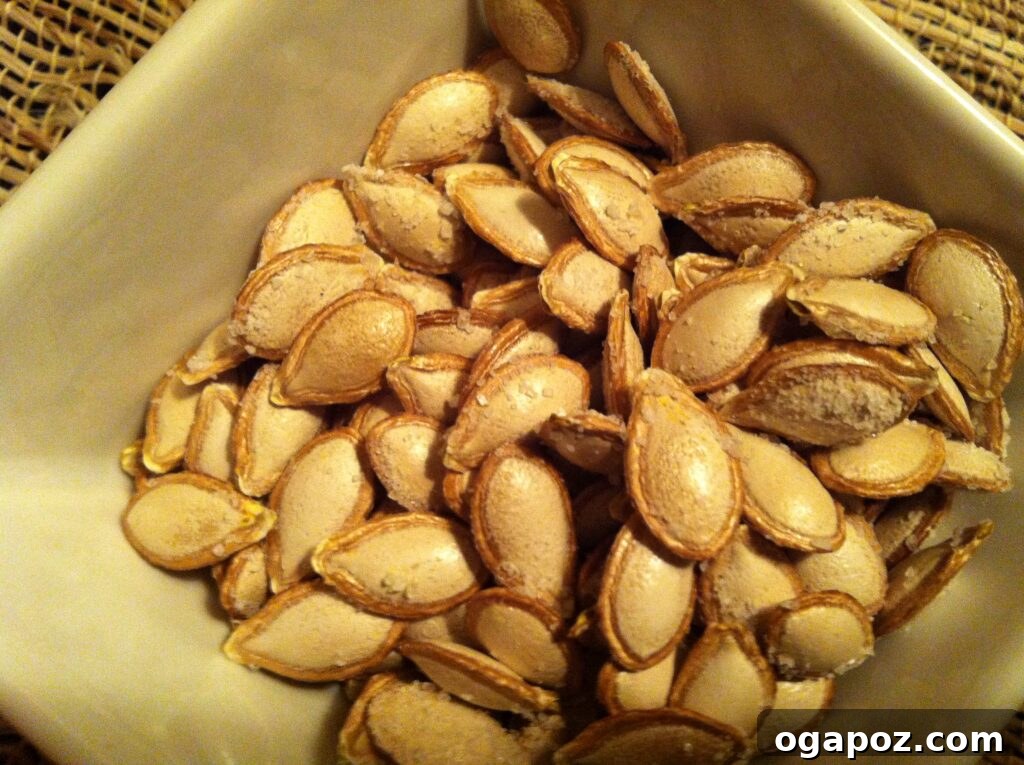
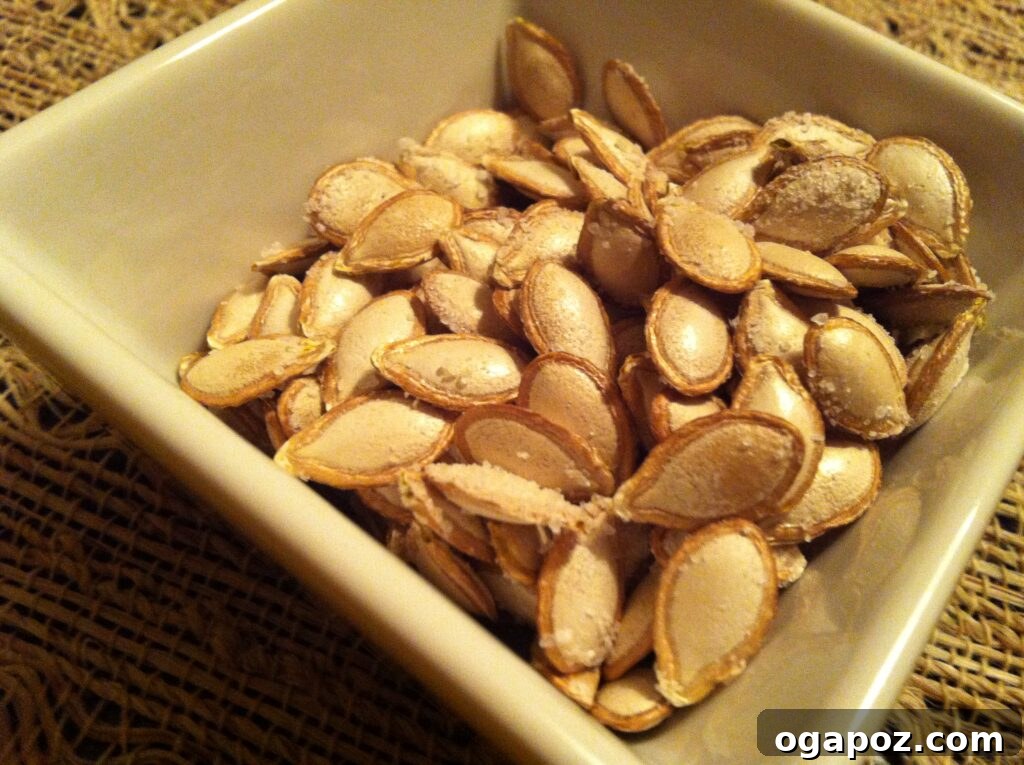
- Roast to Perfection: Place the baking sheet in the preheated 300°F (150°C) oven and roast for about 5 minutes. Remove, stir the seeds around to ensure even roasting, and return to the oven for another 4-5 minutes. Watch them carefully to prevent burning; you’re looking for a golden-brown color and a satisfying crunch. The total roasting time for seeds is usually around 10-15 minutes, but it varies based on oven and seed size.
- Cool and Enjoy: Remove from the oven and let them cool slightly on the baking sheet. As they cool, they will crisp up even further. Transfer the roasted seeds to a serving dish and enjoy this wonderfully simple, healthy, and incredibly tasty snack! My husband, who had never tried roasted pumpkin or butternut squash seeds before, absolutely loved them – proof that they’re a crowd-pleaser.
Conclusion: Embrace the Simplicity and Flavor
Roasting butternut squash and its seeds is an incredibly rewarding culinary experience. It’s a method that celebrates the natural sweetness and texture of this versatile vegetable while being remarkably easy to execute. From a comforting side dish to a crunchy, healthy snack, you’ll find endless ways to incorporate this roasted goodness into your meals. So, next time you pick up a butternut squash, remember these simple steps and unlock a world of flavor that’s both effortless and immensely satisfying. Happy roasting!