
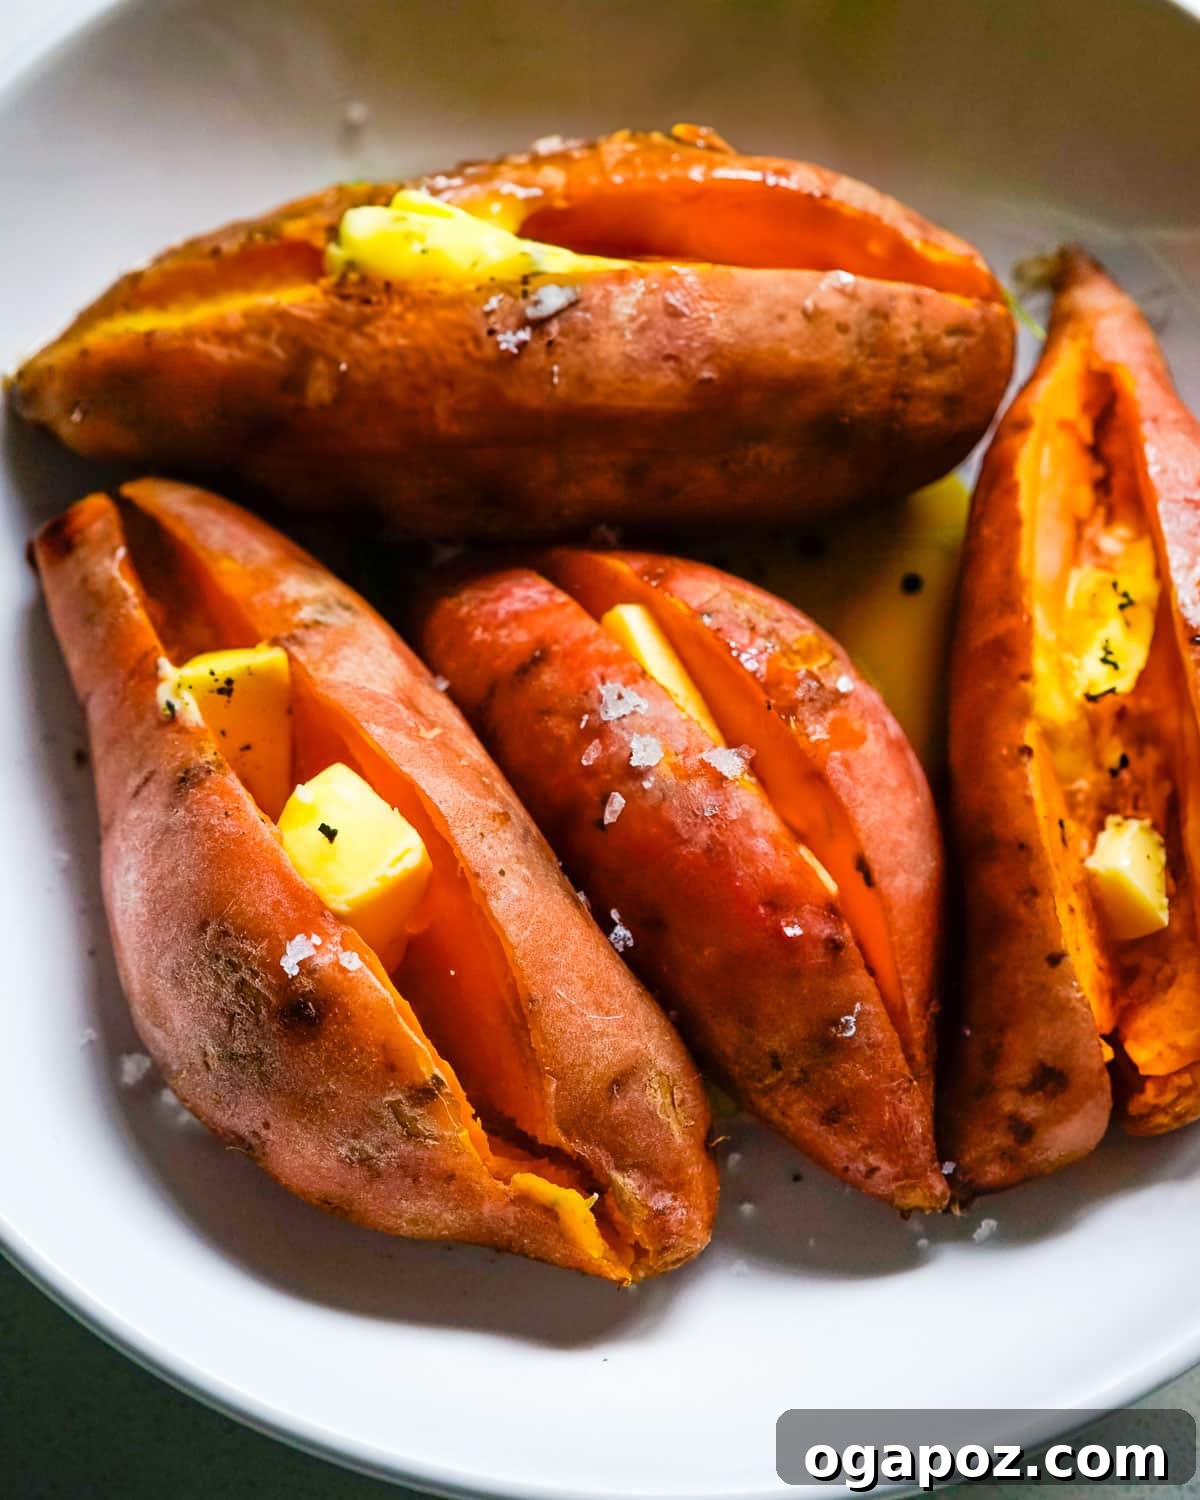
Perfect Instant Pot Sweet Potatoes: Fluffy & Flavorful Every Time
Imagine perfectly tender, naturally sweet, and incredibly fluffy sweet potatoes, cooked to absolute perfection without any fuss. That’s precisely what you get with Instant Pot sweet potatoes. This method takes all the guesswork out of cooking sweet potatoes, delivering consistent, delectable results every single time. Forget the long baking times and constant checking of a traditional oven method; with your Instant Pot, it’s truly a “set it and forget it” experience, leaving you with more time and less stress in the kitchen.
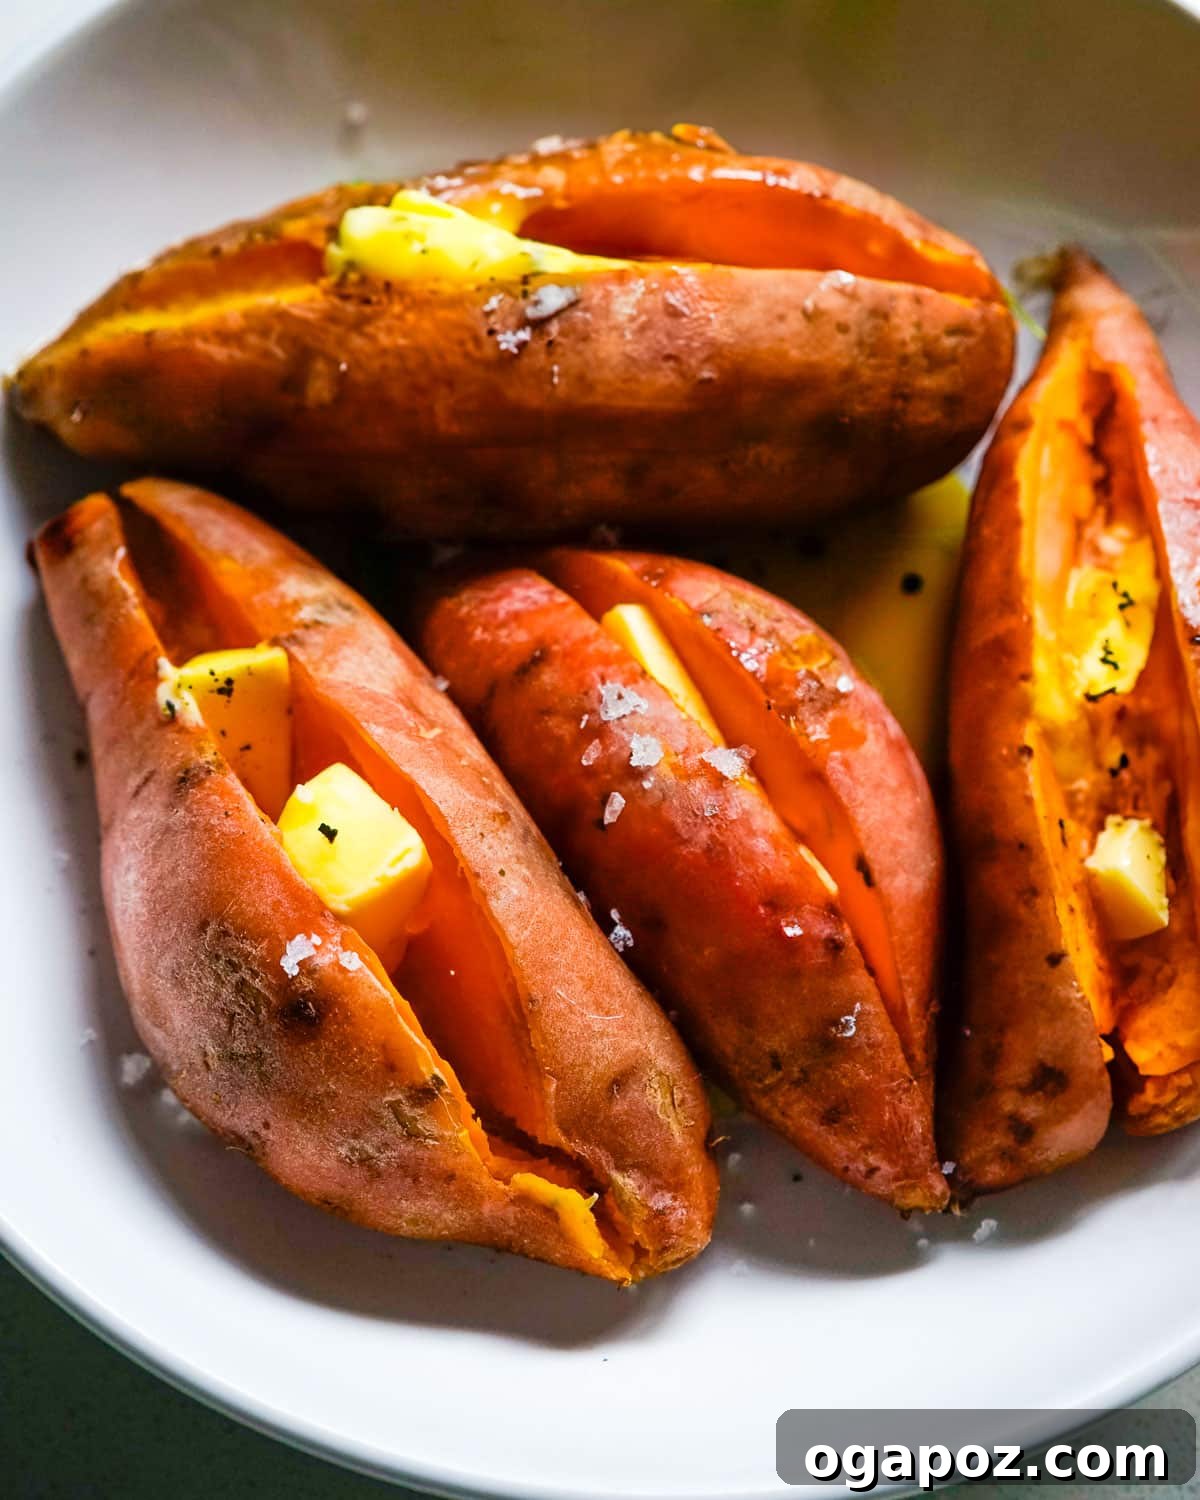
Whether you’re looking for a simple, healthy side dish, a versatile base for elaborate meals, or a quick way to prepare meal prep ingredients, the Instant Pot revolutionizes how you think about cooking sweet potatoes. They emerge from the pressure cooker with a creamy, almost custard-like interior and a beautifully tender texture that’s simply irresistible.
Why Instant Pot Sweet Potatoes Are a Game-Changer
In the bustling world of modern kitchens, the Instant Pot has earned its reputation as a true culinary workhorse. When it comes to cooking sweet potatoes, its advantages are particularly pronounced:
- Unmatched Consistency: The sealed environment of a pressure cooker ensures even heat distribution, leading to consistently cooked sweet potatoes from core to skin. No more undercooked centers or burnt edges!
- Significantly Faster: Compared to traditional oven baking which can take an hour or more, the Instant Pot dramatically cuts down cooking time, making it ideal for busy weeknights or last-minute meal additions.
- Hands-Off Cooking: Once you set the timer, you’re free to attend to other tasks. There’s no need to constantly monitor or flip the potatoes, freeing up precious oven space and your attention.
- Energy Efficient: Pressure cooking often uses less energy than heating a full-sized oven, contributing to a more eco-friendly kitchen.
- Superior Texture: The steaming process within the Instant Pot results in a uniquely fluffy, moist, and tender texture that many find even more desirable than roasted or baked versions.
Embrace the simplicity and efficiency of pressure cooking for your next sweet potato dish – you won’t regret it!
Gather Your Simple Ingredients and Tools
One of the beauties of this Instant Pot sweet potato recipe is its minimalist approach. You truly need very little to achieve outstanding results.
Essential Components: Instant Pot Sweet Potato Recipe Ingredients
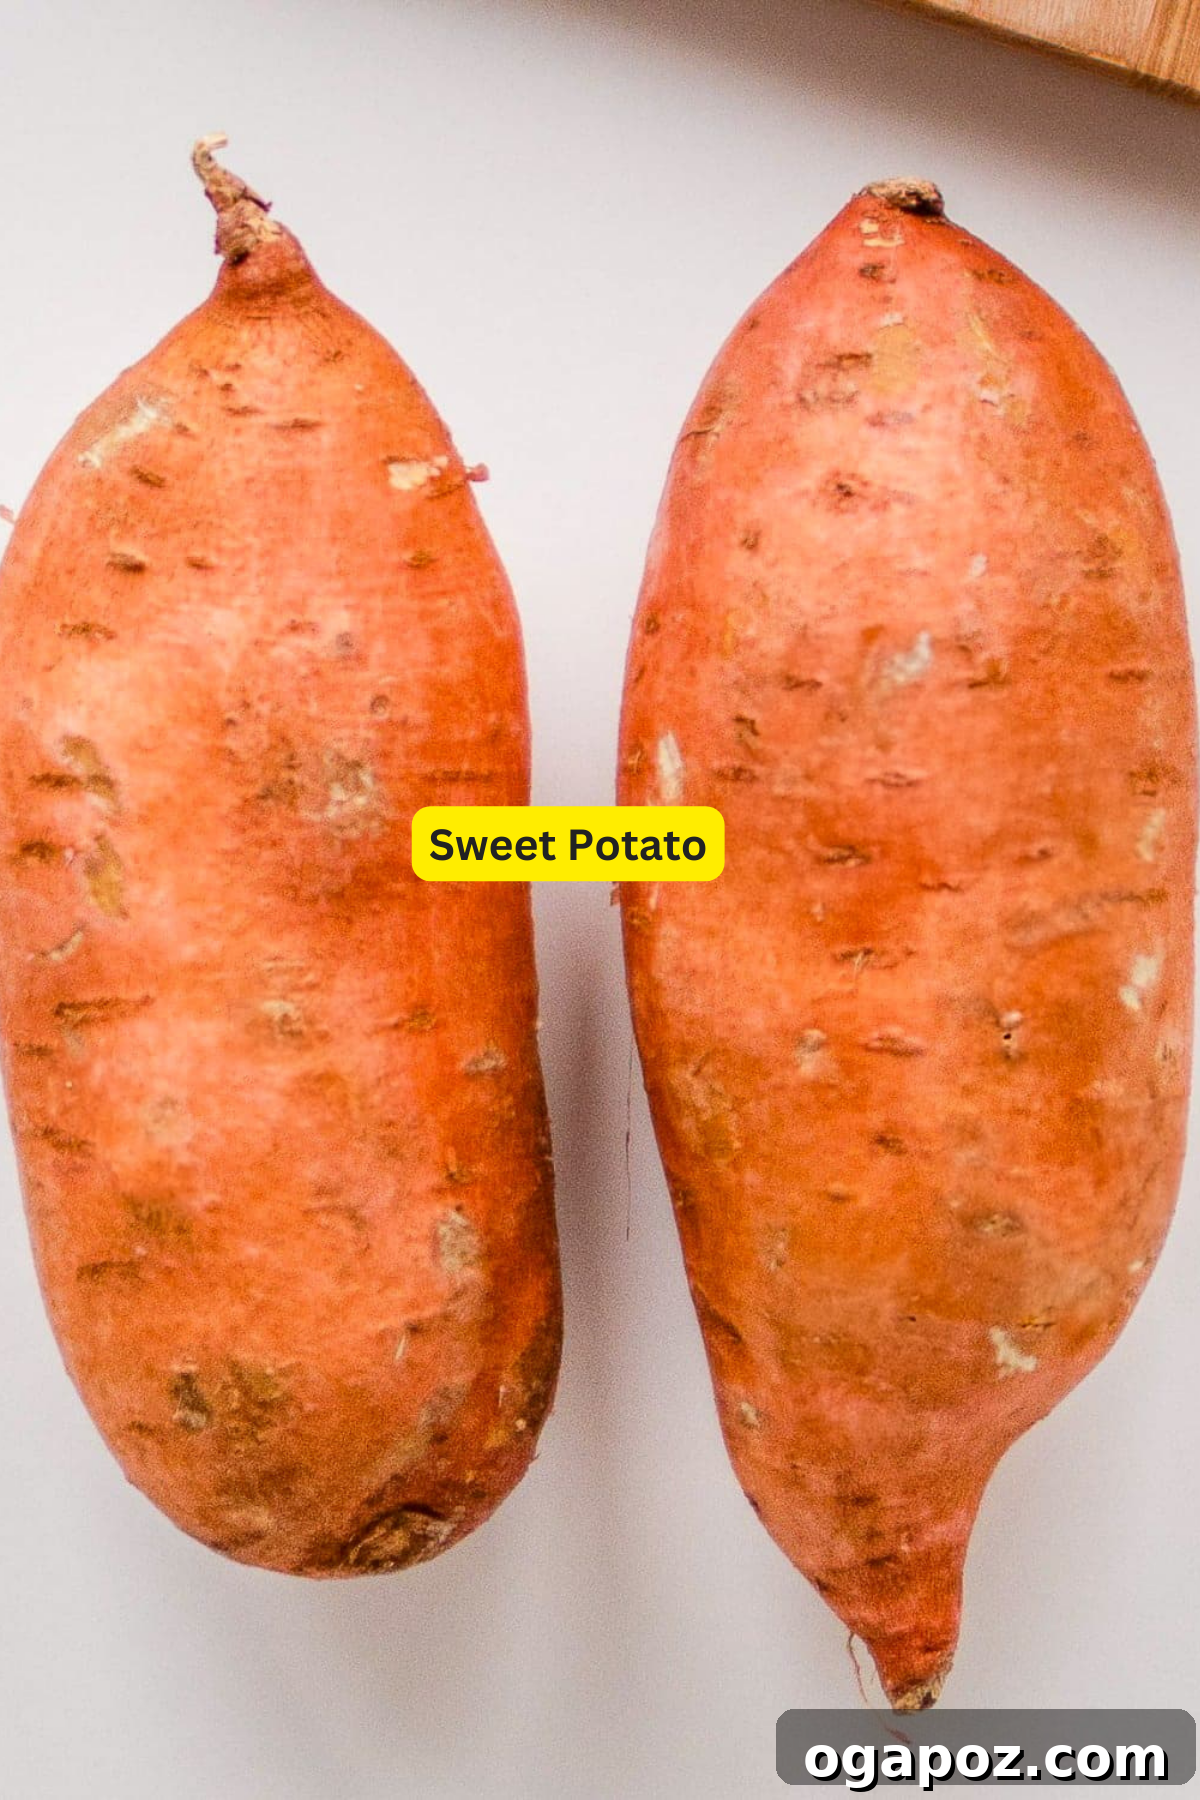
The star of the show, of course, is the sweet potato itself. For optimal results and ease of timing, I generally recommend using:
- Medium Sweet Potatoes: I find that sweet potatoes weighing approximately 8 ounces (about 225-250 grams) each are the most versatile. Their size allows for consistent cooking in most Instant Pot models, and they yield a good portion per serving.
- Water: Essential for creating the steam needed for pressure cooking. One cup is typically sufficient for most Instant Pot models (6-quart or 8-quart) to build and maintain pressure.
The exact quantity of sweet potatoes will depend on your Instant Pot’s capacity and how many you wish to cook. The full quantities for a standard recipe are conveniently listed in the detailed recipe card at the bottom of this article.
Substitutions and Creative Variations
While this guide focuses on sweet potatoes, the Instant Pot method is incredibly adaptable. You can easily apply these techniques to other root vegetables:
- Swap for Other Potatoes: Feel free to use russet, Yukon gold, red, or even exotic purple potatoes. Remember that different potato types have varying densities and starch levels, which may slightly alter the required cooking time. Russet potatoes, for instance, often need a slightly shorter cooking period than their sweet counterparts.
- Microwave or Crockpot Alternatives: If you’re exploring other potato cooking methods, check out my recipe for fluffy microwave baked potatoes for a super quick option, or my easy crockpot potatoes for a hands-off approach over a longer duration. Each method offers a unique texture and convenience.
Tools You’ll Need
The simplicity extends to the equipment. You won’t need an arsenal of kitchen gadgets, just these two essentials:
- Your Instant Pot (or any electric pressure cooker): This is the core piece of equipment. Any model, from a 3-quart mini to an 8-quart XL, will work perfectly, though larger pots can accommodate more potatoes.
- A Metal Trivet: This is crucial. The trivet (often included with your Instant Pot) keeps the sweet potatoes elevated above the water, allowing them to steam rather than boil directly in the liquid. This is key to achieving that perfectly fluffy, non-mushy texture. If you don’t have the official Instant Pot trivet, any heat-proof steamer rack or stand that fits inside will do the job.
How to Make Instant Pot Sweet Potatoes: A Step-by-Step Guide to Perfection
Achieving perfectly cooked, fluffy Instant Pot sweet potatoes is incredibly straightforward. Follow these simple steps for flawless results every time:
1. Preparing Your Sweet Potatoes
Begin by thoroughly rinsing your sweet potatoes under cool running water. Use a vegetable brush to gently scrub away any dirt or debris from the skin. It’s important to leave the skin on and, unlike traditional baking methods, avoid piercing them with a fork or knife. Keeping the skin intact helps to lock in moisture and flavor during the pressure cooking process, resulting in a more succulent and nutrient-rich potato.
2. Setting Up Your Instant Pot
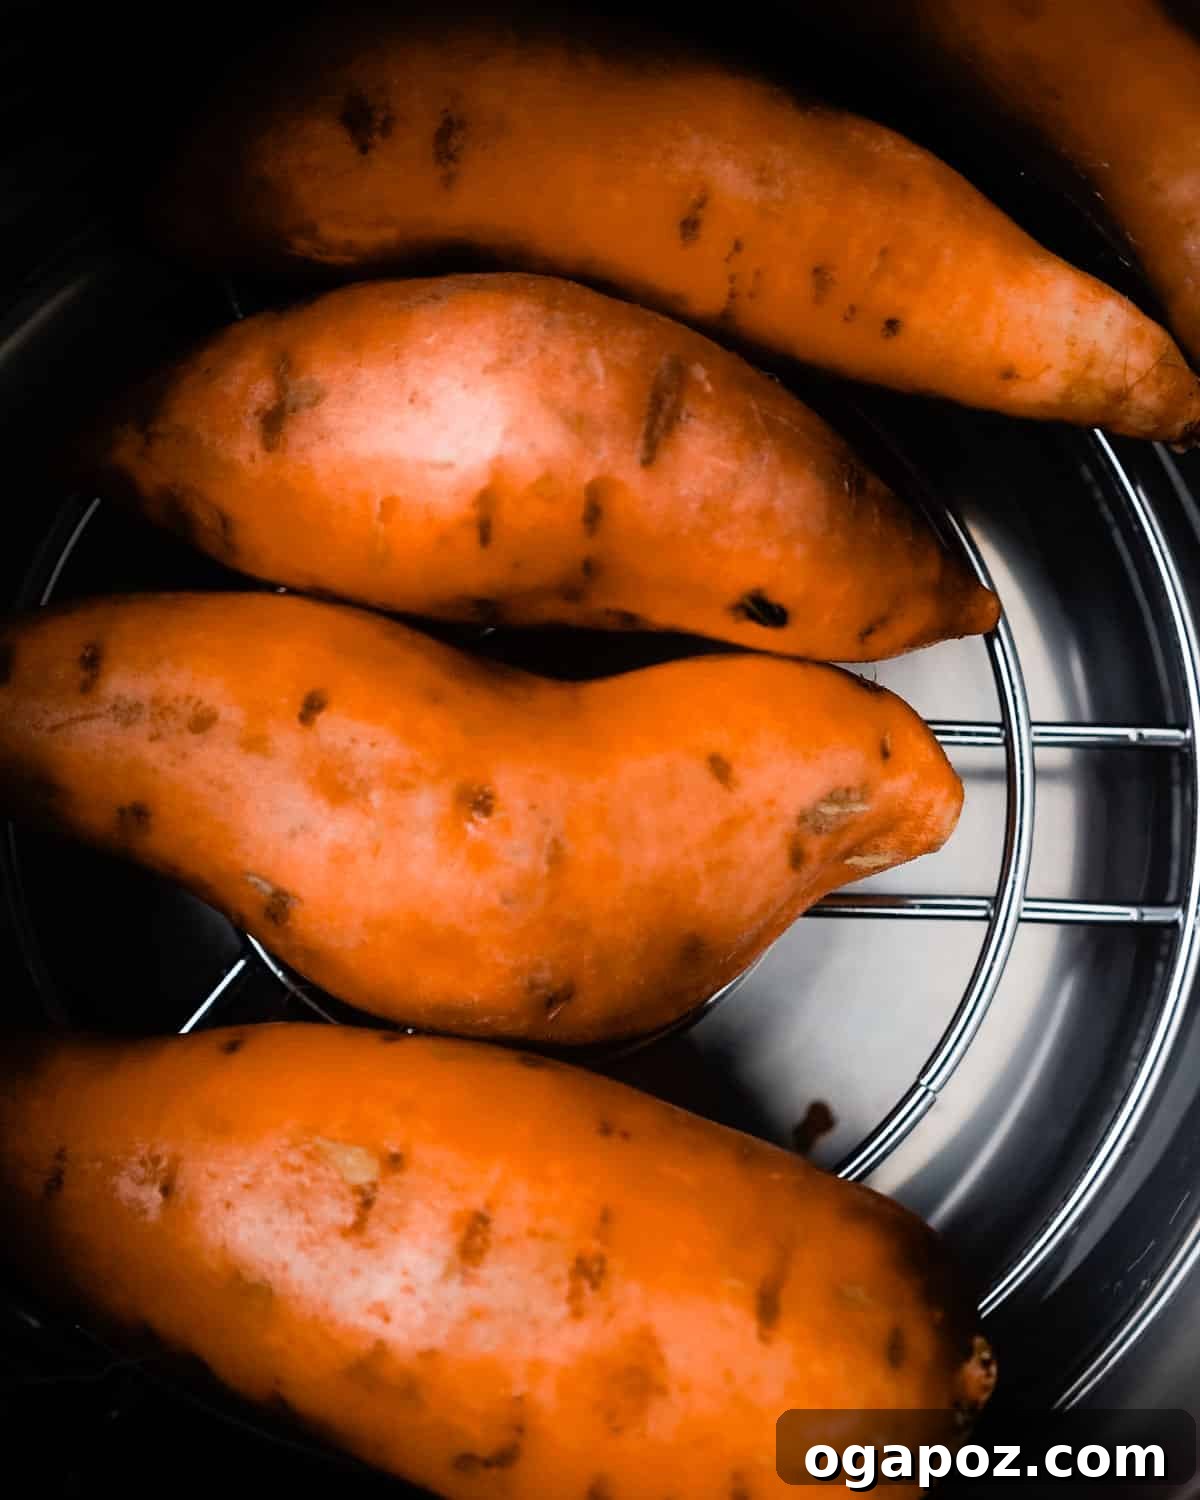
Pour exactly 1 cup of water into the bottom of your Instant Pot inner pot. This amount is sufficient to create the necessary steam for pressure building without submerging your potatoes. Next, carefully place the metal trivet (or steamer rack) inside the pot. This elevated position is crucial, as it keeps your sweet potatoes out of direct contact with the water, ensuring they steam beautifully rather than boil and become waterlogged.
3. Arranging Sweet Potatoes for Even Cooking
Gently place your prepared sweet potatoes on the trivet in a single layer. It’s vital to avoid stacking them, especially if they are larger, as this can lead to uneven cooking. If you have more sweet potatoes than can fit in a single layer, it’s better to cook them in batches or cut larger ones in half to accommodate. Once arranged, securely place the lid on your pressure cooker and turn the sealing valve to the “Sealing” position.
4. Pressure Cooking to Perfection
Now comes the magic of pressure cooking! The cooking time will vary depending on the size of your sweet potatoes. Select the “Manual” or “Pressure Cook” setting on high pressure, and use the plus/minus buttons to adjust the time according to this guide:
- Small Sweet Potatoes (6 oz or less / ~170g): Cook for 15 minutes on high pressure.
- Medium Sweet Potatoes (approx. 8 oz / ~225g): Cook for 20 minutes on high pressure.
- Large Sweet Potatoes (10-12 oz / ~280-340g): Cook for 30 minutes on high pressure.
- Extra Large Sweet Potatoes (14+ oz / ~400g+): Cook for 40 minutes on high pressure.
5. The Natural Release Advantage
Once the cooking cycle is complete, the Instant Pot will beep and switch to “Keep Warm.” Do not open the valve immediately for a quick release. Instead, allow the Instant Pot to naturally release pressure for 10 minutes. This “Natural Release” (NR) phase is essential as it allows the internal temperature of the potatoes to stabilize, preventing the skins from splitting and ensuring a consistently creamy and perfectly textured interior. After 10 minutes of natural release, you can then carefully move the sealing valve to the “Venting” position to perform a manual (quick) release of any remaining pressure.
6. Checking for Absolute Doneness
Carefully remove the sweet potatoes from the Instant Pot using tongs. To verify doneness, gently pierce one of the largest potatoes with a fork. If the fork glides in easily with minimal resistance, your sweet potatoes are perfectly cooked. If you encounter any firmness, return the potatoes to the Instant Pot, secure the lid, and cook for an additional 5 minutes on high pressure, followed by a quick release of pressure immediately after the cooking cycle finishes. This ensures they reach that desired tender consistency.
Avoid These Common Pitfalls for Perfect Instant Pot Sweet Potatoes
While cooking sweet potatoes in the Instant Pot is undeniably simple, a few common mistakes can hinder your quest for perfection. By understanding and avoiding these trip-ups, you’ll consistently achieve wonderfully tender results:
- Piercing the Skin Before Cooking: Unlike traditional oven baking, where poking holes helps steam escape and prevents explosions, Instant Pot sweet potatoes thrive with their skins intact. Keeping the skin whole allows them to steam properly within the pressure cooker’s sealed environment, retaining essential moisture and nutrients. Piercing can lead to a drier, less flavorful potato.
- Skipping the Trivet: This is a critical step that’s often overlooked by beginners. Placing sweet potatoes directly in the water will cause them to boil rather than steam. This results in a soggy, mushy texture and can dilute their natural sweetness. Always use the metal trivet to elevate the potatoes above the liquid, ensuring they cook evenly through steam.
- Overcrowding the Pot: While it might be tempting to cram as many sweet potatoes as possible into your Instant Pot, resist the urge. Stacking or overlapping too many potatoes prevents even steam distribution, leading to some potatoes being perfectly cooked while others remain firm. For the best results, arrange them in a single layer on the trivet, even if it means cooking in batches.
- Releasing Pressure Too Soon (Quick Release Immediately): Performing a quick release (manual release) immediately after the cooking cycle can shock the sweet potatoes. This abrupt change in pressure and temperature can cause their skins to split and the interior to become gummy or unevenly textured. Allowing a natural pressure release for at least 10 minutes provides a gentler transition, leading to a creamier, more consistent texture and preventing structural damage to the potatoes.
- Not Adjusting Cook Time for Size: Sweet potatoes come in a wide range of sizes, and a “one-size-fits-all” cooking time simply won’t work. Using the same cook time for a small sweet potato as an extra-large one will inevitably lead to either an undercooked, hard potato or an overcooked, mushy one. Always adjust your cooking time based on the weight or diameter of your sweet potatoes, referring to the detailed timing guide provided in the instructions.
By keeping these five simple tips in mind, you’ll unlock the full potential of your Instant Pot and enjoy consistently perfect sweet potatoes every single time!
Meal Prep and Storage: Enjoy Sweet Potatoes Anytime
One of the fantastic advantages of cooking sweet potatoes in your Instant Pot is how easy they are to prepare in advance. Whether you plan to enjoy them as a simple side, mash them for a recipe, or incorporate them into your meal prep, proper storage ensures they remain fresh and delicious.
- Refrigerator Storage: Once your cooked sweet potatoes have cooled completely, store them whole with their skins on in an airtight container in the refrigerator. They will maintain their quality for up to 5 days. Keeping the skin on helps to retain moisture and protects the flesh from drying out.
- Freezer Storage for Longer Shelf Life: For extended storage, sweet potatoes freeze beautifully. For best results, peel and mash the cooked sweet potatoes before freezing. You can add a splash of milk or cream and a pinch of salt if you prefer them seasoned. Freeze the mashed sweet potatoes in an airtight container or a freezer-safe bag (pressing out as much air as possible) for up to 3 months. When ready to use, simply thaw them overnight in the refrigerator. Whole cooked sweet potatoes can also be frozen, but their texture may change slightly upon thawing.
Reheating Instant Pot Sweet Potatoes
Reheating cooked sweet potatoes is quick and easy, allowing you to enjoy them warm whenever you like:
- Microwave: For a single sweet potato, microwave on high for 1-2 minutes, or until heated through. For mashed sweet potatoes, stir halfway through reheating.
- Oven: Preheat your oven to 350°F (175°C). Place whole or cut sweet potatoes on a baking sheet and heat for 10-15 minutes, or until warmed to your liking. This method can help crisp up the skin slightly if desired.
- Stovetop: For mashed sweet potatoes, gently reheat in a saucepan over medium-low heat, adding a splash of water, milk, or broth to restore a creamy texture and prevent sticking. Stir frequently.
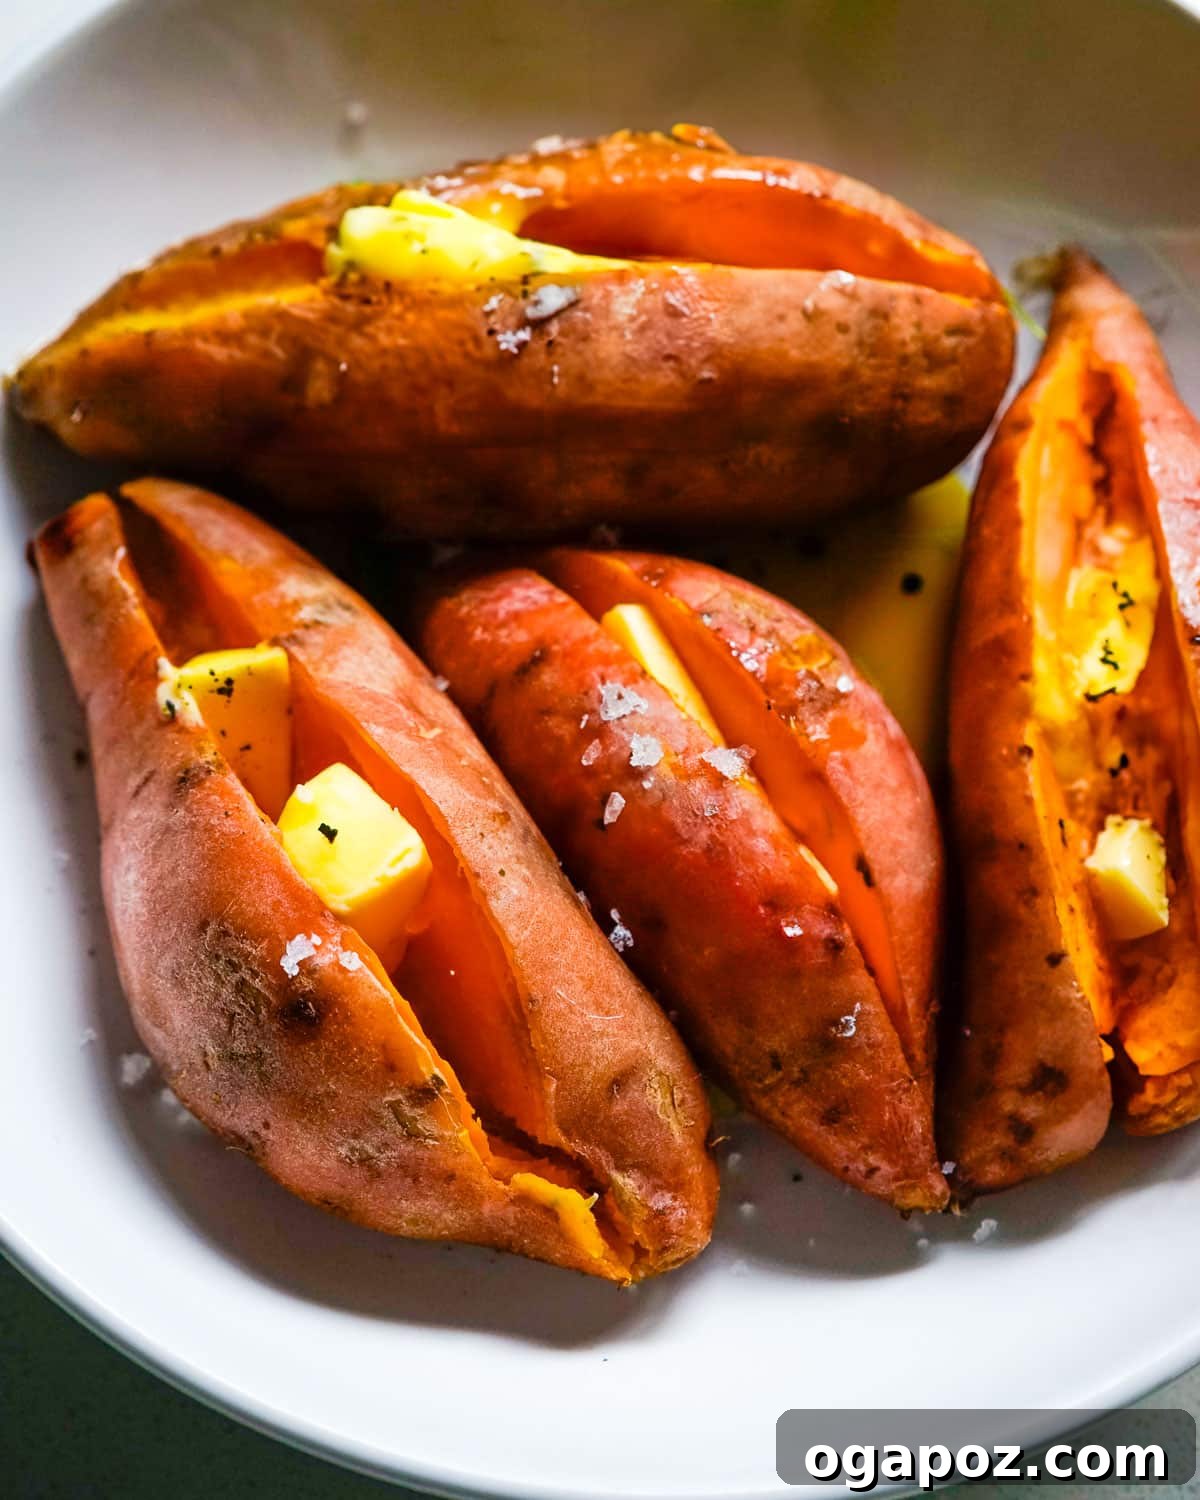
Versatile Serving Ideas for Your Instant Pot Sweet Potatoes
The beauty of perfectly cooked pressure cooker sweet potatoes lies in their incredible versatility. They can be the star of the show or a humble, yet delicious, supporting player in countless meals. Here are some of my favorite ways to serve them:
As a Classic Side Dish:
Sweet potatoes are a fantastic accompaniment to a wide variety of main courses, complementing both rich and lean proteins. Consider pairing them with:
- Hearty Meats: They are a dream alongside juicy oven-baked pork chops, my tender air fryer pork loin, or a succulent air fryer beef roast. The natural sweetness of the potatoes beautifully balances savory meat dishes.
- Poultry Perfection: Serve them with my flavorful air fryer chicken thighs or these irresistibly sweet and savory honey garlic lemon pepper chicken thighs.
- Fish & Seafood: Their mild sweetness also makes them an excellent pairing for baked salmon, grilled shrimp, or pan-seared cod.
Transformative Creations:
- Sweet Potato Casserole: Use your perfectly cooked sweet potatoes as the base for an indulgent sweet potato casserole. Mash them with butter, brown sugar, and spices, then top with toasted marshmallows or a pecan streusel for a holiday-worthy dish.
- Instant Pot Mashed Sweet Potatoes: For a simple yet elegant side, remove the skins while warm and follow my go-to mashed potato recipe, adapting it for sweet potatoes. Add butter, a splash of milk or cream, and a pinch of salt for a creamy, delightful mash. Consider adding a touch of cinnamon or nutmeg for extra warmth.
- Baked Goodies: Don’t limit sweet potatoes to savory dishes! Their natural sweetness and moist texture make them fantastic for baking. Incorporate them into recipes like these heavenly sweet potato cupcakes with marshmallow frosting, muffins, or quick breads.
Easy & Delicious Lunches or Light Meals:
For a quick and satisfying lunch, a single Instant Pot sweet potato can be a meal in itself. Simply split it open and load it up with your favorite toppings:
- Savory Toppings: A dollop of sour cream or Greek yogurt, a sprinkle of fresh green onions or chives, a scoop of black beans, leftover chili, melted cheese, or even some crumbled bacon.
- Sweet Toppings: Drizzle with maple syrup or honey, a pat of butter, a dash of cinnamon, or even a sprinkle of chopped nuts for a healthy dessert-like treat.
The possibilities are truly endless when you have a batch of perfectly cooked Instant Pot sweet potatoes ready to go!
Expert Tips & Science-Backed Secrets for Flawless Sweet Potatoes
As a food scientist, I’m always looking for the optimal way to prepare ingredients to maximize flavor, texture, and nutritional value. Here are my key professional insights and pro tips for achieving the best possible Instant Pot sweet potatoes:
- For Extra Fluffiness, Let Them Rest: After the pressure has naturally released and you’ve opened the pot, resist the urge to immediately slice into your sweet potatoes. Allowing them to sit in the warm pot (or even on a cooling rack) for an additional 5 minutes before cutting helps the internal starches set and the residual steam to dissipate evenly. This leads to an incredibly light and fluffy texture, preventing any potential sogginess.
- Strategic Meal Prep: Cook a larger batch of sweet potatoes in advance. Once cooled, refrigerate them whole for up to 5 days. This makes them readily available for quick meals, sides, or recipe additions throughout the week, saving you time and effort during busy moments.
- Mind the Pot’s Capacity – Size Matters: While the Instant Pot is versatile, it’s important to select sweet potatoes that will fit comfortably in a single layer on your trivet. If you have particularly large or oddly shaped potatoes, don’t hesitate to cut them in half lengthwise or into large chunks before cooking. This ensures even cooking and prevents overcrowding, which can lead to undercooked spots.
- The Power of the Skin: Beyond retaining moisture, cooking sweet potatoes with their skins on also preserves more of their beneficial nutrients. The skin itself is a fantastic source of fiber, and many vitamins are concentrated just beneath the surface.
- Consistency in Size: If you’re cooking multiple sweet potatoes, try to select ones of similar size and weight. This uniform approach ensures that all potatoes cook through at roughly the same rate, making your timing guide more accurate and yielding consistently perfect results across the batch.
Frequently Asked Questions About Instant Pot Sweet Potatoes
Have a quick question? Here are the most common queries I encounter regarding Instant Pot sweet potatoes, with clear and concise answers:
No, absolutely not. Unlike oven baking, there’s no need to pierce the skin of sweet potatoes when pressure cooking. Keeping them whole helps to retain their natural moisture and prevents them from splitting during the cooking process, contributing to a better texture.
For the most even cooking and best results, it is always recommended to arrange sweet potatoes in a single layer on the trivet. If you must stack them due to volume, be aware that you might need to add a few extra minutes to the cooking time and potentially flip them halfway to ensure they cook thoroughly.
The best way to test for doneness is by piercing the largest sweet potato with a fork. If the fork slides in easily without much resistance, they are done. If you feel firmness, simply reseal the pot and cook for another 5 minutes on high pressure, followed by a quick release.
If your sweet potatoes are too soft, it usually indicates they were overcooked. For your next batch, try reducing the cooking time slightly (e.g., by 2-5 minutes, depending on the size). Also, ensure you’re using the natural pressure release as recommended, as an immediate quick release can sometimes affect texture.
While you can cook frozen sweet potatoes, this recipe is designed for fresh, whole sweet potatoes. Frozen potatoes (especially if pre-cut) will require a different cooking time and might result in a slightly different texture. For best results with this guide, use fresh potatoes.
No, adding salt to the water is not necessary for this recipe as the potatoes are steamed above the water. You can season your sweet potatoes after they are cooked and peeled, allowing you to customize the flavor precisely to your liking.
More Must-Try Instant Pot Recipes for Your Kitchen
If you’ve enjoyed the ease and efficiency of cooking sweet potatoes in your Instant Pot, you’ll be thrilled to discover its capabilities for a wide array of other dishes. Expand your repertoire with these fan-favorite Instant Pot recipes:
- Instant Pot Roast Beef (Melt-In-Your-Mouth Tender!)
- Ultimate Instant Pot Potato Soup (Quick & Easy Comfort)
- Fall-Apart-Tender Instant Pot Pork Loin (Perfectly Juıcy)
- Instant Pot Pulled Pork (Quick and SO Soft for Sandwiches & More!)
- Perfect Instant Pot Chicken Soup (Homemade Goodness in Minutes)
- Effortless Instant Pot Rice (Fluffy & Flawless Every Time)
- Speedy Instant Pot Pasta (A Weeknight Lifesaver)
Your Instant Pot is more than just a kitchen appliance; it’s a gateway to delicious, convenient, and consistently perfect meals. Happy cooking!

Print Recipe
Instant Pot Sweet Potatoes (Perfect Every Time!)
Jennifer Pallian BSc, RD
5
20
35
4
Ingredients
- 4 medium sweet potatoes, about 8 oz (225g) each
- 1 cup water
Instructions
-
Prep the Potatoes: Wash the sweet potatoes thoroughly. Do not peel or poke holes; they cook best whole with the skin intact for moisture retention.
-
Add Water & Trivet: Pour 1 cup of water into the Instant Pot inner pot. Place the metal trivet inside to keep the sweet potatoes elevated and out of the water.
-
Arrange the Sweet Potatoes: Place the sweet potatoes on the trivet in a single layer. Avoid stacking them to ensure even cooking. Securely close the lid of your pressure cooker and set the valve to the “Sealing” position.
-
Set Cooking Time: Select “Manual” or “Pressure Cook” on High Pressure. Adjust the cooking time based on the size of your sweet potatoes:
- Small (6 oz or less): 15 minutes
- Medium (8 oz): 20 minutes
- Large (10-12 oz): 30 minutes
- Extra Large (14+ oz): 40 minutes
Once cooking is complete, allow the pressure to naturally release for 10 minutes before manually opening the valve to release any remaining pressure. This natural release is crucial for preventing splitting and ensuring a consistent, fluffy texture.
-
Check for Doneness: Carefully remove the sweet potatoes. Pierce one with a fork; it should slide in easily. If they are still firm, return them to the Instant Pot, seal the lid, and cook for 5 more minutes on High Pressure, then perform a quick release of pressure.
Notes
- For Extra Fluffy Texture: Let the cooked sweet potatoes rest for 5 minutes after removing them from the Instant Pot before cutting or serving. This allows the internal starches to set and enhances fluffiness.
- For Mashed Sweet Potatoes: Peel the sweet potatoes while still warm. Mash them with a fork or potato masher, adding butter, salt, and a splash of milk or cream to achieve your desired consistency. Season to taste with spices like cinnamon or nutmeg if desired.
- For Meal Prep: Cook a batch ahead of time and store the whole, cooled sweet potatoes in an airtight container in the fridge for up to 5 days. They’re perfect for quick meals throughout the week.
Nutrition Information (Approximate Per Serving)
Calories: 194 kcal | Carbohydrates: 45g | Protein: 4g | Fat: 0.1g | Saturated Fat: 0.04g | Polyunsaturated Fat: 0.03g | Monounsaturated Fat: 0.003g | Sodium: 127mg | Potassium: 762mg | Fiber: 7g | Sugar: 9g | Vitamin A: 32063IU | Vitamin C: 5mg | Calcium: 70mg | Iron: 1mg
Nutrition information is automatically calculated and should only be used as an approximation. It may vary based on specific ingredients and preparation methods.