
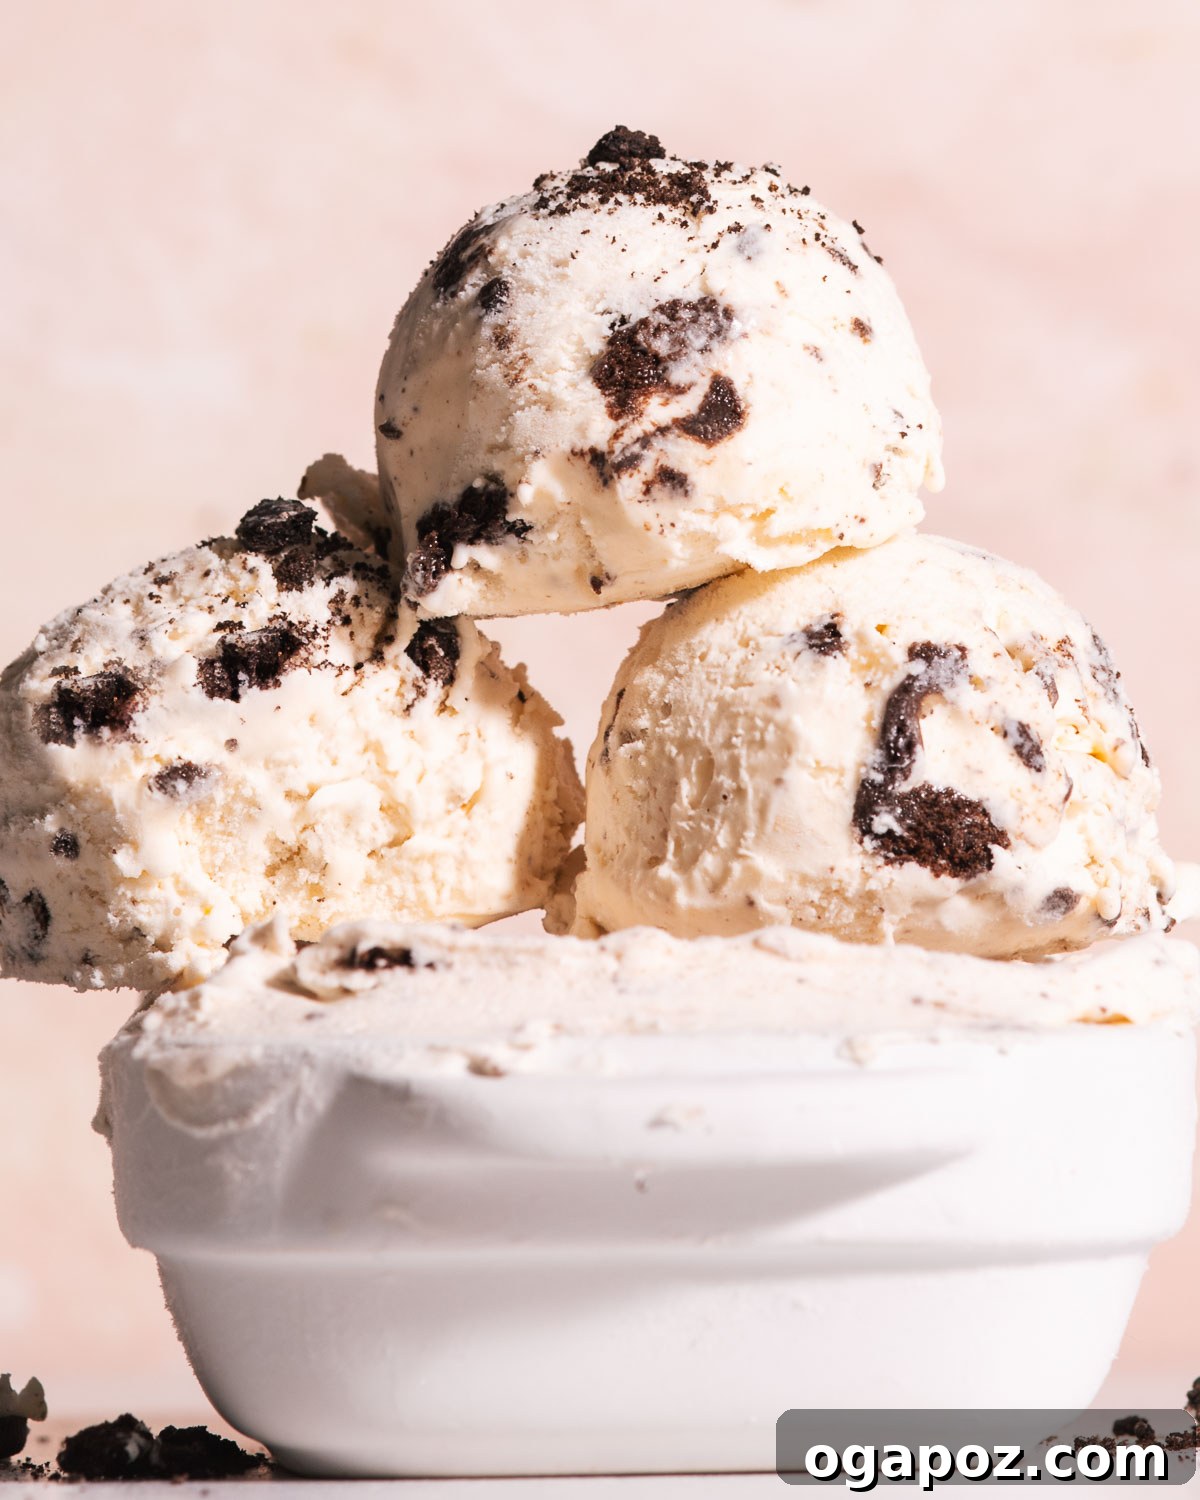
Craving a delightful frozen treat that requires absolutely no special equipment? Look no further! This incredibly easy recipe will guide you through creating the most delicious and FLUFFIEST Cookies and Cream Ice Cream right in your own kitchen. Imagine rich, creamy vanilla ice cream studded with generous chunks of your favorite chocolate sandwich cookies, all made with just four simple ingredients. This no-churn method eliminates the need for an expensive ice cream maker, making homemade dessert accessible to everyone.
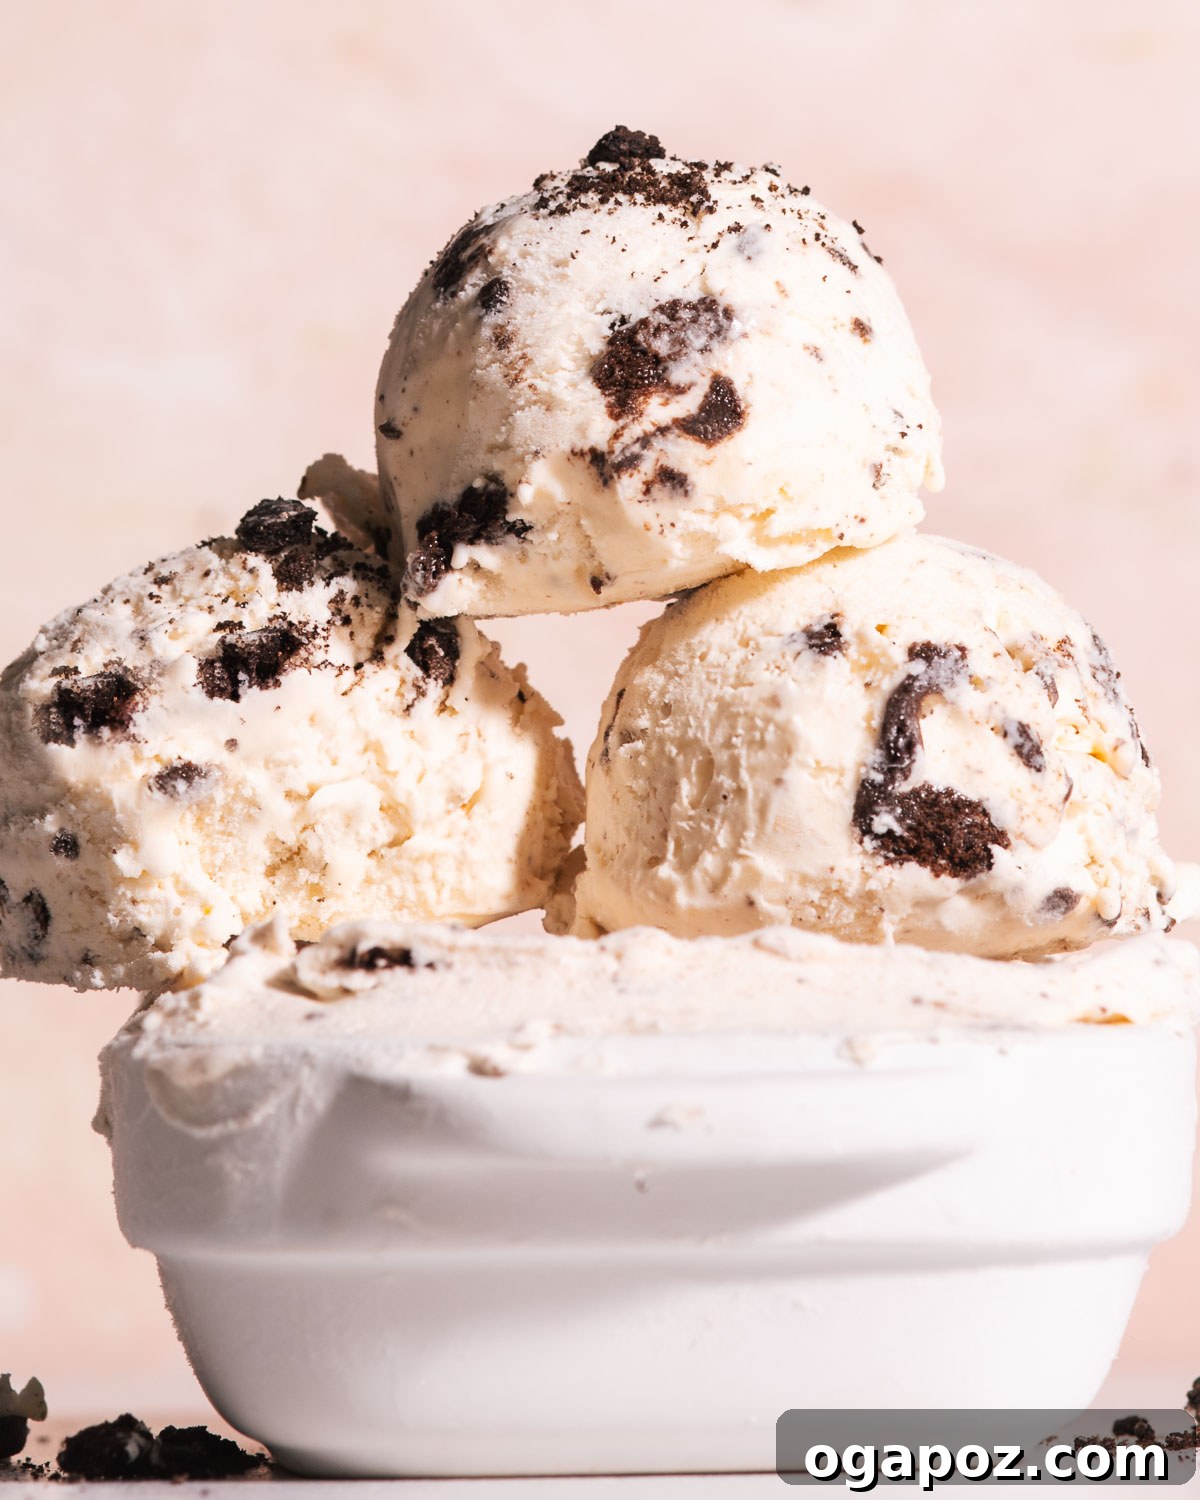
Prepare to be utterly obsessed with this wildly-easy cookies and cream ice cream. It’s not just simple; it’s a game-changer for anyone who loves frozen desserts but wants to avoid complicated gadgets and lengthy processes. In mere minutes of active preparation, you can whip up a batch of this heavenly confection that’s perfect for any occasion. Whether you scoop it onto a crispy cone, serve it in a fancy bowl with extra toppings, or simply enjoy it straight from the tub with a spoon, this recipe promises pure joy.
The best part? You absolutely don’t need an ice cream maker to achieve professional-level creaminess and flavor. This brilliant no-churn technique relies on whipping heavy cream to airy perfection, then gently folding it into a sweetened base. The result is a smooth, luscious ice cream that rivals any store-bought variety, but with the unbeatable satisfaction of being homemade. Get ready to impress your friends and family with this irresistible dessert that’s guaranteed to become a household favorite.
Essential Ingredients for Your No-Churn Masterpiece
Crafting this phenomenal cookies and cream ice cream requires just a handful of staple ingredients and basic kitchen tools. Simplicity is at the heart of this recipe, proving that you don’t need exotic items to create something truly spectacular. Gather these four fundamental components, and you’ll be well on your way to a delightful homemade treat.
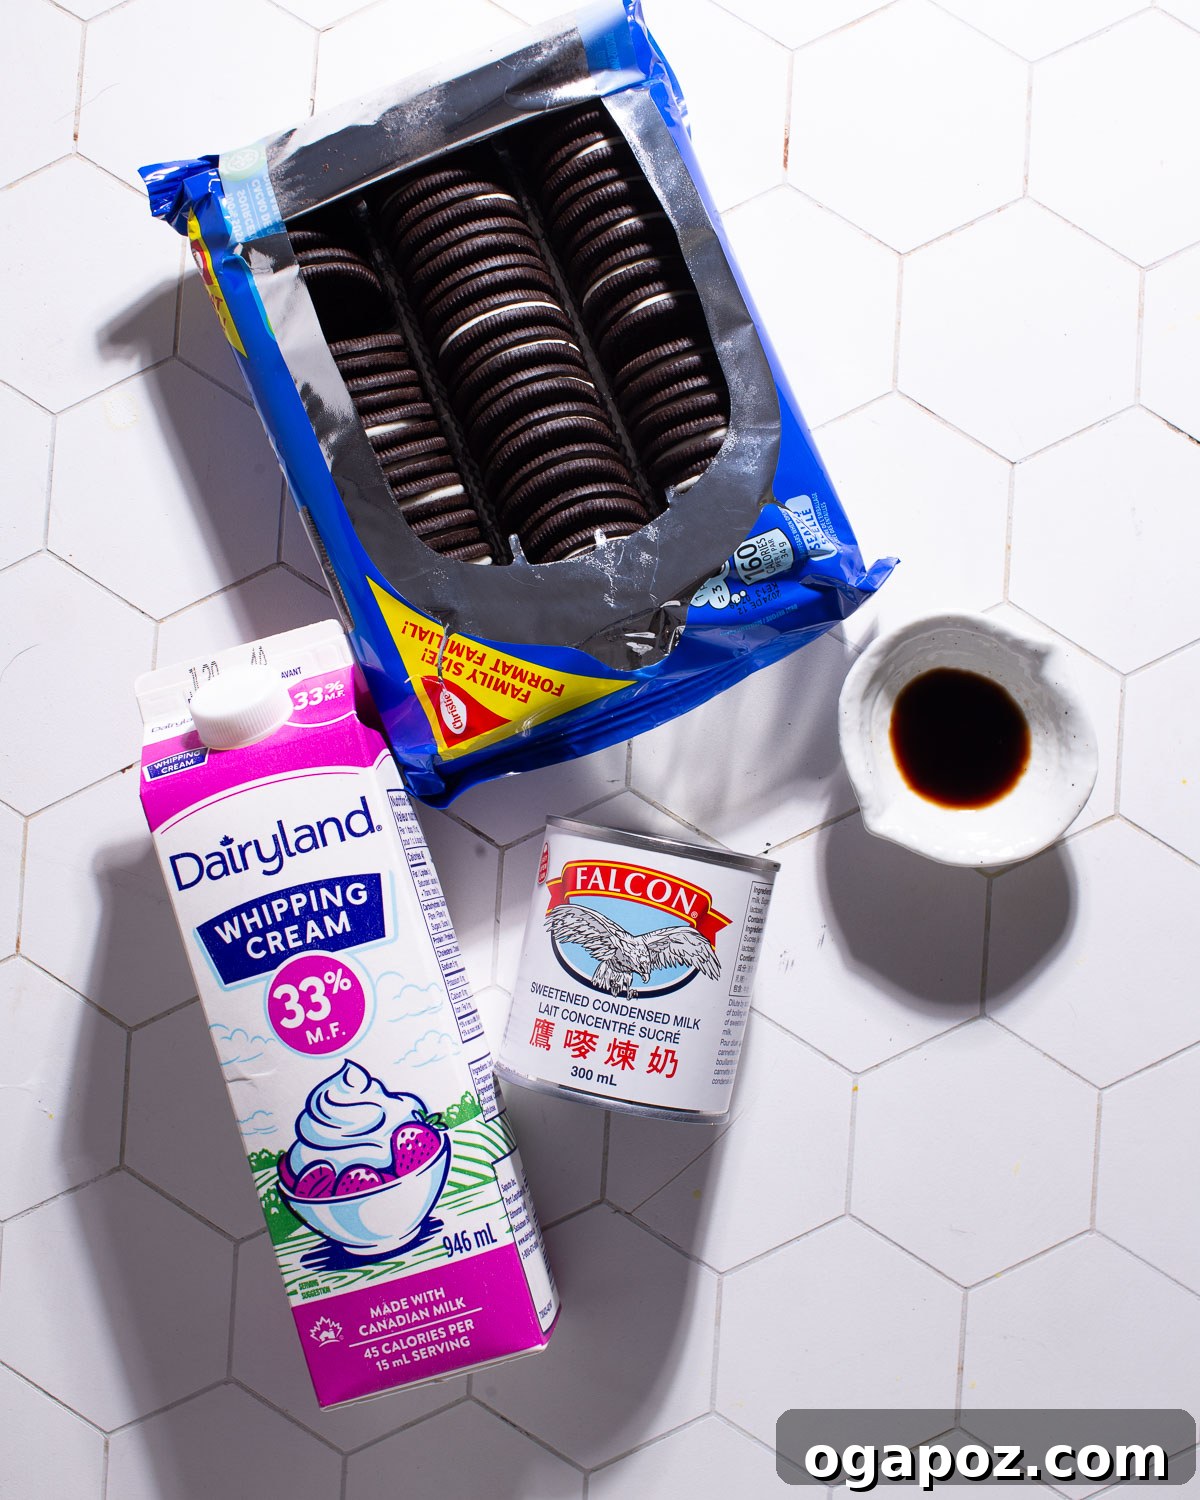
Core Ingredients Breakdown
- Heavy Whipping Cream: This is the foundation of your creamy ice cream. It needs to be thoroughly chilled for optimal whipping results. The high-fat content in heavy cream is crucial for creating that stable, airy structure when whipped, which then translates into a smooth, luxurious texture in your final ice cream. Aim for a cream with at least 36% milk fat.
- Sweetened Condensed Milk: This ingredient serves two vital purposes: it provides the perfect amount of sweetness and acts as a thick, creamy base. Unlike regular milk, condensed milk has been reduced and sweetened, contributing to the signature no-churn texture. Its high sugar content also plays a scientific role in lowering the freezing point, which helps prevent the formation of large ice crystals, ensuring a wonderfully smooth scoop every time. You can slightly adjust the quantity if you prefer a less sweet ice cream, but be mindful of the texture implications.
- Vanilla Extract: Pure vanilla extract is essential for imparting that classic, comforting vanilla flavor that perfectly complements the cookies. Opt for a good-quality pure vanilla extract over imitation varieties for the best, most authentic taste. It elevates the simple base into something truly special.
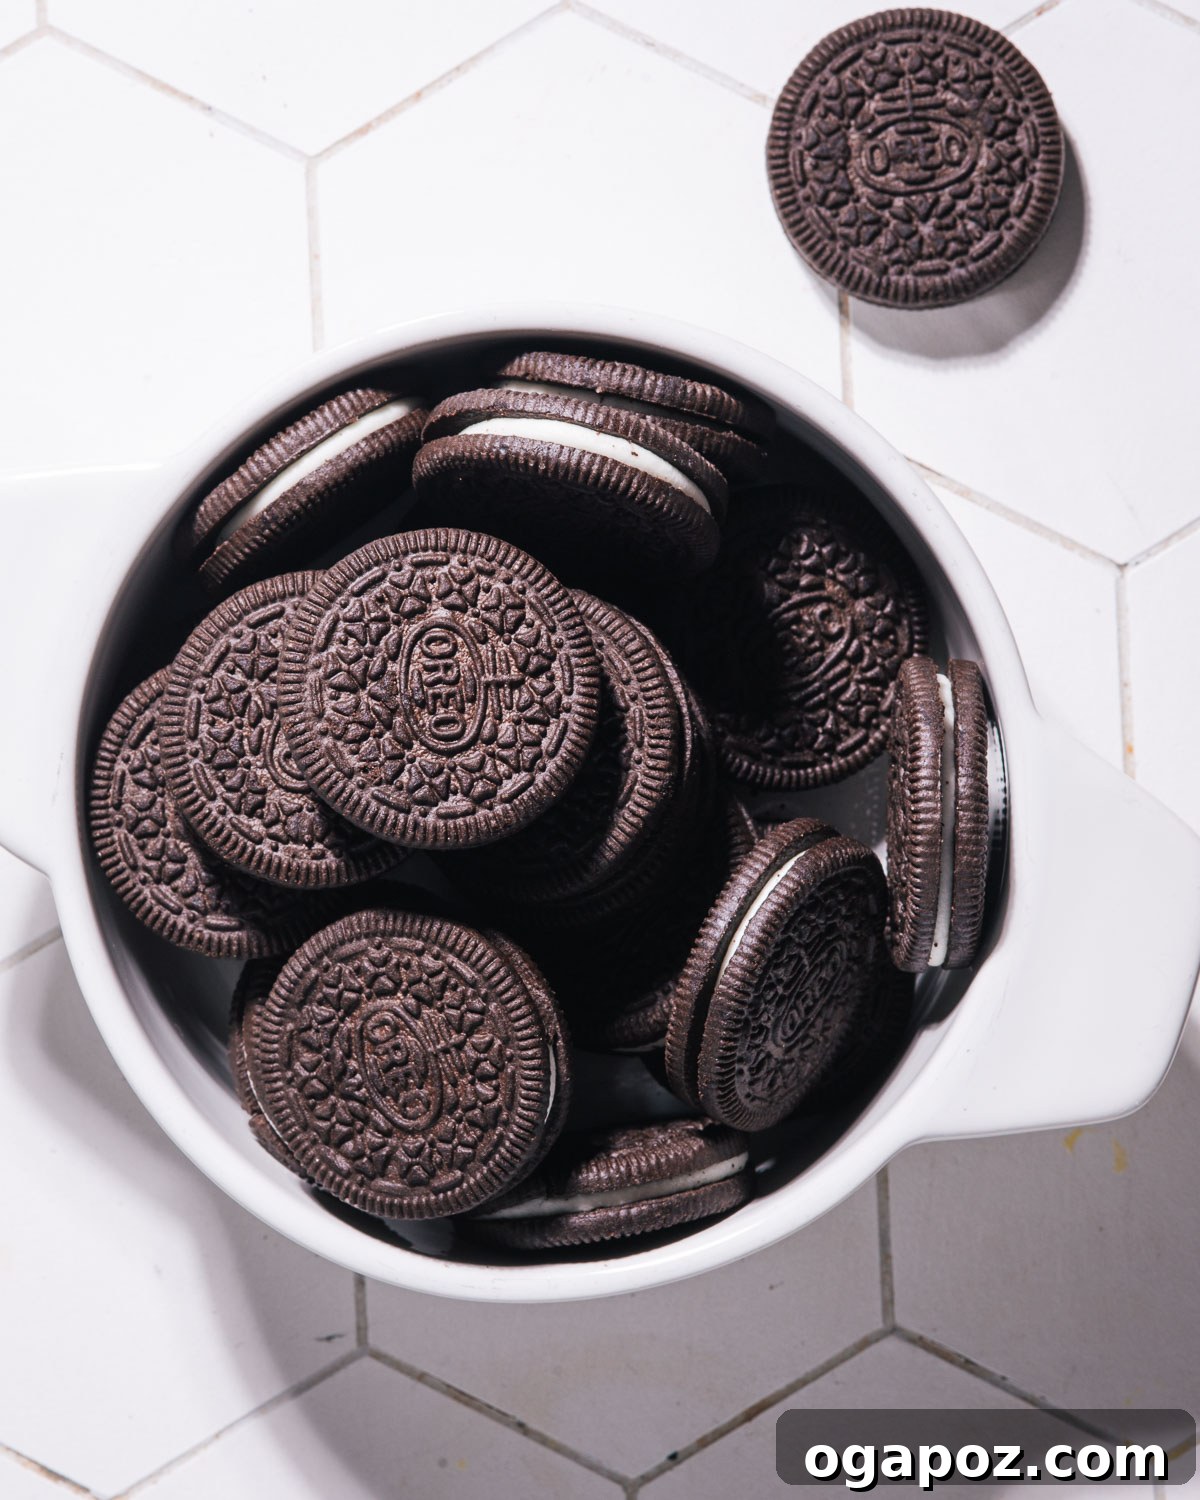
- Oreo Cookies: The star of the show! Original Oreo cookies are a timeless choice, offering that iconic chocolate cookie and sweet cream filling contrast. However, feel free to experiment with any flavor of Oreo cookie you love – mint, peanut butter, or even seasonal varieties can create exciting new twists. The balance of crunchy cookie pieces and creamy ice cream is what makes this dessert so irresistible.
Unlock New Flavors: Substitutions and Creative Variations
While the classic cookies and cream combination is undoubtedly a winner, this no-churn recipe offers incredible versatility. Don’t hesitate to get creative and customize your batch with different flavors and textures to suit your preferences or seasonal availability. Here are some inspiring ideas to transform your base recipe:
- Flavorful Mix-ins and Swirls: The possibilities are endless!
- Candy Crush: Incorporate crushed candies like M&M’s, Heath bars, Reese’s peanut butter cups, or even Snickers for an extra layer of sweetness and crunch.
- Chocolate Lover’s Dream: Stir in chocolate chips (mini, regular, dark, milk, or white), chocolate chunks, or even finely chopped chocolate bars.
- Nutty Indulgence: Add chopped toasted nuts such as pecans, walnuts, almonds, or peanuts for a delightful textural contrast and rich flavor.
- Fruity Fun: Swirl in fruit preserves (raspberry, strawberry, apricot) or finely diced fresh fruit (like berries or mango) for a refreshing twist. Ensure fresh fruit is very dry to prevent ice crystal formation.
- Gourmet Swirls: Elevate your ice cream with ribbons of caramel sauce, hot fudge, peanut butter swirl, or even a coffee syrup for an affogato-inspired flavor.
- Spiced Delights: A pinch of cinnamon, nutmeg, or even a touch of espresso powder can add unexpected depth to the vanilla base.
- Texture Transformations: The size of your cookie pieces significantly impacts the final texture of the ice cream.
- Finer Crumbs: For a smoother, more uniform texture where the cookie flavor is fully integrated, crush the cookies into very fine crumbs. This creates an almost malted-milk-like consistency.
- Crunchy Bites: If you love a distinct crunch, leave larger, more irregular pieces of cookies. These bigger chunks provide a satisfying bite that contrasts beautifully with the creamy base.
- Marbled Effect: Instead of fully folding in all the cookies, you can layer the ice cream mixture with a combination of different mix-ins or swirl in a distinct pattern as you transfer it to the freezer-safe container. This creates a visually appealing “marbled” effect with varied textures in each scoop.
- Cookie Dough Chunks: For an extra decadent treat, fold in small balls of edible cookie dough (ensure it’s safe to eat raw, i.e., made with heat-treated flour and no raw eggs).
Tools for Success
No need for specialized machinery! These everyday kitchen tools are all you’ll require to bring your homemade ice cream vision to life:
- Large Mixing Bowl: Essential for whipping your heavy cream and combining all the ingredients. For best results, chill the bowl in the freezer for 10-15 minutes before use. This helps the cream whip up faster and achieves stiffer peaks.
- Plastic Bag (Ziploc-style): Ideal for crushing your cookies. A sturdy, sealable bag contains the mess and allows for easy crushing.
- Rolling Pin: Your primary tool for crushing cookies. If you don’t have one, an empty wine bottle, a heavy pan, or even the bottom of a sturdy glass will work just as well!
- Electric Mixer with Whisk Attachment: This is key for whipping the heavy cream to stiff peaks. A stand mixer or a handheld electric mixer will both do the job efficiently. While possible to whisk by hand, an electric mixer saves time and effort, ensuring the cream is perfectly aerated.
- Spatula: For gently folding the whipped cream into the condensed milk mixture, and for incorporating the crushed cookies without deflating the airy cream.
- Freezer-Safe Container: A loaf pan, an airtight plastic container, or a metal pan will work perfectly for freezing your no-churn ice cream. Ensure it has a lid or that you have plastic wrap to cover it tightly, minimizing air exposure.
How to Make Cookies and Cream Ice Cream: Your Step-by-Step Guide
Creating this delightful no-churn ice cream is surprisingly straightforward. Follow these simple steps for a truly rewarding dessert experience. The entire process is designed for ease and maximum flavor!
1. Prepare Your Ingredients and Tools
Before you begin, ensure your heavy whipping cream is thoroughly chilled. For the absolute best results, place your mixing bowl (preferably a metal one) and your electric mixer’s whisk attachment in the refrigerator or freezer for about 15 minutes. Chilling your equipment significantly helps the cream whip faster and achieve beautifully stiff peaks, which is crucial for the light and airy texture of no-churn ice cream.
2. Crush the Cookies
Take your chosen Oreo cookies and place them in a sturdy, sealed plastic bag. Using a rolling pin, the bottom of a heavy glass, or even a meat mallet, gently but firmly crush the cookies. You can aim for a mix of fine crumbs and larger chunks, depending on your preferred texture. Some prefer finer crumbs for a more integrated flavor, while others enjoy distinct crunchy bits. Once crushed, set aside about a handful of these crushed cookies to use as a topping later. This adds a beautiful visual appeal and an extra layer of cookie goodness.
3. Whip the Cream to Stiff Peaks
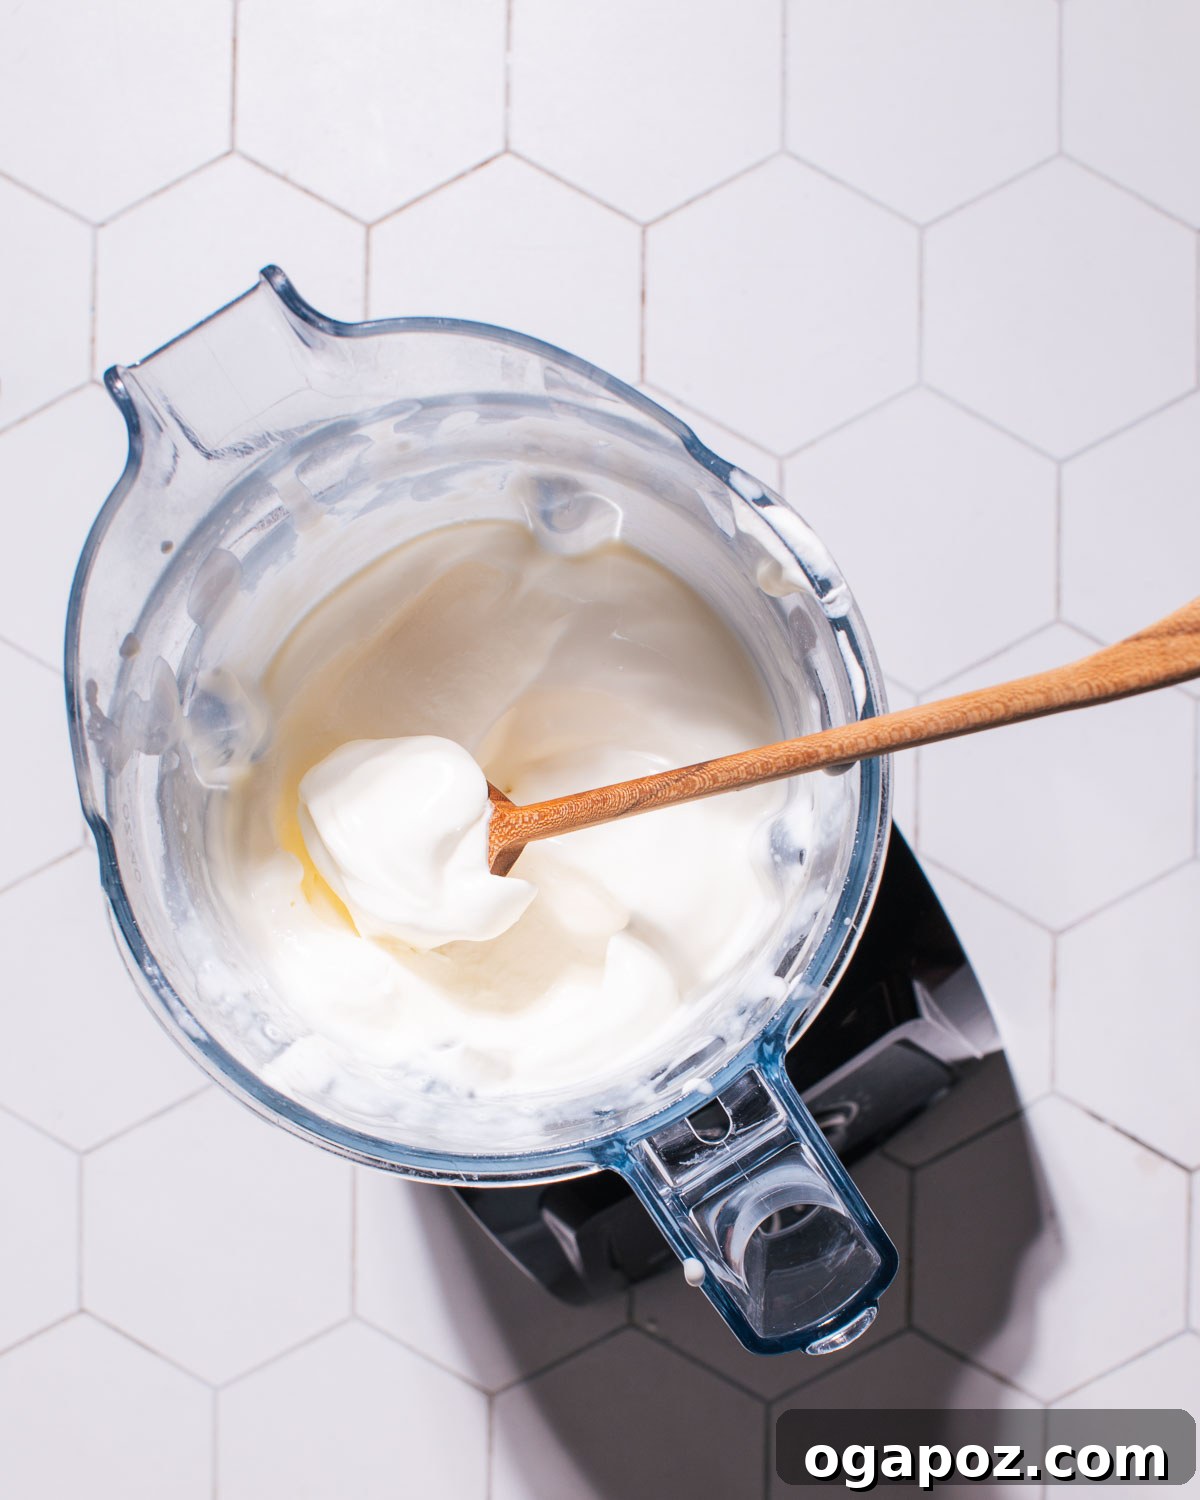
In your chilled mixing bowl, pour the cold heavy whipping cream. Using an electric mixer (either a stand mixer with the whisk attachment or a handheld mixer), whip the cream on medium-high speed. Continue whipping until stiff peaks form. This means that when you lift the whisk, the cream holds its shape firmly. This process typically takes around 3-4 minutes in a stand mixer. Be careful not to over-whip, as it can turn into butter; stop as soon as stiff peaks are achieved.
4. Gently Fold in the Sweetened Condensed Milk
In a separate large bowl, combine the sweetened condensed milk and the vanilla extract. Whisk them together briefly until well combined. Now, carefully add the whipped cream to this condensed milk mixture. Using a spatula, gently fold the whipped cream into the condensed milk. The key here is to be delicate to avoid deflating the airy whipped cream. Fold just until the two mixtures are combined and no streaks of condensed milk are visible. Over-mixing at this stage can lead to a less airy, icier final product.
5. Introduce the Crushed Cookies
Once your cream and condensed milk base is homogenous, it’s time for the star ingredient! Add the majority of your crushed Oreo cookies (reserving a handful for topping) to the mixture. Gently fold them in with your spatula until they are evenly distributed throughout the creamy base. Again, maintain that gentle folding motion to preserve the airiness of the whipped cream.
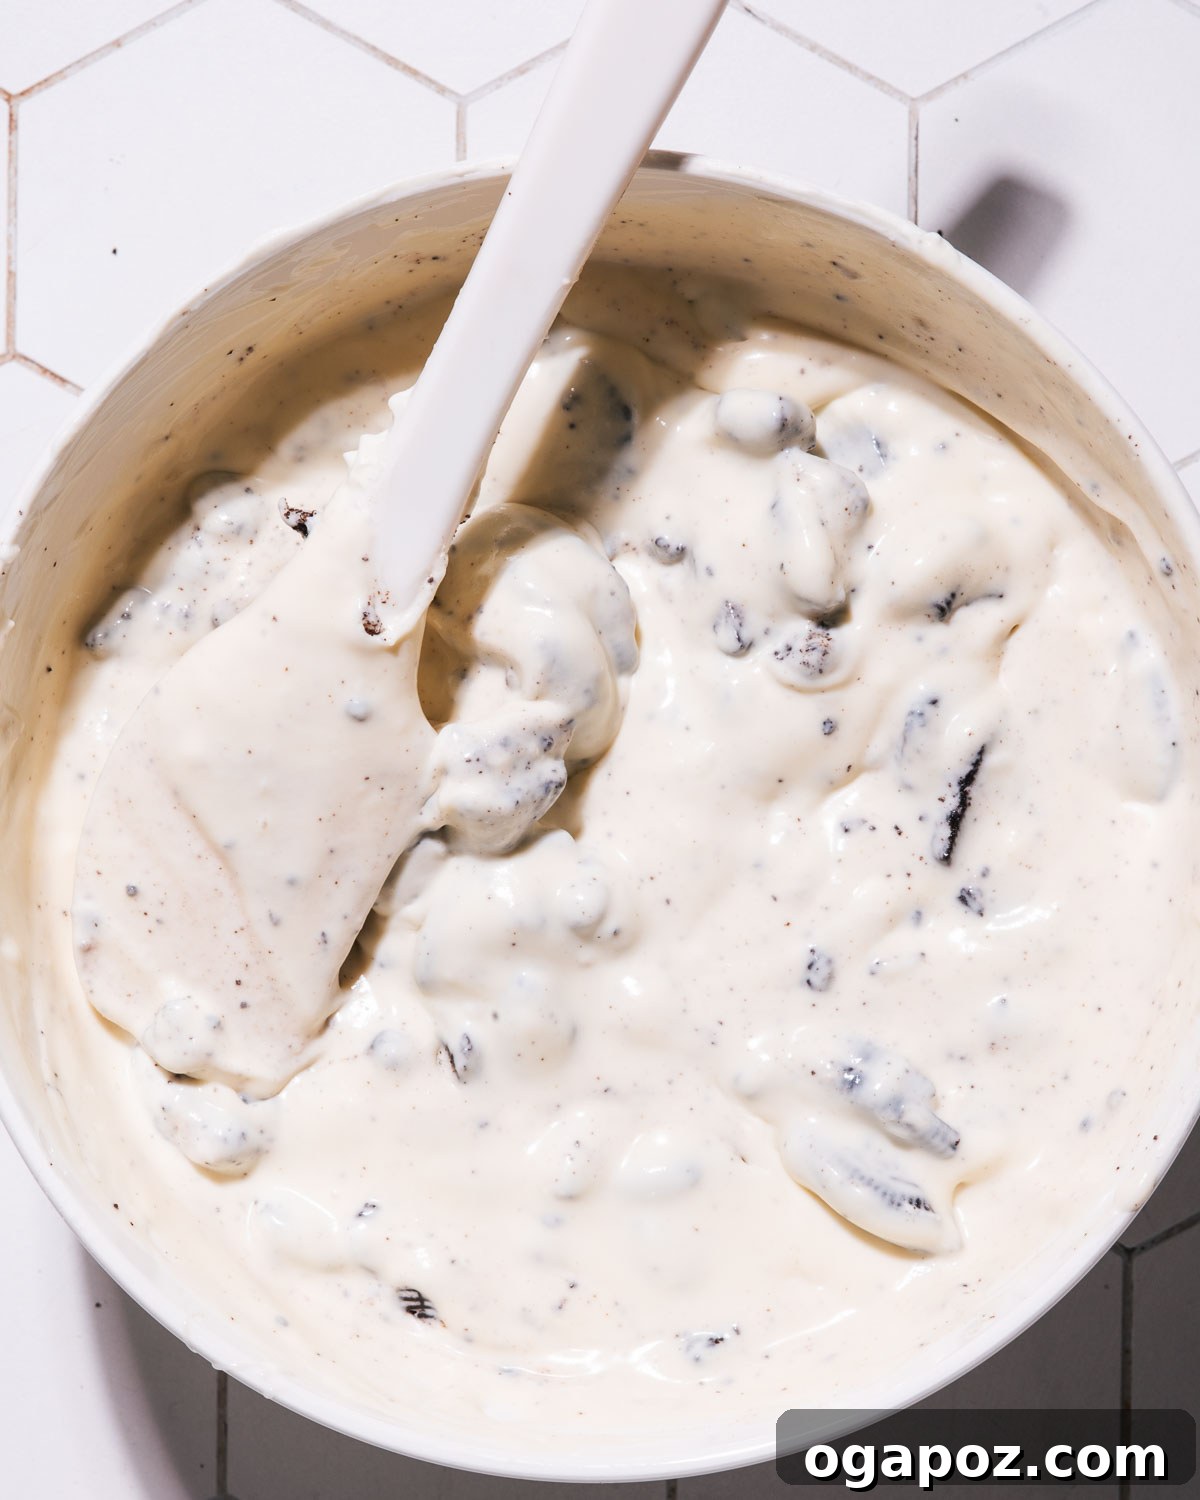
6. Transfer to a Freezer-Safe Container
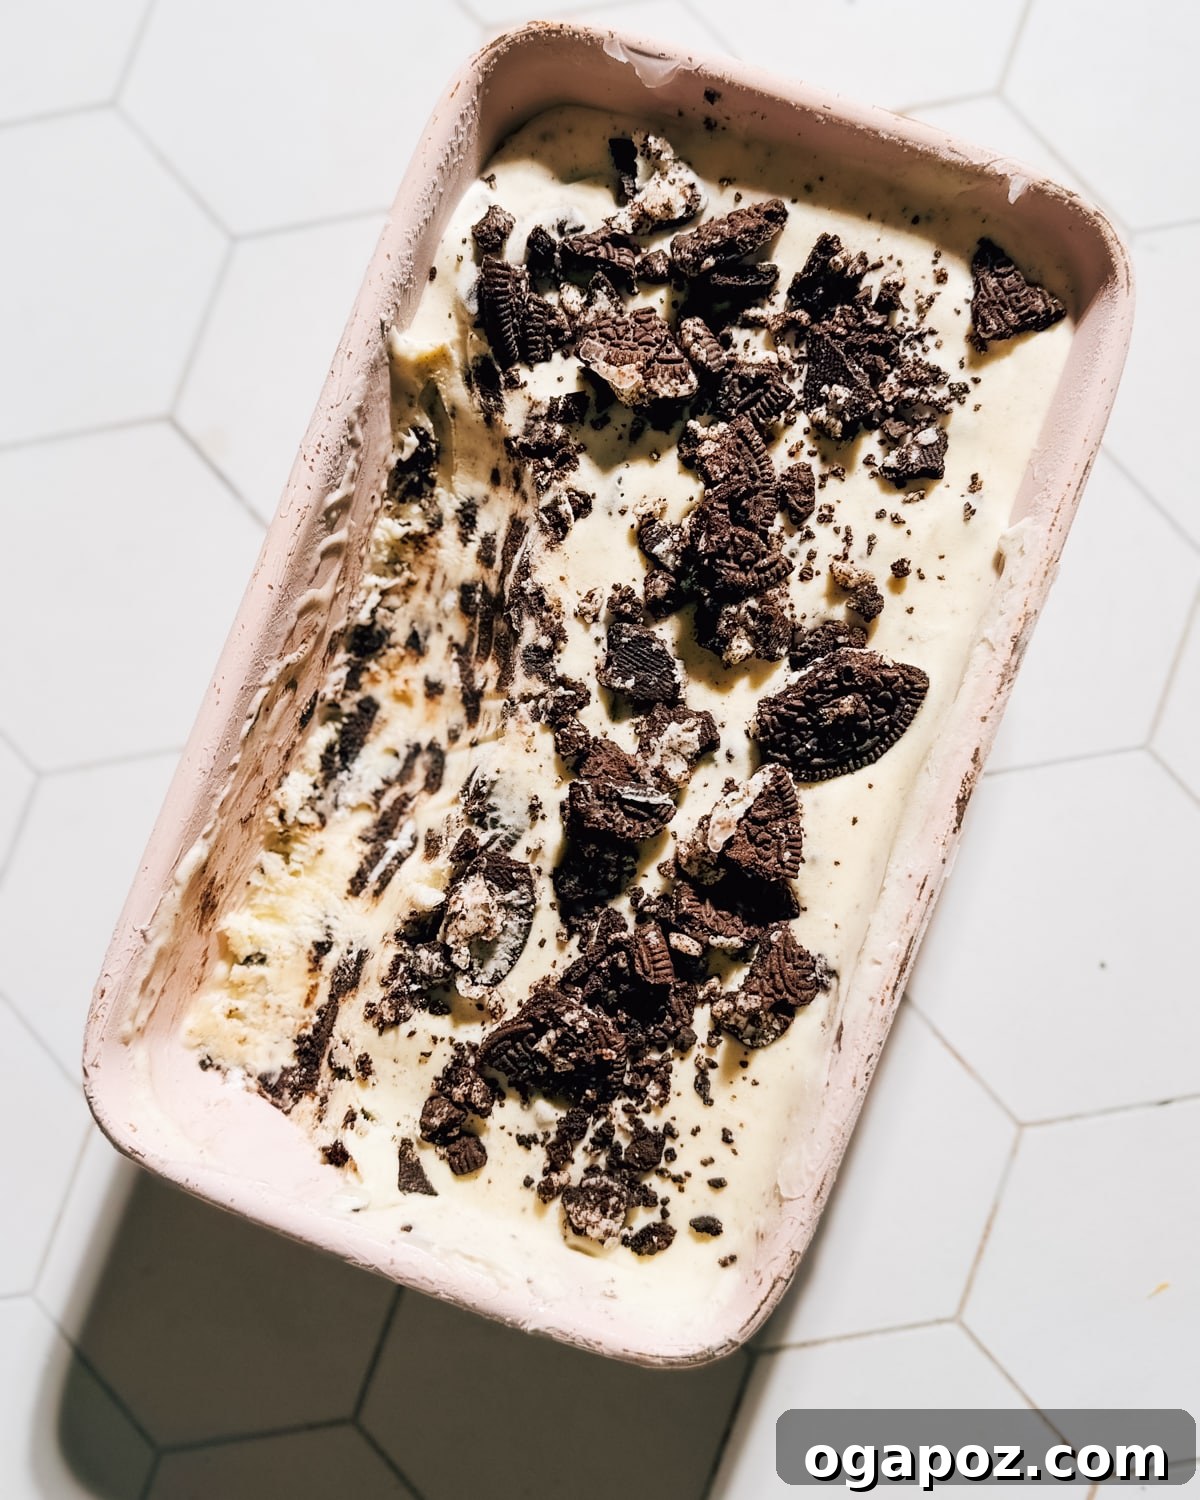
Carefully pour the complete ice cream mixture into your chosen freezer-safe container. Use your spatula to gently smooth out the top surface. Now, sprinkle the handful of reserved crushed cookies evenly over the top. This not only adds a beautiful visual garnish but also hints at the deliciousness within.
7. Freeze for Perfection
Cover the container tightly with plastic wrap, pressing it directly onto the surface of the ice cream to minimize air exposure, or use an airtight lid. This step is crucial for preventing ice crystals from forming. Place the container in the freezer for a minimum of 4-6 hours, or ideally, overnight, until the ice cream is firm and scoopable. The longer it freezes, the better its texture will typically be.
8. Serve and Enjoy!
Once your cookies and cream ice cream is perfectly frozen, it’s ready to be devoured! For the best scooping experience and optimal creamy texture, let the ice cream sit at room temperature for about 10-15 minutes before serving. This slight softening makes it much easier to scoop and enhances its luxurious consistency. Serve it up and savor every homemade bite!
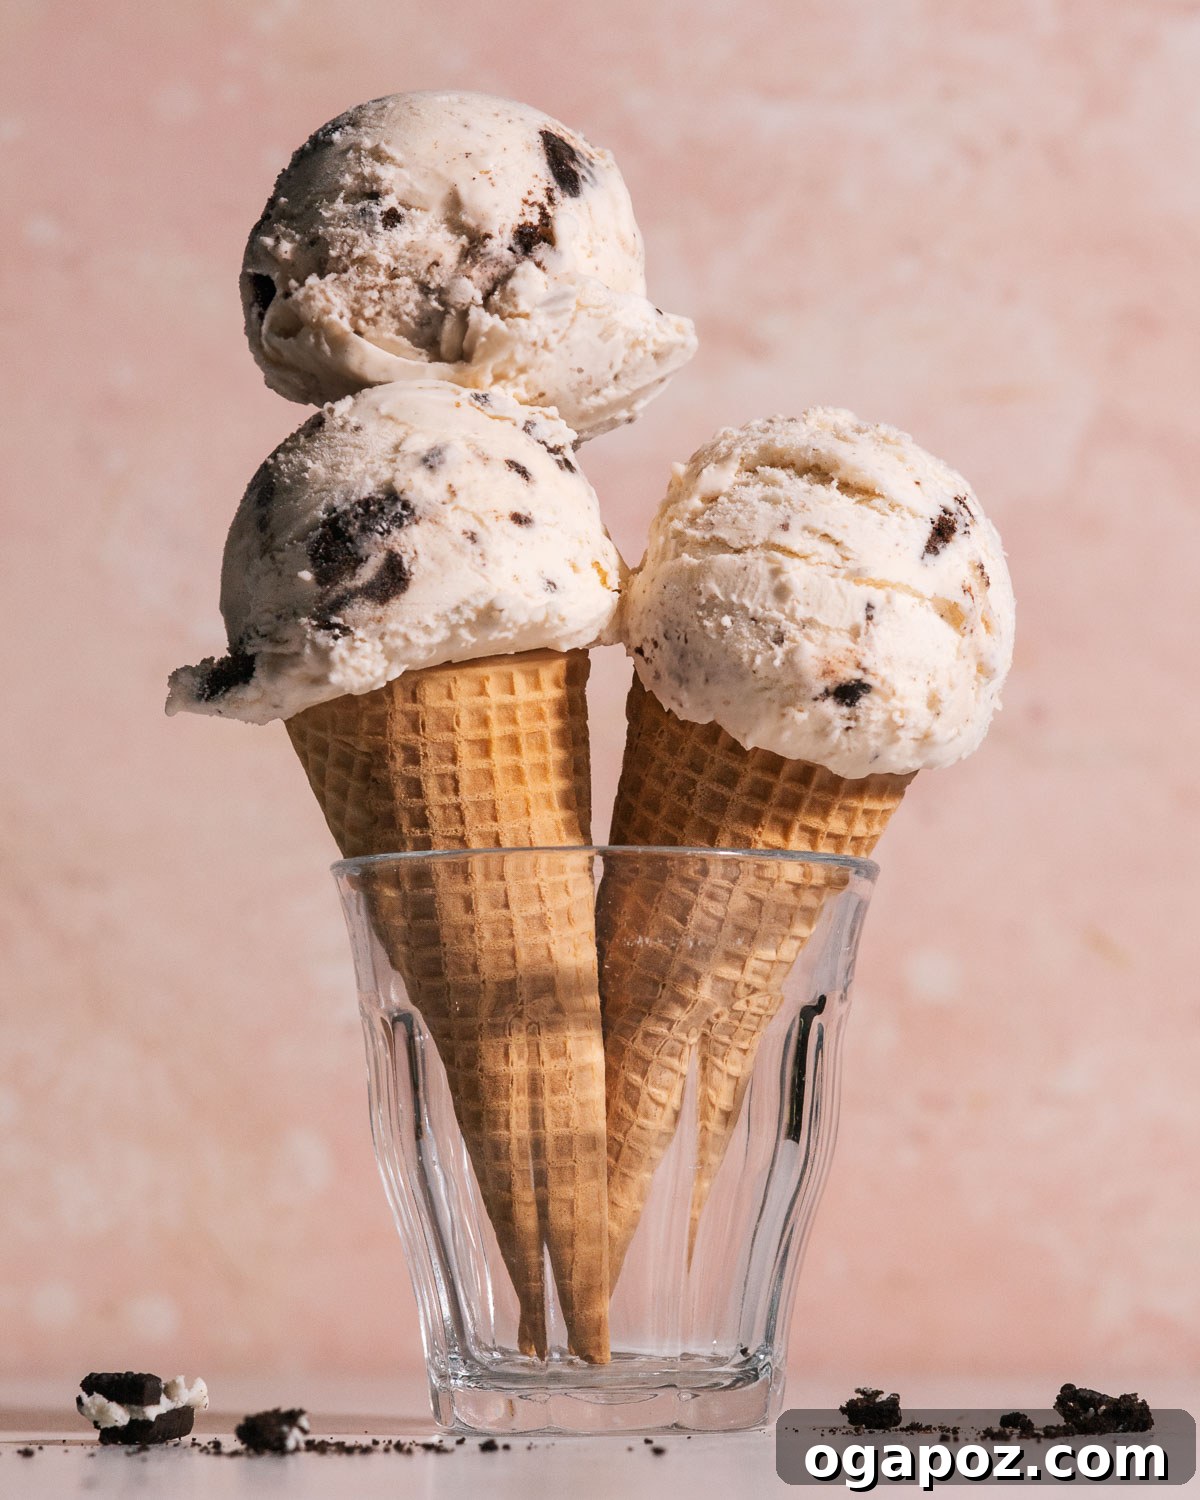
Storing Your Homemade Cookies and Cream Ice Cream
One of the many benefits of homemade ice cream is the ability to prepare it in advance, making it perfect for parties or spontaneous sweet cravings. Proper storage is key to maintaining its creamy texture and fresh flavor.
Once your cookies and cream ice cream has thoroughly frozen, ensure it is stored in a freezer-safe container with an airtight lid. This is paramount to protect it from freezer burn and the formation of unwelcome ice crystals. If your container doesn’t have a tight-fitting lid, press a layer of plastic wrap directly onto the surface of the ice cream before securing the lid, creating an extra barrier against air.
For the absolute best texture and flavor, homemade no-churn ice cream is typically best enjoyed within 2-3 weeks of making it. While it can safely remain in the freezer for up to one month, you might notice a slight decline in texture (a bit more icy) or flavor potency after this period. To prevent ice crystals, which can give your ice cream a gritty mouthfeel, always minimize the air space in your storage container. A container that is filled to the brim works better than one with a lot of empty space.
When you’re ready to serve, don’t rush it straight from the deep freeze! Allow the ice cream to sit at room temperature for approximately 5 to 10 minutes. This brief softening period will make it significantly easier to scoop, ensuring you get perfect, creamy portions without a struggle, and allows the flavors to truly shine.
Pro Tips & The Science Behind Your Creamy Creations
As a food scientist, I love understanding the ‘why’ behind successful recipes. Here are my top tips and a peek into the science that makes this no-churn cookies and cream ice cream so incredibly delicious and fluffy:
- Achieving Texture Balance: The perfect cookies and cream ice cream strikes a harmonious balance. It should be wonderfully creamy and smooth, yet offer distinct, satisfying crunchy bits of cookie. Don’t be afraid to experiment with varying sizes of cookie chunks to find your ideal textural harmony. A mix of fine crumbs and larger pieces often works best for a dynamic mouthfeel.
- Serve It Fresh (Relatively): While this ice cream stores well, it’s truly at its peak flavor and texture within the first few weeks of freezing. The delicate air whipped into the cream provides a unique lightness that can slowly diminish over extended storage.
- The Power of Chill: This is a non-negotiable step for no-churn success. Always ensure your heavy whipping cream is ice-cold. Furthermore, chilling your mixing bowl and whisk attachments in the refrigerator or freezer for 15-20 minutes beforehand creates an optimal environment. The cold helps the fat molecules in the cream stiffen faster and more efficiently, allowing them to trap more air. More trapped air means a lighter, fluffier, and creamier final ice cream.
- Cookie Size Matters for Impact: Consider your desired experience. For a consistent cookie flavor throughout, finely crush most of your Oreos. For delightful textural surprises, leave some larger, discernible chunks. A combination provides both integrated flavor and a satisfying crunch.
- Banish Ice Crystals: The enemy of creamy ice cream! To prevent a gritty texture caused by ice crystals, cover your container tightly. Press plastic wrap directly onto the surface of the ice cream before placing the lid. This minimizes the surface area exposed to air, which is where moisture can condense and freeze into unwelcome crystals.
- The Role of Whipping Cream (Fat Content): Heavy whipping cream (typically 36% milk fat or higher) is fundamental. When whipped, the fat globules partially coalesce and trap air, creating a stable foam. This trapped air is what gives no-churn ice cream its light, airy, and creamy structure, mimicking the aeration of an ice cream machine. Without sufficient fat, the cream won’t whip properly, and your ice cream will be dense and icy.
- The Magic of Sweetened Condensed Milk (Sugar Content): Sweetened condensed milk is more than just a sweetener; it’s a structural hero. Its high sugar content is crucial for two reasons:
- Creamy Texture: The sugar acts as an anti-freeze, lowering the overall freezing point of the mixture. This means the water in the ice cream takes longer to freeze and freezes into much smaller ice crystals, resulting in that incredibly smooth, scoopable texture we all crave.
- Rich Base: The thick, reduced milk contributes a rich, milky body that provides an excellent counterpart to the airy whipped cream, ensuring your ice cream isn’t just light but also wonderfully decadent.
Frequently Asked Questions About No-Churn Cookies and Cream Ice Cream
Got more questions about this simple yet sensational dessert? Here are some key takeaways and answers to common queries:
Absolutely! This recipe is incredibly versatile. Feel free to incorporate additional ingredients like crushed candies (M&M’s, Reese’s), various chocolate chips (dark, milk, white), chopped nuts, or even swirls of caramel or fudge sauce for extra indulgence and flavor complexity. Just remember to gently fold them in to maintain the airy texture.
An icy texture usually points to two main issues. Firstly, ensure your heavy whipping cream was whipped to stiff peaks. Insufficient whipping means less air is incorporated, leading to a denser, icier result. Secondly, proper freezing time and covering are crucial. Make sure the container is sealed tightly with plastic wrap pressed directly onto the surface of the ice cream to prevent ice crystal formation, and allow it to freeze for the recommended minimum of 4-6 hours, or ideally overnight.
You can certainly experiment with flavored creams or add other extracts! For example, a hint of peppermint extract can transform this into a mint cookies and cream ice cream. Almond extract can add a delightful nutty note. Just be mindful of the potency of extracts and start with small amounts, adjusting to taste. If using a pre-flavored cream, you might need to adjust the amount of vanilla extract or sweetened condensed milk accordingly.
To reduce the sugar content, you can substitute traditional sweetened condensed milk with a lower-sugar or sugar-free alternative available in many grocery stores. You can also slightly reduce the quantity of condensed milk used. However, keep in mind that sugar plays a crucial role in preventing ice crystals and achieving a smooth texture in no-churn ice cream. Reducing sugar too much might result in a slightly icier consistency.
Related Treat: Moist Chocolate Cupcakes with Oreo Cream Cheese Frosting
Discover More Delightful Frozen Dessert Recipes!
If you’ve fallen in love with the simplicity and deliciousness of this no-churn ice cream, you’ll be thrilled to explore other chilly treats from my collection. Perfect for summer days or any time you need a refreshing sweet escape!
- Irresistible Peanut Butter Frozen Yogurt Bites
- Viral Sensation: Strawberry Frozen Yogurt Bites
- Just 3-Ingredients for the creamiest: Homemade Banana Ice Cream (Nice Cream)
- Crunchy and Refreshing Frozen Yogurt Bark
- Decadent Chocolate Peanut Butter Banana Bites
- Classic Homemade Strawberry Popsicles
- Healthy and Delicious Yogurt Popsicles
- Indulgent Peanut Butter Frozen Yogurt Bark with Chocolate
Cookies and Cream Ice Cream Recipe Card
This dead-easy cookies and cream ice cream recipe is incredibly delicious and requires just four simple ingredients. It takes minutes to prepare and is perfect for scooping onto a cone, serving in a bowl with toppings, or enjoying straight from the tub!
By: Jennifer Pallian BSc, RD
- Prep Time: 15 minutes
- Freezer Time: 4 hours
- Total Time: 4 hours 15 minutes
- Servings: 12
Ingredients
- 2 cups heavy whipping cream, cold
- 1 (14-oz) can sweetened condensed milk
- 1 teaspoon vanilla extract
- 10 Oreo cookies, crushed
Instructions
- Prepare Ingredients: Ensure your whipping cream is cold. For best results, chill your mixing bowl and electric mixer beaters in the refrigerator for about 15 minutes before starting.
- Crush the Cookies: Place the Oreo cookies in a sealed plastic bag. Crush them into small to medium pieces using a rolling pin or the bottom of a glass. You can also chop them roughly with a knife. Set aside a handful of crushed cookies for topping later.
- Whip the Cream: In the chilled mixing bowl, pour the heavy whipping cream. Using an electric mixer, whip the cream on medium-high speed until stiff peaks form. This typically takes about 3-4 minutes. Be careful not to over-whip.
- Mix in Condensed Milk: In a separate large bowl, combine the sweetened condensed milk and vanilla extract. Gently fold the whipped cream into the condensed milk mixture using a spatula. Fold just until combined, being careful not to deflate the whipped cream.
- Add the Cookies: Gently fold the crushed Oreo cookies (reserving a handful for topping) into the whipped cream and condensed milk mixture until evenly distributed.
- Transfer to a Container: Pour the ice cream mixture into a freezer-safe container and smooth the top with a spatula. Sprinkle the remaining crushed cookies on top.
- Freeze: Cover the container tightly with plastic wrap (pressing it onto the surface of the ice cream) or an airtight lid. Freeze for at least 4-6 hours, or ideally overnight, until the ice cream is firm.
- Serve: When ready to serve, let the ice cream sit at room temperature for 5-10 minutes to soften slightly, making it easier to scoop. Enjoy your homemade cookies and cream ice cream!
Notes
For the best texture and easy scooping, it’s recommended to take the ice cream out of the freezer about 10-15 minutes before you plan to serve it, allowing it to soften slightly.
Nutrition Information (Approximate)
- Calories: 185kcal
- Carbohydrates: 8g
- Protein: 2g
- Fat: 16g
- Saturated Fat: 10g
- Polyunsaturated Fat: 1g
- Monounsaturated Fat: 5g
- Trans Fat: 0.01g
- Cholesterol: 45mg
- Sodium: 50mg
- Potassium: 62mg
- Fiber: 0.3g
- Sugar: 5g
- Vitamin A: 592IU
- Vitamin C: 0.2mg
- Calcium: 29mg
- Iron: 1mg
Nutrition information is automatically calculated and should only be used as an approximation.
Tried this incredibly easy recipe? We’d love to hear your thoughts and see your creations! Leave a comment below and share your experience.