
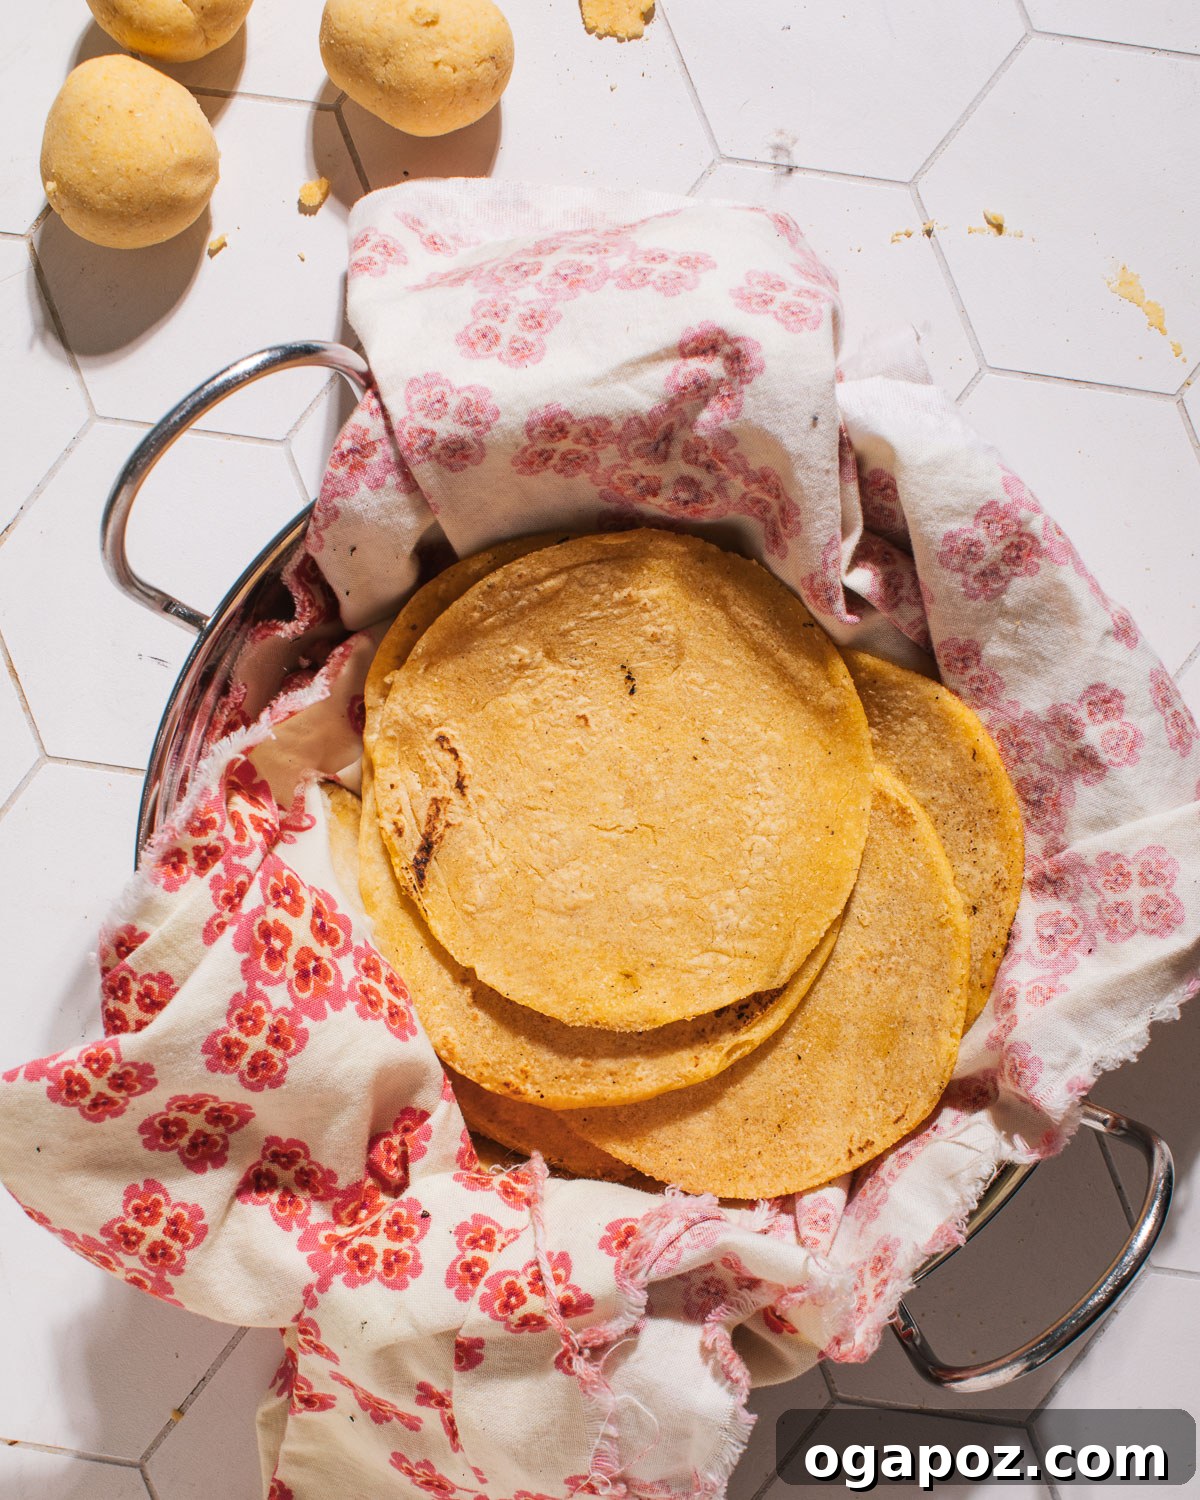
Unlock the authentic flavors of Mexican cuisine right in your kitchen by learning how to make incredibly soft and pliable Homemade Corn Tortillas. This comprehensive guide simplifies the process, requiring only two essential ingredients—plus salt and water—and revealing clever food science secrets to guarantee perfect results every time. Forget the stiff, flavorless store-bought versions; these homemade tortillas deliver a rich, earthy corn taste and a tender texture that will elevate all your favorite dishes. Best of all, you don’t need any specialized, expensive equipment to achieve culinary perfection.
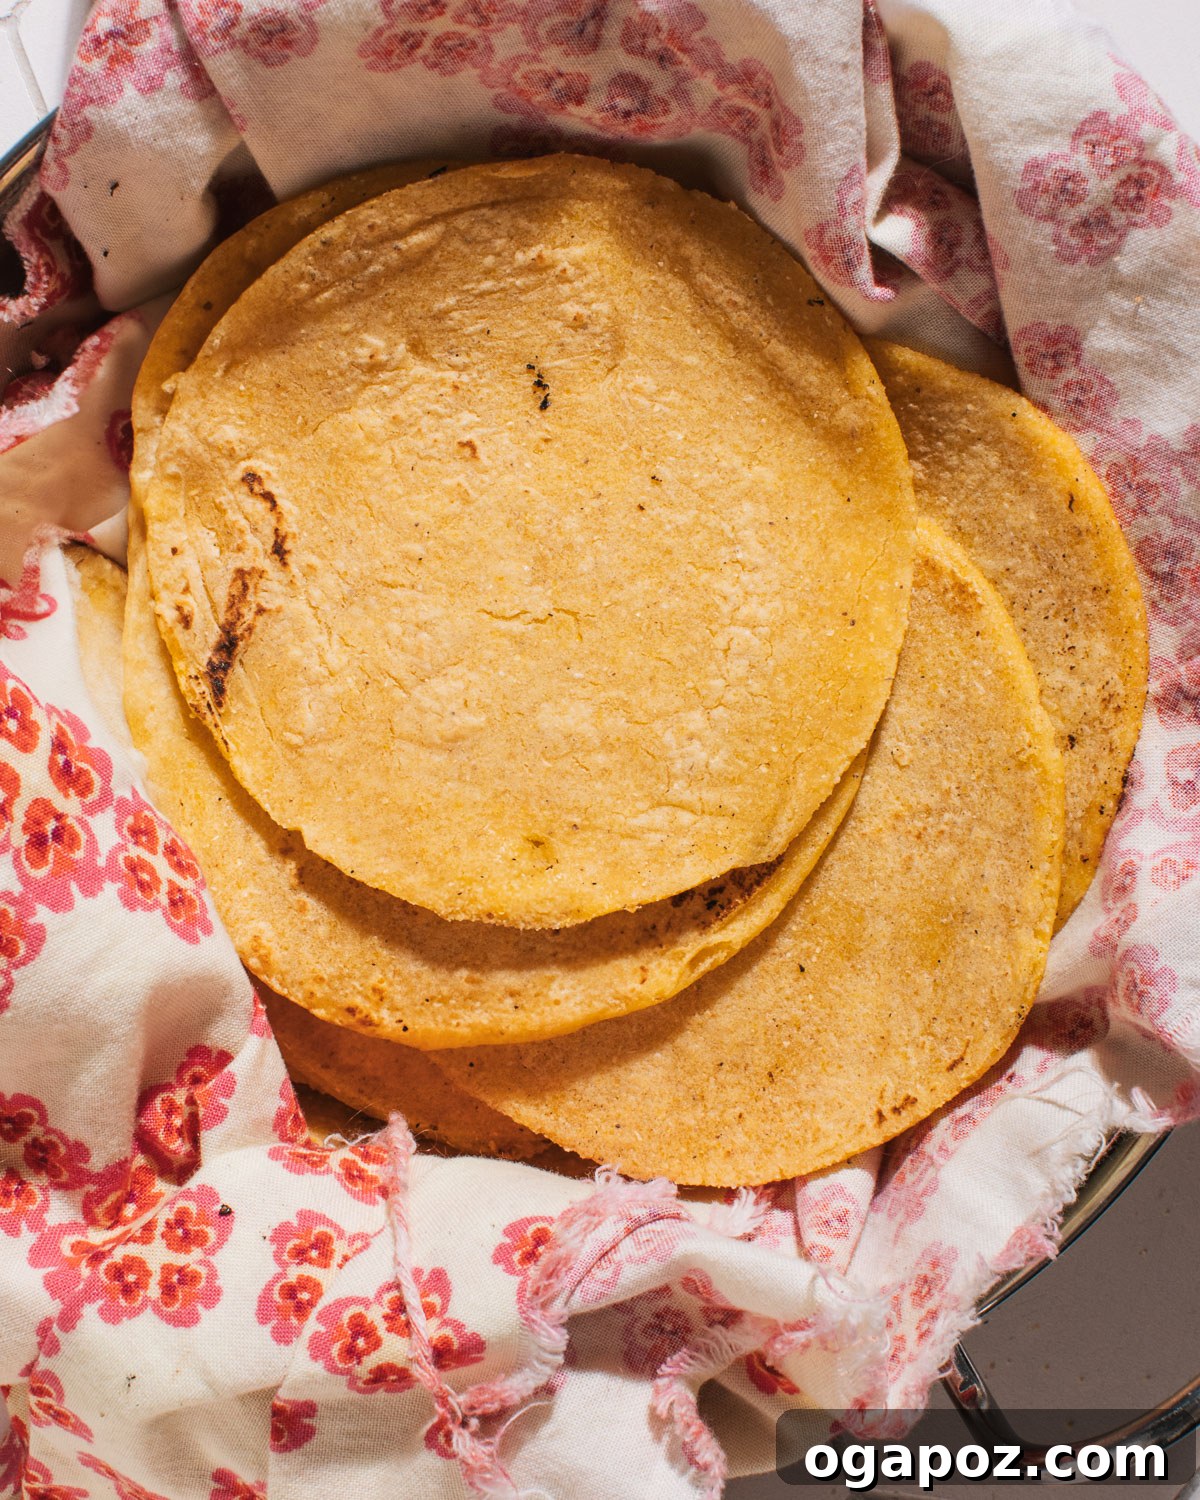
There’s truly nothing quite like the experience of biting into a warm, freshly made corn tortilla. The aroma, the slight chew, and that unmistakable, deep corn flavor make all the difference. While many assume making tortillas from scratch is a daunting task reserved for seasoned chefs, this foolproof recipe proves just how easy and rewarding it can be. Whether you’re a beginner or simply looking to refine your tortilla-making skills, my simple approach, backed by a touch of culinary science, will ensure you achieve tortillas that are far superior to anything you can buy in a packet.
Why Homemade Corn Tortillas are a Game-Changer
Embracing the art of making your own corn tortillas brings a multitude of benefits, transforming your culinary creations and delighting your taste buds. Here’s why this recipe should be a staple in your kitchen:
- Unparalleled Flavor and Freshness: The most compelling reason to make your own is the incredible, fresh, earthy corn taste that is simply impossible to replicate with store-bought alternatives. The moment these tortillas hit your palate, you’ll understand the true essence of authentic Mexican cuisine.
- Incredibly Versatile: Homemade corn tortillas are the perfect foundation for countless Mexican recipes. From soft tacos and crispy tostadas to savory enchiladas and satisfying quesadillas, their versatility knows no bounds. They can be filled, rolled, baked, or fried, adapting seamlessly to any culinary vision.
- Simple Ingredients, Amazing Results: Despite their gourmet appeal, these tortillas are astonishingly simple to make. You truly only need one main ingredient—masa harina—along with readily available salt and water. This minimalist approach proves that extraordinary food doesn’t require a long list of complex components.
- Superior Texture: Say goodbye to brittle or rubbery tortillas. Our method consistently yields tortillas that are wonderfully soft, flexible, and tender, making them a joy to eat and work with.
- Economical and Healthy: Making tortillas at home is often more cost-effective than repeatedly buying them. Moreover, you control the ingredients, avoiding preservatives or additives often found in commercial products, ensuring a healthier option for your family.
Essential Ingredients & Tools for Perfect Tortillas
Crafting perfect corn tortillas doesn’t require an arsenal of kitchen gadgets. In fact, you likely have most of the necessary equipment already. The real magic comes from understanding your key ingredient and mastering a few simple techniques.
Ingredients: The Heart of Your Tortillas
The beauty of this recipe lies in its simplicity. With just a couple of items, you’re well on your way to authentic homemade goodness:
- Masa Harina: This is the cornerstone of traditional corn tortillas, and its distinct qualities are crucial for success. Masa harina is a finely ground flour made from dried corn kernels that have undergone a special process called nixtamalization. This ancient Mesoamerican technique involves soaking and cooking corn in an alkaline solution (typically limewater, made with food-grade calcium hydroxide, not the citrus fruit). Nixtamalization breaks down the corn’s cell walls, making it softer and more pliable, while also enhancing its nutritional value and unique flavor. This processed corn flour creates the soft, slightly earthy, and elastic base that is perfect for traditional corn tortillas. Brands like Maseca are widely available and highly recommended for their consistent quality. It’s important not to confuse masa harina with regular cornmeal or corn flour, as these will not yield the same texture or pliability. Even P.A.N. pre-cooked corn meal, often used for arepas, is not a suitable substitute for authentic masa harina.
- Kosher Salt: A fundamental seasoning that brings out the inherent sweetness and complexity of the corn. Kosher salt’s larger crystal size allows for more even distribution and a clean, pure salty taste without any metallic undertones. A subtle amount makes a significant difference in the overall flavor profile of your tortillas.
- Warm Water: While often overlooked in ingredient counts, water is vital. Using warm water, rather than cold, is a simple but powerful secret to achieving the perfect dough consistency and texture, as it aids in the hydration of the masa harina’s starches.
Tools to Grab: Setting Up Your Tortilla Station
Before you dive into mixing, gather these essential tools to ensure a smooth and enjoyable tortilla-making experience:
- Large Mixing Bowl: You’ll need ample space to combine your masa harina, salt, and water, allowing you to thoroughly mix and knead the dough by hand without making a mess.
- Plastic Wrap or Ziplock Bag (cut open): This is crucial for pressing your tortillas. Placing the dough balls between two pieces of plastic wrap or inside a cut-open gallon-sized ziplock bag prevents sticking and allows for easy peeling of the flattened tortilla. This also keeps your pressing tool clean.
-
Tortilla Press or Rolling Pin:
- Tortilla Press: If you have one, a tortilla press is an excellent investment for quickly and consistently flattening tortillas to an even thickness. It makes the process much faster and easier.
- Rolling Pin or Flat-Bottomed Pan: No tortilla press? No problem! A good old-fashioned rolling pin works perfectly. You can also use a sturdy, flat-bottomed pan (like a heavy skillet or casserole dish) to press down on the dough between the plastic sheets. Many find they can achieve even thinner tortillas with a rolling pin and a bit of practice.
- Cast Iron Skillet or Comal (Griddle): A well-seasoned cast iron skillet or a traditional comal (a flat griddle used in Mexican cooking) is ideal for cooking tortillas. Its even heat distribution ensures uniform cooking and beautiful brown spots. Any heavy-bottomed, dry pan will work, but cast iron truly excels here.
- Clean Kitchen Towel: Essential for keeping your freshly cooked tortillas warm and soft. As they come off the skillet, stacking them in a towel allows steam to circulate, preventing them from drying out and becoming stiff.
How to Make Corn Tortillas: An Easy Step-by-Step Guide
Follow these super simple steps, combining the right ingredients and smart techniques, for consistently soft, perfectly delicious corn tortillas that will become a staple in your kitchen.
Step 1: Mix Ingredients to Form the Dough
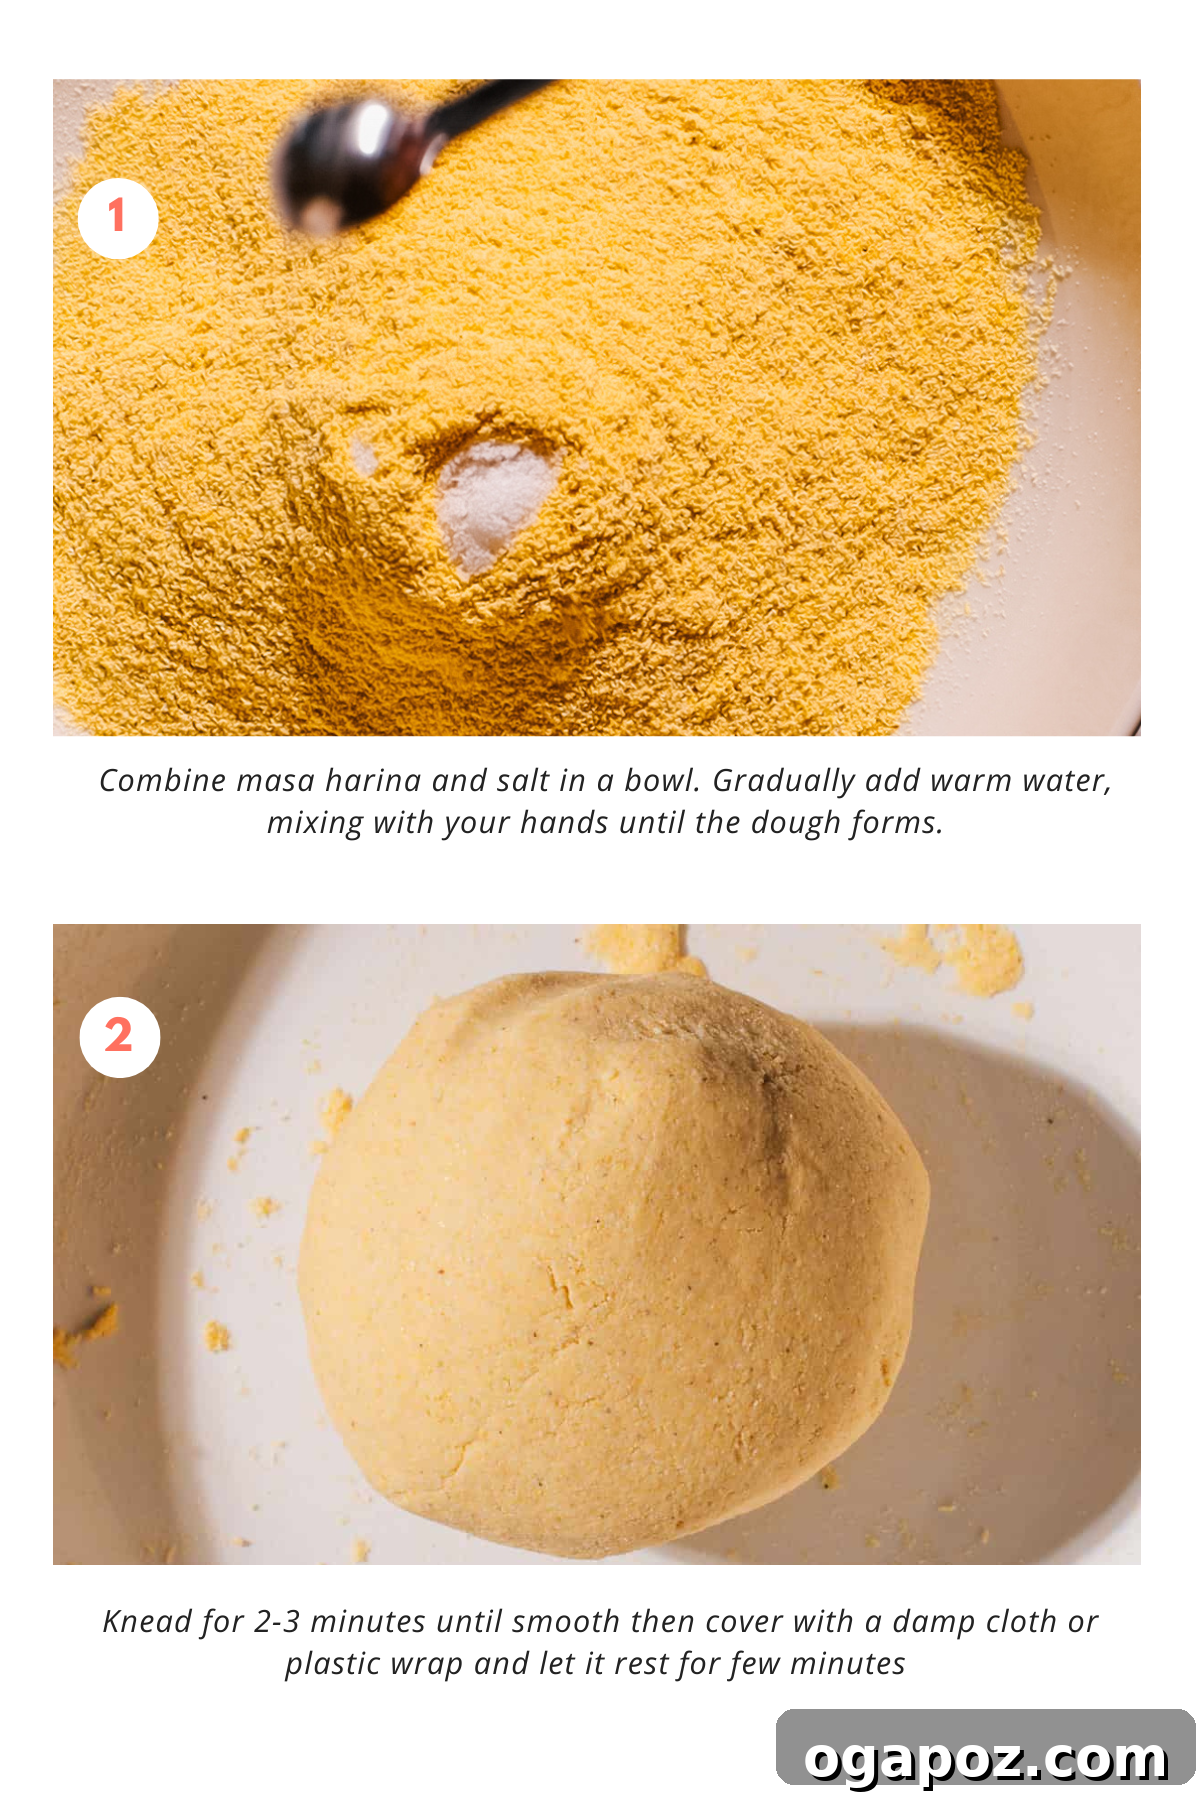
In your large mixing bowl, combine the masa harina and kosher salt. Use your hands to thoroughly mix them together, ensuring the salt is evenly distributed. Gradually add the warm water, starting with about 1 cup and then adding the remaining half cup slowly. Mix with your hands, bringing the flour and water together until a shaggy dough begins to form. The warmth of the water is key here, as it helps the masa harina hydrate more efficiently, leading to a more pliable dough.
Step 2: Knead the Dough to Perfection
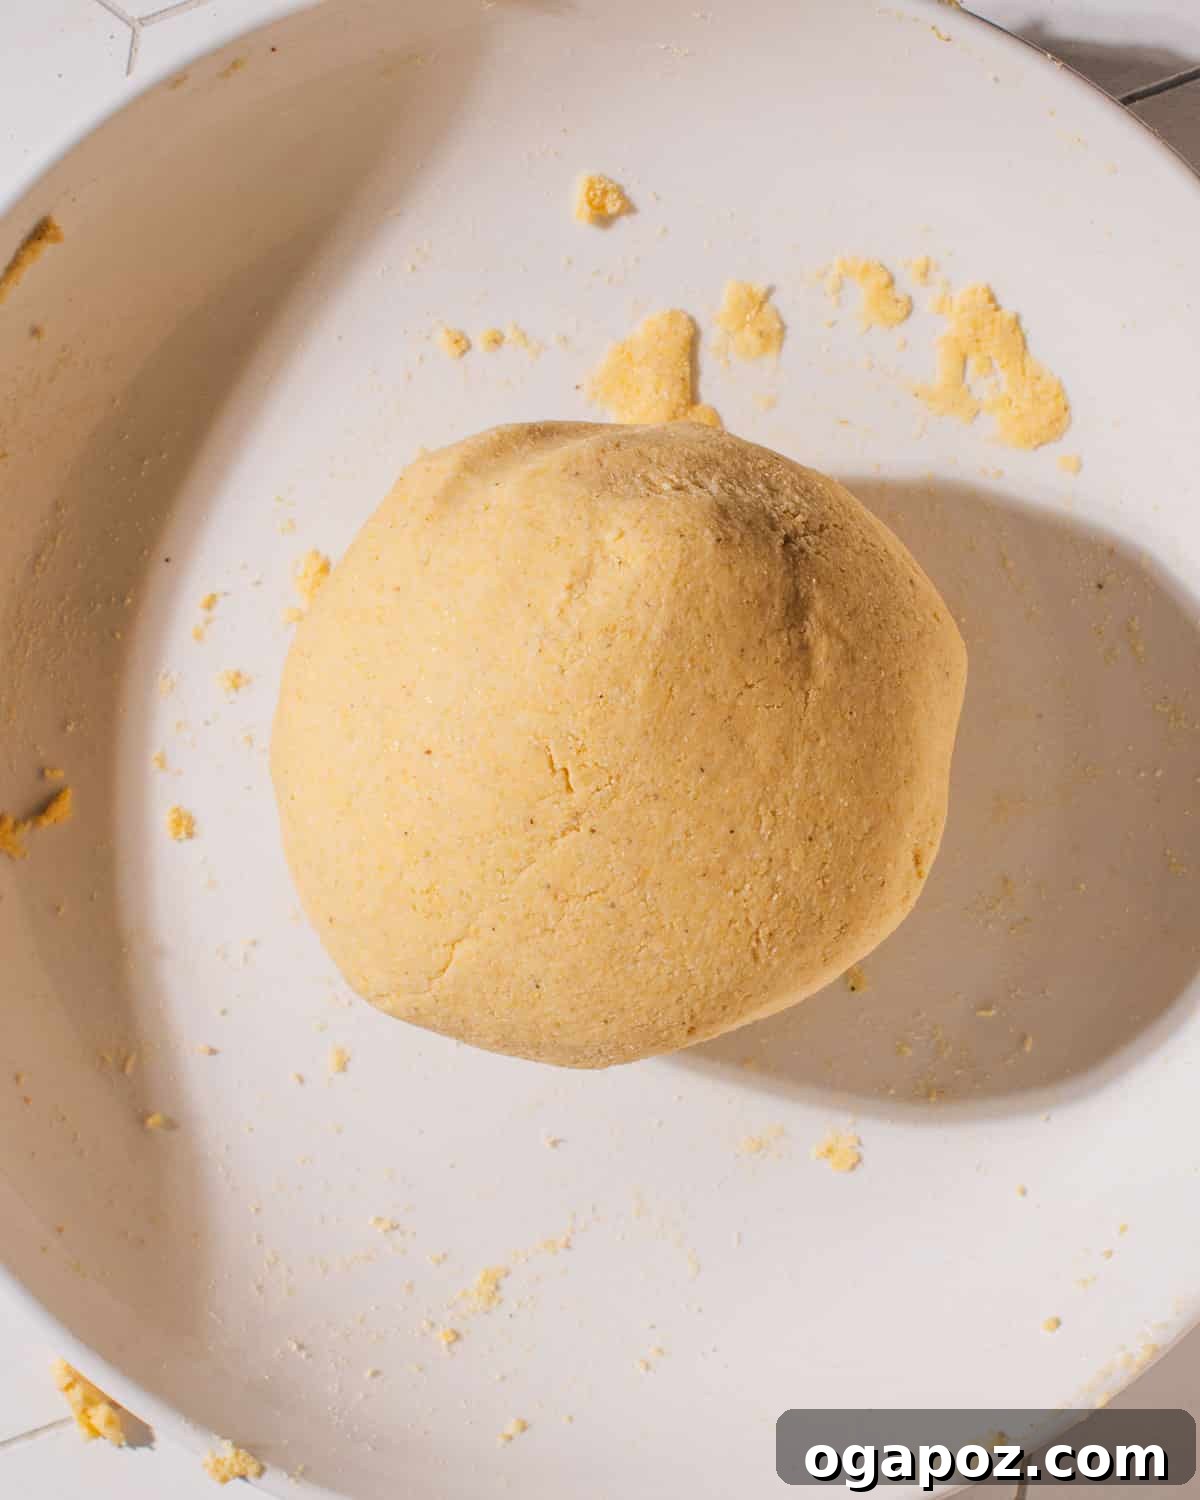
Once the dough has mostly come together, turn it out onto a clean surface (or continue in the bowl if it’s large enough) and knead it for 2-3 minutes. The goal is to achieve a smooth, uniform, and pliable texture. The dough should feel like soft Play-Doh – moist but not sticky, and firm enough to hold its shape. If the dough feels too dry or crumbly, add water one tablespoon at a time, kneading after each addition until the desired consistency is reached. If it’s too sticky, add a little more masa harina.
Step 3: Rest the Dough for Enhanced Pliability
After kneading, form the dough into a ball and cover the bowl with a damp cloth or plastic wrap. Let the dough rest for 15-30 minutes at room temperature. This resting period is crucial as it allows the masa harina to fully hydrate and the starches to swell, making the dough even more pliable and less prone to cracking when pressed. Don’t skip this step for the best results.
Step 4: Form Uniform Dough Balls
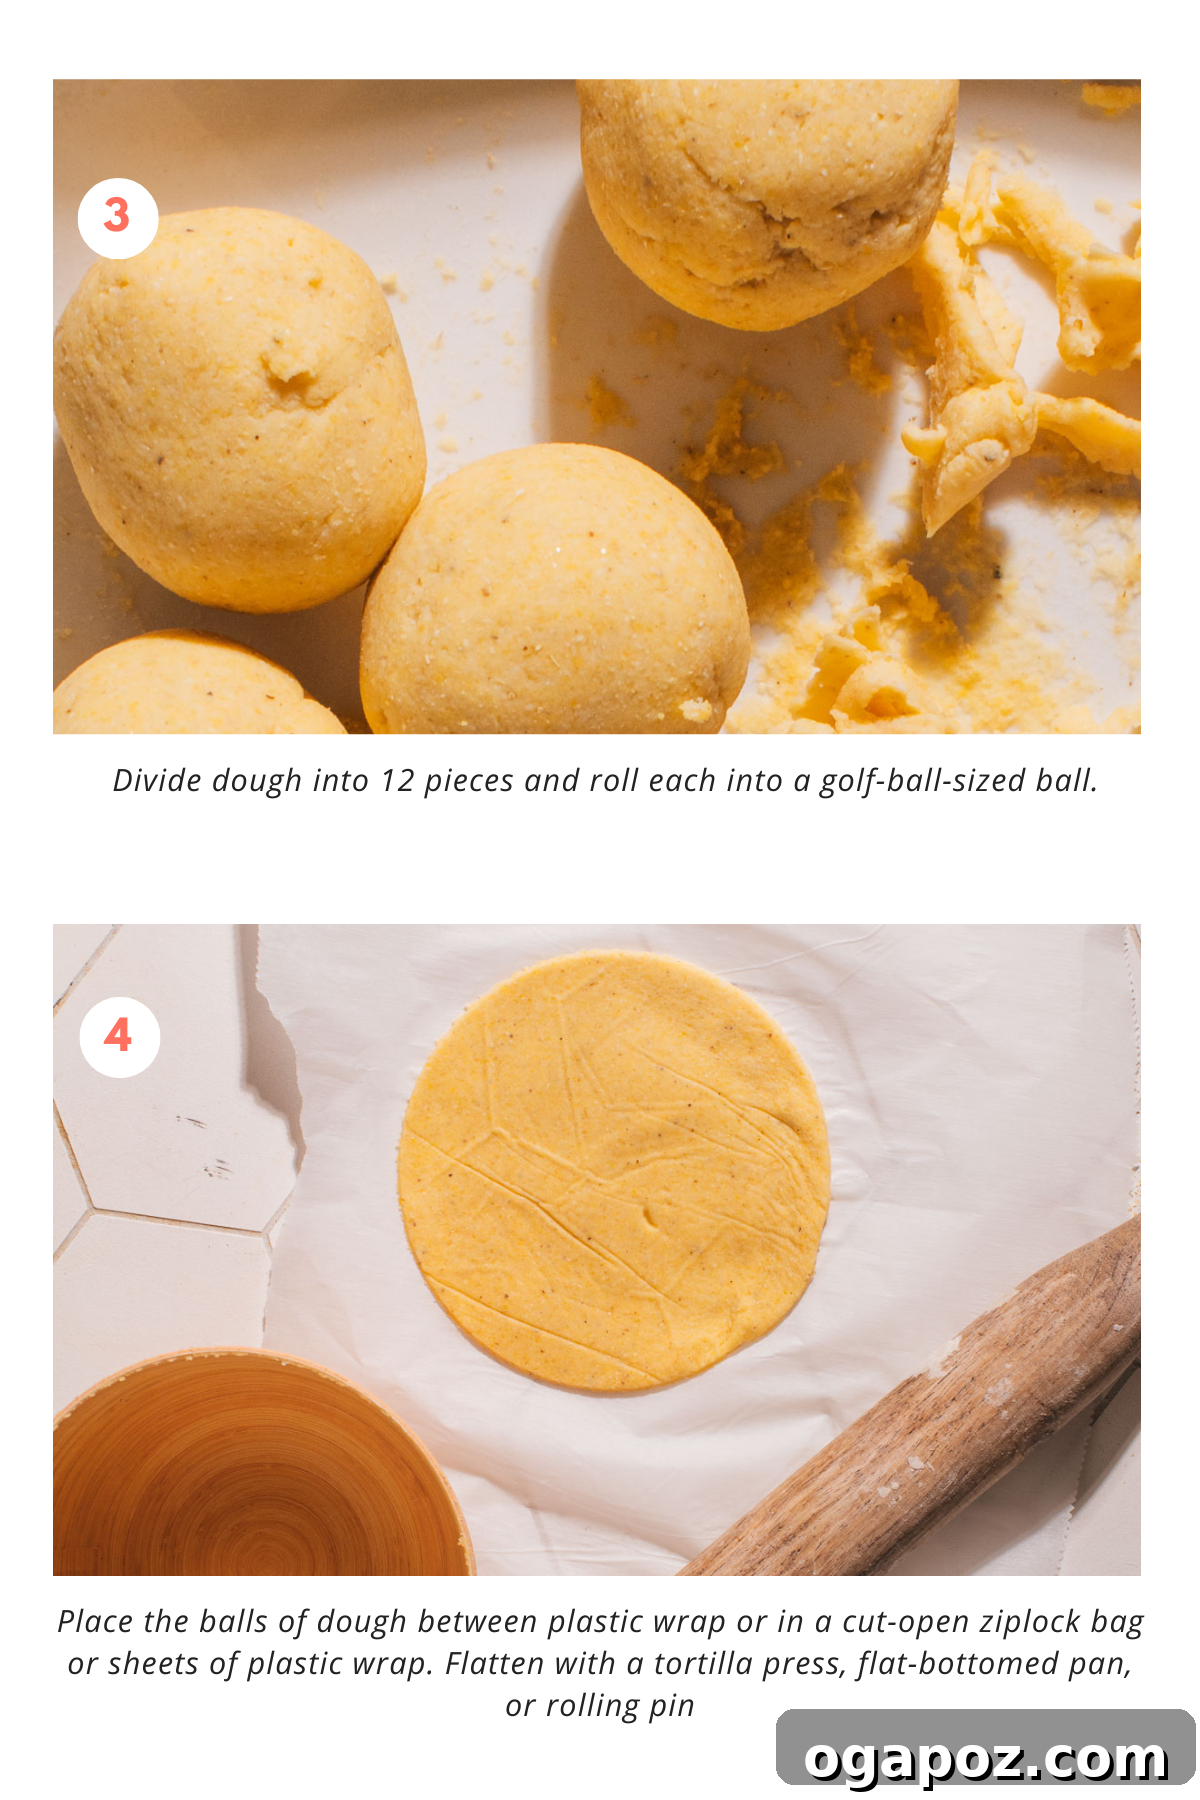
Once rested, divide the dough into 12 equal pieces. A good way to ensure consistency is to roll the entire dough into a log and then cut it into 12 segments. Roll each segment between your palms to form smooth, golf-ball-sized balls. Consistency in size ensures even cooking for all your tortillas.
Step 5: Flatten the Tortillas Evenly
Prepare your pressing station: place one of your dough balls between two pieces of plastic wrap or inside a cut-open ziplock bag. If using a tortilla press, center the dough ball and gently press down the lever. If using a rolling pin or flat-bottomed pan, apply even pressure to flatten the dough into a thin, approximately 1/8-inch thick circle. Aim for an even thickness throughout the tortilla to ensure it cooks uniformly without raw spots or overly crispy edges. Gently peel away the plastic wrap.
Step 6: Cook the Tortillas on a Hot Skillet
Heat a dry cast iron skillet or griddle over medium-high heat. You want it hot enough that a drop of water sizzles instantly, but not smoking. Carefully place a flattened tortilla onto the hot skillet. Cook for about 30 seconds on the first side, or until the edges start to dry and you see a few brown spots. Flip the tortilla using a spatula and cook for another 30-60 seconds on the second side. During this time, the tortilla should puff up slightly, indicating it’s cooking through and separating into layers. Flip it one last time for a final 15-20 seconds to achieve optimal texture and finish cooking.
Step 7: Keep Cooked Tortillas Warm and Soft
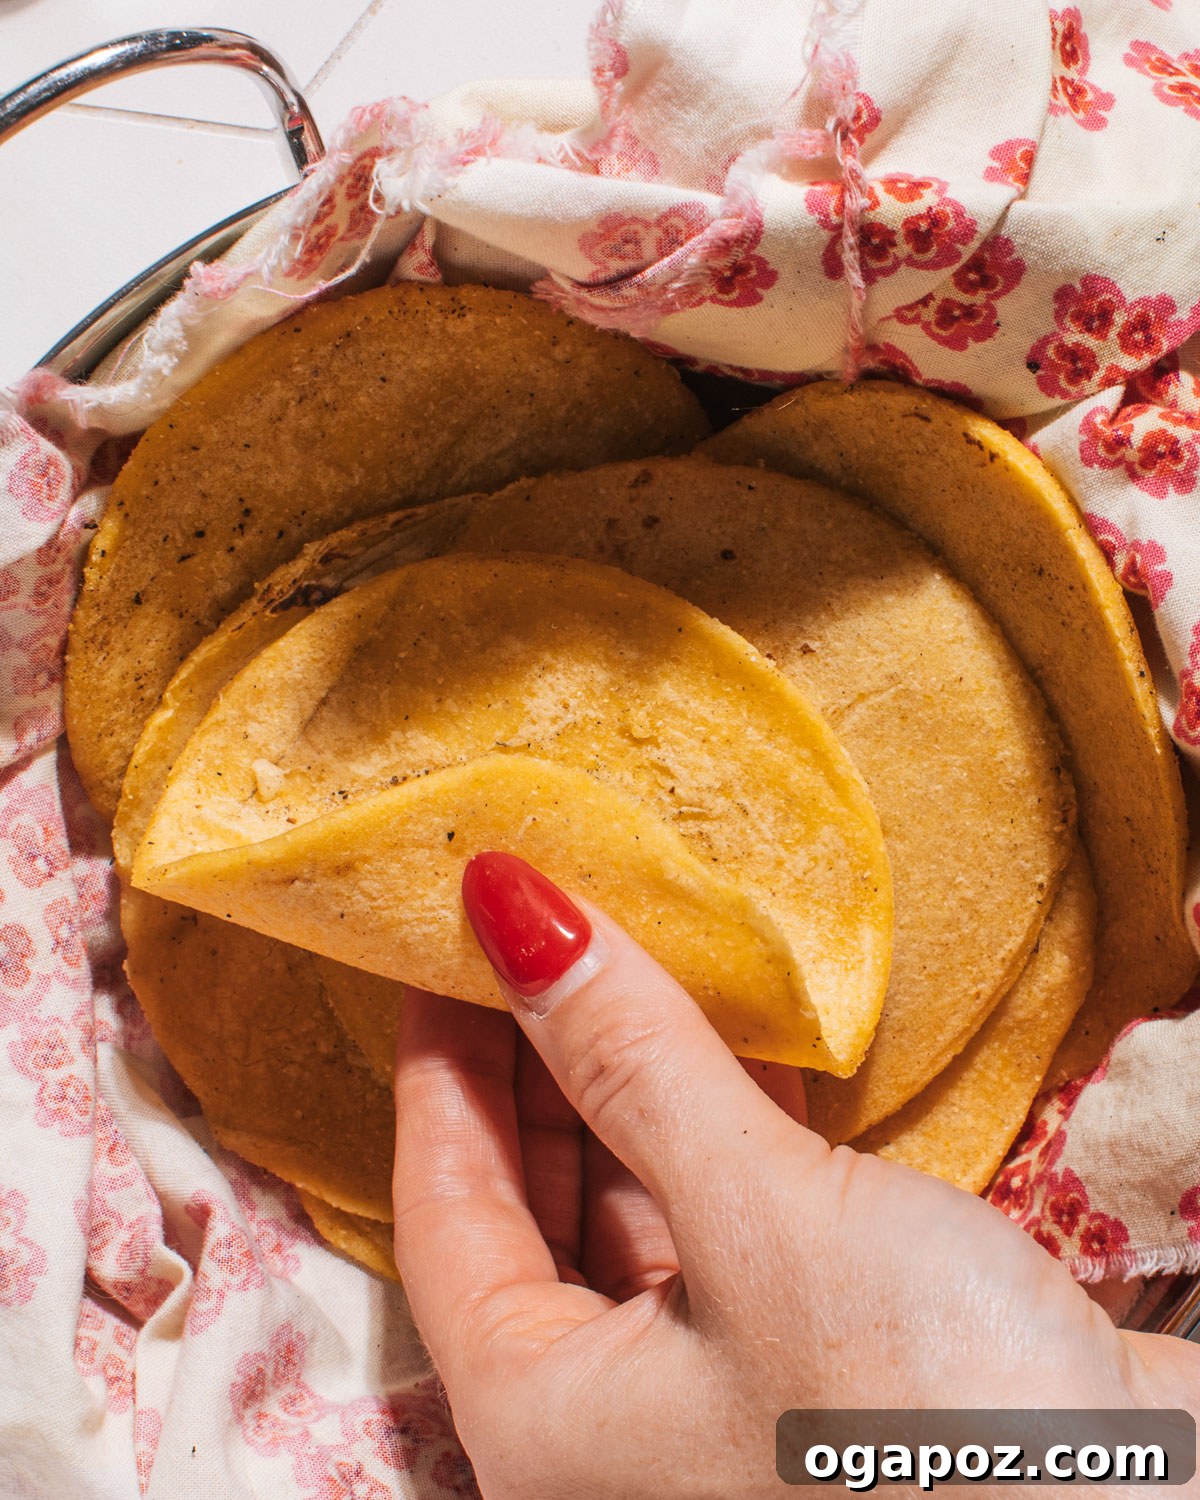
As each tortilla finishes cooking, transfer it immediately to a clean kitchen towel. Fold the towel over the stack of tortillas to keep them covered. The residual heat and steam trapped within the towel will keep them soft, pliable, and warm while you continue cooking the rest of the batch. This steaming process is essential for achieving that desirable tender texture that makes homemade tortillas so superior.
Science-Based Secrets to Perfect Corn Tortillas
Achieving truly perfect corn tortillas goes beyond just following steps; it involves understanding the subtle nuances that make a world of difference. These scientifically-backed tips will help you get the best results every single time:
- The Power of Hot Water 🔥: This isn’t just a suggestion; it’s a critical element. Mixing masa harina with hot water (not boiling, but comfortably warm to the touch) facilitates better and quicker hydration of the dough. The heat helps the corn starches to gelatinize and absorb water more efficiently, resulting in a smoother, more pliable dough that’s easier to knead and shape. This pliability is essential for creating soft, flexible tortillas that resist cracking during pressing and cooking. Cold water will make the dough stiff and difficult to work with.
- Get the Right Flour – It HAS to be Masa Harina: As mentioned, masa harina is unique due to the nixtamalization process. This treatment breaks down the corn’s pericarp (outer skin) and allows the starches to better bind with water, forming a cohesive and elastic dough. You cannot simply substitute cornmeal, corn flour, or even P.A.N. pre-cooked corn meal (used for arepas). Regular corn products lack the specific chemical and structural changes from nixtamalization, leading to crumbly, stiff, and unworkable dough for tortillas. Always look for “masa harina for tortillas” on the label.
- Nail the Dough Consistency: After proper kneading, your dough should have a specific feel: similar to Play-Doh. It should be moist enough to hold together without crumbling, but not so sticky that it clings to your hands. The resting period (15-30 minutes) is crucial here, as it allows for full hydration. If your dough feels too dry after resting, add a tiny bit more warm water (1/2 tsp at a time). If it’s too wet, add a sprinkle of masa harina. The right consistency is the key to preventing cracks and achieving a smooth press.
- Flat and Even is Key for Uniform Cooking: Whether you’re using a tortilla press or a rolling pin, strive for an even thickness across the entire tortilla. If parts are thicker, they’ll be undercooked; if parts are too thin, they’ll become brittle and burn. Even pressure and careful rolling (if using a pin) are vital. Rotate the dough after the first press to ensure an even circle.
- No Tortilla Press? Improvise Like a Pro: Don’t let lack of equipment deter you. A heavy, flat-bottomed pan or even a sturdy plate can be used to press the dough between two pieces of plastic wrap. A rolling pin is also an excellent alternative, offering great control over thickness. Many experienced tortilla makers prefer a rolling pin for achieving ultra-thin tortillas.
- Adjust Cooking Temperature As Needed: The ideal skillet temperature is medium-high. A too-hot skillet will burn the outside of the tortilla before the inside cooks through, leading to a tough exterior and possibly raw interior. A skillet that’s too cool will dry out the tortilla, making it stiff and brittle without developing the desirable puffed layers. Listen for a gentle sizzle when the tortilla hits the pan, and watch for light brown spots. Adjust the heat as you go.
- The Magic of the “Puff”: When a tortilla puffs up during cooking, it’s a sign that it’s perfectly hydrated and cooked. This puff occurs when steam gets trapped between the separating layers of the tortilla. It indicates a soft, flexible interior. While not every tortilla will puff perfectly, striving for this shows you’re on the right track with dough consistency and cooking temperature.
- Keep Them Warm and Steamy: Immediately transferring cooked tortillas to a clean, folded kitchen towel is paramount. The trapped steam not only keeps the tortillas warm but also continues to soften them, enhancing their pliability and preventing them from drying out. This step ensures that your last tortilla is as soft and fresh as your first.
Make Ahead and Storage Tips
Homemade corn tortillas are best enjoyed fresh off the skillet, but their components can certainly be prepared ahead of time, and cooked tortillas store well for later use. This flexibility makes them perfect for busy weeknights or meal prepping.
Preparing Dough Ahead of Time
You can mix and knead the tortilla dough up to 24 hours in advance. After preparing the dough, form it into a ball, lightly grease the surface with a tiny bit of oil (to prevent a skin from forming), and wrap it tightly in plastic wrap. Place it in an airtight container or a resealable bag and refrigerate. When you’re ready to make tortillas, remove the dough from the refrigerator and let it come to room temperature for at least 30-60 minutes before proceeding with forming balls and pressing. This allows the dough to relax and become pliable again.
Storing Cooked Tortillas
Cooked homemade tortillas retain their freshness and soft texture remarkably well when stored properly:
- Room Temperature: For short-term storage (up to 2 days), stack the cooled tortillas and wrap them tightly in foil or place them in a resealable plastic bag. Keep them in a cool, dry place.
- Refrigeration: For longer storage (up to a week), wrap the cooled tortillas tightly in plastic wrap or foil, then place them in an airtight container or a resealable bag in the refrigerator.
- Freezing for Extended Freshness: For optimal long-term storage, freezing is an excellent option. Allow cooked tortillas to cool completely. Stack them, separating each tortilla with a small piece of parchment paper to prevent them from sticking together. Place the stack in a freezer bag or an airtight freezer-safe container. They can be frozen for up to 2-3 months.
Reheating Frozen or Refrigerated Tortillas
Reheating tortillas properly helps restore their softness and flexibility:
- From Refrigerated: Lightly dampen your tortillas (a sprinkle of water or a quick pass under a damp towel), then reheat them on a dry hot skillet or griddle over medium heat for 15-30 seconds per side, until soft and pliable. You can also wrap them in a damp paper towel and microwave for 15-30 seconds.
- From Frozen: You can reheat frozen tortillas directly on a hot skillet over medium heat without thawing. Cook for about 1-2 minutes per side, or until they are heated through and soft. The parchment paper between them will make separation easier. Alternatively, you can thaw them at room temperature for an hour or overnight in the refrigerator before reheating as described above.
How to Serve Your Homemade Corn Tortillas
The versatility of homemade corn tortillas is one of their greatest assets. Once you master this recipe, a world of culinary possibilities opens up. Here are some delicious ways to enjoy your freshly made tortillas:
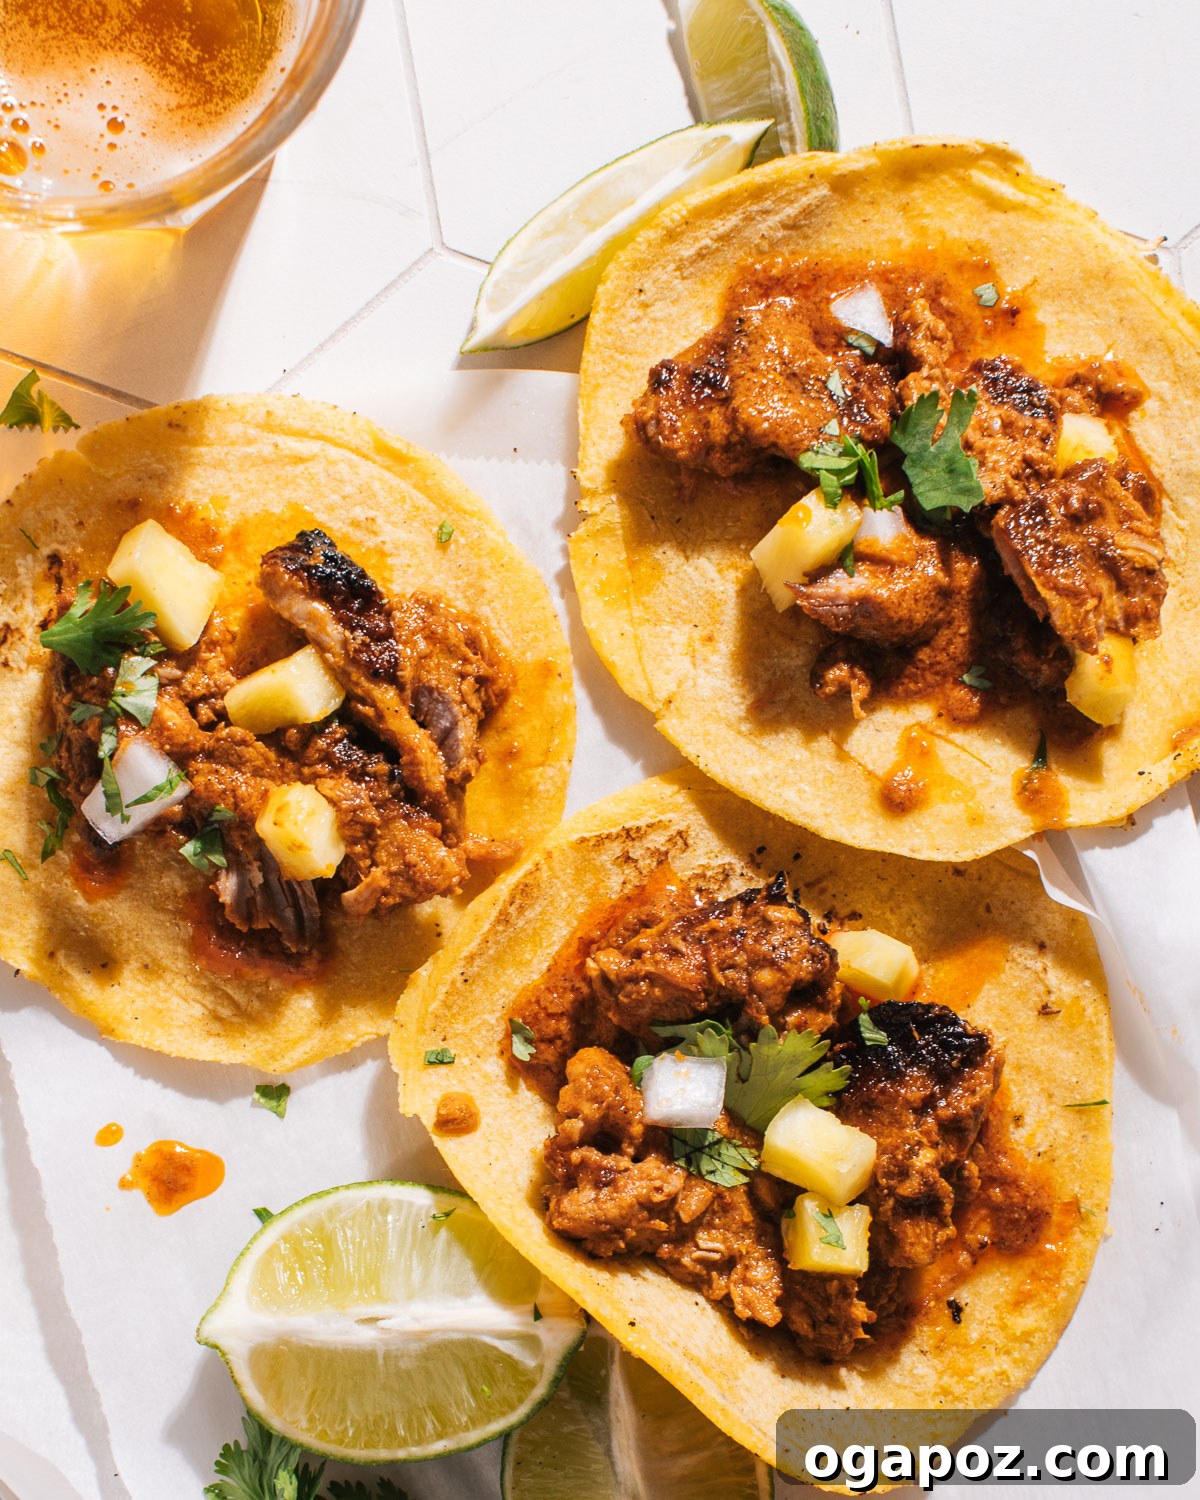
- Tacos Galore: This is arguably the most classic use! Fill warm, soft tortillas with your favorite taco fillings. Explore options like savory ground beef tacos, marinated and flavorful tacos al pastor, crispy fried tacos, tender chicken street tacos, or refreshing spicy fish tacos with cabbage slaw. The fresh tortillas truly make these dishes sing.
- Comforting Cheese Quesadillas: A quick and satisfying meal. Fold tortillas over a generous layer of melty cheese (Monterey Jack or Oaxaca work beautifully). Cook until the cheese is gooey and the tortilla is lightly golden and crispy. Elevate them with additional fillings like sautéed mushrooms, bell peppers, onions, or shredded chicken.
- Hearty Enchiladas: Roll your homemade tortillas around a flavorful filling of your choice—shredded chicken, beef, cheese, or vegetables. Arrange them in a baking dish, cover generously with your favorite enchilada sauce (red or green), and bake until bubbly and heated through for a comforting and satisfying meal.
- Perfect Underneath Everything: Homemade tortillas aren’t just for rolling. Use them as a base for tostadas, layering with beans, meat, and fresh toppings. They can also be a delicious accompaniment to soups and stews, perfect for dipping.
Elevate Your Dishes with Fresh Toppings
No Mexican meal is complete without the right condiments. Pair your homemade tortillas with these incredible toppings:
- Authentic guacamole, bursting with creamy avocado goodness.
- Zesty taco salsa, offering a fresh kick of flavor.
- Creamy and tangy baja sauce, especially delicious with fish tacos.
- Bright and refreshing cilantro lime crema.
Got Leftover Corn Tortillas? Make Nachos!
Don’t let any of your delicious homemade tortillas go to waste! Leftovers are perfect for making incredible nachos. Simply cut the tortillas into wedges, then either bake them until crispy on a baking sheet or fry them in a shallow amount of oil until golden. Once crispy, pile them high with melted cheese, refried beans, seasoned ground meat or chicken, and all your favorite nacho toppings like jalapeños, olives, sour cream, and fresh salsa. Try some of these yummy game day nachos recipes for a crowd-pleasing snack.
FAQs for Homemade Corn Tortillas
Embarking on a new recipe often comes with questions. Here are answers to some of the most common queries about making homemade corn tortillas, helping you troubleshoot and achieve success.
If your dough feels dry, stiff, or crumbly after mixing and kneading, it needs more hydration. Gradually add warm water, one tablespoon at a time, kneading after each addition. Continue until the dough becomes smooth, soft, and pliable, resembling the consistency of Play-Doh. Be patient and add small amounts to avoid making it too sticky.
Yes, absolutely! You can prepare the dough up to 24 hours in advance by wrapping it tightly and refrigerating. Allow it to come to room temperature before forming and pressing. Cooked tortillas can also be stored: at room temperature for up to 2 days, refrigerated for up to a week, or frozen for several months (separated by parchment paper) for longer storage. Reheat gently to restore softness.
Cracking or tearing usually indicates that your dough is too dry or hasn’t hydrated properly. Ensure you use warm water during mixing and allow the dough to rest for 15-30 minutes so the masa harina fully absorbs the moisture. Additionally, uneven pressing can cause thin spots that tear easily. Make sure your dough is consistently pliable and that you apply even pressure when flattening.
The “puff” is a sign of a well-hydrated dough and proper cooking temperature. Ensure your dough has the correct Play-Doh consistency and has rested sufficiently. Preheat your skillet to medium-high heat. Cook the first side for about 30 seconds, then flip. The second side should cook for 30-60 seconds, and this is often when the puff occurs. A final quick flip can encourage it. If they’re not puffing, your dough might be slightly too dry, or your skillet might not be hot enough.
Stiff or brittle tortillas are typically a result of overcooking or not keeping them covered after cooking. Cook tortillas only until light brown spots appear and they puff slightly – usually no more than 60-90 seconds total. Immediately transfer them to a clean kitchen towel and keep them covered to trap steam, which maintains their softness and flexibility.
More Mexican Recipes You’ll Love
Expand your culinary repertoire and impress your family and friends with these fun and flavorful Mexican-style recipes that pair wonderfully with your fresh homemade corn tortillas or stand alone as delicious go-to dishes:
- Whip up your own vibrant chicken taco seasoning for perfectly spiced chicken tacos.
- Enjoy the irresistible flavors of summer with a refreshing Mexican Street Corn Salad.
- Make quick and flavorful Instant Pot Mexican rice for an easy side dish.
- Dive into the zesty and fresh taste of Aguachiles shrimp – a vibrant ceviche-style dish.
- Elevate your fish tacos and more with a homemade Cilantro Lime Crema.
- Explore the best authentic Mexican Dessert Recipes to round out any meal.
Homemade Corn Tortillas Recipe (Soft + Easy!)
Ingredients
- 2 cups masa harina
- 1 ½ cups hot water
- ¾ tsp kosher salt
Instructions
-
Mix Ingredients: In a large bowl, combine the masa harina and salt. Gradually add the warm water, mixing with your hands until the dough comes together.
-
Knead the Dough: Knead the dough for about 2-3 minutes until it’s smooth and pliable. If the dough feels dry or crumbly, add a little more water, 1 tbsp at a time.
-
Rest the Dough: Cover the dough with a damp cloth or plastic wrap and let it rest for 15-30 minutes. This helps the dough fully hydrate.
-
Form Dough Balls: Divide the dough into 12 equal pieces and roll each piece into a ball, about the size of a golf ball.
-
Flatten the Tortillas: Place a dough ball between two pieces of plastic wrap or inside a cut-open ziplock bag. Use a tortilla press, a flat-bottomed pan or a rolling pin to flatten the dough ball into a thin circle, about 1/8 inch thick.
-
Cook the Tortillas: Preheat a dry skillet or griddle over medium-high heat. Carefully peel the plastic wrap off the tortilla and place it on the hot skillet. Cook for about 30 seconds on each side, or until the tortilla has light brown spots and puffs up slightly.
-
Keep Warm: Transfer cooked tortillas to a clean towel and cover them to keep warm and soft while you cook the remaining tortillas.
Nutrition
| Carbohydrates: 15 g
| Protein: 2 g
| Fat: 1 g
| Saturated Fat: 0.1 g
| Polyunsaturated Fat: 0.3 g
| Monounsaturated Fat: 0.2 g
| Sodium: 148 mg
| Potassium: 51 mg
| Fiber: 1 g
| Vitamin A: 41 IU
| Calcium: 27 mg
| Iron: 1 mg
Nutrition information is automatically calculated, so should only be used as an approximation.
We hope this comprehensive guide inspires you to try making homemade corn tortillas. The difference in taste and texture is truly transformative, bringing an authentic touch to all your Mexican-inspired meals. Happy cooking!