
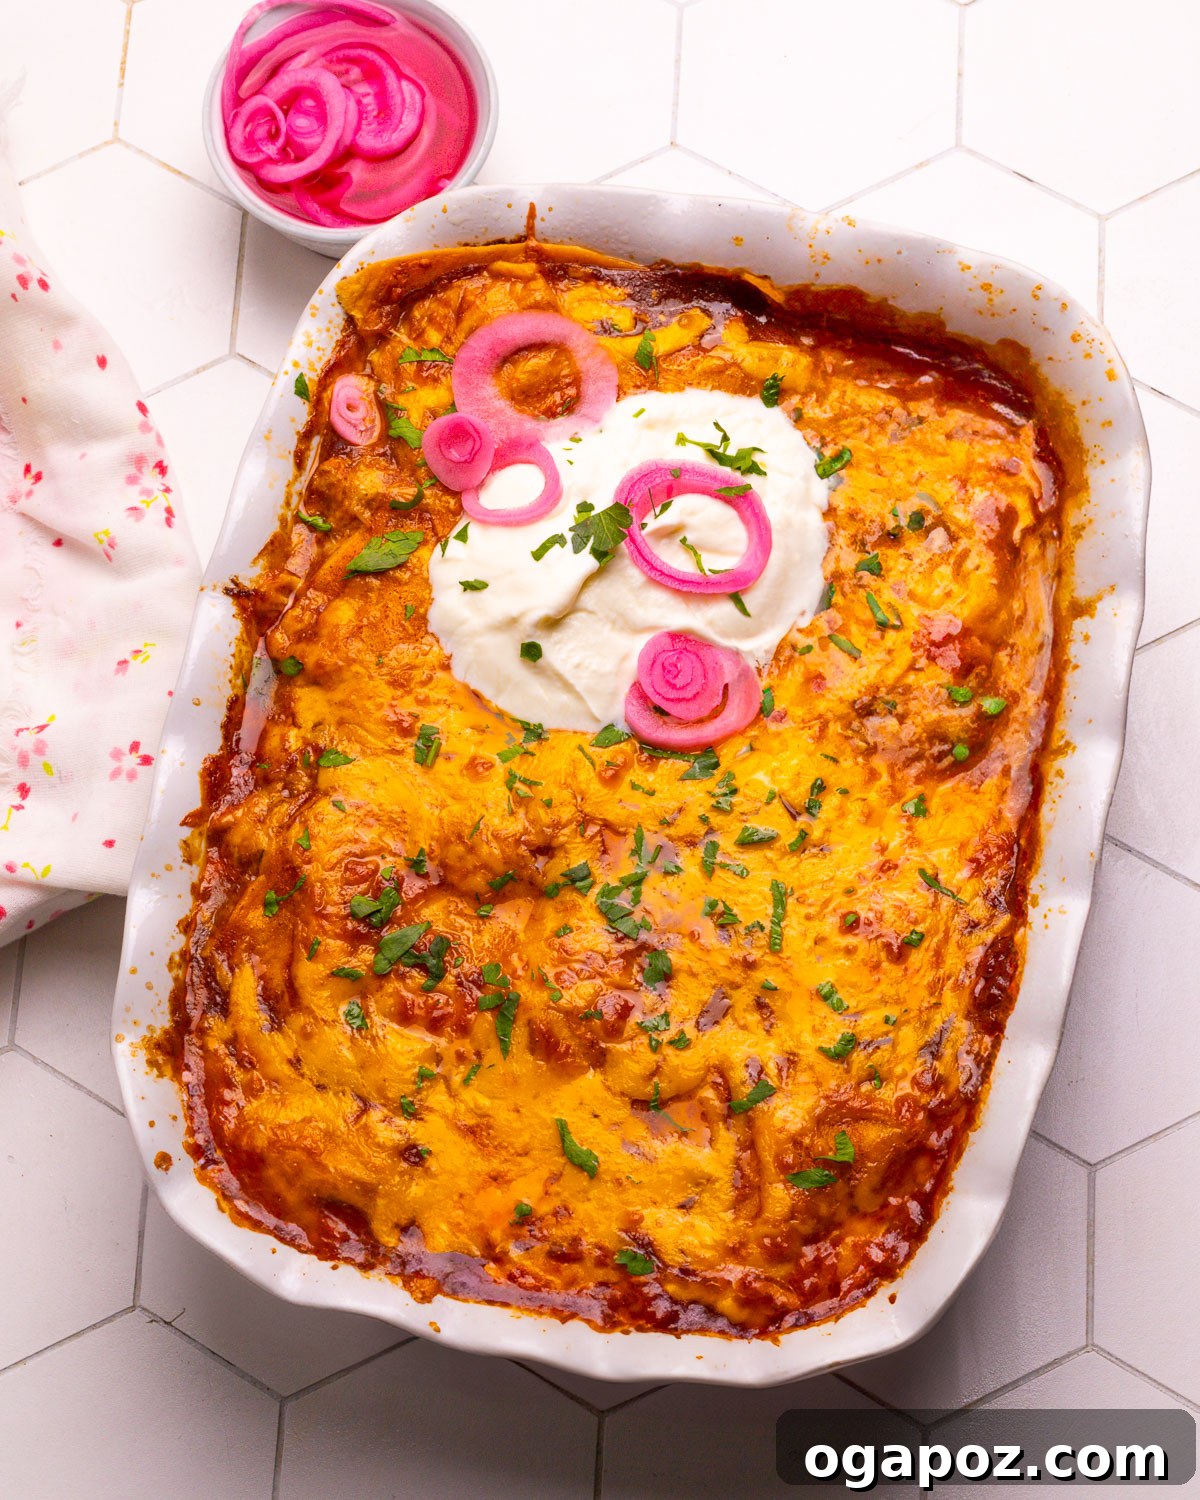
Transform your weeknight dinner routine with this incredibly flavorful and effortlessly easy **Chicken Enchilada Casserole**. This recipe delivers all the beloved tastes and textures of traditional enchiladas—think saucy, creamy, and wonderfully cheesy layers—but with significantly less fuss. Forget the time-consuming rolling of individual tortillas; our layered approach streamlines the process, making it a perfect **layered chicken tortilla casserole** for busy evenings or casual entertaining.
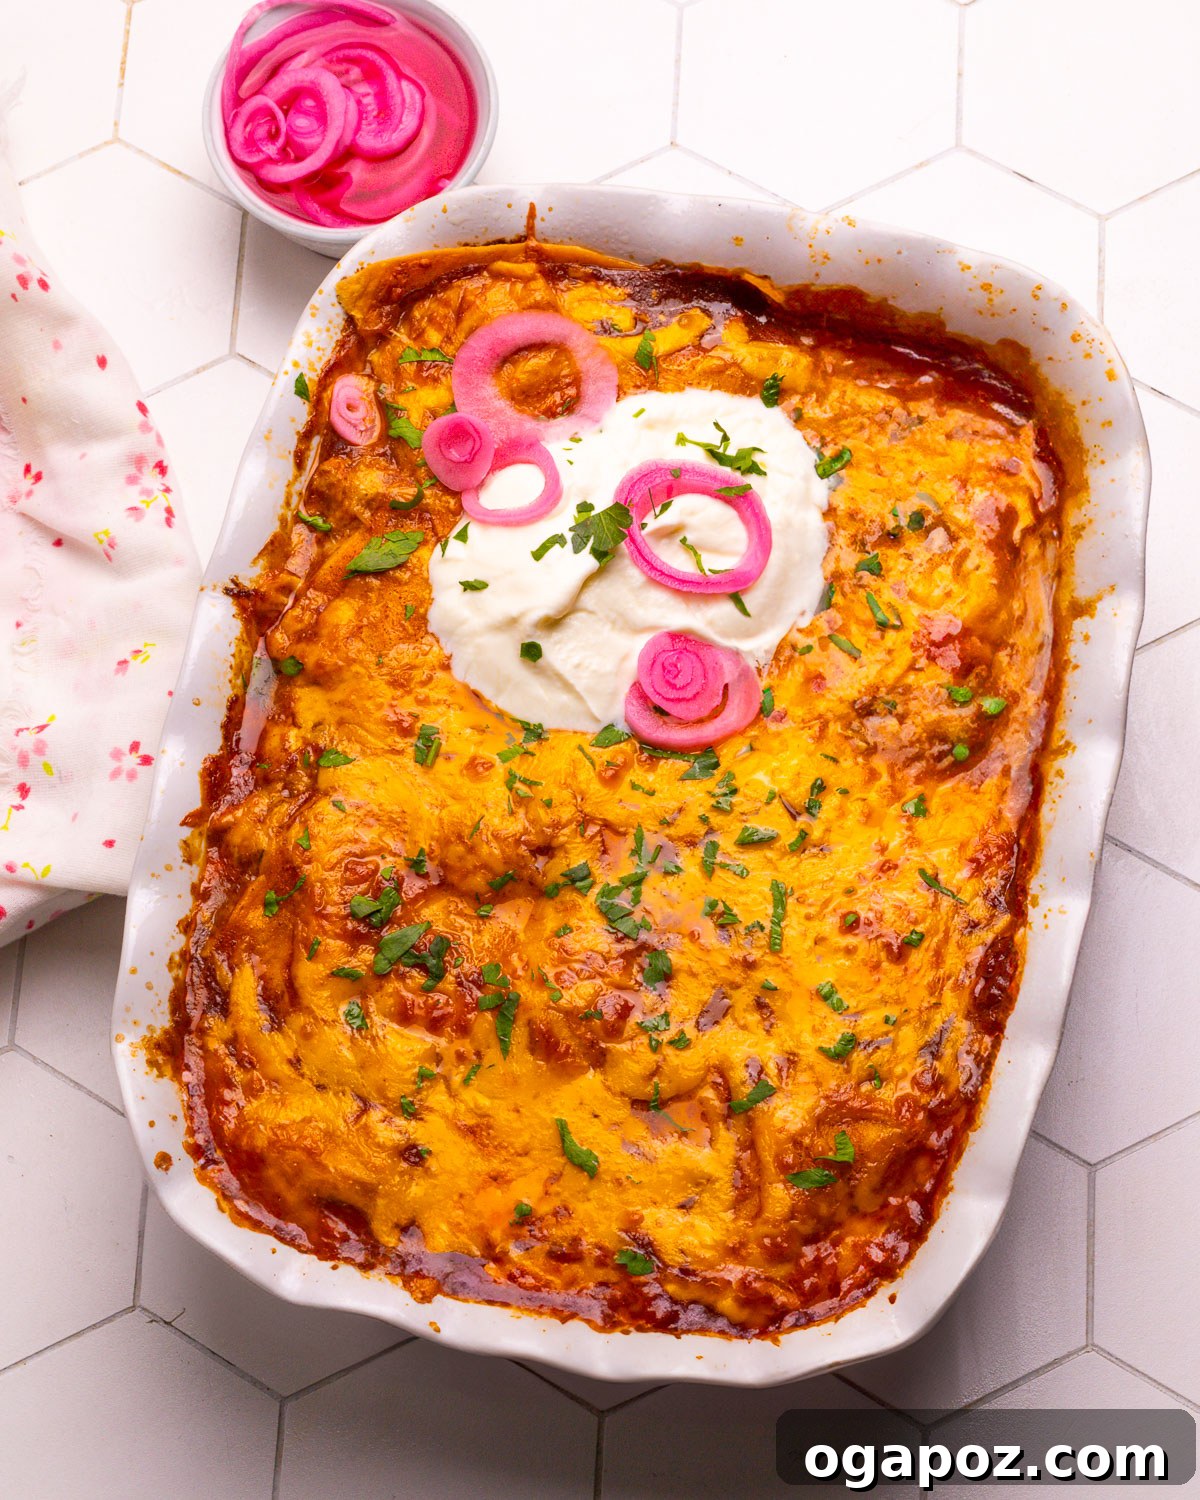
Imagine golden-brown layers of tender chicken, rich enchilada sauce, and generously melted cheese, all baked together into a bubbling, irresistible casserole. This dish isn’t just a meal; it’s a culinary hug that satisfies the deepest cravings for comforting, Tex-Mex inspired flavors.
While I adore classic preparations like my Chicken Enchiladas with White Sauce and the convenience of my Crockpot Chicken Enchiladas, this layered casserole has quickly become a go-to favorite. It’s so quick and unbelievably tasty that it has earned a permanent spot in my recipe rotation, impressing both family and friends alike. It truly combines speed with exceptional flavor, proving that delicious meals don’t always require intricate steps.
Why You’ll Love This Easy Chicken Enchilada Casserole
This chicken enchilada casserole isn’t just another dinner recipe; it’s a game-changer for anyone seeking maximum flavor with minimal effort. Here’s why this dish will become a staple in your kitchen:
- Effortless Assembly: Unlike traditional enchiladas that require individual rolling, this casserole is simply layered, saving you precious time and effort in the kitchen. Just stack and bake!
- Ultimate Comfort Food: With its warm, gooey layers of cheese, tender chicken, and savory sauce, this casserole provides the quintessential comfort food experience, perfect for chilly evenings or anytime you need a hearty meal.
- Customizable to Your Taste: Whether you prefer mild or spicy, extra creamy or packed with veggies, this recipe is incredibly versatile. Easily adjust the heat level of your enchilada sauce or add in your favorite ingredients to make it uniquely yours.
- Feeds a Crowd: This generous casserole is ideal for family dinners, potlucks, or meal prepping. It’s a fantastic way to satisfy multiple appetites with a single dish.
- Make-Ahead Friendly: Assemble it ahead of time and simply pop it into the oven when you’re ready to bake. It’s a lifesaver for busy weeknights, allowing you to enjoy a homemade meal without the last-minute rush.
- Naturally Gluten-Free: By utilizing corn tortillas, this recipe is naturally gluten-free, making it a wonderful option for those with dietary restrictions without compromising on flavor or texture.
Essential Ingredients for Your Chicken Tortilla Casserole
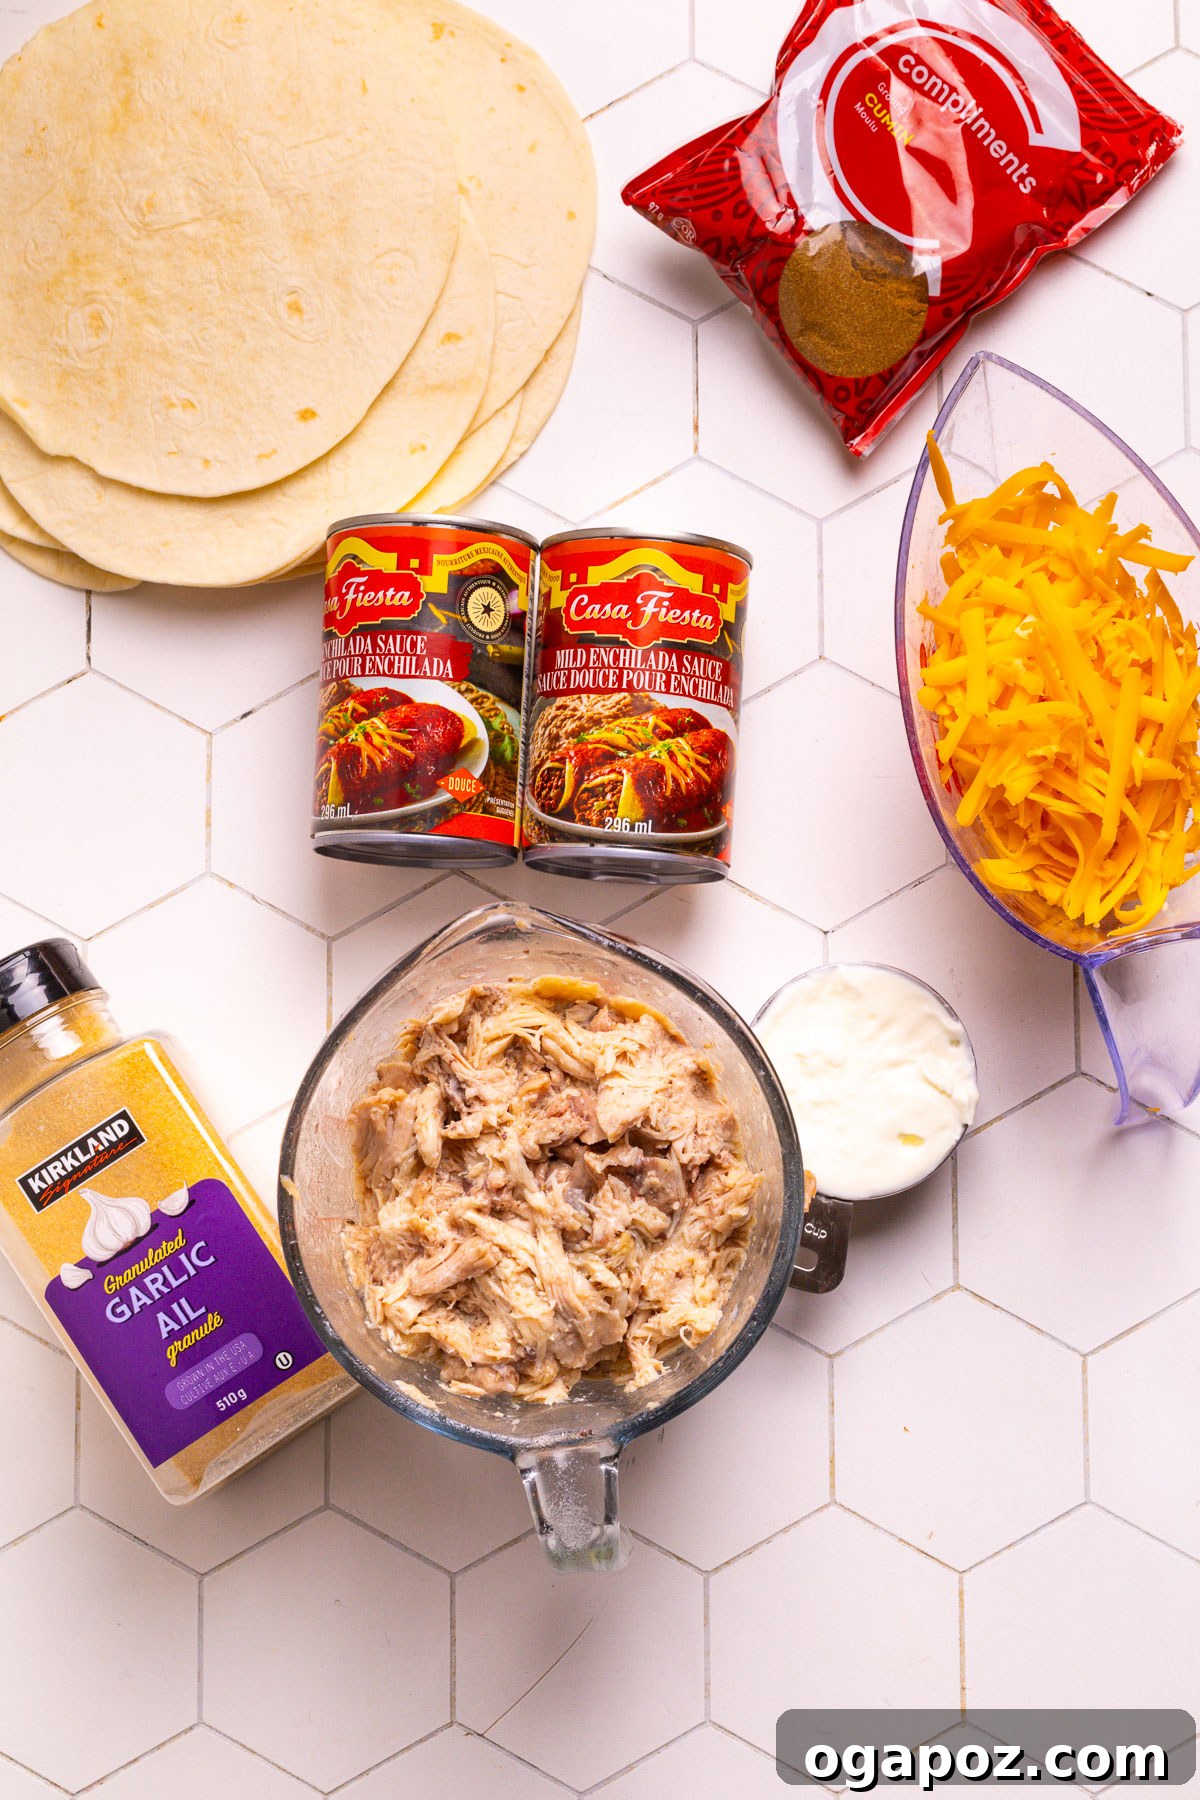
The beauty of this chicken enchilada casserole lies in its straightforward ingredients, many of which you likely already have on hand. Here’s a detailed look at what you’ll need:
- Cooked, Shredded Chicken: This is the star of our casserole. For ultimate convenience and flavor, a store-bought rotisserie chicken is your best friend, allowing you to whip up this dish in minutes. Alternatively, use leftover roasted chicken or quickly poach and shred chicken breasts or thighs. Both white and dark meat work beautifully, offering slightly different textures and richness.
- Enchilada Sauce: The heart and soul of any enchilada dish! You can opt for your favorite store-bought red enchilada sauce for a quick and easy solution. For a deeper, more robust flavor that truly elevates the casserole, consider making a homemade version. Adjust the heat level to your preference—mild for family-friendly fare, or medium to hot if you enjoy a little kick.
- Sour Cream: This ingredient is key to achieving that signature creamy texture and a delightful tang that perfectly balances the savory richness of the enchilada sauce. Full-fat sour cream is recommended for the best mouthfeel and luxurious consistency, but a low-fat option can be used if you’re looking for a lighter alternative.
- Ground Cumin: A classic spice in Mexican cuisine, ground cumin adds an earthy, warm, and slightly peppery flavor that is essential for authentic taste.
- Garlic Powder: Infuses the chicken mixture with a foundational aromatic note, complementing the other spices and enhancing the overall flavor profile.
- Corn Tortillas: These are crucial for building the sturdy, flavorful layers of the casserole. Corn tortillas contribute a distinct toasty corn flavor and hold up wonderfully during baking, creating a satisfying structure. They also make this recipe naturally gluten-free!
- Pro Tip: Tear the tortillas into quarters or smaller pieces before layering. This makes the casserole much easier to scoop out into individual portions after it’s baked, ensuring every serving is perfectly structured and delicious.
- Important Note: While tempting, **avoid using flour tortillas** (even if pictured in some general ingredient shots). In multiple recipe trials, flour tortillas tend to become gummy and develop a bland, unappealing texture when baked in a layered casserole format. Stick to corn for the best results!
- Shredded Cheese: A generous amount of cheese is non-negotiable for a truly decadent enchilada casserole. Cheddar, Monterey Jack, or a blend of both are excellent choices, melting beautifully to create a gooey, cheesy blanket over your layers. For the freshest flavor and most even melt, I highly recommend shredding your cheese from a block. Pre-shredded varieties often contain anti-caking agents that can hinder smooth melting and sometimes impart a slightly floury texture.
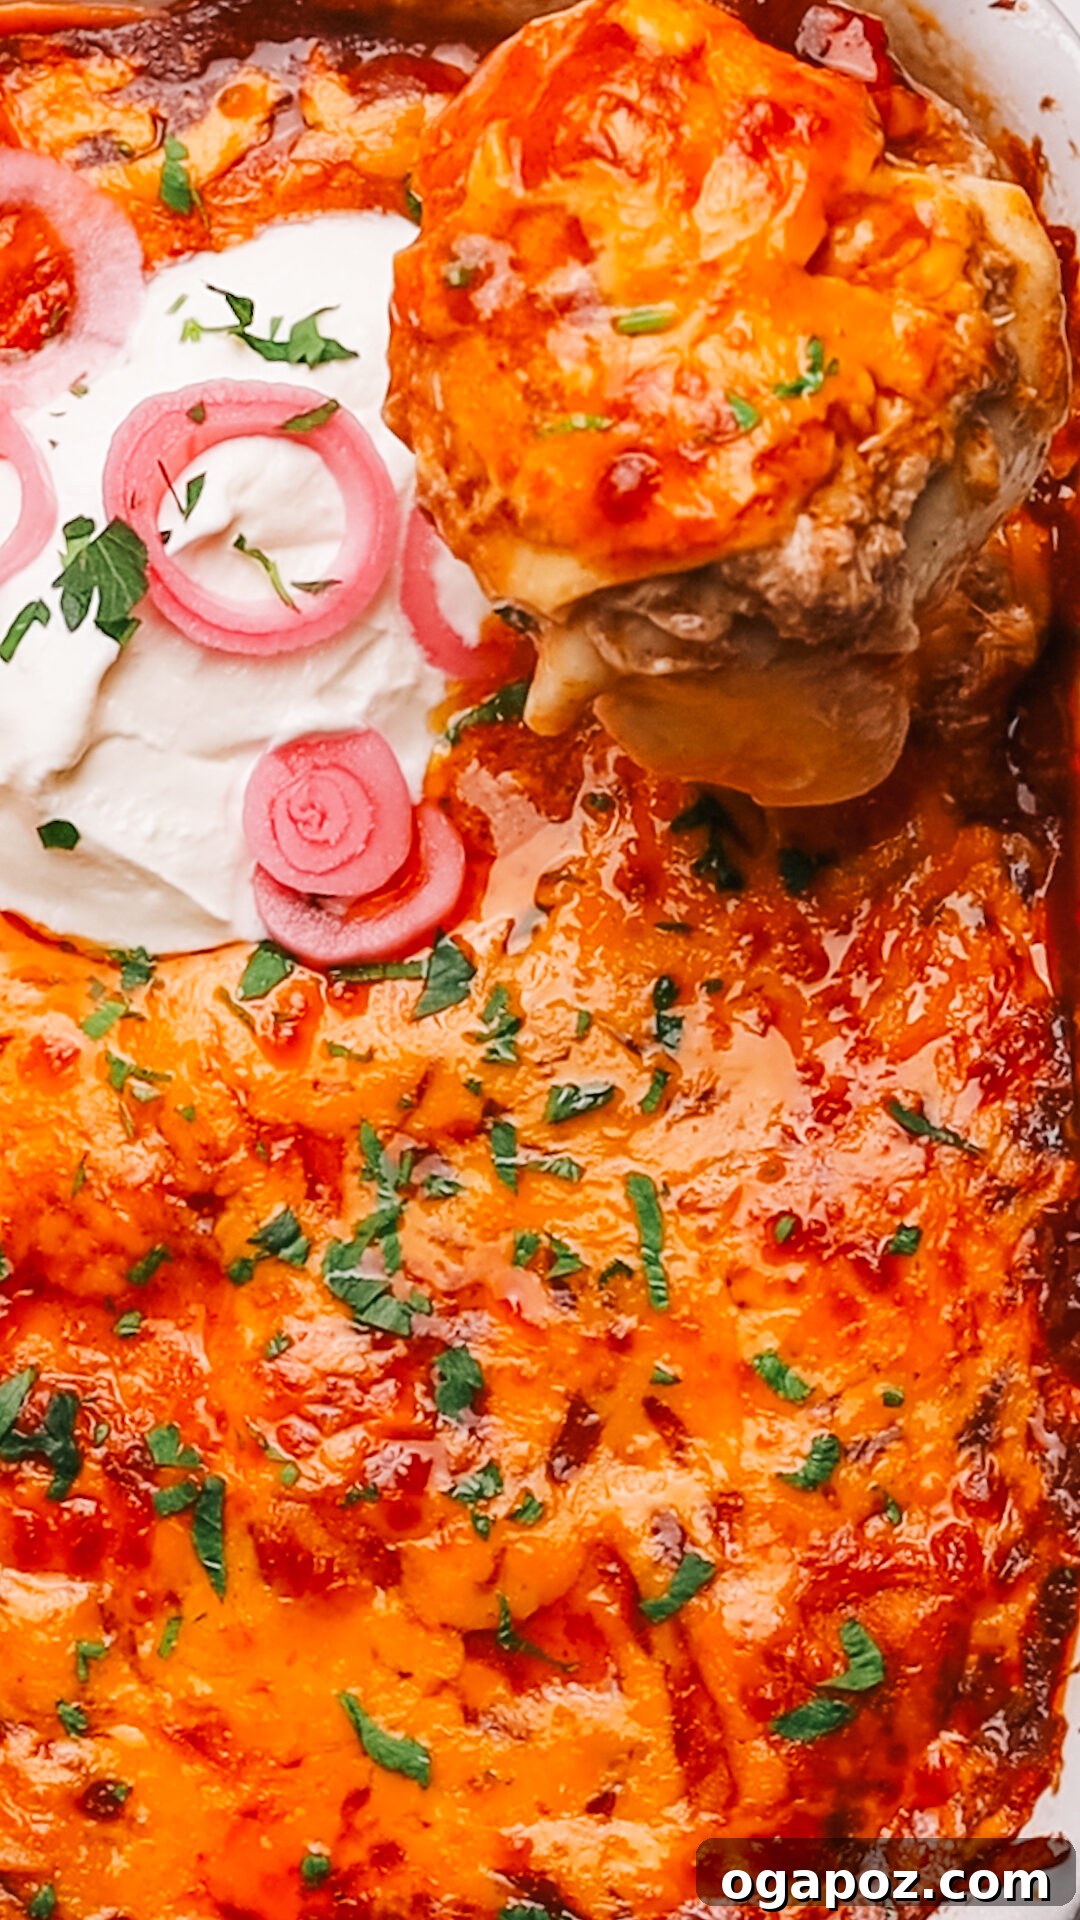
- Optional Toppings: While the casserole is fantastic on its own, a few fresh toppings can elevate it from great to extraordinary. My personal favorites include creamy avocado slices, a dollop of extra sour cream, and a sprinkle of zesty 5-minute pickled red onions for a bright, tangy counterpoint.
Exact ingredient quantities and detailed instructions can be found in the comprehensive recipe card at the bottom of this article.
Tools to Gather
Preparing this chicken enchilada casserole is wonderfully simple and requires only a few basic kitchen tools:
- Large Mixing Bowl: Essential for combining your shredded chicken with the sauce and seasonings, ensuring an even coating of flavor.
- Spoon or Spatula: To thoroughly mix the ingredients in the bowl and help spread the layers in the baking dish.
- Baking Dish: A 9×9-inch or 9×13-inch baking dish is perfect for assembling and baking the casserole. Both ceramic and glass dishes work exceptionally well, providing even heat distribution for a perfectly cooked result.
- Cheese Grater (Optional): If you choose to shred your own cheese (which I highly recommend for superior melt and flavor), a good quality cheese grater will be invaluable. Otherwise, pre-shredded cheese can be used for ultimate weeknight convenience.
- Sharp Knife or Pizza Cutter: For cleanly slicing through the baked casserole once it has rested, allowing for neat and easy serving.
How to Make Chicken Enchilada Casserole: An Easy Guide
Get ready to assemble your new favorite weeknight meal! This guide breaks down the simple steps to creating a delicious chicken enchilada casserole:
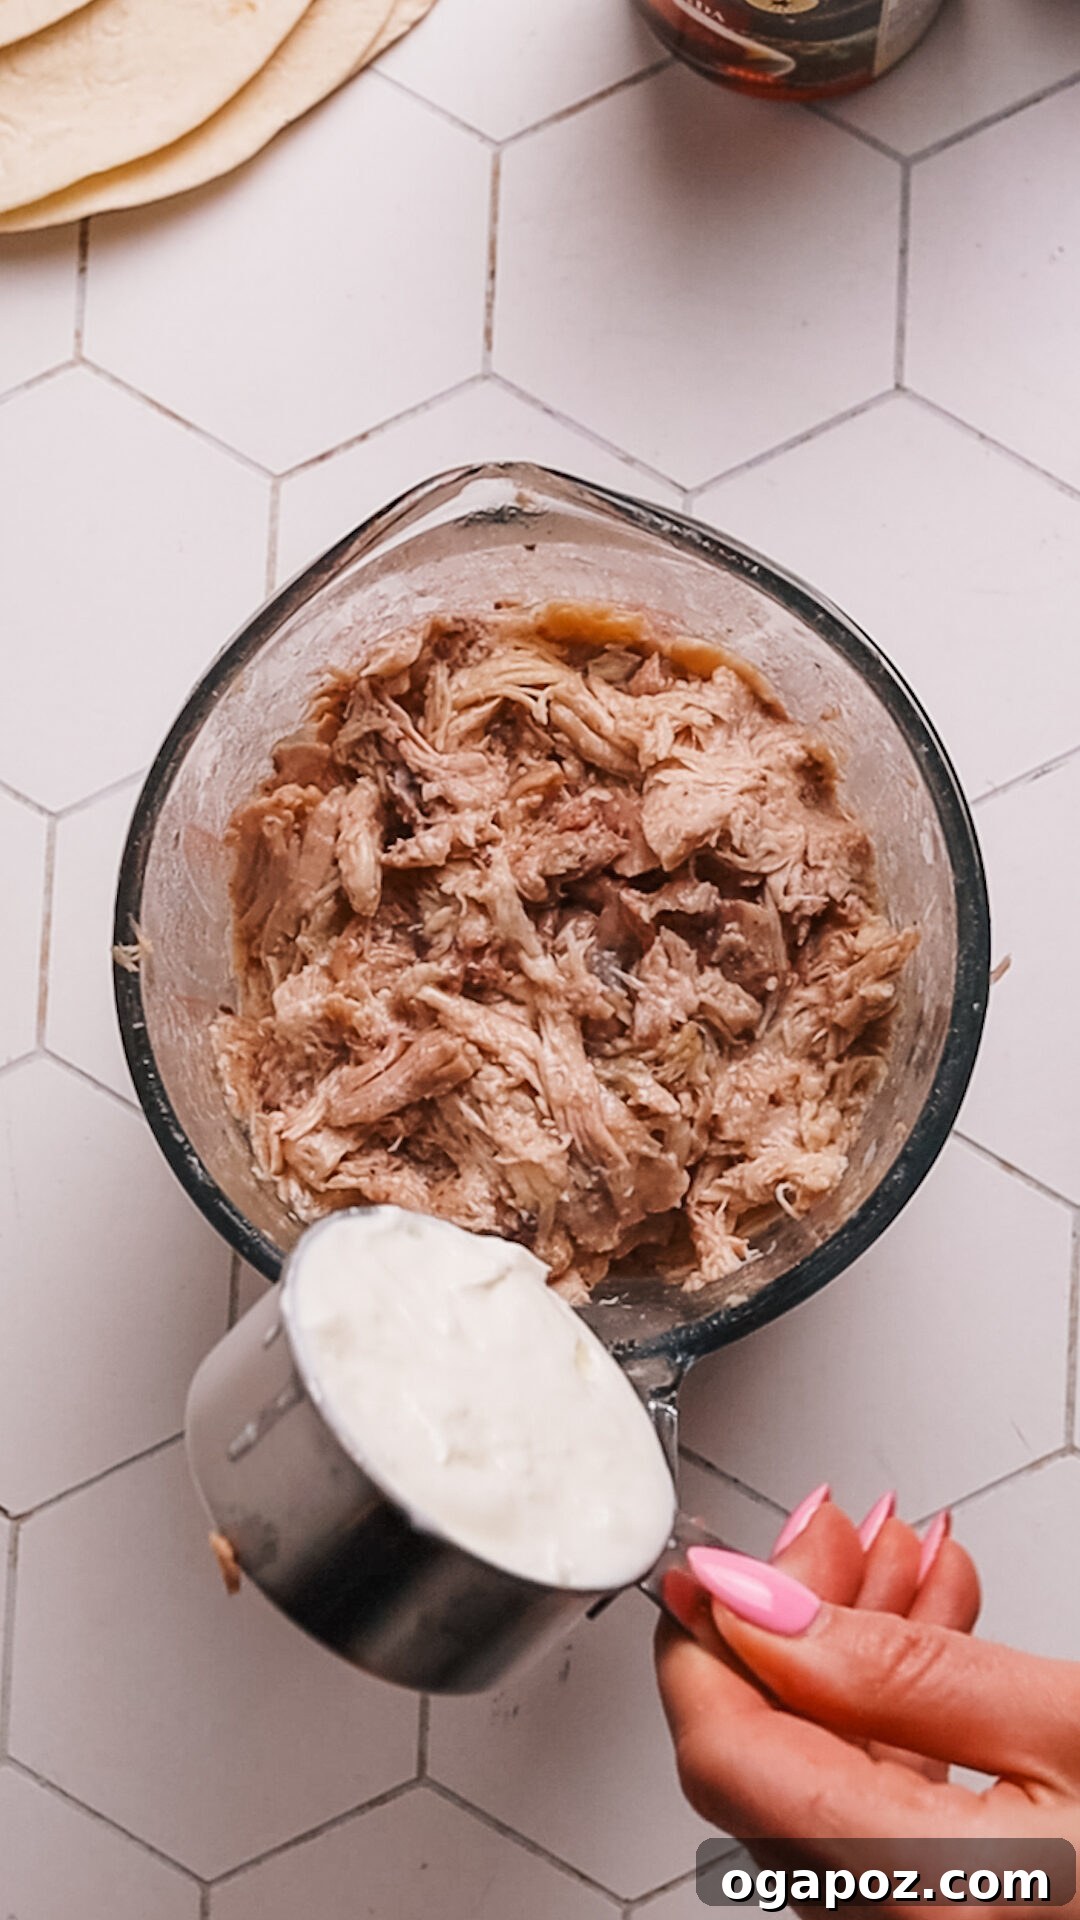
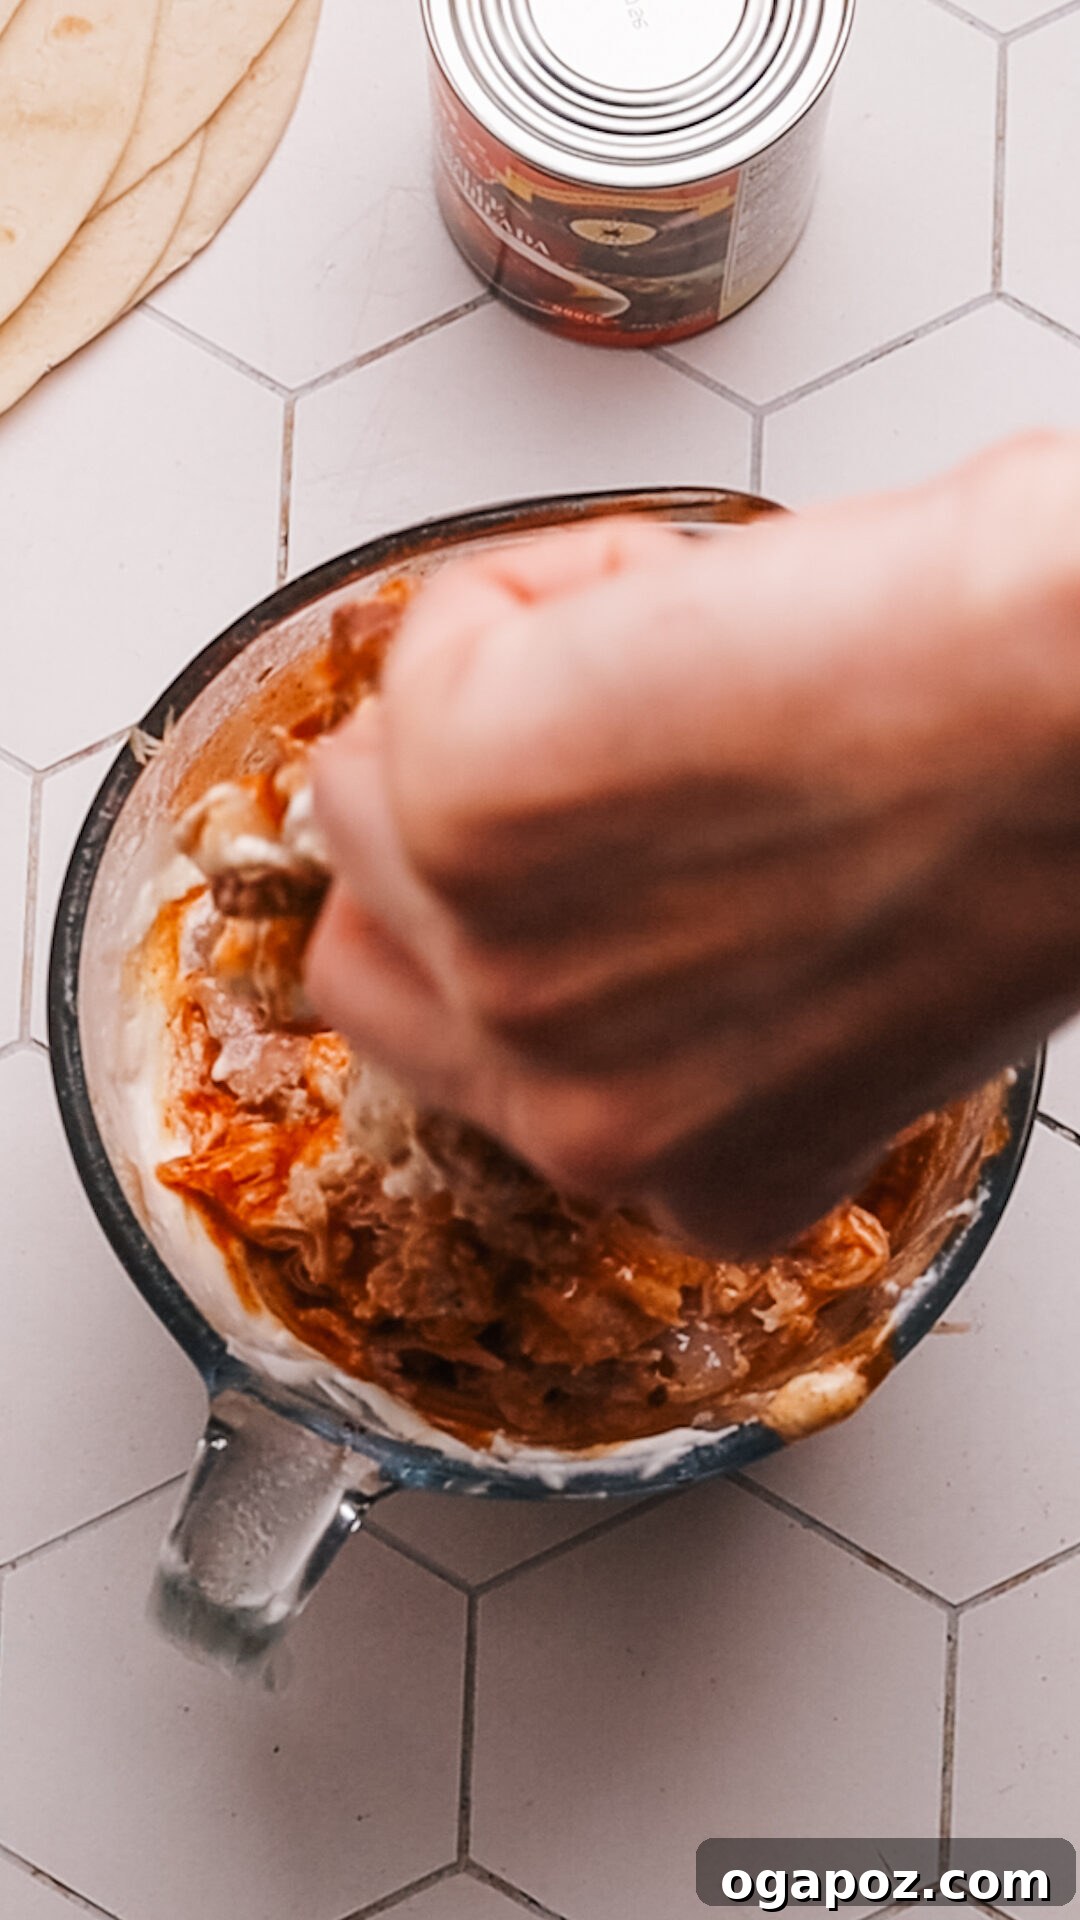
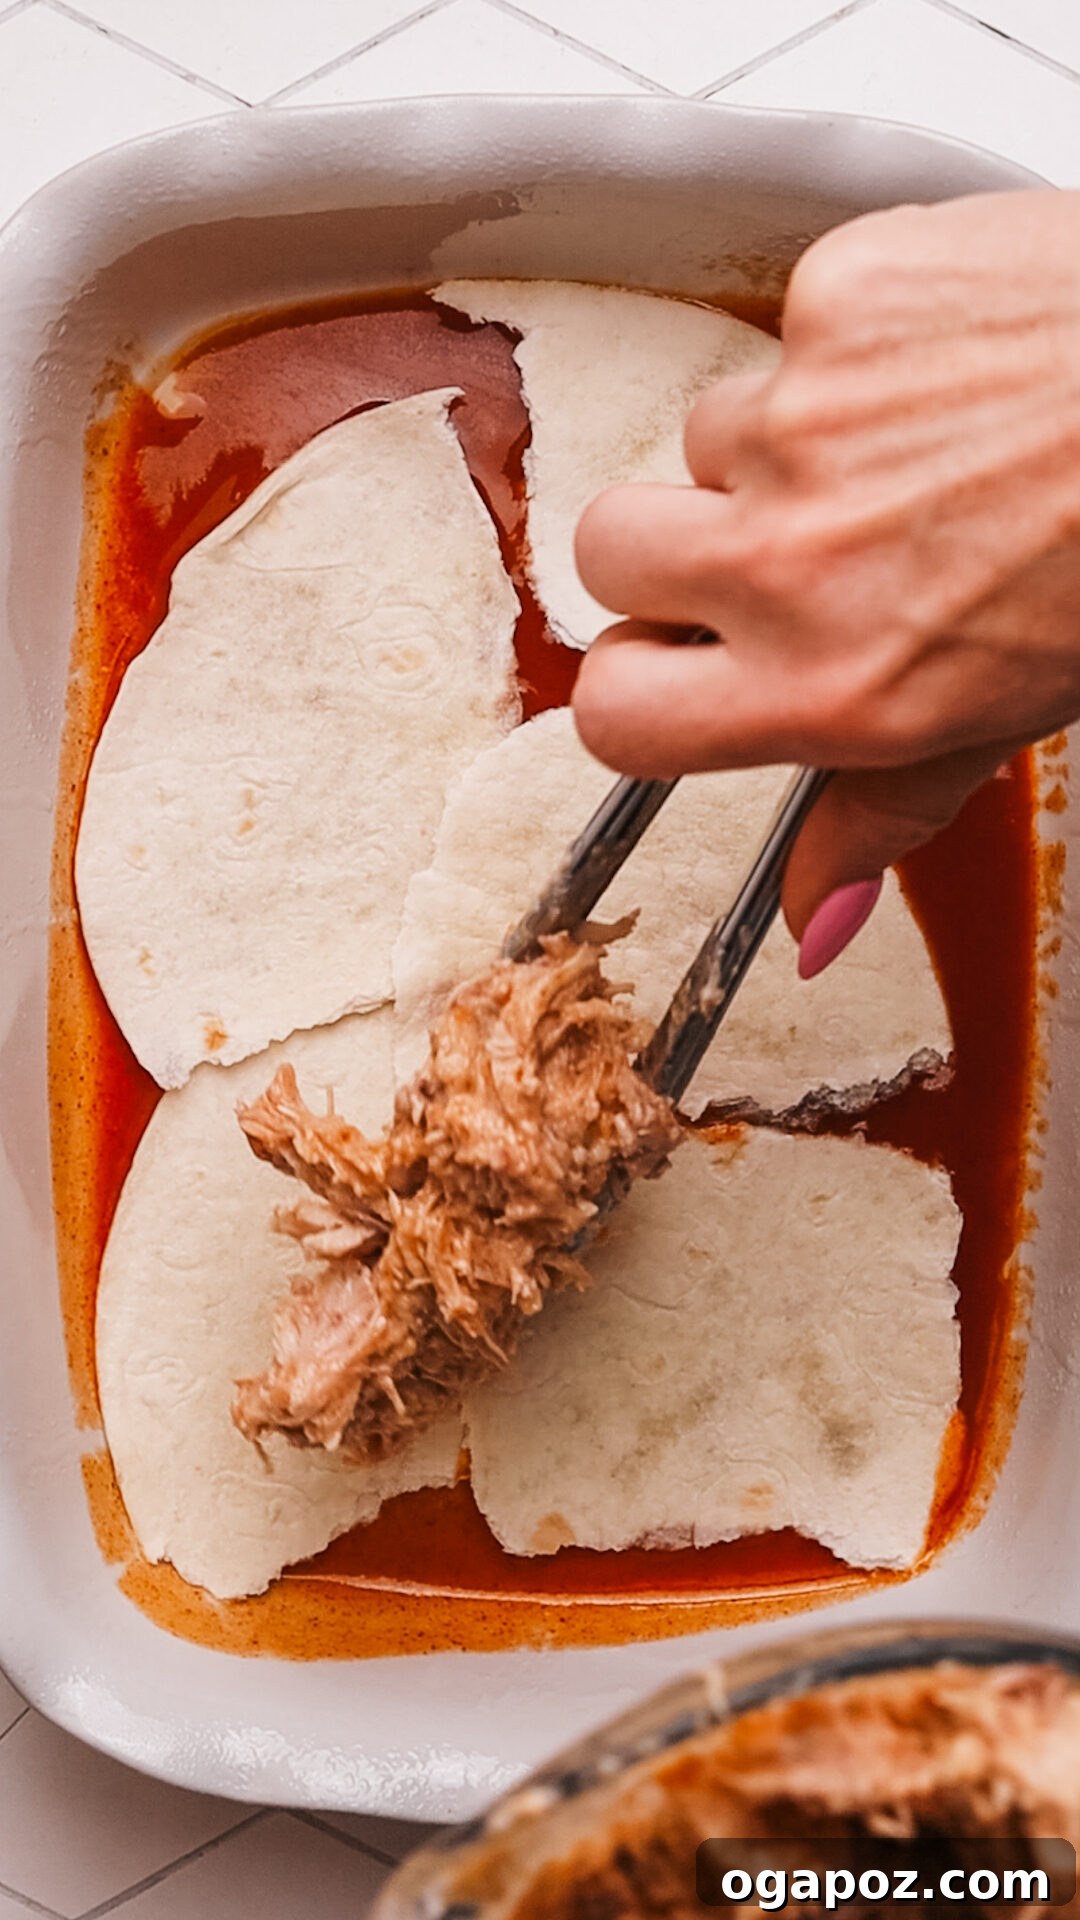
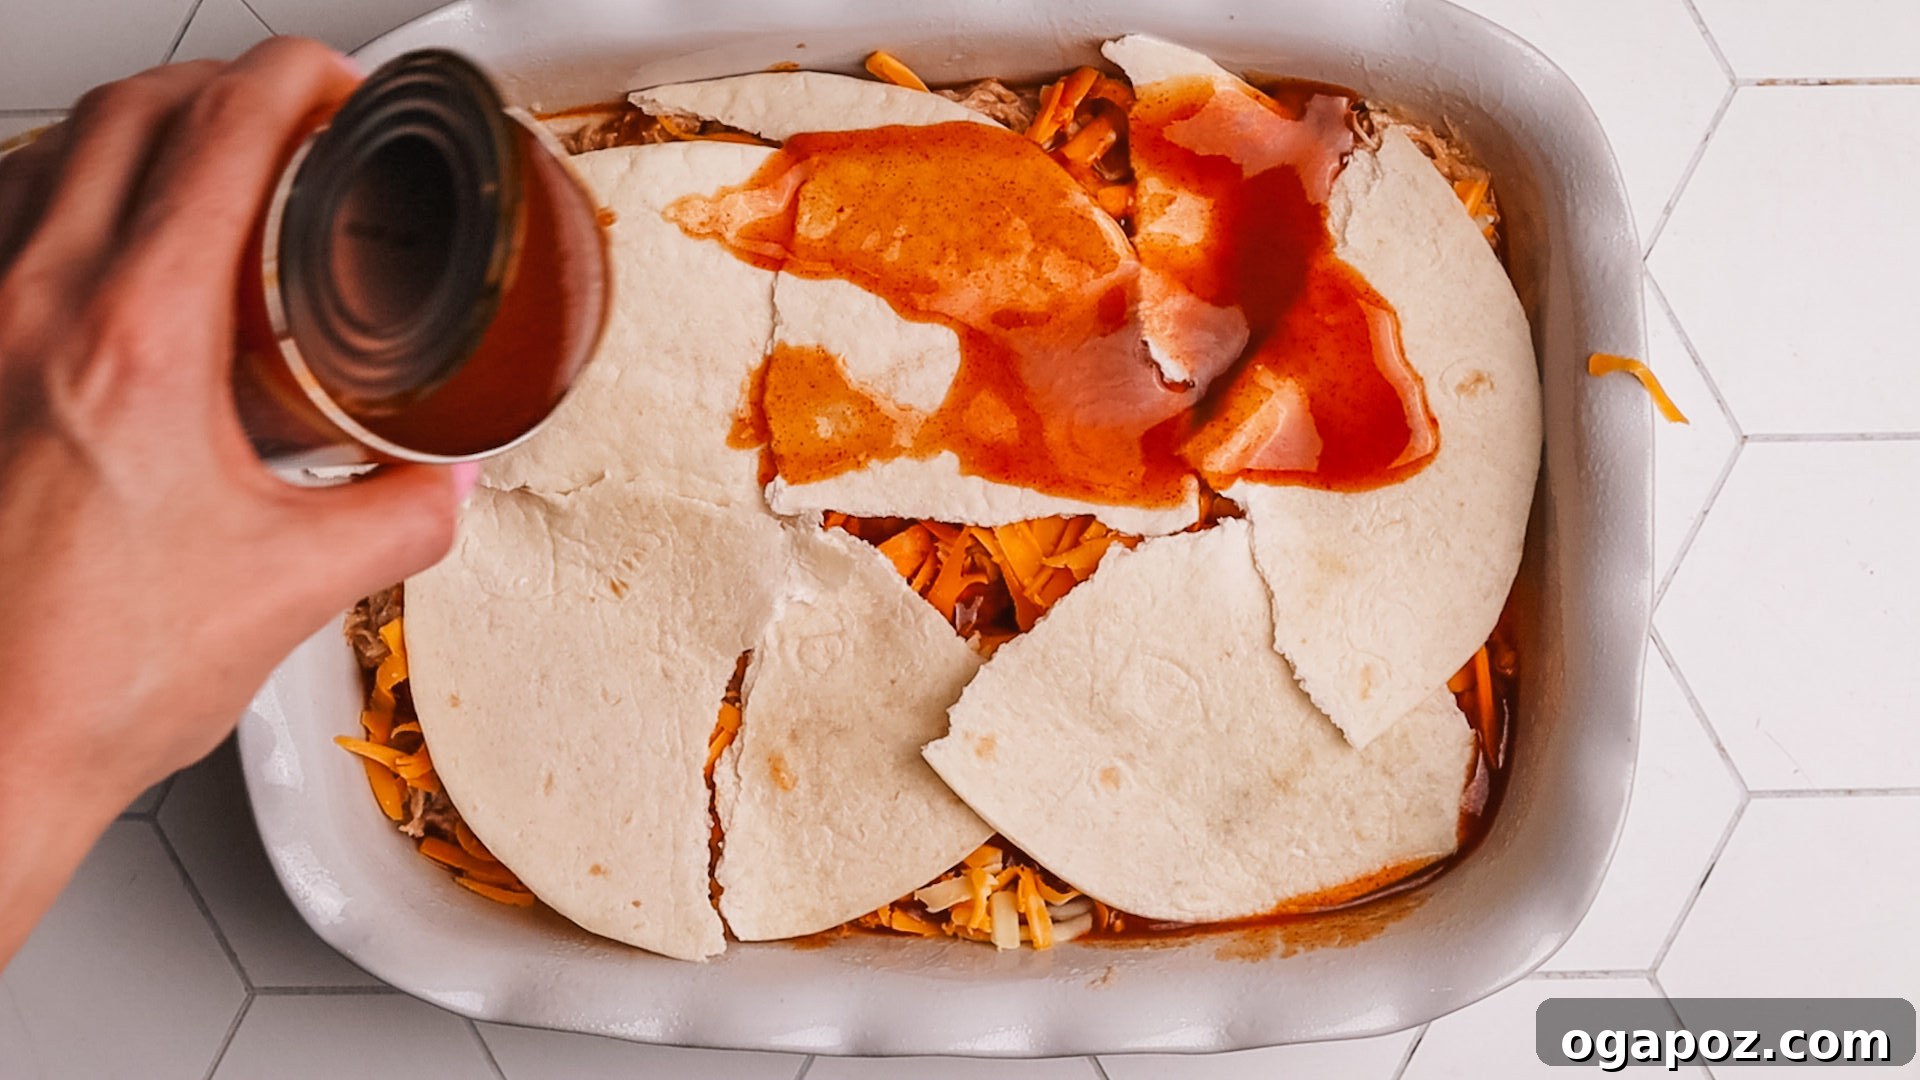
1. Prepare the Flavorful Chicken Filling
- Begin by preheating your oven to 375ºF (190ºC). In a spacious mixing bowl, combine your cooked, shredded chicken with ½ cup of your chosen enchilada sauce, the sour cream (if using), ground cumin, garlic powder, and a good pinch of kosher salt. Mix everything thoroughly until the chicken is well coated and the ingredients are evenly distributed. Take a moment to taste the mixture and adjust the seasoning if needed – this is your chance to make it perfect!
2. Expertly Layer the Enchilada Casserole
- Grease your 9×9 or 9×13-inch baking dish to prevent sticking. Spread ½ cup of enchilada sauce evenly across the bottom of the prepared dish. This not only adds flavor but also helps prevent the first layer of tortillas from drying out.
- Next, arrange a layer of your torn corn tortillas over the sauce. Follow this with a generous amount of the seasoned chicken mixture, then a sprinkle of shredded cheese, and finally, a thin drizzle of more enchilada sauce.
- Repeat these layers – tortillas, chicken mixture, cheese, and a bit more sauce – until all your ingredients are used up. Think of it like building a lasagna, ensuring each layer is distinct yet cohesive. Conclude with a final layer of tortillas, topped with the remaining enchilada sauce and a lavish covering of shredded cheese. This top layer will bake into a beautiful, golden-brown crust.
3. Cover and Bake to Perfection
- Once layered, cover your baking dish tightly with aluminum foil. This step is crucial for trapping steam and ensuring the tortillas soften properly while the flavors meld. Bake for 20 minutes in your preheated oven.
- After 20 minutes, carefully remove the foil. Return the casserole to the oven and bake for an additional 15 minutes, or until the cheese on top is melted, bubbly, and lightly golden, and the casserole edges are gently simmering.
4. Rest, Slice, and Garnish
- The waiting game is the hardest part, but don’t skip this! Allow the hot casserole to rest for at least 10 minutes after removing it from the oven. This crucial resting period allows the cheese and sauce to set, making for cleaner slices and preventing the layers from falling apart when served.
- Once rested, slice the casserole into individual portions using a sharp knife or a pizza cutter. Before serving, unleash your creativity with your favorite toppings! Fresh chopped cilantro, diced green chiles, finely chopped red bell pepper, thinly sliced red onion, creamy avocado slices, spicy pickled jalapeños, or a dash of your preferred hot sauce can all add vibrant flavor and texture. Enjoy!
Pro Tips + Science-Based Secrets for the Best Casserole
While this recipe is incredibly simple, a few expert tips can elevate your chicken enchilada casserole from great to absolutely unforgettable:
Embrace the Power of Sour Cream: The fat content in full-fat sour cream not only adds incredible richness and a luxurious mouthfeel but also acts as a stabilizer, preventing curdling during baking. If you prefer a lighter option, thick Greek yogurt can be substituted, but be aware that it might split slightly due to its lower fat content and higher acidity, though the flavor will still be fantastic.
Shred Your Own Cheese for Superior Melt: This is a game-changer! Pre-shredded cheeses often contain anti-caking agents like cellulose or potato starch. While these prevent clumping in the bag, they can interfere with smooth, even melting, sometimes resulting in a grainy or pasty texture in your casserole. Taking a few extra minutes to shred cheese from a block ensures a beautifully gooey, perfectly melted cheese layer.
Don’t Skimp on the Sauce for Moist Layers: To prevent any dry spots and ensure a tender, cohesive casserole, make sure each layer of corn tortillas is generously covered with enchilada sauce. The sauce acts as a liquid medium, allowing the tortillas to soften and integrate seamlessly into the dish, creating a more enjoyable texture throughout.
The Magic of Resting Time: It’s tempting to dive right in, but letting your casserole rest for at least 10 minutes after baking is crucial. This short wait allows the bubbling cheese and warm sauce to set and firm up. The result? Cleaner, more defined slices that hold their shape beautifully, and a more integrated flavor profile as the components continue to meld. Patience truly pays off here!
Make Ahead and Storage Solutions
This chicken enchilada casserole is a dream come true for meal preppers and busy entertainers because it’s incredibly forgiving and ideal for making ahead.
You can fully assemble the entire casserole up to 24 hours in advance. Simply cover it tightly with aluminum foil or plastic wrap and refrigerate until you’re ready to bake. This flexibility makes it a perfect solution for busy weeknights, preparing for guests, or any occasion where you want to minimize last-minute cooking stress.
Storing Leftovers
- Ensure any leftover casserole is cooled completely before storing. Transfer it to an airtight container and refrigerate. It will maintain its delicious flavor and texture for up to 4 days.
- Alternatively, if your baking dish has a tight-fitting lid or can be covered securely with foil and plastic wrap, you can store the leftovers directly in the dish, provided you have enough refrigerator space.
Freezing for Future Meals
- This casserole is an excellent candidate for freezing, offering a convenient homemade meal whenever you need it. You have two options:
- Before Baking: Assemble the casserole as directed, but do not bake. Wrap it very well in multiple layers of plastic wrap and then aluminum foil to prevent freezer burn.
- After Baking: Bake the casserole, let it cool completely, then wrap it securely in plastic wrap and foil.
- For best quality and flavor, use a freezer-safe dish and consume within 2 to 3 months. Always label your frozen casserole with the date and baking/reheating instructions for easy reference later.
Reheating Instructions
- To Reheat a Full Casserole: If reheating from the refrigerator, cover the dish with foil and warm it in a 350ºF (175ºC) oven until it’s heated through and bubbly, typically about 25–30 minutes. If reheating from frozen, it’s best to let it thaw in the refrigerator overnight before baking for optimal texture and even heating.
- To Reheat Individual Portions: Place a slice on a microwave-safe plate and heat on medium power for 1–2 minutes, or until thoroughly hot.
How to Serve This Chicken Enchilada Casserole Recipe
This versatile chicken enchilada casserole pairs wonderfully with a variety of sides and toppings, allowing you to create a complete and satisfying meal. Here are some of my favorite pairings to elevate your dining experience:
Delicious Vegetable Sides for Chicken Enchilada Casserole
- Mexican Street Corn (Elote): The creamy, tangy, and slightly spicy flavors of authentic Mexican street corn make a perfect complement to the richness of the casserole.
- Fresh, Zesty Slaw: A crisp and bright slaw, similar to what you’d serve with fish tacos, provides a refreshing crunch and a tangy contrast to the savory casserole.
- Chunky Green Salad or Vegetarian Taco Salad: A vibrant green salad, especially one with diverse textures and a zesty dressing like a lime crema, offers a light and healthy balance.
- Sweet Potato Nachos: For an extra indulgent meal, serving with sweet potato nachos adds a delightful sweetness and another layer of hearty flavor.
Irresistible Toppings for Chicken Enchilada Casserole
- Avocado Crema: A silky smooth avocado crema or my go-to guacamole recipe adds a cool, creamy element that beautifully cuts through the richness.
- Homemade Taco Salsa: A fresh, vibrant salsa offers a burst of acidity and freshness.
- Fresh Chopped Cilantro: A classic garnish, cilantro adds a bright, herbaceous note and a pop of color.
- Cilantro Lime Crema or Baja Sauce: A drizzle of either of these creamy, zesty sauces elevates the flavor profile with an extra layer of gourmet touch.
- Crumbled Queso Fresco or Cotija Cheese: These salty, crumbly Mexican cheeses add a distinct savory flavor and a textural contrast.
- Extra Sour Cream or Greek Yogurt: For those who love a bit more creaminess and tang on top of each serving.
Don’t forget to explore my Favorite Mexican Desserts to perfectly round off your meal!
FAQs About Chicken Enchilada Casserole: Your Questions Answered
Here are quick answers to some common questions about this delightful dish:
Absolutely! Rotisserie chicken is an excellent choice. It’s a fantastic time-saver and brings an extra layer of savory flavor from its seasoned skin, making your casserole even more delicious with minimal effort.
Corn tortillas are highly recommended and are traditional for this dish. They maintain their structure better than flour tortillas, which can become overly soft, gummy, and lack the robust flavor needed for a layered casserole. Stick to corn for the best texture and taste.
Yes, you certainly can! To make this casserole dairy-free, simply opt for a high-quality dairy-free sour cream substitute and your favorite plant-based shredded cheese alternative. The rest of the ingredients are typically dairy-free.
The spice level of your casserole is entirely up to you! It primarily depends on the type of enchilada sauce you choose. Select a mild sauce if you or your family are sensitive to heat. If you enjoy a fiery kick, feel free to use a medium or hot sauce, and enhance it further with toppings like fresh or pickled jalapeños, or a generous dash of your favorite hot sauce.
Other Mexican-Inspired Recipes You’ll Love
- Crispy Baked Chicken Tacos
- Flavorful Steak Fajitas
- Zesty Mango Habanero Sauce
- Hearty Chile Verde
- Homemade Chicken Taco Seasoning
Recipe Substitutions and Creative Variations
Don’t be afraid to experiment and customize your chicken enchilada casserole to suit your preferences or available ingredients. This recipe is wonderfully adaptable:
- Green Enchilada Sauce Adventure: Swap out the traditional red enchilada sauce for a vibrant, tangy green version. Made with tomatillos and green chilies, it offers a brighter flavor profile that’s equally delicious.
- Explore Cheese Options: For a subtle hint of heat, use Pepper Jack cheese. A pre-packaged Mexican cheese blend can offer convenience. For an extra creamy filling, try mixing a small amount of cream cheese into your chicken mixture.
- Clever Tortilla Swap: If you find yourself without corn tortillas, don’t despair! You can ingeniously use tortilla chips instead, much like in my hearty ground beef Walking Taco Casserole. They’ll add a wonderful crunch and still provide the necessary structure.
- Make it Vegetarian: Easily transform this into a meat-free marvel. Substitute the chicken with canned black beans (rinsed and drained), a medley of sautéed vegetables like zucchini, mushrooms, and bell peppers, or crumbled, seasoned tofu. It will still deliver plenty of savory flavor.
- Flavorful Add-ins: Boost the texture and depth of flavor by stirring in extra ingredients directly into your chicken mixture. Consider adding chopped green chilies, sautéed onions, corn kernels, or even diced bell peppers. For an extra layer of smoky heat, mix in a bit of chipotle in adobo sauce or a dash of Nashville hot sauce if you dare!
- Lighter Sour Cream Alternative: For a lighter, protein-packed option that still provides creaminess and tang, substitute the sour cream with plain Greek yogurt. Just be aware that its higher acidity might lead to a slightly different texture, as mentioned in our pro tips.
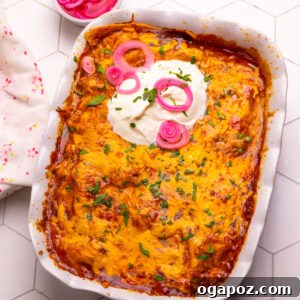
Chicken Enchilada Casserole (Quick + Easy Recipe!)
By: Jennifer Pallian BSc, RD
A fast + easy chicken enchilada casserole that’s saucy, cheesy, and built for weeknights. It’s the ultimate chicken tortilla casserole.
Prep Time: 8 minutes | Cook Time: 35 minutes | Servings: 6
Ingredients
- 3 cups cooked, shredded chicken
- 2 cups enchilada sauce (*see note below)
- ½ cup sour cream
- 1 tsp ground cumin
- 1 tsp garlic powder
- ½ tsp kosher salt
- 10 corn tortillas, torn in quarters
- 3 cups shredded cheese (cheddar, Monterey Jack, or both)
Instructions
- Preheat oven to 375ºF (190ºC).
- In a large bowl, mix cooked shredded chicken with ½ cup enchilada sauce, sour cream, cumin, garlic powder, and a pinch of salt. Taste and add more salt or seasoning as needed.
- Spread ½ cup sauce in a greased 9×9 or 9×13 baking dish.
- Add a layer of torn tortillas, followed by a thin layer of sauce, then a layer of the chicken mixture, and a sprinkle of shredded cheese.
- Repeat the layering process: more tortillas, sauce, chicken mixture, and cheese. Continue until all ingredients are used, ensuring you finish with a top layer of tortillas, sauce, and cheese.
- Cover the dish with foil. Bake for 20 minutes.
- Uncover the casserole and bake for another 15 minutes, or until the cheese is melted, bubbly, and lightly golden.
- Let the casserole rest for 10 minutes before slicing. Add your favorite toppings and serve warm.
Notes
- If you’re using 10-oz cans of enchilada sauce, feel free to use all the sauce from two cans rather than wasting the remainder. It will simply result in a slightly saucier casserole.
- Utilize rotisserie chicken or any leftover cooked chicken to significantly save time without compromising on flavor.
- For the best possible melt and texture, sprinkle freshly shredded cheese. Avoid pre-shredded varieties if you can, as they often contain anti-caking agents.
- To ensure a moist and tender casserole throughout, be diligent in covering each tortilla layer thoroughly with enchilada sauce.
- Allowing the casserole to rest for 10 minutes after baking is crucial for easier slicing and helps the layers set for better texture.
Nutrition (Approximate Per Serving)
(Based on 6 servings)
- Calories: 424 kcal
- Carbohydrates: 29g
- Protein: 28g
- Fat: 22g
- Saturated Fat: 11g
- Polyunsaturated Fat: 2g
- Monounsaturated Fat: 7g
- Cholesterol: 98mg
- Sodium: 1942mg
- Potassium: 321mg
- Fiber: 4g
- Sugar: 7g
- Vitamin A: 1052 IU
- Vitamin C: 15mg
- Calcium: 349mg
- Iron: 2mg
Nutrition information is automatically calculated and should only be used as an approximation.
Tried this recipe? Share your thoughts in the comments below! We’d love to hear from you.