
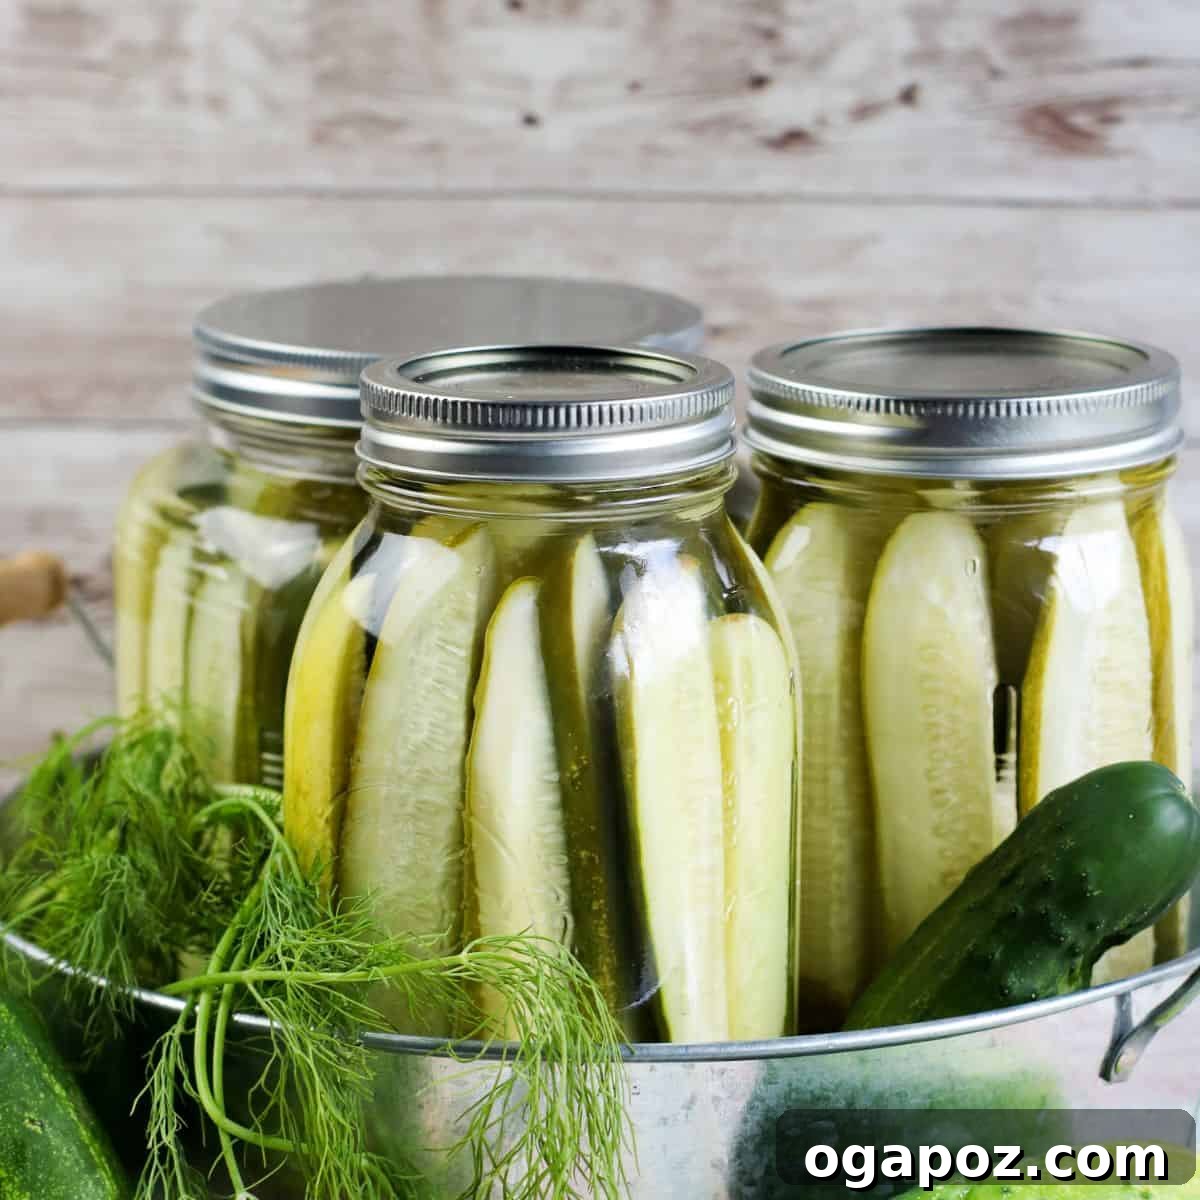
Refrigerator Dill Pickles are an absolute game-changer for anyone looking to transform a bounty of fresh cucumbers into a tangy, crunchy delight. Whether you’ve harvested a generous yield from your garden or stumbled upon a fantastic deal at the local farmers market, this simple recipe provides the perfect solution. You can effortlessly slice your cucumbers into classic chips or elegant spears, then immerse them in a vibrant vinegar mixture infused with the perfect balance of sugar, pungent garlic, and fragrant fresh dill. The best part? Unlike traditional canning methods that require extensive processing, these quick pickles are ready to enjoy in as little as 3 days, thanks to their refrigerator-based preparation. They are incredibly versatile, elevating everything from classic sandwiches and juicy burgers to being a standalone, satisfying snack.
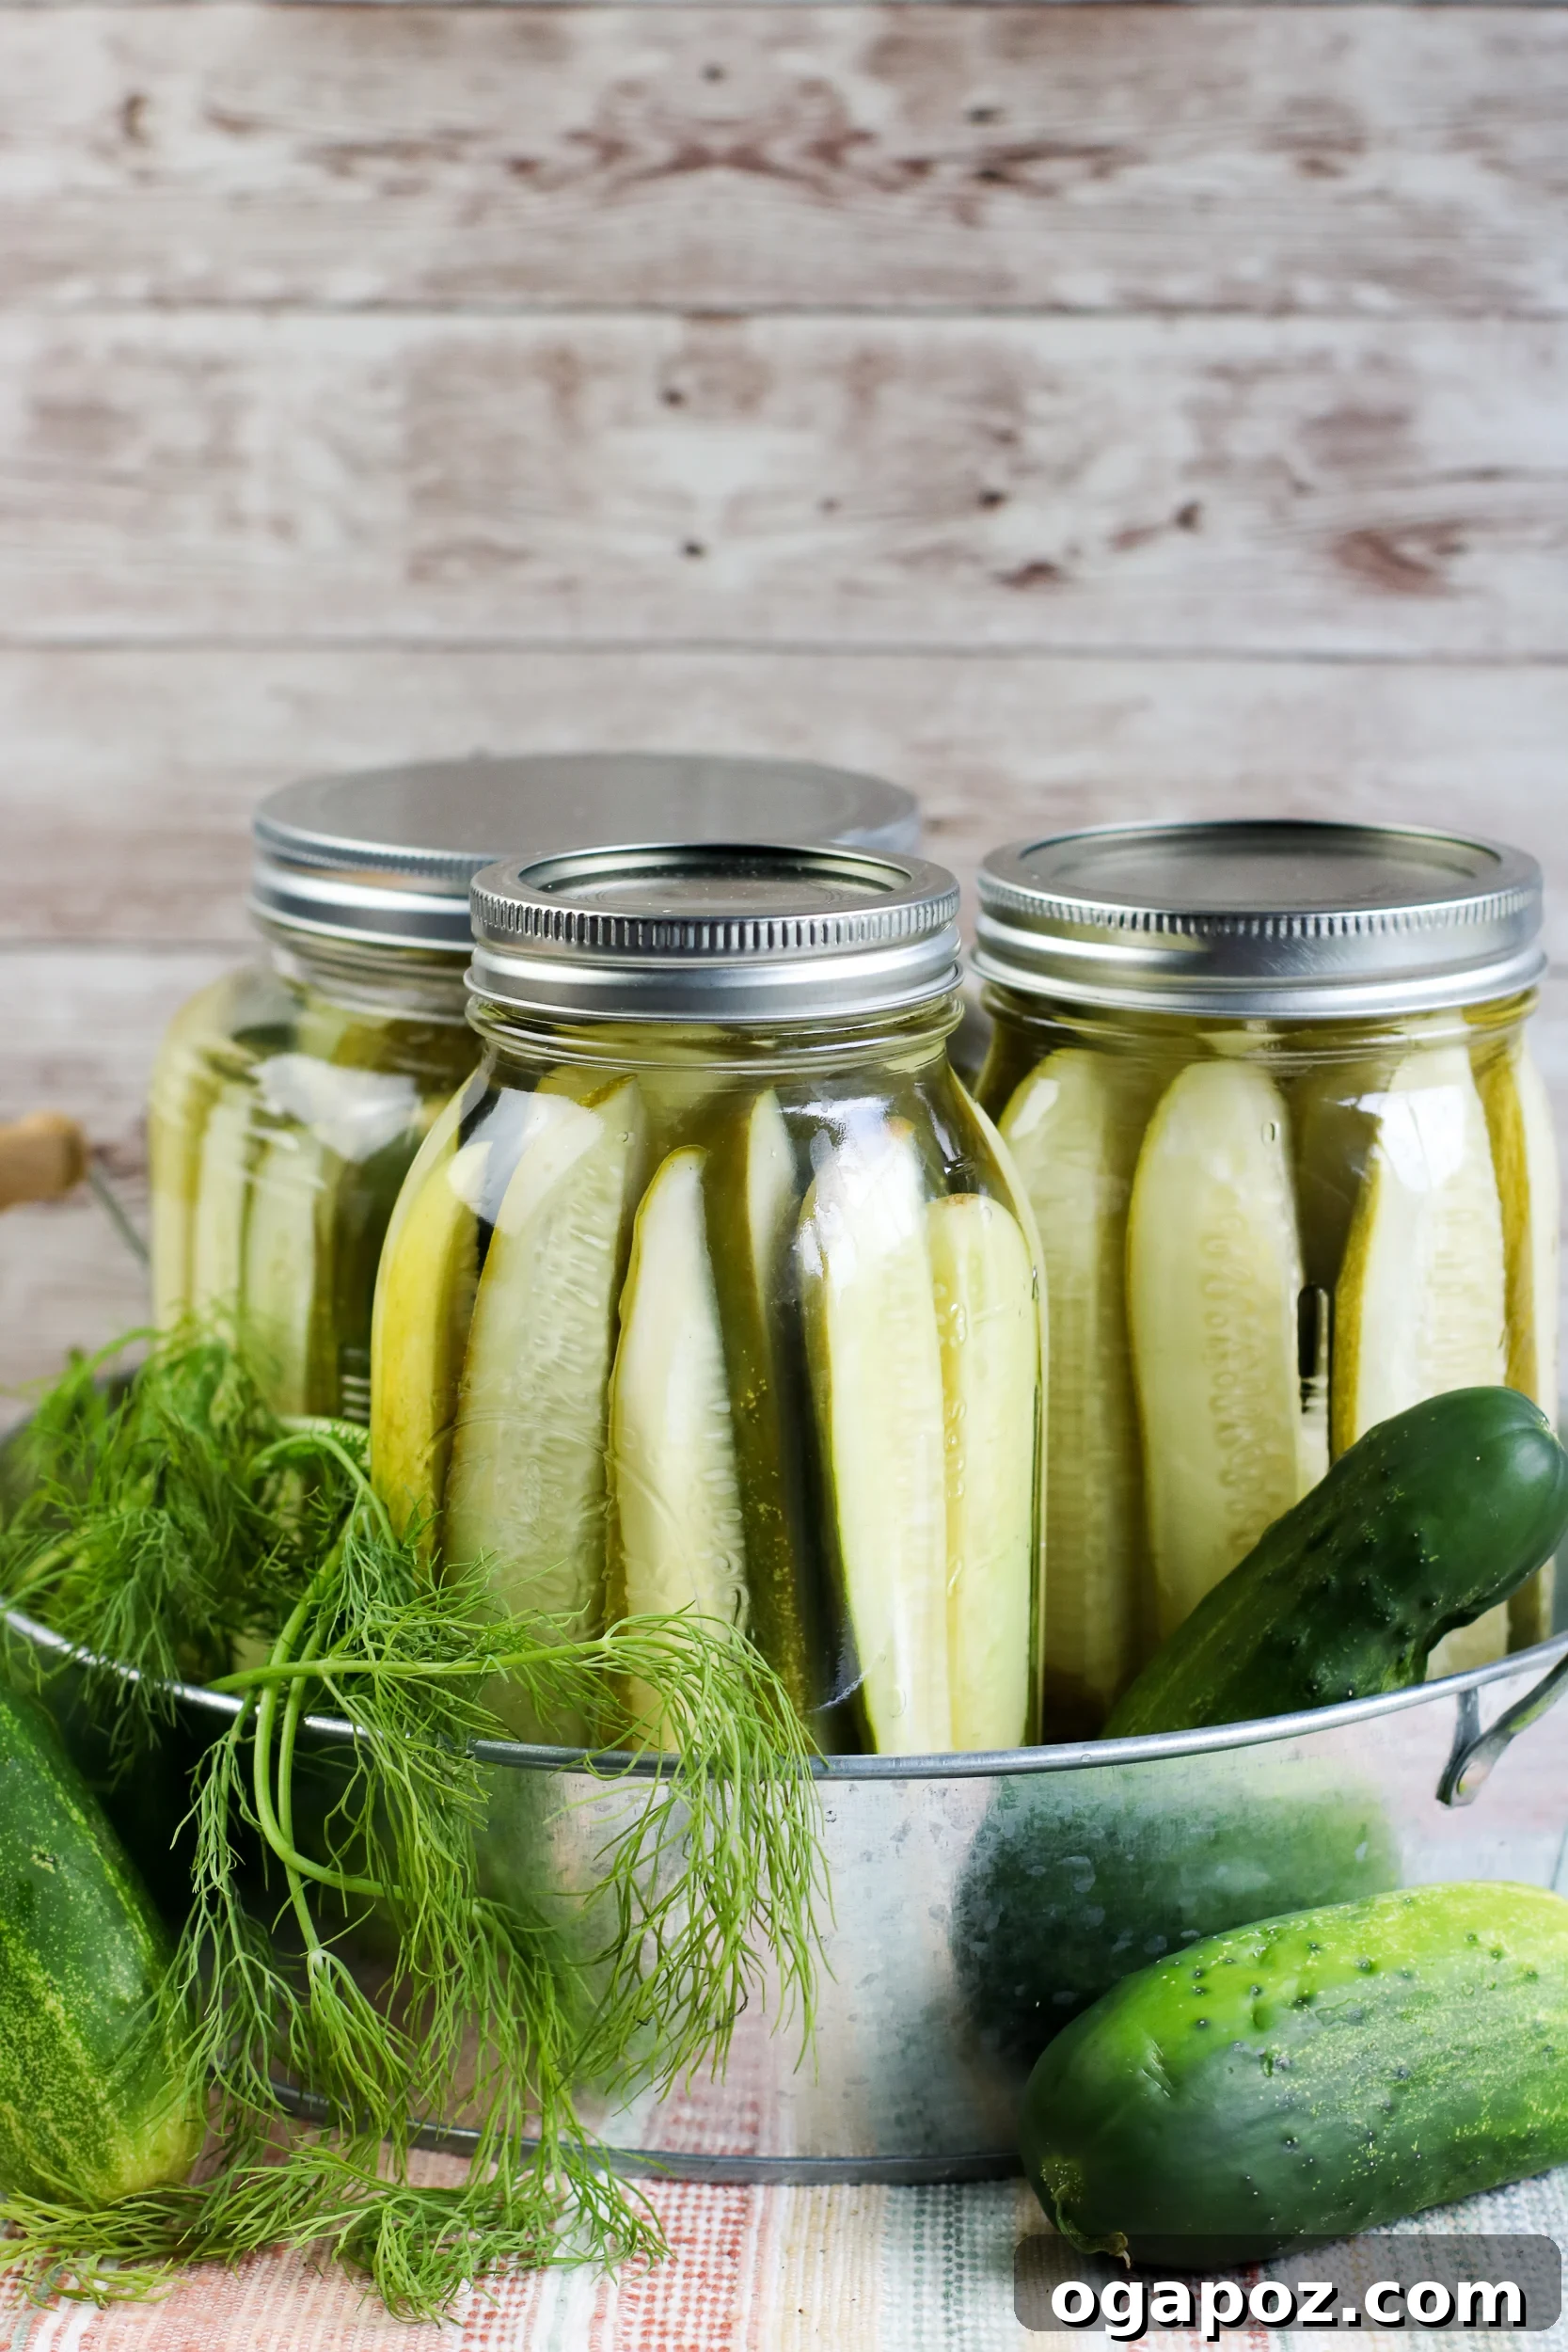
As the warmth of late summer ushers in an abundance of garden produce, many find themselves with more cucumbers than they know what to do with. Similarly, farmers’ markets burst with crisp, green cucumbers, practically begging to be transformed. If you share my passion for pickles, then this easy recipe for Refrigerator Dill Pickles is an absolute must-try. It’s a fantastic way to preserve the freshness of the season and enjoy a homemade treat.
I genuinely adore making this particular recipe because of its sheer simplicity and rapid turnaround time. Unlike shelf-stable pickles that demand longer processing and specialized equipment, these refrigerator pickles develop their tangy flavor and satisfying crunch in just a few days. The recipe provides a solid foundation of essential pickling ingredients, but it also encourages creative adjustments. Feel free to tweak the amounts of garlic or dill to suit your preference, or for those who crave a bit of heat, spice things up with slices of jalapeños or fiery habaneros. I always make sure to keep a batch of these on hand to elevate my sandwiches, add zest to wraps, complement burgers, or simply enjoy straight from the jar as a refreshing snack.
Why Make Your Own Refrigerator Dill Pickles? The Ultimate Easy Solution
Embarking on the journey of homemade pickles, especially the refrigerator variety, comes with a host of advantages that make it an incredibly rewarding culinary endeavor. Beyond the simple joy of creating something delicious from scratch, these pickles offer unparalleled freshness and flavor that store-bought options often can’t match. Here’s why you should consider diving into the world of refrigerator dill pickles:
- Effortless Preparation: Forget the intimidating water baths, canning jars, and specialized equipment often associated with traditional pickling. Refrigerator pickles require no complex sterilization processes. Just clean jars, fresh ingredients, and your fridge!
- Quick Gratification: While some fermented foods take weeks, these pickles are ready to tantalize your taste buds in just three days. This means you can enjoy the fruits of your labor almost instantly, making them perfect for last-minute gatherings or sudden cravings.
- Customizable Flavors: This recipe is a fantastic canvas for experimentation. You have complete control over the flavor profile. Want more garlic? Go for it! Crave extra dill? Add it in! Love a spicy kick? Infuse your brine with chili flakes or fresh peppers.
- Utilize Seasonal Abundance: Refrigerator dill pickles are an excellent way to prevent food waste when your garden is overflowing with cucumbers or when you find a great deal at the farmers market. It’s a delicious form of preservation that locks in peak freshness.
- Healthier Choice: By making your own, you know exactly what goes into your pickles. You can avoid artificial preservatives, excessive sugars, or high-fructose corn syrup often found in commercial brands.
- Superior Crunch and Texture: Many find that refrigerator pickles maintain a superior crispness compared to their shelf-stable counterparts. The shorter processing time and constant refrigeration contribute to a delightful, satisfying crunch with every bite.
This method truly simplifies the pickling process, making it accessible even for novice cooks. The result is a vibrant, flavorful, and incredibly versatile pickle that you’ll be proud to share (or keep all to yourself!).
Essential Ingredients for Perfect Dill Pickles
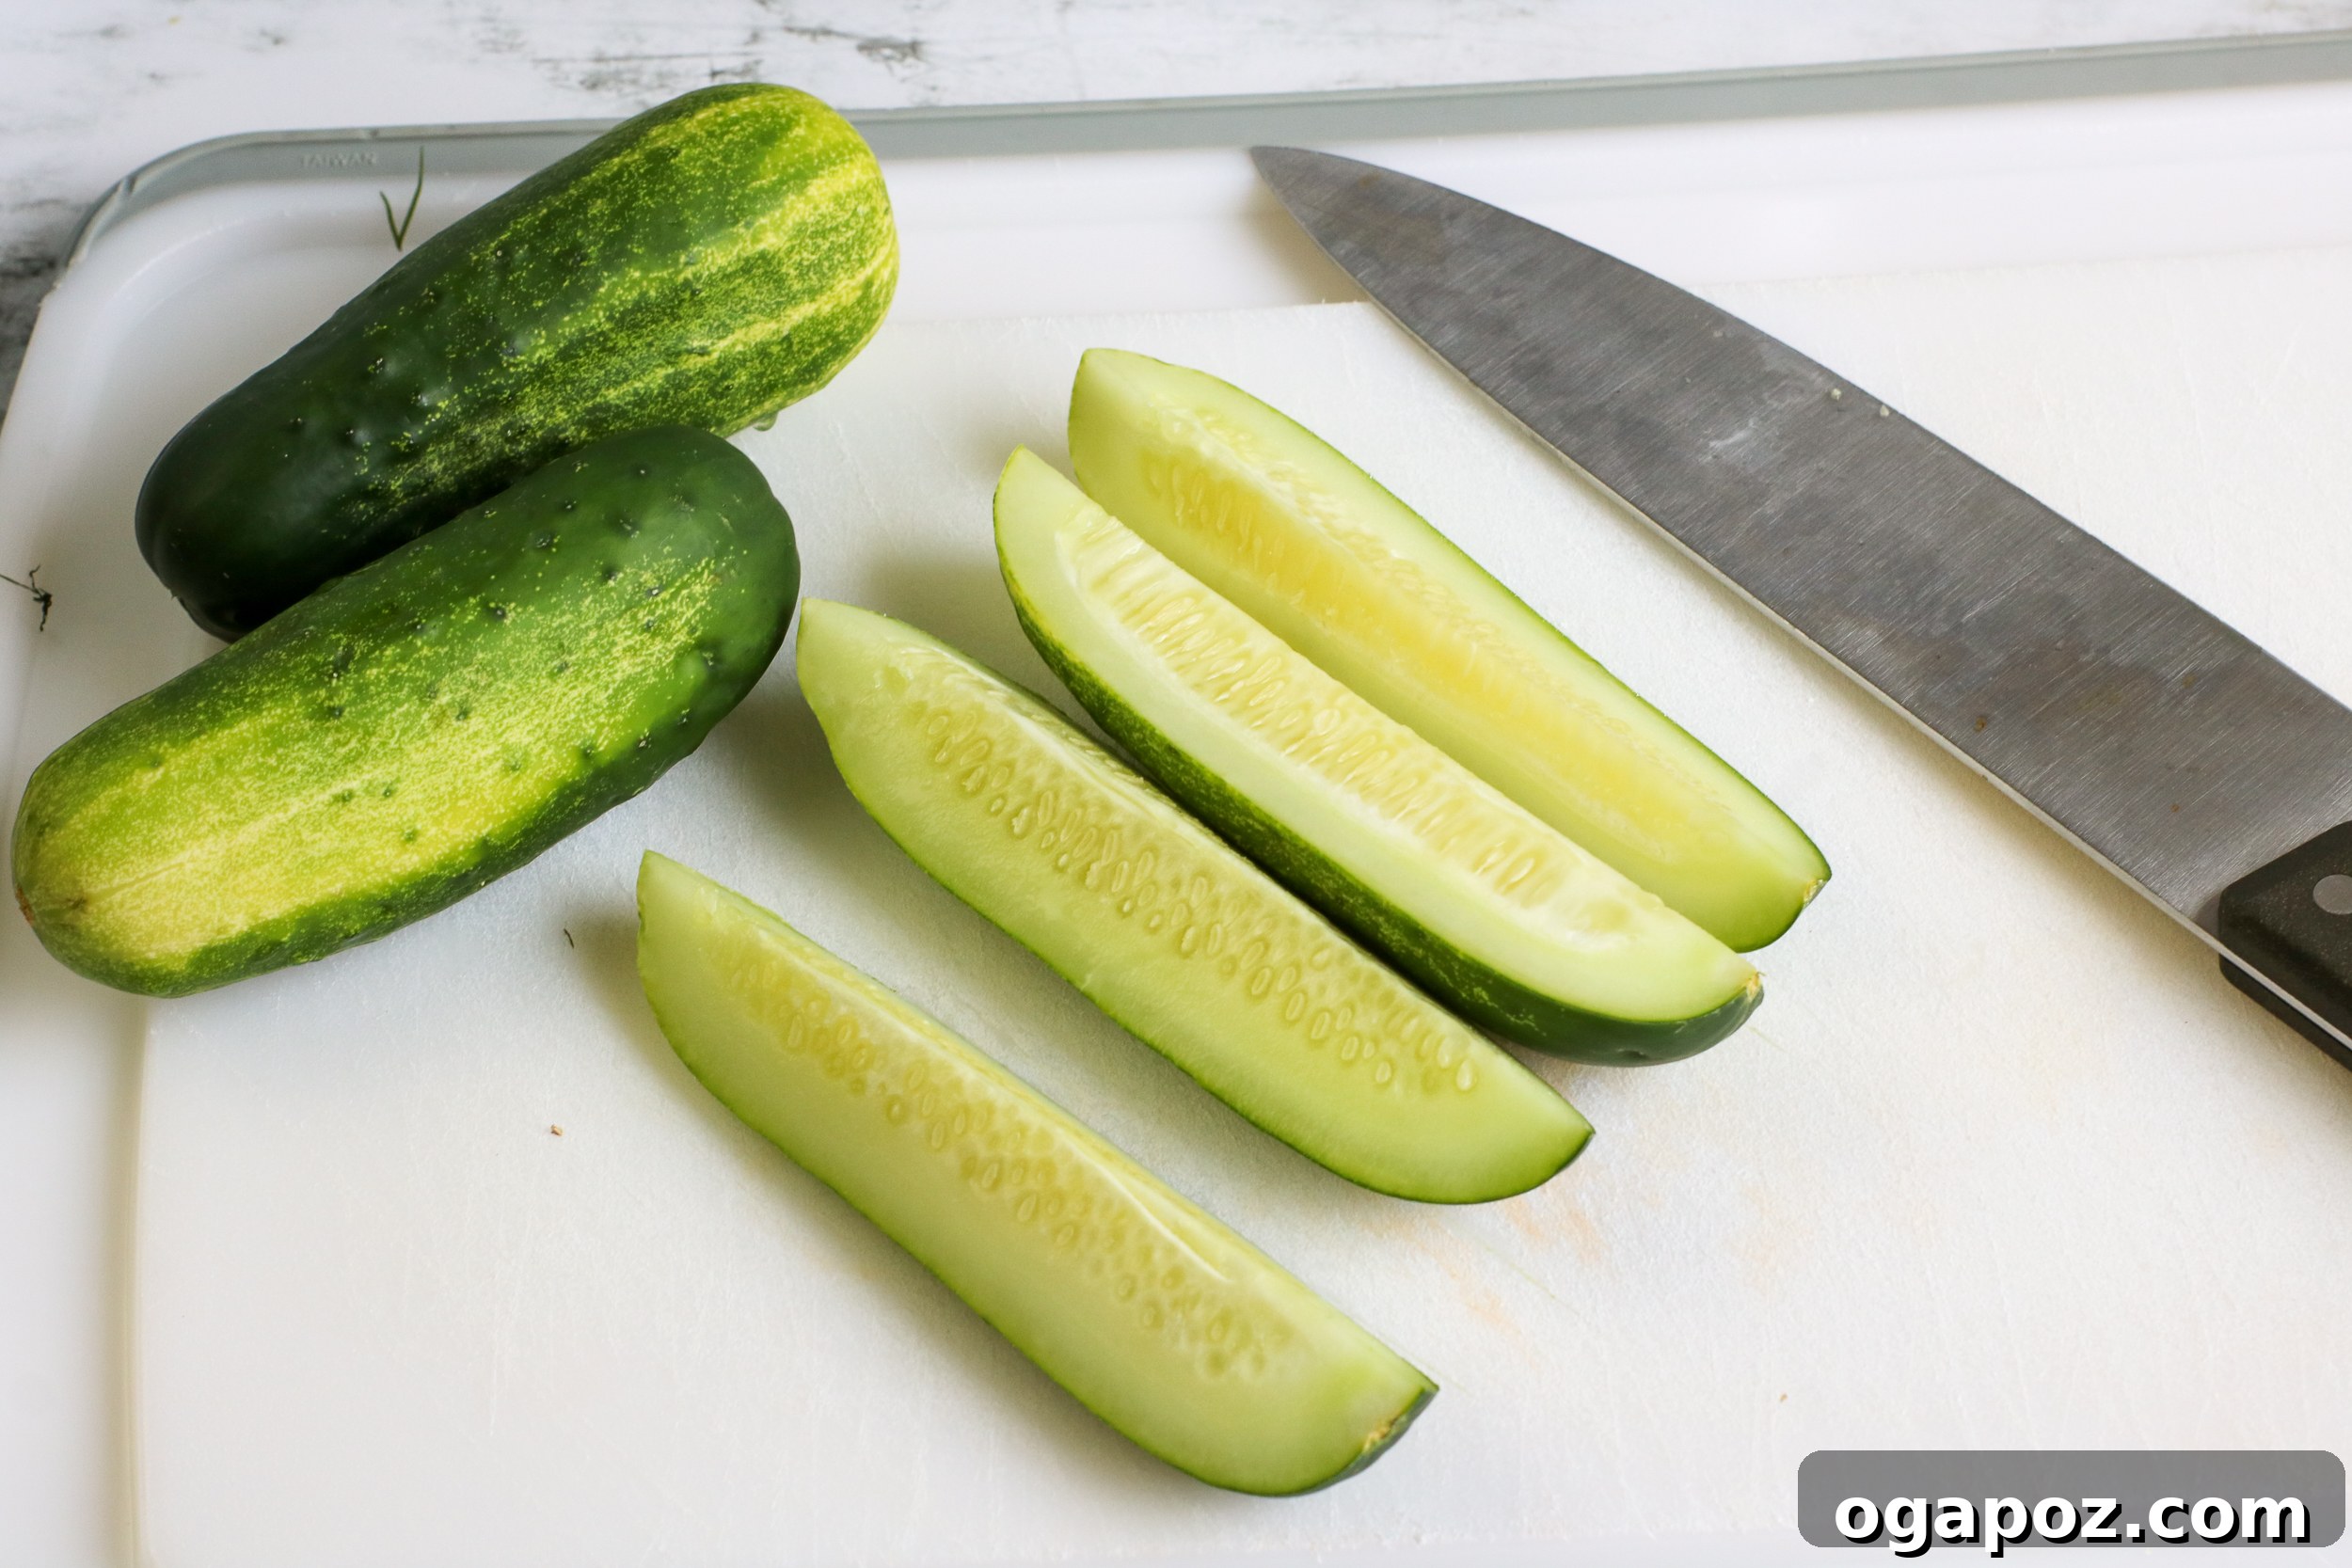
You will absolutely love how easy this recipe is, thanks to its straightforward ingredients. Each component plays a crucial role in creating that signature dill pickle flavor and texture. Here’s a closer look at what you’ll need:
- Cucumbers: The star of the show! Opt for firm, fresh pickling cucumbers or other thin-skinned varieties for the best crunch and flavor absorption. (More on selecting cucumbers below!)
- Water: The base of our brine, combined with vinegar.
- White Vinegar: Provides the essential acidity for pickling. White vinegar has a clean, sharp taste that is ideal for dill pickles.
- Sugar: Balances the tartness of the vinegar and enhances the flavor of the dill and garlic. Don’t worry, it won’t make your pickles sweet, but rather round out the sharp edges of the brine.
- Canning and Pickling Salt: Crucial for clarity and flavor. This type of salt is free of anti-caking agents and iodine, which can turn pickles cloudy or dark. Do not substitute with regular table salt.
- Garlic: Fresh garlic cloves infuse the pickles with a robust, aromatic flavor that is quintessential to dill pickles.
- Fresh Dill: The namesake herb! Fresh dill sprigs impart a bright, herbaceous, and slightly anisy flavor that defines these pickles. Fresh is always preferred for maximum impact.
With these simple ingredients, you’re well on your way to creating a batch of homemade pickles that will impress everyone who tries them.
Selecting the Best Cucumbers for Pickling
The quality of your pickles largely depends on the cucumbers you choose. Not all cucumbers are created equal when it comes to pickling. Here are some tips for selecting the ideal cucumbers for your refrigerator dill pickles:
- Pickling Cucumbers (Kirby): These are specifically bred for pickling. They are typically short, bumpy, and have thin skins, which absorb the brine beautifully and retain a crisp texture.
- Persian Cucumbers: Small, thin-skinned, and virtually seedless, Persian cucumbers are an excellent choice. Their firm flesh and mild flavor make them perfect for absorbing the pickling liquid.
- English Cucumbers: Also known as “seedless” or “hothouse” cucumbers, these are long and relatively thin-skinned. While they are great for eating fresh, ensure they are firm and free of soft spots before pickling.
- Garden Cucumbers: If you’re using cucumbers from your garden, opt for smaller, firmer ones. Avoid very large, watery cucumbers with thick skins, as they tend to become soft and mushy when pickled.
- Firmness is Key: Regardless of the variety, always choose cucumbers that are firm to the touch. Any softness indicates they are past their prime and will result in limp pickles.
- Freshness Matters: Use cucumbers as fresh as possible, ideally within a day or two of harvesting or purchasing. The fresher they are, the crunchier your pickles will be.
- Preparation: Wash your cucumbers thoroughly under cold running water. You don’t need to peel them, but trimming off the blossom end (the end opposite the stem) is often recommended, as it contains enzymes that can soften pickles.
Taking a moment to select the right cucumbers will significantly impact the success and enjoyment of your homemade refrigerator dill pickles.
How to Make Refrigerator Dill Pickles: A Simple Step-by-Step Guide
Crafting your own delicious refrigerator dill pickles is an incredibly straightforward process that anyone can master. Follow these simple steps to create perfectly crisp and flavorful pickles:
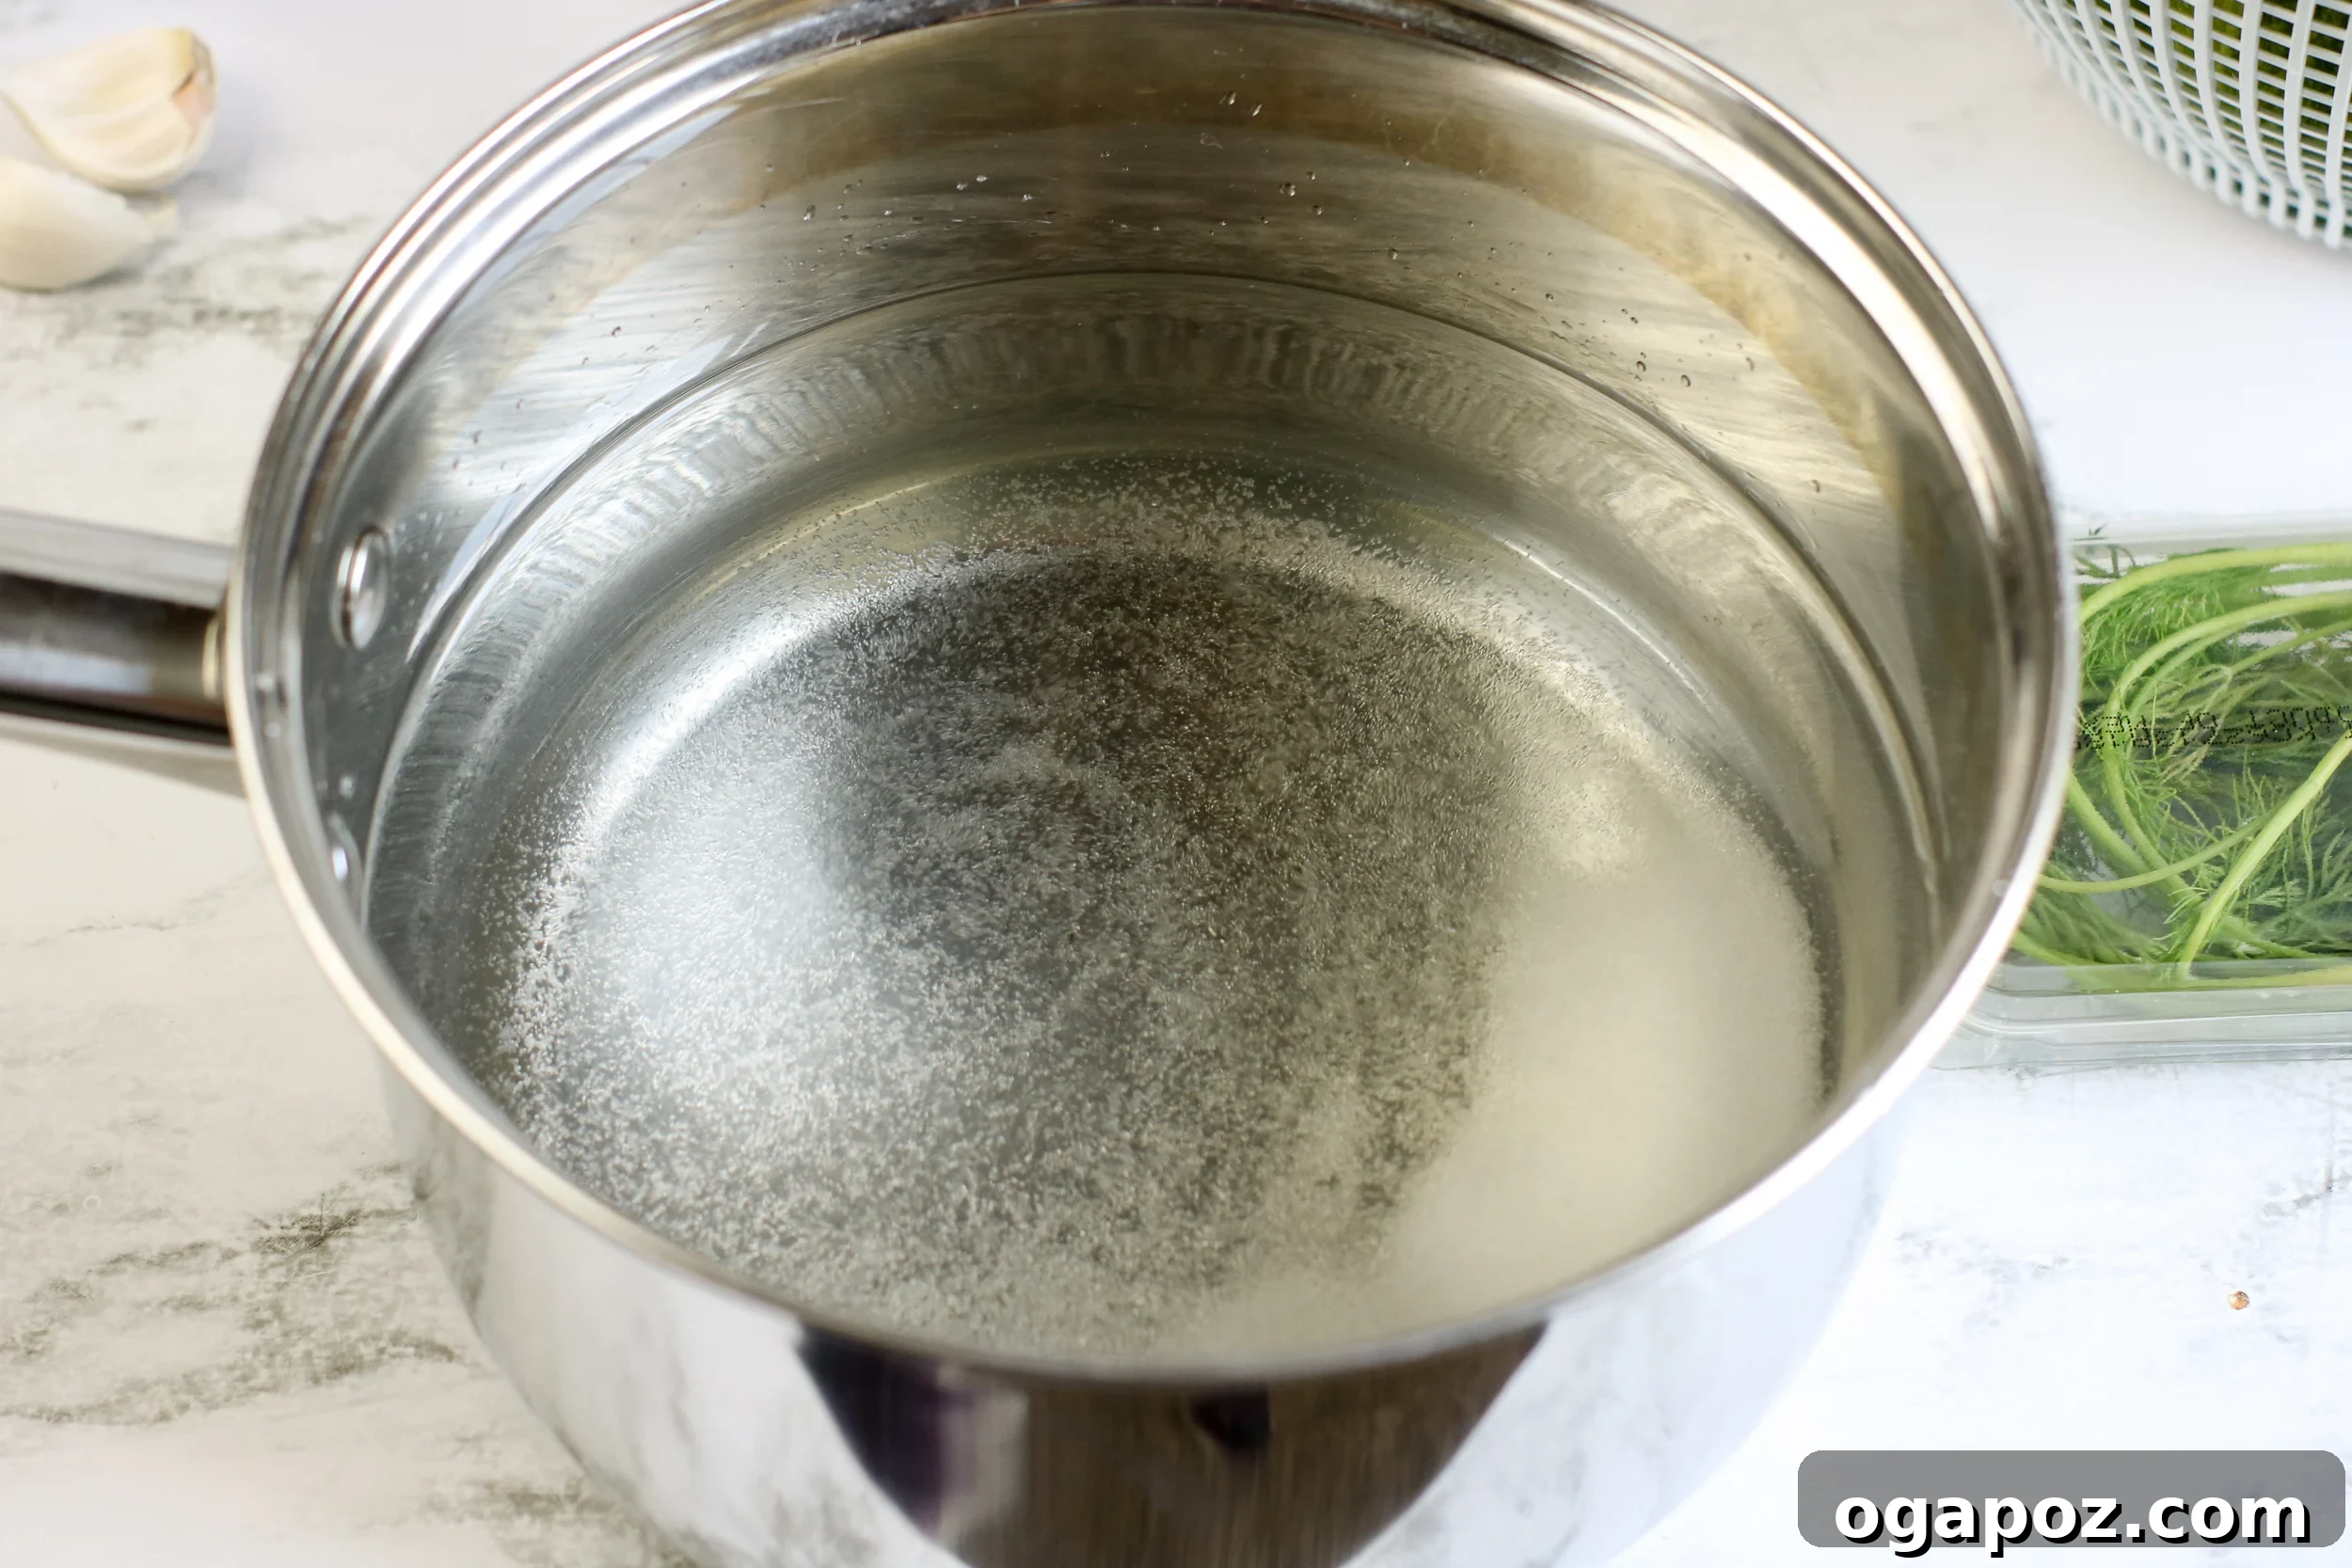
Step 1: Prepare Your Brine. In a medium-sized saucepan, combine the water, white vinegar, sugar, and pickling salt. Place the saucepan over high heat and bring the mixture to a rolling boil, stirring occasionally to ensure the sugar and salt completely dissolve. Once boiling, immediately remove the pan from the heat. It’s crucial to let this brine cool down slightly before pouring it over your cucumbers. A lukewarm brine is ideal, as pouring hot brine can cook your cucumbers and make them soft.
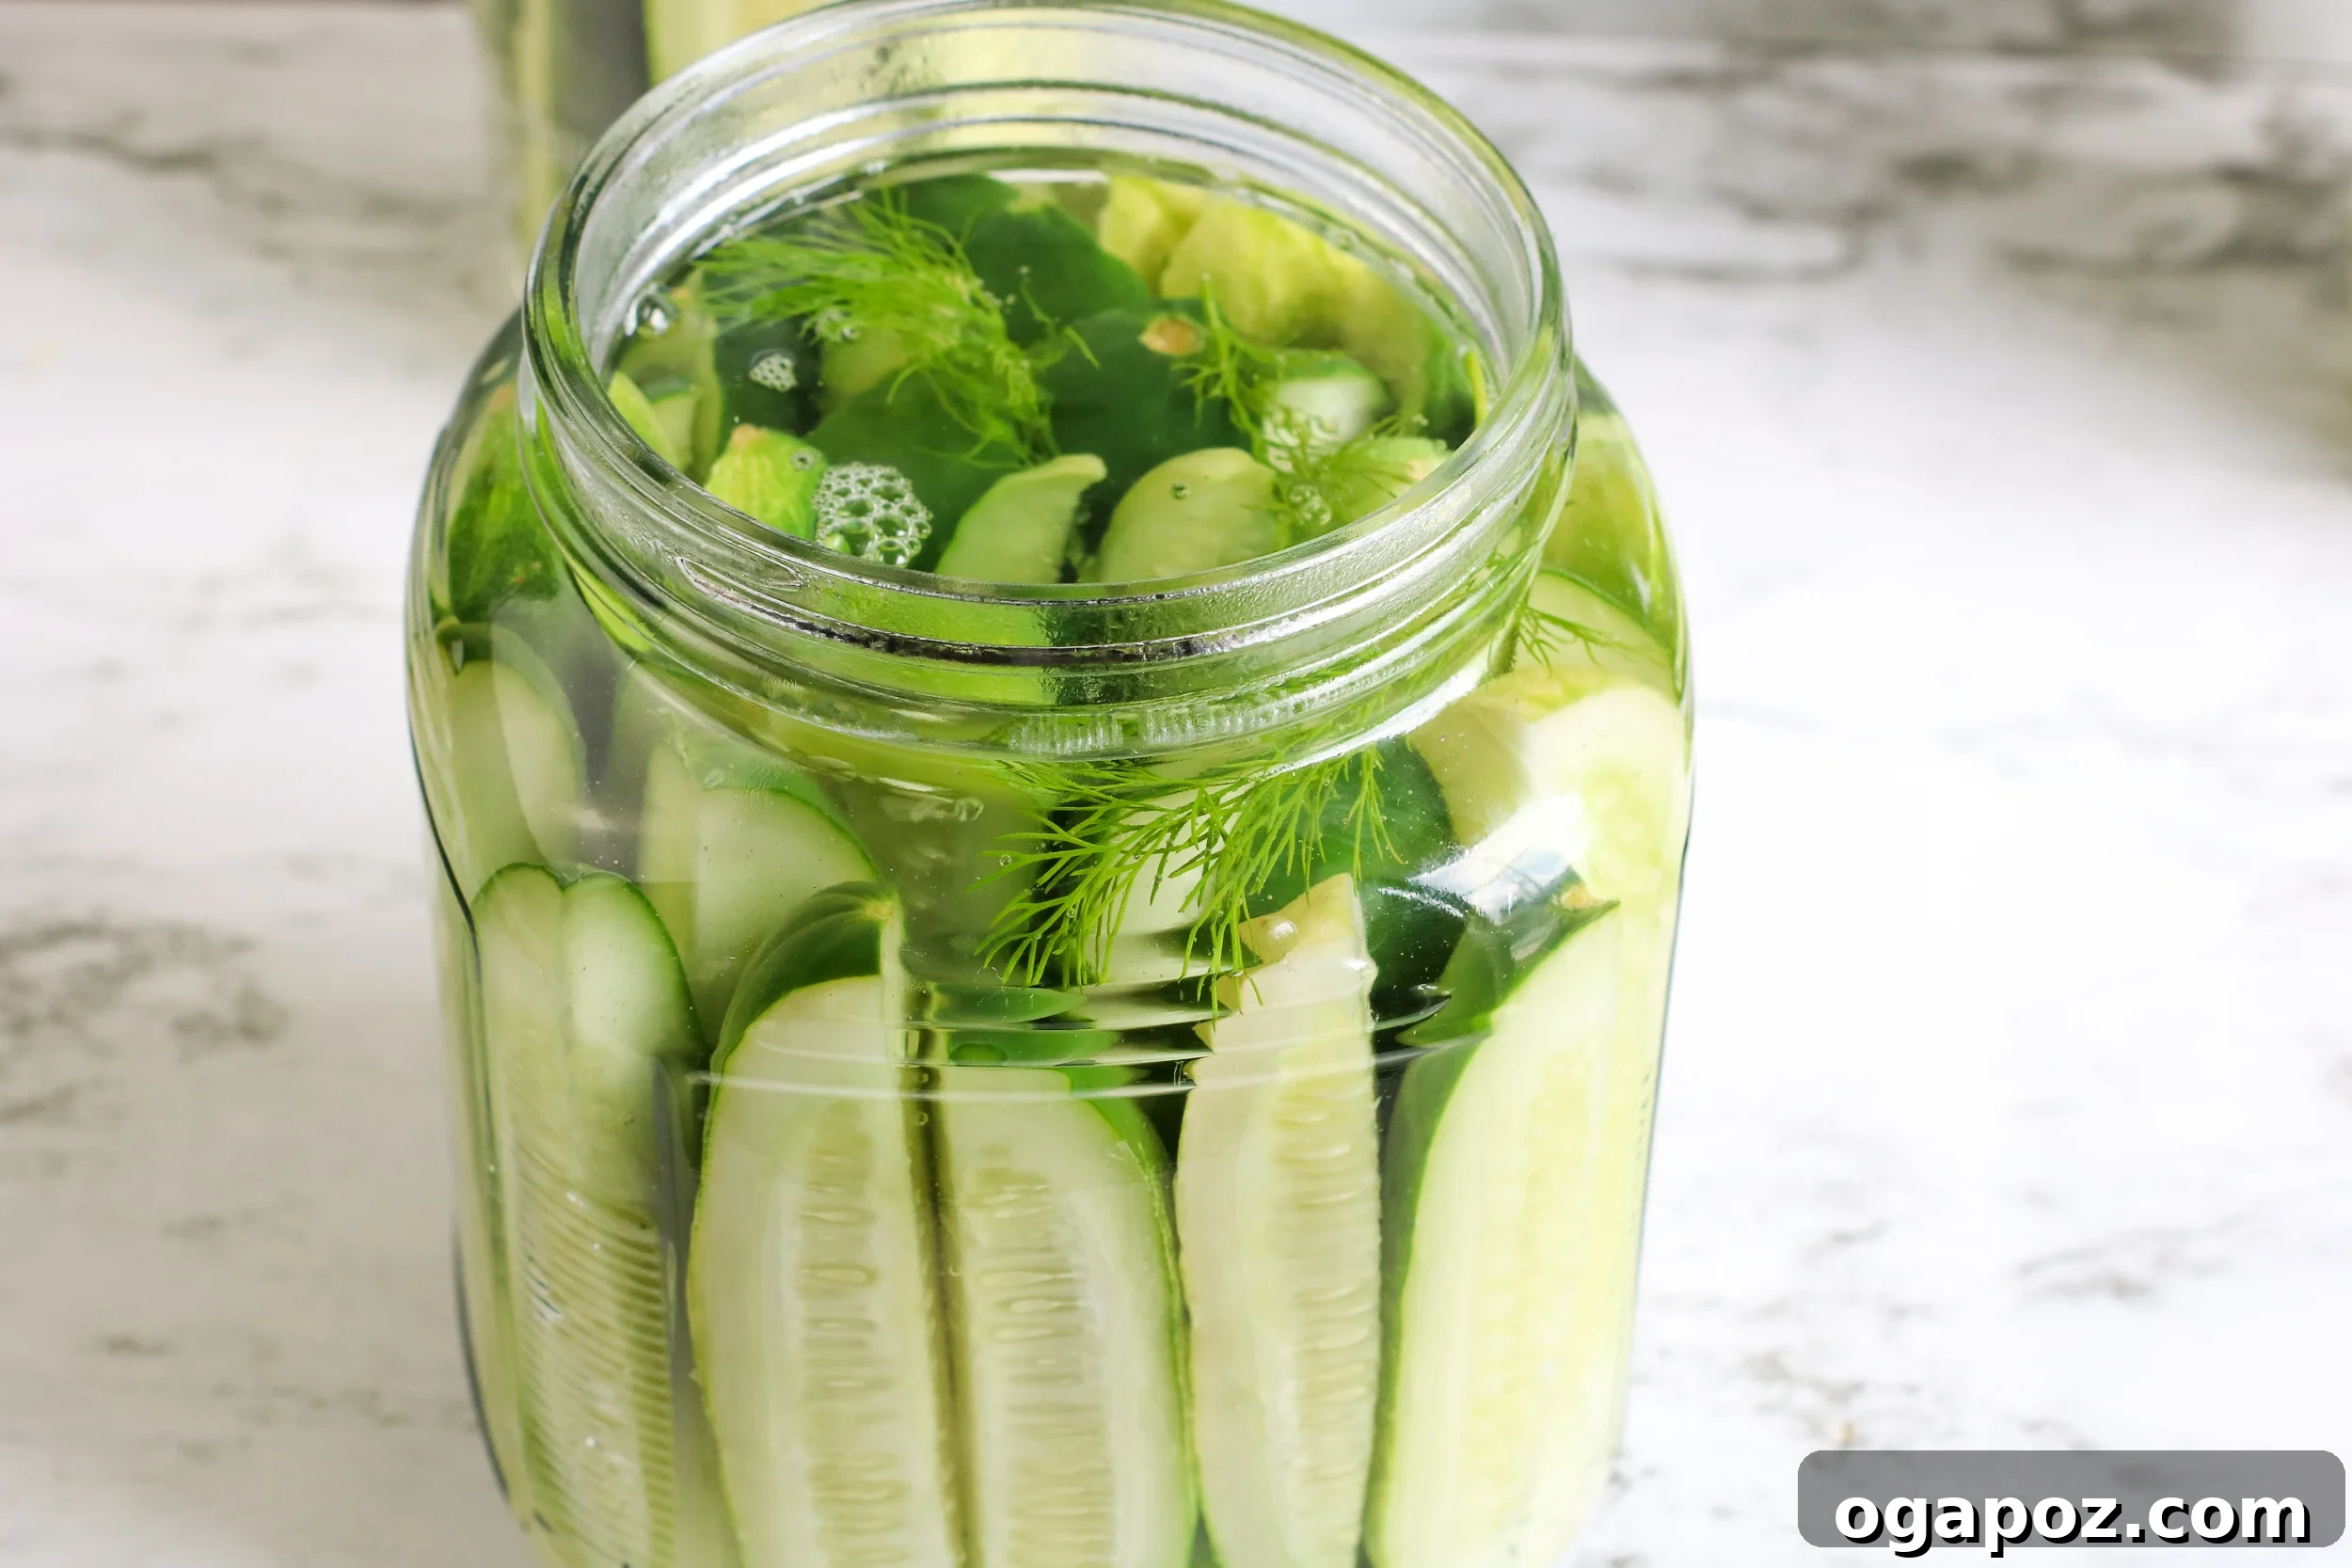
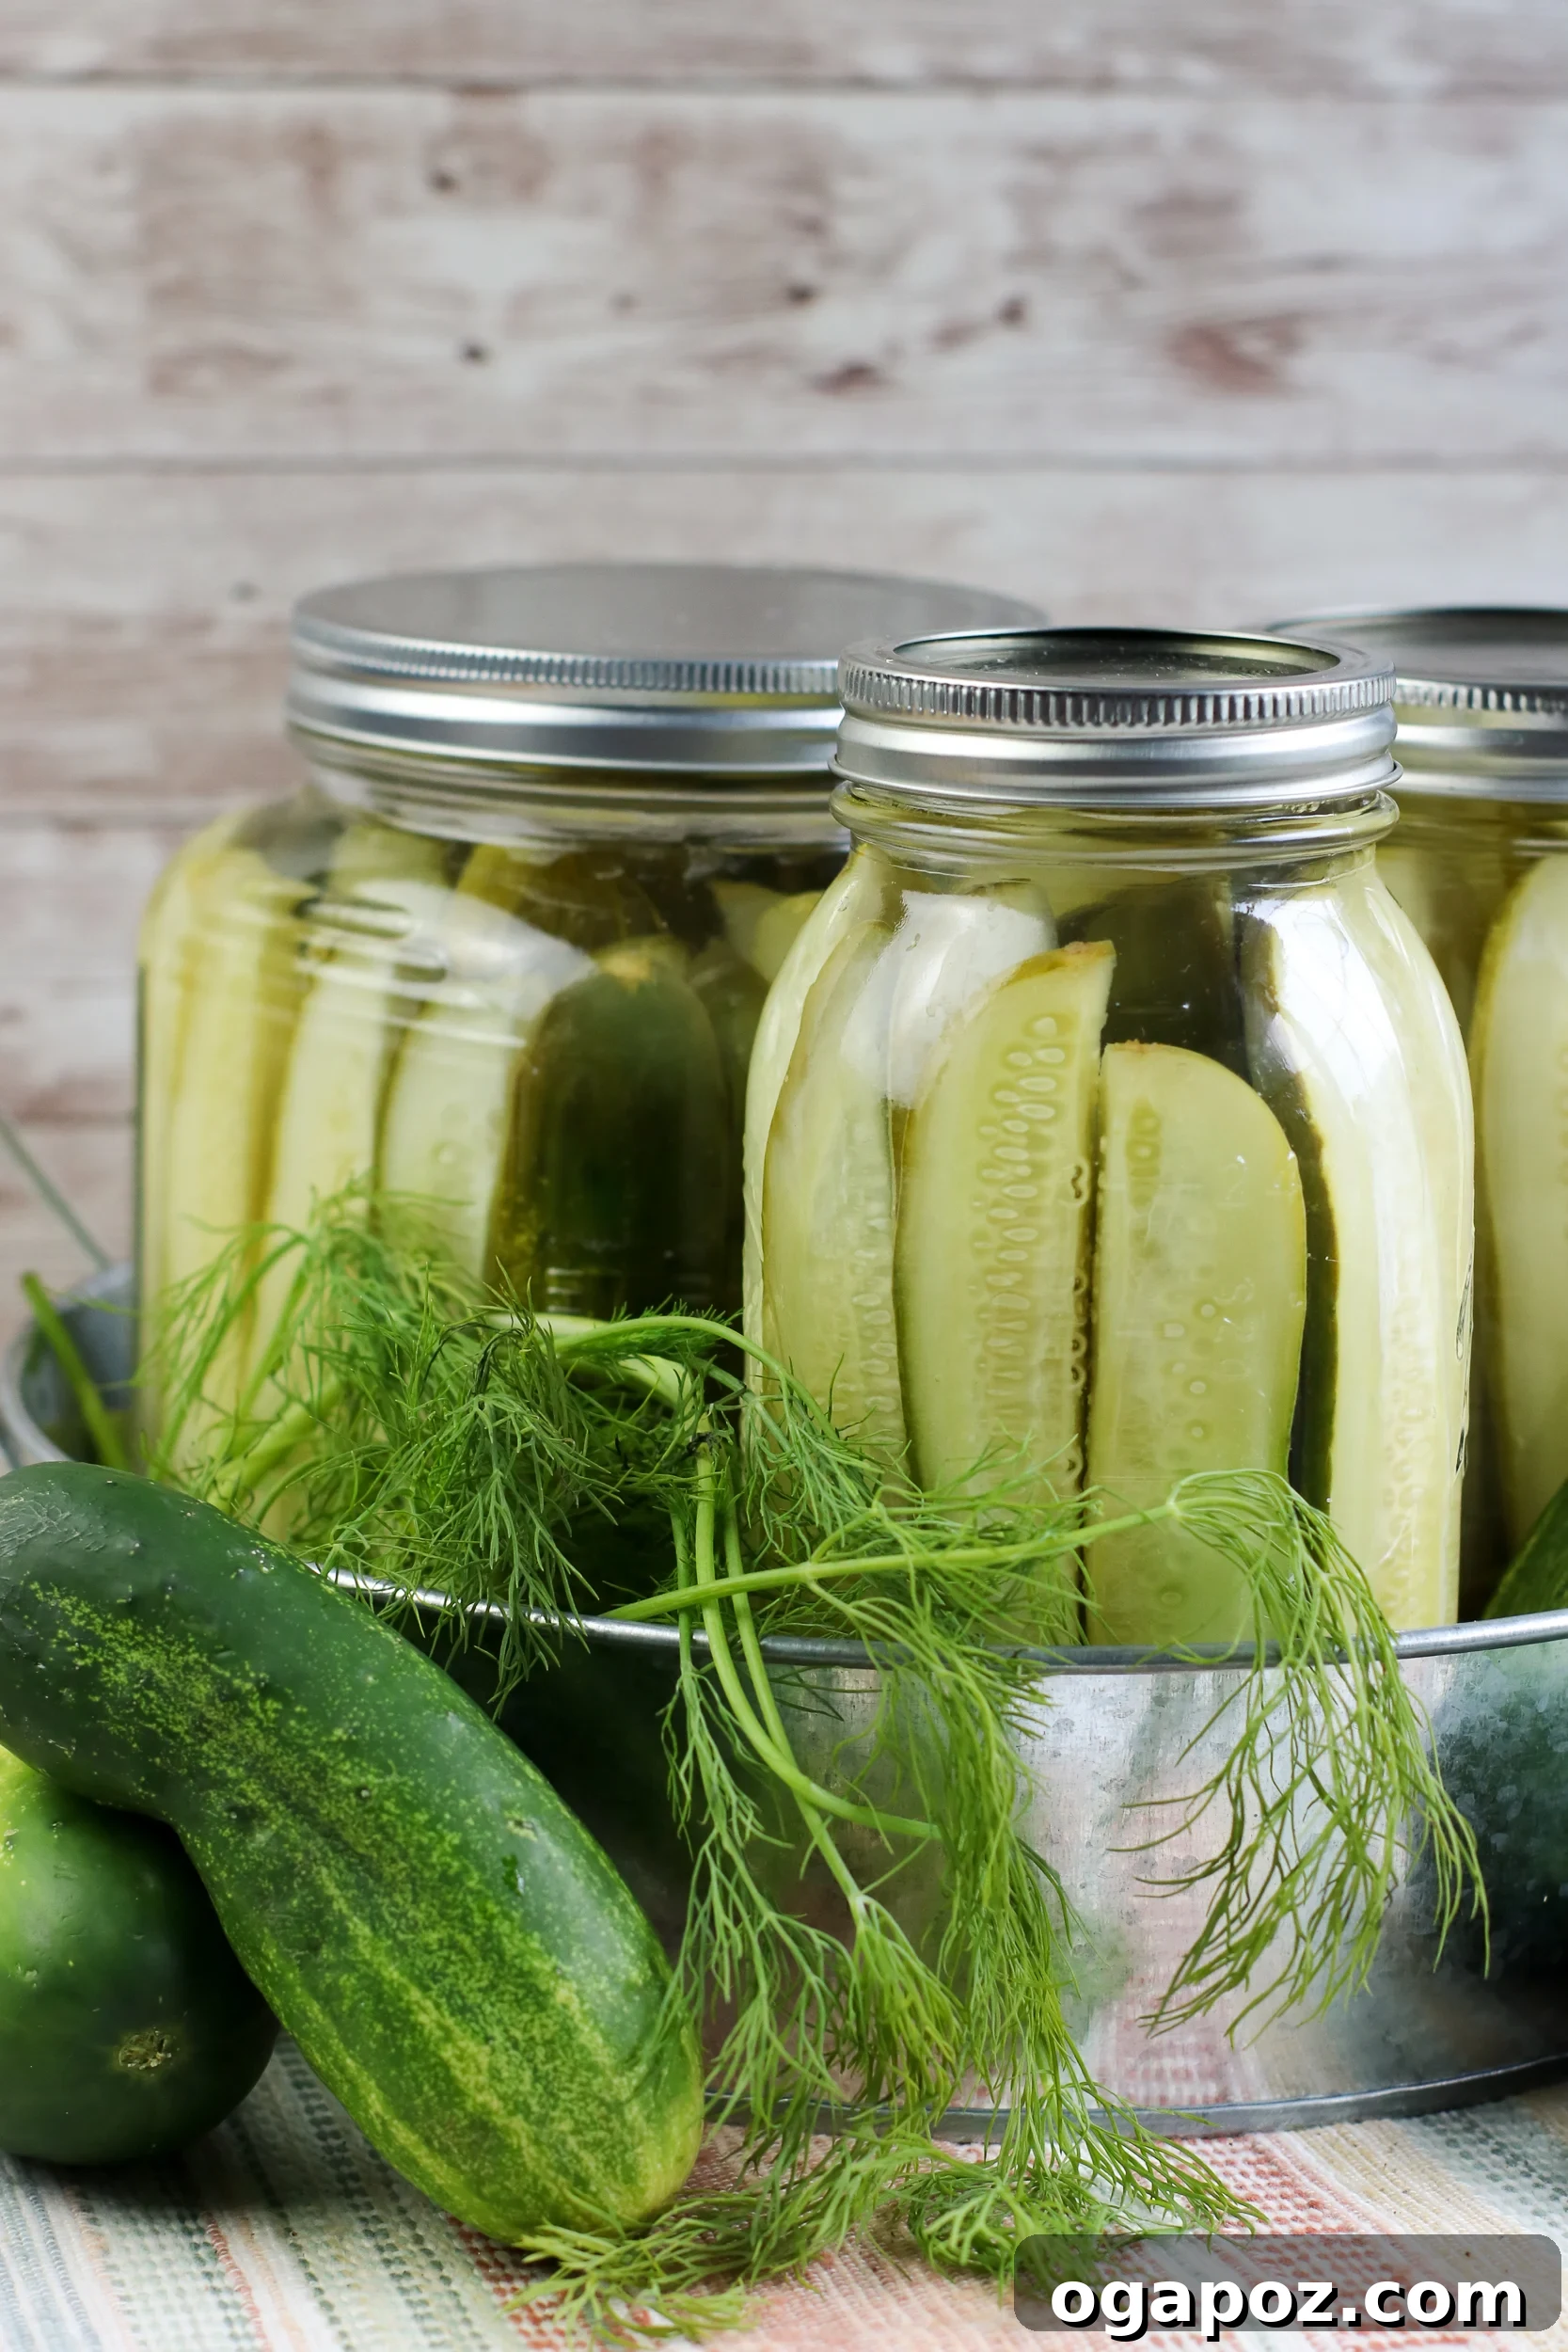
Step 2: Pack Your Jars with Flavor. While your brine cools, prepare your jars. For each 16-ounce mason jar (or jar of your preferred size), drop in two cloves of peeled and crushed garlic and two generous sprigs of fresh dill. The crushing of the garlic helps to release its potent oils and flavor into the brine. Next, carefully add your cucumber spears (or chips) to the jars, packing them in tightly but without crushing them. The tighter you pack them, the more pickles you’ll fit, and the less likely they are to float. Ensure there’s still a little room at the top for the brine.
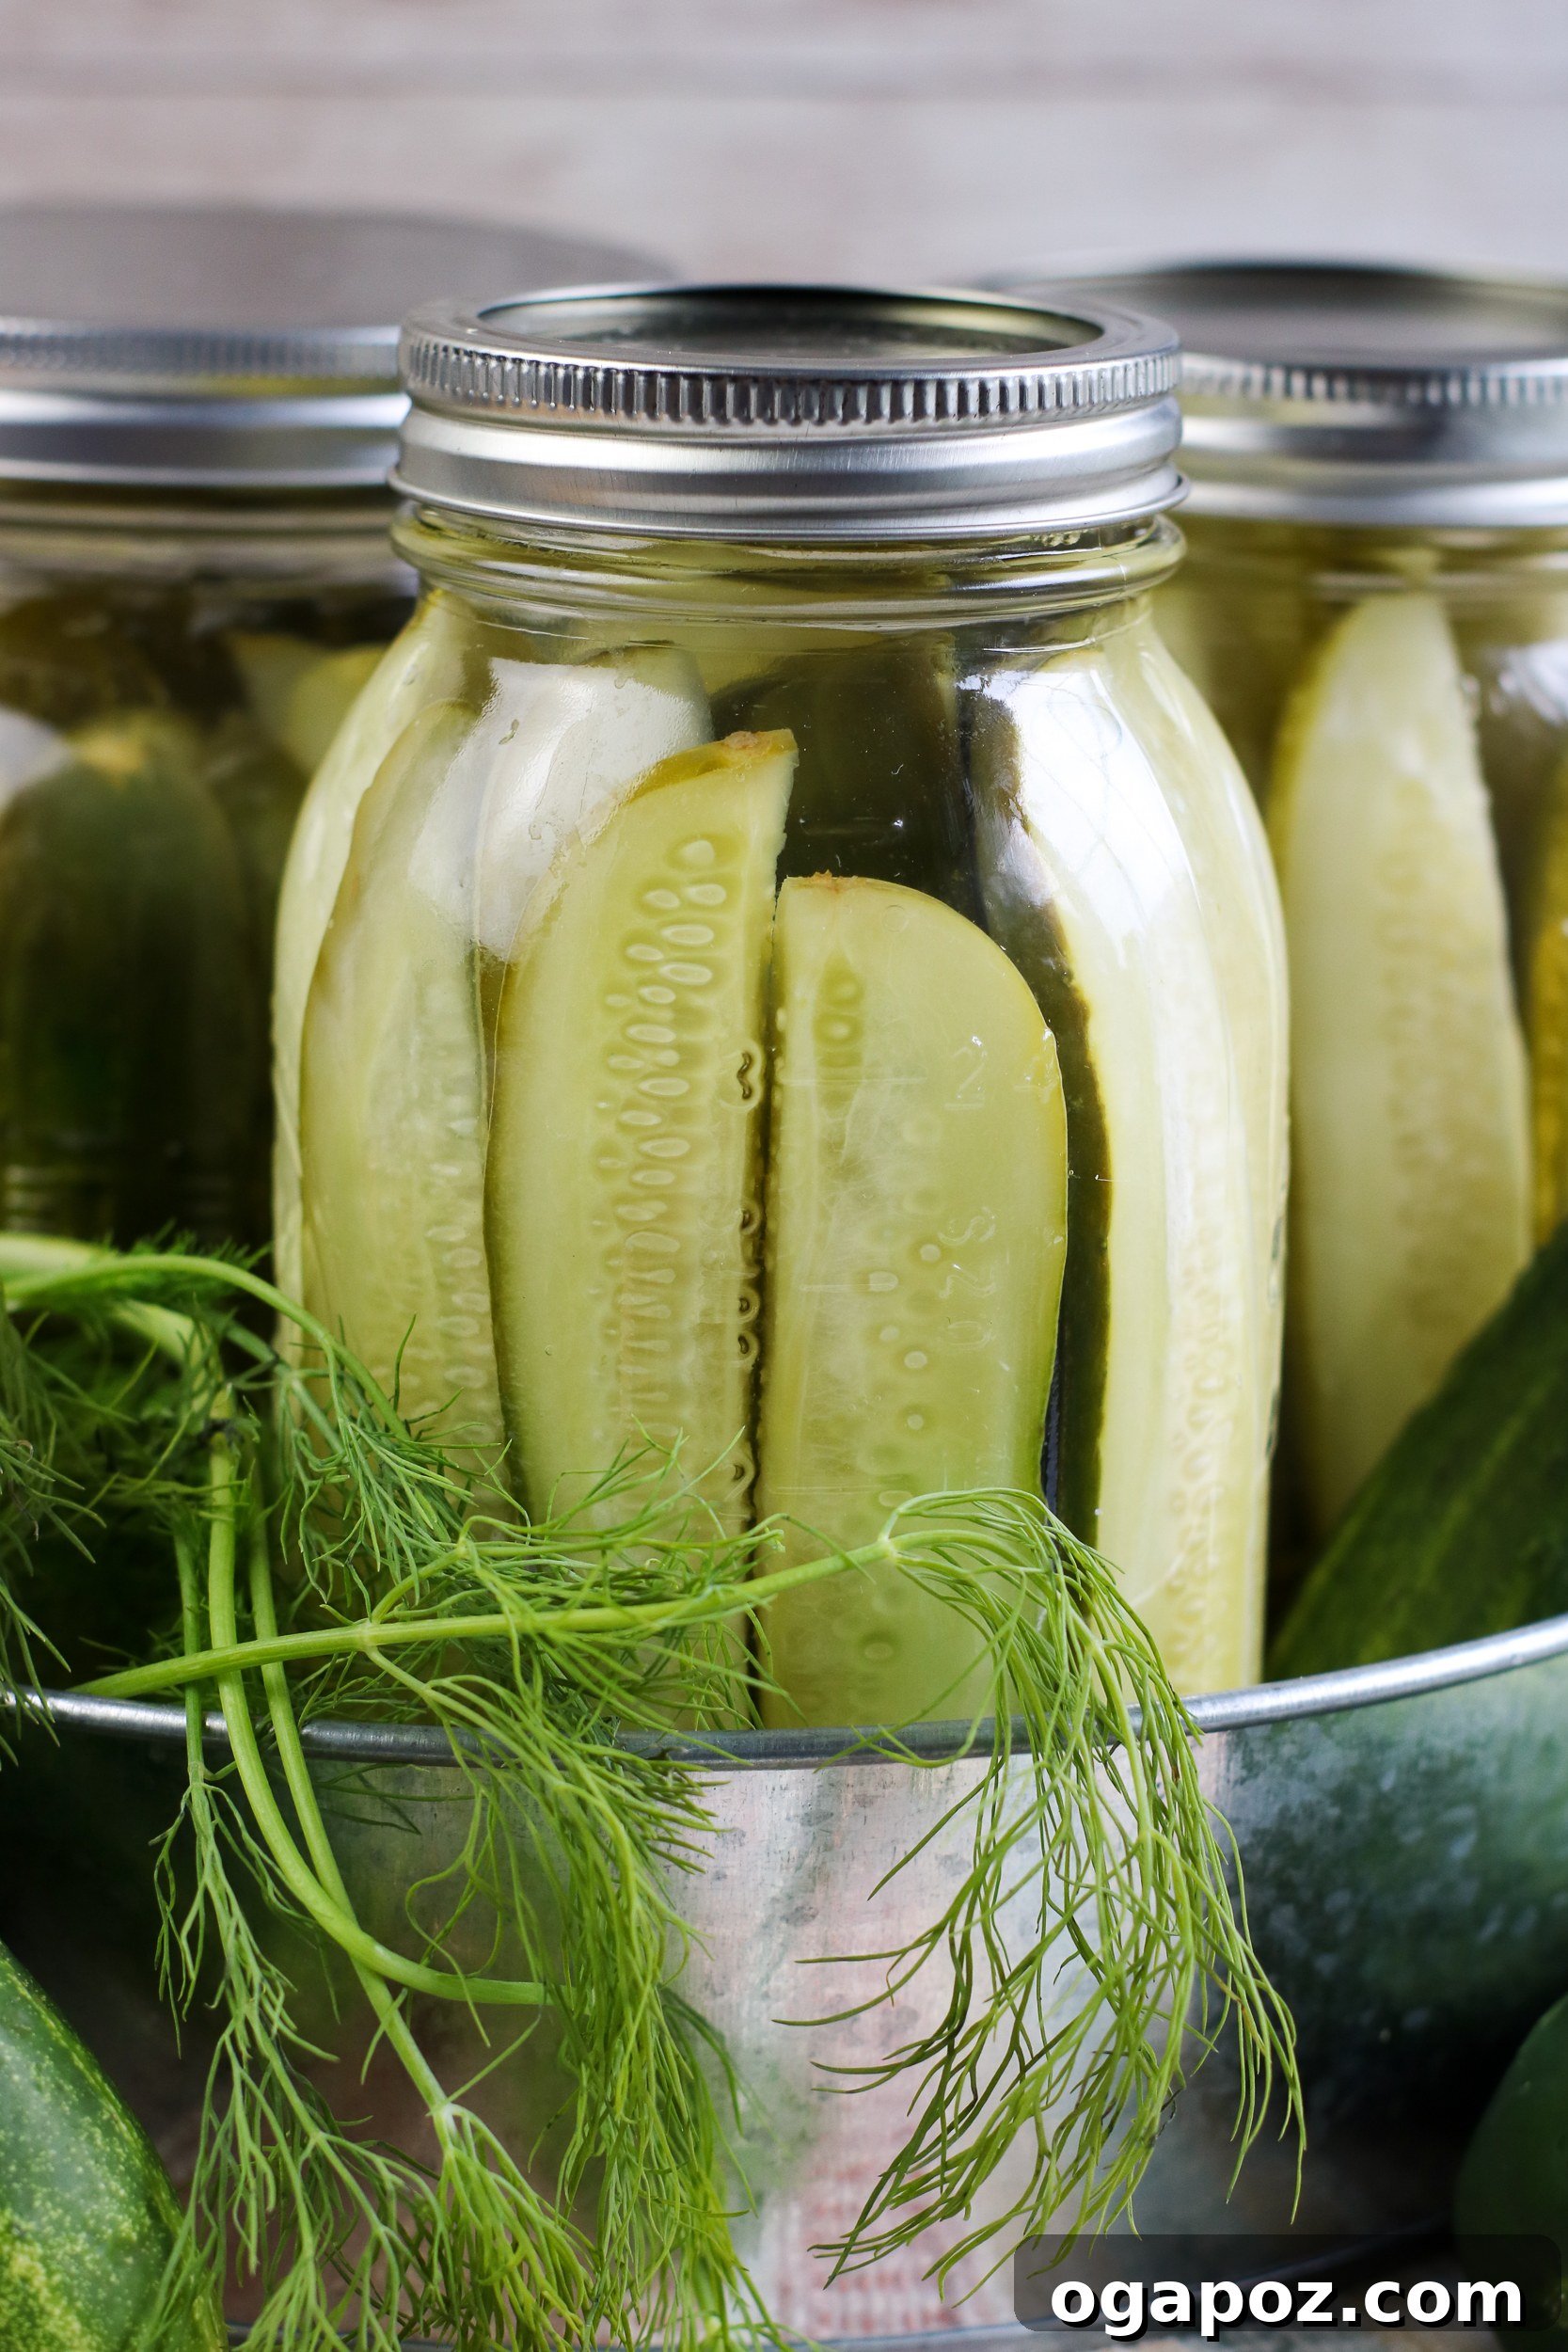
Step 3: Pour and Refrigerate. Once your brine has cooled slightly, carefully pour it over the cucumbers in each jar, ensuring that the cucumbers are fully submerged. Fill the jars almost to the top, leaving about a quarter-inch of headspace. This ensures all parts of the cucumber are exposed to the flavorful pickling liquid. Seal the jars tightly with their lids. Transfer the sealed jars to your refrigerator. They need to chill and allow the flavors to meld for at least 3 days before you enjoy your first crisp bite. The longer they sit, the more intense the flavor will become, up to their optimal shelf life.
Expert Tips for the Best Refrigerator Dill Pickles
Making homemade refrigerator dill pickles is wonderfully simple, but a few expert tips can elevate your batch from good to absolutely outstanding. Pay attention to these details for the crispiest, most flavorful results:
- Cucumber Cuts: The way you cut your cucumbers can impact their texture and how they absorb the brine. You can cut them into traditional spears, slice them into rounds (perfect for sandwiches), or even use a mandolin with a crinkle-cut blade for decorative and fun slices. Just ensure all pieces are relatively uniform in size for even pickling.
- Choosing the Right Jars: While 16-ounce mason jars are a popular and convenient choice for pickling due to their size and tight-sealing lids, feel free to use any clean, airtight glass jars that suit your needs. Ensure the jars are thoroughly clean and sterilized before use to prevent spoilage and ensure the best flavor.
- Patience is a Virtue: The pickles are best after sitting in the fridge for at least 3-4 days. This allows ample time for the cucumbers to fully absorb the tangy brine and for the flavors of garlic and dill to truly permeate. While you can taste them earlier, waiting yields a superior pickle.
- Adjusting Flavors: The beauty of homemade pickles is customization! If you’re a garlic enthusiast, don’t hesitate to add an extra clove or two per jar. Similarly, if you adore the robust flavor of dill, pack in a few more sprigs. Taste the brine before pouring to get an idea of the base flavor.
- Embrace the Heat: For those who love a spicy kick, consider adding a few slices of Thai red peppers, jalapeños, or even a sliver of habanero to each jar. These peppers will infuse the brine with a delightful warmth.
- Cucumber Type Matters: The best cucumbers for refrigerator pickles are thin-skinned varieties. This allows them to absorb the vinegar mixture more easily and become uniformly flavored. Excellent choices include regular garden cucumbers (smaller, firmer ones), English cucumbers, or Persian cucumbers. Avoid large, waxy, or thick-skinned varieties which may become soft.
- Blossom End Removal: Some picklers swear by trimming a tiny slice off the blossom end of the cucumber. This end contains enzymes that can sometimes lead to softer pickles. It’s a small step that can contribute to a crunchier result.
- Cool Brine is Key: Ensure your pickling brine has cooled down to at least lukewarm before pouring it over the cucumbers. Pouring very hot brine can partially cook the cucumbers, leading to a softer texture.
By keeping these tips in mind, you’ll consistently create batches of refrigerator dill pickles that are bursting with flavor and satisfyingly crunchy!
Storage and Shelf Life of Refrigerator Dill Pickles
Understanding how to properly store your homemade refrigerator dill pickles is essential for maintaining their freshness, flavor, and crunch. Since these pickles are not processed using traditional canning methods, they rely entirely on refrigeration for preservation.
- Always Refrigerate: You must keep these pickles in the fridge from the moment they are made. They are not shelf-stable and will spoil if left at room temperature.
- Airtight Containers: Ensure your pickles are stored in tightly sealed containers or mason jars. This prevents air from getting in, which can degrade the quality of the pickles and introduce unwanted bacteria.
- Shelf Life: When properly stored in the refrigerator, homemade refrigerator dill pickles will last for up to 2 months. While they are safe to eat for this duration, their peak crispness and flavor are often best within the first 3-4 weeks. After that, they may gradually soften slightly, though still delicious.
- Signs of Spoilage: If you notice any unusual smells, mold growth, or sliminess in the brine, it’s best to discard the pickles. However, with proper refrigeration, this is unlikely to happen within the recommended storage period.
By following these simple storage guidelines, you can enjoy your crunchy, tangy refrigerator dill pickles for weeks!
Creative Ways to Enjoy Your Refrigerator Dill Pickles
Refrigerator dill pickles are incredibly versatile and can be enjoyed in a myriad of ways beyond just a simple side dish. Their tangy, salty crunch adds a burst of flavor to many meals. Here are some inspiring serving suggestions to get you started:
- Classic Sandwich & Burger Topping: This is a no-brainer! Sliced dill pickles are a perfect addition to any sandwich, sub, or burger, providing a delightful contrast to rich meats and cheeses.
- Alongside Grilled Meats: Serve them as a refreshing accompaniment to grilled chicken, pork chops, or steak. The acidity helps cut through the richness.
- On Charcuterie Boards: Elevate your cheese and charcuterie boards with a ramekin of homemade dill pickles. They pair wonderfully with cured meats, cheeses, and crackers.
- Chopped into Salads: Dice your pickles and add them to potato salad, tuna salad, chicken salad, or even a green salad for an extra layer of flavor and crunch.
- As a Snack: Enjoy them straight from the jar! They’re a low-calorie, satisfying snack that can curb cravings.
- In Wraps & Pitas: Add a few slices to your favorite wraps or pita pockets for an extra zesty element.
- With Eggs: Chopped pickles can add a tangy twist to scrambled eggs, omelets, or deviled eggs.
- Garnish for Cocktails: For a savory drink, a dill pickle spear can be a fun and flavorful garnish for a Bloody Mary or a vodka soda.
Don’t limit yourself to just these ideas; let your culinary imagination run wild with these delightful homemade pickles!
More Vegetable Recipes You’ll Love
Vegetarian
Quick Pickled Red Onions
Vegetarian
Quick Pickled Vegetables
Sides
Easy Bok Choy Recipe
Vegetarian
Bok Choy Stir Fry
Enjoyed this recipe? Share your thoughts below! Follow us on Facebook,
Instagram, or
Pinterest for more delicious recipes.
Refrigerator Dill Pickles
Ingredients
- 2 pounds cucumbers, quartered lengthwise
- 3 1/2 cups water
- 1 1/4 cups white vinegar
- 1 Tablespoon sugar
- 2 Tablespoons pickling salt
- 4 cloves garlic, peeled and crushed
- 4 dill sprigs
Instructions
-
In a medium saucepan over high heat, bring water, vinegar, sugar, and salt to a boil, stirring until sugar and salt are dissolved.
-
Remove the pan from the heat and cool the brine slightly (to lukewarm).
-
Drop 2 cloves of garlic and 2 sprigs of dill into each 16 ounce mason jar or jar of your choice. Add the cucumber spears, packing tightly but without crushing.
-
Pour the cooled vinegar mixture into the jars over the cucumbers, ensuring they are fully submerged.
-
Seal the jars tightly and refrigerate for at least 3 days before serving to allow flavors to develop.
Nutrition
Carbohydrates: 9g,
Protein: 2g,
Fat: 0.4g,
Saturated Fat: 0.03g,
Polyunsaturated Fat: 0.01g,
Monounsaturated Fat: 0.01g,
Sodium: 3506mg,
Potassium: 330mg,
Fiber: 2g,
Sugar: 6g,
Vitamin A: 241IU,
Vitamin C: 9mg,
Calcium: 52mg,
Iron: 1mg
Nutrition information is automatically calculated, so should only be used as an approximation.
Embrace the Crunch: Your Homemade Pickle Journey Awaits!
There’s an undeniable satisfaction that comes from making your own food, and refrigerator dill pickles are a perfect example of how simple ingredients can create something truly spectacular. With just a few basic steps and a short wait, you can transform fresh cucumbers into tangy, crunchy pickles that far surpass anything you’ll find in a store. They’re a testament to the joy of fresh produce, the magic of simple preservation, and the delight of customized flavors. Whether you’re a seasoned chef or a kitchen novice, this recipe empowers you to enjoy the fresh taste of summer all year round. So, grab those cucumbers, gather your aromatics, and embark on your homemade pickle journey today. You’ll be rewarded with a versatile, delicious, and deeply satisfying treat that’s perfect for every occasion.