
The Ultimate Overnight Yeasted Waffles: Crisp, Chewy, and Utterly Delicious
There’s an undeniable joy that comes with a perfectly cooked waffle. For many, waffles evoke memories of cozy weekend mornings, indulgent brunches, or even a taste of European travels. As a self-proclaimed serious waffle connoisseur, my journey through the world of waffles took a significant turn during a year spent immersing myself in the culinary delights of Belgium. It was there that I developed a profound appreciation for not just the chocolate, beer, and cheese, but also for the intricate differences between two iconic Belgian classics: the Liege Waffles and the Brussels waffles.
The Liege waffle, often found as a street food staple, is a culinary marvel of density and doughiness – in the most profoundly satisfying way. Each bite reveals deep, crispy pockets and delightful nubs of caramelized pearl sugar, which melt and crisp on the iron, creating an unparalleled texture and sweetness. It’s a robust, hearty waffle, substantial enough to be considered a meal in itself.
In stark contrast, the Brussels waffle presents an elegant, airy, and yeasted experience. Prepared with whipped egg whites carefully folded into the batter, it yields a cloud-like texture that feels almost weightless, especially when generously showered with powdered sugar. While a single Liege waffle is incredibly filling, one could easily enjoy several Brussels waffles without feeling overwhelmed, a testament to their delicate structure.
These authentic Belgian creations are a far cry from what is commonly labeled “Belgian waffles” in North America. The North American version typically tends to be quite heavy, often leavened with baking powder rather than yeast, offering a different texture and flavor profile entirely.
Introducing Your New Favorite Waffle
The waffles we are about to explore in this recipe are unique. They are not strictly Belgian by European standards, nor do they conform to the North American interpretation. However, they possess a distinct charm and an irresistible deliciousness that sets them apart. Imagine a waffle that marries the best qualities of different culinary worlds: yeast-leavened for a complex, nuanced flavor and superior texture, yet barely sweetened, allowing for incredible versatility in toppings.
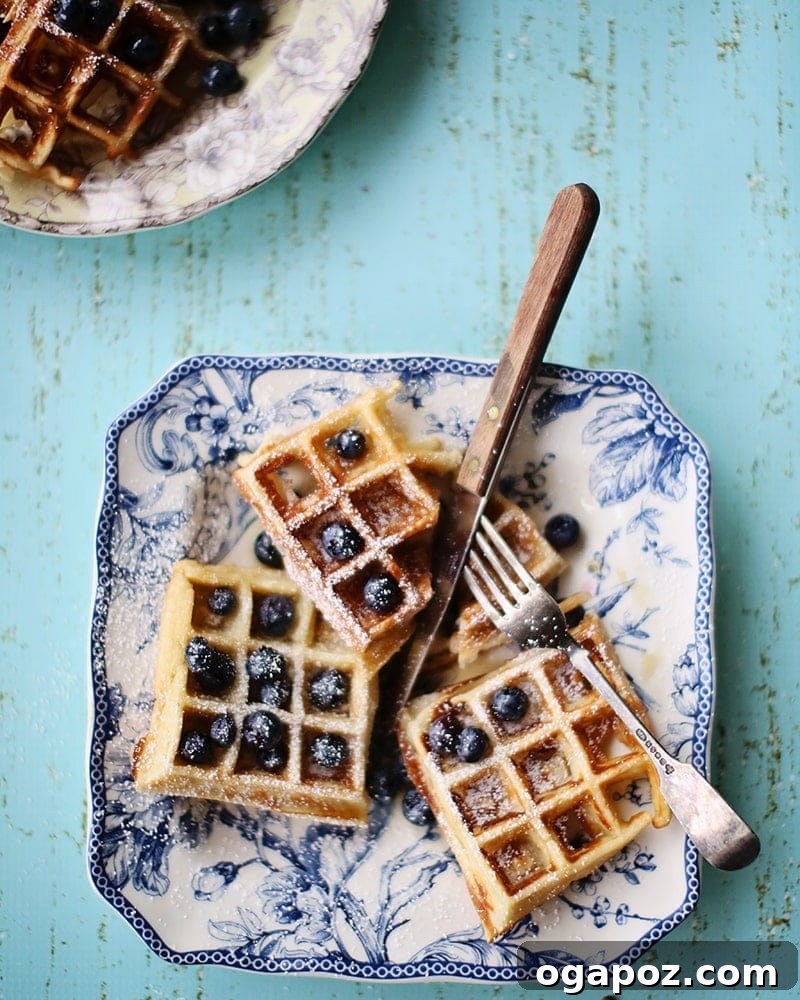
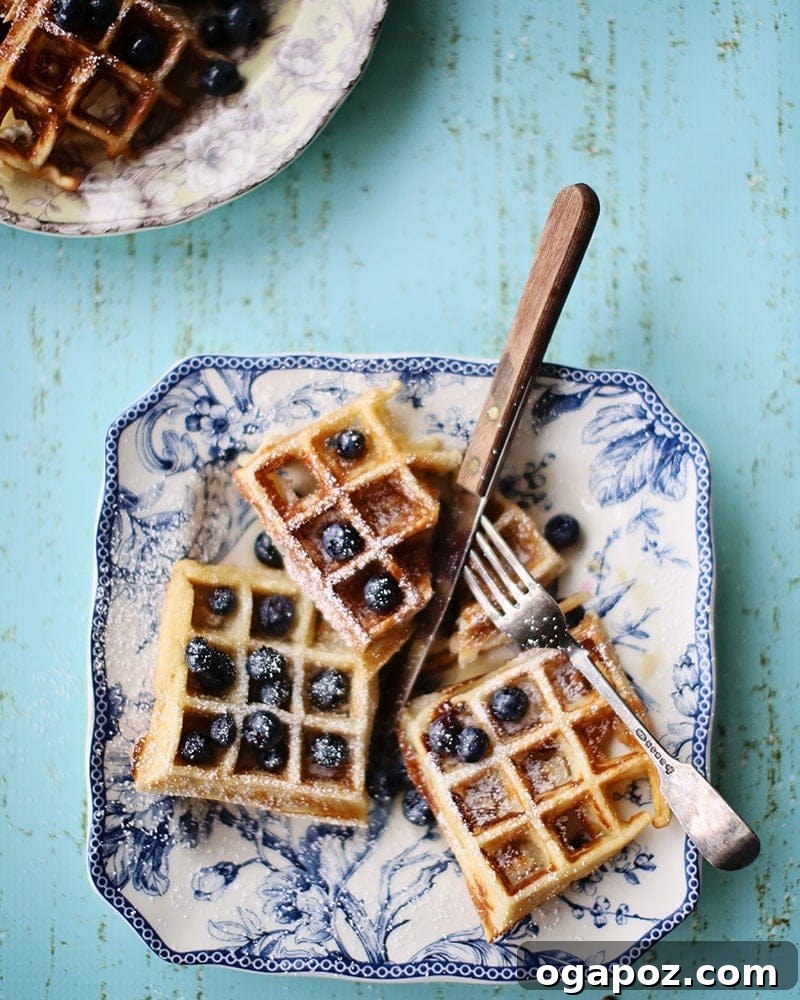
These waffles boast exquisitely crisp edges that give way to a wonderfully chewy and tender interior, with a subtle eggy richness that might even remind you of a delicate crepe. What makes them truly special, beyond their sensational taste, is their incredible ease of preparation. There’s no need for arduous yeast proofing; simply combine all the ingredients with a quick whirl in your mixer, and the magic happens overnight in your refrigerator. This minimal effort upfront rewards you with a deeply flavorful batter that’s ready to transform into golden, crispy perfection the very next morning.
Mastering Your Waffle Iron: Tips for Perfection
While the batter is designed for ease, achieving the perfect waffle often comes down to mastering your equipment. Ideally, for yeasted waffles, a waffle maker with shallower pockets is often recommended. This design allows for better contact with the heating elements, promoting a uniform crispness and reducing the likelihood of sticking, which can sometimes be an issue with yeasted batters in deeper grids.
However, many of us, myself included, have a beloved, heavy cast-iron beast with deep pockets that we simply aren’t willing to part with. And why should we? With a few clever tricks, you can achieve stellar results even with a less-than-ideal iron. As a hardcore waffler, I’ve found two golden rules that make all the difference: liberal amounts of butter and a generous helping of batter.
The Butter Advantage: Why Butter Beats Oil
When it comes to greasing your waffle iron, butter is truly your best friend. While cooking oils might seem convenient, butter consistently outperforms them in two critical areas: browning and non-stick properties. To grease your iron effectively, scoop some softened butter onto a pastry brush and meticulously brush it into every single pocket and crevice of your waffle maker. The milk solids in butter contribute to a richer, more even browning, giving your waffles that coveted golden-brown hue and enhanced flavor. Moreover, butter creates a more robust non-stick surface, significantly reducing the chances of your precious waffle tearing or sticking.
Batter Placement and Quantity: The Art of the Pour
The amount and placement of your batter are equally crucial. For my 8 1/2-inch square iron, I’ve found that about 3/4 cup of batter poured directly into the center works wonders. Resist the temptation to spread the batter out to the edges. As the waffle cooks, the batter will naturally expand, and attempting to spread it thinly initially often leads to those frustrating, delicate, and sticky thin spots. By focusing the batter in the center, you ensure a thicker, more even base that is less prone to sticking and tearing.
The Gentle Open: Preventing Waffle Catastrophe
Once your waffle is cooked to golden perfection, the moment of truth arrives: opening the iron. This step requires a gentle touch and a bit of patience. Rather than yanking the iron open aggressively, lift it only slightly at first. Then, as you continue to open it further, gently jiggle the waffle out bit by bit with a fork. This technique helps to release any stubborn spots and prevents the waffle from splitting in half. Should a split occur, fear not! It will still be absolutely delicious, perhaps just a little less picturesque.
The Magic of Overnight Fermentation
The beauty of this recipe lies in its overnight preparation. A mere five minutes of active work with your stand mixer on Saturday night sets the stage for a luxurious Sunday morning. Allowing the batter to rest and ferment in the refrigerator overnight does wonders for its flavor and texture. The yeast has ample time to work its magic, developing deeper, more complex notes that cannot be achieved with instant cooking. Furthermore, the chilled batter results in waffles that are consistently crispier on the outside and wonderfully chewy-tender on the inside.
Imagine waking up on a leisurely Sunday, the aroma of fresh coffee already brewing, and knowing that a batch of crisp, chewy-tender waffles is just minutes away. No waiting for batter to rise, no last-minute whisking – just pure, unadulterated waffle bliss before you’ve even fully shaken off your sleepiness.
Serving Suggestions and Leftovers: Maximizing Waffle Enjoyment
Once your perfect waffles are ready, the real fun begins: choosing your toppings! These versatile waffles are delicious with almost anything. For a truly decadent experience, there’s nothing quite like a piping hot, crispy waffle fresh from the iron, with creamy Nutella melting into its deep pockets. The warmth of the waffle perfectly liquefies the chocolate-hazelnut spread, creating a gooey, irresistible treat.
But the joy doesn’t stop at sweet indulgences. These waffles are equally magnificent on the savory side. Try them topped with a slice of perfectly cooked Canadian bacon and a beautifully poached egg. For an extra touch of elegance, a drizzle of creamy hollandaise sauce is an optional but highly recommended addition, transforming your breakfast into a gourmet brunch. And for those who, like me, appreciate efficiency, you can easily poach eggs in the microwave for a quick and mess-free solution.
Should you find yourself with leftover waffles (a rare but delightful occurrence), they freeze beautifully. Simply arrange them in a single layer on a baking sheet and freeze until solid. Once frozen, transfer them to freezer bags, removing as much air as possible to prevent freezer burn. When a waffle craving strikes again, there’s no need to thaw! Pop them directly into your toaster, toaster oven, or even an air fryer, and reheat until they are hot and crispy once more. They emerge from the toaster just as delicious as when they were first made, ready to be enjoyed with your favorite sweet or savory accompaniments.
Ingredients for Your Overnight Yeasted Waffles
- 2 2/3 cups (approximately 12 oz or 340 grams) all-purpose flour
- 2 1/4 tsp (one standard packet) active dry yeast
- 1/2 tsp salt (fine sea salt or table salt works well)
- 2 tbsp granulated sugar (just enough to activate the yeast and add a hint of sweetness)
- 1/2 cup unsalted butter, melted (plus extra softened butter for greasing the waffle iron)
- 2 cups whole milk (for richness and tender texture)
- 2 large eggs (for structure and flavor)
Preparation: Your Path to Perfect Waffles
- Combine Dry Ingredients: In the bowl of a stand mixer fitted with the whisk attachment, place the all-purpose flour, active dry yeast, salt, and granulated sugar. Turn the mixer on low speed for about 15-30 seconds to ensure all the dry ingredients are thoroughly combined and evenly distributed.
- Add Wet Ingredients & Mix Batter: With the mixer still on low, gradually add the melted butter, whole milk, and eggs to the dry mixture. Once all wet ingredients are incorporated, increase the speed to medium. Continue mixing for approximately 30 seconds, or until the batter is completely smooth, with no lumps of flour visible. The batter will be relatively thin.
- Refrigerate Overnight: Loosely cover the bowl with plastic wrap. Ensure it’s not airtight, allowing the yeast to breathe slightly. Place the covered bowl in the refrigerator and allow the batter to chill and ferment overnight, or for a minimum of 8 hours and up to 24 hours. This overnight rest is crucial for developing the waffles’ distinctive flavor and texture.
- Preheat and Prepare Waffle Iron: The next morning, remove the batter from the refrigerator. It may appear slightly bubbly, which is normal. Preheat your waffle iron to medium-high heat (if using a stovetop iron) or to the manufacturer’s recommended setting for electric waffle makers. While the iron preheats, use a pastry brush (or even a wadded-up piece of paper towel) to scoop up about a teaspoon of softened butter. Thoroughly spread this butter into all the pockets and over the entire cooking surface of your waffle maker. Ensure every nook and cranny is well-greased for optimal non-stick performance and browning.
- Cook Your Waffles: Pour approximately 3/4 cup of batter directly into the center of your preheated and greased waffle iron. If using a stovetop iron, immediately flip it over (if designed to do so). Cook until the waffles are beautifully golden brown on both sides. For stovetop irons, this typically takes about 4-6 minutes per side, but check frequently as cooking times can vary. For electric machines, follow your specific waffle maker’s instructions or cook until the steam subsides and the indicator light signals completion.
- Serve Immediately: Carefully remove the cooked waffle (remember the gentle jiggle trick!) and serve hot with your favorite toppings. Repeat with the remaining batter, re-greasing the iron between each waffle as needed to maintain crispness and prevent sticking. Enjoy the fruits of your overnight labor!