
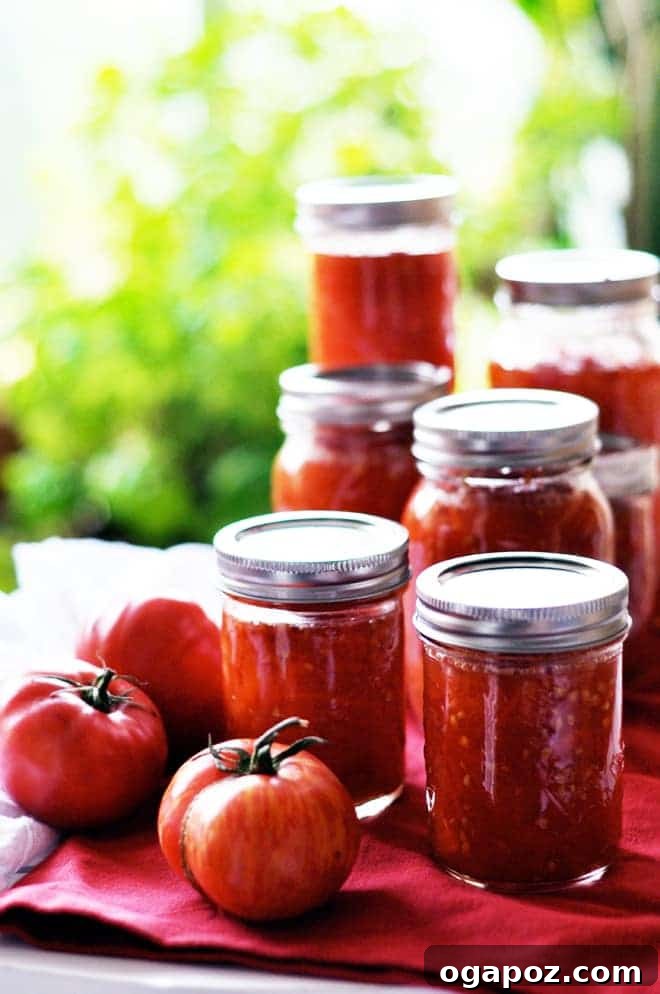
The Art of Preserving Summer: Homemade Canned Tomatoes
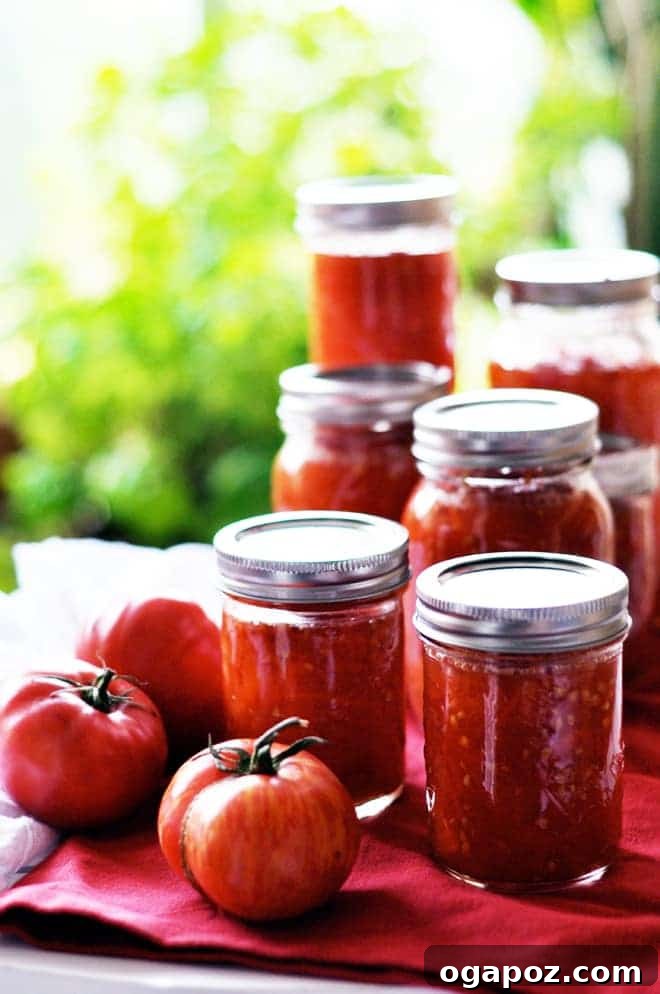
There’s an undeniable magic that comes with the peak of summer, especially when it involves the bounty of ripe, sun-kissed tomatoes. For many culinary enthusiasts and home cooks, this isn’t just a season; it’s a call to action. My own profound obsession with these vibrant fruits reaches its zenith when I dedicate a significant portion of my summer to the timeless practice of canning them. Imagine savoring the intense, fresh flavor of a vine-ripened tomato in the dead of winter, long after the last vestiges of summer have faded. That, my friends, is the unparalleled reward of homemade canned tomatoes.
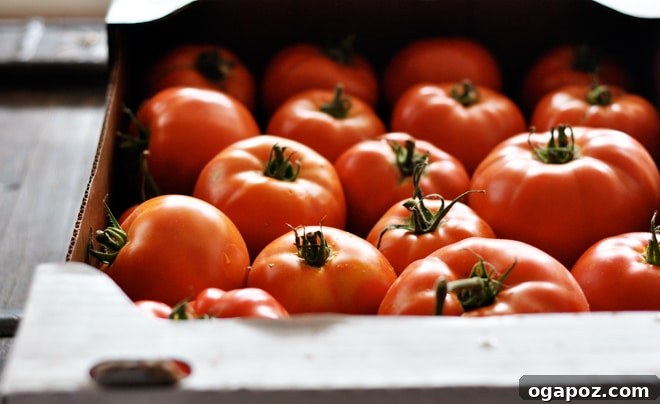
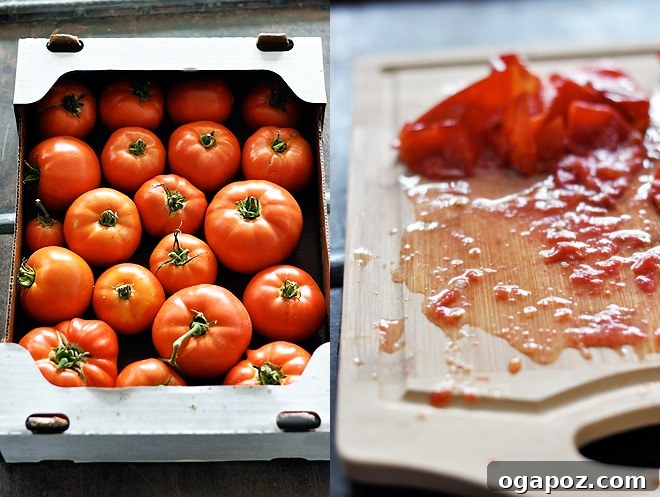
The journey begins with selecting the finest produce. This past season, I invested in what felt like a small fortune—but was entirely worth it—on twenty magnificent pounds of organic, locally grown tomatoes. These weren’t just any tomatoes; they were the deepest, most brilliant red I had ever encountered, each one a testament to perfect cultivation. Not a single blemish marred their pristine surfaces.
Every tomato possessed a taut, perfect skin, hinting at the juicy goodness within. They felt heavy, round, and remarkably firm in my hands, promising an explosion of sweet, rich flavor with every bite. (Yes, we are very much still talking about tomatoes here!) This meticulous selection is the foundation of superior canned tomatoes, ensuring that only the best of summer’s harvest makes it into your pantry.
Why Preserve Your Own Tomatoes? The Unrivaled Benefits
Canning your own tomatoes is far more than just a kitchen chore; it’s an incredibly rewarding experience that delivers a multitude of benefits, particularly when compared to store-bought alternatives. The most compelling reason is undoubtedly the flavor. Mass-produced canned tomatoes, even premium varieties, simply cannot capture the delicate balance of sweetness and acidity found in tomatoes ripened on the vine under the summer sun. When you crack open a jar of your homemade preserved tomatoes in the middle of a bleak February rain or snowstorm, you’re not just getting an ingredient; you’re getting a concentrated burst of summer, a flavor that will elevate any dish to extraordinary heights.
Beyond taste, canning at home offers complete control over ingredients. You choose the tomatoes, ensuring they are organic, locally sourced, and free from pesticides if that’s your preference. You control the amount of salt, or even omit it entirely, and use natural lemon juice for acidification, avoiding unnecessary additives or preservatives often found in commercial products. This makes homemade canned tomatoes a healthier, more transparent choice for you and your family.
While the initial outlay for quality tomatoes and equipment might seem significant, the long-term savings and superior quality make it a wise investment. Moreover, there’s immense satisfaction in self-sufficiency, knowing you’ve created a pantry staple from scratch. It’s an empowering skill that connects you directly to your food source and the seasonality of produce.
Essential Tools and Ingredients for Successful Canning
Embarking on a tomato canning adventure doesn’t require an arsenal of specialized equipment, but a few key items will make the process much smoother and safer. While it demands a few hours of your time, a generous amount of clear counter space, and perhaps even a gleeful willingness to embrace a bit of kitchen chaos, the setup is straightforward.
Your Canning Toolkit:
- Two Large Stockpots: Essential for water bath canning and sterilizing jars. They need to be tall enough to fully immerse your jars with at least an inch of water above them, and preferably have a rack at the bottom to prevent jars from touching the bottom and cracking.
- One Medium-Large Pot: Used specifically for blanching your tomatoes.
- One Small Pot: Perfect for simmering water to keep jar lids warm and ready for sealing.
- Jar Lifter: An absolute necessity for safely handling hot jars. Alternatively, a sturdy pair of kitchen tongs wrapped with rubber bands can offer additional grip, though a dedicated jar lifter is highly recommended for stability and safety.
- Canning Jars: You’ll need plenty of these! Aim for pint-sized (2 cup/500 mL) or quart-sized (4 cup/1 litre) jars. Ensure they are canning-specific jars (like Mason jars) designed to withstand the heat and pressure of the canning process. Always check for cracks or chips before use.
- New Lids and Bands: Bands can be reused, but always use new lids for each canning session to ensure a proper seal.
- Funnel (optional but recommended): A wide-mouth funnel can help minimize mess when filling jars with tomatoes.
- Headspace Tool (optional): A simple tool to accurately measure the required headspace in jars.
- Bubble Remover (optional): A plastic or wooden utensil to remove air bubbles from packed jars.
The Simple Ingredients:
- Fresh Tomatoes: The star of the show! Choose firm, ripe, unblemished tomatoes. Paste tomatoes like Roma or San Marzano are excellent for canning due to their meaty texture and fewer seeds, making them ideal for sauces. Larger beefsteak varieties can also be used, especially if you prefer chunkier canned tomatoes.
- Canning Salt: Also known as pickling salt. It’s important to use iodine-free salt as iodine can discolor your tomatoes and affect the flavor over time.
- Lemon Juice: Crucial for food safety. Tomatoes, while acidic, can sometimes fall into a borderline pH range. Adding bottled lemon juice (which has a consistent acidity) ensures the pH is low enough to safely water bath can, preventing the growth of harmful bacteria like Clostridium botulinum. Do not substitute with fresh lemon juice unless you can accurately measure its acidity, as it can vary.
The Step-by-Step Process: Bringing Summer to Your Pantry
Once you have all your tools and ingredients laid out, the canning process flows systematically. Cleanliness and proper timing are paramount for safe and delicious results.
Setting Up for Success:
Begin by filling your two largest stockpots with water and placing them on the stove over high heat to come to a rolling boil. This can take some time, so start this step early. One pot will be used for sterilizing your jars, and the other for the final water bath processing.
In a third, medium-large pot, bring water to a boil for blanching the tomatoes. And finally, in your small pot, gently heat water to a simmer for warming your jar lids.
Preparing Your Jars and Lids (Step 1):
- Fill your largest stockpot with water. Submerge your clean canning jars (while the water is still cold to prevent thermal shock, which can cause them to break) and turn the heat to high. Bring the water to a full boil and allow the jars to sterilize for at least 10 minutes. It’s crucial to keep the jars hot until you are ready to fill them. This prevents breakage when they are returned to boiling water for processing and helps create a vacuum seal.
- In the small pot, gently warm the new canning lids in simmering (not boiling) water over medium-low heat. This softens the sealing compound, ensuring a proper seal. Use your jar lifter or tongs to carefully remove jars and lids from their respective pots when needed, allowing excess water to drain back into the pot.
Blanching and Peeling the Tomatoes (Step 2):
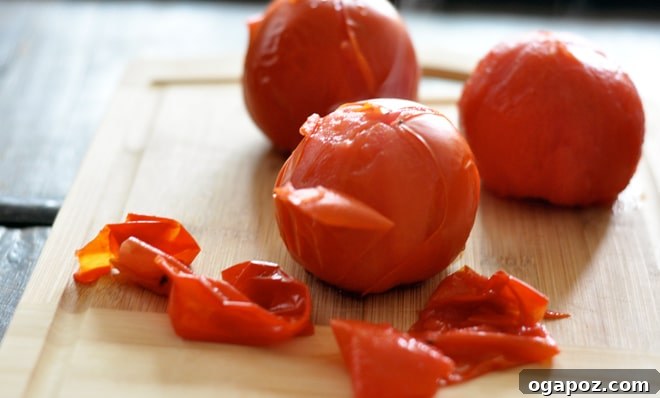
- While your jars are sterilizing, prepare your tomatoes. Using a sharp paring knife, cut a small “x” on the bottom of each tomato. This score will make peeling significantly easier.
- Carefully drop the “x”-marked tomatoes into the medium-large pot of boiling water for approximately 1 minute. You’ll notice the skin beginning to pucker and peel away at the “x.”
- Immediately remove the blanched tomatoes and plunge them into an ice bath (a bowl of cold water with ice) to stop the cooking process and cool them enough to handle. Once cool, the skins should practically slip off. Remove and discard all skins.
Filling and Processing the Jars (Step 3):
- For every 2-cup (500 mL) jar, spoon in 1/2 teaspoon of canning salt and 1 tablespoon of bottled lemon juice. If you are using quart-sized (1-liter) jars, double these amounts (1 teaspoon salt, 2 tablespoons lemon juice).
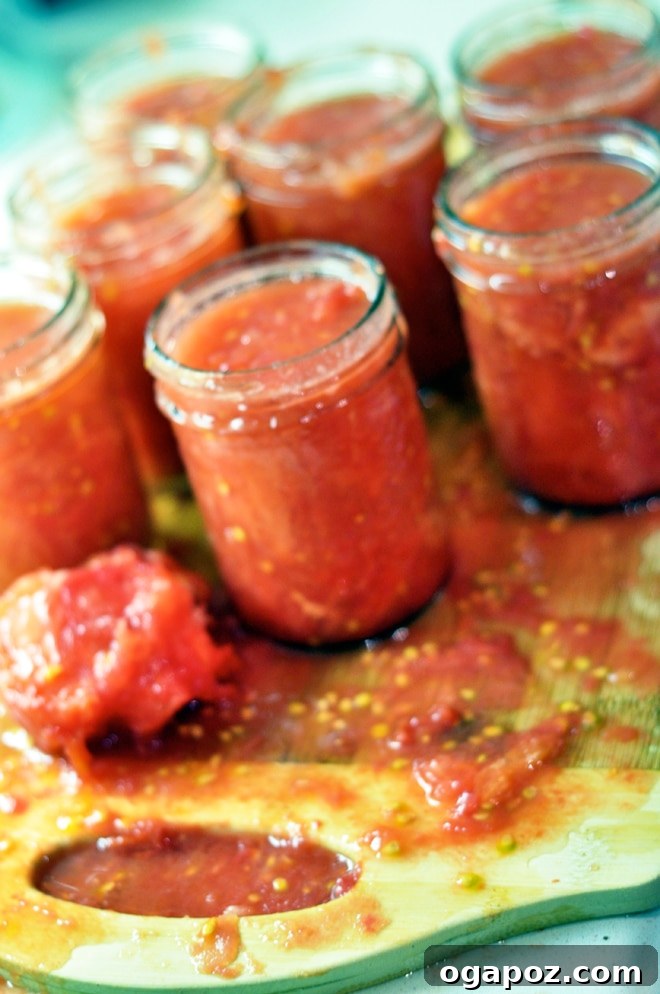
- Begin to pack the skinned tomatoes snugly into the warm jars. You can gently smoosh them down with the handle of a wooden spoon to release juices and remove any large air pockets. Pack them tightly, leaving 1/2 inch of headspace (the space between the top of the food and the rim of the jar). This headspace is vital for a proper vacuum seal.
- Wipe the rims of each jar thoroughly with a clean, damp cloth. Any food residue on the rim can prevent a seal. Place a warm, new lid on top of each jar, ensuring it’s centered. Secure with a screwband, tightening it only to “finger-tight” – just enough so it’s secure but not overly tight. Air needs to be able to escape during processing.
- Using your jar lifter, gently lower the filled and sealed jars into the second large stockpot of boiling water. Ensure the jars are fully submerged by at least 1 inch of water and are not touching each other or the sides of the pot.
- Once the water returns to a rolling boil, start your timer. Process pint-sized jars (2 cup/500 mL) for 35 minutes, and quart-sized jars (4 cup/1 litre) for 45 minutes. Adjust processing time for your altitude if necessary (consult a reliable canning guide for specific adjustments).
Cooling, Sealing, and Storage (Step 4):
- Once the processing time is complete, carefully remove the jars from the boiling water using your jar lifter and place them on a clean towel or a cooling rack, ensuring they are undisturbed for at least 24 hours. Avoid tightening the bands further or moving the jars during this critical cooling period.
- As the jars cool, you’ll often hear a satisfying “PLUCK!” or “ping!” sound, which indicates that the lids have sealed properly. After 24 hours, check each jar for a good seal. The lid should be rigid, slightly indented, and should not flex or bounce when you gently press the center. If it does flex and makes a clicking sound, the seal is not good.
- For any jars that did not seal, immediately place them in the refrigerator and consume their contents within 2 weeks. Do not re-process them.
- Remove the screwbands from properly sealed jars (they can rust onto the lids during storage). Wipe down the jars, label them with the contents and date, and store them in a cool, dark, dry place for up to 1 year. The optimal storage temperature is between 50-70°F (10-21°C).
Canned Tomatoes
-
Ripe, firm tomatoes (preferably paste varieties)
-
Canning salt (iodine-free)
-
Bottled lemon juice
This detailed guide will help you confidently transform abundant summer tomatoes into a pantry full of flavorful preserves, ready to bring the taste of sunshine to your winter meals. From hearty sauces and vibrant soups to robust stews and comforting chilis, your homemade canned tomatoes will be a versatile and cherished ingredient, a true testament to the joy of preserving. Enjoy the fruits of your labor!