
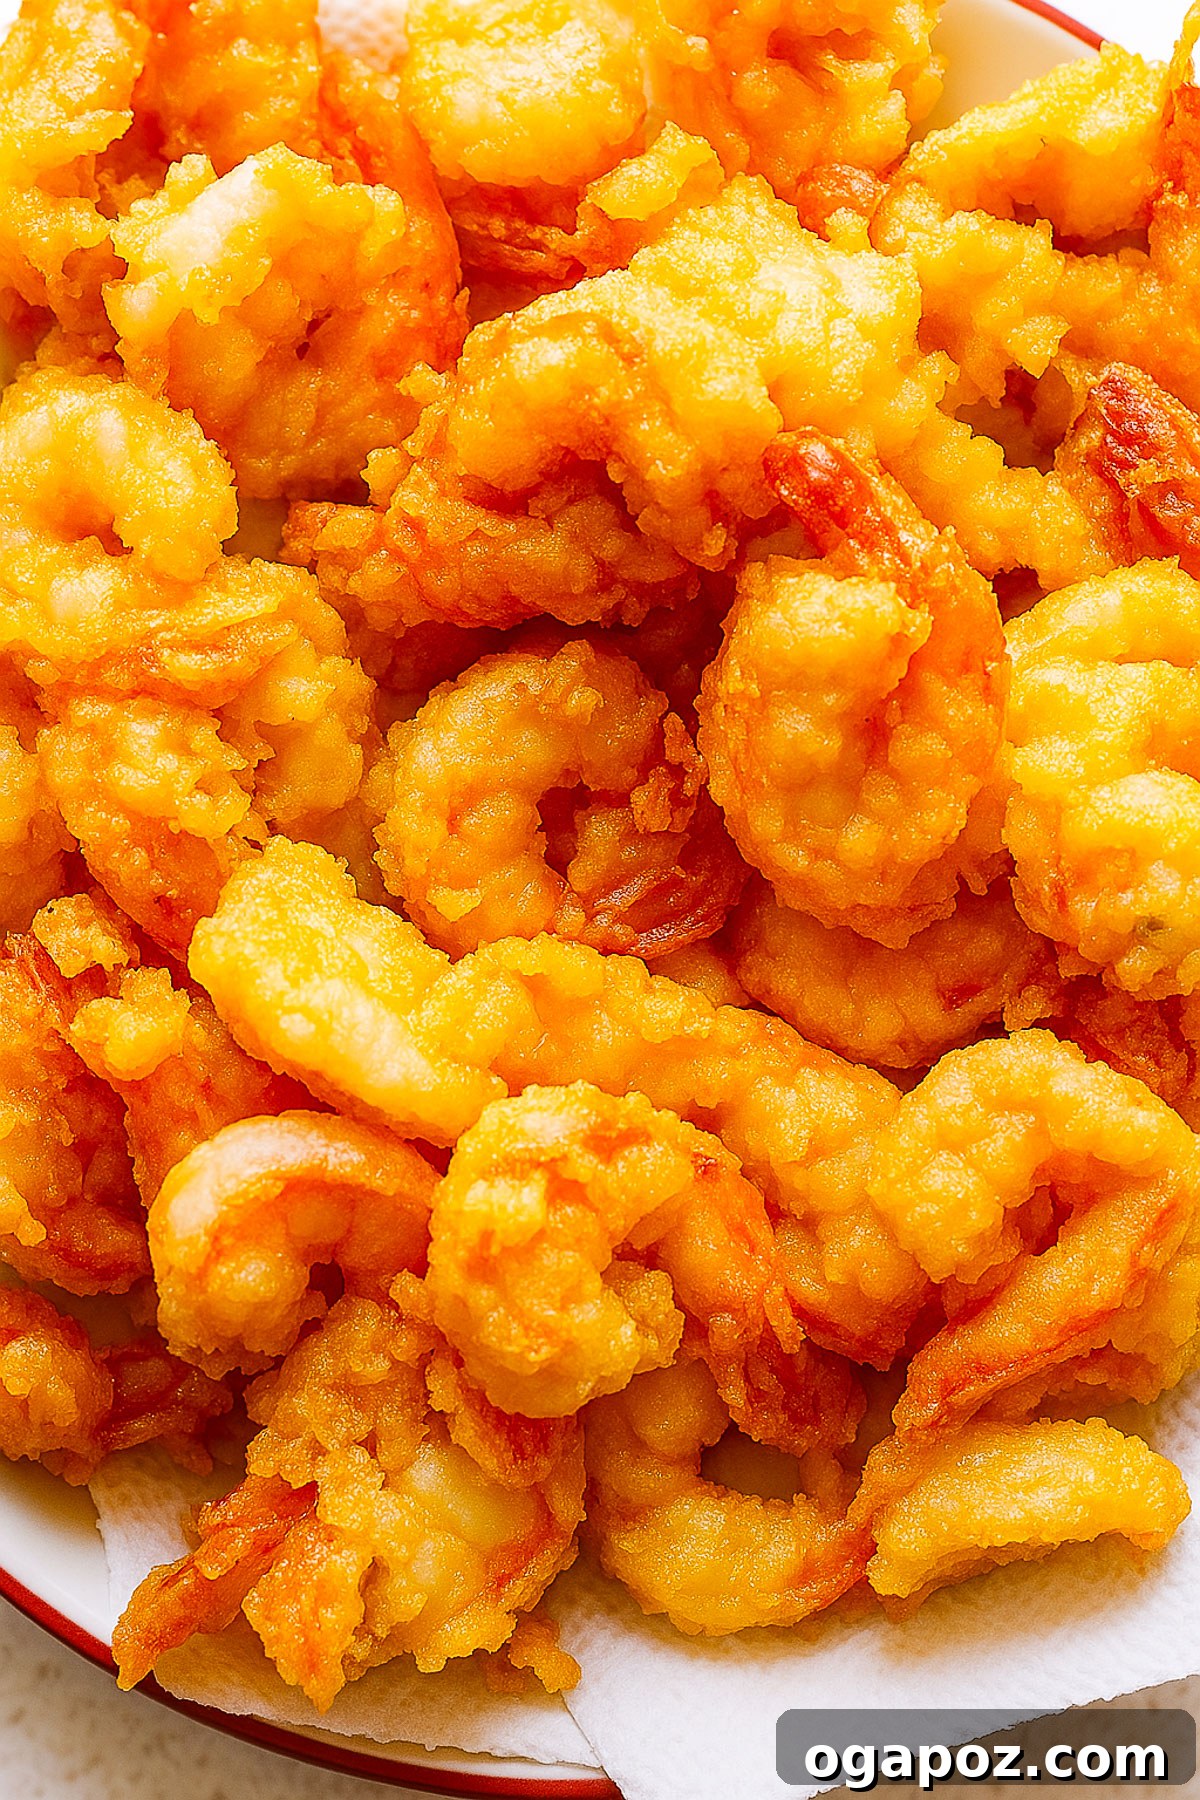
Mastering Crispy Fried Cooked Shrimp: Your Ultimate Guide
Whether you’re crafting savory shrimp tacos, enhancing a vibrant salad, or simply serving them as a delightful snack, transforming pre-cooked shrimp into an extra delicious, crispy treat is easier than you think. This comprehensive guide will walk you through every step to achieve restaurant-quality fried shrimp right in your own kitchen.
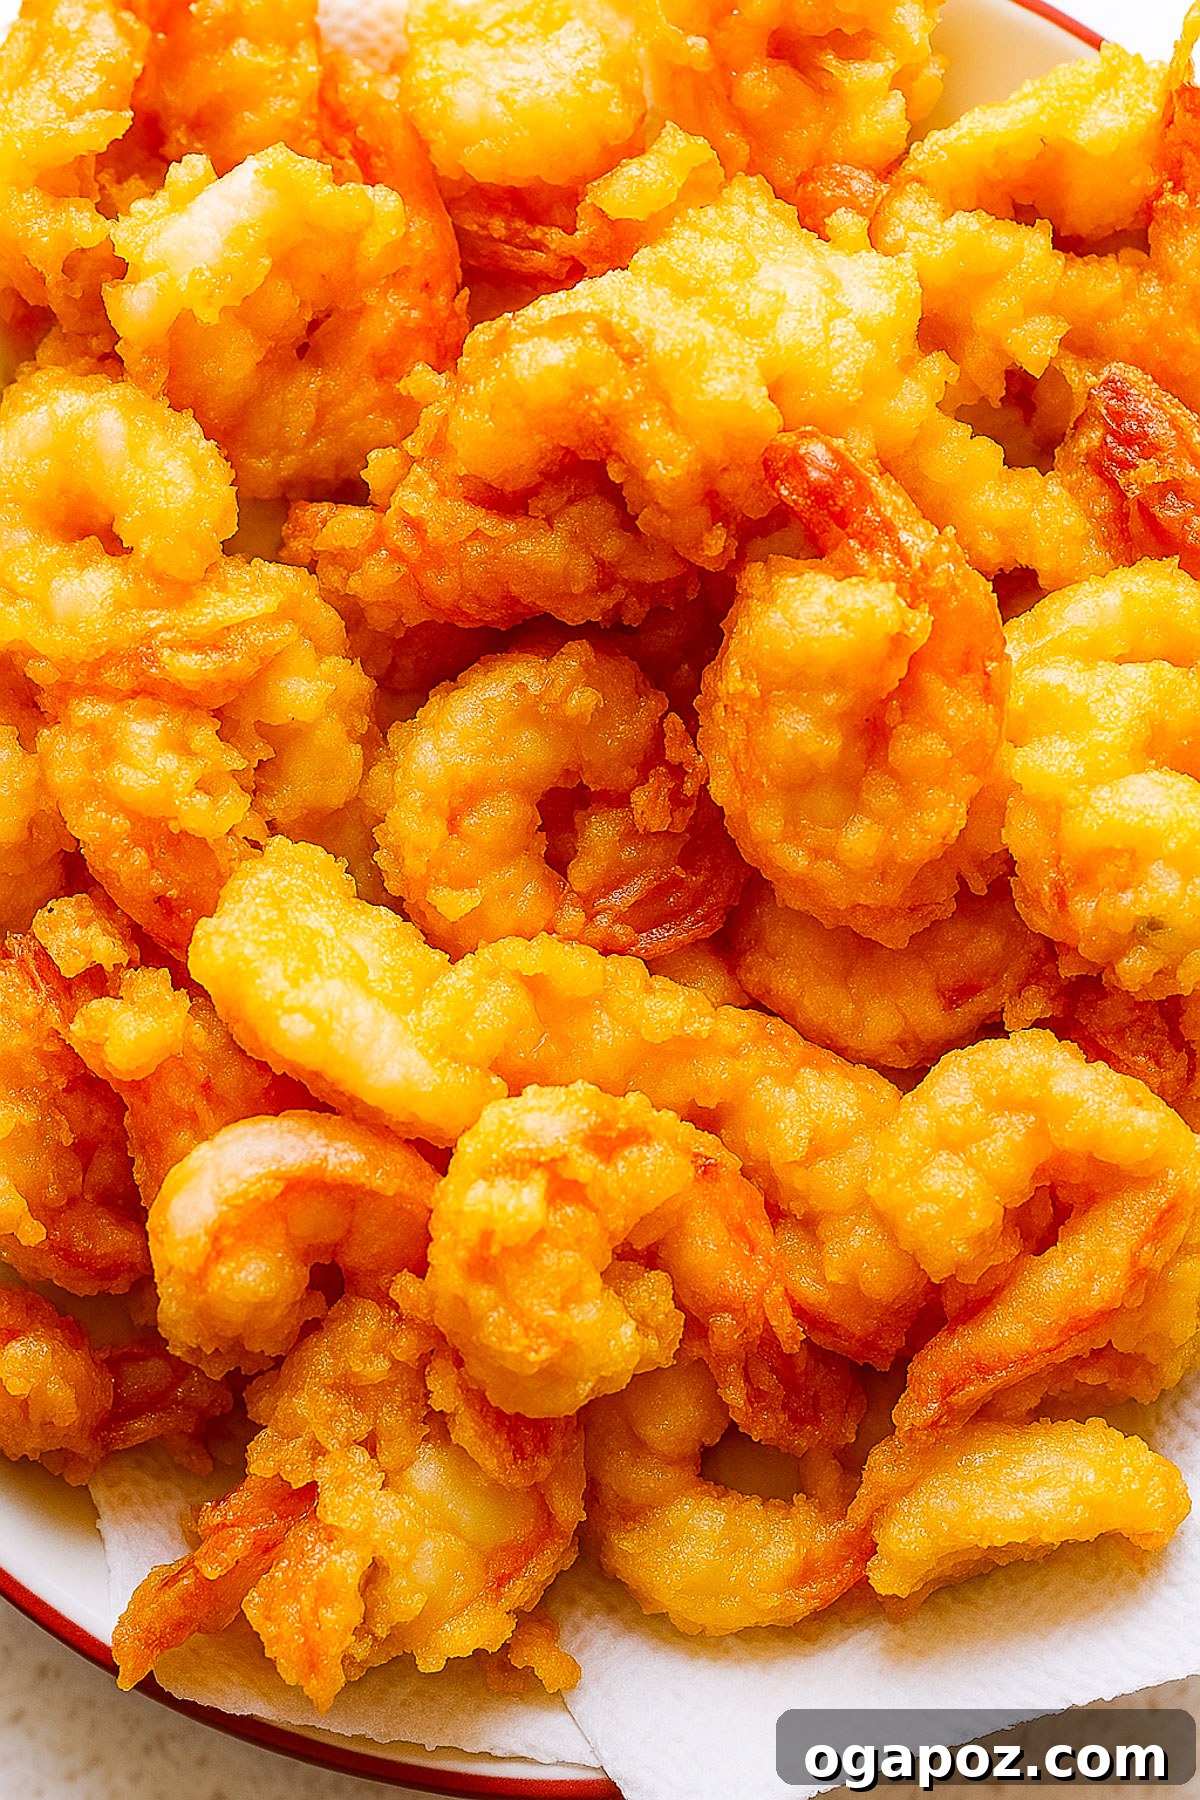
As a food science expert, I’ve honed this technique to guarantee irresistibly crispy fried cooked shrimp every single time. It’s a method that balances precision with simplicity, ensuring you get maximum flavor and texture without overcomplicating the process.
How to Achieve Perfectly Crispy Fried Cooked Shrimp
The secret to my foolproof fried shrimp recipe lies in a delicate dance of timing, temperature, and a well-selected coating. The goal is to rapidly crisp the exterior, locking in the natural juiciness of the shrimp while developing a delectable golden-brown crust. Since the shrimp is already cooked, our focus shifts entirely to perfecting that outer layer without drying out the delicate seafood within.
Why Fry Pre-Cooked Shrimp? The Benefits Unveiled
Frying pre-cooked shrimp offers a multitude of advantages that make it a favorite for many home cooks:
- Speed and Convenience: Since the shrimp is already cooked, the frying time is drastically reduced. You’re simply crisping the coating, not cooking the shrimp through. This makes it an ideal choice for quick appetizers or last-minute meal additions.
- Guaranteed Doneness: Eliminate the guesswork of whether your shrimp is fully cooked. With pre-cooked shrimp, you never have to worry about undercooked seafood, allowing you to focus purely on achieving that perfect crunch.
- Texture Contrast: The gentle cooking process of pre-cooked shrimp means they retain their tender, succulent texture. Frying adds a glorious crisp exterior, creating a delightful contrast that elevates the entire eating experience.
- Flavor Infusion: The seasoned coating adheres beautifully to pre-cooked shrimp, ensuring every bite is bursting with flavor. It’s a fantastic way to introduce new spice profiles or complement existing dish components.
- Versatility: Crispy fried shrimp can be incorporated into countless dishes, from light salads and hearty pasta dishes to vibrant tacos and elegant appetizers. Its quick preparation time allows for spontaneous culinary creativity.
Ingredients to Gather for Crispy Fried Shrimp
To embark on your journey to perfectly fried cooked shrimp, gather these essential ingredients. Quality matters, so choose wisely!
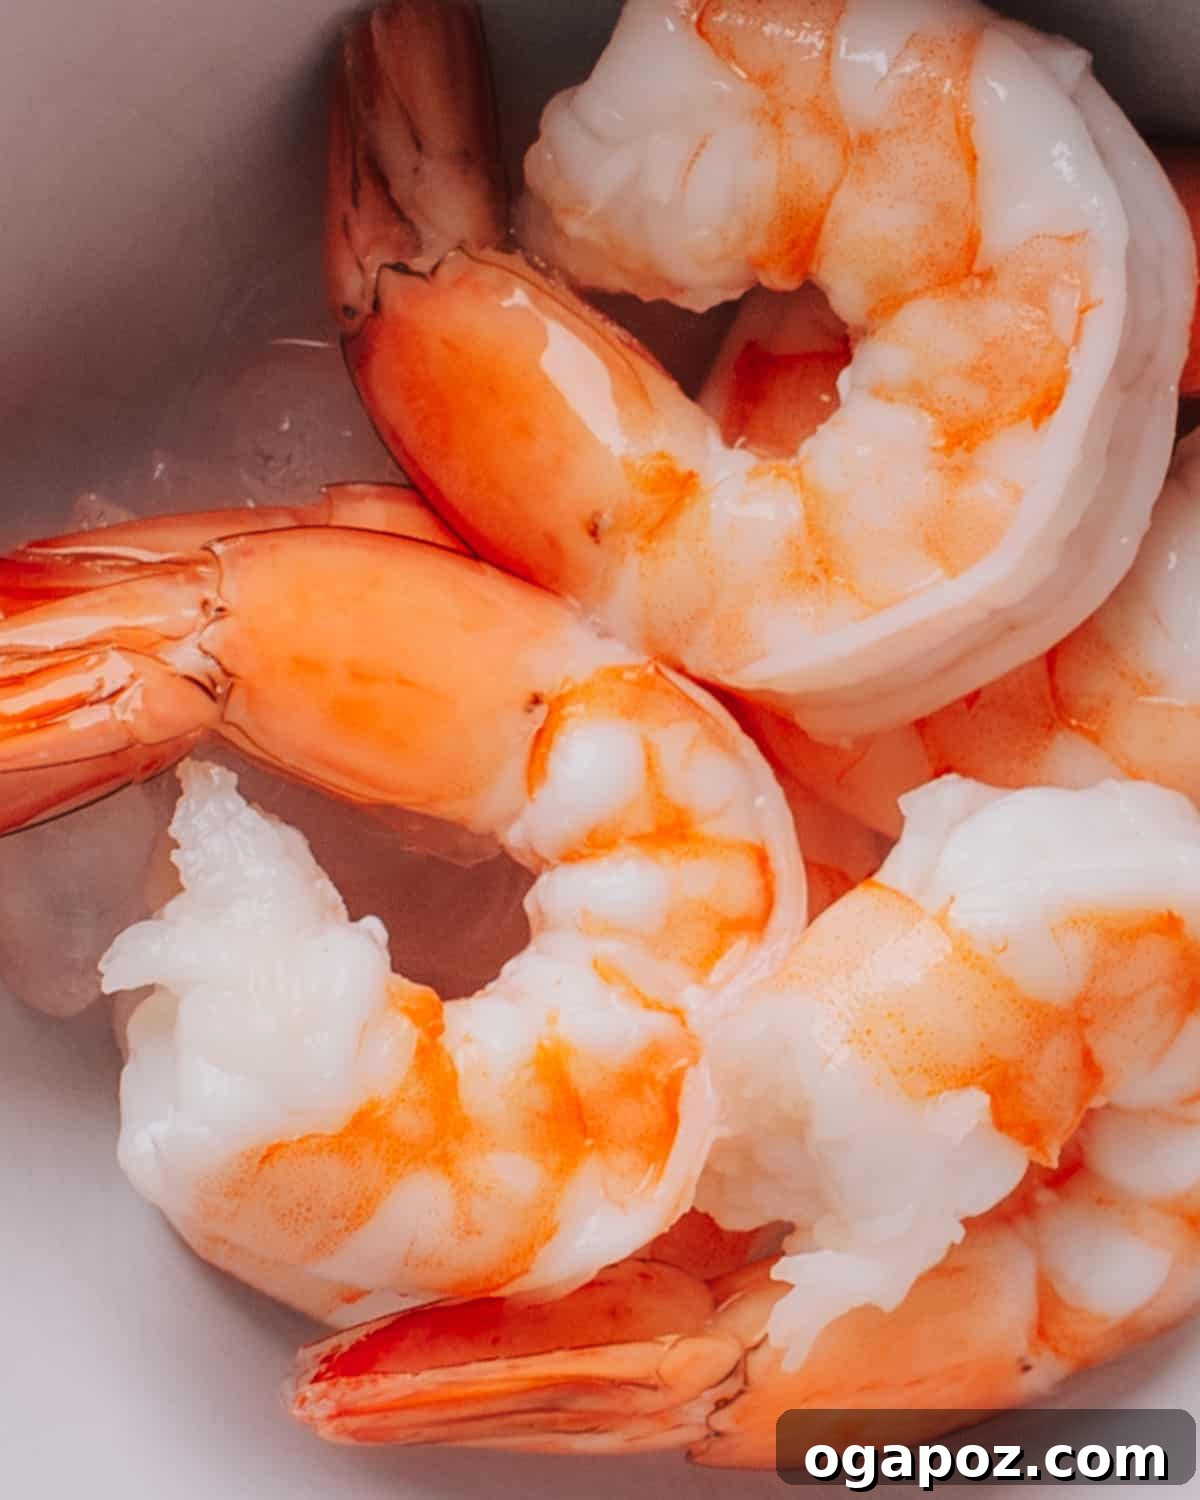
- 1 pound cooked shrimp (peeled and deveined): Opt for jumbo shrimp if available, as they offer a meatier bite and are less prone to overcooking. Ensure they are fully thawed if frozen.
- 1 cup all-purpose flour or cornstarch: Flour provides a classic coating, while cornstarch can yield an even crispier, lighter texture. Either works wonderfully.
- 2 large eggs (beaten): These act as the binder, helping the breadcrumbs adhere firmly to the shrimp.
- 1 cup breadcrumbs or panko: Panko breadcrumbs are highly recommended for their superior crispness and lighter texture, but regular breadcrumbs are also a good option.
- 1 teaspoon salt: Essential for seasoning the coating and enhancing the shrimp’s flavor.
- 1 teaspoon black pepper: Adds a subtle warmth and aromatic depth.
- 1/2 teaspoon garlic powder: A foundational flavor that complements shrimp beautifully.
- 1/2 teaspoon paprika: Contributes a lovely color and mild, sweet pepper flavor.
- 1/4 teaspoon cayenne pepper (optional for heat): For those who enjoy a little kick, cayenne adds a welcome warmth. Adjust to your preference.
- 1 cup high smoke point oil (vegetable, canola, or peanut oil): The type of oil is crucial for successful frying. Choose one with a neutral flavor and a high smoke point to prevent burning and impart a clean taste to your shrimp.
Step-by-Step Guide to Frying Cooked Shrimp
Follow these simple steps for perfectly crispy, flavorful fried shrimp:
1. Prepare Your Dredging Station
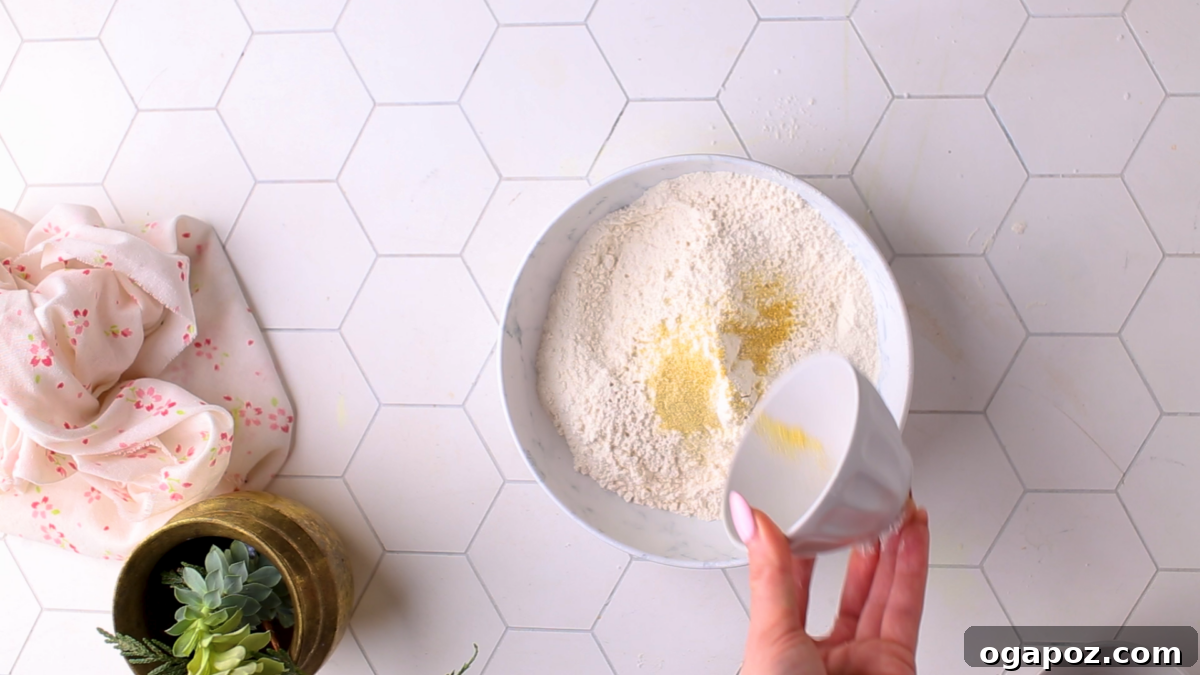
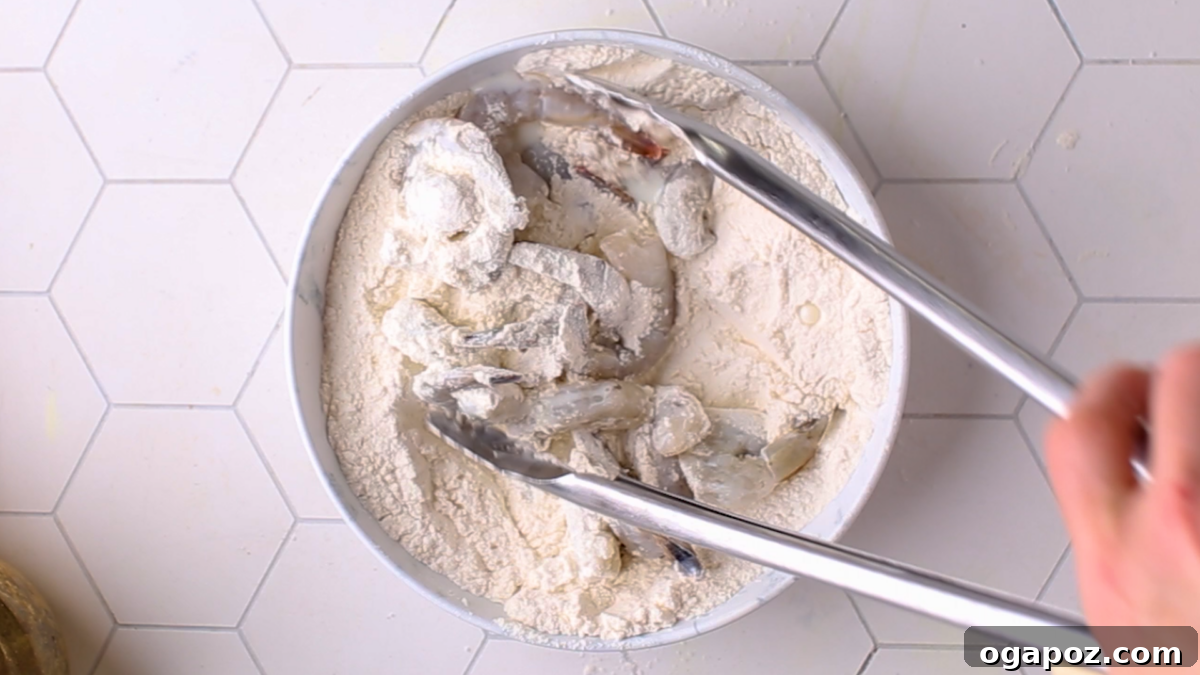
To ensure an efficient and mess-free coating process, set up a three-bowl dredging station. In the first bowl, combine your choice of flour or cornstarch. In the second, whisk your two eggs until well beaten. Finally, in the third bowl, mix the breadcrumbs (or panko) with salt, black pepper, garlic powder, paprika, and optional cayenne pepper. Arrange them in a line for easy workflow: flour, egg, then seasoned breadcrumbs.
2. Properly Coat the Shrimp
This step is crucial for crispiness. Begin by thoroughly patting the cooked shrimp dry with paper towels. Any excess moisture will prevent the coating from sticking properly and result in a soggy texture. Once dry, dredge each shrimp individually in the flour, ensuring it’s lightly but fully covered. Shake off any excess flour. Next, dip the floured shrimp into the beaten egg, allowing any extra egg to drip off. Finally, coat the shrimp generously with the seasoned breadcrumb mixture, pressing gently to ensure a firm, even layer. Place the coated shrimp on a clean plate or baking sheet while you prepare the oil.
3. Heat the Frying Oil to Perfection
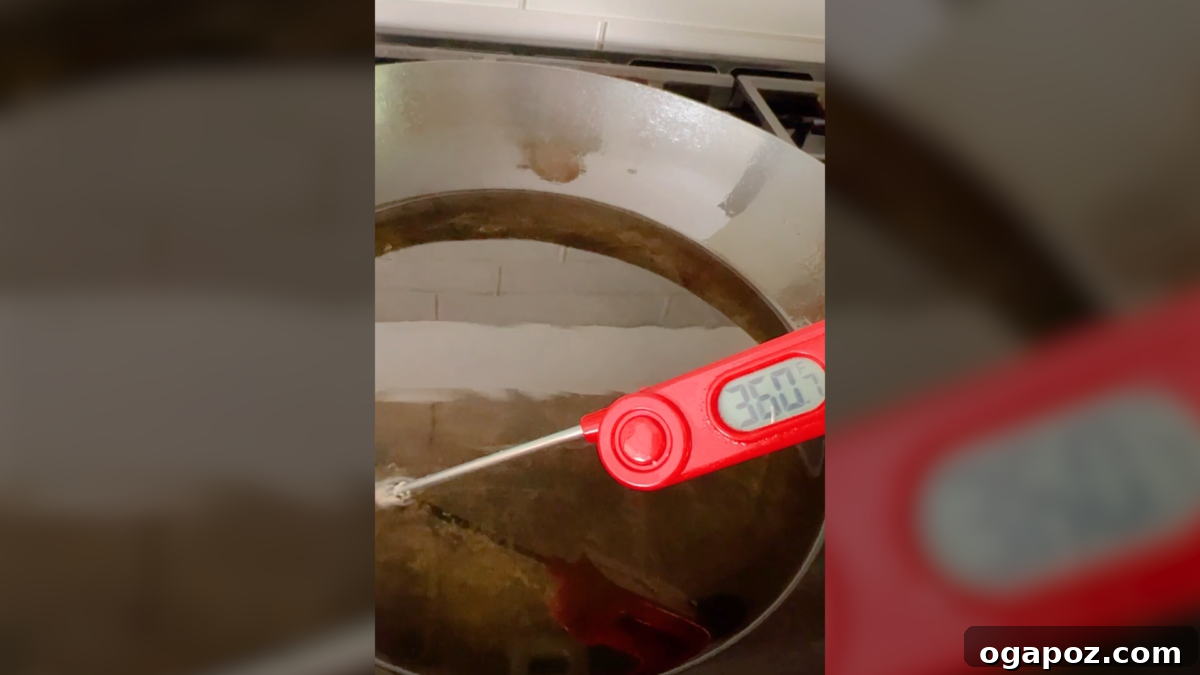
Pour about 1 cup of your chosen high smoke point oil (vegetable, canola, or peanut oil) into a heavy-bottomed skillet or deep frying pan. The oil should be deep enough to at least partially submerge the shrimp. Heat the oil over medium-high heat until it reaches a consistent temperature of 350°F (175°C). Using a kitchen thermometer is highly recommended for accuracy, as precise temperature control is key to preventing greasy or burnt shrimp. Do not guess the temperature, as this is a common pitfall.
4. Fry the Shrimp Until Golden and Crispy
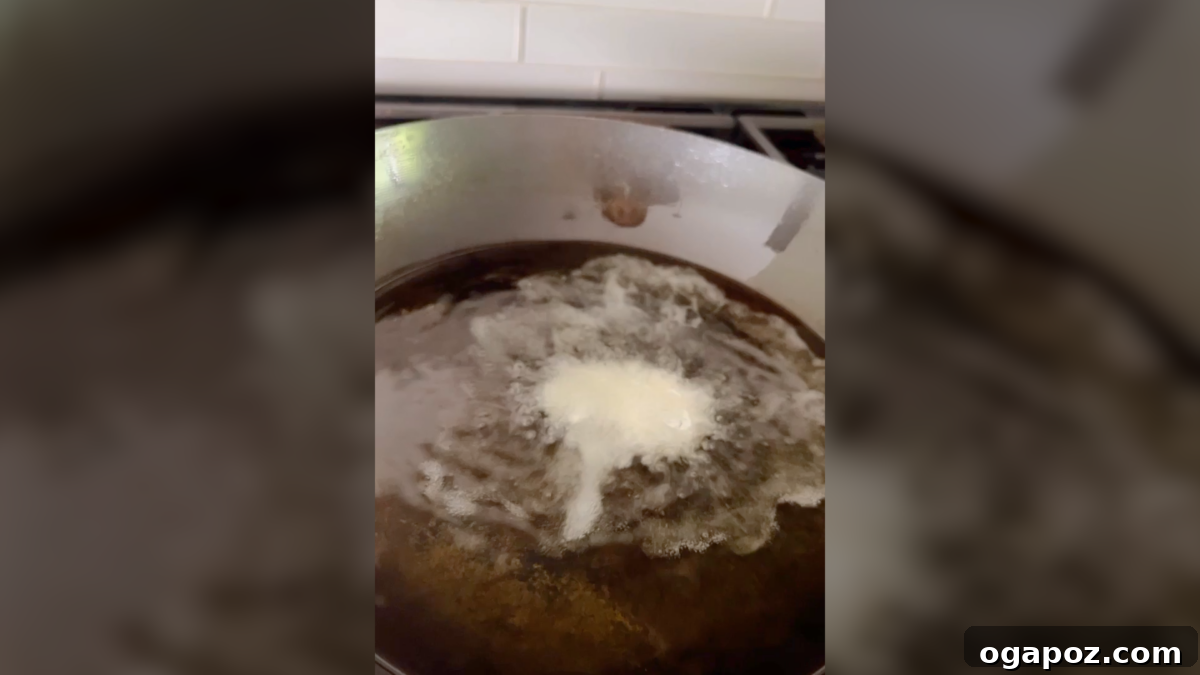
Once your oil is at the correct temperature, carefully place the coated shrimp into the hot oil. Avoid overcrowding the pan; fry the shrimp in small batches to maintain the oil’s temperature and ensure even cooking. Fry for approximately 1-2 minutes per side, or until they turn a beautiful golden brown and the coating is visibly crispy. Remember, since the shrimp is already cooked, your primary goal is to crisp up the coating, not to cook the shrimp itself. Over-frying will lead to tough, rubbery shrimp, so keep a close eye on them.
5. Drain and Serve Immediately
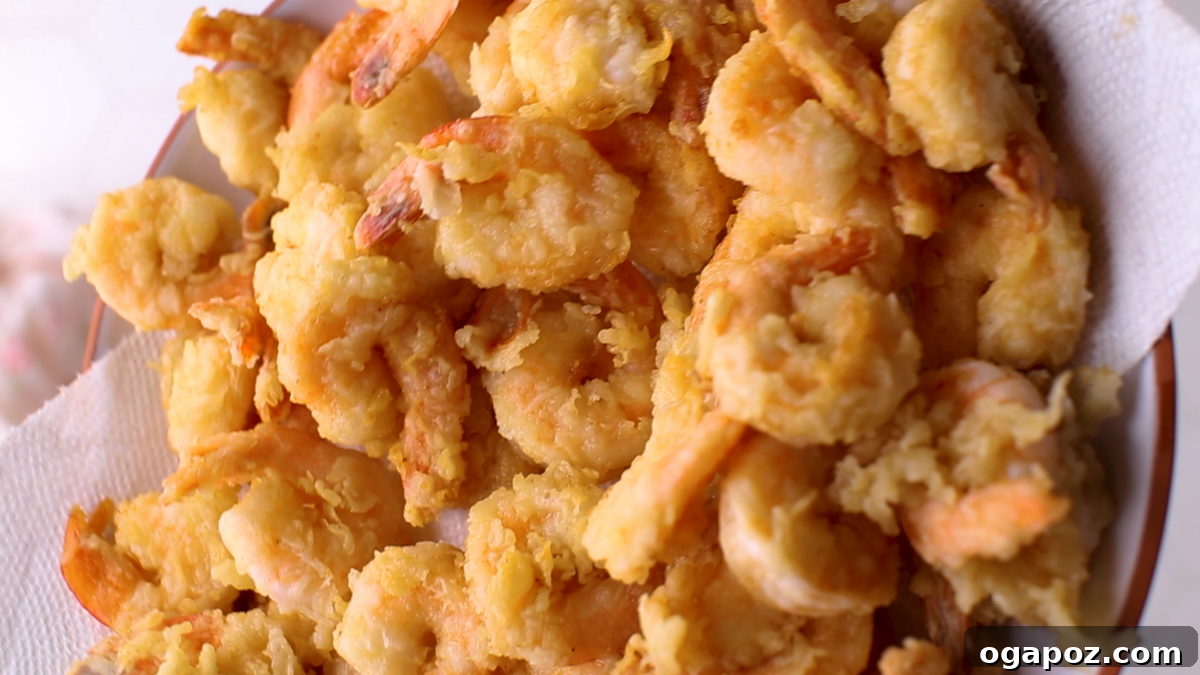
As soon as the shrimp reach that perfect golden crisp, remove them from the hot oil using a slotted spoon or tongs. Transfer them immediately to a plate lined with paper towels or a wire rack set over a baking sheet. This allows any excess oil to drain off, keeping your shrimp delightfully crispy. Serve your freshly fried shrimp without delay, paired with your favorite dipping sauces such as classic cocktail sauce, creamy garlic aioli, zesty spicy mayo, or even a simple squeeze of fresh lemon.
Avoiding Pitfalls: 5 Common Mistakes When Frying Cooked Shrimp
While frying cooked shrimp is relatively simple, a few common errors can prevent you from achieving that coveted crispy perfection. The most critical rule? Do NOT overcook these tender morsels! Beyond that, here’s what to steer clear of when preparing pre-cooked shrimp:
- Not Drying the Shrimp Thoroughly: This is perhaps the most frequent mistake. If the shrimp retain any moisture on their surface, the coating will struggle to adhere properly. The result? A soggy, bland exterior that easily separates from the shrimp. Always pat your shrimp thoroughly dry with paper towels before starting the dredging process. This creates the ideal surface for the flour and egg to stick to.
- Skipping the Seasoning in the Coating: Pre-cooked shrimp, by nature, can sometimes lack a vibrant flavor profile. Relying solely on the shrimp itself for taste is a missed opportunity. Seasoning the flour or breadcrumb mixture is paramount for injecting delicious flavor into every bite. Don’t be shy with your salt, pepper, garlic powder, and paprika!
- Using Incorrect Oil Temperature: The oil’s temperature is a game-changer. If the oil is not hot enough (below 325°F/160°C), the shrimp will absorb too much oil, leading to a greasy, heavy, and unappetizing result. Conversely, if the oil is too hot (above 375°F/190°C), the coating will burn rapidly before it has a chance to crisp up evenly, leaving the inside potentially still soft and the outside charred. Invest in a good kitchen thermometer and aim for a consistent 350°F (175°C).
- Overcrowding the Frying Pan: It’s tempting to try and fry all your shrimp at once, but this will significantly drop the oil’s temperature. A crowded pan leads to uneven cooking, lower oil temperature, and greasy shrimp because they sit in cooler oil for too long. Always fry your shrimp in small batches, giving each piece enough space to cook evenly and get beautifully crispy. Patience here pays off immensely.
- Frying for Too Long: This is the cardinal sin when frying pre-cooked shrimp. Remember, the shrimp is already cooked! The goal is purely to crisp the coating. Frying for more than 1-2 minutes per side will inevitably turn your succulent shrimp tough, chewy, and rubbery. Watch the color of the coating; as soon as it’s golden brown and crispy, it’s time to remove them from the oil. A quick fry is a good fry for cooked shrimp.
Storage and Reheating Tips for Leftover Fried Shrimp
While fried shrimp are best enjoyed immediately for peak crispness, sometimes you have delicious leftovers. Proper storage and reheating can help maintain their quality.
For storage, allow the fried shrimp to cool completely at room temperature before transferring them. Place them in an airtight container, ideally with a paper towel at the bottom and between layers to absorb any excess moisture. This helps prevent them from becoming soggy. Store in the refrigerator for up to 2 days.
For longer storage, you can freeze fried shrimp. Lay the cooled shrimp in a single layer on a baking sheet and freeze until solid (this prevents them from sticking together). Once frozen, transfer them to a freezer-safe bag or airtight container. They can last for up to 2 months in the freezer.
Reheating for Maximum Crispness
Avoid the microwave, as it will make your shrimp soggy. To revive their crispness:
- Oven Method: Preheat your oven or toaster oven to 350°F (175°C). Spread the shrimp in a single layer on a baking sheet. Heat for 8-12 minutes, or until thoroughly warmed through and crispy.
- Air Fryer Method: Preheat your air fryer to 350°F (175°C). Place shrimp in a single layer in the basket (do not overcrowd). Cook for 4-6 minutes, shaking the basket halfway through, until hot and crispy.
- Skillet Method: A quick pan-fry can also work. Heat a small amount of oil in a skillet over medium heat. Add shrimp and cook for 2-3 minutes per side, just until heated and re-crisped.
Creative Ways to Serve Your Crispy Fried Shrimp
Your perfectly crispy fried shrimp are incredibly versatile and can elevate a variety of meals or stand alone as a star appetizer. Here are some fantastic ways to serve them:
- As an Easy Appetizer: Serve them hot with an array of dipping sauces. Classic choices include garlic butter sauce, tangy tartar sauce, vibrant remoulade, or a simple squeeze of fresh lemon and a sprinkle of chopped fresh parsley or chives for brightness.
- Shrimp Tacos: Transform them into delectable street-style tacos. Warm tortillas, crisp shredded cabbage, a drizzle of spicy crema or a squeeze of lime, and your crispy shrimp make for an unforgettable meal.
- Salad Topper: Add a burst of protein and crunch to your favorite salad. They pair exceptionally well with a crisp bed of greens, avocado, cherry tomatoes, and a light dressing like my lemon buttermilk dressing.
- Pasta Perfection: Toss them into a light pasta dish. Imagine fresh linguine with a garlic and olive oil sauce, a hint of chili flakes, and your crispy shrimp, or combine them with some pesto pasta for a rich, flavorful experience.
- Shrimp Po’Boys: Pile them high on a crusty roll with lettuce, tomato, and a generous slather of remoulade for a classic New Orleans sandwich.
- Rice Bowls: Serve them alongside steamed rice, stir-fried vegetables, and a savory sauce for a complete and satisfying meal.
- Cocktail Hour Bites: Arrange them artfully on a platter with small bowls of various dips for an impressive party snack.
Frequently Asked Questions About Frying Cooked Shrimp
Here are answers to some of the most common questions about frying pre-cooked shrimp, ensuring you have all the information you need for success:
Yes, you can, but it’s crucial to thaw them completely first. Once thawed, pat them very dry with paper towels before coating and frying. This ensures that the coating adheres properly and crisps up evenly, preventing a soggy result.
For the ultimate crispy texture, panko breadcrumbs are generally considered superior due to their larger, flakier structure. However, a traditional mix of all-purpose flour and cornstarch also works exceptionally well, especially if you prefer a slightly finer coating.
It largely depends on the flavor profile and cooking temperature you’re aiming for. Butter imparts a rich, nutty flavor but has a lower smoke point and can burn quickly at high temperatures. For high-heat frying, a neutral-flavored oil like vegetable, canola, or peanut oil with a high smoke point is preferable. A common chef’s trick is to use a mix of both oil and butter; the oil handles the high heat while the butter adds a depth of flavor.
It is not recommended to deep-fry shrimp in olive oil, especially extra virgin olive oil, due to its relatively low smoke point and strong flavor profile. The oil can burn and impart an undesirable taste to your shrimp. Stick to neutral, high smoke point oils for best results.
Absolutely! Air frying is a fantastic alternative for a healthier, less oily result. To air fry, lightly spray the coated shrimp with cooking spray, preheat your air fryer to 375°F (190°C), and cook for 5-6 minutes, shaking the basket halfway through, until golden and crispy.
The key to non-oily shrimp is ensuring your oil is at the correct temperature (350°F / 175°C) before adding the shrimp. If the oil is too cool, the shrimp will absorb too much. Also, always drain the shrimp immediately after frying by placing them on a paper towel-lined plate or a wire rack to allow excess oil to drip off.
Yes, for an extra layer of flavor, you can absolutely season the shrimp directly. After patting them dry, lightly toss the shrimp in a small amount of your favorite spice blend (e.g., Old Bay seasoning, a dash of onion powder, or a little extra salt and pepper) before dredging them in flour. This adds a deeper flavor dimension.
Since you are starting with pre-cooked shrimp, you are primarily looking for the coating to be golden brown and crispy, and for the shrimp to be heated through. If you’re ever concerned about the internal temperature of any seafood, according to the USDA, all seafood should reach an internal temperature of 145°F (62.8°C) to be considered safely cooked. However, for pre-cooked shrimp, a quick 1-2 minute fry is sufficient to heat them through without drying them out.
More Delicious Seafood Recipes to Explore
If you’ve enjoyed mastering crispy fried shrimp, you won’t want to miss these other fantastic seafood recipes that are sure to impress:
- My sensational seafood pasta with cream sauce for a luxurious weeknight dinner.
- The perfect DIY shrimp pizza, a unique twist on a classic favorite.
- My crispy potato fishcakes with cod – pair them with a fresh salad for an easy and light summer lunch.
- A hearty and flavorful classic seafood cioppino, packed with oceanic delights.
- Indulgent lobster ravioli with cream sauce – the ultimate special occasion dish; high in calories, and absolutely worth every bite!
Recipe: Crispy Fried Cooked Shrimp
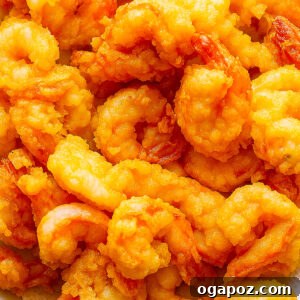
Summary: Elevate pre-cooked shrimp into an irresistible, crispy appetizer or meal component. This recipe, perfected by a food science expert, focuses on achieving a golden, crunchy coating without overcooking the tender shrimp underneath.
- Prep Time:
- 15 minutes
- Cook Time:
- 5 minutes
- Total Time:
- 20 minutes
- Servings:
- 4
- By:
- Jennifer Pallian BSc, RD
Ingredients
- 1 lb cooked shrimp, peeled and deveined (jumbo if possible)
- 1 cup all-purpose flour or cornstarch
- 2 large eggs, beaten
- 1 cup breadcrumbs or panko
- 1 tsp salt
- 1 tsp black pepper
- ½ tsp garlic powder
- ½ tsp paprika
- ¼ tsp cayenne pepper (optional, for heat)
- 1 cup vegetable oil, canola oil, or peanut oil (choose a high smoke point oil)
Instructions
- Prepare the Coating: Set up a dredging station with three separate bowls. In the first bowl, place the flour (or cornstarch). In the second bowl, pour the beaten eggs. In the third bowl, combine the breadcrumbs (or panko) with salt, black pepper, garlic powder, paprika, and cayenne pepper (if using). Mix well.
- Coat the Shrimp: Pat the cooked shrimp thoroughly dry with paper towels to ensure the coating sticks properly. Dredge each shrimp first in the flour, shaking off any excess. Then, dip it into the beaten egg, allowing excess egg to drip away. Finally, coat the shrimp fully in the seasoned breadcrumb mixture, pressing gently to adhere. Place coated shrimp on a clean plate.
- Heat the Oil: Pour the chosen oil into a heavy-bottomed skillet or deep frying pan. Heat the oil over medium-high heat until it reaches 350°F (175°C). Use a kitchen thermometer to verify the temperature for best results.
- Fry the Shrimp: Carefully place the coated shrimp into the hot oil in batches, ensuring not to overcrowd the pan. Fry for about 1-2 minutes per side, or until the coating is golden brown and crispy. Remember, the shrimp are already cooked, so you are only crisping the exterior.
- Drain and Serve: Remove the fried shrimp from the oil with a slotted spoon and transfer them to a plate lined with paper towels or a wire rack to drain any excess oil. Serve immediately with your favorite dipping sauces like cocktail sauce, garlic aioli, or spicy mayo.
Nutrition Information (Approximate)
Nutrition information is automatically calculated and should only be used as an approximation. Per serving (1/4 of recipe):
- Calories: 398 kcal
- Carbohydrates: 46g
- Protein: 25g
- Fat: 12g
- Saturated Fat: 2g
- Polyunsaturated Fat: 5g
- Monounsaturated Fat: 3g
- Trans Fat: 0.1g
- Cholesterol: 225mg
- Sodium: 1456mg
- Potassium: 266mg
- Fiber: 2g
- Sugar: 2g
- Vitamin A: 501IU
- Vitamin C: 0.1mg
- Calcium: 132mg
- Iron: 4mg