
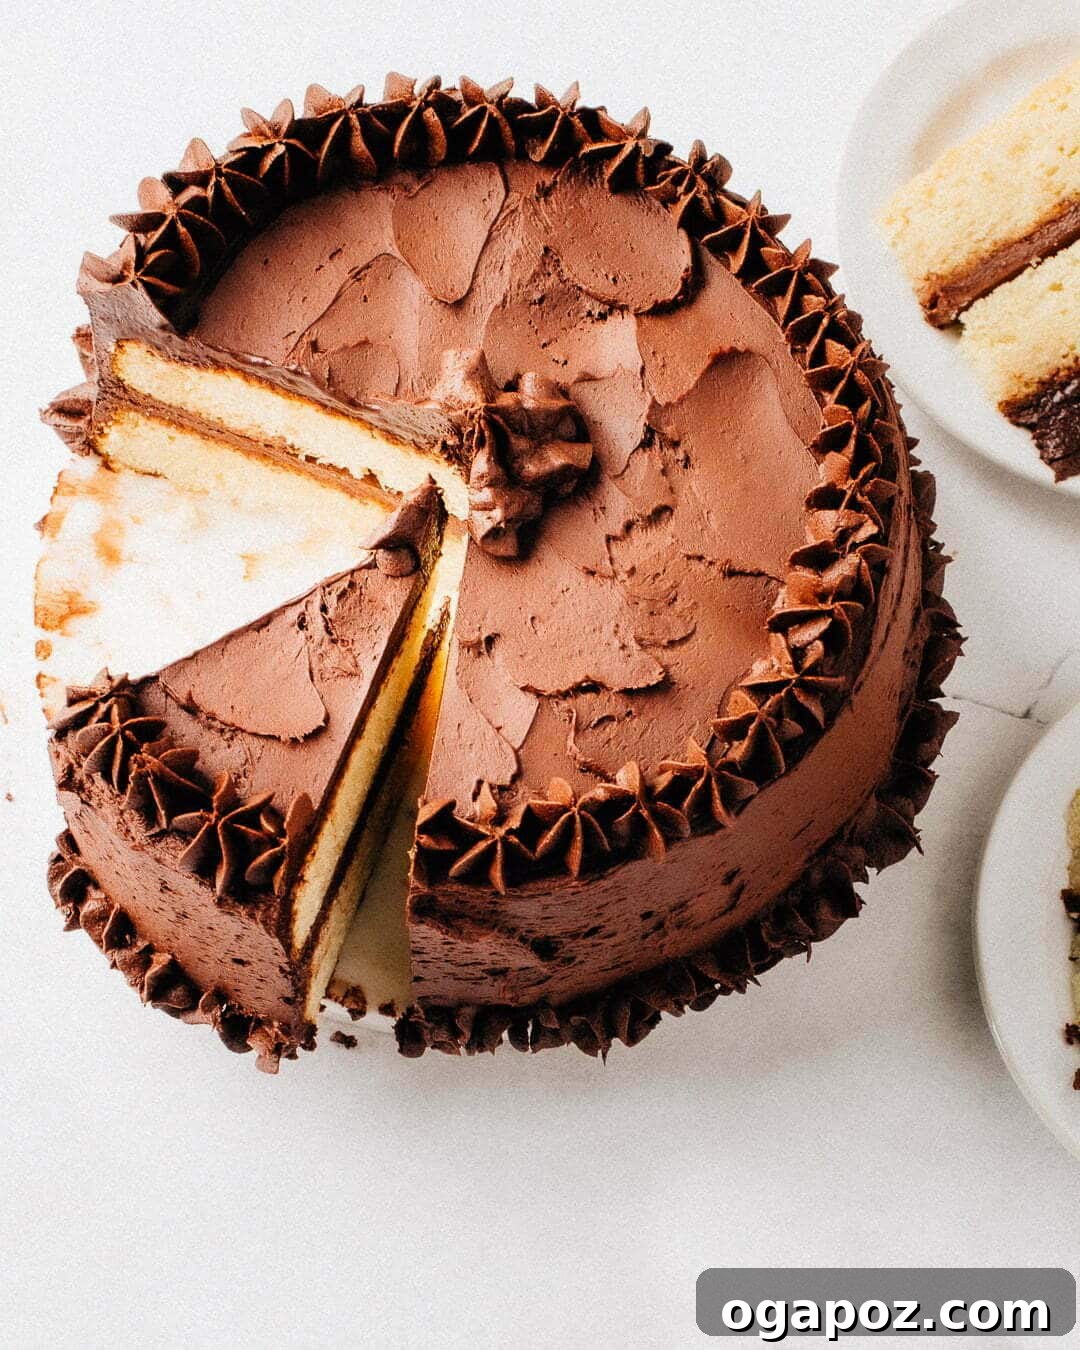
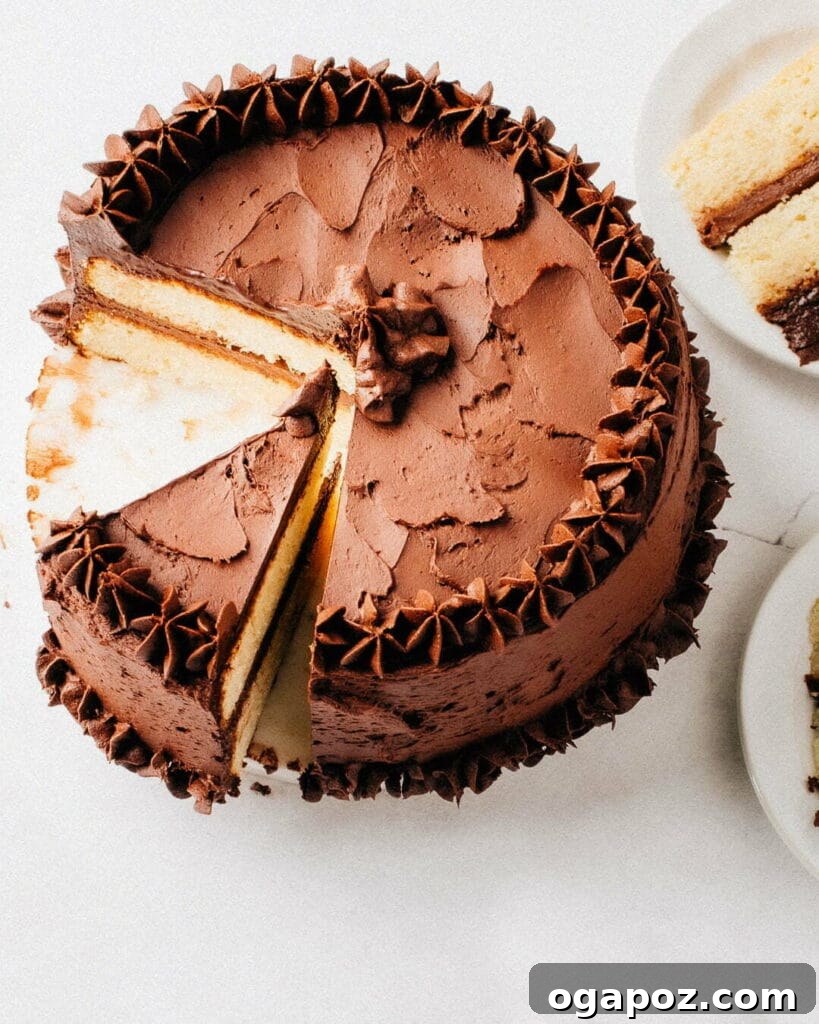
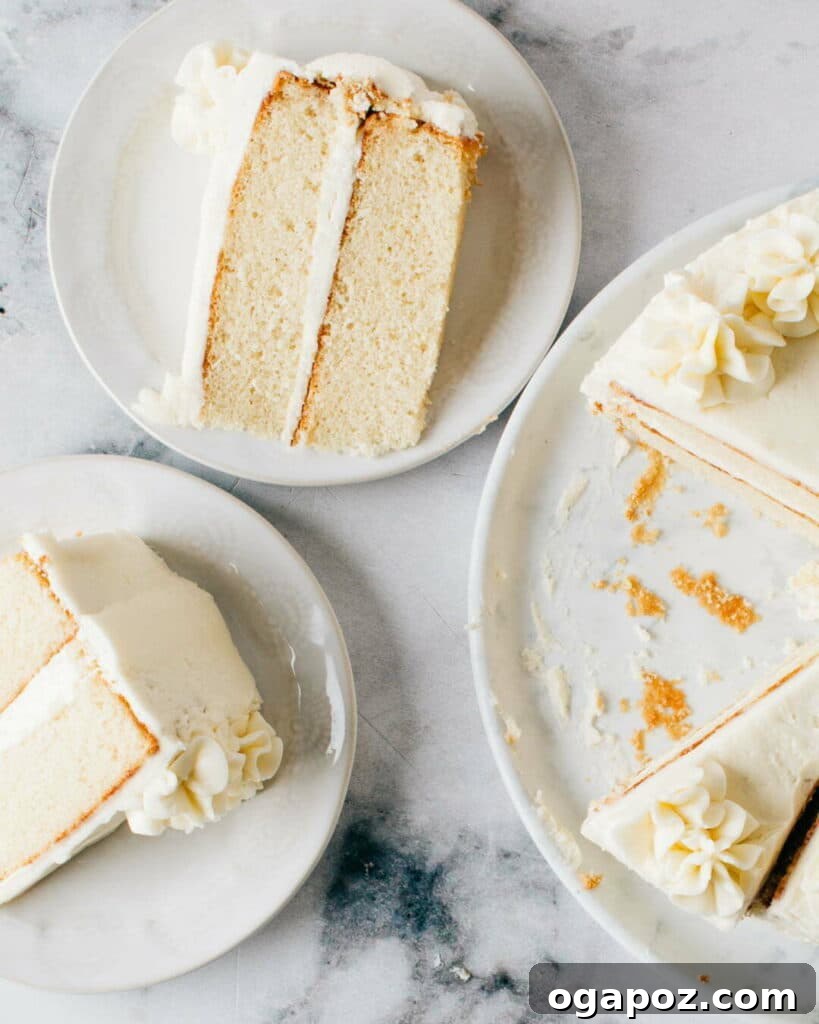
For years, I’ve been on a mission, testing countless recipes to achieve the pinnacle of homemade baking: the **perfect fluffy, moist vanilla cake**. My quest has always been for a cake with a consistently lofty, bouncy rise and an irresistibly velvety, soft, and tender crumb that practically melts in your mouth. Today, I’m thrilled to share with you what I believe is the ultimate vanilla cake recipe, meticulously developed and proven to deliver outstanding results every single time. Whether it’s for a cherished birthday celebration, a festive gathering, or simply a delightful treat, this recipe will make you the hero of any occasion.
The Best Vanilla Cake Recipe: Soft, Moist, and Fluffy Beyond Compare
My culinary journey has been dedicated to perfecting a vanilla cake that ticks all the boxes. Many recipes fall short, often yielding a cake that is either too dense with a coarse crumb, or one that boasts an impressive height but is disappointingly dry. After dozens, and I mean *dozens*, of rigorous tests and countless iterations, I am proud to present this meticulously crafted recipe. It consistently produces perfect cake layers, bursting with a rich, warm vanilla flavor that will leave everyone asking for more.
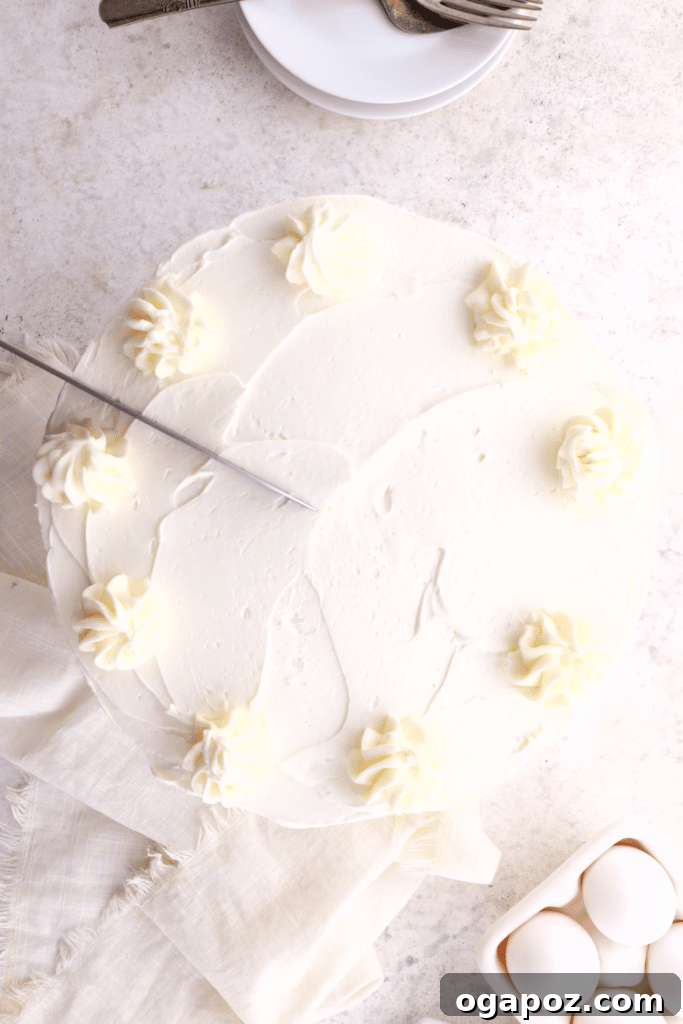
Imagine serving a slice of this heavenly cake, adorned with the fluffiest vanilla buttercream frosting, to your loved ones. This recipe is your secret weapon for creating memorable birthday cakes and earning endless accolades.
Every element of this recipe, from the carefully selected ingredients to the precise baking times, is grounded in sound baking science. Each step has been thoroughly tested and refined to ensure optimal results. My aim is to demystify the art of cake baking, transforming what can sometimes be a daunting task into an enjoyable and consistently successful experience.
The outcome, I sincerely hope you will agree, is a truly foolproof and simple recipe that is destined to become your new gold standard for every vanilla cake occasion. Prepare to impress with a cake that is not only visually stunning but also exquisitely delicious.
Building Blocks of Brilliance: Gathering Your Essential Ingredients
The journey to a magnificent vanilla cake begins with understanding the role of each ingredient. Here’s a closer look at the components that make this recipe shine:
- Cake Flour: The Secret to a Tender Crumb
Using cake flour (or Cake & Pastry flour, commonly found in Canada) is paramount. This specialized flour is significantly lower in gluten-forming proteins compared to all-purpose flour, which is key to achieving a cake with an incredibly fine texture and a luxuriously soft crumb. Furthermore, the unique secondary bleaching process applied to cake flour allows it to absorb more liquid, leading to a higher rise and a taller, more exquisitely fluffy cake. Do not substitute this ingredient lightly!
- TWO Kinds of Fat: The Dynamic Duo of Flavor and Moisture
This recipe ingeniously incorporates two types of fat for a superior result. First, room-temperature unsalted butter is blended into the dry ingredients. This “shortbread method” (which we’ll delve into more deeply below) serves a dual purpose: it infuses the cake with rich, classic butter flavor and, crucially, coats the flour particles, inhibiting excessive gluten formation. This process is essential for that melt-in-your-mouth tender crumb. Secondly, neutral-tasting vegetable oil (such as canola, sunflower, safflower, or grapeseed oil) is added with the liquid ingredients. Unlike butter, oil remains liquid at room temperature, ensuring that the cooled cake maintains an unparalleled softness and moisture, even days after baking.
- Beaten Egg Whites: For That Impressive, Lofty Rise
I know, the thought of beating egg whites might seem like an extra step, but please don’t be deterred! The effort is 100% worth it. Separately beating the egg whites and gently folding them into the batter creates an abundance of air, which is the primary leavening agent responsible for the cake’s beautifully lofty, fluffy rise and its signature moist, velvety crumb. I’ve experimented with every shortcut imaginable, and I can assure you, this step is indispensable for achieving the desired texture.
- Whole Milk and Sour Cream: The Perfect Balance of Richness and Moisture
The combination of whole milk and full-fat sour cream provides an ideal balance of fluffiness and richness. Whole milk contributes to the cake’s structure and moisture, while the sour cream adds a wonderful depth of flavor, a subtle tang, and further enhances the softness and moisture of the crumb. The slight acidity of the sour cream also plays a role in activating the baking soda.
- Both Baking Soda and Baking Powder: A Smart Leavening Strategy
This recipe leverages both baking powder and baking soda to achieve its perfect rise. Baking powder is the primary leavener, providing consistent lift. Baking soda, on the other hand, is included primarily to neutralize the natural tang of the sour cream, resulting in a perfectly subtle, creamy dairy flavor without being overly acidic. The reaction between the acidic sour cream and the alkaline baking soda also contributes to the cake’s rise, but there isn’t enough acid to rely solely on baking soda for leavening, hence the need for both.
- Pure Vanilla Extract: The Heart of the Flavor
Given this is a vanilla cake, the quality of your vanilla extract truly matters. Opt for a pure vanilla extract for the most authentic and robust flavor. It’s the star ingredient that gives the cake its comforting and universally loved taste.
- Granulated Sugar: More Than Just Sweetness
Beyond its sweetening properties, granulated sugar plays a crucial role in the cake’s structure and moisture. It helps to tenderize the crumb and contributes to the beautiful golden-brown crust through caramelization during baking.
- Fine Sea Salt: The Flavor Enhancer
A small amount of fine sea salt is essential to balance and enhance all the other flavors, preventing the cake from tasting bland or overly sweet.
Mastering the Art: 4 Expert Tips for Your Ultimate Moist Vanilla Cake
Beyond the ingredients, technique is key. These expert tips will elevate your baking and guarantee a perfect vanilla cake every single time:
- The GAME-CHANGING Shortbread Method: Unlocking Unrivaled Tenderness.
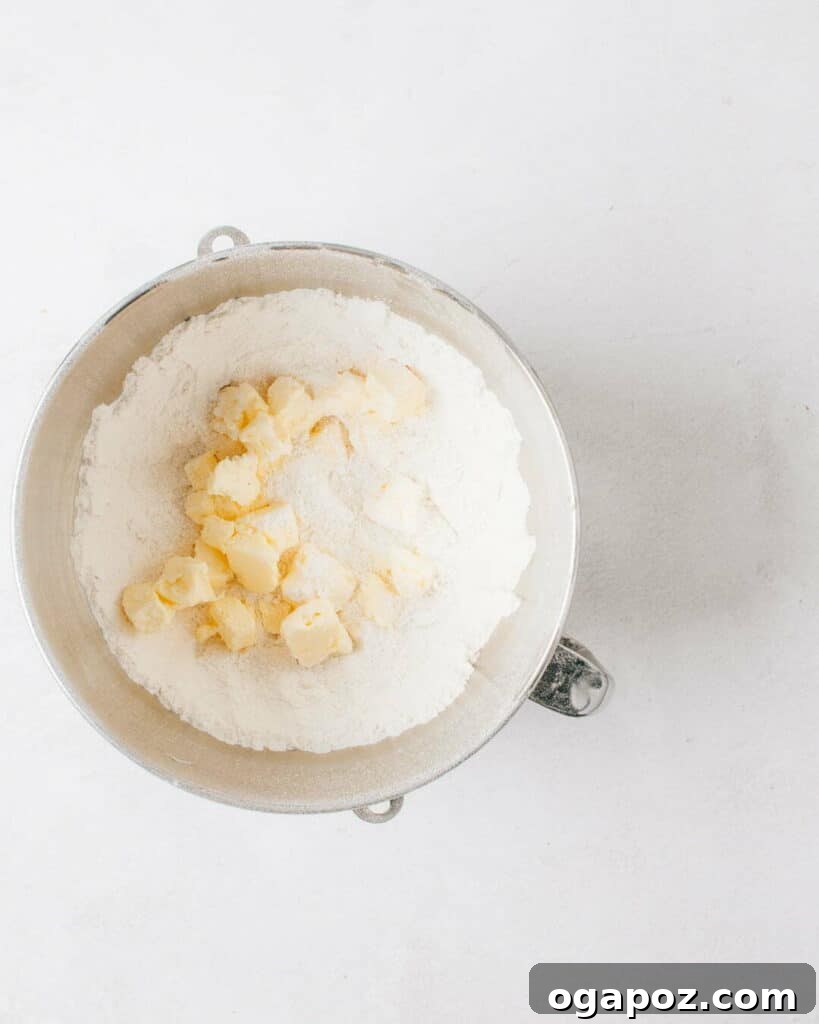
Forget the traditional creaming method where butter and sugar are beaten first. Our recipe begins by **incorporating the softened butter directly into all the dry ingredients**. This unique approach, which I affectionately call the “shortbread method,” works wonders. By blending the flour with butter from the outset, a significant portion of the flour particles becomes coated in fat. This coating acts as a protective barrier, effectively inhibiting the formation of tough gluten strands. The result is an extraordinarily velvety, melt-in-your-mouth crumb unlike any you’ve experienced before. After beating the butter into the flour mixture, it will resemble sandy crumbs rather than a light and airy creamed mixture, which is why it differs from a “reverse creaming” method (as used in my Fluffy, Moist Vanilla Cupcakes recipe). This method focuses purely on tenderness. - Maximize the Volume: The Power of Whipped Egg Whites.
To imbue this moist vanilla cake with its supremely bouncy and fluffy rise, we harness the power of separately whipped egg whites. These light, airy clouds of meringue are gently folded into the batter just before baking. The trapped air bubbles in the egg whites expand in the oven, creating an incredible lift and an airy texture that is simply unmatched. This step is non-negotiable for achieving that signature lofty height and delicate mouthfeel. - WEIGH Your Ingredients: Precision for Predictable Perfection.
In North America, the stubborn adherence to measuring dry ingredients by volume (cups) is, frankly, baffling to me as a baker. The weight of one cup of flour can vary significantly depending on how it’s scooped, compacted, or whether it’s sifted, leading to inconsistent results. This inconsistency is even more pronounced with silky cake flour, which compacts more easily than all-purpose. For the consistent, perfect results you deserve after your effort, weighing your ingredients with a kitchen scale is crucial. If you don’t own one, a simple, inexpensive $10 kitchen scale is an indispensable tool that will revolutionize your baking accuracy. I’ve used the same type for over a decade. - Minimize Beating Once Liquid is Added: Control Gluten Development.
Gluten, which can lead to a tough cake, only begins to form once liquid is introduced to flour, and it strengthens with every stir. While our “shortbread method” provides an amazing failsafe by pre-coating the flour in fat, it’s still wise to be mindful. Once the liquid ingredients are added, beat the batter only on medium speed (never higher) and only until it is just uniform. Don’t strive for a completely smooth batter; it’s perfectly normal for it to look slightly curdled at this stage. Overmixing will develop too much gluten, compromising the cake’s tender texture.
Your Step-by-Step Guide: How to Make the Best Vanilla Cake
Follow these detailed steps to bake your perfect vanilla cake:
- Bring Ingredients to Room Temperature: This is a fundamental step for successful baking. Ensure your eggs, butter, and dairy are all at room temperature. This allows them to emulsify properly, creating a smooth, uniform batter that traps air more effectively and bakes evenly. I often use this quick method to bring all these ingredients to temperature together in one large baking pan.
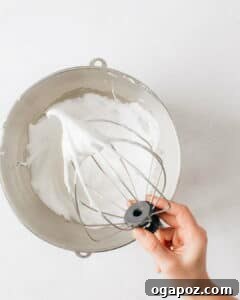
- Whip the Egg Whites: While your oven preheats to 350ºF (175ºC) and you prepare your baking pans, begin whipping the egg whites. Using a stand mixer with a whisk attachment, beat the egg whites on medium-high speed until soft peaks form. Gradually add ¼ cup (50g) of the granulated sugar, then increase the speed to high and continue beating until glossy, stiff peaks are achieved. Carefully scrape the beaten whites into a separate bowl and set aside. Quickly rinse the mixer bowl and attachment (no need for a thorough wash, just clean off any residue) and dry it thoroughly.
- Combine Dry Ingredients: Place your mixer bowl directly onto a kitchen scale. Accurately weigh the remaining granulated sugar, cake flour, baking powder, baking soda, and fine sea salt into the bowl. This method saves time and reduces the number of measuring cups you need to wash. Switch to the paddle attachment and beat the dry ingredients on medium-low speed for one minute. This step effectively replaces sifting, ensuring all dry components are thoroughly aerated and combined.
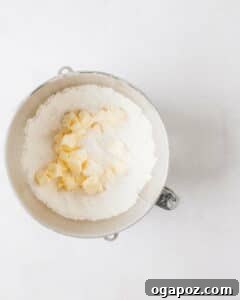
- Incorporate the Butter (Shortbread Method): Add the softened chunks of butter to the dry mixture. Start beating on low speed. The mixture will initially be lumpy, but as the butter breaks down, gradually increase the speed to medium. Continue beating until the butter is evenly incorporated and the mixture transforms into a uniform, fine sandy texture. Be careful not to start at too high a speed, as flour can fly out of the bowl.
- Prepare Liquid Mixture: In a separate bowl, whisk together the egg yolks, whole milk, vegetable oil, sour cream, pure vanilla extract, and optional almond extract until well combined.
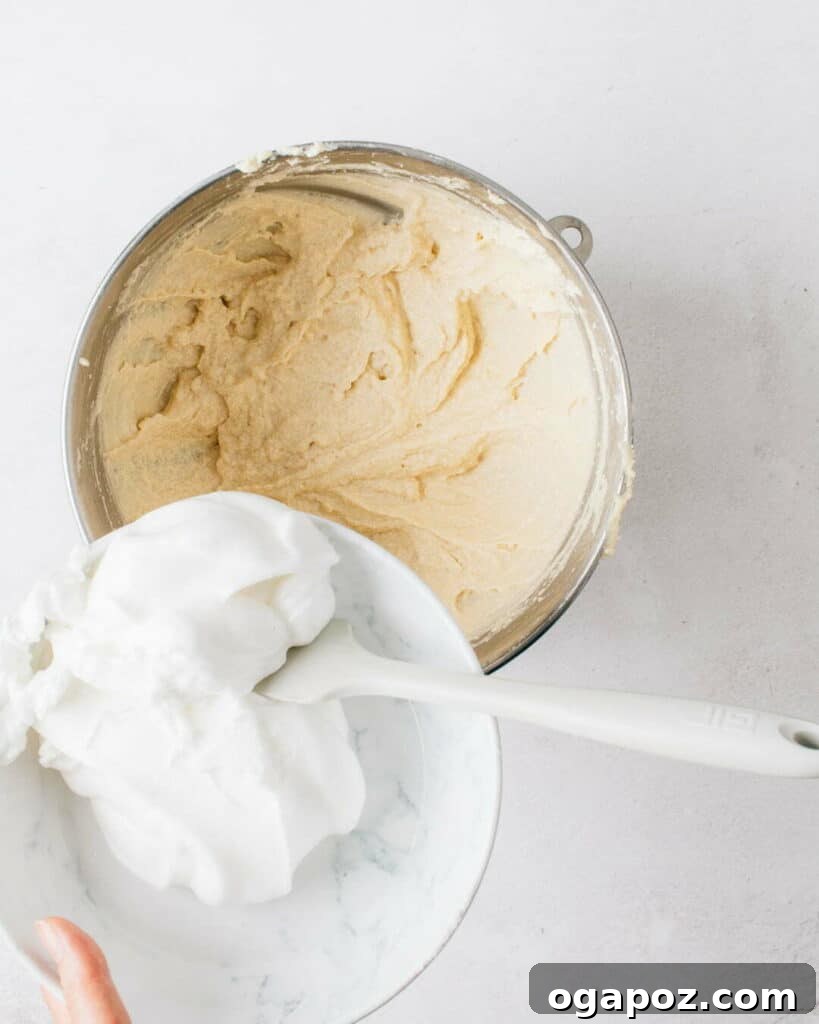
- Add Liquid to Dry Ingredients: Reduce your mixer speed to low. Slowly drizzle in half of the liquid mixture. Beat for a few seconds, then scrape down the sides of the bowl and the paddle attachment. Increase the speed to medium (but no higher) and beat for about 15 seconds until the mixture is smooth. Reduce speed to low again, drizzle in the remaining liquid mixture, then gradually increase to medium until everything is evenly combined. Don’t worry if the batter appears slightly curdled; this is completely normal for this method. Avoid overmixing.
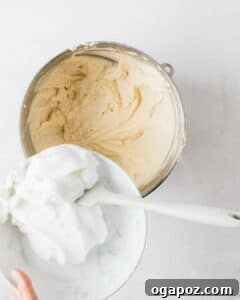
- Fold in Beaten Egg Whites: Remove the bowl from the stand mixer. Using a large rubber spatula, gently fold in about half of the beaten egg whites. Continue folding until they are mostly incorporated but still slightly streaky. This initial fold lightens the batter, making it easier to incorporate the remaining whites without deflating the air. Then, gently fold in the rest of the egg whites until no white streaks remain. Be very gentle to preserve the air you’ve worked so hard to create.
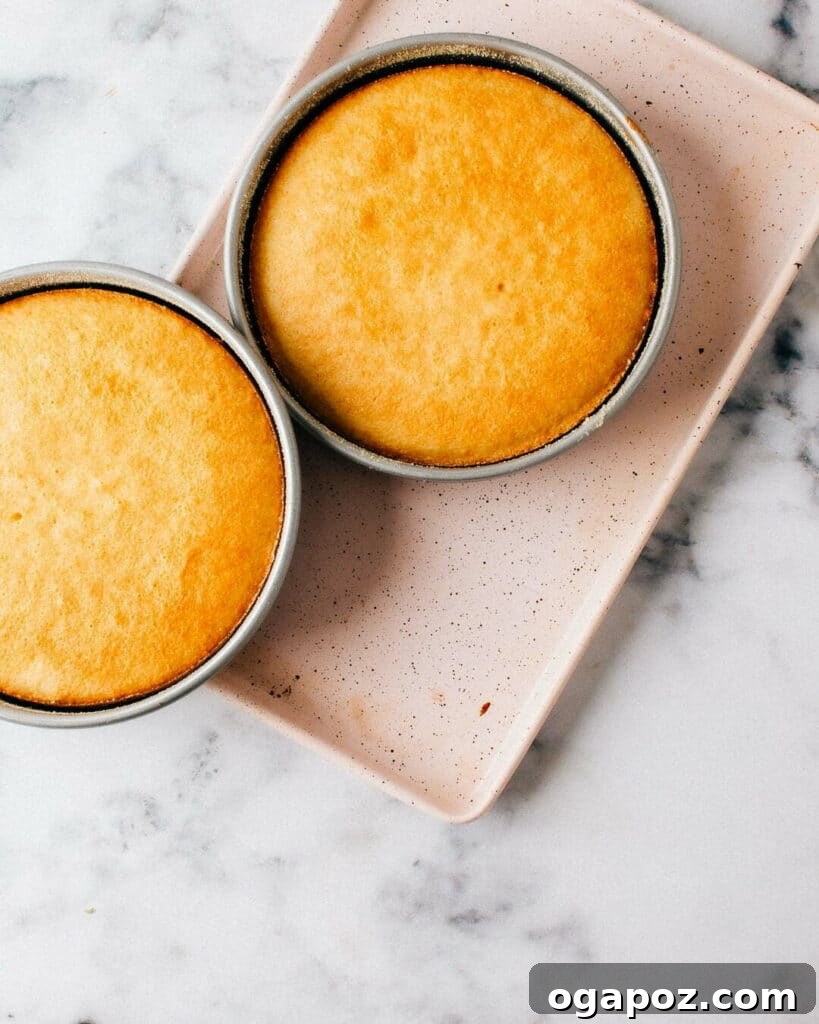
- Prepare Pans and Bake: Divide the batter evenly between two prepared 9×2 inch round cake pans. For consistent baking, I recommend placing the pans back on the scale to ensure they hold the exact same amount of batter. Smooth the tops with your spatula. Bake for approximately 35-45 minutes, swapping the position of the cake pans halfway through baking for even doneness.
The Perfect Finish: Knowing When Your Cake Is Done Baking
Determining the exact moment your vanilla cake is perfectly baked is crucial for ensuring its moistness and fluffy texture. Here’s how to tell:
- The Gentle Press Test: Begin by gently pressing the center of the cake with your finger. If your finger leaves a squishy, deep indentation, the cake needs more time. Close the oven door and wait another 2-3 minutes before checking again.
- The Bouncy Resistance Test: If your finger meets a slight, bouncy resistance when pressed, the cake is likely nearing completion. At this point, it’s time to confirm with a thermometer.
- The Thermometer Method (The Gold Standard): This is the most reliable way to ensure a perfectly baked cake. Insert a cooking thermometer into the very center of the cake. The ideal internal temperature should register 190ºF (88ºC). Do not bake it lower than this, and ideally, not much higher. At 190ºF, the starches in the cake have set, resulting in a perfectly moist and structured cake. If the temperature is lower, return the cake to the oven for another 1-2 minutes. As the temperature rises towards 212ºF (the boiling point), moisture rapidly converts to steam and escapes, leading to a dry cake.
- Visual Cues: The Edges Pulling Away: Regardless of your oven’s browning tendencies, a fully baked cake will typically start to pull away slightly from the edges of the pan. Some ovens brown more evenly than others. For example, my gas oven might not result in as much top browning by the time the cake is done as an electric oven. Focus more on internal temperature and edge separation.
- Why the Toothpick Test Isn’t Always Reliable: While commonly used, the toothpick test can be misleading for moist cakes. You might get moist crumbs even when the cake is perfectly done (it *is* a moist cake, after all!). Conversely, I’ve had instances where a toothpick came out clean even when the cake was still slightly underbaked, simply because the wet batter adhered to the browned crust as the toothpick was removed. Rely on the combination of touch, visual cues, and especially the thermometer.
- VERY IMPORTANT: Accounting for Variables: The baking time suggested in any recipe is always an estimate because numerous factors can influence it:
- Oven Temperature Accuracy: Ovens can vary significantly in their actual temperature compared to the dial setting. An oven thermometer can help calibrate.
- Baking Pan Materials: Different materials (e.g., light metal, dark metal, glass) conduct heat differently, affecting baking speed.
- Opening the Oven Door: Each time you open the oven, the temperature drops, potentially adding several minutes to the baking time.
- Ingredient Temperature: If your ingredients aren’t truly at room temperature, it will increase the baking duration.
- Uneven Batter Distribution: If one pan has more batter than the other, it will naturally take longer to bake.
Using a cooking thermometer consistently is the simplest and most effective way to eliminate stress and guesswork, ensuring perfectly baked cakes every time.
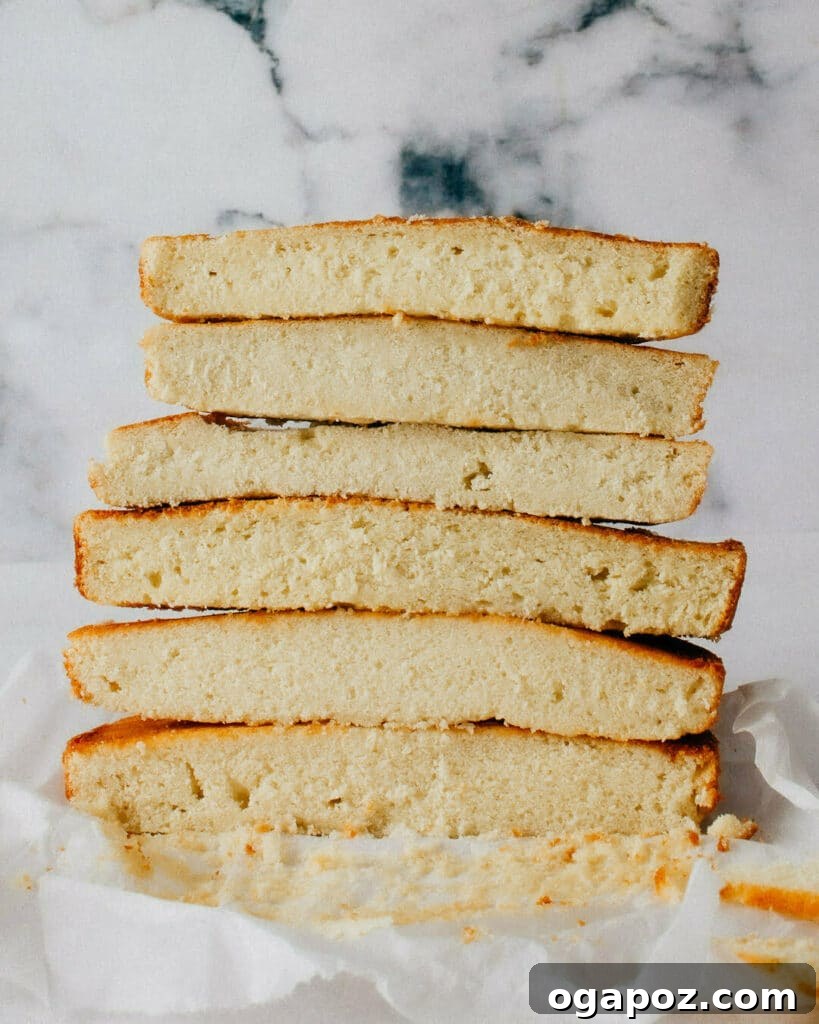
The image above showcases just one week’s worth of rigorous testing. Multiply that by several weeks, and you get an idea of the dedication poured into perfecting this recipe. The clear winner, the fourth cake from the top, exemplifies the ideal balance of moistness and fluffiness. This is the result you can expect!
Cooling, Frosting, and Enjoying Your Masterpiece
Once your vanilla cakes are perfectly baked, the cooling process is just as important as the baking itself:
- Initial Cooling in Pans: Allow the cakes to cool in their pans for about 10 minutes, placed on wire cooling racks. This brief period helps the cake structure set.
- Transfer to Cooling Racks: After 10 minutes, carefully run a thin knife around the edges of each cake to loosen it. Invert the cakes onto parchment-lined cooling racks. Using parchment paper on the racks is crucial to prevent the moist cake from sticking and tearing.
- Cool Completely: It is absolutely vital that the cakes cool completely before you even think about filling or frosting them. Attempting to frost a warm cake will result in melted frosting and a messy disaster. Patience here will be rewarded!
- Leveling (Optional but Recommended): Once completely cool, you might notice that your cake layers have slightly domed tops. For a professional-looking, perfectly level cake, you can use a serrated knife or a cake leveler to carefully trim off the domes.
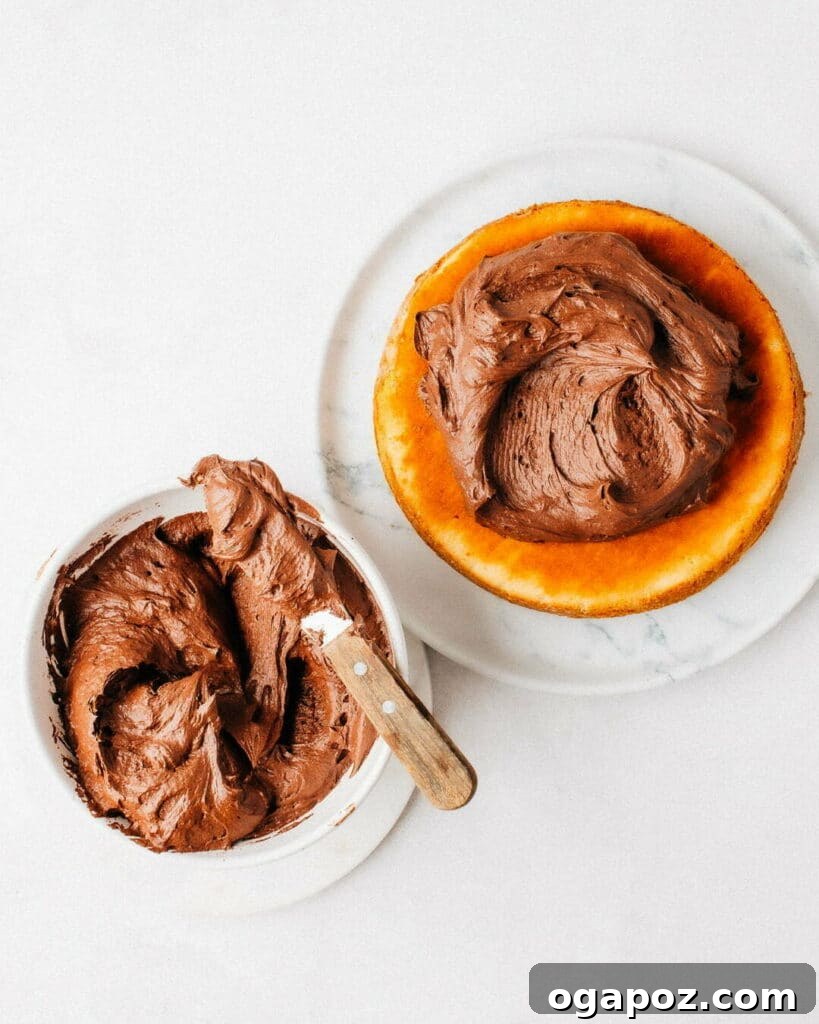
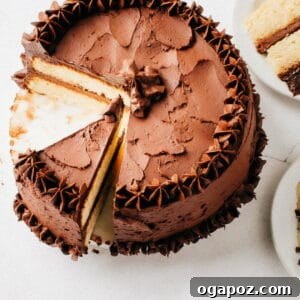
- Frosting Suggestions: This versatile vanilla cake is a blank canvas for your favorite frostings. For a classic pairing, I highly recommend my Easy 5-Minute Fluffy Vanilla Frosting recipe. If you’re a chocolate lover, my go-to Fluffy Chocolate Frosting is an equally delicious choice.
- Storage Tips: Store frosted cake loosely covered at room temperature for up to 2-3 days, or in the refrigerator for up to 5 days. Unfrosted cake layers can be wrapped tightly in plastic wrap and stored at room temperature for a day or two, or frozen for up to 2 months. Thaw frozen layers in the refrigerator before frosting.
Your Go-To Vanilla Cake Recipe Card
The Ultimate Fluffy and Moist Vanilla Cake
Ingredients
- 4 large eggs separated, room temperature
- 455 g granulated sugar (16 oz or 2 1/3 cups divided use)
- 397 g cake flour (14 oz or 3 1/3 cups well-fluffed or sifted flour, lightly spooned into a cup and levelled off)
- 2 ¼ tsp baking powder
- ¼ tsp baking soda
- 1 tsp fine sea salt
- 226 g unsalted butter, softened (16 tbsp/8 oz or 1 cup)
- 1 ½ cups whole milk room temperature
- ½ cup vegetable oil (Canola, sunflower, safflower or grapeseed – any oil as long as it’s neutral tasting)
- 6 tbsp sour cream (85 g) room temperature
- 2 tsp pure vanilla extract
- ⅛ tsp almond extract OPTIONAL
Instructions
For Cake:
-
Preheat oven to 350ºF (175ºC). Position oven rack in the middle for a large oven, or use top and bottom third positions if oven is too small to comfortably fit two 9″ pans without touching sides or each other. Grease and flour two 9×2″ round cake pans and line bottoms with circles of parchment paper. Set aside.
-
Place egg whites in a stand mixer with the whisk attachment and beat on medium-high speed until soft peaks form. Gradually pour in 1/4 cup (50 g) of the granulated sugar, then increase speed to high and continue beating until glossy, stiff peaks form. Scrape the beaten whites into a bowl and set aside. Quickly rinse the mixer bowl and whisk attachment, then dry thoroughly.

-
Measure the remaining granulated sugar, cake flour, baking powder, baking soda, and salt directly into the mixer bowl (using a kitchen scale for accuracy). Switch to the paddle attachment and beat the dry ingredients on medium-low speed for 1 minute to aerate and thoroughly combine.
-
Add the softened butter chunks to the dry mixture. Beat, starting on low speed until the butter is no longer in large lumps and the mixture resembles even small crumbs. You can gradually increase mixer speed as the butter chunks break down; avoid high speed initially to prevent flour from flying.
-
Meanwhile, whisk together the egg yolks, whole milk, vegetable oil, sour cream, pure vanilla extract, and optional almond extract in a separate bowl.
-
Reduce mixer speed to low and slowly drizzle in half of the milk mixture. Scrape down the sides of the bowl and the paddle attachment after a few seconds, then beat on medium speed (no higher) until smooth, about 15 seconds. Reduce speed to low and drizzle in the remaining milk mixture, then gradually increase speed to medium until evenly combined. The batter may look slightly curdled, not perfectly smooth, which is normal for this method.
-
Remove the bowl from the stand mixer. Using a large rubber spatula, gently fold half of the beaten egg whites into the batter until mostly incorporated but still slightly streaky. This initial fold helps lighten the batter. Then, gently fold in the remaining egg whites until no white streaks remain, being careful not to deflate the air.
-
Divide the batter evenly between the two prepared baking pans. For best consistency, weigh the pans to ensure they contain the same amount of batter. Smooth the tops with a spatula.
-
Bake cakes for approximately 35-45 minutes, swapping the position of cake pans halfway through baking. The cake is done when an internal temperature in the center of the cake registers 190ºF (88ºC) with a cooking thermometer.
**NOTE: See further doneness-testing details in the blog post above. Baking time is provided as a wide-range estimate because ovens vary in temperature accuracy, baking pans differ in heat conduction, opening the oven door can extend baking time, and if your ingredients are not at true room temperature, this also adds to baking time. Additionally, if one pan has more batter than the other, it will take longer. In my tests, cakes typically took 34-36 minutes, but some readers have reported needing the full 45 minutes. Always use a thermometer for precise accuracy.
-
Let the cakes cool for 10 minutes in their pans, placed on cooling racks. Then, run a knife around the cake edges and carefully flip them onto parchment-lined cooling racks (use parchment to prevent the moist cake from sticking). Cool completely before filling and frosting.
Notes
For frosting, here’s my favorite Easy 5-Minute Fluffy Vanilla Frosting recipe or my go-to Fluffy Chocolate Frosting.
Nutrition
Nutrition information is automatically calculated, so should only be used as an approximation.