
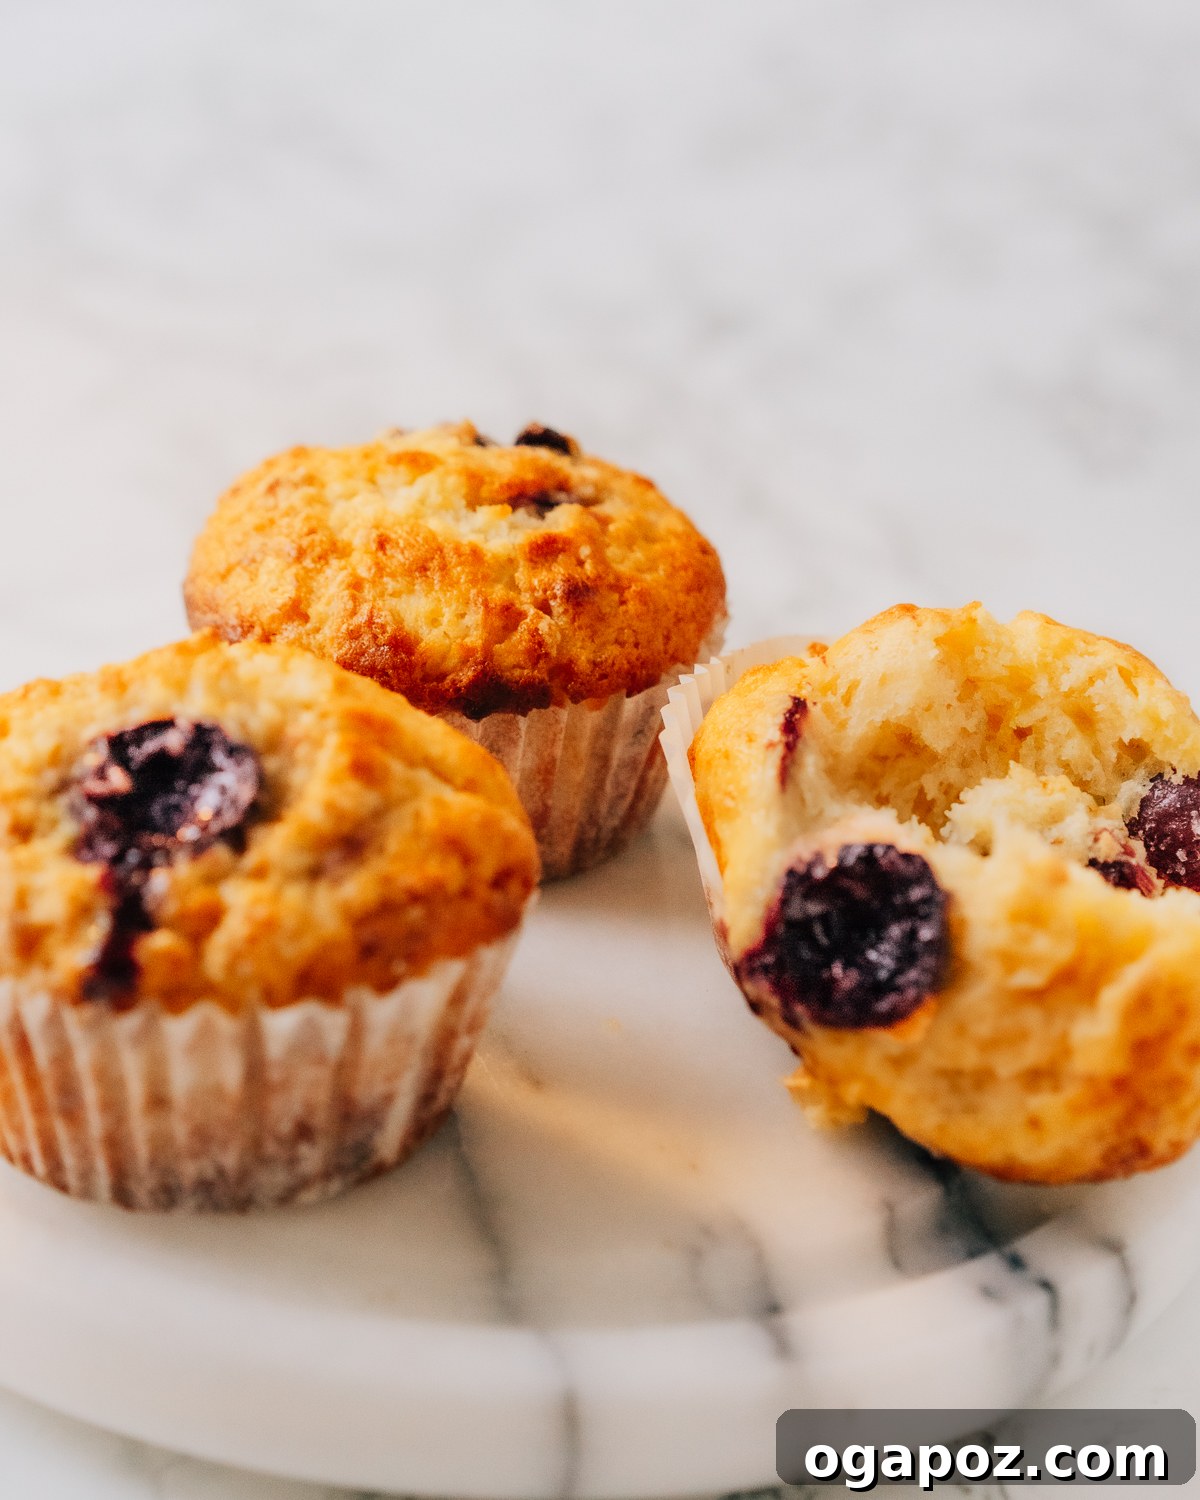
Fluffy Cherry Muffins: Your Go-To Recipe for Sweet & Tart Perfection
Welcome to the ultimate guide for baking irresistibly fluffy and tender Cherry Muffins! Bursting with juicy cherries, whether fresh from the orchard or straight from your freezer, this recipe promises a delightful treat every time. If you’re a fan of a little tangy kick, you’ll be thrilled to know these also make phenomenal Sour Cherry Muffins, perfectly balancing sweetness with a vibrant tartness. Get ready to bake a batch of homemade goodness that’s surprisingly easy and utterly delicious, ideal for breakfast, a snack, or dessert!
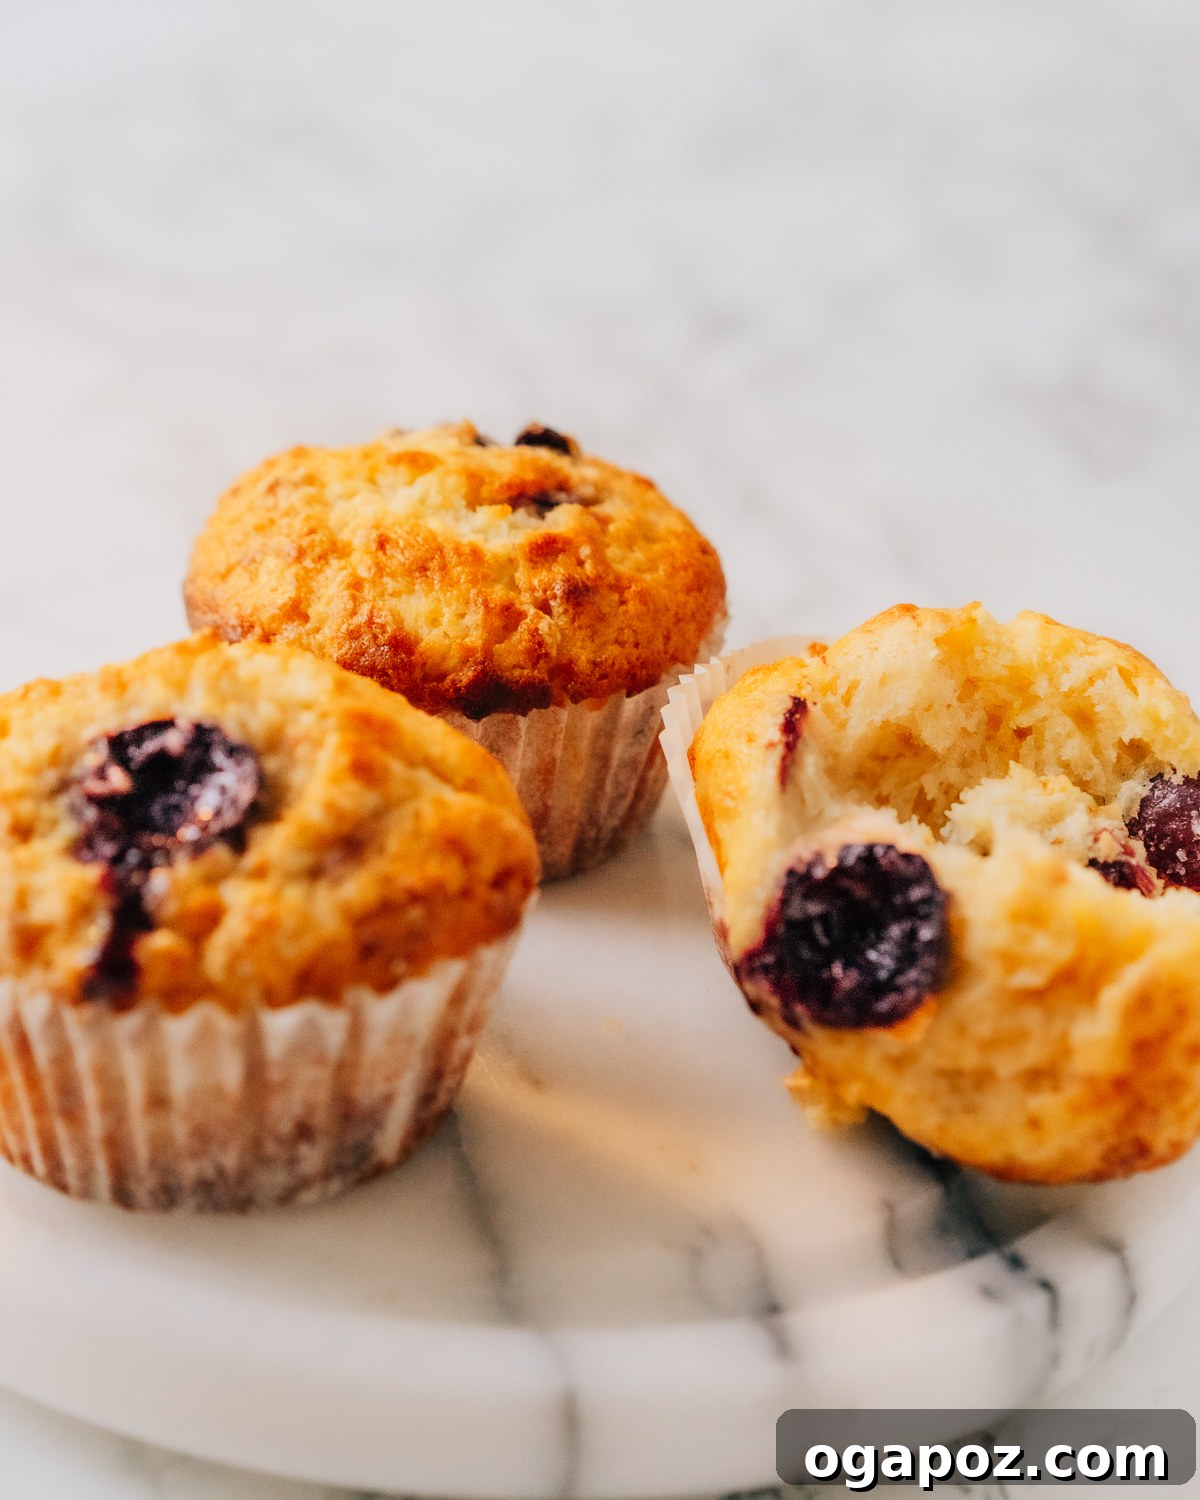
Essential Ingredients for Your Perfect Cherry Muffins
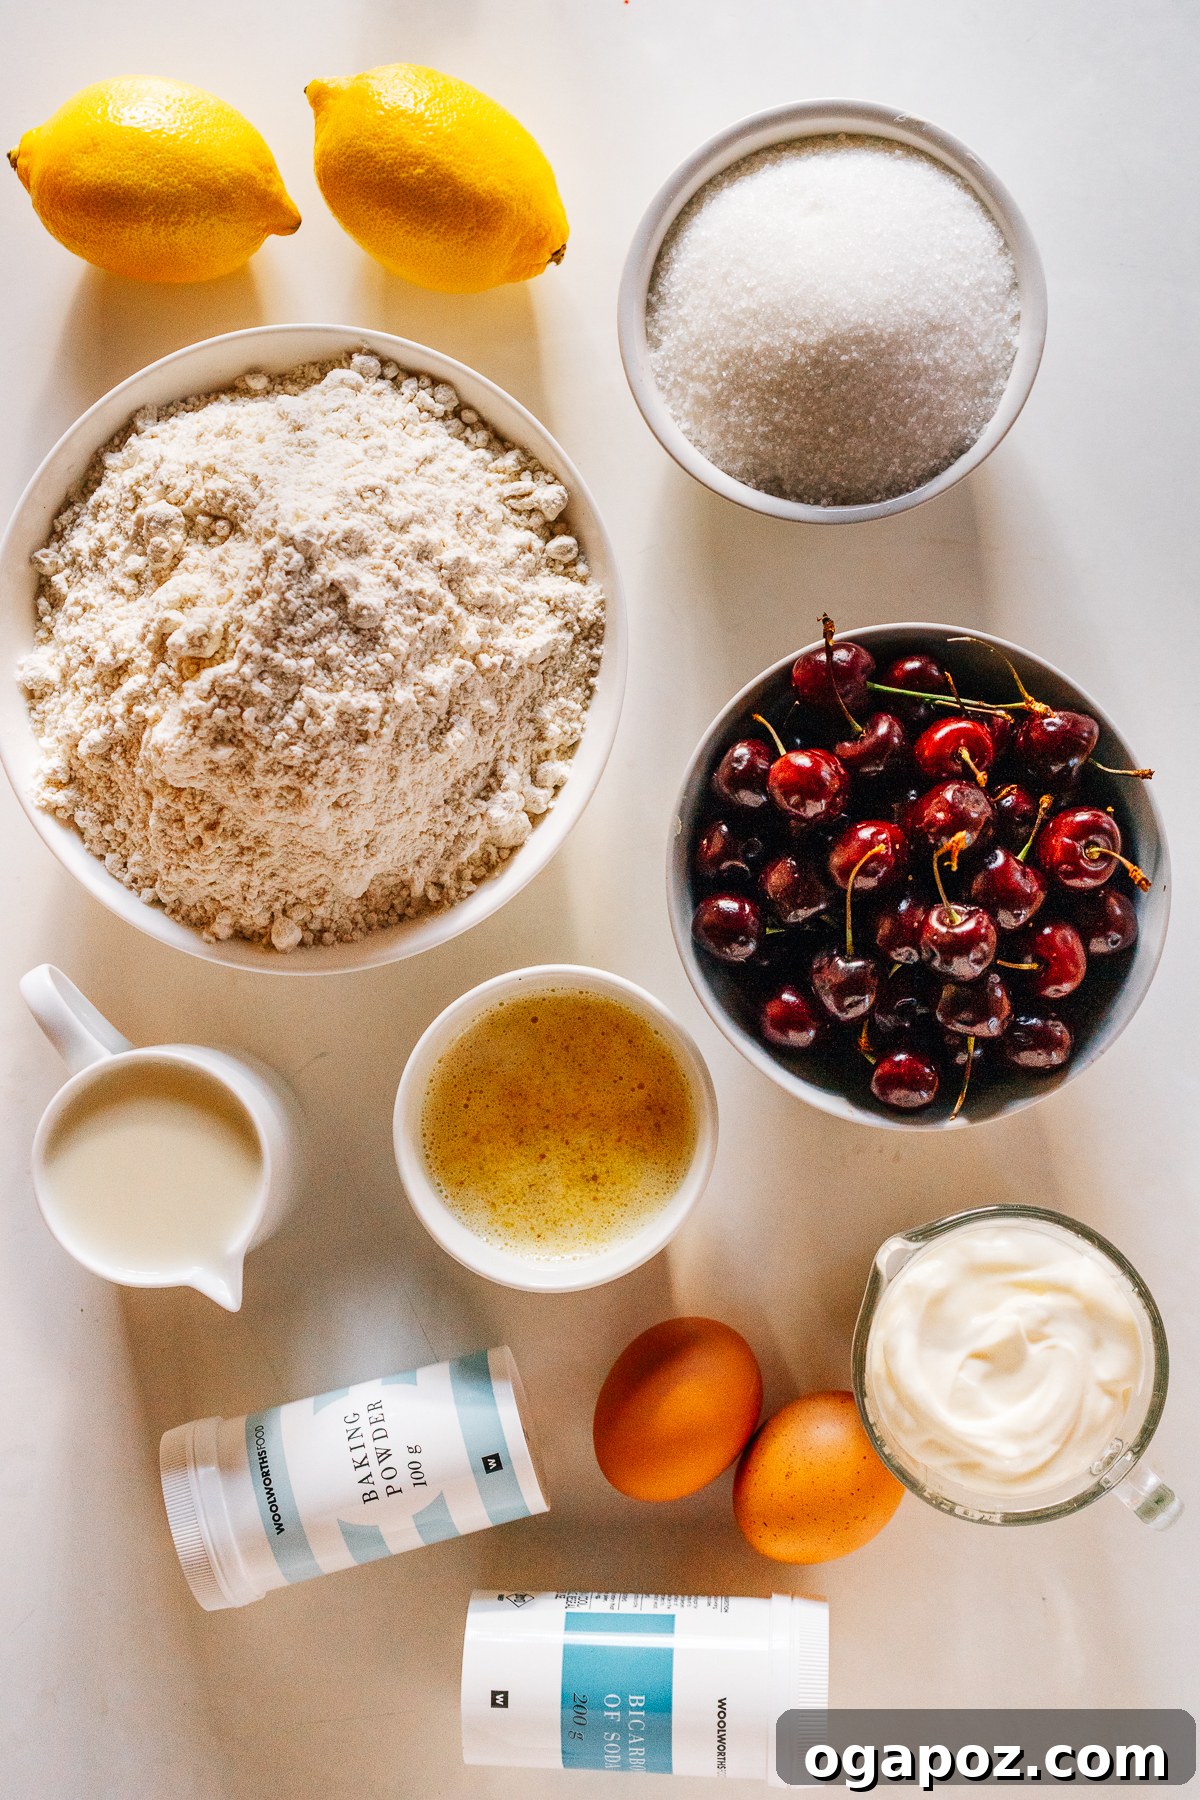
Crafting these delectable cherry muffins requires a handful of common baking essentials. Each ingredient plays a vital role in achieving that perfect fluffy texture, balanced flavor, and golden-brown finish. Understanding their purpose will not only help you succeed with this recipe but also improve your general baking intuition. Here’s a closer look at what you’ll need and why:
- All-purpose flour: The structural backbone of our muffins, providing the necessary body and crumb. For the lightest, most tender crumb, it’s crucial to measure your flour accurately. The best method is to spoon the flour into your measuring cup and then level it off with a straight edge (like a knife). This prevents compaction, which can lead to dense, heavy muffins that lack that desirable airy quality. Using too much flour is a very common pitfall in baking, so take your time with this essential step.
- Granulated sugar: More than just a sweetener, sugar contributes significantly to the muffins’ tenderness by tenderizing the gluten in the flour. It also aids in moisture retention, keeping your muffins fresh longer, and helps create that desirable golden-brown crust during baking. It works in harmony with the sour elements (cherries, sour cream, lemon) to create a beautifully balanced and complex flavor profile that isn’t overly sweet.
- Baking soda and baking powder: This powerful duo acts as our primary leavening agents, responsible for the muffins’ impressive rise and airy, soft texture. Baking soda, an alkaline ingredient, reacts with acidic components (like sour cream and lemon juice) to produce carbon dioxide gas. Baking powder, a complete leavener, contains both an acid and a base, providing an initial lift when wet and a second lift when heated in the oven. Ensuring both are fresh is vital for optimal performance and fluffy results every time.
- Salt: Often overlooked, a pinch of salt is absolutely essential in baking. It’s not just for savory dishes; salt plays a critical role in enhancing all the other flavors in the muffins. It makes the natural sweetness of the sugar more prominent, brightens the fruitiness of the cherries, and balances the tartness, preventing the muffins from tasting flat or one-dimensional.
- Melted butter: Butter lends an unparalleled richness and depth of flavor that a neutral oil simply cannot replicate. Its fat content also contributes to the muffins’ moistness and tender crumb. Melting the butter allows for easy, even incorporation into the batter, ensuring consistent texture throughout. It’s crucial, however, to let the melted butter cool slightly before mixing with other wet ingredients, especially eggs, to avoid them curdling or scrambling prematurely.
- Sour cream: This “secret ingredient” is the key to achieving ultra-tender, incredibly moist muffins with a delicate, fine crumb. Its acidity reacts beautifully with the baking soda, contributing to an excellent rise, while its fat content keeps the muffins from drying out. Furthermore, sour cream introduces a subtle, sophisticated tang that perfectly complements both the sweetness of the sugar and the vibrant tartness of the cherries and lemon. This is what truly elevates these from merely good to truly great muffins.
- Milk: Whole milk is highly recommended for this recipe due to its higher fat content, which adds to the overall richness, flavor, and tender quality of the muffins. However, if you’re looking for a slightly lighter option or have dietary preferences, low-fat milk, or even a non-dairy alternative, will also work without significantly compromising the muffins’ structure, though the flavor might be marginally less rich.
- Eggs: Eggs serve multiple crucial functions in baking. They act as a strong binder, holding all the ingredients together to create a cohesive structure. They also contribute significant richness, moisture, and help with the overall leavening process, resulting in a more open and appealing crumb. For the best results in terms of emulsification and rise, it’s generally recommended to use large eggs at room temperature.
- Lemon zest: This is where a vibrant burst of aromatic citrus flavor comes from. The zest (the colorful outer layer of the lemon peel) contains concentrated essential oils that provide a much more intense and fragrant lemon flavor than juice alone. This bright, fresh element pairs exquisitely with the cherries, enhancing their fruitiness. Always be sure to zest only the bright yellow outer layer, carefully avoiding the bitter white pith underneath.
- Lemon juice: Freshly squeezed lemon juice adds a wonderful, natural tartness that beautifully brightens the entire flavor profile of the muffins, cutting through the sweetness and enhancing the fruit. More importantly, its acidity is crucial for activating the baking soda, contributing significantly to the muffins’ light and airy texture and ensuring a proper rise. Freshly squeezed juice offers the best, most authentic flavor compared to bottled alternatives.
- Fresh or Frozen Cherries: The undisputed star of the show! You have the flexibility to use either fresh sweet cherries for a milder, more universally appealing muffin, or tart sour cherries for a more sophisticated, tangy treat. Both yield fantastic results, though the flavor profile will differ slightly. If using fresh cherries, remember the important step of pitting them thoroughly. For frozen cherries, there’s no need to thaw them beforehand – simply add them straight into the batter. This prevents excess moisture from being released into the batter, which could make the muffins soggy. I personally adore these as Sour Cherry Muffins, as they perfectly celebrate the short but delightful sour cherry season!
Exact ingredient quantities and detailed measurements can be found in the comprehensive recipe card conveniently located at the bottom of this article, ensuring you have everything you need for baking success.
Customizing Your Cherry Muffins: Substitutions and Creative Variations
One of the true joys of home baking is the freedom to personalize recipes, adapting them to your taste preferences, dietary needs, or simply what you have on hand. This cherry muffin recipe is incredibly versatile, allowing for several easy substitutions and exciting creative variations. Don’t hesitate to experiment and make these muffins uniquely yours!
- Sour cream alternatives: If sour cream isn’t readily available, you can confidently substitute plain full-fat yogurt, such as Greek yogurt, for a remarkably similar rich texture and tangy flavor. Just ensure that whatever yogurt you choose is plain and unsweetened to maintain the intended flavor balance of the muffins. I’ve successfully used yogurt in many other baking endeavors, including my popular healthy rhubarb muffins, proving it’s a fantastic alternative that can even add a touch of healthiness without compromising on deliciousness.
- Milk options: While whole milk offers the richest flavor and contributes to a wonderfully tender crumb, nearly any dairy or non-dairy milk will work effectively in this recipe. Almond milk, oat milk, or soy milk are all excellent plant-based alternatives. The crucial point is to ensure they are unsweetened to preserve the carefully balanced sweetness of the muffins.
- Butter substitutes: For those preferring not to use butter, a neutral-flavored oil such as canola oil, vegetable oil, or a light olive oil can be used as a direct replacement. Keep in mind that while oil will provide ample moisture, the muffins will have a slightly different flavor profile and perhaps a less rich, nuanced mouthfeel compared to those made with butter.
- Exciting add-ins: Elevate your cherry muffins with a variety of delightful additions for extra texture and flavor dimension. Fold in a generous handful of white chocolate chips for an added layer of sweetness that pairs beautifully with the cherries, or incorporate chopped nuts like almonds, pecans, or pistachios for a satisfying crunch and nutty depth. A sprinkle of shredded coconut can introduce a pleasant tropical twist. For a truly indulgent, bakery-style muffin, consider adding a simple cinnamon-sugar topping or a buttery streusel crumble over the tops before baking – these additions can transform your muffins into an even more decadent and appealing treat.
- Making them gluten-free: Adapting this recipe for a gluten-free diet is straightforward and achievable. Simply replace the all-purpose flour with a high-quality, reputable gluten-free all-purpose flour blend. It’s important to always check the specific instructions on your chosen gluten-free flour mix, as some blends are designed for a 1:1 substitution for regular flour, while others may require minor adjustments to the liquid content or other ingredients to achieve optimal results.
If you enjoy experimenting with fruit-filled baked goods and love the satisfaction of homemade treats, you’ll also love exploring my other delightful muffin recipes, including lemon blueberry muffins with sour cream, light and fluffy apricot muffins, wholesome blueberry bran muffins, and the delightful combination of raspberry rhubarb muffins. Each offers a unique and satisfying flavor experience!
Essential Baking Tools for Your Cherry Muffin Adventure
Having the right tools at your fingertips is half the battle won in baking. Proper preparation makes the process smoother, more efficient, and ultimately, more enjoyable, leading to perfectly baked muffins every time. Here’s a checklist of the essential equipment you’ll need to grab before you start mixing:
- Two mixing bowls: Essential for keeping your dry and wet ingredients separate until just the right moment for combining. This critical step helps prevent overmixing and ensures a perfectly aerated, tender batter. A large bowl for dry ingredients and a medium one for wet will suffice.
- Whisk: A good whisk is indispensable for thoroughly combining dry ingredients, ensuring all leavening agents and salt are evenly distributed. It’s also perfect for smoothly blending the wet ingredients, guaranteeing no lumps and uniform consistency.
- Spatula: A flexible rubber or silicone spatula is your best friend for gently folding the wet and dry ingredients together. Its soft edge is ideal for incorporating the cherries without crushing them and for scraping down the sides of the bowl to ensure all ingredients are well combined without overworking the batter.
- Standard 12-cup muffin tin: This recipe yields a generous batch of delicious muffins, meaning you’ll ideally need two standard 12-cup muffin tins. If you only have one, simply plan to bake in two batches.
- Paper liners or non-stick spray: For the easiest cleanup and perfectly presented muffins that effortlessly pop out of the tin, paper liners are highly recommended. Alternatively, you can lightly grease each cup of your muffin tin thoroughly with butter or a good quality non-stick baking spray, ensuring every nook and cranny is coated to prevent any sticking.
- Cookie scoop or large spoon: To ensure all your muffins are uniform in size and bake evenly, a large cookie scoop (about ¼ cup capacity) or a standard large spoon is invaluable. It allows for quick, clean, and consistent portioning of the batter into each muffin cup, guaranteeing beautiful, evenly sized muffins.
- Wire rack: Essential for cooling your muffins properly. Allowing muffins to cool on a wire rack ensures air circulation all around them, preventing the bottoms from becoming soggy and promoting an even cooling process.
Baking Cherry Muffins: A Simple Step-by-Step Guide for Perfect Results
Get ready to create bakery-worthy muffins right in your own kitchen! This easy, no-machine recipe emphasizes gentle handling and precise steps to ensure fluffy, flavorful results every single time. By following these simple instructions, you’ll be enjoying warm, homemade cherry muffins in no time. Let’s bake!
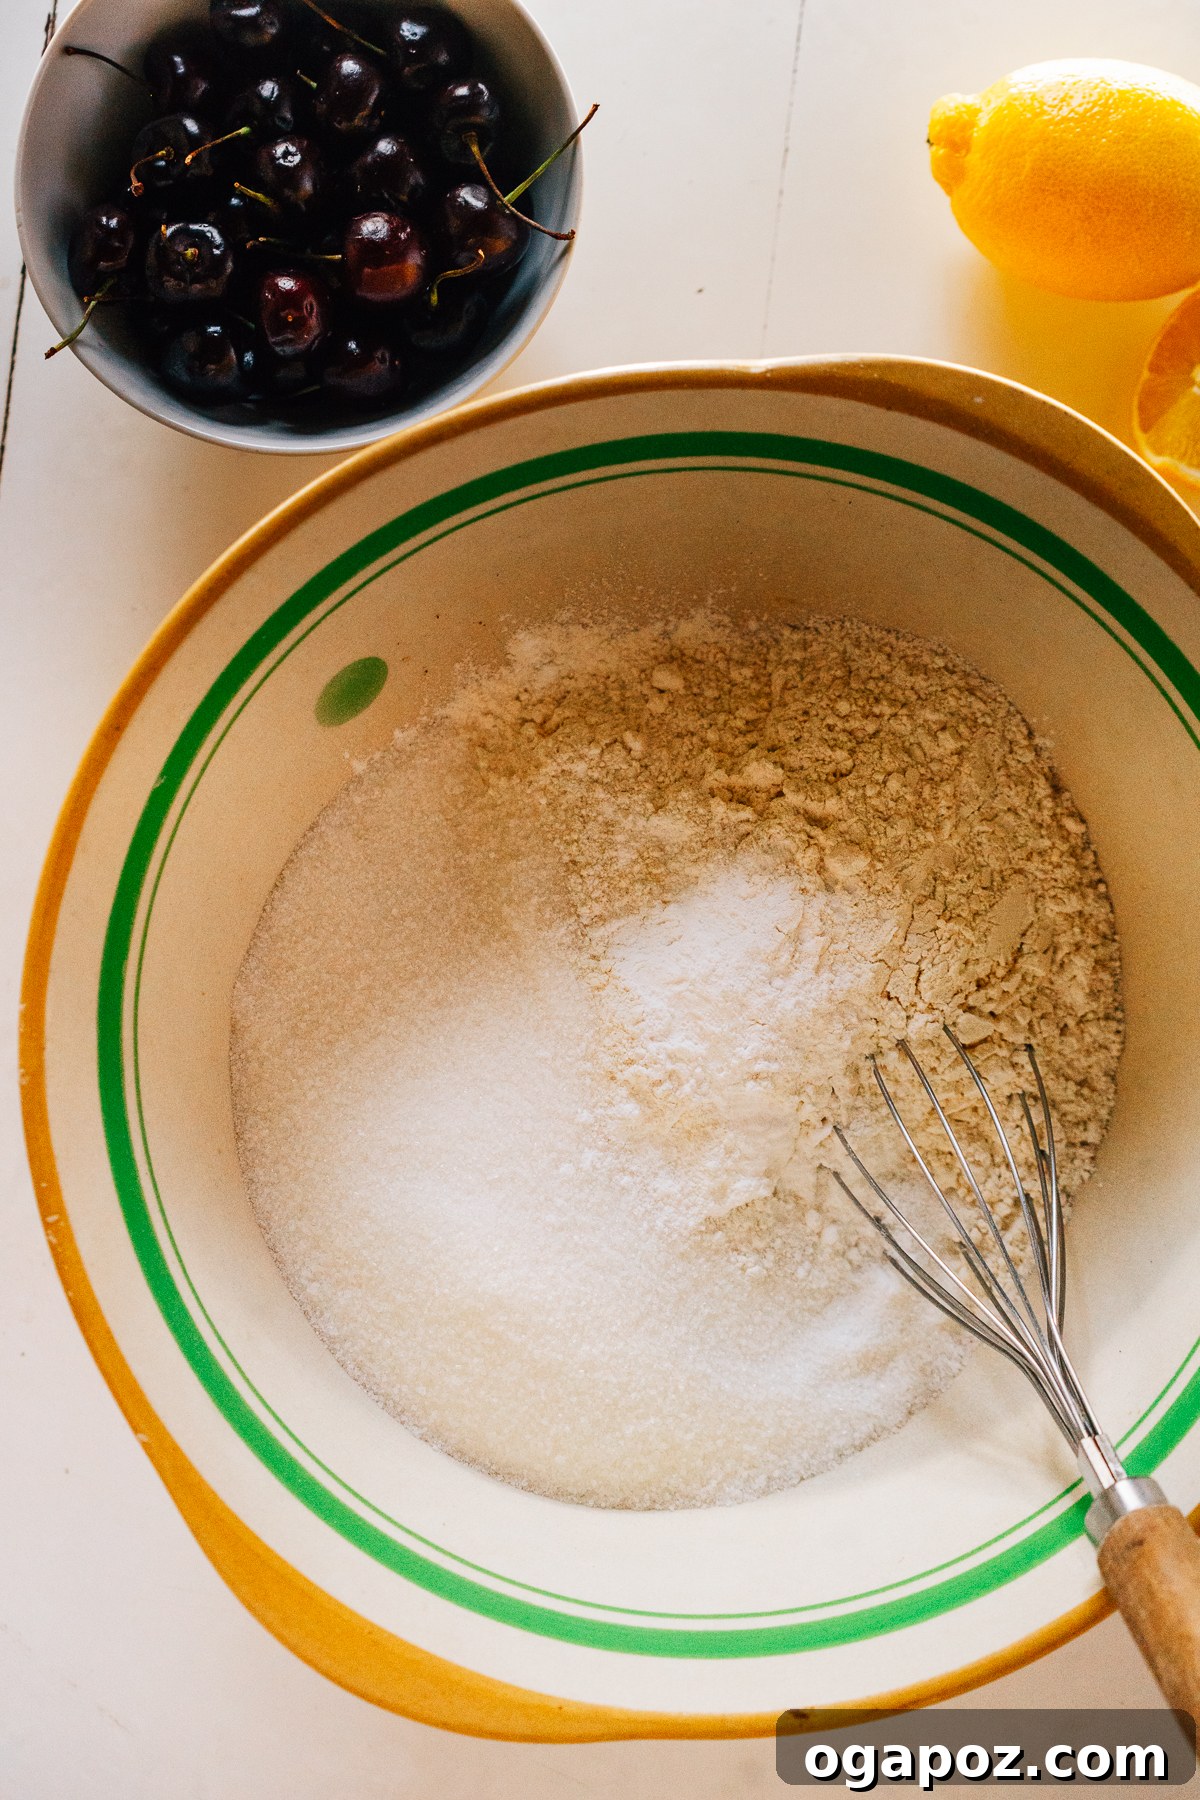
Step 1: Prepare Your Oven and Muffin Tins
Begin by preheating your oven to 375°F (190°C). This crucial step ensures the oven is at the correct temperature when your muffins enter, promoting an immediate and even rise, contributing to those desirable domed tops. Next, prepare your muffin tins: line two standard 12-cup muffin tins with paper liners for the easiest removal and cleanup. If you prefer not to use liners, or if you’re out, lightly grease each muffin cup thoroughly with butter or a good quality non-stick baking spray, ensuring every nook and cranny is coated to prevent any sticking.
Step 2: Combine the Dry Ingredients
In a large mixing bowl, meticulously whisk together your dry ingredients: all-purpose flour, granulated sugar, baking soda, baking powder, and salt. Whisking serves two purposes: it aerates the flour, which contributes to a lighter muffin texture, and more importantly, it ensures these ingredients are thoroughly and evenly distributed throughout the mixture. This is especially critical for the leavening agents (baking soda and baking powder) to work uniformly, which is crucial for consistent rise and texture in your muffins. Make sure there are no visible clumps of baking powder or flour.
Step 3: Whisk Together the Wet Ingredients
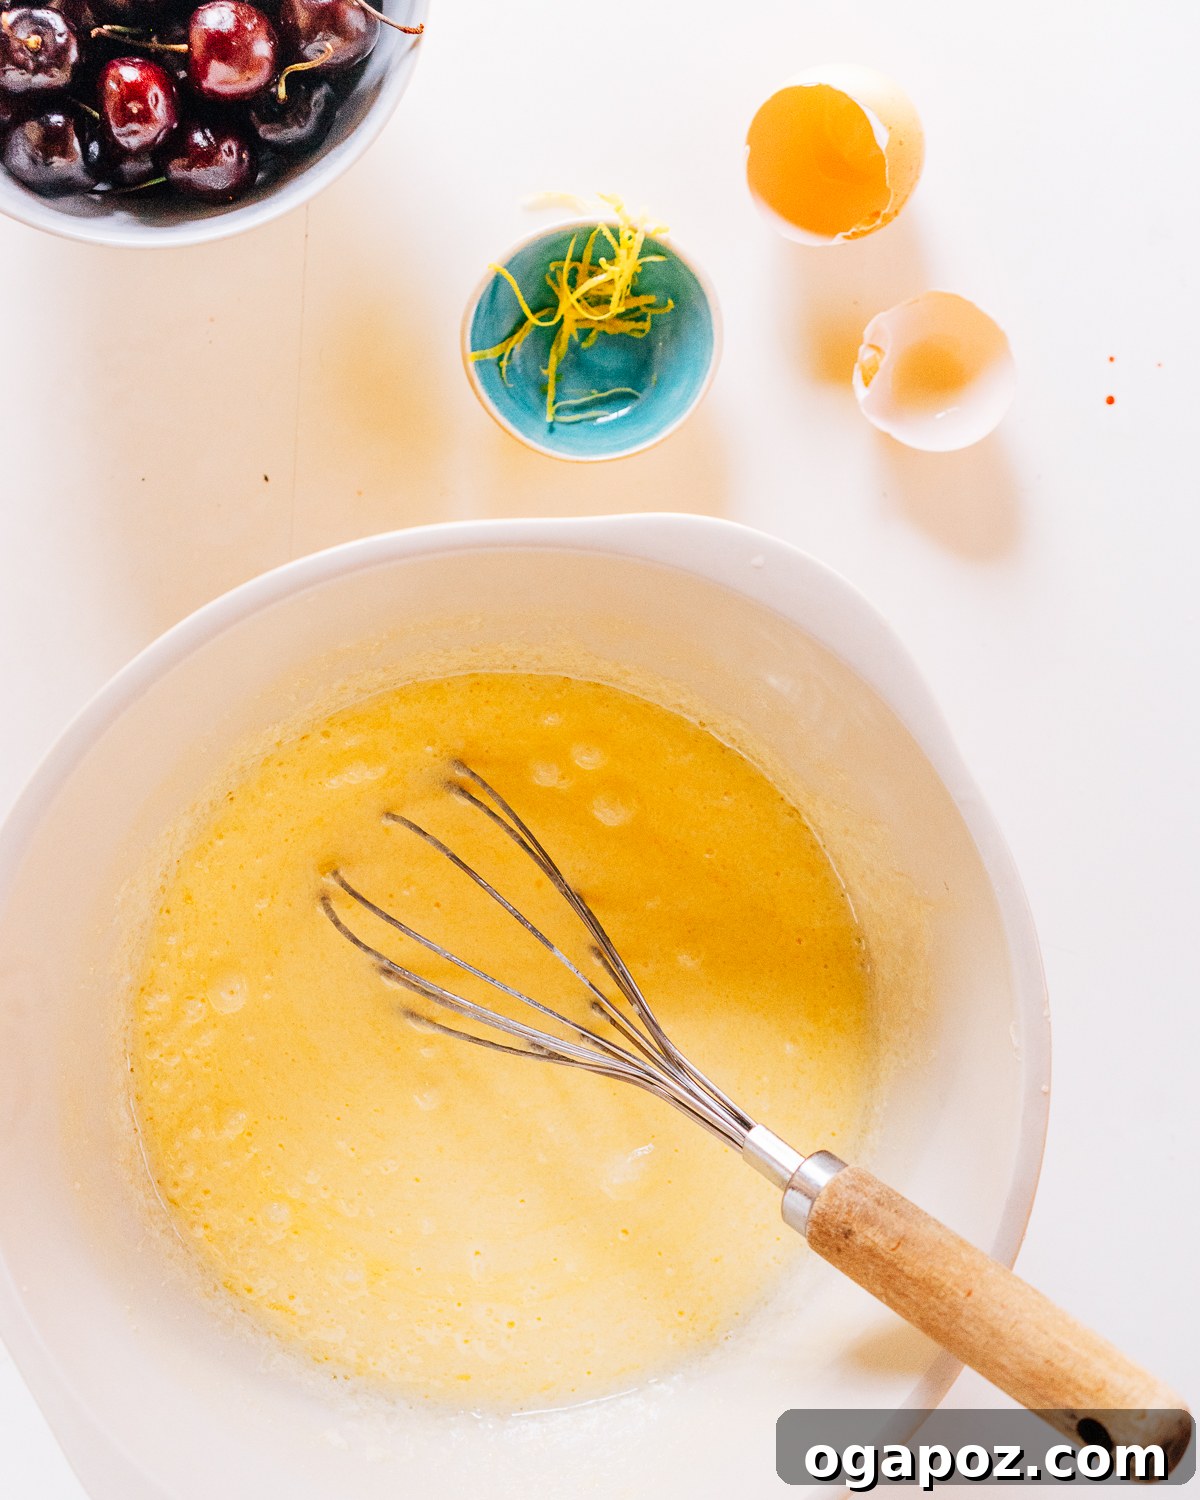
In a separate, medium-sized bowl, combine all your wet ingredients. Whisk together the slightly cooled melted butter, sour cream, milk, eggs, fragrant lemon zest, and fresh lemon juice until the mixture is smooth and well-incorporated. It’s essential that the melted butter isn’t too hot, as this could prematurely cook the eggs, leading to an undesirable texture. The lemon juice and sour cream are vital here, as their acidity will react with the baking soda later to give your muffins that beautiful lift and tangy flavor.
Step 4: Gently Bring the Batter Together and Fold in Cherries
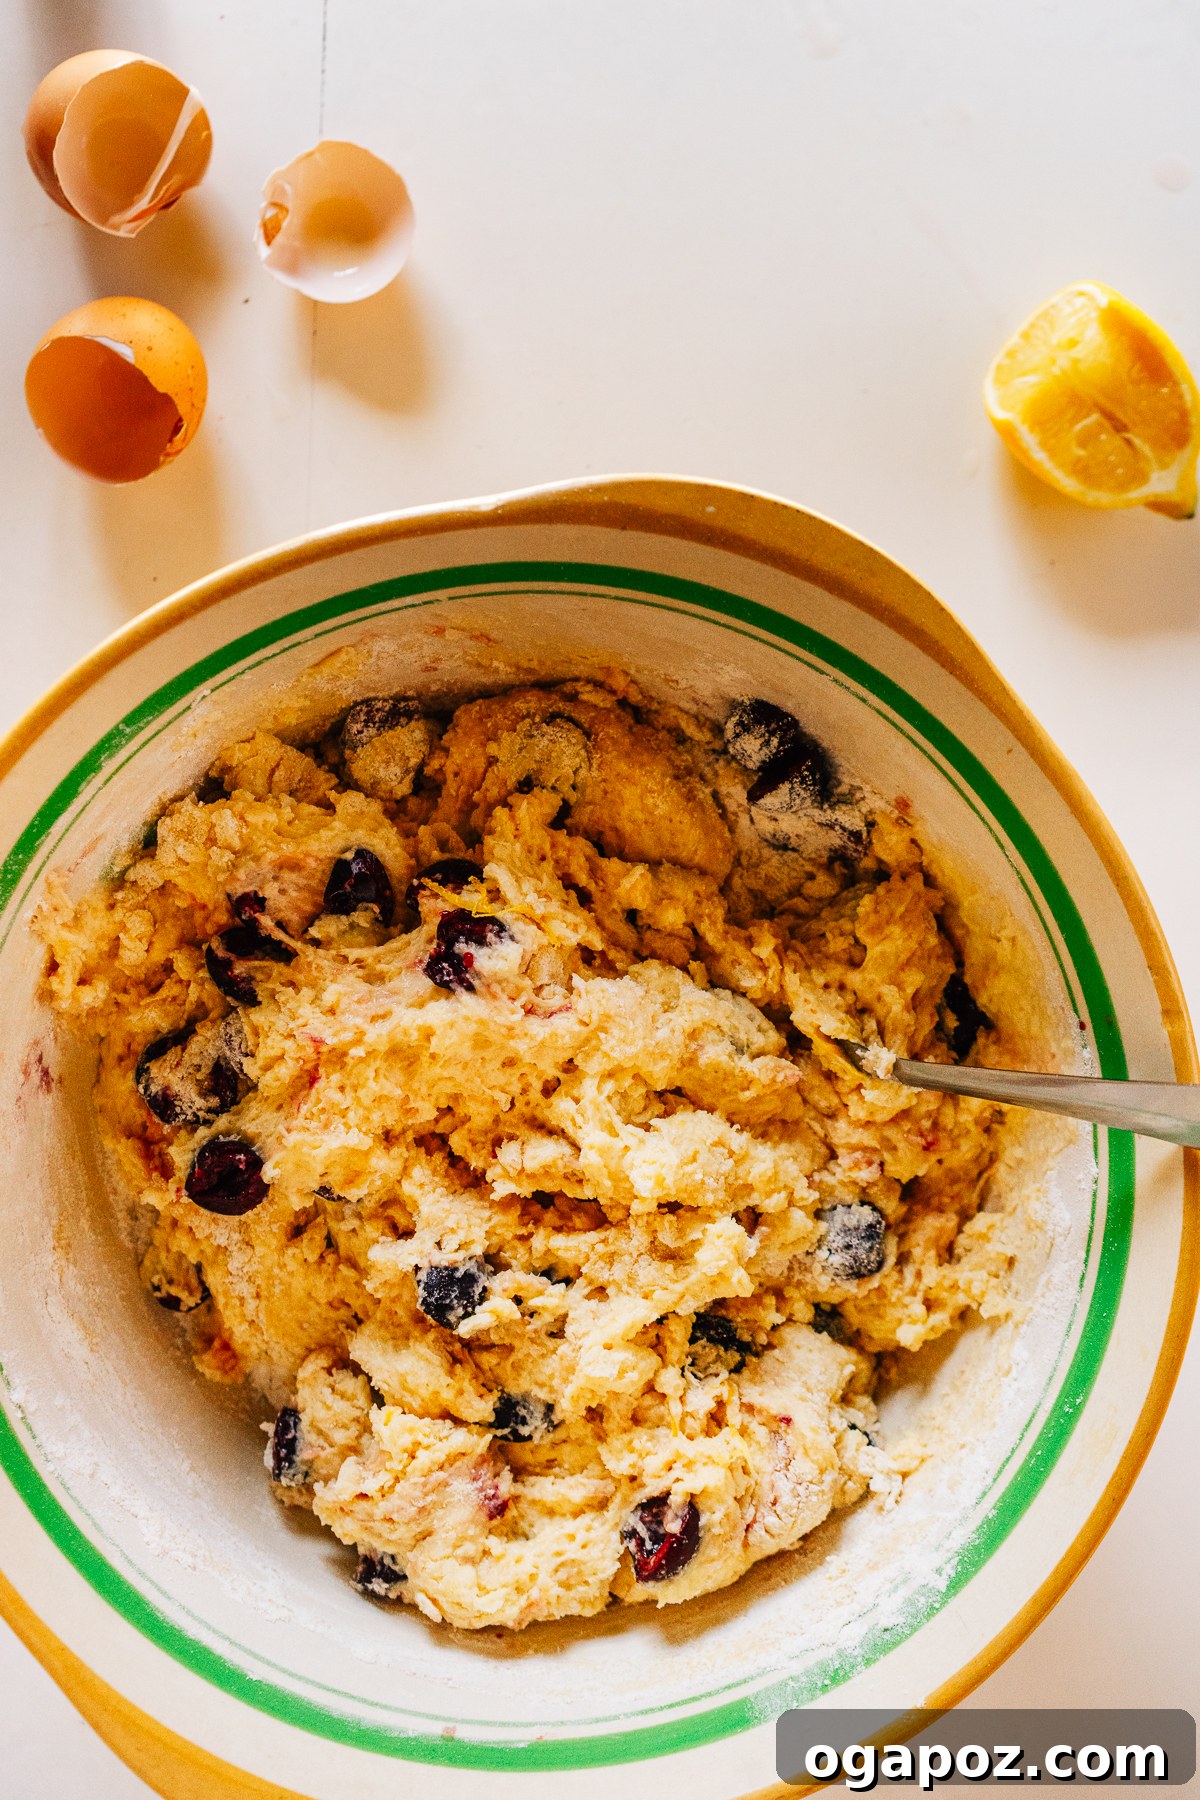
Now, it’s time to unite your ingredients! Pour the wet mixture into the bowl containing the dry ingredients. Using a spatula or wooden spoon, gently stir until just combined. The key word here is “gently” – **do not overmix**. Overmixing develops the gluten in the flour too much, which is the primary cause of tough, dense, and chewy muffins with internal tunnels, instead of the desired light, fluffy, and tender crumb. A few streaks of flour remaining in the batter are perfectly fine and will disappear during baking. Once the dry and wet ingredients are mostly combined, gently fold in your fresh or frozen (unthawed) cherries. Distribute them evenly throughout the batter with minimal stirring to avoid breaking them up or coloring the batter too much.
Step 5: Fill Muffin Cups and Bake to Golden Perfection
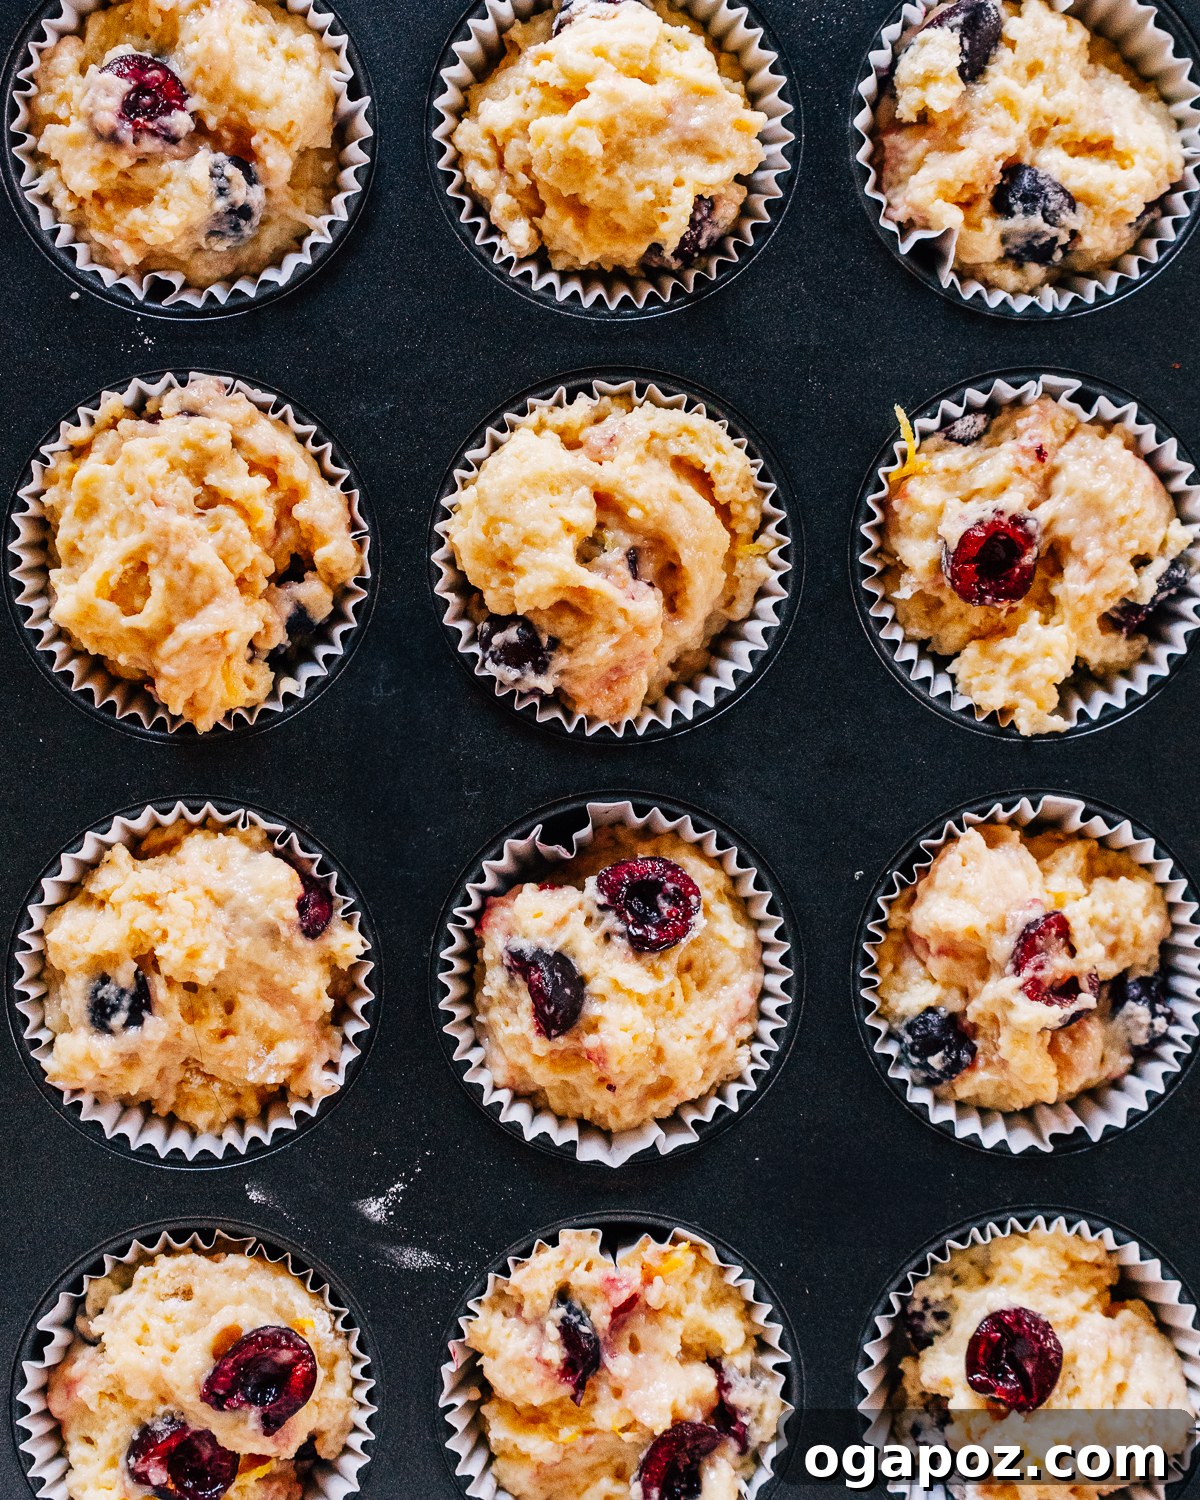
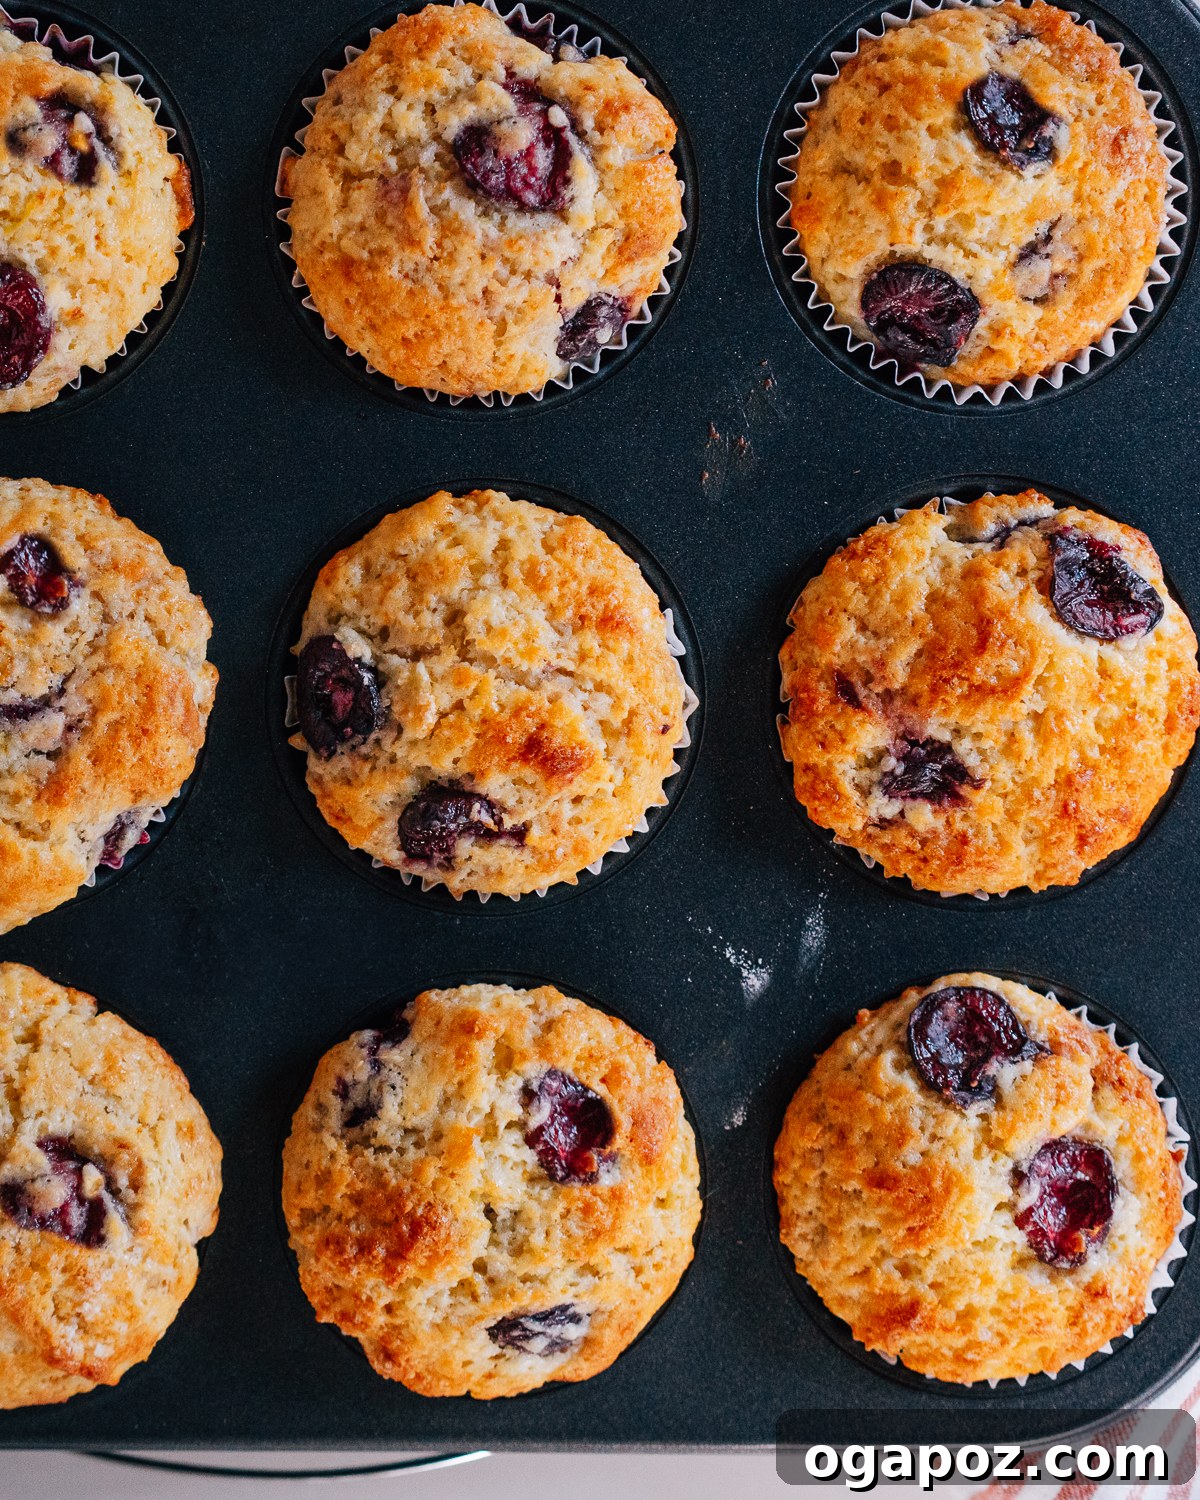
Using a cookie scoop or a large spoon, distribute the batter evenly among the prepared muffin cups. Aim to fill each cup about ¾ full. This ensures they have sufficient room to rise beautifully without overflowing, creating those desirable domed tops that are characteristic of bakery-style muffins. Place the muffin tins in your preheated oven and bake for approximately 18 to 22 minutes. Baking time can vary based on your specific oven, so it’s always wise to keep a close eye on them. You’ll know they’re ready when the tops are a lovely golden brown, and a gentle press with your fingertip causes them to spring back. As a final check, a toothpick inserted into the center of a muffin should come out clean. Allow them to cool in the tins for a few minutes before transferring them to a wire rack to cool completely, which prevents the bottoms from becoming soggy.
Avoid These Common Muffin Mistakes for Bakery-Quality Results
Even experienced bakers can sometimes fall prey to common muffin-making pitfalls. As a food scientist and an avid lover of homemade baked goods, I’m here to share the key “what-not-to-dos” to ensure your cherry muffins turn out perfectly light, fluffy, and delicious every single time, just like they came from your favorite bakery.
- Overmixing the batter: This is arguably the most common and detrimental mistake in muffin baking. Once the wet and dry ingredients are combined, gluten begins to develop. Over-stirring works this gluten too much, resulting in a tough, dense, and chewy muffin with tunnels inside, rather than a tender, open crumb. To avoid this, mix just until the flour streaks have disappeared and the ingredients are *just* incorporated. A few small lumps in the batter are a good sign – they indicate you haven’t overmixed!
- Improperly filling muffin cups: The amount of batter in each cup significantly impacts the muffin’s final shape, texture, and rise. Overfilling cups can cause the batter to spill over the sides, leading to a messy, flattened muffin that loses its desirable dome. Conversely, underfilling can result in flat, squat muffins with dry edges, as they don’t have enough batter to rise properly. For that beautiful bakery-style domed top, aim to fill each cup about ¾ full.
- Baking at the wrong temperature or opening the oven door too soon: An oven that’s too hot can lead to muffins that brown too quickly on the outside, creating a hard crust, while remaining raw or undercooked in the center. An oven that’s too cool will cause the muffins to spread rather than rise, and can dry them out before they’re fully cooked. Always preheat your oven completely (consider using an oven thermometer for accuracy, as internal oven temperatures can vary!). Additionally, resist the urge to open the oven door during the first 10-15 minutes of baking. This crucial period is when the leavening agents are most active, and a sudden drop in temperature can cause your muffins to collapse or not rise to their full potential.
- Forgetting to pit cherries (or not draining jarred ones): This might seem obvious, but biting into an unexpected cherry pit is an unpleasant surprise that can spoil the experience! Always ensure your fresh cherries are thoroughly pitted before adding them to the batter. If you opt for jarred sour cherries, make sure they are exceptionally well-drained. Excess moisture from inadequately drained cherries can make your muffins soggy, prevent them from baking through properly, or dilute the flavors.
- Not letting melted butter cool: If your recipe calls for melted butter, as this one does, it’s absolutely essential to let it cool down to almost room temperature before combining it with the eggs and other wet ingredients. Hot butter can scramble the eggs or cause the mixture to curdle, negatively affecting the emulsion of your wet ingredients and consequently, the final texture and rise of your muffins.
- Ignoring ingredient temperatures: For many baking recipes, including muffins, using room temperature ingredients (like eggs and sour cream) is beneficial. Room temperature ingredients emulsify more easily, creating a smoother, more uniform batter. This leads to a better rise and a finer crumb in your finished muffins. Plan ahead by taking eggs and sour cream out of the refrigerator at least 30 minutes before you start baking.
Make-Ahead and Storage Tips for Cherry Muffins
Having a batch of freshly baked cherry muffins ready to go is a wonderful convenience, whether for a quick breakfast, a school lunchbox, or an unexpected guest. Here’s how to properly store and reheat your delicious cherry muffins to maintain their exquisite freshness and flavor for as long as possible.
Storing Cherry Muffins for Optimal Freshness
- Once your cherry muffins have baked to perfection, allow them to cool completely to room temperature on a wire rack. This is crucial as trapping steam in a container will make them soggy. After they are fully cooled, transfer them to an airtight container. Store them at room temperature, away from direct sunlight or heat, for up to 3 days.
- Important Note: DO NOT refrigerate your muffins. While it might seem counterintuitive for preserving freshness, the cool temperatures of a refrigerator can actually accelerate the staling process in most baked goods, especially muffins. Refrigerated muffins tend to become hard, dry, and crumbly much faster than if stored properly at room temperature.
Freezing Cherry Muffins for Long-Term Enjoyment
- Cherry muffins freeze exceptionally well, making them perfect for meal prepping or having a stash of homemade treats on hand for unexpected cravings! Ensure the muffins are completely cool before beginning the freezing process.
- To freeze them effectively and prevent freezer burn, individually wrap each muffin tightly in plastic wrap, then add an additional protective layer of aluminum foil. This double wrapping helps to seal in moisture and shield them from air exposure.
- Place the securely wrapped muffins in a freezer-safe bag or an airtight container. They can be frozen for up to 3 months without significant loss of quality, flavor, or texture.
- When you’re ready to enjoy a frozen muffin, you can thaw it overnight in the refrigerator or simply place it on the countertop at room temperature for a few hours.
Reheating for That “Just-Baked” Experience
- To revive that glorious warm, “just-baked” texture and enticing aroma, individual muffins can be gently warmed. This step is optional but highly recommended for the best experience.
- Microwave Method: For a quick reheat, warm individual muffins in the microwave for about 15–20 seconds. Be cautious not to overheat, as this can quickly make them tough and rubbery.
- Oven Method: For a slightly crispier exterior and a more even warmth throughout, place muffins in a preheated 300°F (150°C) oven for 8–10 minutes. This method helps to gently warm them through and slightly crisp the outside, mimicking a fresh bake.
Reheating your muffins properly will bring back their soft, tender interior and fresh flavor, making them taste almost as if they just came out of the oven.
Frequently Asked Questions About Baking Cherry Muffins
Have a quick question about making these delightful cherry muffins? Here are answers to some of the most common queries, ensuring your baking experience is as smooth and successful as possible:
Do I need to thaw frozen cherries first, if using them?
No, there’s absolutely no need to thaw frozen cherries! In fact, it’s generally better to add them straight from the freezer, still frozen, into your batter. Thawing can cause the cherries to release extra moisture, which might make your muffin batter too wet and could negatively affect the final texture of your muffins, making them soggy. Plus, adding them frozen helps keep the batter cooler, which can aid in achieving a better muffin rise.
Why are my muffins dense or rubbery?
The most common culprit for dense or rubbery muffins is overmixing the batter. Once you combine the wet and dry ingredients, stir just until the flour streaks disappear and the ingredients are *just* incorporated. A few small lumps in the batter are completely fine and actually preferred – they are a sign you haven’t overmixed! Another reason could be using too much flour; always ensure accurate measurement by spooning flour into the measuring cup and leveling it off.
How do I get my muffins to rise tall with beautiful domed tops?
Several factors contribute to those coveted bakery-style domed tops. Firstly, ensure your oven is fully preheated to the correct temperature (375°F/190°C). A hot oven creates an initial burst of steam and rapid leavening action that helps lift the batter quickly. Secondly, avoid opening the oven door during the first 10-15 minutes of baking, as sudden temperature drops can hinder the rise. Lastly, filling your muffin cups about ¾ full provides enough batter to push upwards for a good dome, and for an extra boost, sometimes resting your batter for 10-15 minutes before baking can also help achieve a taller rise.
Can I make mini muffins instead?
Absolutely! This recipe works wonderfully for mini muffins. Simply use mini muffin tins and reduce the baking time significantly. Mini muffins typically bake much faster, usually in about 10–13 minutes, but keep a close eye on them as ovens vary. They are ready when their tops are golden and spring back when gently pressed.
Can I use other fruits instead of cherries?
While this recipe is optimized for cherries, it’s quite adaptable! You can certainly substitute other fruits like blueberries, raspberries, or chopped apricots for a different flavor profile. Just be mindful of their moisture content. If using very juicy fruits, you might want to toss them lightly in a tablespoon of flour before adding to the batter. This trick helps to absorb excess moisture and prevents the fruit from sinking to the bottom of the muffins or making the muffins too wet.
How do I pit fresh cherries easily?
Pitting fresh cherries can be done efficiently with a dedicated cherry pitter, which makes the process quick and tidy. If you don’t have one, a clean, sturdy straw, a chopstick, or the back of a pastry tip can be used. Simply place the cherry on a cutting board, find the stem end, and push through the cherry to pop out the pit. Be prepared for a bit of juice, and wear an apron if you’re concerned about stains!
Explore More Cherry Recipe Favorites
If you’ve fallen in love with the delightful flavor of cherries, you’ll be excited to discover these other fantastic cherry-inspired recipes from our collection:
- No-Bake Cherry Cheesecake Bars: A refreshing and easy dessert showcasing the best of cherry flavors without turning on the oven.
- White Chocolate Cherry Cake (aka White Forest Cake): A stunning and decadent cake that combines the rich flavors of white chocolate with sweet cherries.
- Sour Cherry Almond Torte: A sophisticated and flavorful torte, perfect for those who appreciate the tartness of sour cherries beautifully complemented by nutty almonds.
- Cherry Cheesecake Popsicles: A fun, frosty, and creamy treat that brings the beloved flavors of cherry cheesecake into a delightful frozen form.

Pin Recipe
Print Recipe
Fluffy Cherry Muffins (Delicious as Sour Cherry Muffins, too!)
Jennifer Pallian BSc, RD
10 minutes
22 minutes
32 minutes
24 muffins
Ingredients
- 4 cups all-purpose flour
- 1 ½ cup granulated sugar
- 1 tsp baking soda
- 1 tbsp baking powder
- ¼ tsp salt
- 1 cup melted butter, slightly cooled
- 1¼ cup sour cream
- ¾ cup milk (whole milk recommended)
- 2 large eggs
- 4 tsp lemon zest (from about 2 large lemons)
- ½ cup fresh lemon juice (from about 2-3 lemons)
- 2 cups pitted cherries (fresh sweet or sour, or frozen – no need to thaw)
Instructions
- Preheat oven to 375°F (190°C). Line two 12-cup muffin tins with paper liners, or lightly grease each cup with butter or non-stick spray.
- In a large bowl, whisk together the flour, sugar, baking soda, baking powder, and salt until well combined.
- In a separate bowl, whisk together the melted butter (ensure it’s slightly cooled), sour cream, milk, eggs, lemon zest, and lemon juice until smooth.
- Pour the wet ingredients into the bowl with the dry ingredients. Gently stir with a spatula until just combined – be careful not to overmix. A few streaks of flour are acceptable. Gently fold in the pitted cherries until evenly distributed.
- Scoop the batter evenly into the prepared muffin cups, filling each about ¾ full. Bake for 18-22 minutes, or until the tops are golden brown and spring back when gently pressed. A toothpick inserted into the center should come out clean.
- Let the muffins cool in the tins for a few minutes before transferring them to a wire rack to cool completely.
Notes
For even muffins: Use a cookie scoop to portion the batter evenly into the muffin tins, ensuring uniform size and consistent baking for all your muffins.
Use fresh or frozen cherries, or jarred sour cherries: No need to thaw frozen cherries – add them directly to the batter. If using jarred cherries, ensure they are exceptionally well-drained to avoid introducing excess moisture, which can make muffins soggy.
Don’t skip the lemon zest: It adds a bright, fresh citrusy aroma and flavor that perfectly complements the cherries, significantly enhancing the overall taste profile of the muffins.
Avoid overmixing: Stir just until the flour disappears and the ingredients are barely combined for light, fluffy, and tender muffins. Overmixing will develop the gluten too much, leading to dense, tough results.
Nutrition Information (per muffin, 24 servings)
Calories: 246 kcal | Carbohydrates: 34g | Protein: 3g | Fat: 11g | Saturated Fat: 6g | Polyunsaturated Fat: 1g | Monounsaturated Fat: 3g | Trans Fat: 0.3g | Cholesterol: 42mg | Sodium: 197mg | Potassium: 89mg | Fiber: 1g | Sugar: 17g | Vitamin A: 356IU | Vitamin C: 3mg | Calcium: 61mg | Iron: 1mg
Nutrition information is automatically calculated and should be considered an approximation. It may vary based on specific ingredients, portion sizes, and preparation methods.
Tried this recipe? Share your thoughts and leave a comment below!
Your feedback helps us improve and inspires other bakers in our community.