
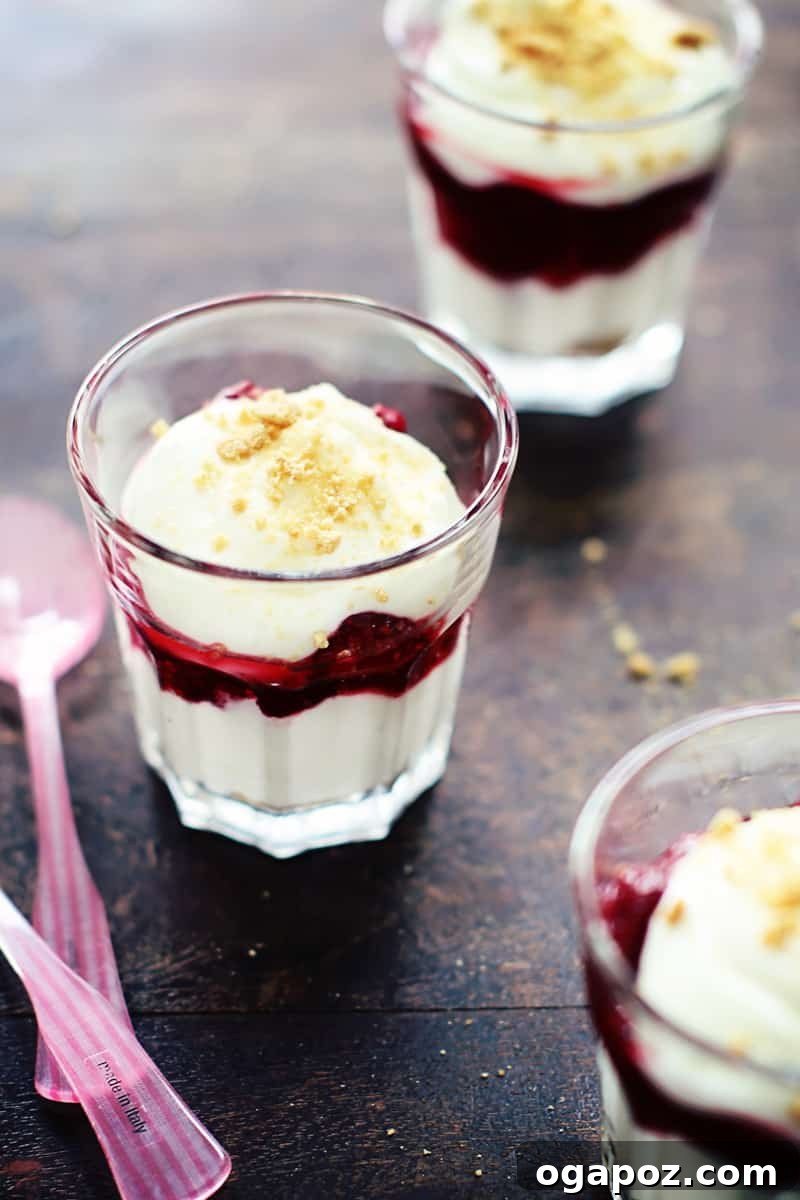
Easy No-Bake Raspberry Cheesecake Pots: Your Go-To Dessert for Any Occasion
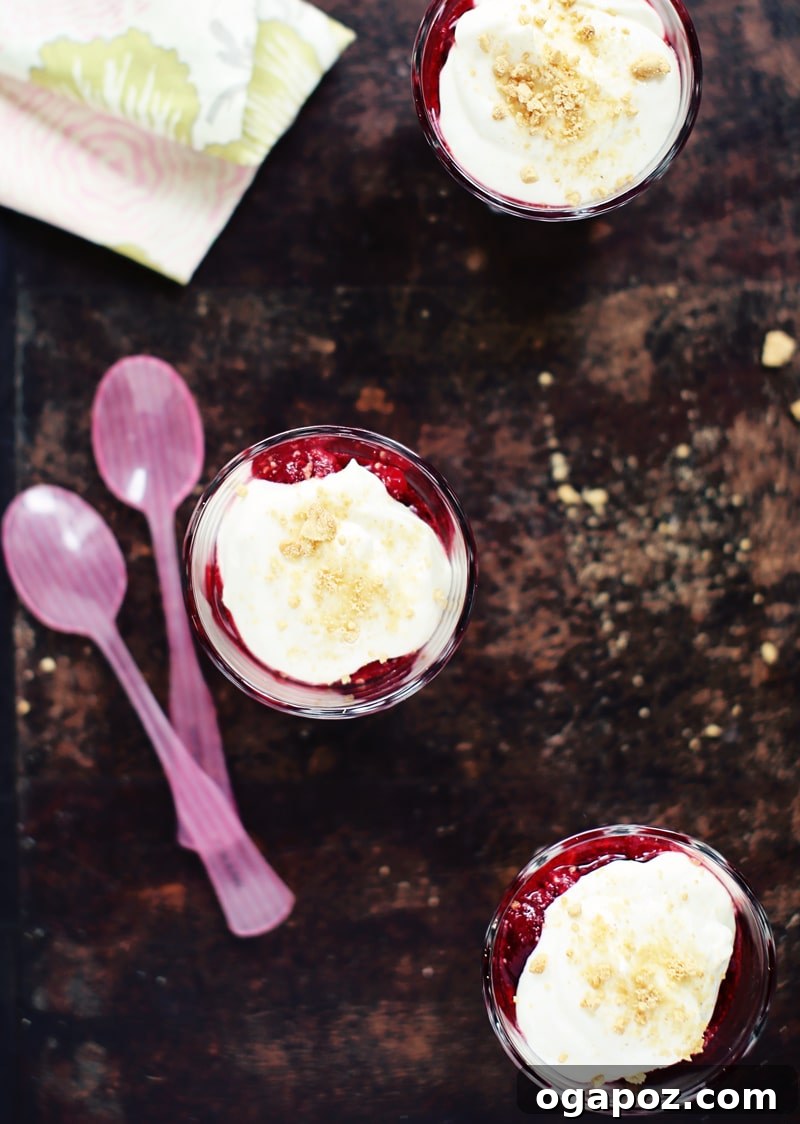
Imagine a dessert that combines luxurious creaminess with a refreshing tang, all without turning on your oven. Our no-bake raspberry cheesecake pots are exactly that – a revelation of flavor and simplicity. What started as a kitchen experiment quickly transformed into a staple recipe, celebrated for its irresistible taste and elegant presentation. Each spoonful delivers a perfect balance of cool, fluffy cheesecake goodness and the bright zest of fresh raspberries.
Why You’ll Fall in Love with These No-Bake Raspberry Cheesecake Pots
These individual cheesecake pots aren’t just easy; they’re a dream come true for anyone who loves delectable desserts but is short on time or prefers to avoid baking. They are the ideal solution for last-minute gatherings, summer potlucks, or simply a treat to brighten your day. Here’s why they stand out:
- Effortless Preparation: No baking, no complicated water baths, just simple mixing and layering.
- Luxuriously Creamy Texture: The filling is whipped to perfection, creating a light, airy, and smooth consistency that melts in your mouth.
- Vibrant Tangy Flavor: Fresh raspberries macerated with sugar provide a burst of fruity tang that beautifully complements the rich cheesecake.
- Make-Ahead Convenience: Prepare all components in advance, then assemble right before serving for ultimate freshness.
- Versatile & Customizable: Easily adapt the fruits or crunchy layers to suit your preferences.
- Visually Stunning: Layered in clear glasses, these pots offer an elegant presentation that’s sure to impress.
The Ultimate Guide to Making No-Bake Raspberry Cheesecake Pots
Crafting these exquisite dessert pots is surprisingly straightforward, relying on a few quality ingredients and a simple process. The core components include a lusciously whipped cream cheese and yogurt mixture, bright macerated raspberries, and a delightful crunchy graham cracker layer. The beauty of this recipe lies in its simplicity, proving that incredible flavor doesn’t always require intricate techniques.
The Magic of No-Bake Desserts
No-bake desserts are a game-changer, especially during warmer months when heating up the kitchen is the last thing you want to do. They offer a refreshing alternative to traditional baked goods, often resulting in lighter, cooler treats. This no-bake cheesecake recipe perfectly embodies this philosophy, delivering all the rich flavor of a classic cheesecake without any of the fuss. It’s perfect for busy hosts or anyone looking for a quick yet impressive dessert solution.
Crafting the Perfect Raspberry Maceration
The secret to the vibrant raspberry flavor in these pots lies in maceration. By combining fresh raspberries with granulated sugar and letting them sit, the sugar draws out the natural juices from the fruit, creating a syrupy, intensely flavored sauce. This step not only enhances the berries’ sweetness and tang but also softens them slightly, making them an ideal component for layering. For the best results, use ripe, juicy raspberries that are in season.
Whipping Up the Velvety Cheesecake Filling
The heart of these cheesecake pots is the incredibly fluffy and creamy filling. It’s a harmonious blend of room-temperature cream cheese, plain Greek yogurt, confectioners’ sugar, lemon juice, lemon zest, and pure vanilla extract. The key to achieving that desirable light and airy texture is beating the ingredients on medium-high speed until they are perfectly smooth and pillowy. The yogurt adds a delightful tang and lightens the richness of the cream cheese, while the lemon zest brightens the entire mixture, creating a truly refreshing profile.
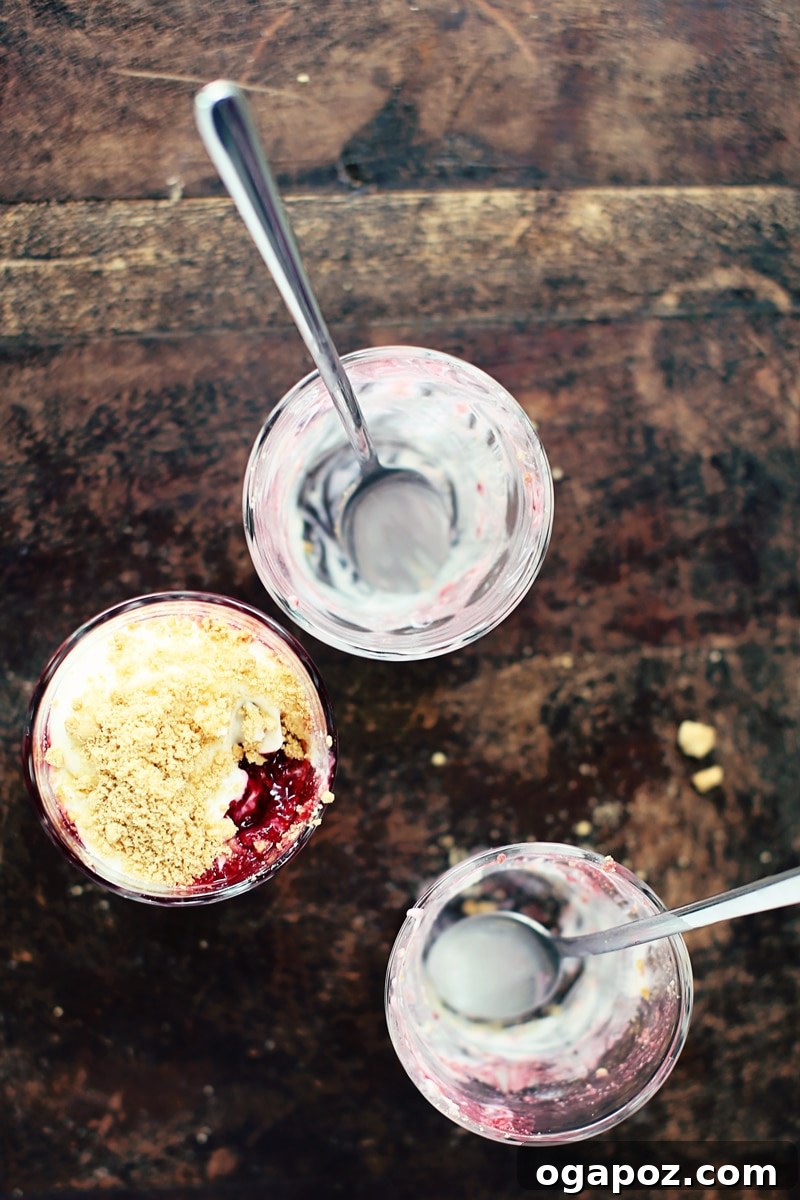
Layering for Perfection: Presentation Matters
While the taste is paramount, the visual appeal of these cheesecake pots is undeniable. Layering them in clear glasses allows you to showcase the beautiful contrast between the red raspberries, white cheesecake filling, and golden graham cracker crumbs. This elegant presentation makes them feel incredibly special, whether served at a casual family dinner or a more formal get-together. The best part? You can prep everything in advance and assemble right before serving to ensure every layer is fresh and vibrant.
Key Ingredients for Your No-Bake Masterpiece
Simplicity is key, and the ingredients for these no-bake raspberry cheesecake pots are straightforward and readily available. Each plays a crucial role in creating the perfect balance of flavor and texture.
- 2 ½ cups raspberries: Fresh is best for vibrant flavor and texture.
- ¼ cup granulated sugar: For macerating the raspberries, enhancing their sweetness and creating a light syrup.
- ½ cup cream cheese, room temperature: The foundation of our creamy filling; room temperature ensures a smooth, lump-free mixture.
- 1 cup plain 2% Greek yogurt: Adds tang, lightness, and contributes to the creamy texture.
- ¼ cup confectioners’ sugar: Sweetens the cheesecake filling and helps achieve a silky smooth consistency.
- 1 tsp lemon juice: Brightens the flavor profile of the cheesecake filling.
- ½ tsp finely grated lemon zest (I recommend a microplane), packed: Provides an aromatic citrus lift that truly elevates the dessert.
- ½ tsp pure vanilla extract: A classic flavor enhancer that complements both the cream cheese and raspberries.
- 1/2 cup crushed graham crackers: Creates a delightful crunchy layer, mimicking a traditional cheesecake crust.
Ingredient Deep Dive & Substitution Tips
- Cream Cheese: Using full-fat cream cheese at room temperature is essential for the best texture. If your cream cheese is cold, cut it into small cubes and spread them on a piece of plastic wrap; it will soften in 10-15 minutes, allowing for quick dessert assembly.
- Greek Yogurt: While 2% plain Greek yogurt is recommended for its balance of creaminess and tang, you can use full-fat for a richer result or even a dairy-free alternative if needed, though texture may vary slightly.
- Sugars: Granulated sugar for macerating raspberries helps draw out juices. Confectioners’ sugar (powdered sugar) for the filling dissolves easily, ensuring a smooth texture without graininess.
- Lemon Zest & Juice: Don’t skip these! They are critical for cutting through the richness and adding a refreshing brightness. A microplane makes zesting a breeze, ensuring you get only the flavorful zest and no bitter white pith.
- Graham Crackers: These provide the classic “crust” element. If graham crackers aren’t available or you prefer an alternative, digestive biscuits, shortbread cookies, or even vanilla wafers can be crushed and used instead. For a gluten-free option, use gluten-free graham crackers or cookies.
Step-by-Step Preparation: Achieve Dessert Nirvana
Follow these simple steps to create your own irresistible no-bake raspberry cheesecake pots. Remember, precision in preparation leads to perfection in taste!
- Prepare the Macerated Raspberries: In a medium-sized bowl, gently combine the fresh raspberries with the granulated sugar. Stir them together until the sugar is evenly distributed. Allow this mixture to stand at room temperature for at least 30 minutes. This crucial step allows the sugar to draw out the natural juices from the raspberries, creating a flavorful, slightly syrupy sauce that enhances their natural sweetness and tang. Once macerated, cover the bowl and chill it in the refrigerator until you are ready to assemble and serve. This ensures the raspberries are cool and refreshing.
- Whip the Cheesecake Filling: To the bowl of a stand mixer (or use a large mixing bowl with an electric hand mixer), add the softened cream cheese, plain Greek yogurt, confectioners’ sugar, lemon juice, finely grated lemon zest, and pure vanilla extract. Begin beating the mixture on a low speed to combine the ingredients, then increase to medium-high speed. Continue beating for about 1 minute, or until the mixture becomes wonderfully smooth, light, and fluffy. Ensure there are no lumps of cream cheese remaining. Once thoroughly whipped, cover the bowl and chill the cheesecake filling in the refrigerator until you are ready to assemble your dessert pots. Chilling helps it set slightly and makes it easier to work with.
- Assemble the Cheesecake Pots: This is where the magic happens! Gather 4 individual serving glasses or jars. Start by placing approximately 1 ½ tablespoons of crushed graham crackers evenly into the bottom of each glass. Gently press them down to form a loose base. Next, dollop a generous spoonful (about 2-3 tablespoons) of the chilled cheesecake mixture over the graham cracker layer. Following this, spoon a portion of the macerated raspberries over the cheesecake layer. Divide the remaining cheesecake mixture evenly among the cups, topping the raspberries. Finally, sprinkle the remaining crushed graham cracker crumbs over the very top of each pot as a finishing touch.
Tips for No-Bake Cheesecake Pot Success
- Room Temperature Cream Cheese is Key: Ensure your cream cheese is fully softened. Cold cream cheese will result in a lumpy filling. If you’re in a hurry, cut it into small pieces and let it sit for 10-15 minutes.
- Don’t Overbeat the Filling: Beat until smooth and fluffy, but stop once combined. Overbeating can incorporate too much air, which might lead to a less stable texture when chilled.
- Chill Time is Your Friend: While components can be assembled immediately, chilling the macerated raspberries and cheesecake filling separately for at least 30 minutes (or longer) before assembly helps firm them up and improves texture.
- Assemble Right Before Serving: For the freshest texture, especially with the graham crackers, assemble the pots no more than a few hours before serving. The graham crackers will stay crispier this way.
- Crushing Graham Crackers: You can place them in a zip-top bag and crush them with a rolling pin, or pulse them briefly in a food processor for finer crumbs.
- Adjust Sweetness: Taste the cheesecake filling before chilling and adjust the confectioners’ sugar if you prefer a sweeter or tangier profile.
Creative Variations & Customizations
These no-bake cheesecake pots are wonderfully adaptable, allowing you to get creative with flavors and textures:
- Other Berries: Swap raspberries for strawberries, blueberries, blackberries, or a mixed berry medley. Each fruit will bring its unique flavor profile.
- Chocolate Twist: Add a layer of chocolate shavings or mini chocolate chips between the cheesecake and fruit layers. A drizzle of chocolate sauce on top would also be divine.
- Lemon Love: Increase the lemon zest and juice for an even more pronounced citrus kick, or add a thin layer of lemon curd.
- Different Crusts: Instead of graham crackers, try crushed vanilla wafers, shortbread cookies, ginger snaps, or even chocolate cookies for a different base.
- Nutty Crunch: Sprinkle finely chopped pistachios, almonds, or walnuts on top along with the graham cracker crumbs for an added layer of texture and flavor.
- Herbal Freshness: A tiny sprig of fresh mint or a few basil leaves can add a surprisingly refreshing aromatic touch when garnished on top.
- Tropical Vibes: Macerate mango or pineapple chunks instead of raspberries for a tropical twist, perhaps with a coconut cookie crust.
Make-Ahead & Storage Solutions
One of the best features of this dessert is its make-ahead potential:
- Individual Components: Both the macerated raspberries and the cheesecake filling can be prepared up to 24 hours in advance and stored separately in airtight containers in the refrigerator.
- Graham Cracker Crumbs: These can also be prepared ahead of time and stored at room temperature in an airtight container.
- Assembly: For optimal freshness and crisp graham crackers, assemble the pots no more than 2-3 hours before serving.
- Storage of Assembled Pots: If you do assemble them earlier, cover each pot loosely with plastic wrap and refrigerate. They are best enjoyed within 24 hours of assembly, as the graham crackers may soften over time.
Serving Suggestions: Elevate Your Dessert Experience
These no-bake raspberry cheesecake pots are delightful on their own, but a few simple additions can elevate them even further:
- Garnish with Freshness: A few extra fresh raspberries, a mint sprig, or a dusting of confectioners’ sugar can enhance their visual appeal.
- Coffee or Tea Pairing: Serve them alongside a freshly brewed cup of coffee, espresso, or your favorite herbal tea for a perfect after-dinner treat.
- Light Cream: A small dollop of lightly sweetened whipped cream on top before serving adds an extra layer of indulgence.
- Summer Gatherings: They are perfect for barbecues, picnics, garden parties, or any occasion where you need a refreshing, easy-to-serve individual dessert.
Why These Raspberry Cheesecake Pots Are a Must-Try
From their incredibly simple preparation to their complex yet harmonious flavors, these no-bake raspberry cheesecake pots are a true winner. They embody the essence of easy elegance, proving that you don’t need to spend hours in the kitchen to create something truly spectacular. Whether you’re hosting a dinner party, looking for a quick weeknight treat, or simply craving something cool and satisfying, this recipe delivers on all fronts. Give them a try, and prepare to impress yourself and everyone lucky enough to taste them!
More Delicious Cheesecake Creations
Dreamy Chocolate Mousse Cheesecake
Easy No-Bake Cherry Cheesecake Bars
Cherry Cheesecake Popsicles
Enjoy your weekend with these delightful treats!