
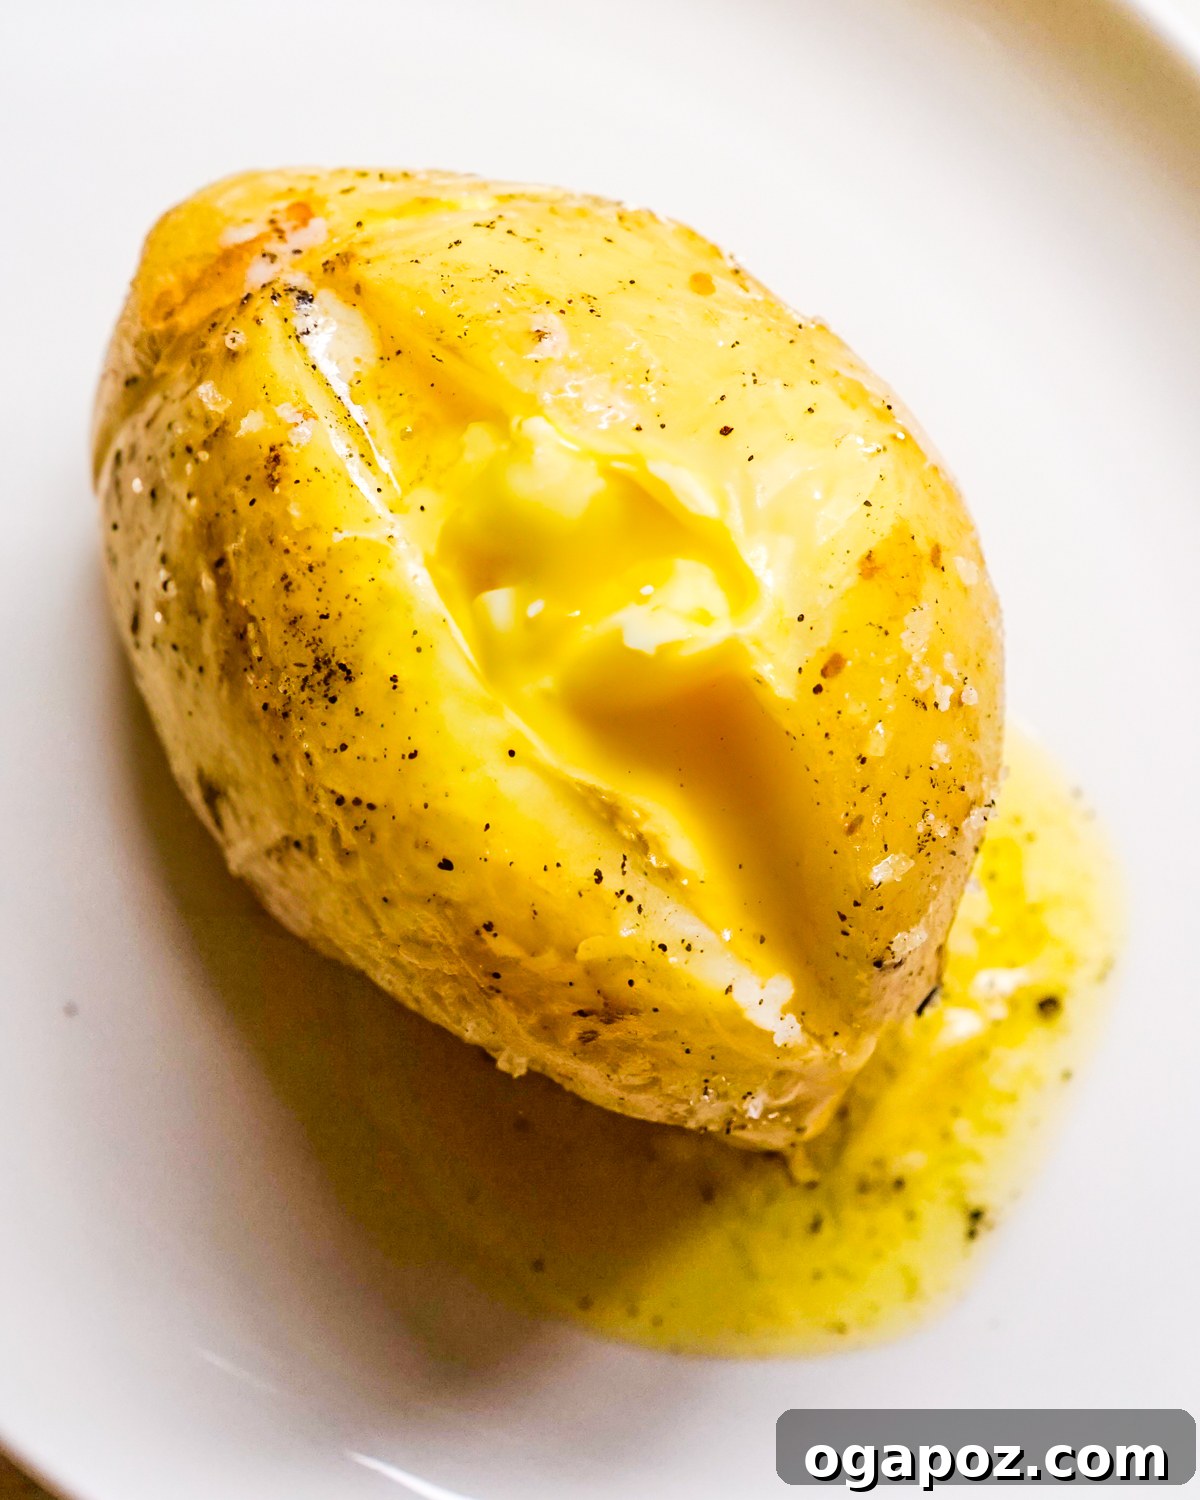
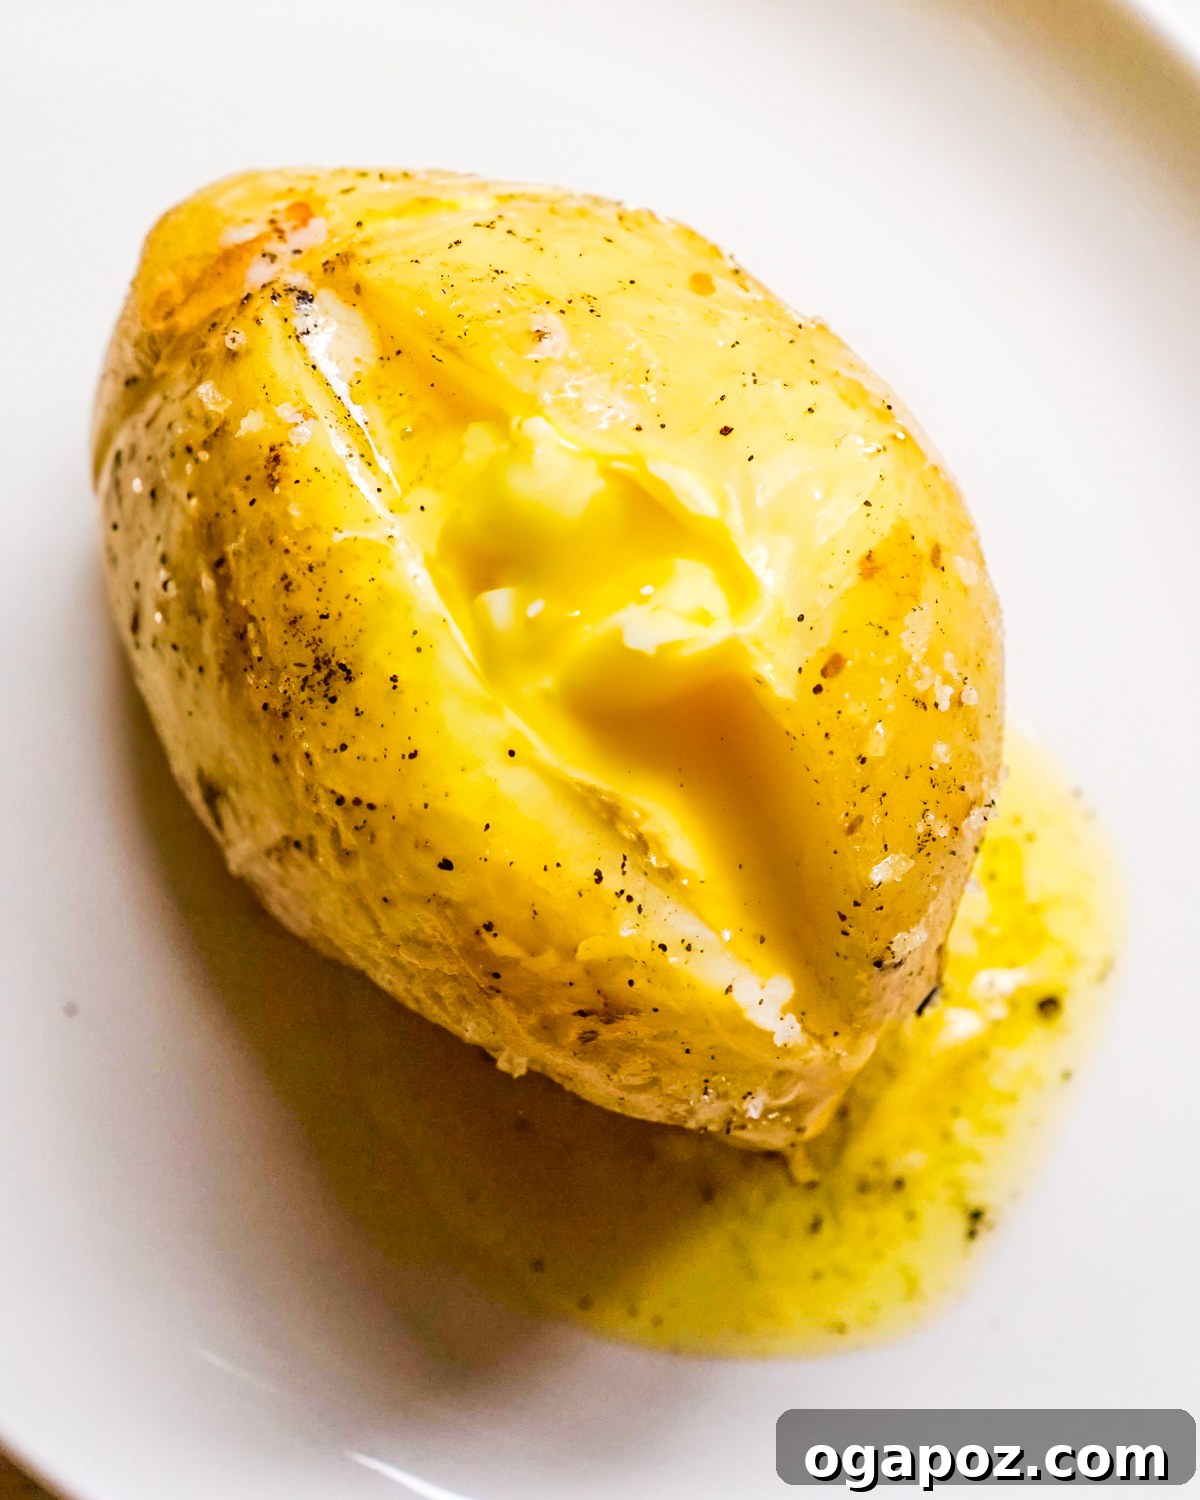
Craving a warm, tender, and perfectly fluffy baked potato but don’t have an hour to spare? This comprehensive guide reveals the secret to making a perfect Baked Potato in Microwave, achieving that desirable soft center without the long wait of a traditional oven. Whether you’re in a hurry or simply prefer a simpler cooking method, the microwave is your ultimate tool for culinary convenience. Master this quick technique and enjoy a delicious, versatile potato every single time.
Essential Ingredients and Tools for Your Microwave Potato
Crafting a fluffy “baked” microwave potato requires minimal ingredients and basic kitchen tools. This method is all about efficiency and simplicity, ensuring you can whip up a hearty side dish or a light meal with ease. No fancy gadgets or extensive shopping trips required!
Key Ingredients for the Perfect Microwave Baked Potato
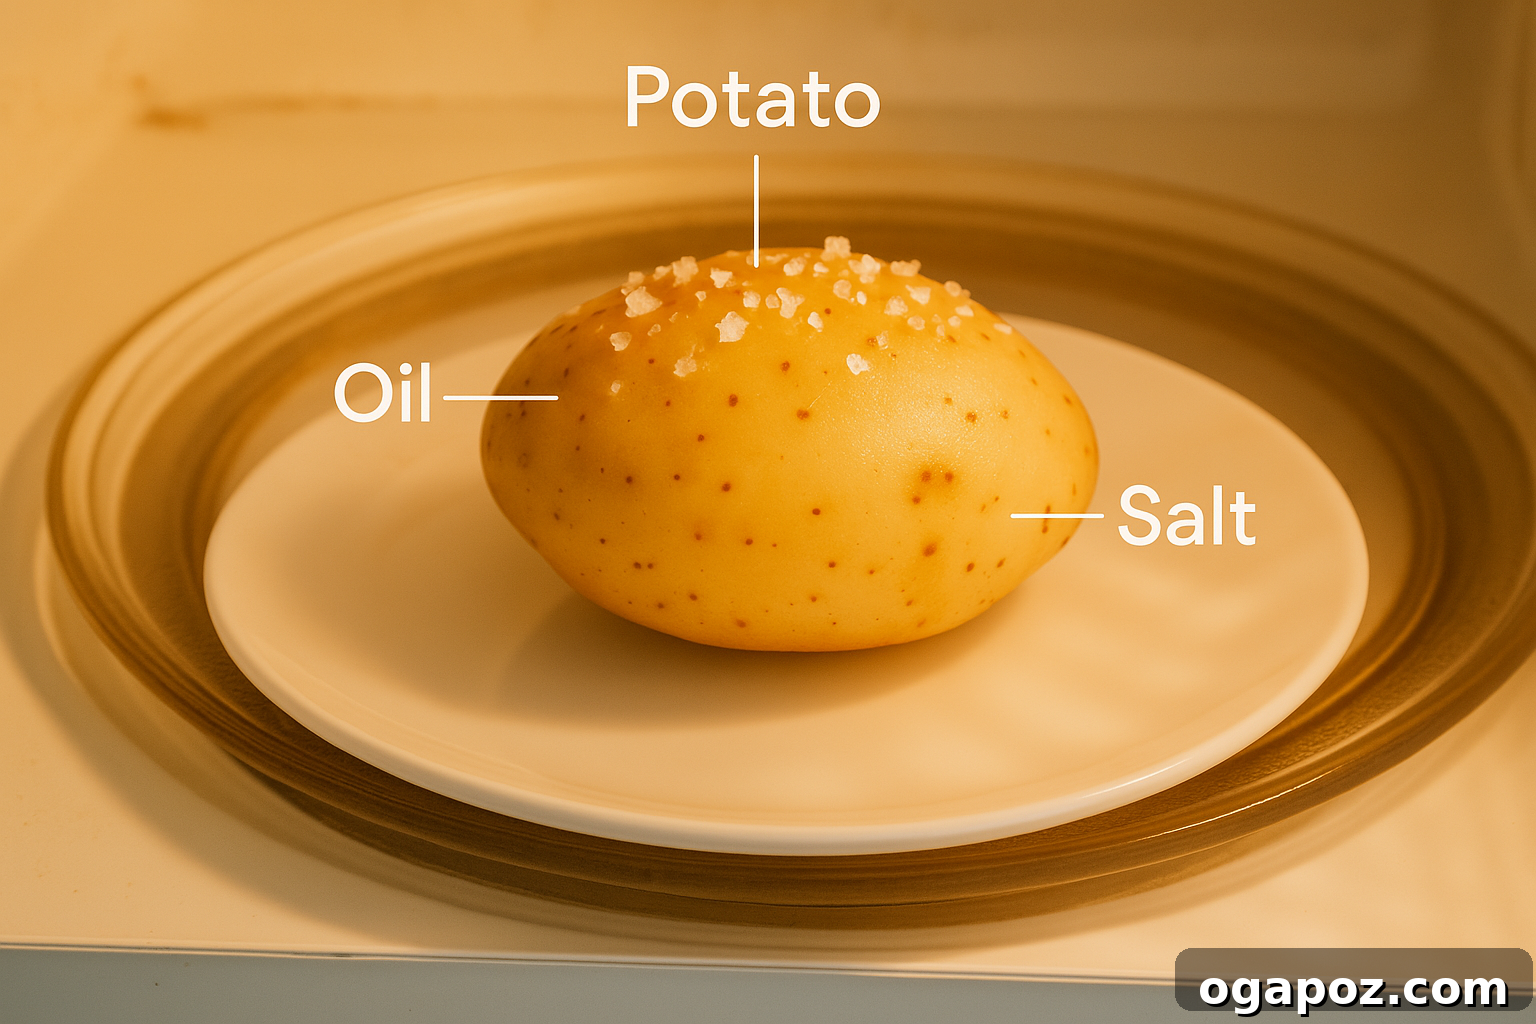
- Potato: While you can microwave nearly any variety of potato, the classic choice for a truly fluffy “baked” texture is a Russet potato. Their high starch content makes them ideal for absorbing moisture and achieving that light, airy interior. Yukon Golds are also a great option if you prefer a creamier texture. The size of your potato will significantly influence cooking time, so pay close attention to the guidelines provided later in this article.
- Olive Oil or Butter: Rubbing the potato skin with a little fat before microwaving serves a crucial purpose: it locks in moisture. This step helps prevent the skin from becoming overly wrinkled, tough, and dehydrated, contributing to a more pleasant eating experience. It also adds a subtle layer of flavor.
- Salt: Seasoning your potatoes is non-negotiable! Salt enhances the natural flavors of the potato and adds a delightful savory crunch to the skin, especially if you opt for a crispier finish. Don’t underestimate the power of a generous sprinkle.
Exact ingredient quantities are detailed in the full recipe card located at the bottom of this article.
Microwave Potato Substitutions and Flavor Variations
Feel free to adapt this recipe to suit your pantry and taste preferences. Here are a few ingredient swaps and flavor enhancements that work wonderfully for your baked potato in microwave:
- Oil-Free Option: If you’re aiming for an extra-crispy skin or simply prefer to avoid added fats, you can skip the olive oil or butter. The skin will be drier, but this is sometimes desired for certain toppings or preparations.
- Salt Alternatives & Flavor Boosters: Elevate your potato’s taste beyond basic salt. Try garlic salt for an aromatic kick, seasoned salt for a complex blend of spices, or a pinch of your favorite spice blend like paprika, onion powder, or even a dash of chili powder for a Tex-Mex twist. Freshly cracked black pepper is also a fantastic addition.
- Herb Infusion: For a gourmet touch, mix finely chopped fresh herbs like rosemary, thyme, or chives into your olive oil or melted butter before rubbing it on the potato.
Essential Tools for Microwave Potato Preparation
The beauty of this method lies in its minimal equipment requirements. All you truly need is:
- A Microwave: Naturally, this is the star of the show! Ensure your microwave is clean and functioning correctly for optimal results.
- A Microwave-Safe Plate or Bowl: Any plate or dish that is labeled “microwave-safe” will work. Glass or ceramic plates are ideal. Avoid metal or dishes with metallic glazes.
- A Fork: Essential for piercing the potato, a crucial step we’ll discuss next.
Related: Looking for other quick potato recipes? Try our Instant Pot Sweet Potatoes for another fast and delicious option.
How to Make a Fluffy Baked Potato in Microwave: A Simple Step-by-Step Guide
Achieving a perfectly tender and fluffy interior for your microwave baked potato is easier than you might think. Follow these simple steps for consistent, delicious results every time. This method ensures maximum fluffiness with minimal effort.
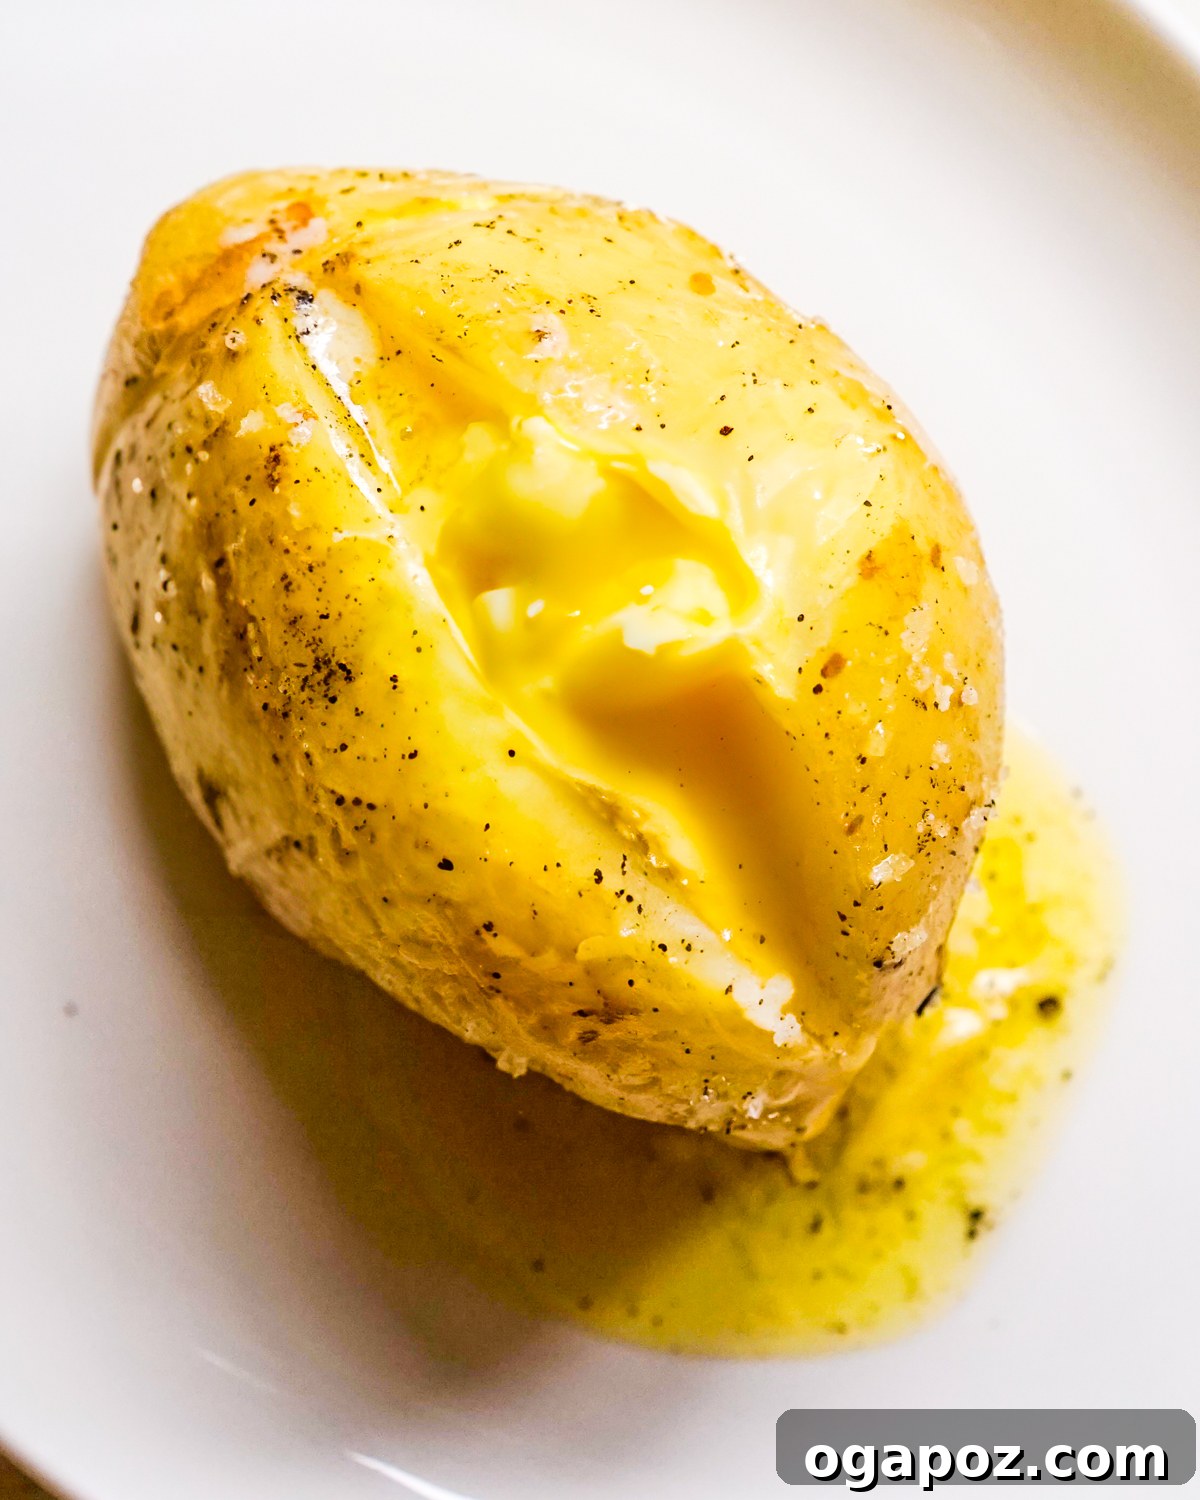
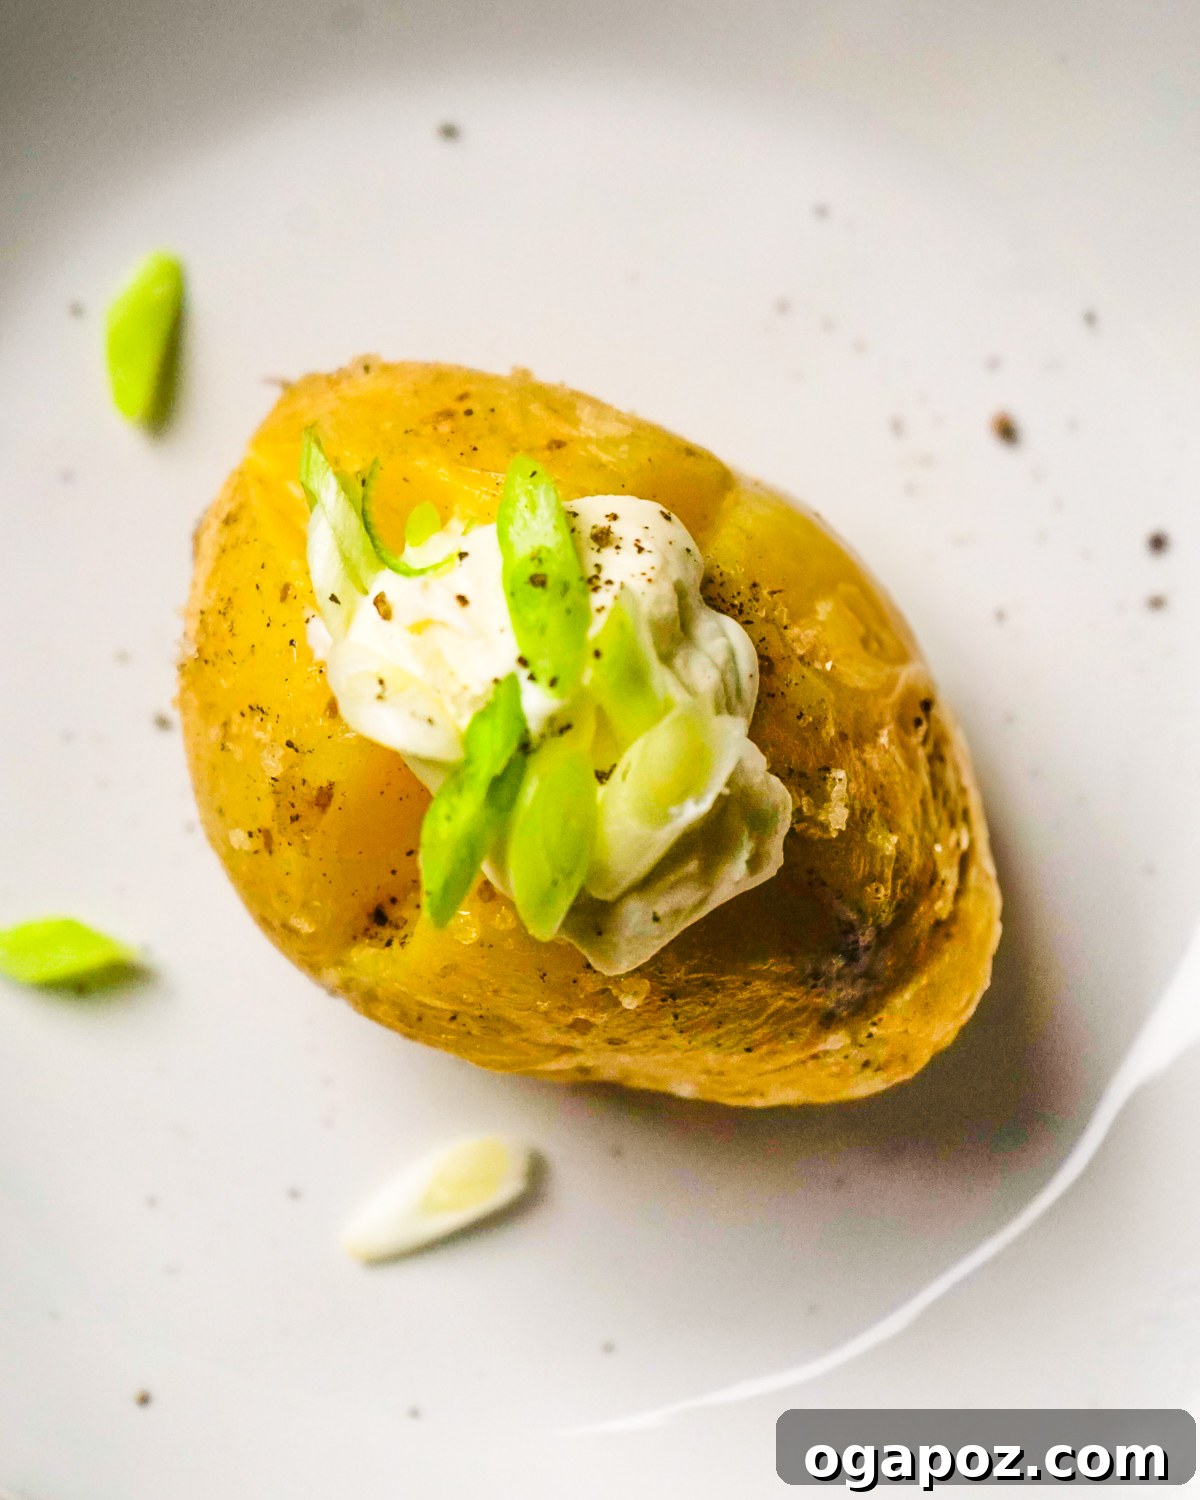
Step 1: Prepare the Potato for Microwaving
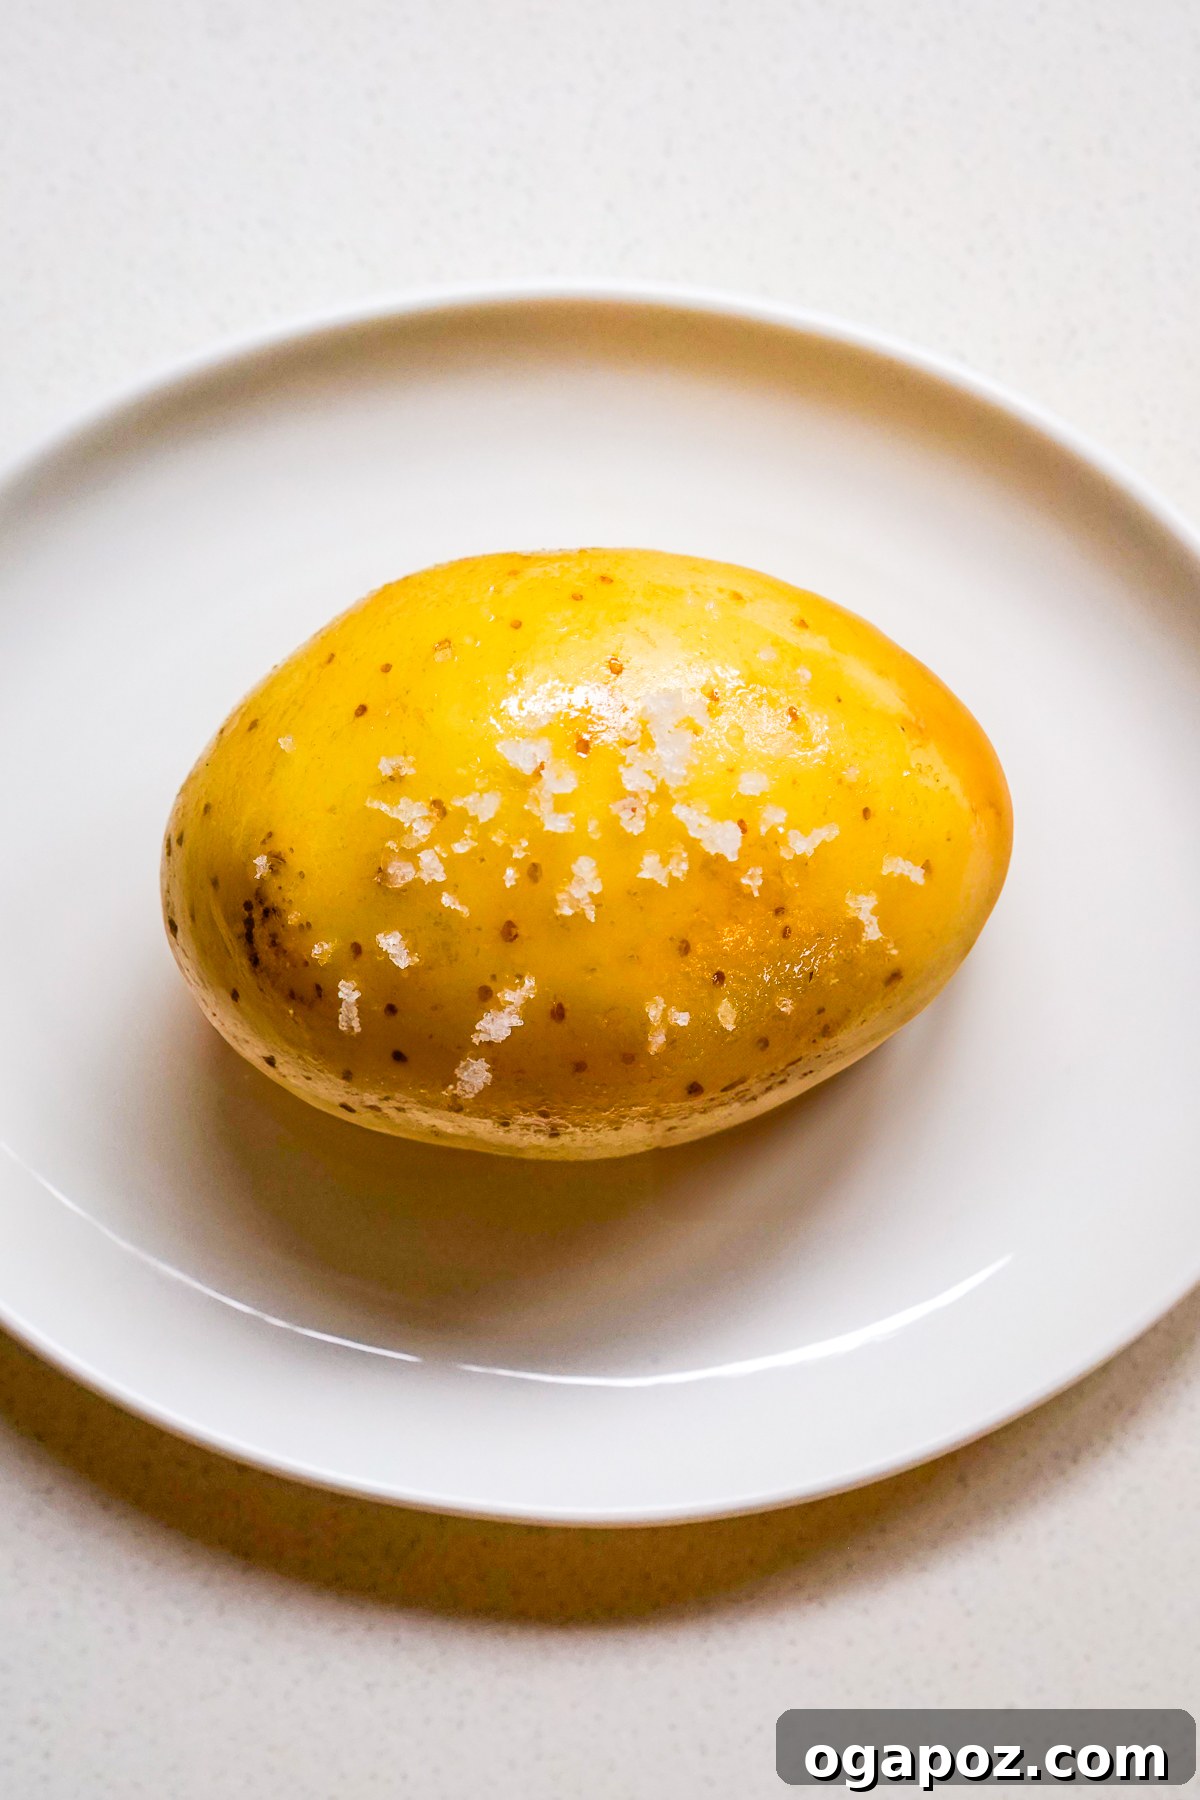
Begin by washing your potato thoroughly under running water, scrubbing off any dirt or debris from its skin. Pat it dry. The most critical step here is to “prick” the potato. Use a fork to poke 4-5 deep holes evenly around its surface. These holes act as vents, allowing steam to escape safely during the cooking process. Skipping this step can lead to a messy (and potentially dangerous) potato explosion in your microwave!
Step 2: Season and Add Moisture for Optimal Texture
For a softer, more palatable skin and enhanced flavor, rub the entire surface of the potato with about a teaspoon of olive oil or melted butter. This creates a barrier that traps moisture, preventing the skin from becoming too tough and leathery. After applying the fat, generously sprinkle the potato with salt. This step is optional but highly recommended; it makes a noticeable difference in the final taste and texture of your baked potato in microwave.
Step 3: Microwave Potato Time Guide for Perfection
Microwave cooking times vary based on your microwave’s wattage and the size and number of potatoes. The following times are based on a standard 1000-watt microwave for medium to large Russet potatoes. Adjust as needed.
- 1 potato: Microwave on high for 5 minutes. Halfway through (at the 2.5-minute mark), carefully flip the potato to ensure even cooking.
- 2 potatoes: Microwave on high for 7-8 minutes. Remember to flip them once during cooking.
- 3 potatoes: Microwave on high for 9-11 minutes, flipping them halfway.
- 4 potatoes: Microwave on high for 12-14 minutes, flipping them once.
To check for doneness, carefully remove a potato (it will be hot!) and insert a fork into its center. It should glide in easily with minimal resistance, indicating a soft, fluffy interior. If it still feels firm, microwave in 1-minute increments until fully tender.
Step 4: Rest and Serve Your Fluffy Microwave Baked Potato
Once cooked, do not rush to cut into your potato. Transfer the microwaved potato to a cutting board or plate and let it rest for 1-2 minutes. This crucial resting period allows the internal steam to redistribute and finish cooking the potato, resulting in an even fluffier texture. After resting, carefully slice open the potato with a knife, fluff the interior with a fork, and add your favorite toppings immediately.
5 Common Mistakes to Avoid When Making a Baked Potato in Microwave
While microwaving potatoes is straightforward, a few common pitfalls can hinder you from achieving that perfect fluffy result. Knowing these mistakes and how to avoid them will ensure your baked potato in microwave is a success every time:
- Skipping the Fork Pokes: This is arguably the most important safety and cooking step. Forgetting to poke holes in your potato before microwaving can lead to a dangerous buildup of steam inside, potentially causing the potato to explode. Always pierce the potato 4-5 times with a fork to allow steam to escape safely and promote even cooking.
- Not Flipping Halfway: Microwaves often heat unevenly, with hot spots and cooler areas. If you don’t flip your potato halfway through the cooking process, one side might cook faster or become hard and dry while the other remains undercooked. Flipping ensures uniform heating and a consistently tender potato.
- Overcrowding the Microwave: While convenient to cook multiple potatoes at once, overcrowding your microwave can significantly increase cooking time and lead to uneven results. For optimal heating, arrange potatoes in a single layer, ensuring there’s space between them. If cooking more than two, consider adding an extra minute or two to the total time, and rotate their positions when flipping.
- Skipping the Resting Time: Just like with roasted meats, resting is vital for potatoes. After microwaving, the internal temperature continues to rise slightly, and the trapped steam helps to further cook and soften the potato’s flesh. Letting your microwaved potato sit for 1-2 minutes after cooking helps it finish steaming inside, yielding a much fluffier and more evenly cooked texture.
- Microwaving Without Moisture (for softer skin): If you desire a tender, pliable potato skin, skipping the oil or butter application is a mistake. Microwaving can quickly dry out the potato’s exterior. Rubbing it with a little olive oil or butter before cooking creates a barrier that helps retain moisture, preventing a tough, leathery skin and enhancing flavor.
Make Ahead and Storage for Microwave Baked Potatoes
The convenience of a baked potato in microwave extends to meal planning. You can easily microwave potatoes in advance and store them for quick, healthy meals throughout the week. This makes them an excellent component for meal prep, saving you valuable time during busy weekdays.
- For Meal Prep: Cook several microwave baked potatoes at once. Once they have rested and cooled slightly, store them in an airtight container in the refrigerator for up to 3-4 days. They are perfect for quick lunches or easy dinner components.
- Pre-cooked vs. Raw: While you can store raw potatoes in a cool, dark place for weeks, cooking them in the microwave first allows for instant access to a ready-to-eat base for various dishes.
I do not recommend freezing leftover microwaved baked potatoes, as their texture can become mealy and watery upon thawing and reheating.
Reheating Your Microwave Potato
Reheating your pre-cooked baked potato in microwave is just as simple as the initial cooking:
- Microwave: Place the cooled potato back in the microwave. Reheat on high for 1-2 minutes, or until thoroughly warmed through. If reheating multiple potatoes, increase the time slightly and rotate them halfway.
- Oven/Air Fryer: For a slightly crispier skin when reheating, you can also place the cooled potato in a preheated oven at 375°F (190°C) for 10-15 minutes, or in an air fryer at 350°F (175°C) for 5-7 minutes.
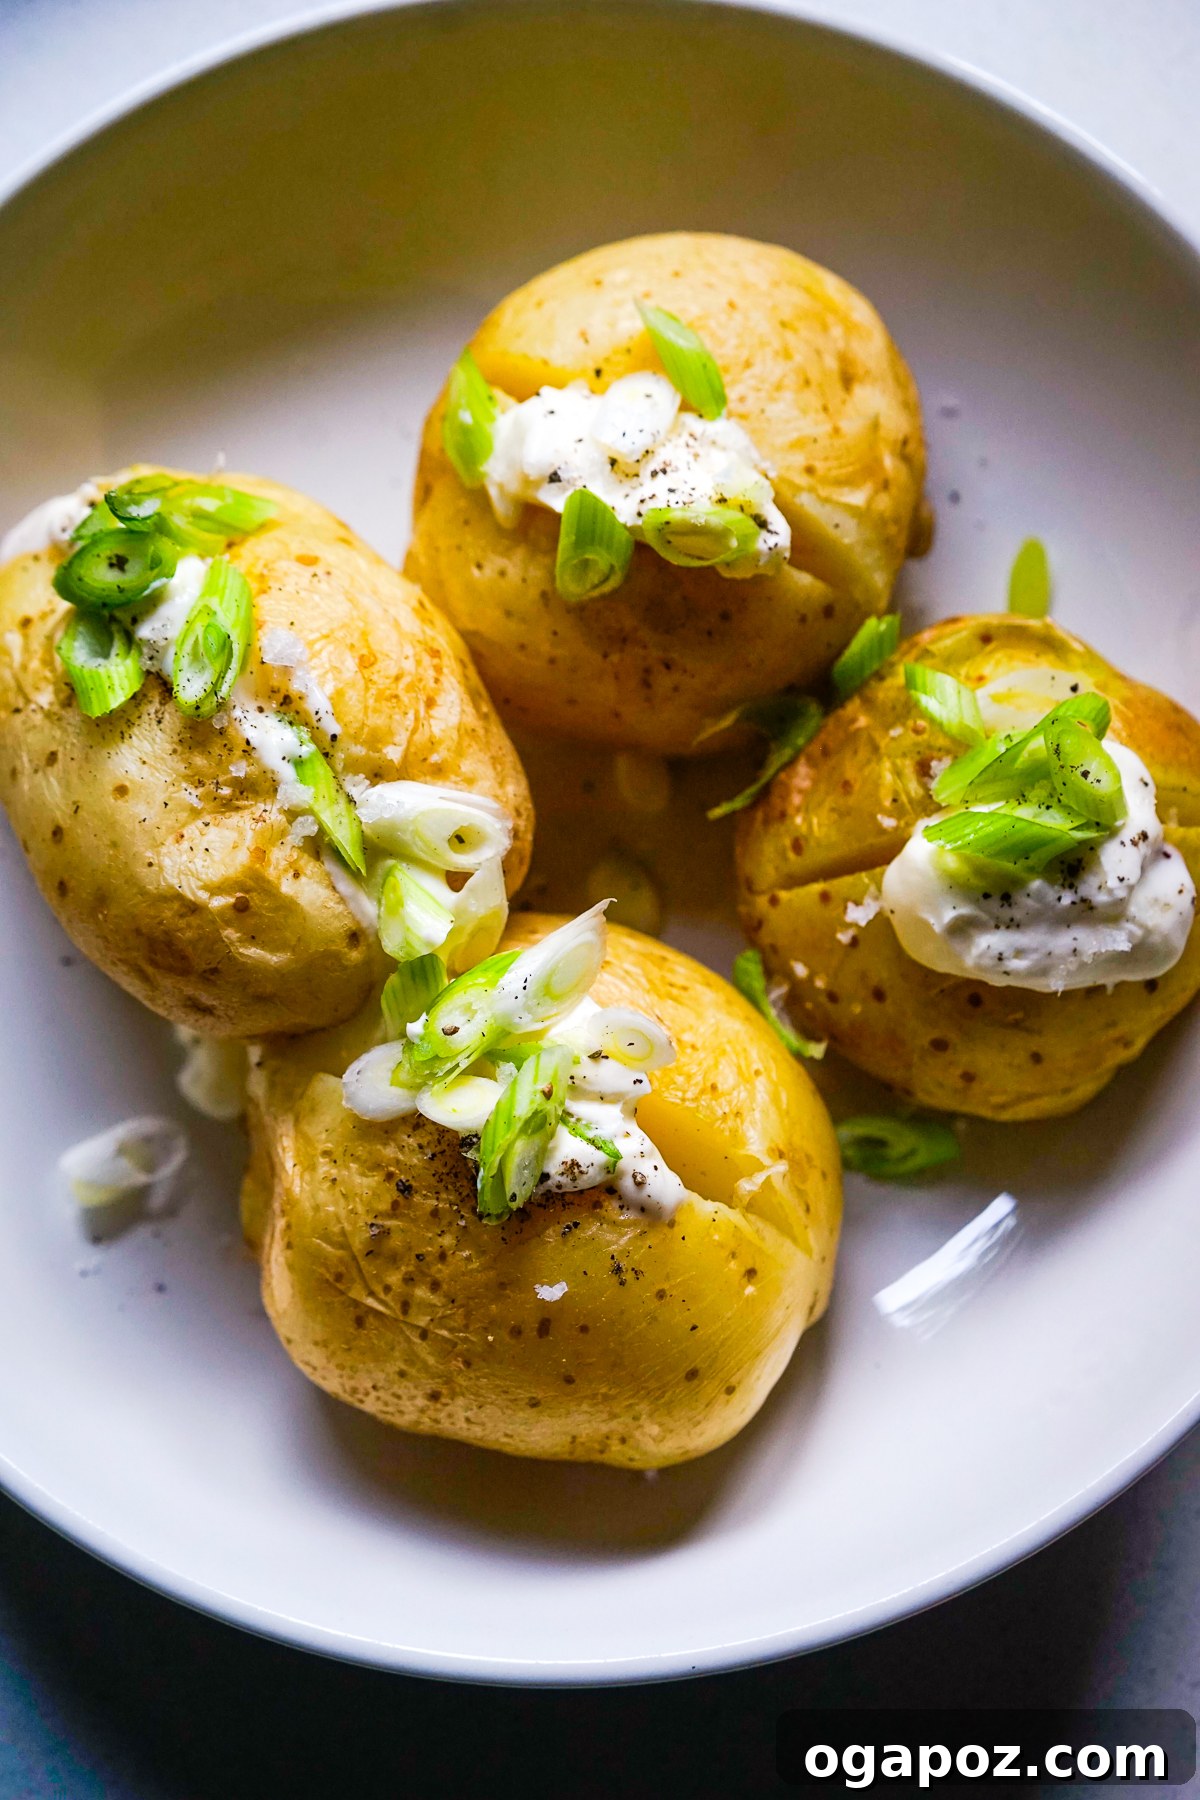
Delicious Ways to Serve Your Microwave Baked Potatoes
The beauty of a baked potato in microwave lies in its incredible versatility. Once you’ve achieved that fluffy center, the possibilities for serving are endless, transforming a simple potato into a satisfying meal or a delightful side dish.
For a perfect side, slice open your potato, fluff the interior with a fork, and immediately add a generous knob of butter. Season simply with a pinch of salt and freshly cracked black pepper. For a fresh touch, drizzle with high-quality olive oil and sprinkle with finely chopped fresh herbs like parsley, chives, dill, or even green onions.
- Classic Loaded Potato: Transform it into a hearty meal by loading it up with all your favorite potato toppings. Think dollops of rich sour cream, shredded sharp cheddar cheese, crispy bacon bits, and chopped green onions. This combination is a timeless crowd-pleaser and makes for a satisfying lunch or dinner.
- Tex-Mex Fiesta: Give your potato a vibrant Tex-Mex twist. Spoon over warm chili con carne, fresh salsa, and creamy guacamole. A sprinkle of cotija cheese and a squeeze of lime juice will complete this flavor explosion.
- Protein-Packed Lunch: For a quick and easy protein boost, mash the inside of your potato and mix it with a scoop of cottage cheese or creamy hummus. Add some chopped vegetables like bell peppers or cucumbers for extra crunch and nutrients.
- Soup and Salad Companion: A humble baked potato is the ideal accompaniment to a warm bowl of soup or a crisp green salad, adding a comforting and filling element to your meal.
- Hearty Dinner Pairings: A large, fluffy potato is the perfect canvas to serve alongside a variety of main courses. It pairs wonderfully with succulent air fryer roast beef, tender Slow Cooker Pork Shoulder, or flaky easy baked salmon. These versatile spuds are also excellent with your favorite roast chicken, a vibrant side salad, and some sweet corn on the cob, creating a balanced and comforting family meal.
- Breakfast Bowls: Leftover baked potatoes can be diced, lightly fried until crispy, and used as a base for a breakfast hash. Top with a fried egg, some cheese, and hot sauce for a hearty morning meal.
Expert Tips and Food Science Secrets for Your Microwave Baked Potato
As a food scientist, I love delving into the “why” behind cooking techniques. Understanding these principles ensures you achieve the best possible results for your baked potato in microwave every single time. Here are my top tips and science-based secrets:
- Choose the Right Potato Variety: For the ultimate fluffy texture, Russet potatoes are your best bet. Their high starch content (specifically amylose) causes their cells to separate more easily when cooked, resulting in that desirable dry, fluffy interior. Yukon Golds, with their higher moisture and lower starch, will yield a creamier texture, which is also delicious but different.
- Doneness Check is Key: Microwaves cook from the outside in, and the internal temperature continues to rise during resting. Always check for doneness by inserting a fork into the thickest part. If it meets significant resistance, it needs more time. Cook in short 1-minute bursts, checking after each, to prevent overcooking and drying out.
- Achieving Crispy Skin (Post-Microwave): While the microwave excels at cooking the interior, it doesn’t create crispy skin. If you crave that delightful crispness, here’s the trick: after microwaving the potato until fully tender, transfer it to a preheated 425°F (220°C) oven or an air fryer at 400°F (200°C) for 10-15 minutes. For best results, rub the skin with a little extra oil or butter before this final crisping stage. (For more crispy potato ideas, see my best Fried Potatoes recipe!)
- The Power of Pricking: The fork holes aren’t just for safety; they facilitate even cooking. Steam escaping from these vents helps the interior cook more uniformly and prevents pressure buildup.
- Salt on the Skin: Beyond flavor, salt on the potato skin can help draw out a tiny bit of moisture during cooking, contributing to a slightly firmer skin. If you’re going for oven-crisped skin, coarse salt will also give it a satisfying texture.
- Why Rest Matters: Resting allows the potato’s internal temperature to equalize and steam to redistribute. This process, known as “carry-over cooking,” ensures a uniformly tender and fluffy texture throughout the potato, preventing a dense or watery core.
This microwave method truly provides a perfectly cooked baked potato in minutes, proving you don’t always need an oven for delicious results!
Frequently Asked Questions for Baked Potatoes in Microwave
Still have questions about making the perfect baked potato in microwave? Here are answers to some of the most common inquiries:
For crispy skin, microwave the potato until it’s tender on the inside. Then, transfer it to a preheated oven or air fryer at 400°F (200°C) for 5–10 minutes. Rubbing the potato with a little oil before this step will enhance crispiness.
Yes, you can, but you’ll need to increase the cooking time. Arrange them evenly in the microwave with some space between them. For two medium potatoes, try 7-9 minutes; for three or more, it could take up to 10-15 minutes. Always flip them halfway and check for doneness with a fork.
The best way to check for doneness is to pierce the thickest part of the potato with a fork. It should slide in easily with little to no resistance. If you feel any firmness in the center, microwave it for another 30-60 seconds and recheck.
Absolutely! Sweet potatoes can be microwaved using a very similar method. They might take a little longer to cook than Russets—typically 6–10 minutes for a medium-sized sweet potato, depending on its thickness and your microwave’s power. Follow the same steps for piercing, seasoning, and resting.
Cooked potatoes can be stored in an airtight container in the refrigerator for 3-4 days. Ensure they cool down completely before refrigerating to prevent bacterial growth.
No, you should never wrap a potato in aluminum foil before microwaving. Metal is not safe for microwave use and can cause sparks or even a fire. Always use a microwave-safe plate or dish.
Other Time-Saving Microwave Hacks You’ll Love
The microwave is a powerhouse for quick cooking beyond just potatoes. If you’re looking to simplify your life and speed up meal prep, these other microwave tips will be invaluable:
- Learn how to poach eggs in your microwave for a fast breakfast or brunch addition.
- Discover the quickest way to defrost steak in the microwave safely and efficiently when you’re short on time.
- Master my lesson on how to boil eggs in the microwave for a quick and foolproof method to hard-boiled eggs.
Baked Potato in Microwave (Perfect Every Time!)
Jennifer Pallian BSc, RD
2
minutes
5
minutes
7
minutes
4
Ingredients
- 1 large Russet potato or more (see timing below)
- 1 tsp olive oil or butter (optional, for softer skin)
- ½ tsp salt
- Water for steaming (optional, place a small dish of water in microwave with potato)
Instructions
- Prep the Potato: Scrub the potato clean. Poke it 4-5 times with a fork to prevent bursting.
- Season & Add Moisture (Optional): Rub with a little olive oil or butter for a softer skin. Sprinkle with salt for extra flavor.
Microwave on High
- 1 potato: 5 minutes, flipping halfway.
- 2 potatoes: 7-8 minutes, flipping halfway.
- 3 potatoes: 9-11 minutes, flipping halfway.
- 4 potatoes: 12-14 minutes, flipping halfway.
- Check for doneness by piercing with a fork—it should slide in easily.
Rest & Serve
- Let it rest for 1-2 minutes to finish steaming. Slice open and fluff with a fork before adding toppings.
Notes
Use Russet potatoes for the fluffiest texture—Yukon Golds work too but will be creamier. If still firm, microwave in 1-minute bursts until soft.
For crispy skin, finish in a 425°F oven for 10 minutes after microwaving.
This method gives you a perfectly cooked baked potato in minutes—no oven needed!
If you want crispy skins, oil them and finish in a 425°F oven for 10 minutes after microwaving (not slow cooking, as per original article’s mistake).
Nutrition Information (Approximate, per serving)
Calories: 51kcal | Carbohydrates: 10g | Protein: 1g | Fat: 1g | Saturated Fat: 0.2g | Polyunsaturated Fat: 0.1g | Monounsaturated Fat: 1g | Sodium: 293mg | Potassium: 222mg | Fiber: 1g | Sugar: 0.3g | Vitamin A: 1IU | Vitamin C: 3mg | Calcium: 7mg | Iron: 0.5mg
Nutrition information is automatically calculated, so should only be used as an approximation.
Tried this recipe? Leave a comment!