
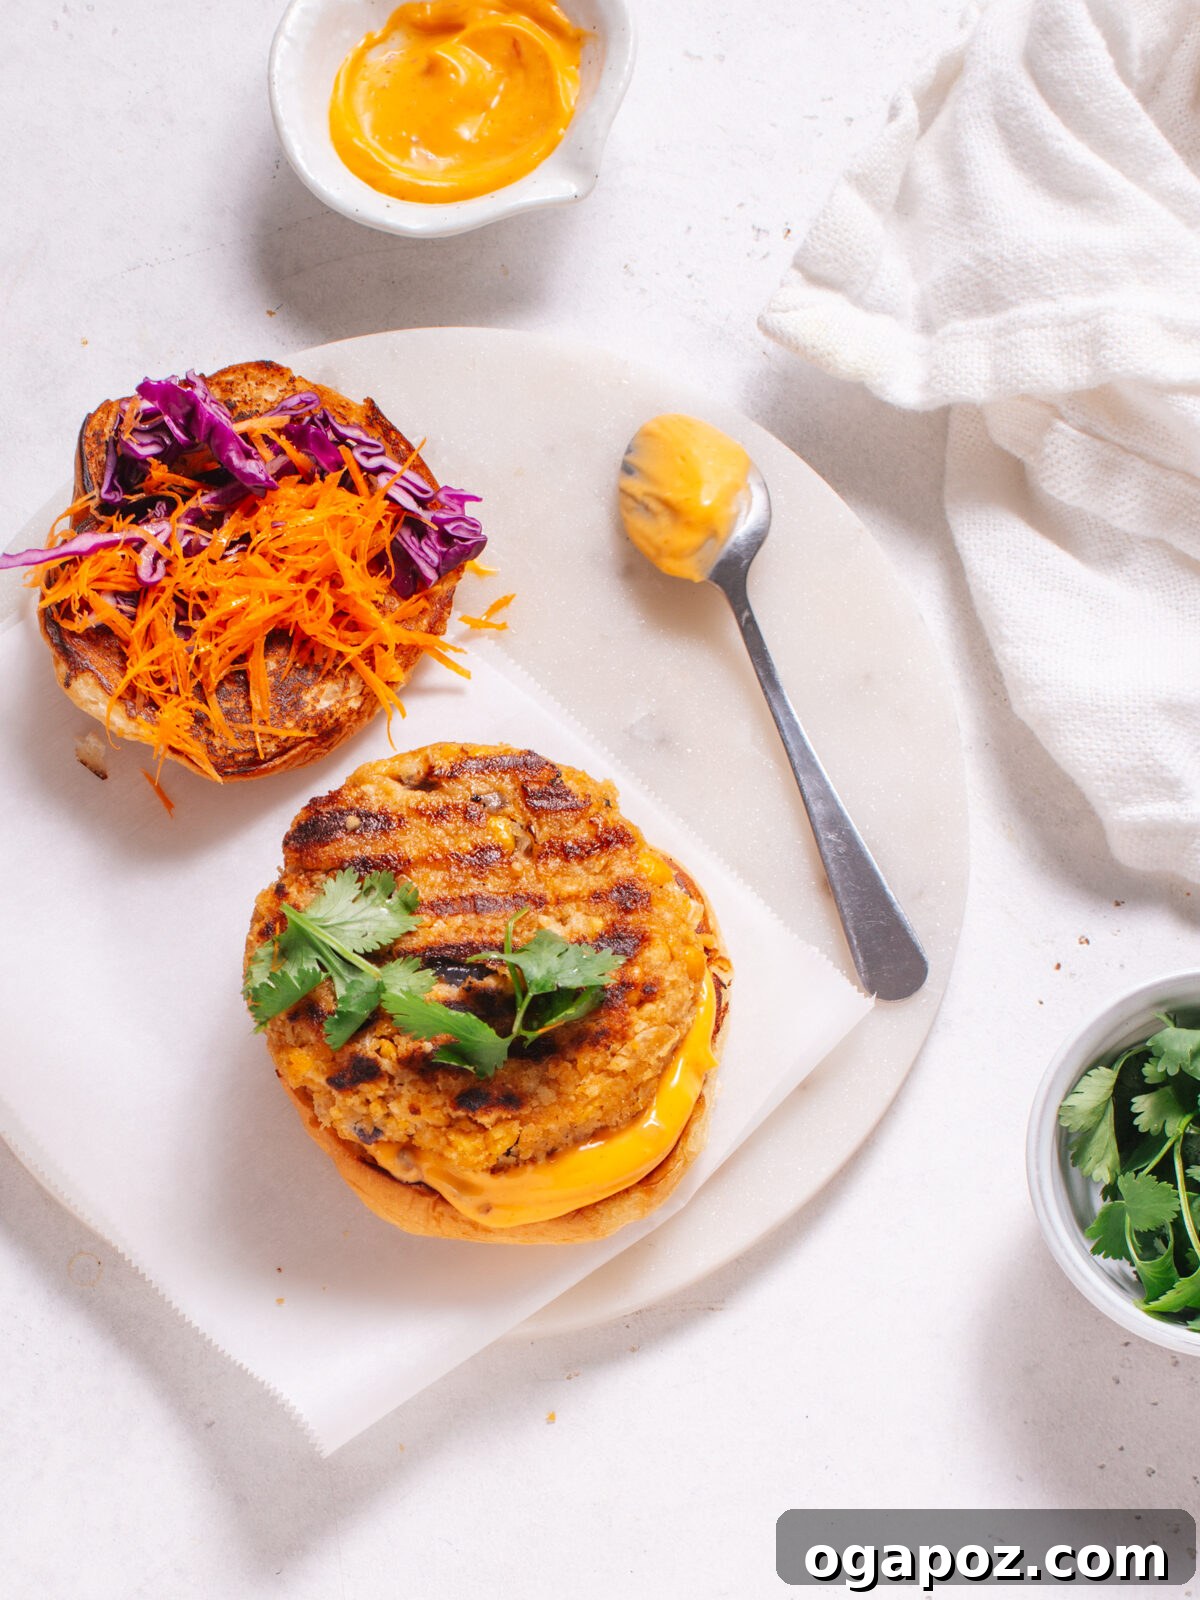
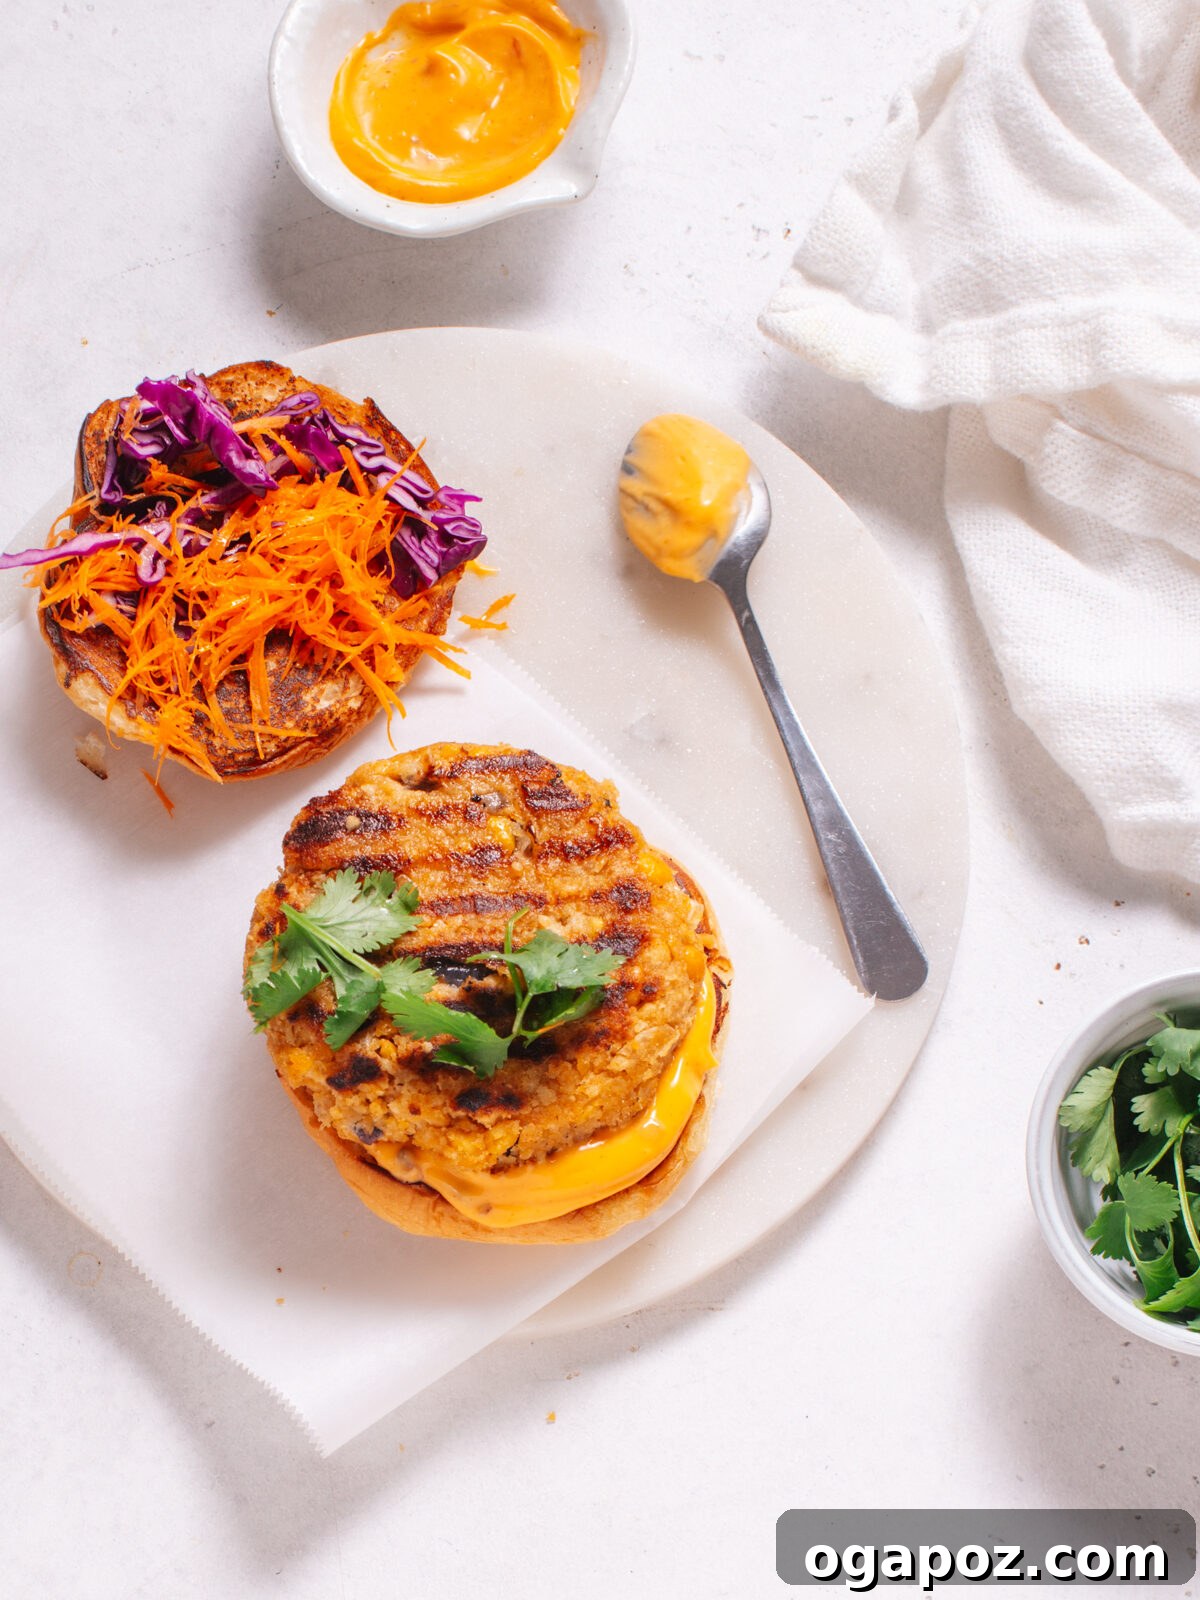
Welcome to the ultimate guide for crafting the most delectable **chickpea burgers** you’ll ever taste! These plant-based patties redefine what a burger can be: beautifully crispy on the outside, incredibly fluffy and tender on the inside, and bursting with an unforgettable savory flavor. Whether you’re a seasoned vegan, looking to incorporate more plant-based meals into your diet, or simply craving a delicious and healthy alternative to traditional meat burgers, this recipe is designed for you. Not only do these burgers boast a fantastic texture that holds together perfectly—even on the grill—but they are also surprisingly easy to make with simple ingredients you likely already have in your pantry.
Beyond their delightful taste and texture, homemade chickpea burgers offer a myriad of benefits. They are a powerhouse of plant-based protein and fiber, making them incredibly satisfying and a smart choice for those seeking nutritious meal options. Plus, making them from scratch gives you complete control over the ingredients, ensuring freshness and allowing for endless customization to suit your dietary needs and personal preferences. Forget bland, crumbly veggie burgers; this recipe promises a robust, flavorful experience that will impress even the most discerning palates.
Get ready to revolutionize your burger nights. We’ll walk you through everything from selecting the perfect ingredients to mastering the cooking process, ensuring your chickpea burgers are a resounding success every time. Let’s dive into making these amazing, wholesome, and utterly delicious chickpea patties!
Crafting Your Perfect Chickpea Burgers: Ingredients and Essential Tools
Creating these incredible chickpea burgers doesn’t require a culinary degree or fancy equipment. With a handful of pantry staples and basic kitchen tools, you’ll be well on your way to enjoying a truly satisfying meal. Here’s a detailed look at everything you’ll need to bring this recipe to life, ensuring both exquisite flavor and perfect texture.
Key Vegan Chickpea Burger Ingredients
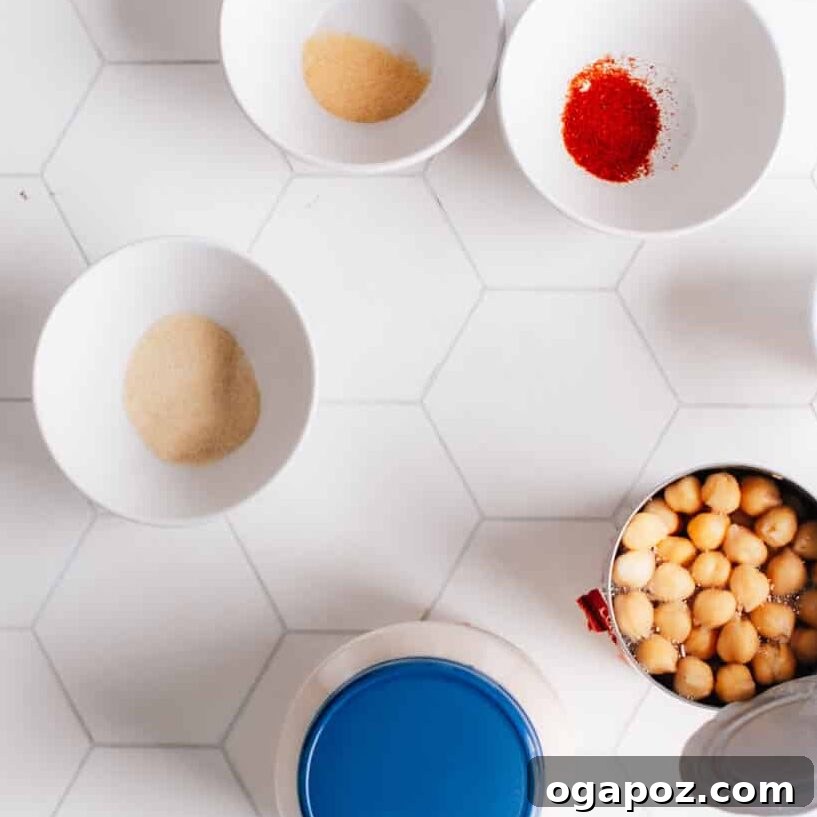
Each ingredient plays a crucial role in achieving the ideal balance of flavor, moisture, and binding for your chickpea patties.
-
Chickpeas (Garbanzo Beans): The heart of our burger. Canned chickpeas, thoroughly drained, provide the foundational protein and fiber. When mashed, they offer a creamy yet textured base. Remember to save the liquid from the can – it’s a secret weapon!
Expand your chickpea repertoire: Try our Spicy Buffalo Chickpea Wrap, Creamy Indian Chickpea Salad, or Coconut Curry Chickpeas. - Breadcrumbs: Essential for binding the patty mixture, breadcrumbs absorb excess moisture and provide the necessary structure to prevent the burgers from falling apart during cooking. They also contribute to that coveted crispy exterior.
- Minced Red Onion: Finely chopped red onion adds a sharp, fresh flavor that complements the earthy chickpeas beautifully. Its subtle pungency elevates the overall taste profile.
- Mayonnaise: Whether you choose conventional or vegan mayonnaise, this ingredient is key for moisture and richness. It helps create a tender interior and adds a creamy depth of flavor.
- Aquafaba (Chickpea Liquid): This is the liquid drained from the canned chickpeas. Often overlooked, aquafaba is a fantastic plant-based binder, mimicking the emulsifying and binding properties of egg whites without using actual eggs. It helps hold the patties together without making them gummy. (Learn more: Aquafaba vs. Egg White)
- Garlic Powder and Onion Powder: These aromatic powders provide a concentrated, savory depth of flavor that is foundational to any good burger. They ensure every bite is packed with deliciousness.
- Ground Cumin: A cornerstone spice in many plant-based dishes, ground cumin imparts a warm, earthy, and slightly smoky flavor that pairs perfectly with chickpeas.
- Cayenne Pepper: Just a pinch of cayenne adds a subtle kick, awakening the flavors and preventing the burger from tasting flat. Adjust to your preferred level of heat.
- Kosher Salt: Essential for seasoning, kosher salt enhances all the other flavors, bringing them into harmony.
- Oil for Cooking: A neutral oil like vegetable, canola, or olive oil is needed for pan-frying or grilling, ensuring a golden, crispy crust.
You’ll find the precise quantities for each ingredient conveniently listed in the comprehensive recipe card located at the bottom of this article.
Flexible Flavor: Variations and Substitutions
One of the best aspects of this chickpea burger recipe is its adaptability. Feel free to customize it to your taste preferences or dietary needs with these simple swaps and additions.
- Alternative Binders: If you don’t have aquafaba or prefer not to use it, a single large egg can be used as a binder instead. For a completely egg-free and aquafaba-free option, a “flax egg” (1 tbsp ground flaxseed mixed with 3 tbsp water, let sit for 5 minutes) can also work.
- Spice it Up (or Down!): Elevate the flavor profile with additional spices. A dash of black pepper adds universal appeal. Smoked paprika can infuse a wonderful smoky essence. For an exotic twist, incorporate a teaspoon of curry powder. Chili powder or a finely minced jalapeño can also be added for more heat.
- Go Gluten-Free: Easily make these burgers gluten-free by using gluten-free breadcrumbs. Quick oats, pulsed briefly in a food processor, also serve as an excellent gluten-free binder, offering a slightly different, wholesome texture.
- Herbal Notes: Fresh herbs like finely chopped parsley, cilantro, or dill can add a vibrant, fresh dimension to your patties. Add about 1-2 tablespoons.
- Veggie Boost: Incorporate finely grated carrots or zucchini (ensure they are squeezed dry) for added nutrients and moisture.
Essential Kitchen Tools
You won’t need any specialized kitchen gadgets for these burgers. Just the basics will do the trick!
- Large Mixing Bowl: For comfortably combining all your ingredients. Choose one with enough space to mash without making a mess.
- Fork or Potato Masher: The ideal tools for mashing chickpeas. While a food processor can be used, a fork or masher allows for some lovely textural chunks, preventing a gummy, overly smooth paste.
- Spatula: A sturdy, wide spatula is crucial for carefully flipping the patties, ensuring they remain intact and perfectly formed.
- Grill or Skillet: Your choice for cooking. A grill imparts beautiful char marks and a smoky flavor, while a nonstick or cast-iron skillet on the stovetop offers a perfectly golden-brown, crispy crust.
- Plate or Baking Sheet + Refrigerator: Chilling the formed patties is a critical step. It helps them firm up, significantly reducing the chance of them crumbling when they hit the heat. Parchment paper on your plate or baking sheet prevents sticking.
Mastering the Art of Chickpea Burgers: A Simple Step-by-Step Guide
Making these delicious chickpea burgers is a straightforward process involving just a few key steps: mixing, chilling, and cooking. Follow this easy guide to achieve perfect patties every time.
Step 1: Mash and Mix Your Ingredients
Begin by preparing your chickpeas. Carefully drain the can of chickpeas, making sure to reserve at least 3 tablespoons of the liquid (aquafaba) – this is precious!
Transfer the drained chickpeas to a large mixing bowl. Add the reserved 3 tablespoons of aquafaba. Using a fork or a potato masher, begin mashing the chickpeas. The goal is to achieve a texture that is mostly smooth but still retains some small, discernible chunks. This balance is crucial for a burger that’s tender inside, not gummy.
Once the chickpeas are mashed to your liking, add the remaining ingredients to the bowl: breadcrumbs, finely chopped red onion, mayonnaise (or vegan mayo), garlic powder, onion powder, ground cumin, cayenne pepper, and salt.
Stir everything together thoroughly. Use your hands if needed to ensure all ingredients are well combined and the mixture is uniform. It should be cohesive enough to hold its shape when pressed together.
Step 2: Shape and Chill for Success
Divide the chickpea mixture into equal portions. For a standard size, aim for 4 to 6 patties, each about 1/2-inch thick. Gently form each portion into a firm, round, or oval patty. Ensure the edges are smooth and compact to prevent crumbling during cooking.
Place the formed patties onto a plate or a baking sheet lined with parchment paper. Parchment paper is highly recommended as it prevents sticking.
This next step is absolutely vital for success: refrigerate the patties for at least 30 minutes. Chilling allows the ingredients to meld together, firming up the patties significantly. This makes them much easier to handle and ensures they will hold their shape beautifully on the grill or in the pan. Don’t skip this step!
Step 3: Grill or Pan Fry to Golden Perfection
When you’re ready to cook, preheat your grill to medium heat. If using a skillet, heat it over medium heat on your stovetop.
Lightly brush the grill grates or coat the bottom of your skillet with a little oil. This prevents sticking and helps create a lovely crust.
Carefully place the chilled chickpea patties onto the hot surface. Cook for 4 to 5 minutes per side. You’ll know they’re ready to flip when the bottom side is beautifully golden brown and crispy. Flip the patties gently with your spatula to avoid breaking them. Continue cooking until the second side is also golden and the burgers are heated through.
Step 4: Assemble Your Dream Burger
Once cooked, remove the patties from the heat. Now comes the fun part: assembly!
Lightly toast your favorite burger buns for added texture and warmth.
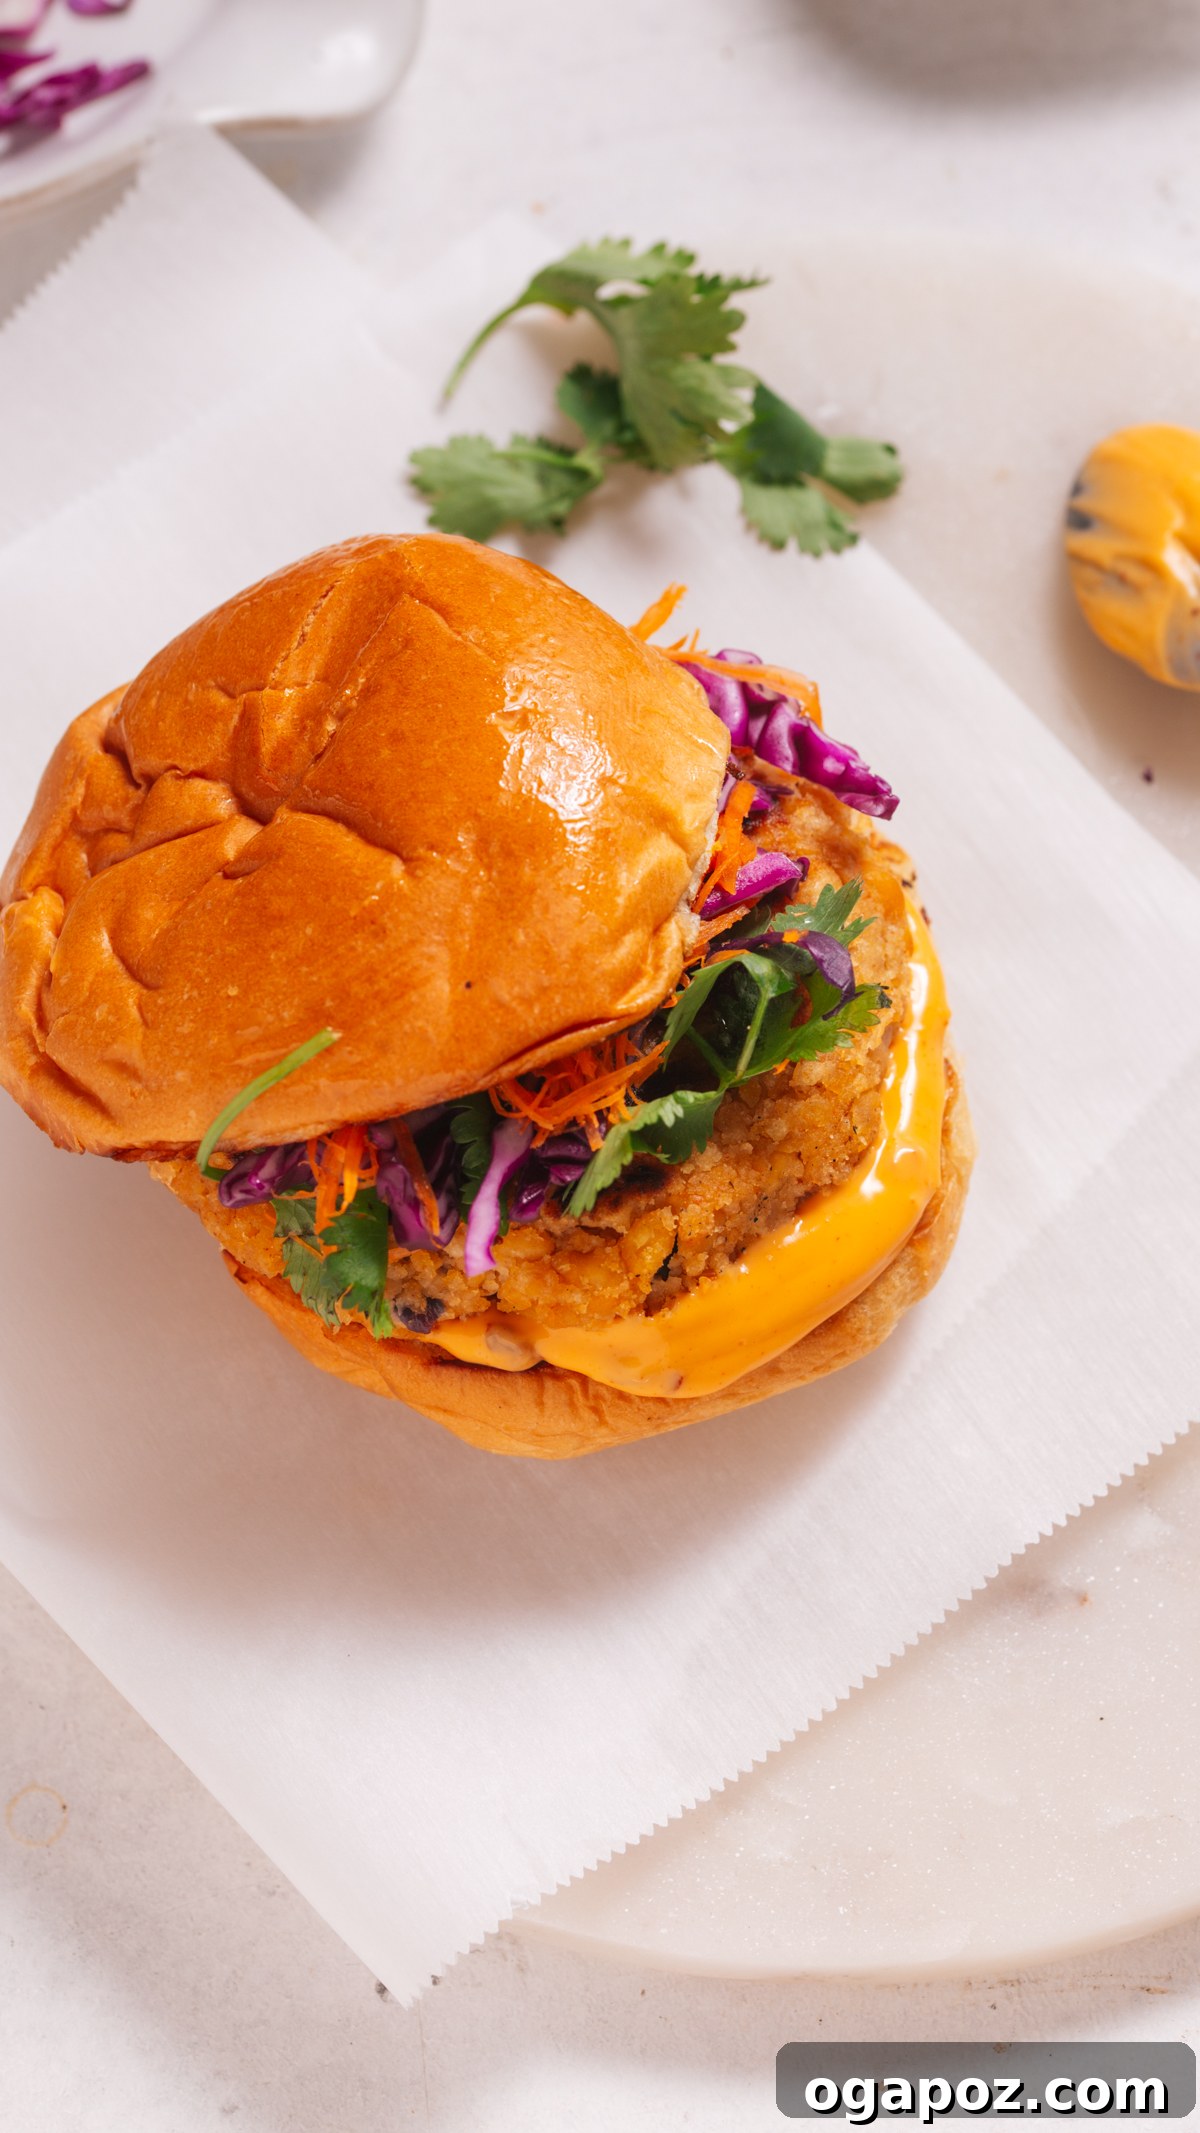
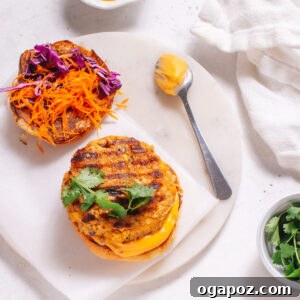
Place a warm chickpea patty on each toasted bun. Now, unleash your creativity with toppings! Classic options like fresh lettuce, ripe tomato slices, and tangy pickles are always winners. For added crunch and color, consider shredded carrots, thinly sliced cucumber, or vibrant purple cabbage. A slice of your favorite cheese (dairy or vegan) can also be added for extra creaminess.
Finally, finish with your preferred condiments. Ketchup and mustard are timeless, but don’t hesitate to experiment with BBQ sauce, a spicy mayo, or a cooling yogurt-based sauce for a gourmet touch. Enjoy your homemade masterpiece!
Achieving Perfection: Common Mistakes to Avoid for Your Chickpea Burgers
While making chickpea burgers is relatively simple, certain pitfalls can prevent them from reaching their full potential. Being aware of these common errors will help you create consistently delicious and structurally sound patties.
- Skipping the Essential Chill Time: This is arguably the most critical step. Rushing the process and immediately cooking freshly formed patties is a recipe for disaster. Without sufficient time in the refrigerator (at least 30 minutes), the mixture remains too soft, making the patties prone to crumbling and falling apart when handled or cooked. The chill time allows the ingredients to bind properly and the patties to firm up, ensuring they hold their shape beautifully.
- Over-Mashing the Chickpeas: While you want a cohesive mixture, mashing the chickpeas into a completely smooth paste will result in a dense, gummy, and unappetizing burger texture. The key is to leave some small chunks of chickpeas. This provides a pleasant bite and contributes to the fluffy, tender interior that makes these burgers so enjoyable. Use a fork or potato masher for best results, avoiding a food processor if you prefer texture.
- Not Draining Chickpeas Thoroughly: Excess moisture is the enemy of a firm burger. If your chickpeas aren’t well-drained, the mixture will be too wet, leading to soft, soggy patties that struggle to hold their form and crisp up properly. Always drain canned chickpeas thoroughly before mashing. If using aquafaba, measure it precisely to ensure you’re not adding too much liquid.
- Using Too Much Oil or Excessive Heat: While oil is necessary for browning and crisping, an overly generous amount or a pan that’s too hot can lead to a burnt exterior before the inside has a chance to properly cook and firm up. This results in a burger that’s charred on the outside but still soft and unstable in the center. Use a moderate amount of oil and maintain medium heat for even cooking and a perfectly golden crust.
- Flipping the Patties Too Early: Patience is a virtue, especially when cooking veggie burgers. Trying to flip the patties before they have developed a solid, golden crust on the first side is a common mistake that often leads to them breaking apart. Allow the first side to cook fully, forming a firm surface, before attempting to flip. This usually takes 4-5 minutes on medium heat. A good indicator is when the edges start to look crisp and browned.
Convenience Corner: Make Ahead and Storage Tips
These chickpea burgers are fantastic for meal prepping! You can prepare them in advance, making weeknight dinners even easier and more convenient.
Storing Cooked Leftovers
- Allow any leftover cooked chickpea burgers to cool completely to room temperature.
- Store them in an airtight container in the refrigerator for up to 3 days. This ensures they remain fresh and delicious for future meals.
Freezing for Future Feasts
Freezing is an excellent option for long-term storage, allowing you to have homemade chickpea burgers ready whenever a craving strikes.
- Uncooked Patties: For best results, freeze uncooked patties. Form the patties as directed in the recipe, then arrange them in a single layer on a baking sheet lined with parchment paper. Freeze until they are completely solid (this prevents them from sticking together).
- Once solid, transfer the frozen patties to a freezer-safe bag or an airtight container, separating layers with parchment paper if stacking.
- They can be frozen for up to 2 months. When ready to cook, you can often cook them directly from frozen, adding a few extra minutes to the cooking time.
- Cooked Patties: Cooked patties can also be frozen, though the texture might be slightly softer after reheating. Let them cool, then follow the same freezing steps as uncooked patties.
Reheating Chickpea Burgers
- From the Refrigerator: To reheat cooked patties from the fridge, you have a few options. Warm them in a skillet over medium heat for about 5-7 minutes per side until heated through and crispy. Alternatively, bake them in a preheated oven at 350ºF (175ºC) for approximately 10-15 minutes.
- From Frozen: When reheating frozen patties (either cooked or uncooked), adjust your method slightly. For a skillet, cook them in a covered pan on low-medium heat, allowing them to thaw and heat slowly, then increase heat to crisp. In the oven, bake at 375ºF (190ºC) for 15-20 minutes, or until thoroughly heated and golden. Flipping halfway through will ensure even crispness.
Elevate Your Meal: Serving Suggestions for Chickpea Burgers
These versatile chickpea burgers are a blank canvas for culinary creativity. Whether you stick to classic combinations or venture into adventurous pairings, they promise a delicious foundation for any meal.
Inspired Chickpea Burger Toppings
Don’t limit yourself to just the basics! The right toppings can transform your chickpea burger into a gourmet delight.
- Fresh & Crunchy: For an added layer of texture and vibrant flavor, load up on fresh ingredients like finely shredded carrots, thinly sliced cucumber, crisp purple cabbage, and a generous sprinkle of fresh cilantro. These additions provide a delightful contrast to the soft patty.
- Saucy Sensations: Elevate your burger with a flavorful sauce. Explore beyond ketchup and mustard with options like our creamy Baja Sauce, a fiery Nashville Hot Sauce, zesty Spicy Mayo, classic BBQ sauce, or a cooling, garlicky Indian Yogurt Sauce. A dollop of hummus or a swipe of pesto can also be incredibly delicious.
- Creamy & Rich: Add slices of creamy avocado, a generous helping of your favorite cheese (dairy or vegan), or a swirl of rich tahini sauce.
- Tangy & Bright: Tangy pickles are a must, but don’t forget a squeeze of fresh lemon juice or a few pickled red onions to cut through the richness and brighten the flavors.
Perfect Side Dishes for Chickpea Burgers
Complement your chickpea burgers with a range of delicious side dishes that cater to every taste and occasion.
- Classic Comfort: Pair your burgers with crispy baked fries or our irresistible Sweet Potato Fries with Chipotle Aioli for a traditional burger joint experience at home.
- Fresh & Hearty Salads: For a lighter, yet satisfying accompaniment, serve with a vibrant green salad, a creamy Classic Homemade Potato Salad, or our famously delicious Best Macaroni Salad. A quinoa salad or a simple coleslaw also makes an excellent choice.
- Creative Alternatives: If you’re skipping the bun, get creative! Crumble a chickpea patty into a vibrant grain bowl filled with your favorite grains (like quinoa or farro), roasted vegetables, and a flavorful dressing. Alternatively, wrap it in large, crisp lettuce leaves with plenty of sauce for a lighter, low-carb option.
- Seasonal Vegetables: Roasted asparagus, grilled corn on the cob, or a medley of sautéed greens can add a healthy and flavorful touch to your meal.
Explore More Delicious Burger Recipes
If you’ve enjoyed these chickpea burgers and are looking to expand your burger repertoire, we have a variety of other fantastic recipes that cater to different tastes and dietary preferences. Discover your next favorite burger!
- Our Best Turkey Burger Recipe: Lean, flavorful, and incredibly satisfying.
- Juicy Ground Chicken Burgers: A lighter alternative that doesn’t compromise on taste.
- Juicy Mushroom Burgers with Swiss: Earthy and rich, perfect for mushroom lovers.
- Moist and Flaky Salmon Burgers: A delicious seafood option packed with healthy omega-3s.
- Air Fryer Turkey Burgers: For a quick, easy, and healthy cooking method.
Print Recipe
Easy Chickpea Burgers (Fluffy, Crispy + SO TASTY!)
Jennifer Pallian BSc, RD
10
15
4
Ingredients
-
1
15-oz can
chickpeas
drained but reserve the liquid (aquafaba) -
½
cup
breadcrumbs -
¼
cup
finely chopped red onion -
2
tbsp
mayonnaise (or vegan mayo) -
1
tsp
garlic powder -
1
tsp
onion powder -
1
tsp
ground cumin -
¼
tsp
cayenne pepper -
¾
tsp
kosher salt - Oil for cooking
Instructions
-
In a large bowl, thoroughly mash the drained chickpeas with 3 tbsp of the reserved aquafaba using a fork or potato masher. Aim for a consistency that’s mostly smooth but still has some delightful chunks for texture.
-
Add the breadcrumbs, finely chopped red onion, mayonnaise, garlic powder, onion powder, ground cumin, cayenne pepper, and kosher salt to the bowl. Stir everything together until all ingredients are evenly combined and the mixture is cohesive.
-
Divide the mixture into 4 equal portions and form them into patties, about 1/2-inch thick. Place the formed patties on a plate or baking sheet lined with parchment paper and refrigerate for at least 30 minutes to help them firm up.
-
Heat a nonstick skillet or grill pan over medium heat. Add a little oil to coat the cooking surface.
-
Carefully place the chilled patties into the pan or on the grill. Cook for 4 to 5 minutes per side, or until each side is beautifully golden brown and crispy. Flip gently to avoid breaking the patties.
-
Serve your cooked chickpea burgers immediately on toasted buns or in wraps, topped with your favorite fresh veggies and sauces.
Notes
Aquafaba: Add cautiously, only as needed. Too much can make the mixture overly wet.
Breadcrumbs: Both regular and gluten-free breadcrumbs work perfectly. Quick oats are also a great substitute for a gluten-free option.
Mayonnaise: Use either regular or vegan mayonnaise to impart richness and moisture to your patties.
Pan Fry: A nonstick skillet or a seasoned cast iron pan is ideal for pan-frying. Medium heat is crucial for a crisp exterior and cooked interior.
Serving Ideas: These burgers are fantastic with crisp lettuce, fresh tomato slices, tangy pickles, zesty barbecue sauce, or a refreshing homemade yogurt sauce.
Storage: Leftover cooked patties can be refrigerated in an airtight container for up to 3 days. Uncooked patties can be frozen for up to 2 months; freeze them individually on parchment paper before transferring to a freezer bag.
Nutrition Information
Calories:
111
kcal
|
Carbohydrates:
12
g
|
Protein:
2
g
|
Fat:
6
g
|
Saturated Fat:
1
g
|
Polyunsaturated Fat:
3
g
|
Monounsaturated Fat:
1
g
|
Trans Fat:
0.01
g
|
Cholesterol:
3
mg
|
Sodium:
582
mg
|
Potassium:
64
mg
|
Fiber:
1
g
|
Sugar:
1
g
|
Vitamin A:
63
IU
|
Vitamin C:
1
mg
|
Calcium:
34
mg
|
Iron:
1
mg
Nutrition information is automatically calculated and should be used as an approximation only.
Tried this recipe? Share your thoughts in the comments below!