
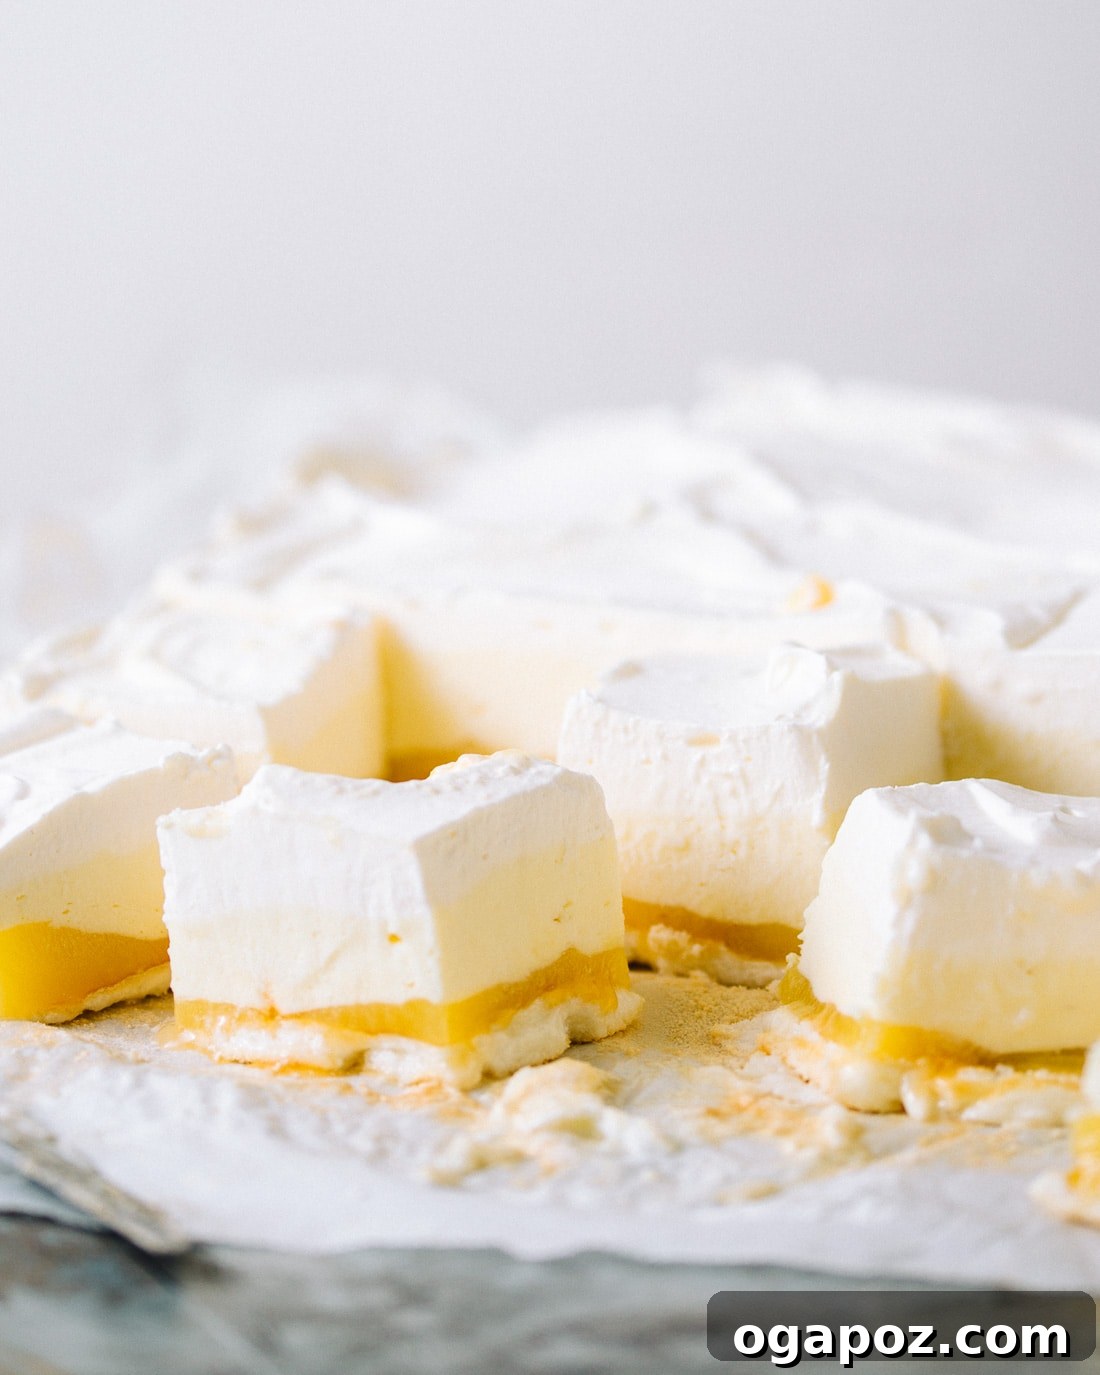
Frozen Lemon Mousse Bars: Your New Favorite Zesty Cloud of Delight
Prepare to have your taste buds transported to a realm of pure delight with these exquisite Lemon Mousse Bars. Imagine the classic charm of a lemon meringue pie seamlessly blended with the ethereal lightness of a cloud – that’s precisely what these bars deliver. They are more than just a dessert; they are a culinary experience, offering layers of delicate textures and an invigorating burst of lemon flavor that will captivate everyone at your table.
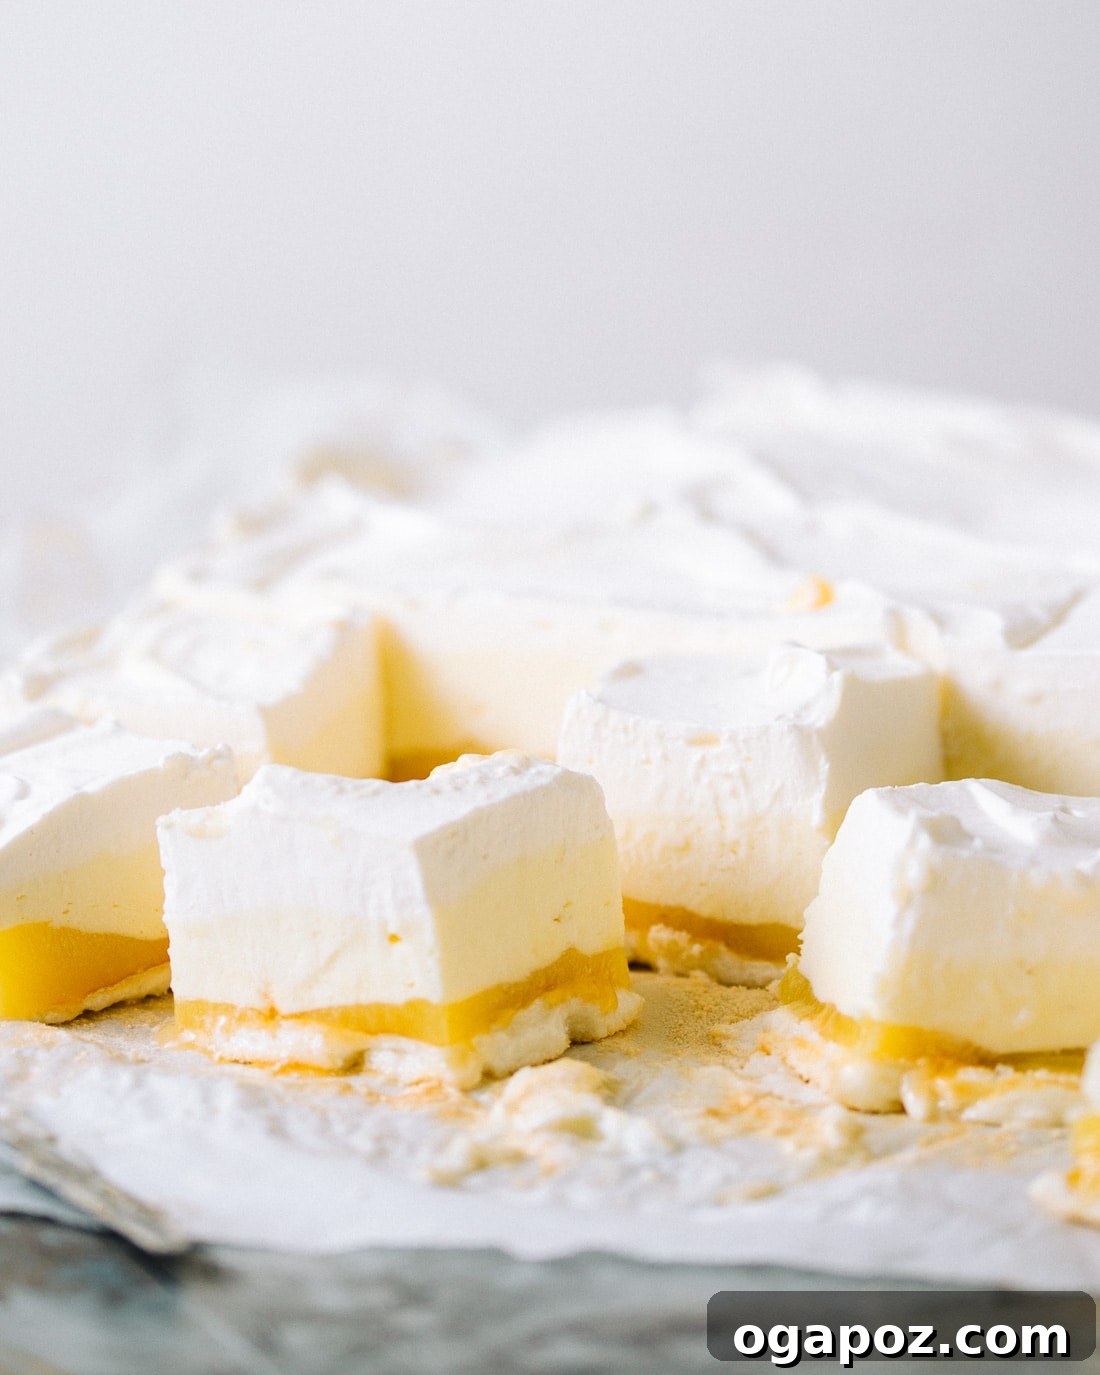
These remarkable bars boast a meticulously crafted structure: a crisp yet tender meringue base, generously topped with a velvety, tangy lemon curd. This is followed by a super-easy, shortcut lemon mousse – a testament to effortless elegance – and crowned with a luscious, airy pillow of whipped cream. The genius behind this dessert lies in its assembly and serving method. Because the fillings are soft and creamy, the entire creation is assembled in a parchment-lined 9×13-inch pan and then frozen until perfectly firm, allowing for neat and elegant slicing. Served slightly thawed, much like a semifreddo, these bars present a harmonious blend of creamy, airy, and cool sensations, culminating in a truly dreamy lemon experience.
Crafting the Perfect Lemon Mousse Bar: A Symphony of Flavors and Textures
The beauty of these Frozen Lemon Mousse Bars lies in their layered composition, each element contributing to an unforgettable dessert. Let’s delve into what makes each layer so special and how they come together to create a masterpiece.
The Meringue Base: A Foundation of Delicate Sweetness
The journey begins with a light and delicate meringue base. Unlike a traditional pie crust, this meringue offers a subtly chewy texture that wonderfully contrasts with the creamy layers above. It’s surprisingly simple to prepare, requiring just egg whites and sugar. The trick is to whip the egg whites to stiff, glossy peaks, creating an airy foundation that bakes to a beautiful golden hue. This base provides just enough structure and a hint of sweetness without overpowering the bright lemon flavors.
Creamy Lemon Curd: The Tangy Heart
Next comes the vibrant heart of the dessert: the lemon curd. You have the flexibility to use either homemade lemon curd for an extra touch of artisanal flavor or a high-quality store-bought version for convenience. Alternatively, prepared lemon pie filling can also be used, especially if you prefer a slightly thicker consistency. While lemon curd typically has a more intense tang, the frozen nature of these bars makes pie filling a perfectly suitable substitute, holding its shape beautifully when chilled. The tartness of the lemon curd is paramount, cutting through the richness of the cream and mousse, ensuring each bite is refreshing and never overly sweet.
Effortless Lemon Mousse: The Cloud-Like Center
The star of the show, the lemon mousse, is remarkably simple to achieve, making this recipe accessible even for novice bakers. It’s a clever shortcut that involves gently folding a portion of the freshly whipped cream into the lemon curd. This technique infuses the curd with air, transforming it into a light, fluffy, and incredibly smooth mousse. This layer is what truly earns the dessert its “cloud-like” description, providing an airy softness that melts in your mouth.
Pillowy Whipped Cream: The Grand Finale
Finally, a generous layer of freshly whipped cream crowns these bars, adding a final touch of indulgence and visual appeal. Whipped to medium peaks and subtly sweetened with a hint of vanilla, this layer provides a luxurious contrast to the zesty lemon. Its light and airy texture complements the mousse and curd beautifully, creating a harmonious finish that ties all the components together.
Simplified Steps to Assemble Your Heavenly Lemon Mousse Bars
Creating these delightful bars is a straightforward process once you have your components ready. Here’s a streamlined guide to layering your way to dessert perfection:
- Prepare the Meringue Base: Whip egg whites and sugar until you achieve beautiful, glossy, stiff peaks. Spread this airy meringue into a parchment-lined pan and bake until set and lightly golden. Allow it to cool completely before proceeding.
- Whip the Cream: While the meringue cools, thoroughly clean your mixer bowl and whisk. Then, whip the heavy cream with the remaining sugar and vanilla extract until medium peaks form, setting aside a portion for the mousse and the rest for the top layer.
- Craft the Easy Mousse: In a separate bowl, gently fold half of your freshly whipped cream into half of the lemon curd. This simple step creates a light and airy mousse that is the heart of this dessert.
- Layer with Care: Once the meringue base is cooled, spread the remaining lemon curd evenly over it. Follow with the freshly made lemon mousse, gently smoothing it to the edges. Finally, crown the bars with the reserved whipped cream, creating a fluffy, inviting topping. (P.S. If you’re a true lemon aficionado, you absolutely must try my Easy Lemon Tart – it features equally dreamy layers of lemon goodness!)
- Freeze to Perfection: Transfer the assembled dessert to the freezer. Allowing it to firm up completely is crucial for achieving clean, elegant slices.
Mastering Your Lemon Mousse Bars: Tips for Success
To ensure your Frozen Lemon Mousse Bars turn out perfectly every time, consider these helpful tips:
- Parchment Paper is Your Best Friend: Lining your baking pan with parchment paper, leaving an overhang on the sides, is non-negotiable. This simple step ensures easy removal of the entire slab from the pan once frozen, making slicing a breeze.
- Temperature Matters for Meringue: Ensure your egg whites are at room temperature before whipping. This allows them to incorporate air more effectively, resulting in a voluminous and stable meringue. Also, ensure your mixing bowl and whisk are impeccably clean and free of any grease, as even a speck of fat can prevent egg whites from whipping properly.
- Don’t Overmix the Cream: When whipping cream, watch it closely. Overmixing can turn it grainy. Stop as soon as medium peaks form – firm enough to hold their shape but still soft and silky.
- Quality Lemon Curd: While store-bought lemon curd offers convenience, a high-quality product will significantly impact the final flavor. If opting for homemade, ensure it’s well-chilled before assembly.
- Gentle Folding for Mousse: When combining whipped cream with lemon curd to create the mousse, use a gentle folding motion. This preserves the air in the whipped cream, ensuring your mousse remains light and airy, not dense.
- Patience During Freezing: Allow sufficient time for the bars to freeze solid. This isn’t just for texture; it’s vital for achieving neat, clean cuts. An hour is usually the minimum, but longer won’t hurt.
Preparing Ahead: Can Lemon Mousse Bars Be Made a Day (or Week!) Ahead?
One of the many charms of these Frozen Lemon Mousse Bars is their incredible make-ahead potential, making them an ideal choice for entertaining or simply enjoying a delightful treat throughout the week. Absolutely, these bars can be prepared well in advance – they hold beautifully in the freezer for up to two weeks!
If you’re planning to serve them the following day or even further in the future, the storage process is simple. Once the entire slab of lemon bars is firmly frozen, carefully lift it out of the pan using the parchment paper overhang. With the parchment still attached, wrap the whole slab securely in several layers of plastic wrap, followed by aluminum foil. This double wrapping protects the bars from freezer burn and preserves their exquisite flavor and texture. Keep them frozen until you are ready to slice and serve.
It’s worth noting that the meringue base will naturally soften the longer the lemon bars remain in the freezer, and also the longer they are left to thaw. So, don’t expect a super crisp base reminiscent of straight-from-the-oven meringue. Instead, anticipate a delightful, slightly yielding base that contributes to the overall creamy, melt-in-your-mouth texture, much like an inverted lemon meringue pie. This subtle transformation only adds to their charm.
Achieving Picture-Perfect Slices and Optimal Serving
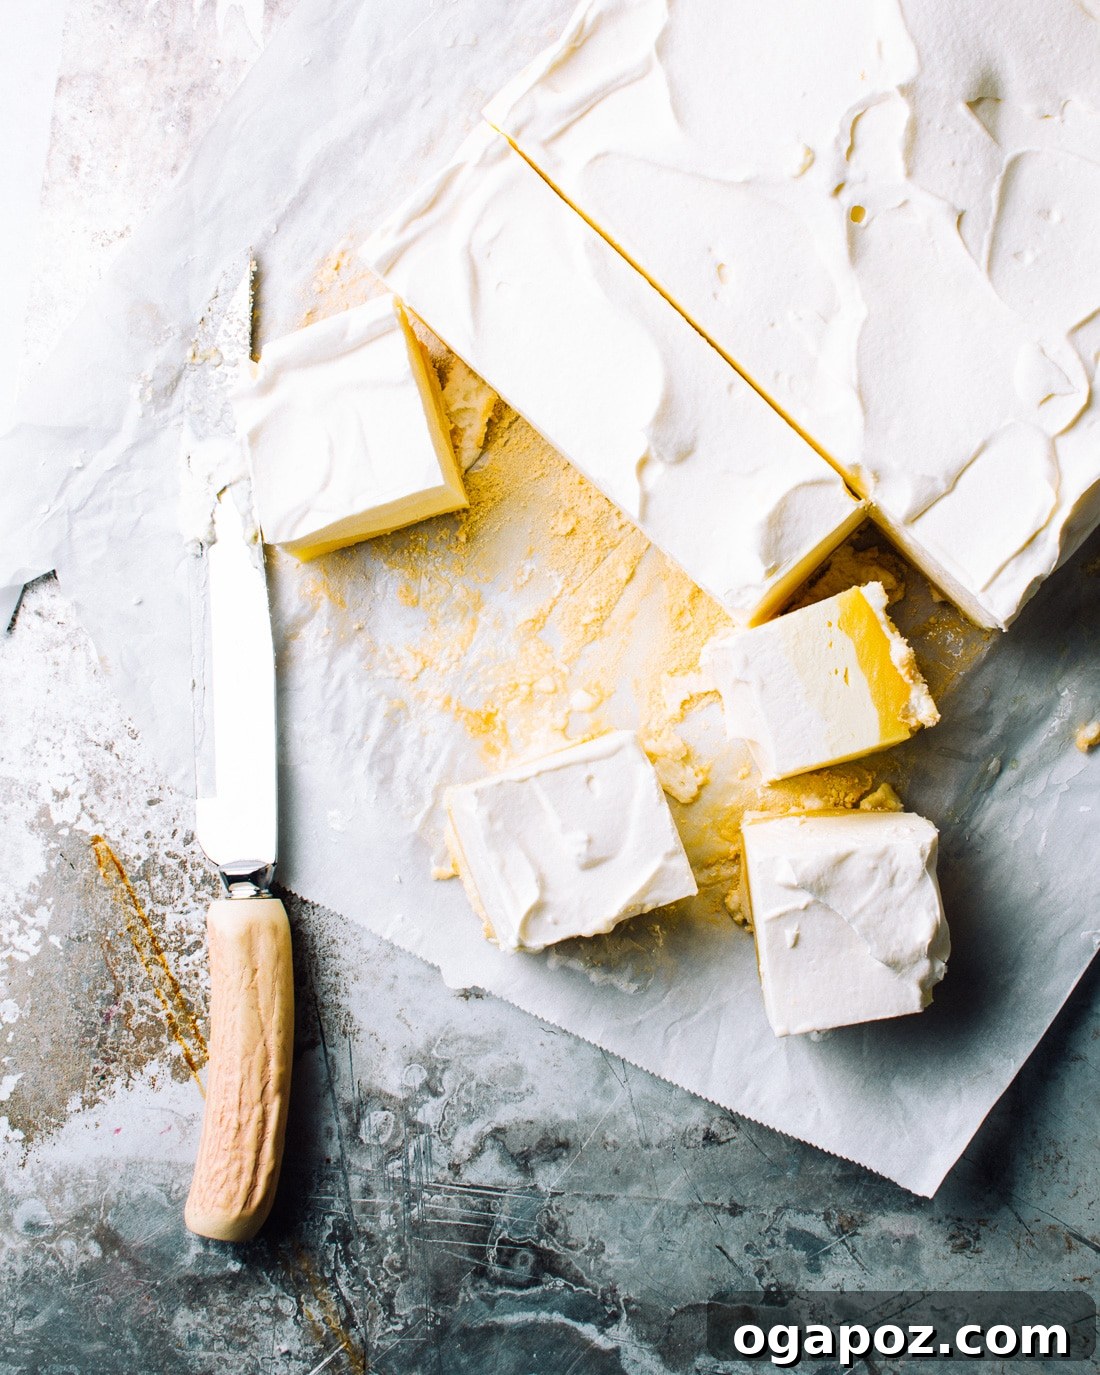
To truly impress with your Frozen Lemon Mousse Bars, precise slicing and perfect thawing are key. When you’re ready to serve, transfer the entire wrapped slab to a clean cutting surface. For the cleanest, most professional-looking slices, it is highly recommended to cut the bars while they are still very frozen. The firm consistency allows for sharp edges.
The secret to effortless, clean cuts lies in your knife technique: use a very sharp knife, and between each slice, dip the blade into hot water and wipe it clean. This warms the blade, allowing it to glide smoothly through the frozen layers without sticking or tearing. Once sliced, arrange the bars on your serving platter and allow them to thaw slightly at room temperature for about 20 minutes before serving. This brief resting period brings them to the perfect semifreddo consistency – creamy, cool, and incredibly refreshing, allowing all the delicate textures and vibrant flavors to shine through beautifully.
Frozen Lemon Mousse Bars
By: Jennifer Pallian BSc, RD
A light meringue base topped with creamy lemon pie filling, a super-easy (shortcut) lemon mousse, and softly whipped cream, served semi-frozen. They’re a creamy, cool, lemony dream.
Prep Time: 20 minutes
Cook Time: 1 hour
Total Time: 1 hour 20 minutes
Servings: 16
Ingredients
- 6 egg whites
- 1 cup + 6 tbsp granulated sugar (divided use)
- 4 cups heavy whipping/35% cream
- ¾ tsp vanilla extract
- 4 cups homemade or storebought lemon curd (or storebought lemon pie filling)
Instructions
To make the meringue base:
- Preheat oven to 300ºF (150ºC).
- In a stand mixer with a whisk attachment, beat egg whites on medium-high speed until frothy. While the mixer is running, gradually add 1 cup of the sugar, about a tablespoon at a time, until glossy, stiff peaks form. Spread this meringue into a parchment-lined 9×12-inch (23×30 cm) baking pan and bake for 45 minutes. Cool completely on a wire rack.
To make the whipped cream:
- Meanwhile, thoroughly clean the mixer bowl and whisk attachment to ensure no grease remains. Add the heavy whipping cream to the bowl and beat on high speed until medium peaks form. Add the remaining 6 tbsp of sugar and the vanilla extract, and beat briefly to combine until just incorporated.
To make the lemon mousse:
- Place half of the lemon curd in a clean bowl. Add half of the freshly whipped cream and gently fold them together until just combined, being careful not to deflate the cream.
To assemble:
- Once the meringue base has cooled completely, spread the remaining 2 cups of lemon curd evenly on top. Follow with the prepared lemon mousse, spreading it gently to the edges of the pan. Finally, layer the remaining whipped cream on top, smoothing it out for a beautiful finish. Transfer the Lemon Mousse Bars to the freezer for at least 1 hour to firm up, which will make slicing much easier.
- Store any leftovers in the freezer. For optimal enjoyment, let stand at room temperature for 20 minutes before serving.
Notes
These bars are best served slightly thawed. Always store leftovers in the freezer. Allow them to sit at room temperature for approximately 20 minutes before serving to achieve the perfect semifreddo texture, where the layers are creamy but still cold.
Tried this recipe? Share your experience in the comments below! We love hearing from you.