
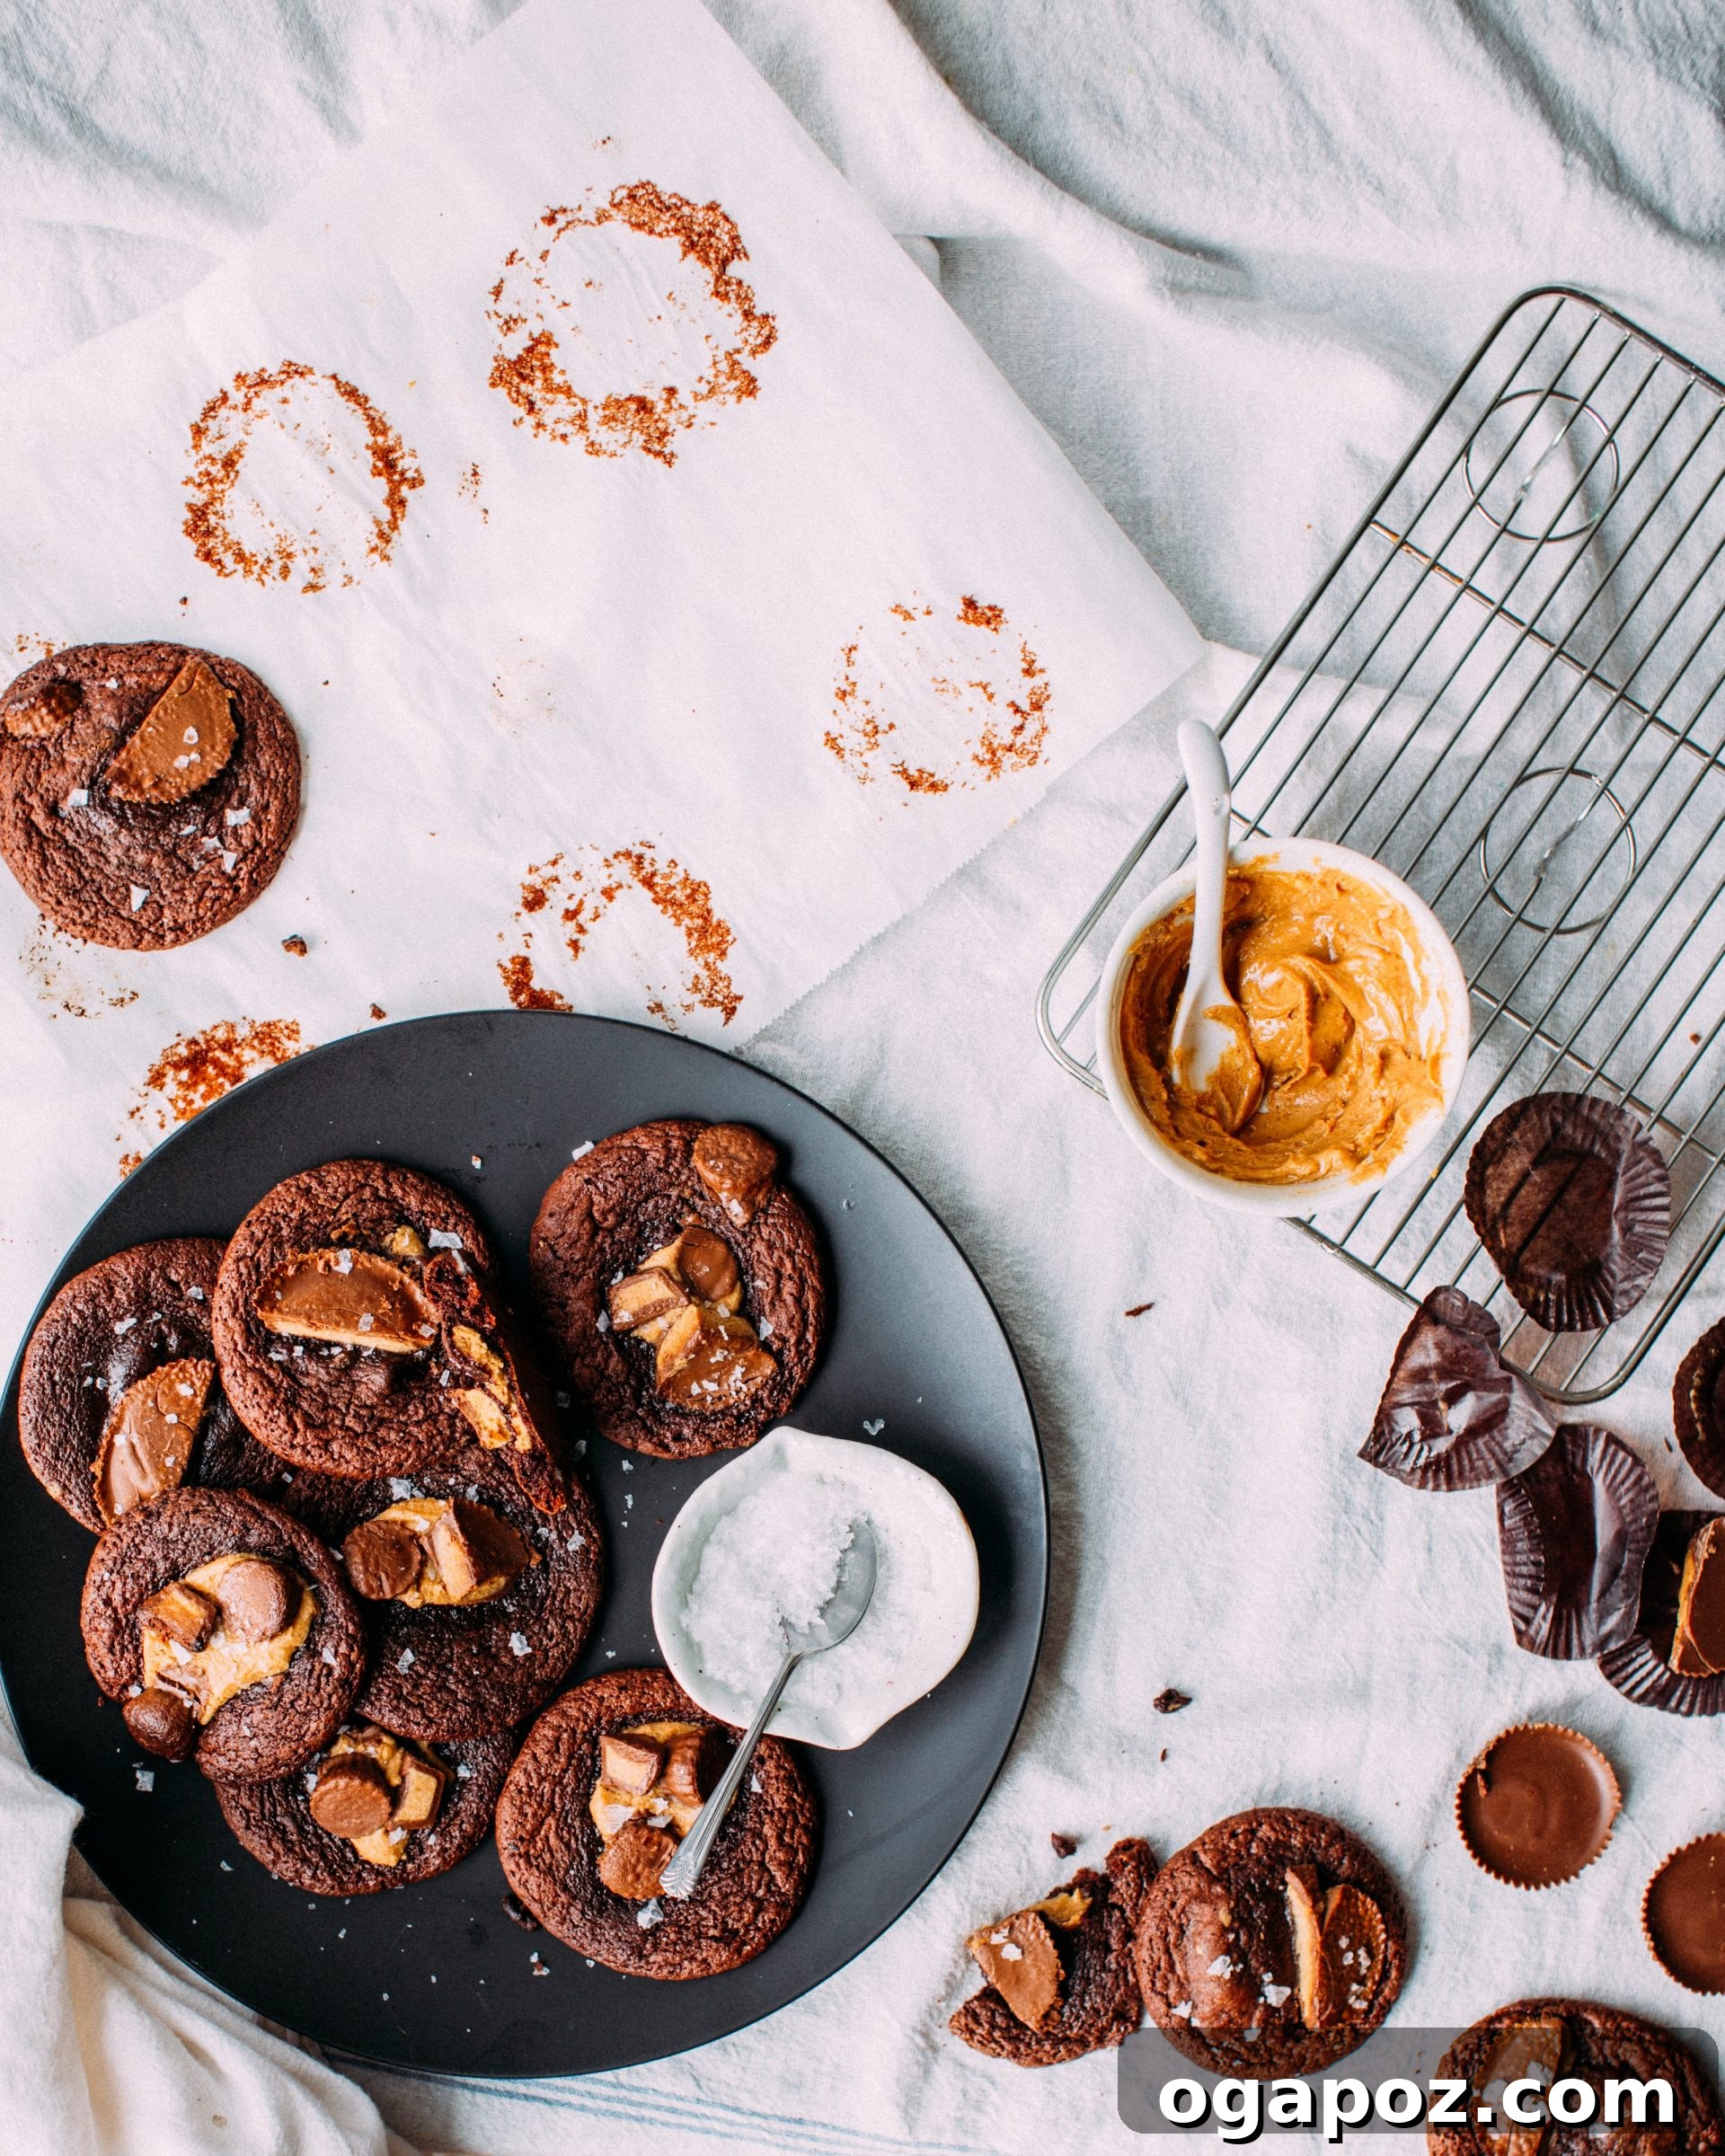
Get ready to indulge in the most decadent cookies you’ve ever tasted: **Reese’s Peanut Butter Cup Cookies**. Imagine a perfectly chewy, rich, brownie-like milk chocolate cookie that’s not just *any* cookie, but one generously stuffed with a luscious, creamy peanut butter filling. As if that weren’t enough, each cookie is then crowned with even more chopped Reese’s Peanut Butter Cups, ensuring a burst of that iconic chocolate and peanut butter flavor in every bite. A final delicate sprinkle of flaky sea salt elevates these treats, balancing the sweetness and making them utterly impossible to resist. These aren’t just cookies; they’re a celebration of the beloved Reese’s combination, perfected for the ultimate homemade baking experience.
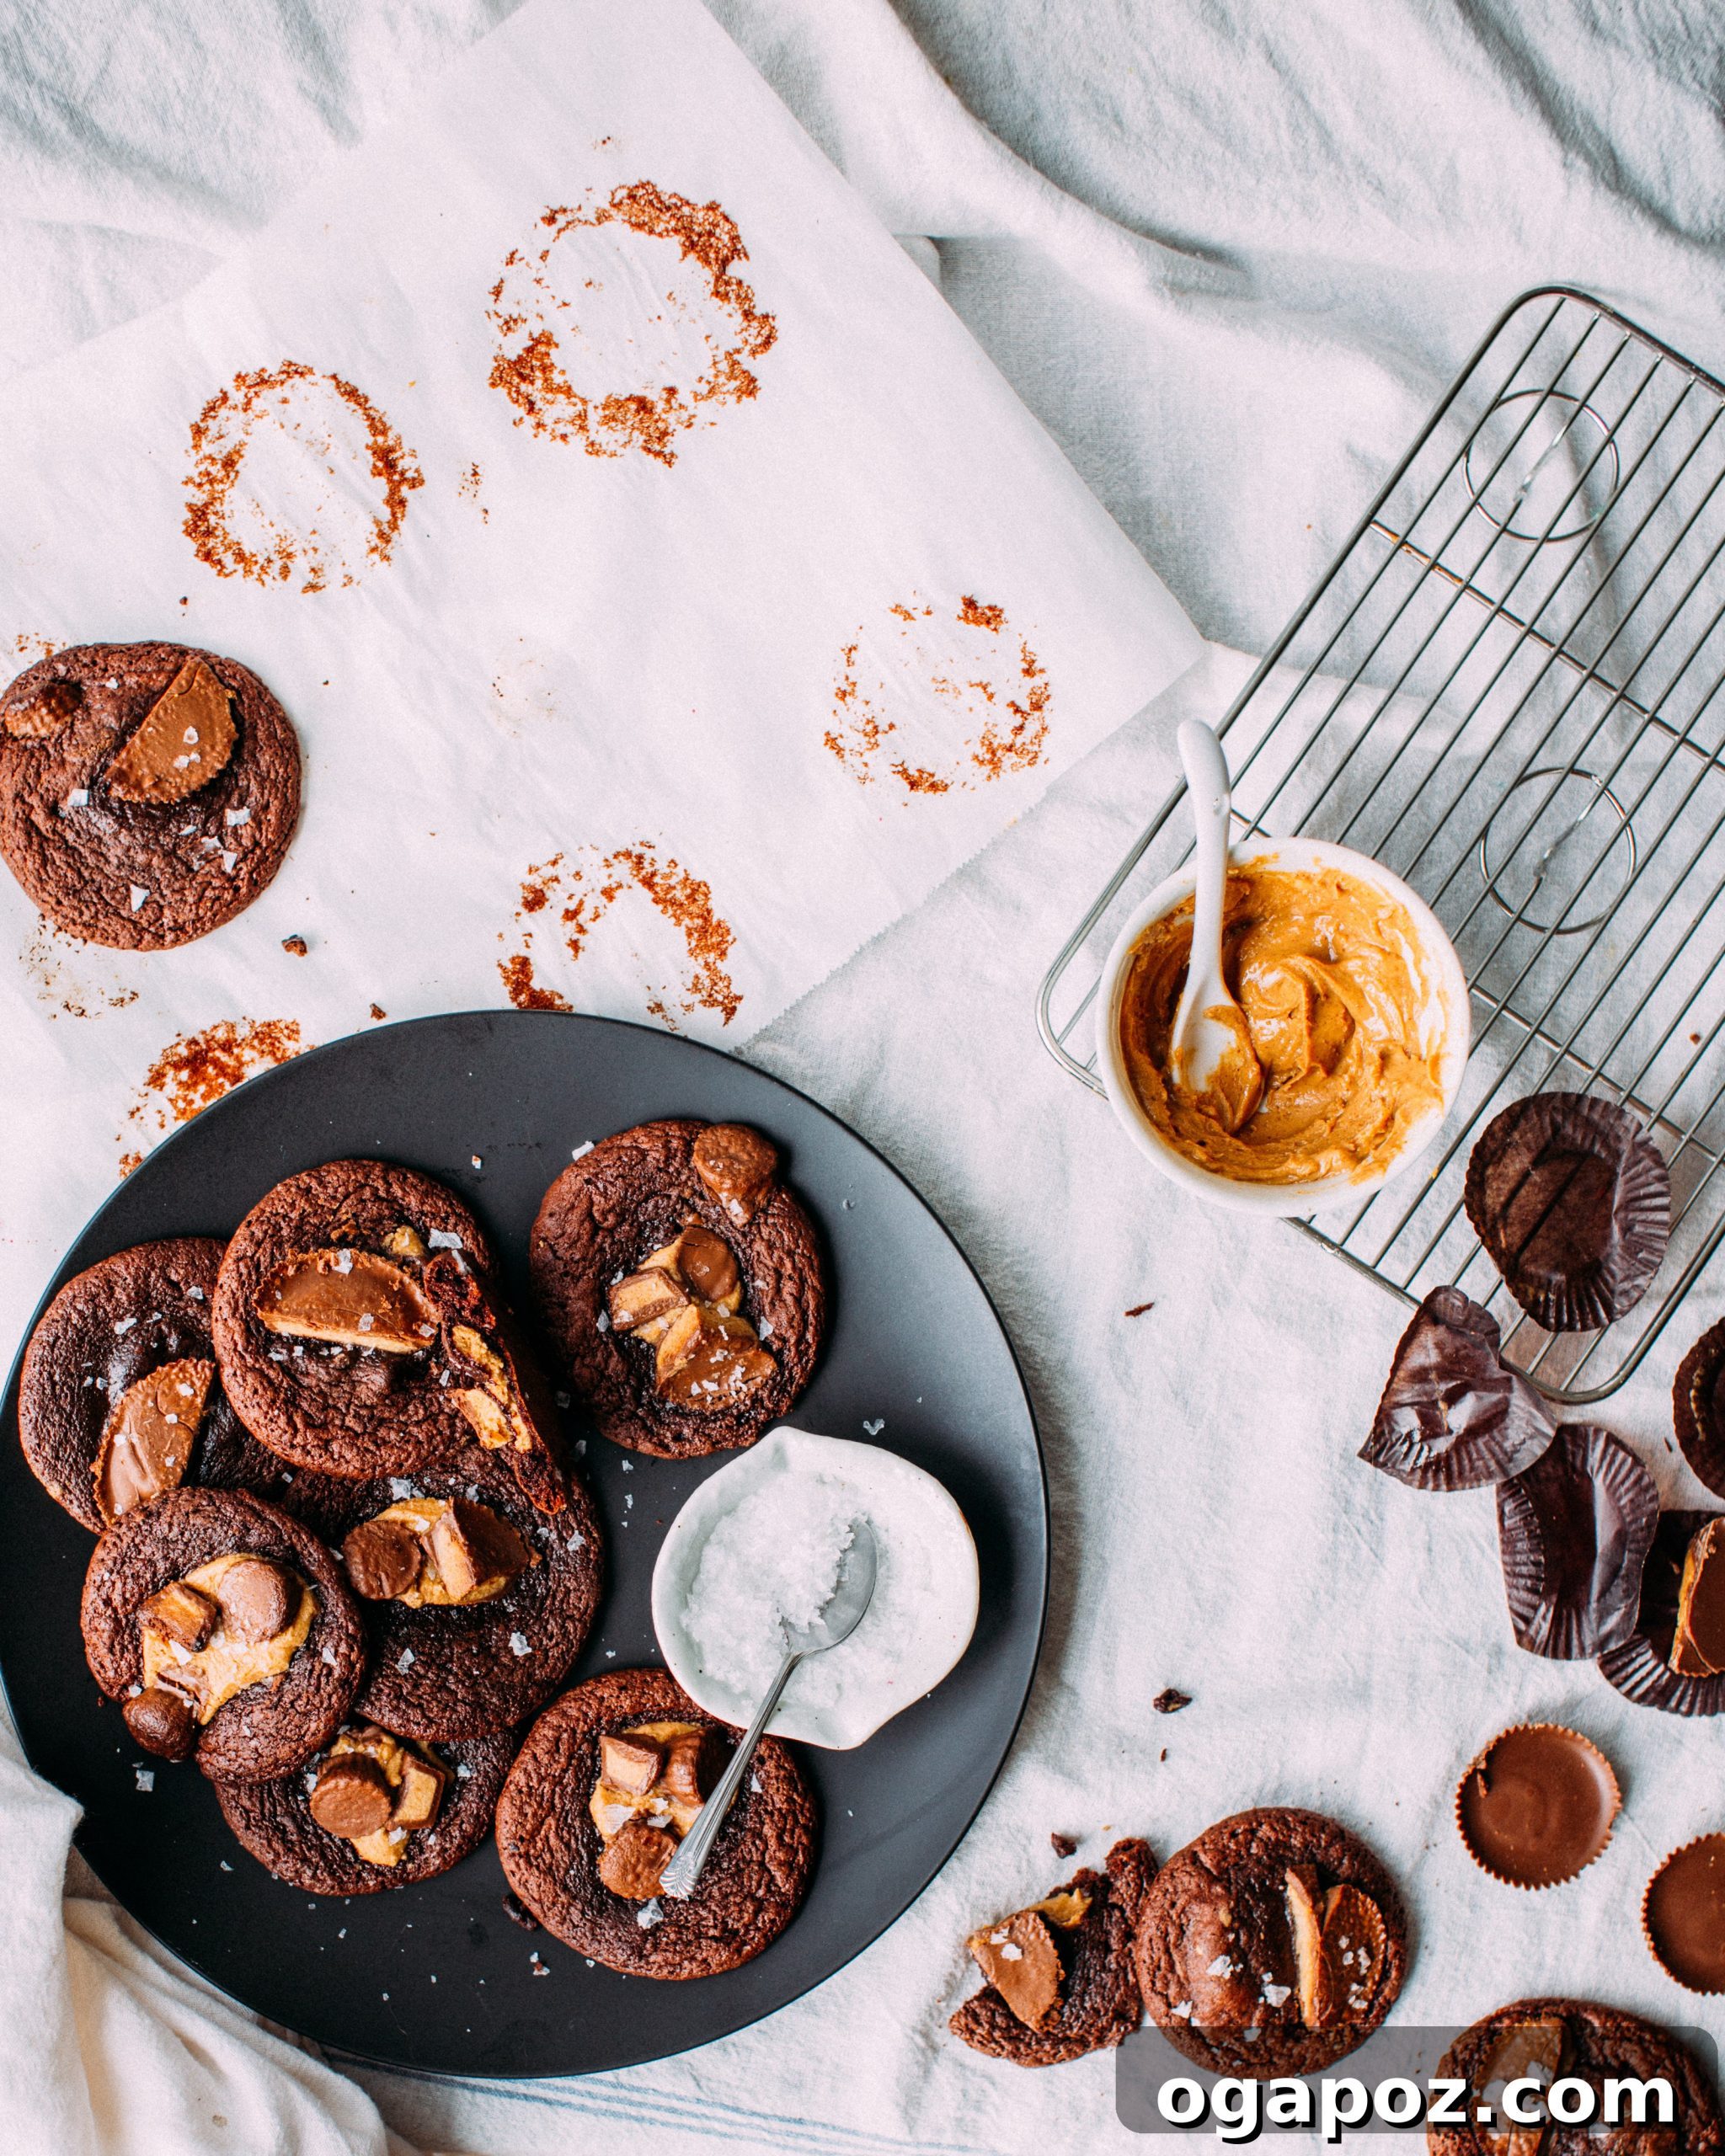
Essential Ingredients for Your Reese’s Peanut Butter Cup Cookies
Crafting these extraordinary Reese’s Peanut Butter Cup Cookies begins with selecting the right ingredients. We combine classic baking staples with the star of the show – Reese’s Peanut Butter Cups – to create a symphony of flavors and textures. Here’s a detailed look at the essentials you’ll need, and why each plays a crucial role in achieving cookie perfection:
- **For the Creamy Peanut Butter Filling:**
- **Natural Peanut Butter:** Opt for a good quality natural peanut butter (the kind that separates) for the most authentic and creamy filling texture. Its natural oils will keep the center soft and luscious even after baking.
- **Confectioners’ Sugar (Powdered Sugar):** This finely milled sugar dissolves easily, creating a smooth, non-gritty filling that melts in your mouth.
- **A Pinch of Salt:** Essential for balancing the sweetness and enhancing the nutty flavor of the peanut butter. Only add if your peanut butter is unsalted.
- **For the Rich Milk Chocolate Cookie Base:**
- **Quality Milk Chocolate:** Chopped milk chocolate is the foundation of our brownie-like cookie. Its higher sugar and milk content contribute to the signature chewy texture and mild, sweet chocolate flavor.
- **Granulated Sugar:** Provides sweetness and contributes to the cookie’s structure and golden-brown edges.
- **Large Eggs:** Act as a binder, provide moisture, and contribute to the cookie’s rich texture and slight puff.
- **Pure Vanilla Extract:** A touch of vanilla complements the chocolate and peanut butter beautifully, adding depth to the overall flavor.
- **Unsweetened Cocoa Powder:** Deepens the chocolate flavor of the cookie dough, giving it that desirable brownie-like intensity.
- **All-Purpose Flour:** The primary structural ingredient for the cookies. Measure it correctly to avoid dry or overly dense cookies.
- **Baking Powder:** Provides lift, ensuring your cookies are soft and slightly airy, rather than flat and dense.
- **Kosher Salt:** A crucial ingredient for flavor enhancement in the cookie dough, making the chocolate taste even richer.
- **For the Signature Reese’s Touch:**
- **Chopped Reese’s Peanut Butter Cups:** These are integrated into the cookie dough and pressed on top before baking, delivering that iconic peanut butter and chocolate candy experience.
- **Flaky Sea Salt:** For finishing! A sprinkle on top not only adds a beautiful visual appeal but also provides a delightful textural contrast and cuts through the sweetness, making each bite even more satisfying.
By carefully selecting and preparing each of these components, you’re set to create Reese’s Peanut Butter Cup Cookies that are truly next-level.
Mastering the Art of Reese’s Peanut Butter Cup Cookies: A Step-by-Step Guide
Creating these incredible stuffed chocolate peanut butter cookies is a fun and rewarding process. Follow these detailed steps to ensure every cookie is a masterpiece of chewy chocolate and creamy peanut butter goodness.
Step 1: Prep the Irresistible Peanut Butter Filling
The secret to that wonderfully gooey center lies in preparing the filling just right. In a small bowl, combine your natural peanut butter with confectioners’ sugar and a pinch of salt (if your peanut butter isn’t already salted). Stir until everything is well combined and forms a thick, pliable paste. This should be a smooth mixture, free of any sugar lumps. Next, using a teaspoon, scoop out small, uniform mounds of the peanut butter mixture onto a parchment-lined baking sheet. The goal is to create about 24 teaspoon-sized portions. These small mounds will be the creamy heart of your cookies. Once scooped, transfer the baking sheet to the freezer and allow the peanut butter balls to firm up completely. This is a crucial step: freezing the centers ensures they remain delightfully creamy and don’t melt away entirely during baking, giving you that perfect molten core.

Step 2: Craft the Decadent Chocolate Cookie Dough
Now, let’s create the rich, chewy milk chocolate cookie dough. Start by gently melting your chopped milk chocolate. The best way to do this is using a double boiler or a heatproof bowl set over a pot of simmering water. Be careful not to let the bowl touch the water. Stir the chocolate frequently until it’s about 90% melted. Remove it from the heat and continue stirring until it’s completely smooth. While the chocolate is still warm, stir in the granulated sugar and kosher salt until fully incorporated. Allow this mixture to cool slightly for about 5 minutes. This cooling period is important to prevent the eggs from scrambling. Next, in a separate bowl, lightly beat your large eggs. Slowly add a couple of tablespoonfuls of the cooled chocolate mixture to the beaten eggs while whisking constantly. This tempering process gradually raises the temperature of the eggs, preventing them from curdling when added to the warmer chocolate. Once tempered, gradually stir the egg mixture into the remaining chocolate batter along with the pure vanilla extract. In a separate, dry bowl, whisk together the all-purpose flour, unsweetened cocoa powder, and baking powder. Gradually add these dry ingredients to the chocolate mixture, stirring until just combined. Be careful not to overmix, as this can lead to tough cookies. Finally, fold in the chopped Reese’s Peanut Butter Cups. Cover the dough and chill it in the refrigerator for at least one hour. Chilling the dough is essential; it firms up the butter and chocolate, preventing the cookies from spreading too much during baking and ensuring a thicker, chewier final product.
Step 3: Assemble and Bake Your Masterpiece
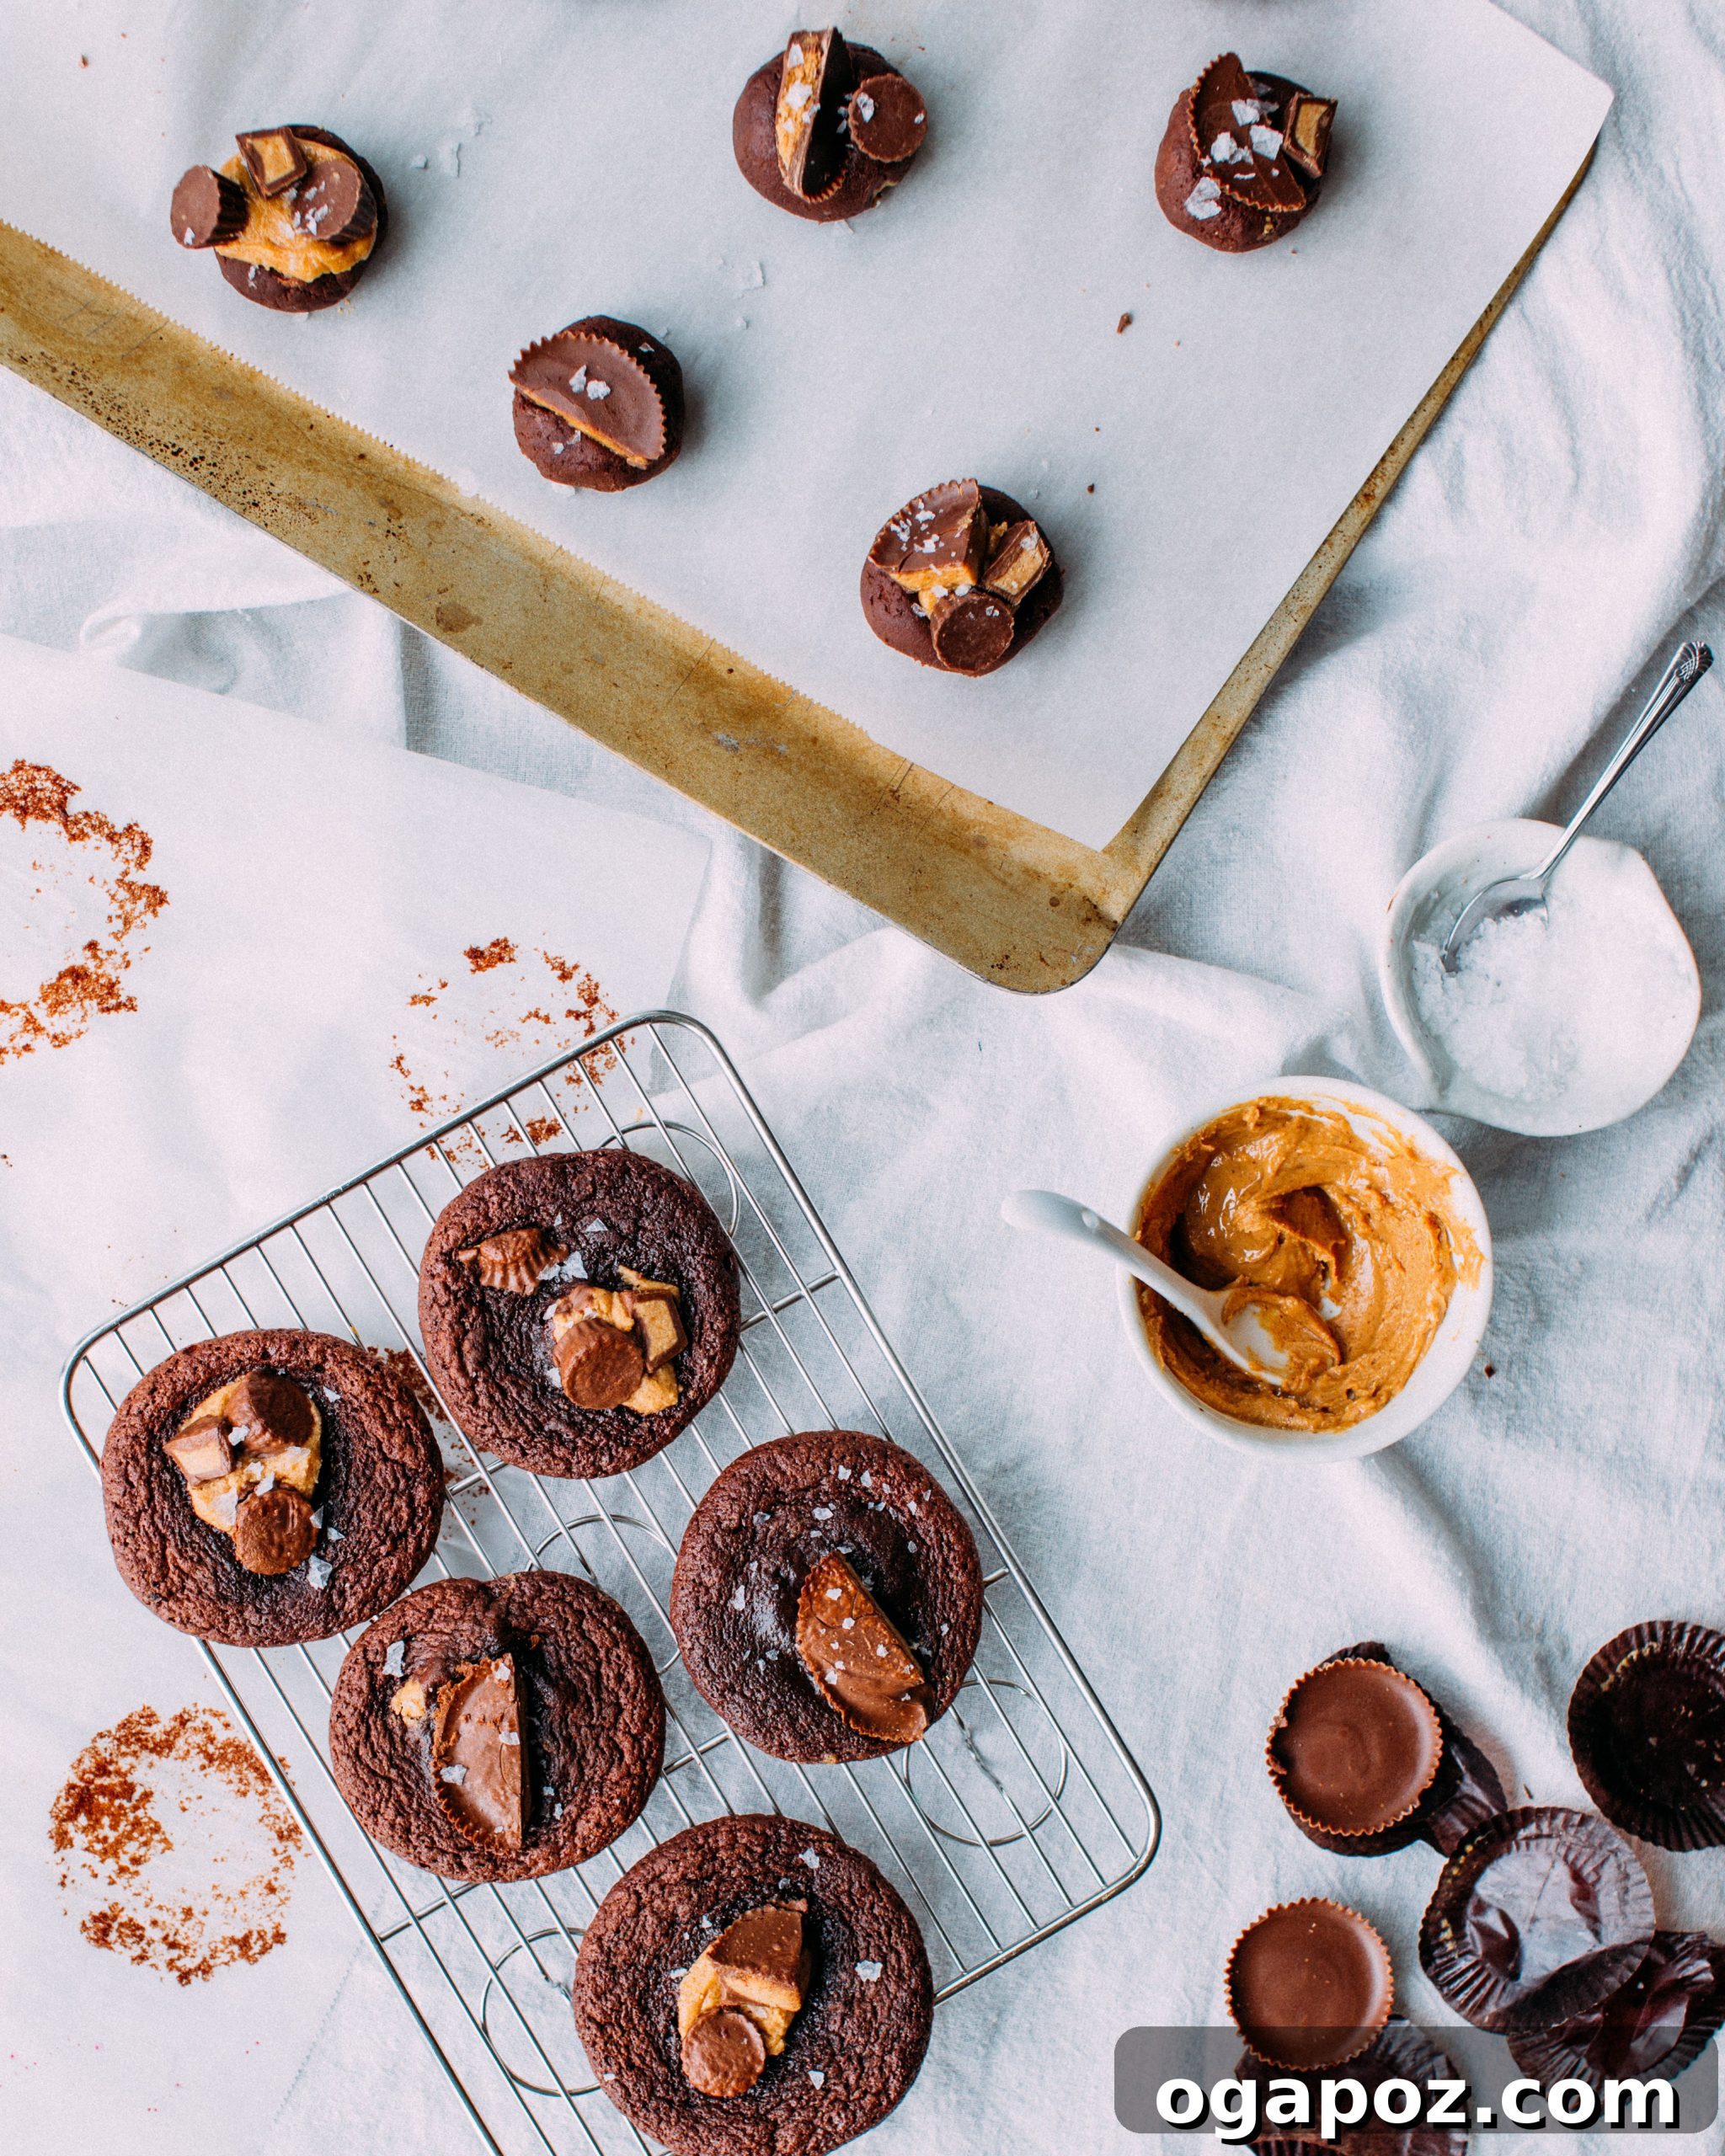
Preheat your oven to 375°F (190°C) and line two baking sheets with parchment paper. While the oven preheats, it’s time to assemble your cookies. Take a generous ball of chilled cookie dough, about 1 ½ inches in diameter. Flatten it gently in your palm to create a disc. Place one of the frozen peanut butter filling balls in the center of the flattened dough. Carefully wrap the cookie dough around the peanut butter filling, pinching the edges firmly to seal it completely. Roll the dough between your palms to smooth out any seams and form a nice, uniform ball. For an extra visual and flavor boost, gently press a few more pieces of chopped Reese’s Peanut Butter Cups onto the top of each cookie ball. Finish with a light sprinkle of flaky sea salt. Repeat this process with the remaining dough and filling. Place the shaped dough balls 2 inches apart on your parchment-lined baking sheets. To further prevent spreading and ensure a perfectly chewy texture, freeze the shaped cookie dough balls for 10 minutes before baking. Bake for 8–9 minutes, or until the edges are set and lightly crackled, but the centers still appear soft and slightly underdone. This slight underbaking is key to achieving that wonderfully chewy, melt-in-your-mouth texture. Allow the cookies to cool briefly on the baking sheets for about 5 minutes before carefully transferring them to a wire rack to cool completely. Cooling on the pan initially helps them set without breaking. If baking in batches, ensure your baking sheets are cool between uses (a quick rinse under cold water often helps) to prevent cookies from spreading too quickly.
The Secret to Their Unmatched Appeal: Why These Cookies Stand Out
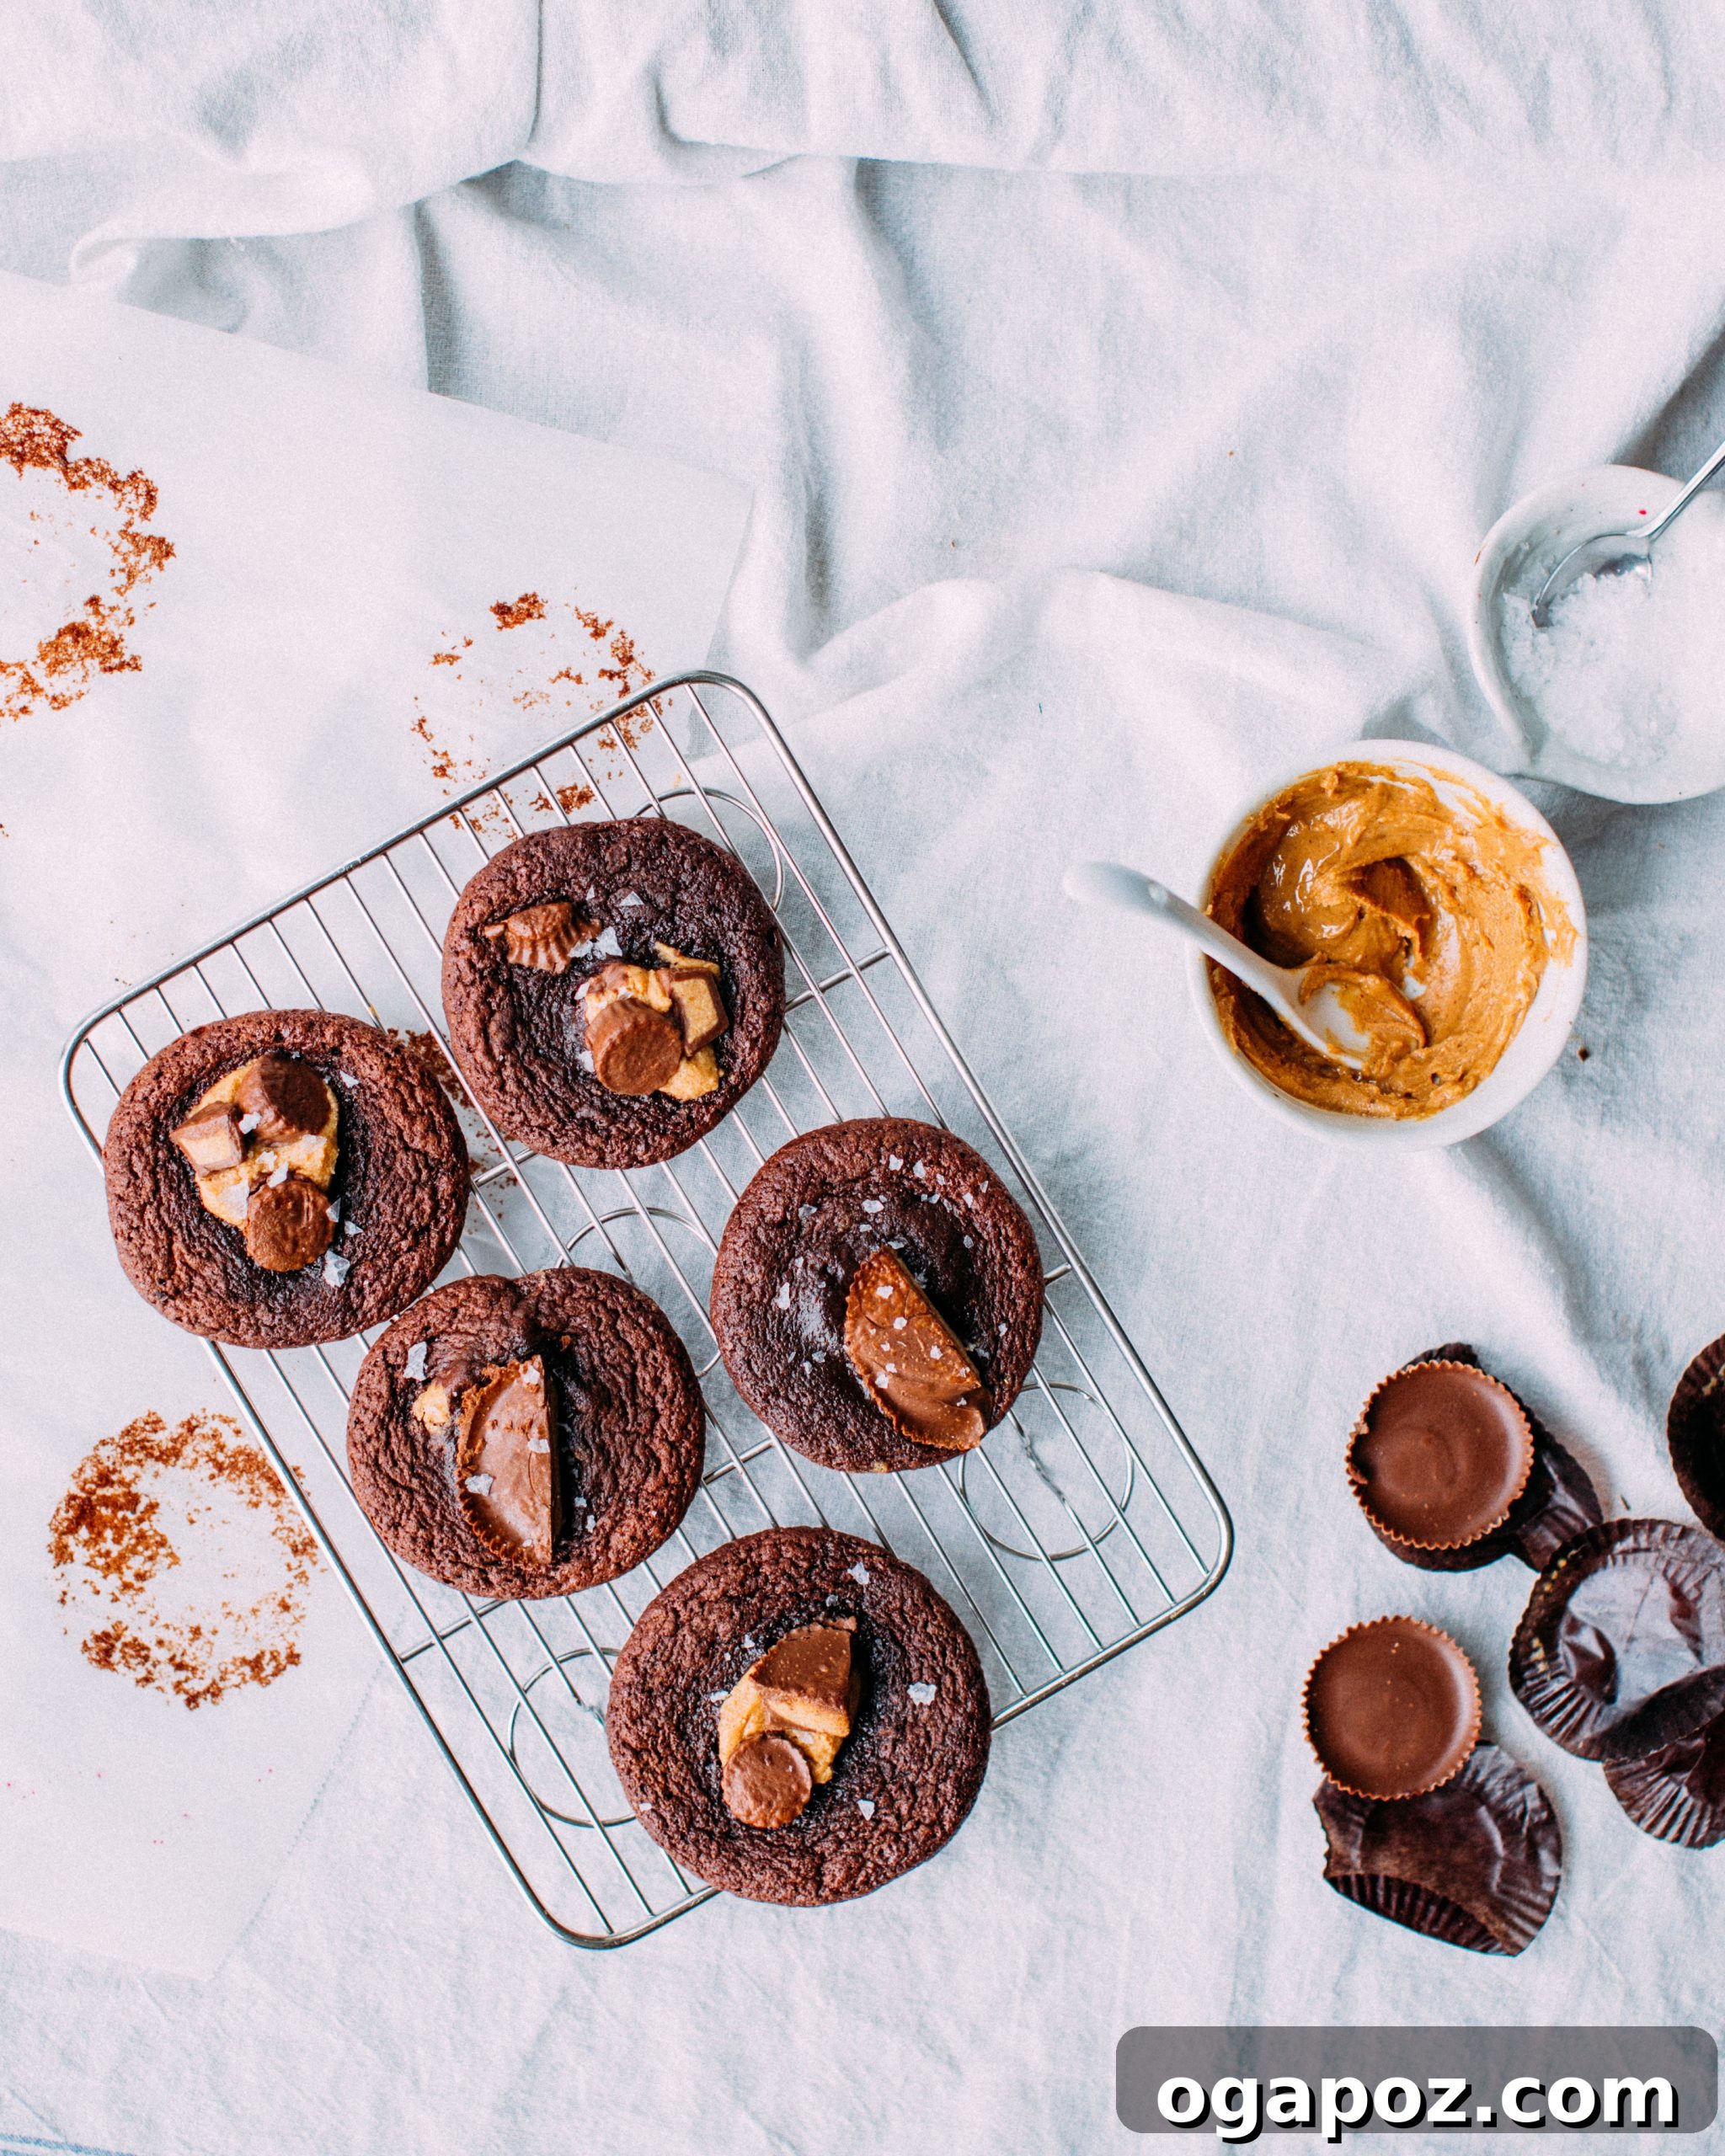
What makes these Reese’s Peanut Butter Cup Cookies truly special and utterly irresistible? It’s a combination of thoughtful techniques and perfect flavor pairings:
- **The Magic of Frozen Filling:** By freezing the peanut butter filling before stuffing, we ensure it remains a luscious, creamy, and distinct center after baking, rather than completely melting into the cookie dough. This creates a delightful surprise in every bite.
- **Chilled Dough for Perfect Texture:** Our diligent chilling of the cookie dough is not just a suggestion; it’s a game-changer. It helps prevent excessive spreading, resulting in thick, perfectly chewy cookies with a rich, dense crumb that holds its shape beautifully.
- **Double the Reese’s Delight:** We don’t just put Reese’s *in* the cookies; we also pile them on top! This double layer of chopped peanut butter cups ensures that every single bite is packed with that beloved chocolate and peanut butter flavor, providing an unmatched sensory experience.
- **The Harmonizing Touch of Flaky Salt:** A delicate sprinkle of flaky sea salt is the final, essential flourish. It perfectly balances the sweetness of the milk chocolate and peanut butter, adding a subtle crunch and enhancing all the flavors, making these cookies truly unforgettable.
Make Ahead & Storage Tips for Freshness and Convenience
These Reese’s Peanut Butter Cup Cookies are fantastic fresh out of the oven, but they also store beautifully and can even be prepared in advance, making them perfect for parties or spontaneous cravings. Here’s how to manage them:
- **Cookie Dough:**
- **Refrigerate:** You can scoop and refrigerate the prepared cookie dough balls (without the peanut butter filling) in an airtight container for up to 48 hours. When ready to bake, stuff them with frozen filling and proceed as directed.
- **Freeze:** For longer storage, scoop the dough into balls and freeze them on a baking sheet until solid. Then transfer to a freezer-safe bag or container for up to 2 months. Bake directly from frozen, adding 1-2 minutes to the baking time.
- **Peanut Butter Filling:** The individual frozen peanut butter centers can be prepared up to 1 month in advance. Store them in a freezer-safe bag or container, ready to be tucked into cookie dough whenever you’re ready to bake.
- **Baked Leftovers:** Store any leftover baked cookies in an airtight container at room temperature for 3–4 days to maintain their freshness and chewy texture. For that irresistible gooey middle, pop them in the microwave for 10–15 seconds before enjoying.
Can’t get enough of that delightful peanut butter flavor? Be sure to explore my other beloved recipes: try my Soft & Chewy Peanut Butter Cookies for a classic treat, indulge in the simplicity of my 2-Ingredient Peanut Butter Fudge, or experience a unique twist with my Peanut Butter Rice Krispie Treats with Salted Caramel and Chocolate. Each offers a different way to enjoy the magic of peanut butter!

Ultimate Reese’s Peanut Butter Cup Cookies
Jennifer Pallian BSc, RD
Chewy, brownie-like milk chocolate cookies generously stuffed with creamy peanut butter filling, topped with chopped Reese’s Peanut Butter Cups, and finished with a sprinkle of flaky sea salt for an irresistible homemade treat.
20 minutes
8 minutes
1 hour
30 minutes
24 cookies
Ingredients
For the Peanut Butter Filling
- ½ cup natural peanut butter
- ¼ cup confectioners’ sugar (also known as icing sugar or powdered sugar)
- Pinch of salt (only if using unsalted peanut butter)
For the Cookies
- 10 oz milk chocolate, finely chopped
- ¾ cup granulated sugar
- ½ tsp kosher salt
- 3 large eggs, lightly beaten
- 1 tsp pure vanilla extract
- ¾ cup all-purpose flour
- ⅓ cup unsweetened cocoa powder
- 1 tsp baking powder
- 12 Reese’s Peanut Butter Cups, chopped (for mixing into dough and topping)
- Flaky sea salt for topping (optional, but highly recommended!)
Instructions
To Make the Filling:
- Stir together the natural peanut butter, confectioners’ sugar, and a pinch of salt (if using unsalted peanut butter) in a small bowl until well combined and smooth.
- Drop the mixture by 24 teaspoonfuls onto a parchment-lined baking sheet. Freeze these peanut butter mounds until they are completely solid, which will take at least 30 minutes to an hour.
To Make the Cookie Dough:
- Gently melt the chopped milk chocolate in a double boiler or a large heat-safe bowl set over a pot of simmering water. Stir frequently until the chocolate is about 90% melted. Remove from heat and continue stirring until completely smooth.
- While the chocolate is still hot, stir in the granulated sugar and kosher salt until fully incorporated. Allow the mixture to cool for 5 minutes.
- In a separate bowl, lightly beat the 3 large eggs. To temper the eggs and prevent curdling, slowly add a couple of tablespoonfuls of the warm (but slightly cooled) chocolate mixture to the beaten eggs, whisking constantly. Then, gradually stir this tempered egg mixture into the remaining chocolate batter along with the pure vanilla extract until everything is well combined.
- In another bowl, whisk together the all-purpose flour, unsweetened cocoa powder, and baking powder. Add these dry ingredients to the chocolate mixture and stir until just combined. Be careful not to overmix.
- Fold in half of the chopped Reese’s Peanut Butter Cups into the dough. Cover the cookie dough and refrigerate for at least 1 hour (or up to 48 hours) to firm up.
To Assemble the Cookies:
- Scoop the chilled dough into roughly 1 ½-inch balls. To stuff each cookie, flatten a ball of dough in your palm to create a disc. Place one frozen peanut butter filling ball in the center of the dough. Carefully fold the cookie dough up around the filling, pinching the edges firmly to seal completely.
- Roll the stuffed dough gently between your palms to form a smooth ball. Press a few pieces of the remaining chopped Reese’s Peanut Butter Cups on top of each ball, and lightly sprinkle with flaky sea salt.
- Repeat this process with the remaining cookie dough and peanut butter filling.
To Bake:
- Line two baking sheets with parchment paper. Place the assembled cookies 2 inches apart on the prepared baking sheets. Freeze the shaped cookie dough balls for 10 minutes while your oven preheats to 375°F (190°C). This extra chilling helps prevent the cookies from spreading too much during baking.
- Bake for 8-9 minutes, or until the edges are set and lightly crackled, but the centers still appear soft and slightly underdone.
- Allow the cookies to cool on the baking sheets for a few minutes before carefully transferring them to a wire rack to cool completely. Ensure baking sheets are cool between batches (you can run them under cold water) to prevent subsequent cookies from spreading too quickly.
Nutrition Facts
Serving Size: 1 cookie (out of 24)
- Calories: 149 kcal
- Carbohydrates: 20g
- Protein: 3g
- Fat: 8g
- Saturated Fat: 3g
- Polyunsaturated Fat: 1g
- Monounsaturated Fat: 3g
- Trans Fat: 0.002g
- Cholesterol: 20mg
- Sodium: 77mg
- Potassium: 91mg
- Fiber: 2g
- Sugar: 15g
- Vitamin A: 30 IU
- Calcium: 23mg
- Iron: 1mg
Nutrition information is an estimate based on ingredients and typical serving sizes. It should be used as an approximation only.
Tried this recipe? Leave a comment below and share your experience!