
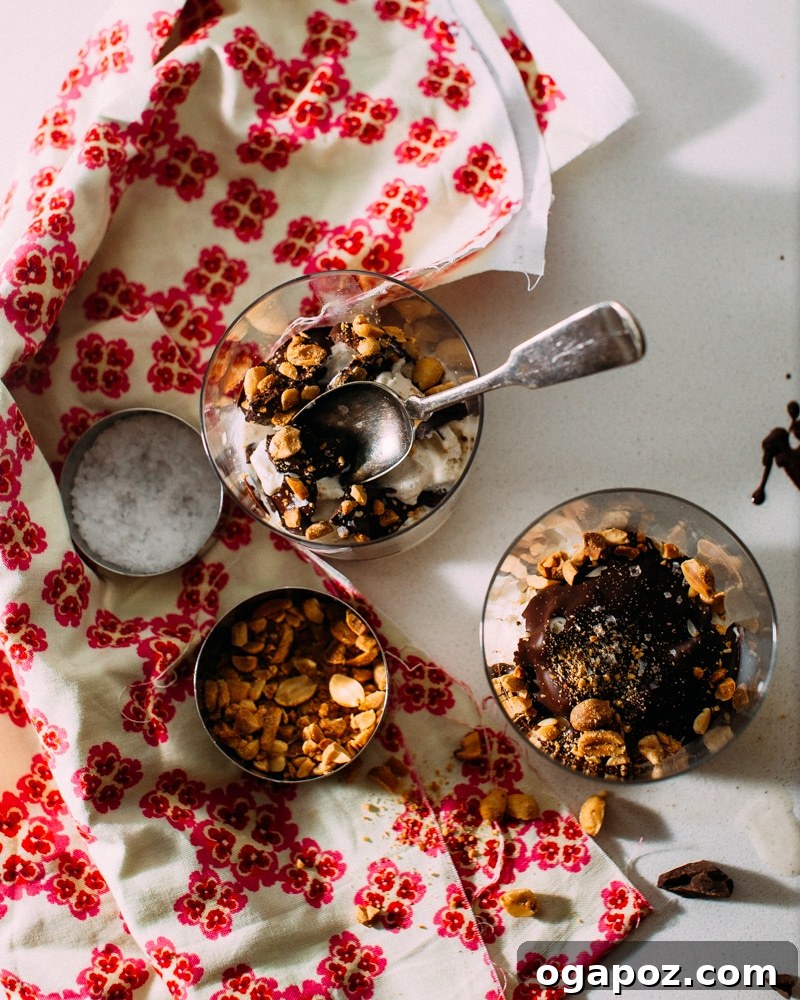
Homemade Magic Chocolate Shell: Elevate Your Ice Cream Experience
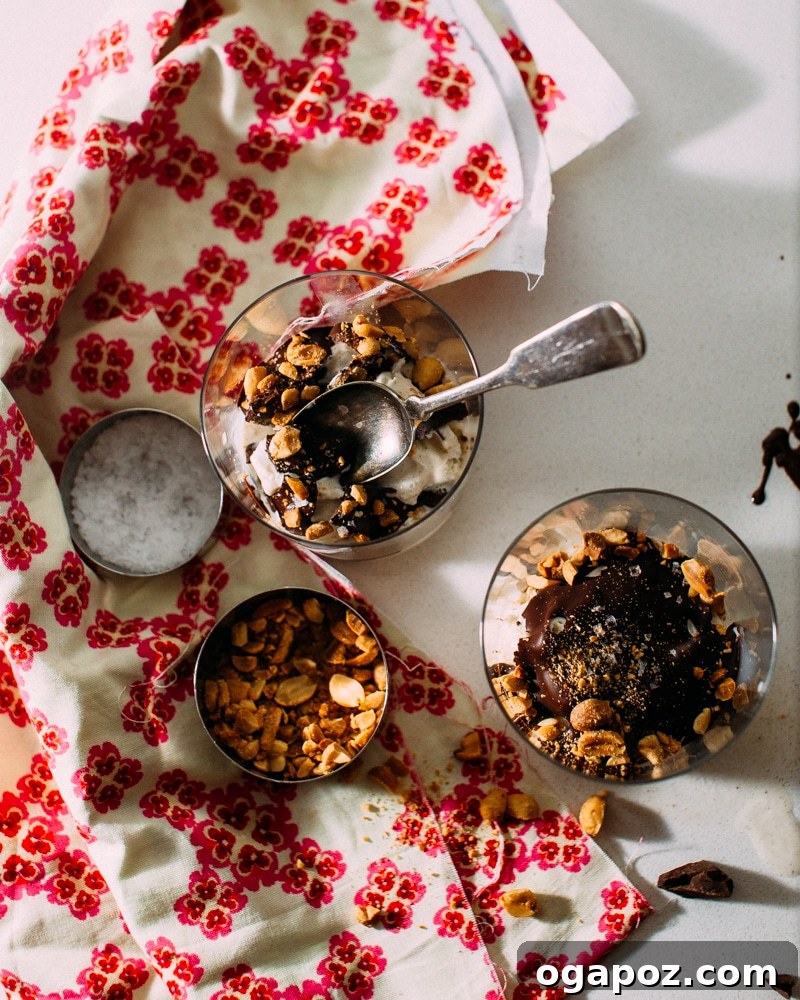
Imagine a decadent chocolate sauce that, like pure magic, transforms into a crisp, satisfying shell the moment it touches your cold ice cream. This isn’t just any topping; it’s the legendary “magic chocolate shell,” a beloved classic that enrobes your sundae in a rich, chocolatey embrace, yielding with a delightful crack at the tap of a spoon. While store-bought versions exist, nothing compares to the superior taste and quality of a homemade magic shell, especially when crafted with your favorite premium chocolate. We’re talking about a topping so irresistibly good, you might find yourself making batches several nights in a row – and trust us, we speak from experience!
Whether you’re celebrating a special occasion like Valentine’s Day or simply indulging in a spontaneous dessert craving, this recipe is your ticket to an extraordinary ice cream experience. Forget the artificial flavors and mysterious ingredients of commercial alternatives; our homemade version puts you in control, allowing you to choose the finest chocolate for a truly gourmet treat. It’s incredibly simple to make, requiring minimal effort for maximum impact, making it perfect for both seasoned bakers and complete novices.
The Irresistible Science Behind the Magic Chocolate Shell
The secret to this incredible, instantaneous hardening effect lies in a single, remarkable ingredient: coconut oil. This tropical oil is unique because it’s composed of a high percentage (approximately 86%) of saturated fats. Unlike other oils that remain liquid at room temperature, saturated fats, like those found abundantly in coconut oil, are solid at typical room temperatures and melt when heated. When melted and combined with chocolate, the coconut oil makes the mixture exquisitely sensitive to temperature changes.
As soon as this warm chocolate-coconut oil mixture comes into contact with the frigid surface of cold ice cream, the saturated fats in the coconut oil rapidly solidify. This rapid phase transition from liquid to solid creates that signature, brittle shell we all love. It’s a simple yet fascinating principle of food science in action! Understanding this mechanism not only demystifies the “magic” but also empowers you to confidently create this delightful topping every time.
When selecting coconut oil for this recipe, you’ll encounter two main types: virgin and deodorized. Virgin coconut oil retains its distinct tropical aroma and flavor, which can be lovely in certain dishes but might overpower the delicate notes of your chosen chocolate here. For a truly pure chocolate experience, we highly recommend using deodorized coconut oil. This variety has been heat-treated to remove its strong coconut scent and flavor, leaving a neutral base that allows the rich taste of the chocolate to shine through without any tropical interference. This subtle choice can significantly impact the final flavor profile, ensuring your magic shell is all about the chocolate.
Crafting Your Perfect Chocolate Shell: Tips and Ratios
While the initial recipe is designed for a smaller serving, keeping a romantic Valentine’s Day in mind, we fully understand if you feel compelled to make this in much, much larger quantities. The irresistible nature of this chocolate shell often leads to grander culinary ambitions, and we enthusiastically support them! The beauty of this recipe is its adaptability. You can easily scale it up to produce as much magic shell as your heart desires, whether for a family gathering, a party, or just a week of pure indulgence. The key to successful scaling is to always maintain the precise ratio of chocolate to coconut oil.
For every 6 ounces (approximately 1 cup) of finely chopped dark chocolate, you will need 6 teaspoons (or 2 tablespoons) of coconut oil. This consistent ratio ensures the perfect balance for rapid solidification and that delightful crackable texture. No need for complex calculations; just remember this simple proportion, and you’re set to create any volume of this fantastic topping.
The quality of your chocolate significantly impacts the final taste, so opt for a good dark chocolate, preferably in the 60-70% cocoa range. This offers a rich, balanced flavor that isn’t overly sweet. Finely chopping your chocolate before melting is crucial as it helps it melt more evenly and prevents overheating. Use a sharp knife to get small, uniform pieces.
The Art of Gentle Melting: Preventing Seized Chocolate
One of the most critical steps in making perfect magic chocolate shell is melting your chocolate slowly and gently. Chocolate is a delicate ingredient, and if heated too quickly or exposed to too much direct heat, it can “seize.” Seized chocolate becomes thick, grainy, and unworkable, losing its smooth, luxurious texture, and there’s no easy way to recover it.
There are two primary methods we recommend for a flawless melt:
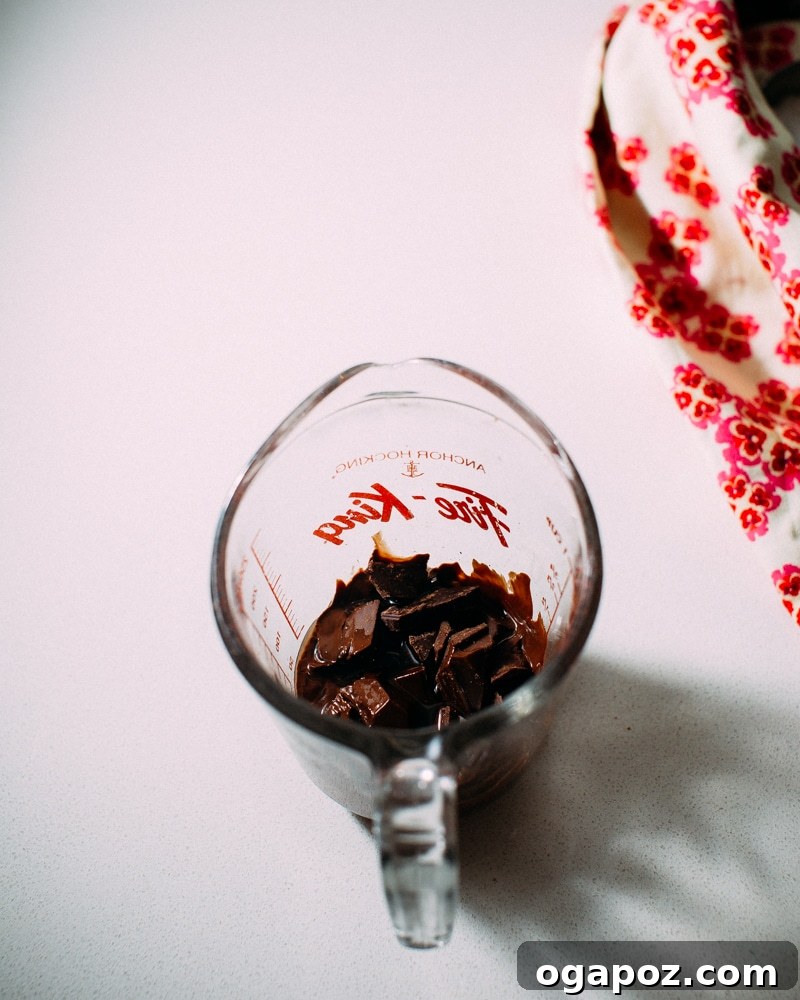
- Microwave Method: Place your finely chopped chocolate and coconut oil in a microwave-safe bowl or measuring cup. Heat on 50% power for 1 minute. Remove and stir thoroughly. Continue heating in 15-second increments at 50% power, stirring vigorously after each interval, until the chocolate is about 60-70% melted. The residual heat will melt the remaining chocolate as you stir. The goal is to melt it just enough that it becomes smooth with stirring, not to blast it until it’s fully liquid in the microwave.
- Double Boiler Method (Bain-Marie): For those who prefer a stovetop approach or are working with larger quantities, a double boiler is an excellent choice. Place your finely chopped chocolate and coconut oil in a heat-proof bowl. Set this bowl over a saucepan containing about an inch or two of simmering (not boiling) water. Ensure the bottom of the bowl does not touch the water. The steam from the simmering water will gently and indirectly heat the bowl, melting the chocolate slowly. Stir constantly with a spatula until the mixture is smooth and fully melted. This method provides superior control and reduces the risk of overheating.
Once melted, allow the mixture to cool for a few minutes before pouring. This helps it adhere better to the ice cream and solidify more effectively, while also preventing it from melting the ice cream too quickly. If your chocolate ever feels too hot to touch, give it more time to cool down before pouring.
Serving Suggestions and Creative Pairings
The beauty of homemade magic chocolate shell is its versatility and the delightful culinary canvases it can adorn. While it’s undeniably superb on its own, a few thoughtful additions can elevate your dessert to an unforgettable experience.
We highly recommend serving your magic chocolate shell with top-quality ice cream. The better the ice cream, the more pronounced the contrast in textures and temperatures will be. Our personal favorite is a classic Vanilla Bean ice cream – the simple, pure flavor allows the rich chocolate to truly shine. Look for brands that pride themselves on using minimal, recognizable ingredients, much like those you’d find in your own kitchen.
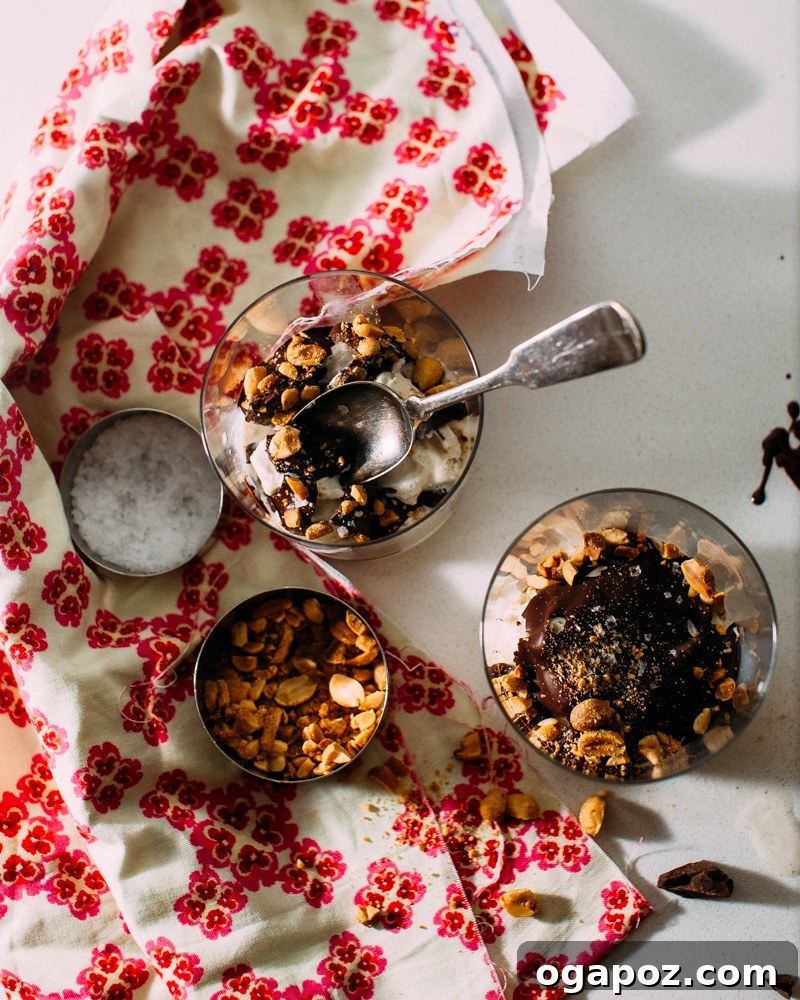
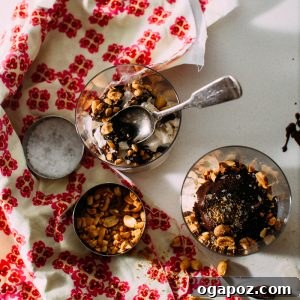
For an added layer of flavor and texture, consider a sprinkle of chopped salty peanuts. The saltiness provides a fantastic counterpoint to the sweet chocolate, while the crunch of the peanuts offers another dimension to the delightful crack of the shell. Other fantastic toppings include toasted almonds, pecans, or even a sprinkle of flaky sea salt directly onto the wet chocolate before it hardens.
If you’re truly looking to impress or want to embark on a gourmet adventure, consider pairing your homemade magic chocolate shell with a homemade ice cream. A rich, creamy Vanilla Bourbon Ice Cream, for instance, would be an exquisite match, adding depth and sophistication to your dessert creation.
Beyond Ice Cream: Creative Uses for Magic Shell
- Dipped Fruit: Dip cold strawberries, banana slices, or apple wedges into the magic shell for a delightful and quick treat. The chocolate will harden instantly, creating a crisp coating.
- Popsicle Coating: Elevate homemade or store-bought popsicles by giving them a magic chocolate shell coating.
- Dessert Garnish: Drizzle over cakes, brownies, or cheesecakes just before serving for an elegant, crackable finish.
- Coffee & Hot Chocolate Topping: Drizzle into cold coffee drinks or over whipped cream on hot chocolate for a unique textured element.
- Milkshakes: Create a chocolate-shelled rim on your milkshake glass or swirl it into a thick shake.
Flavor Variations to Experiment With
Don’t stop at plain dark chocolate! The beauty of homemade is customization:
- Mint Chocolate: Add a few drops of food-grade peppermint extract to the melted chocolate.
- Orange Zest: Incorporate finely grated orange zest for a bright, citrusy note.
- Chili Chocolate: A pinch of cayenne pepper can add a surprising kick.
- Nut Butter Swirl: For a peanut butter magic shell, gently swirl in a teaspoon of smooth peanut butter after the chocolate and coconut oil are melted and combined.
- White Chocolate Raspberry: Use white chocolate (note: adjust coconut oil slightly as white chocolate has different fat content) and a few drops of raspberry extract.
- Spiced Chocolate: A dash of cinnamon or cardamom can add warmth and complexity.
Storing any leftover magic chocolate shell is incredibly easy. Simply keep it at room temperature in an airtight container. There’s no need to refrigerate it, as the coconut oil will solidify. When you’re ready for another magical dessert moment, gently rewarm the mixture. A quick 30 seconds at 50% power in the microwave is usually enough to return it to a pourable consistency. Stir well before using.
Pin Recipe
Print Recipe
Homemade Magic Chocolate Shell
Jennifer Pallian BSc, RD
2 minutes
2 minutes
4 minutes
2
Ingredients
- 2 oz (1/3 cup) good dark chocolate (60-70% cocoa recommended), finely chopped
- 2 tsp deodorized coconut oil
Instructions
-
Combine the finely chopped chocolate and coconut oil in a microwave-safe measuring cup or bowl.
-
Melt on 50% power in the microwave for 1 minute. Remove and stir thoroughly.
-
Continue heating in 15-second increments at 50% power, stirring vigorously after each interval, until the chocolate is about 60% melted. The mixture should be mostly smooth with a few small lumps remaining.
-
Remove from the microwave and stir continuously until any remaining chocolate pieces are fully melted and the sauce is completely smooth and glossy. The residual heat will finish the melting process.
-
Let the chocolate shell cool for a few minutes at room temperature before pouring it over cold ice cream. This ensures optimal hardening and prevents the ice cream from melting too quickly.
-
For any leftover magic chocolate shell, store it at room temperature in an airtight container. If it solidifies, simply rewarm it at 50% microwave power for about 30 seconds, stirring until pourable again.
Tried this recipe? Share your experience!
Leave a comment below to let us know how your homemade magic chocolate shell turned out, or share your favorite ice cream and topping combinations!