
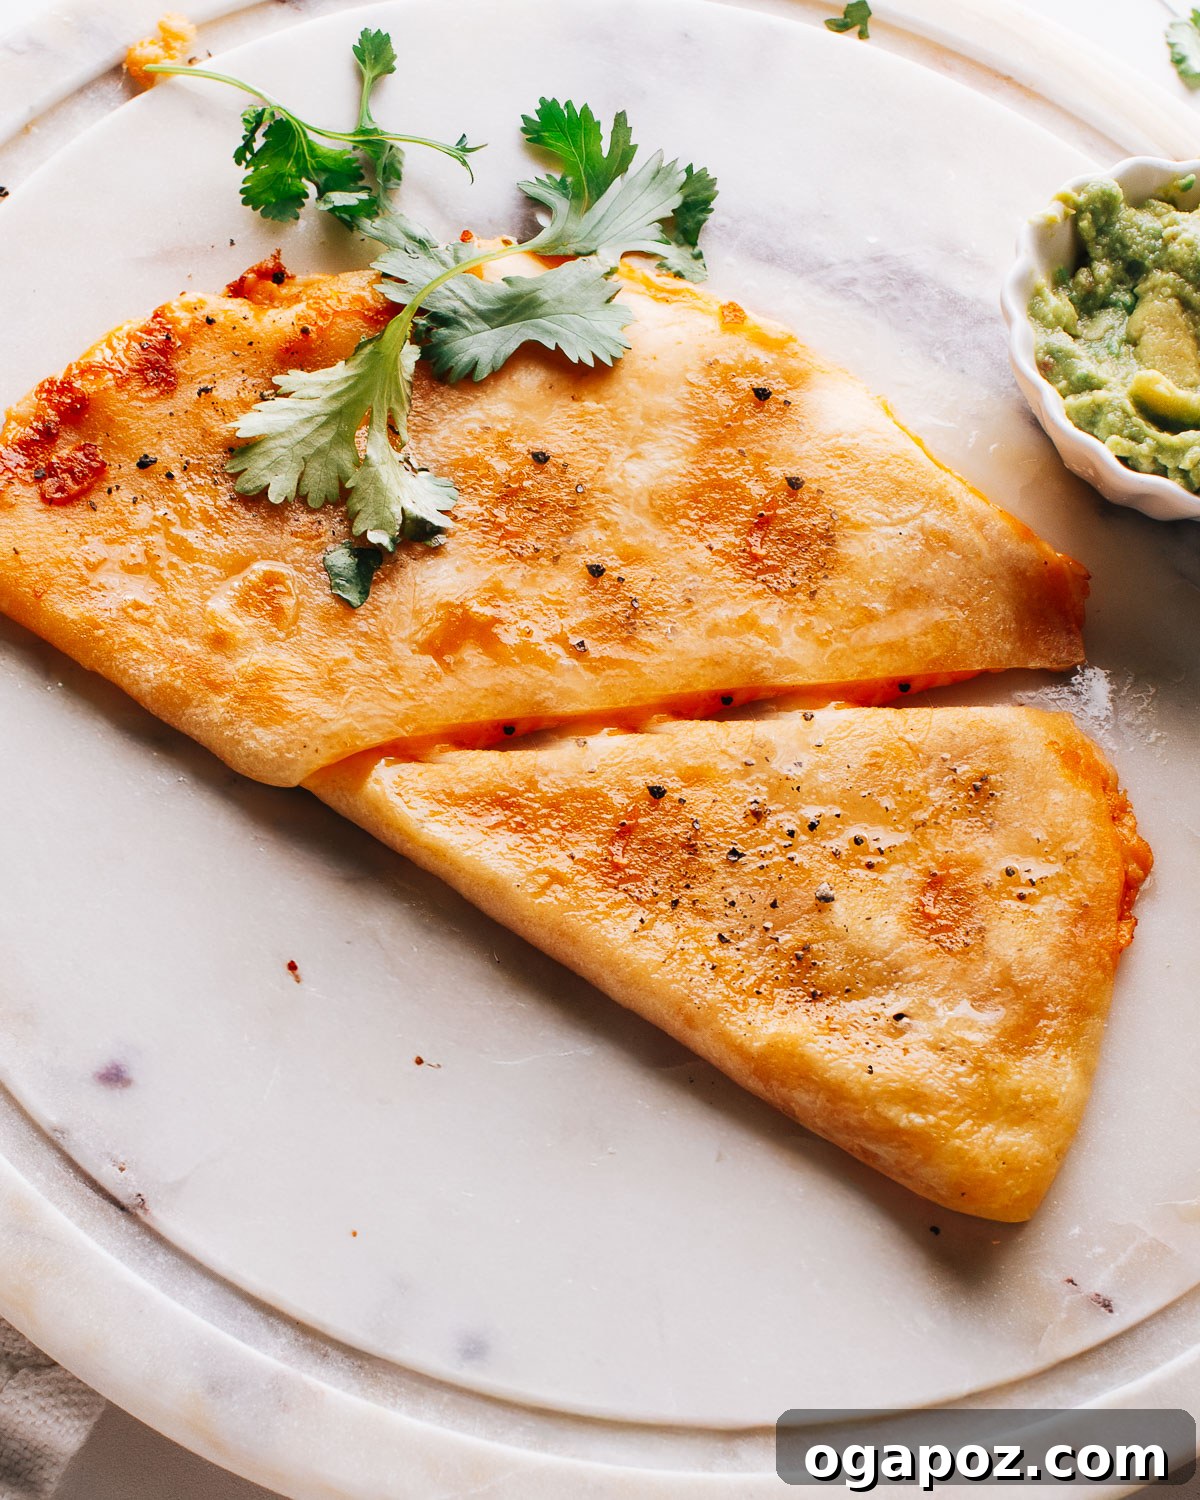
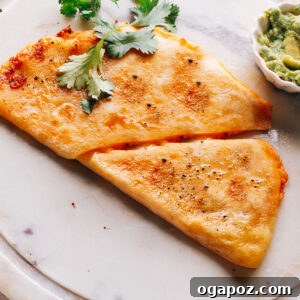
Welcome to your new favorite weeknight hero: the ultimate **Chicken Quesadilla recipe**! Forget bland and soggy. This recipe delivers perfectly crispy tortillas filled with savory, seasoned chicken and a generous amount of irresistibly melty cheese, all ready in minutes. It’s the kind of quick, easy, and satisfying meal that earns rave reviews from everyone, especially on those hectic evenings when you need a delicious solution fast. Get ready for a truly YUMMY experience that will have your family asking for it on repeat!
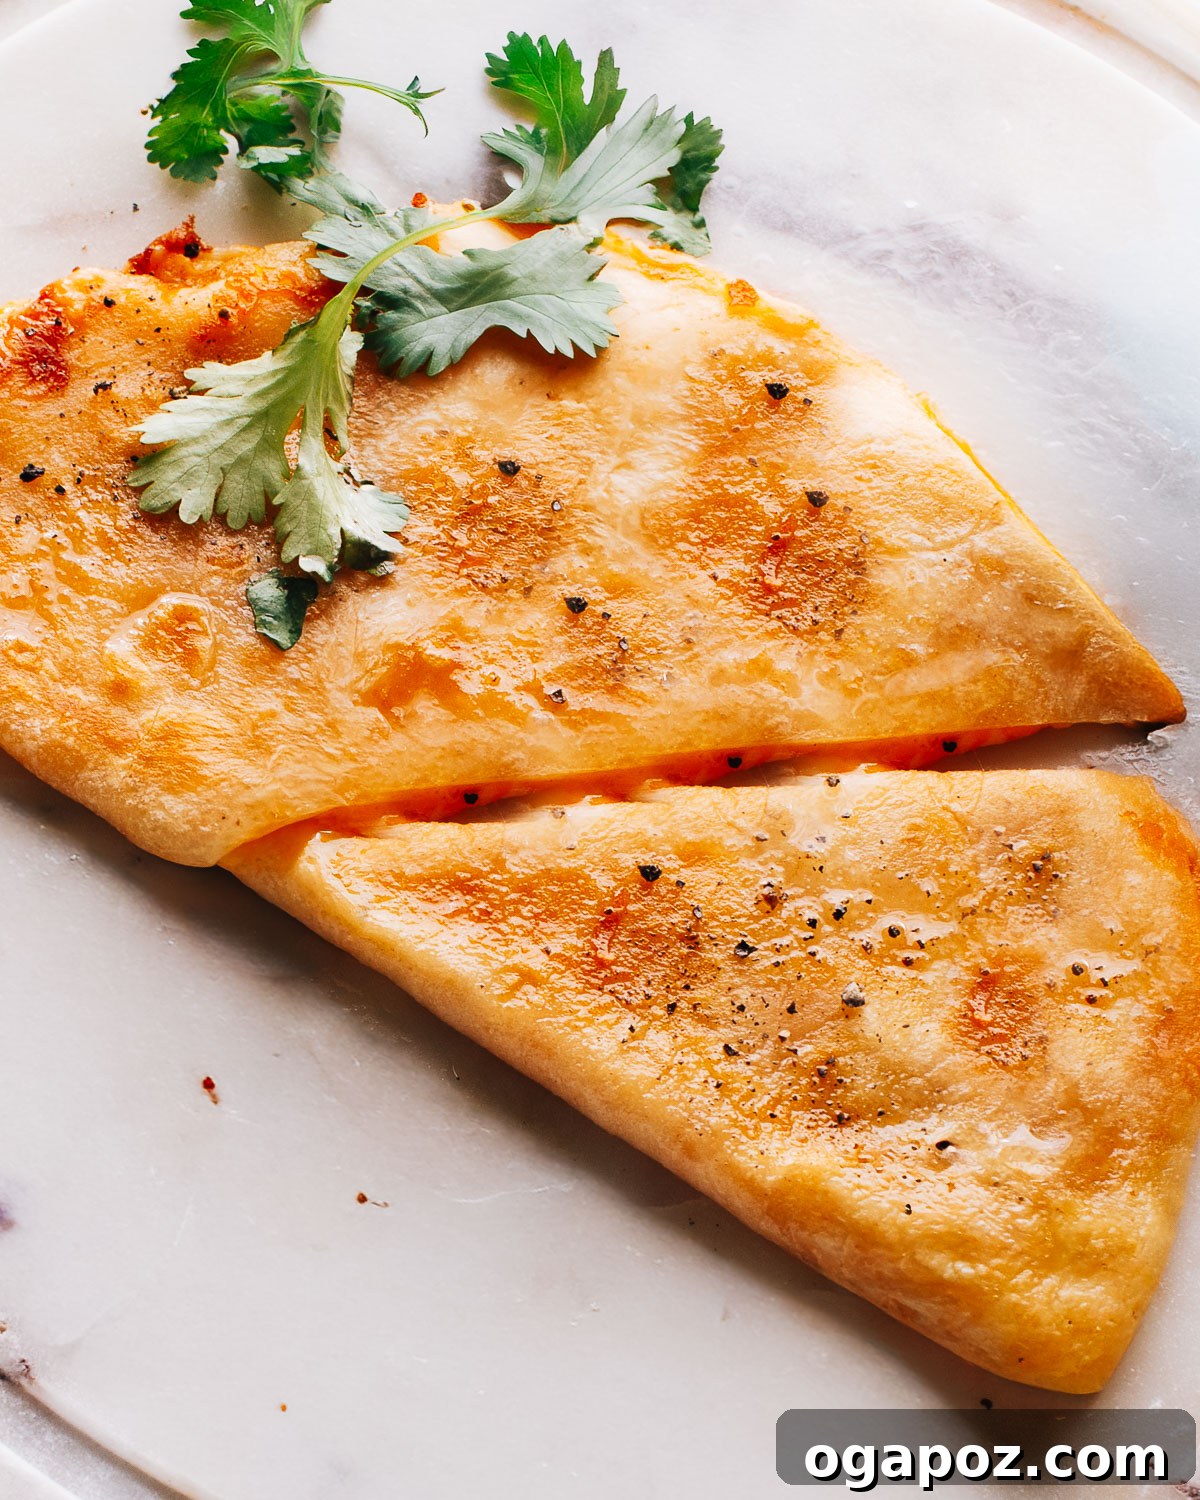
Life can be a whirlwind of activities – from soccer practices to basketball games and endless school commitments. On days like these, finding time to prepare a wholesome and delicious meal can feel like an impossible task. That’s precisely why these **Chicken Quesadillas** have become a beloved staple in my household. They’re not just incredibly tasty; they’re also super-quick to assemble and cook, packed with protein to keep those hungry appetites satisfied, and versatile enough to please even the pickiest eaters. They’re a true lifesaver for busy parents and anyone seeking a fuss-free yet flavorful dinner option.
Mastering the Flavor: Essential Chicken Quesadilla Ingredients
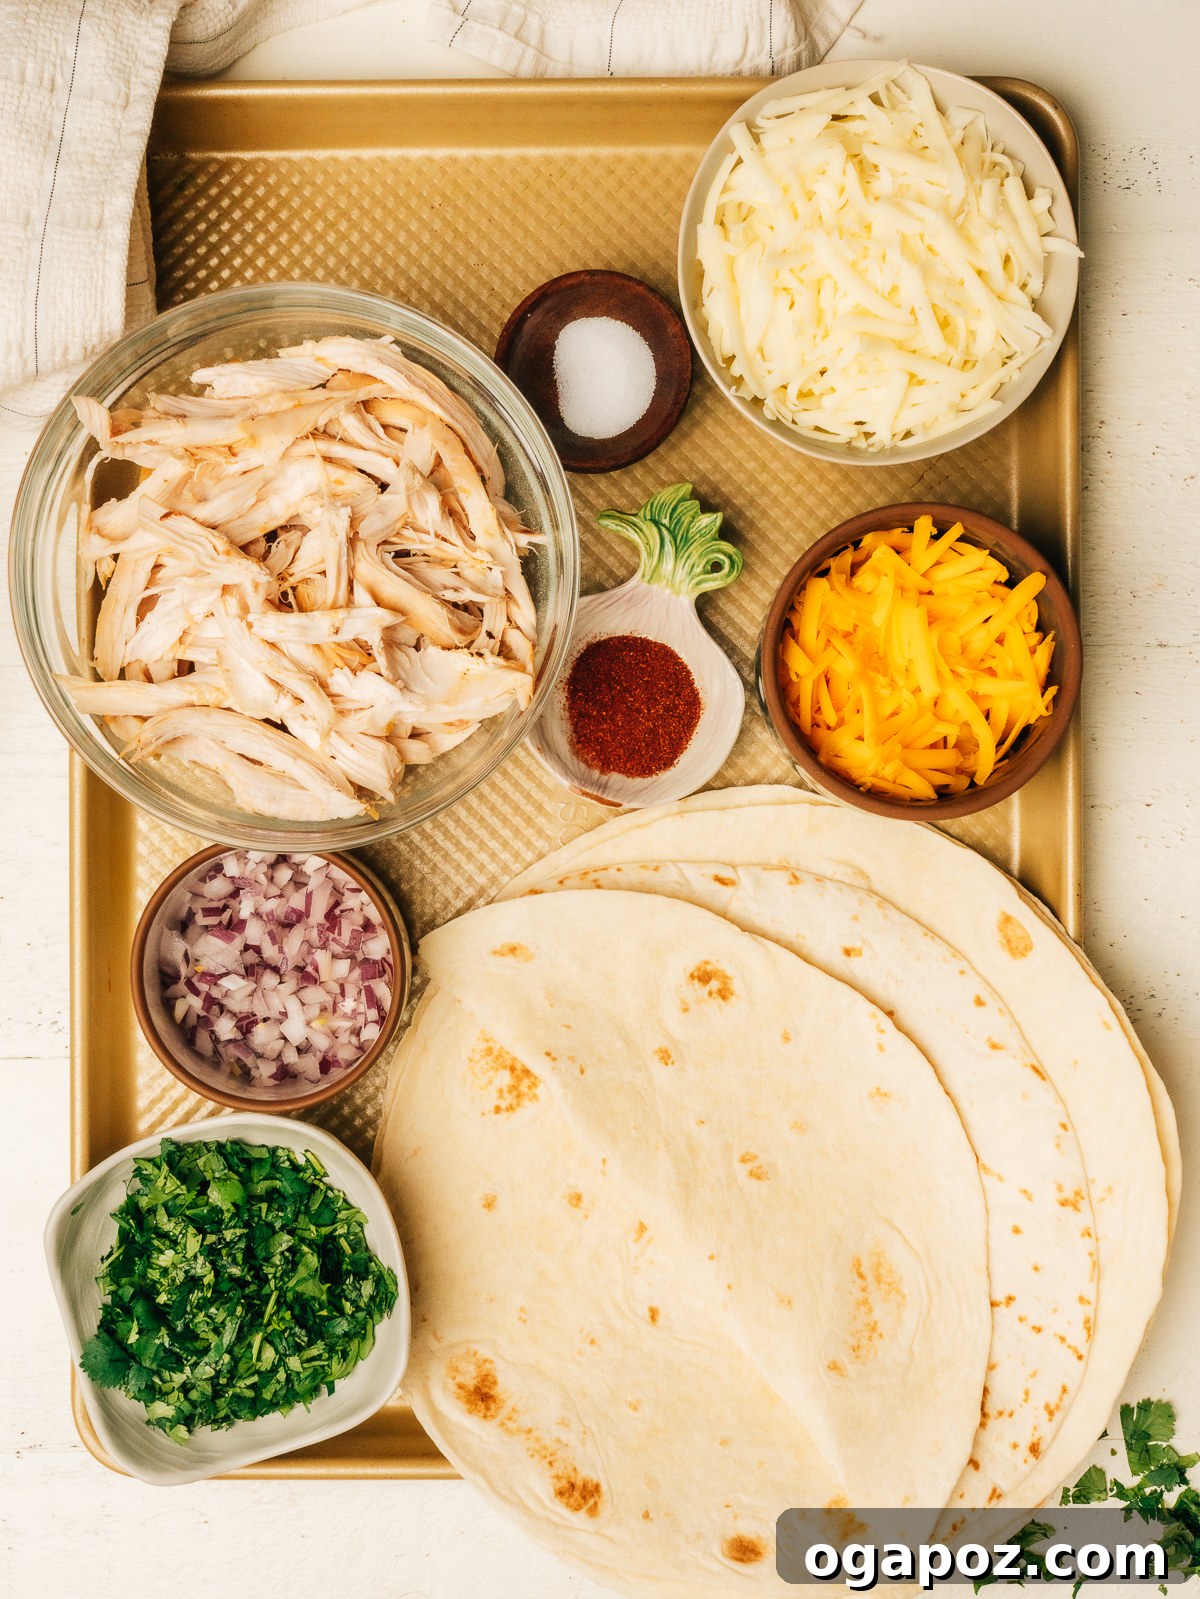
Crafting the perfect chicken and cheese quesadilla at home starts with selecting the right ingredients. Each component plays a vital role in creating that irresistible combination of flavor and texture. Here’s a detailed look at what you’ll need:
For the Flavorful Chicken Filling
- Cooked Chicken: The cornerstone of our quesadilla! For ultimate convenience, I often reach for a pre-cooked rotisserie chicken. Its tender, juicy meat is already seasoned and shreds beautifully, saving precious prep time. If you have leftover chicken breasts or thighs from a previous meal, they are absolutely perfect here too. Just make sure it’s cooked and shredded or finely diced.
- Chili Powder (or homemade chili seasoning): This spice blend is key to imparting a delightful warmth and a subtle, smoky depth to the chicken. It’s a staple for Mexican-inspired dishes. For a different flavor profile, or if you prefer a pre-made blend, chicken taco seasoning is an excellent alternative that adds a bolder, more complex taste.
- Kosher Salt: Essential for enhancing and balancing all the wonderful flavors in our chicken and spices. A good pinch makes a world of difference.
For the Irresistible Quesadillas
- Large Flour Tortillas: The foundation of our crispy creation! Burrito-sized tortillas (typically 10-12 inches) are highly recommended. Their generous size allows for ample filling, easy folding, and provides a larger surface area for achieving that coveted golden, crispy exterior. Smaller tortillas can be used, but you might need more of them.
- Monterey Jack Cheese: A true star in the world of quesadillas. Monterey Jack is prized for its exceptional melting qualities, yielding a smooth, creamy, and wonderfully gooey texture. Its mild flavor beautifully complements the seasoned chicken without overpowering it. A must-have for an authentic Mexican dish.
- Sharp Cheddar Cheese: To elevate the flavor profile, we pair Monterey Jack with sharp cheddar. Cheddar introduces a pleasant tang and a rich, savory depth that perfectly balances the milder Jack. Plus, it adds a lovely golden-orange hue to your chicken cheese quesadilla, making it visually appealing.
- Red or White Onion: Finely diced, a small amount of onion provides a delicate crunch and a fresh, pungent bite that cuts through the richness of the cheese and chicken.
- Fresh Cilantro: Chopped fresh cilantro adds a burst of vibrant, herbaceous freshness that brightens the entire dish. If you’re not a fan of cilantro’s unique flavor, feel free to omit it or substitute with a little fresh parsley.
- Butter: The secret weapon for achieving that perfectly golden-brown, irresistibly crispy tortilla. Cooking your quesadillas in butter not only helps them crisp up beautifully but also imparts a rich, nutty flavor that oil simply can’t replicate.
For Serving: The Perfect Accompaniments
- Sour Cream: A classic and beloved dipping sauce for quesadillas. Its cool, tangy creaminess provides a delightful contrast to the warm, savory filling. Always serve it on the side for individual preference.
- Pico de Gallo: (Mentioned later in serving, but good to foreshadow here) Adds a fresh, vibrant, and slightly zesty element.
You’ll find the full recipe quantities and detailed instructions conveniently listed in the recipe card at the bottom of this article.
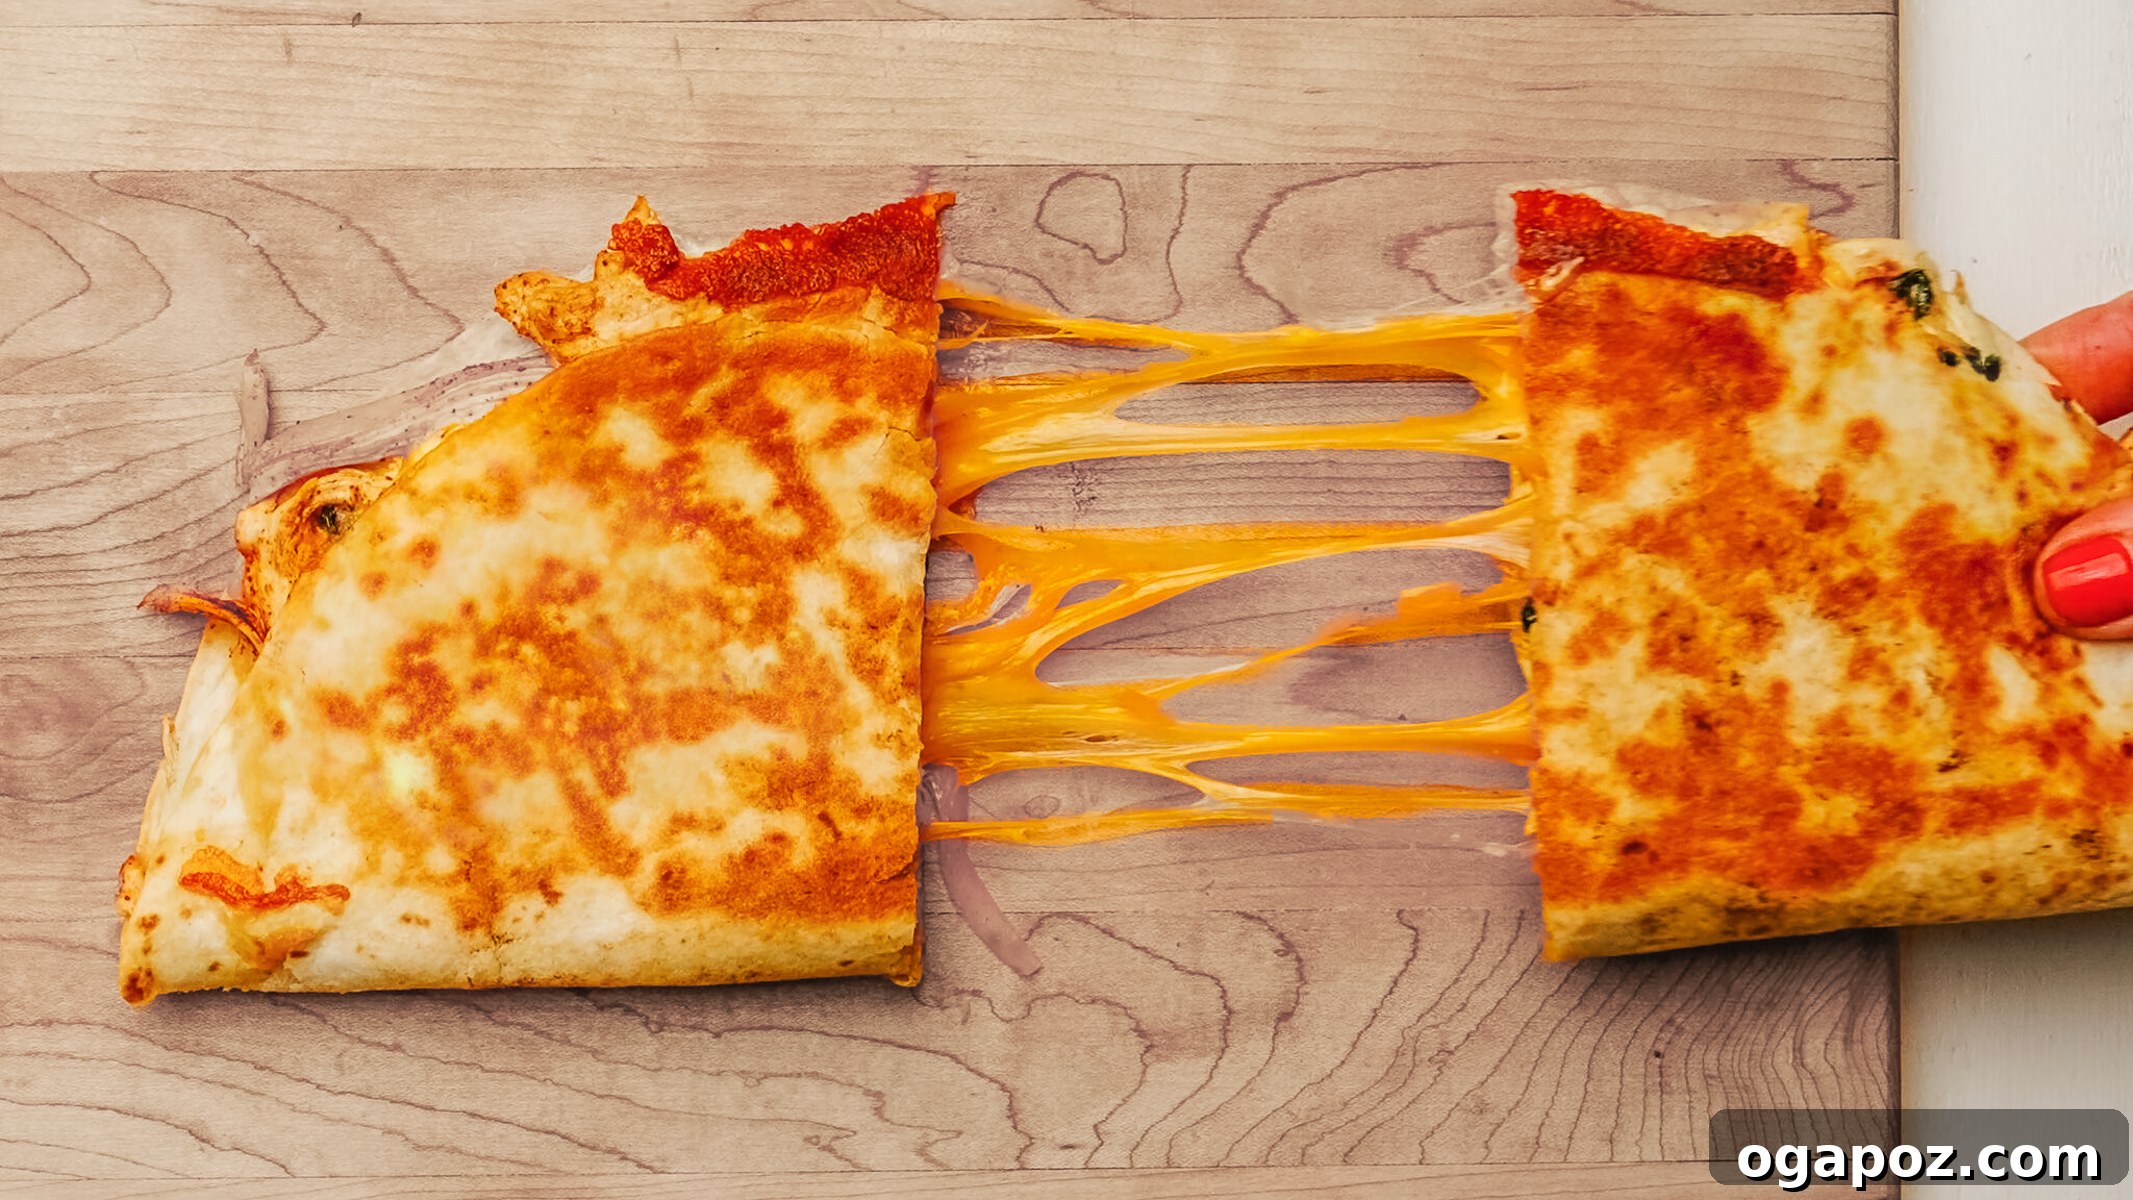
Get Creative: Variations and Substitutions to Customize Your Quesadilla
One of the best things about this chicken quesadilla recipe is its incredible versatility. Don’t hesitate to customize it to suit your taste, dietary needs, or whatever ingredients you have on hand. Here are some easy and delicious ways to make these quesadillas your own:
- Explore Different Proteins: While chicken is fantastic, feel free to experiment with other cooked proteins. Shredded beef, flavorful carnitas, or even ground turkey can be delicious swaps. For a hearty vegetarian version, black beans, pinto beans, or refried beans make an excellent and satisfying filling.
- Chicken Cut Options: Both chicken breasts and chicken thighs perform wonderfully in quesadillas. Chicken thighs tend to be more forgiving and stay juicier due to their higher fat content, but well-cooked and shredded breast meat is equally delicious.
- Cheese Adventures: Unleash your inner cheese connoisseur! For an added kick of heat, swap some or all of the Monterey Jack for zesty pepper jack cheese. A convenient pre-shredded Mexican cheese blend is also a quick and easy option, though shredding your own from a block generally offers superior melt and flavor.
- Introduce Bell Peppers: Sautéed bell peppers (any color!) add beautiful color, a touch of sweetness, and extra texture to your filling. For those who love a bit more spice, finely diced fresh or pickled jalapeños can be added for extra heat. Remember to sauté raw vegetables beforehand to remove excess moisture and prevent a soggy quesadilla.
- Boost with Veggies of Choice: Enhance the nutritional value and flavor with your favorite vegetables. Diced tomatoes, sweet corn kernels, fresh spinach (wilted first), or even sliced mushrooms are fantastic additions. Again, pre-cook any high-moisture vegetables.
- Taco Seasoning Power: If you’re looking for an even bolder, more traditional Tex-Mex flavor, simply swap the chili powder for a packet of your favorite taco seasoning. It’s a quick way to change the entire profile of the dish.
- Gluten-Free Option with Corn Tortillas: For a delicious gluten-free alternative, use soft corn tortillas. They crisp up wonderfully in the skillet, offering a slightly different but equally satisfying texture and flavor.
- Cilantro-Free Zone: If cilantro isn’t your herb of choice, no problem! Simply leave it out entirely or substitute it with an equal amount of finely chopped fresh parsley for a milder, earthy note.
Quesadillas are truly a weeknight **STAPLE** in my house, and once you try this recipe, you’ll understand why. If you’re looking to explore other fantastic quesadilla variations, you absolutely have to try my classic cheese quesadilla for the ultimate gooey, cheesy experience. Or, for those who crave maximum crispiness without the stovetop, my air fryer quesadilla recipe delivers an unbelievably crunchy exterior every single time!
Essential Tools for Quesadilla Perfection
Good news! You likely already have all the necessary kitchen tools to whip up these delicious chicken quesadillas. No fancy gadgets required, just a few basics:
- Large Skillet: An essential piece of equipment for cooking your quesadillas to golden-brown perfection over medium heat. A 12-inch non-stick or cast-iron pan is ideal, as it provides enough surface area to fit a large tortilla comfortably.
- Wide Spatula: A broad, sturdy spatula is your best friend for flipping quesadillas. It ensures a smooth flip without any of your delicious filling escaping.
- Mixing Bowl: A medium-sized mixing bowl is perfect for tossing your shredded chicken with the seasonings, ensuring every piece is evenly coated with flavor.
- Cutting Board and Knife: Indispensable for all your prep work: dicing the onion, chopping the fresh cilantro, and later, slicing the finished quesadillas into neat wedges.
- Pizza Cutter: While optional, a pizza cutter makes slicing hot quesadillas into uniform wedges incredibly quick and easy, yielding clean cuts and minimal mess. It’s a highly recommended helper!
- Air Fryer: Another optional but highly convenient tool, especially for reheating any leftover quesadillas. It restores them to their original crispy perfection, making them taste freshly made.
How to Make Perfect Chicken Quesadillas: An Easy Step-by-Step Guide
Making incredibly easy and delicious chicken quesadillas at home is a straightforward process. By following these simple steps, you’ll achieve perfectly crispy tortillas with a wonderfully melty, flavorful filling every single time. Let’s get cooking!
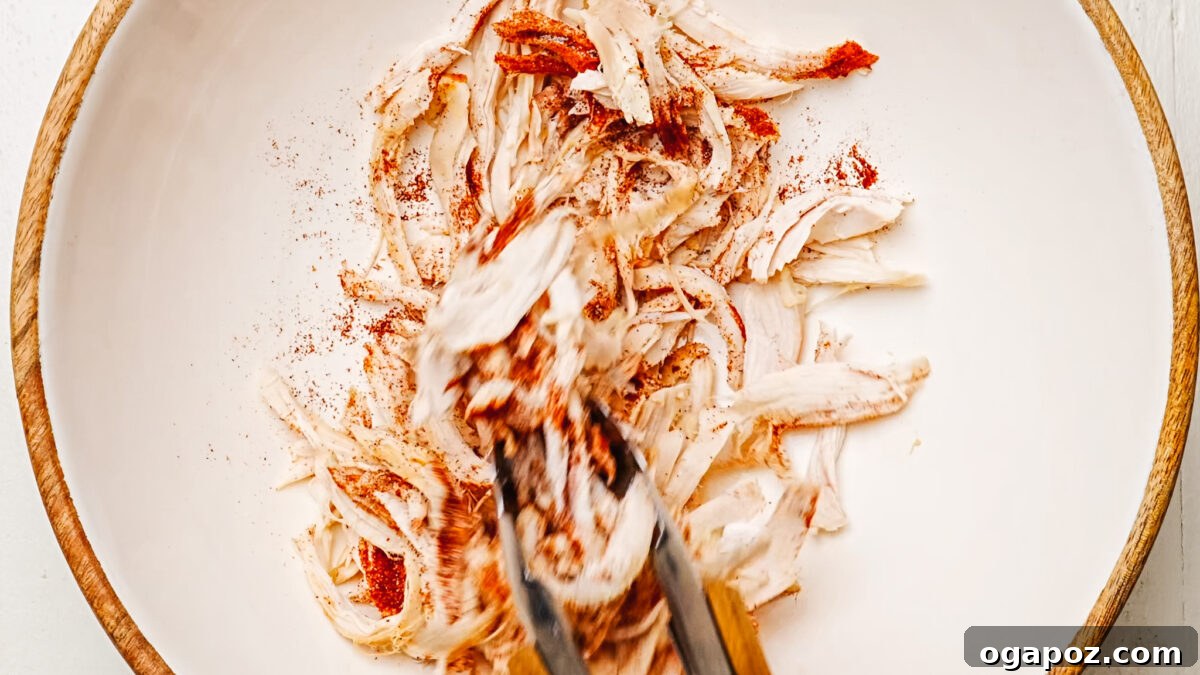
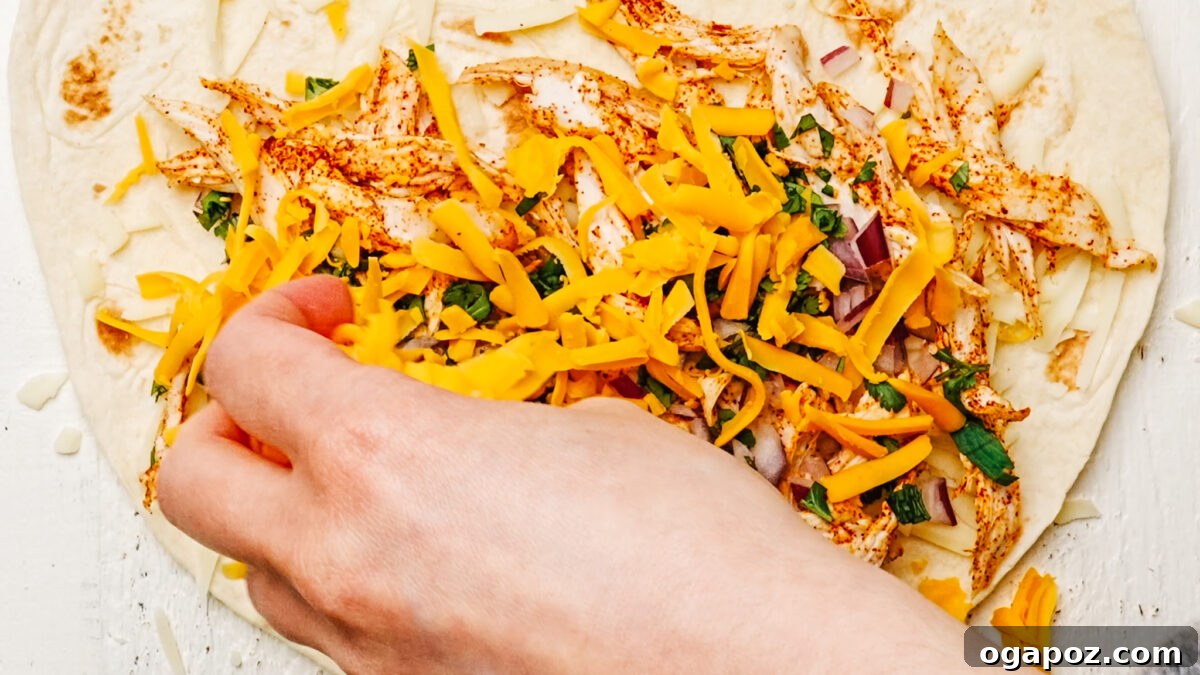
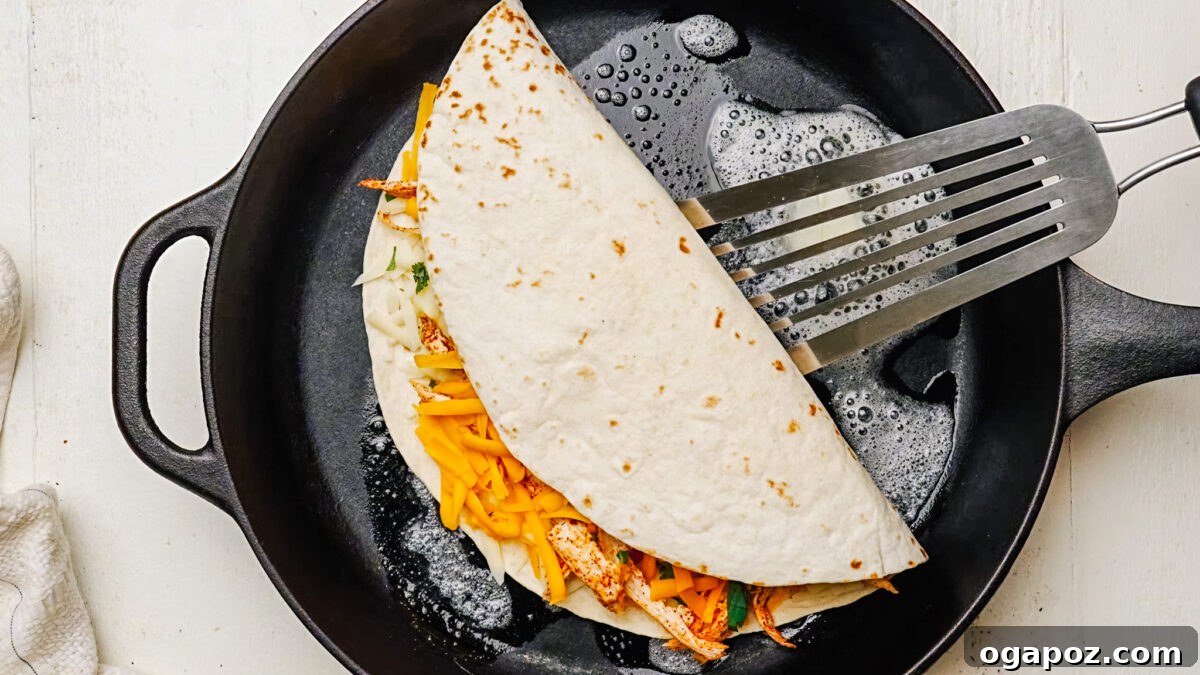
Step 1: Perfectly Season the Chicken
In a medium-sized mixing bowl, combine your shredded cooked chicken with the chili powder and kosher salt. Use your hands or a spoon to toss and mix thoroughly until every piece of chicken is evenly coated with the seasoning blend. This step is quick, taking only about 30 seconds, but it’s crucial for ensuring maximum flavor in every bite of your quesadilla. The chicken quesadilla seasoning should be uniformly distributed.
Step 2: Thoughtful Quesadilla Assembly
Lay a large flour tortilla flat on a clean, dry surface. On one half of the tortilla, spread a light, even layer of shredded Monterey Jack cheese. This initial layer of cheese acts like a delicious glue, creating a sticky base that helps hold all the subsequent filling ingredients in place and prevents them from falling out when you flip the quesadilla.
Next, evenly distribute the seasoned chicken over the Monterey Jack. Sprinkle the finely diced onion and chopped fresh cilantro on top of the chicken. Now, add a generous layer of shredded sharp cheddar cheese, followed by a final sprinkle of Monterey Jack on top. This “cheese sandwich” technique ensures that the filling is completely encased in melty goodness. Carefully fold the empty half of the tortilla over the filled half to close, gently pressing down to seal.
Step 3: Cook the First Golden Side
Place a large skillet over medium heat. The key here is **medium to medium-low heat**. If the heat is too high, your tortilla will burn before the cheese has a chance to fully melt. Add about 1/2 tablespoon of butter to the skillet and let it melt and sizzle slightly. Once the butter is melted and coating the pan, carefully place one assembled quesadilla into the skillet. Cook for approximately 2 to 3 minutes, or until the bottom side is beautifully golden brown and crispy.
Step 4: Flip, Finish, and Melt
Before flipping, if the pan looks dry, add a tiny pat (about 1/4 tablespoon) of fresh butter directly into the pan, under where you plan to flip the quesadilla. This ensures the second side also gets that fantastic golden crisp. Using your wide spatula, carefully and confidently flip the quesadilla to the second side. Continue cooking for another 2 to 3 minutes, or until this side is also golden and crispy, and crucially, the cheese inside is fully melted and gooey.
Step 5: Repeat and Serve Fresh
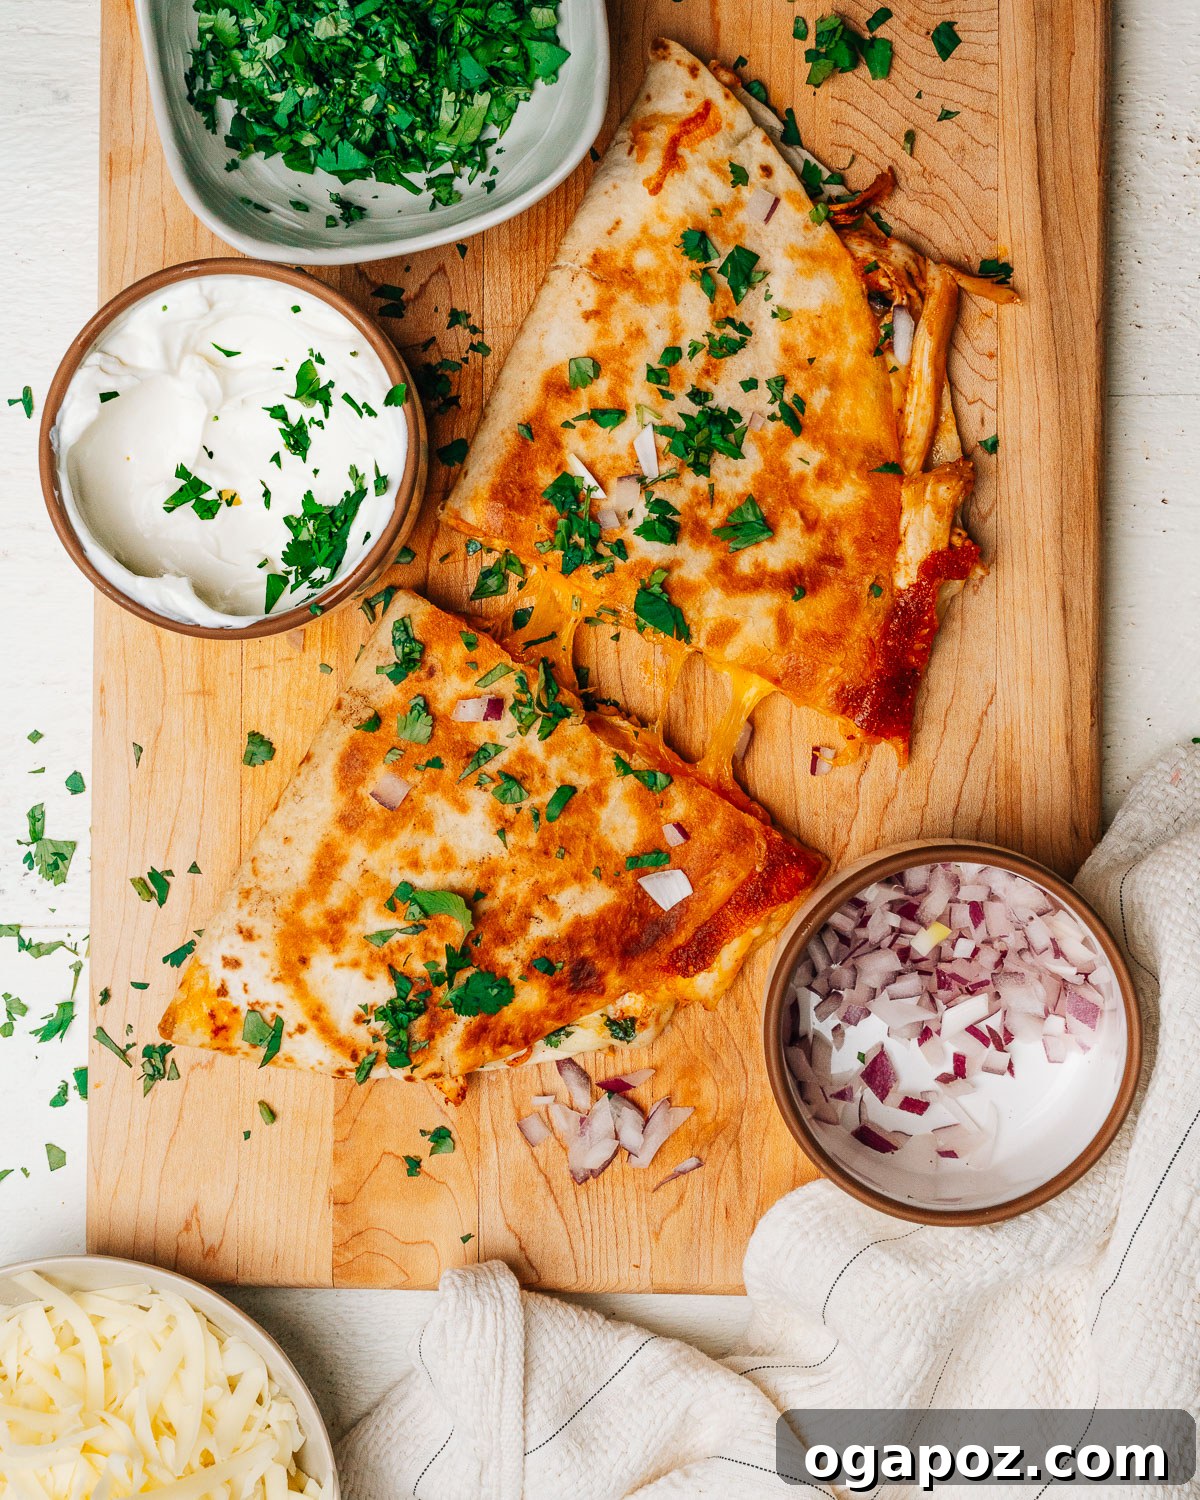
Once cooked, transfer the finished quesadilla to a cutting board. Repeat the cooking process with the remaining quesadillas, adding more butter to the pan as needed for each one. Allow each quesadilla to rest for about 1 minute on the cutting board before slicing it into wedges. This brief resting period is important because it allows the hot, melted cheese to set slightly, preventing it from oozing out excessively when you cut. Serve your perfectly crispy and cheesy chicken quesadillas immediately with a dollop of cool sour cream and a fresh scoop of pico de gallo or your favorite salsa. Enjoy!
Avoid These Pitfalls: 5 Common Mistakes When Making Chicken Quesadillas
Even though chicken quesadillas are simple to make, there are a few common missteps that can prevent you from achieving that perfect crispy, cheesy outcome. By being aware of these frequent mix-ups, you can ensure your easy chicken quesadilla recipe turns out flawlessly every time:
- Heat That’s Too High: This is perhaps the most common mistake. Cooking over heat that is too aggressive will quickly burn your tortilla to a dark crisp before the cheese inside has had a chance to fully melt and become gooey. Always keep your skillet over a gentle medium to medium-low heat. This allows the tortilla to slowly toast and turn golden while the internal filling heats through and the cheese melts perfectly.
- Overfilling Your Tortilla: It’s tempting to load up your quesadilla with all that delicious filling, but too much can lead to problems. An overstuffed quesadilla becomes difficult to fold, hard to flip in the pan without breaking, and can result in messy spills. Aim for a moderate amount of filling that allows the tortilla to close comfortably and evenly distribute the ingredients. Less is often more for structural integrity and even cooking.
- Skipping the Butter (or Using Oil Instead): Butter is not just for flavor; it’s crucial for texture. Cooking your quesadillas in butter contributes significantly to that desirable golden-brown color and incredibly crispy exterior. While oil can work in a pinch for greasing the pan, it simply doesn’t impart the same rich, nutty flavor or achieve the same level of crispiness that butter does. Don’t skip this key ingredient!
- Incorrect Cheese Layering: The cheese in a quesadilla serves a dual purpose: flavor and structure. Laying down a base layer of cheese on the tortilla, then adding the filling, and finally topping with another layer of cheese creates a “cheese glue” effect. This ensures that when the cheese melts, it securely holds all the delicious ingredients together, preventing them from scattering when you perform that crucial flip in the pan. Without proper layering, your quesadilla might fall apart.
- Cutting Too Soon: Patience is a virtue, especially after cooking! Once your quesadilla is golden and the cheese is beautifully melted, transfer it to a cutting board and let it rest for just one minute. This brief resting period allows the piping hot, melted cheese to set ever so slightly. If you cut it too soon, the cheese will be excessively runny and likely ooze out everywhere, making for a messy slice. A minute of rest ensures cleaner, more stable wedges.
Smart Prep: Make Ahead and Storage Tips
These chicken quesadillas are fantastic for meal planning and meal prep, making your busy weeknights even easier. Preparing components in advance or storing leftovers correctly ensures you can enjoy delicious quesadillas anytime.
Storing Leftovers Safely and Deliciously
- Refrigerate Promptly: Any cooked quesadilla wedges should be stored in an airtight container. They will remain fresh and delicious in the refrigerator for up to 3 days.
- Prevent Sticking: If stacking multiple quesadilla pieces, place a small sheet of parchment paper between each layer. This simple trick prevents them from sticking together, making them easier to retrieve and reheat.
- Seasoned Chicken (Component Prep): The seasoned shredded chicken filling can be prepared ahead of time and stored separately in an airtight container in the fridge for 3 to 4 days. This means when dinner time rolls around, all you have to do is assemble and cook!
Freezing for Future Feasts
- Freeze Cooked Quesadillas: Once your quesadillas are cooked, allow them to cool completely to room temperature. Freeze them in a single layer on a baking sheet until solid (this prevents them from sticking together). Then, transfer the frozen quesadillas to a freezer-safe bag or container. They will keep well for up to 2 months.
- Freeze Uncooked Quesadillas: For ultimate convenience, you can assemble the quesadillas (with all fillings) but skip the cooking step. Wrap each uncooked quesadilla tightly in plastic wrap, then place them in a freezer bag. When you’re ready to cook, there’s no need to thaw! Simply cook them directly from frozen, adding an extra minute or two per side to ensure they heat through and crisp up.
- Freeze Leftover Seasoned Chicken: If you have extra seasoned shredded chicken, it freezes beautifully for up to 3 months. Store it in an airtight freezer bag or container. Thaw it overnight in the refrigerator before using it in your next batch of quesadillas or other recipes.
The Best Ways to Reheat Chicken Quesadillas
To bring your leftover quesadillas back to their former glory, avoid the microwave if possible for the best texture.
- Skillet (Recommended): Reheat quesadillas in a dry skillet over medium heat for 2 to 3 minutes per side. This method restores their crispiness and ensures the cheese re-melts beautifully.
- Air Fryer (My Favorite!): For unparalleled crispiness and speed, reheat quesadillas in an air fryer at 350°F (175°C) for 3 to 4 minutes. They emerge perfectly hot and crunchy.
- Oven: Place your quesadilla wedges on a baking sheet and reheat in a preheated oven at 375°F (190°C) for 8 to 10 minutes, or until hot and crispy.
- Avoid the Microwave: While it will heat them up, the microwave inevitably makes the tortilla soggy, compromising the delicious texture. Only use it if you are truly in a pinch and prioritize speed over crispness.
Elevate Your Meal: How to Serve This Chicken Quesadilla Recipe
Chicken quesadillas are incredibly satisfying on their own, but pairing them with delicious dips and complementary side dishes transforms them into a truly memorable meal. This classic Mexican dish is wonderfully versatile and pairs well with a variety of vibrant toppings and accompaniments.
Delicious Dips for Your Chicken Quesadillas
- Sour Cream: The ultimate classic choice. Its cool, tangy, and creamy texture provides a perfect counterpoint to the warm, savory quesadilla filling.
- Easy Guacamole: For a rich, creamy, and fresh avocado flavor, homemade guacamole is always a winner. Its vibrant taste adds a delightful dimension.
- Cilantro Lime Crema: This zesty and herbaceous cream sauce offers a tangy brightness that beautifully complements the chicken and cheese, adding a gourmet touch.
- Avocado Crema: A smoother, richer alternative to traditional sour cream, offering a velvety texture and subtle avocado flavor.
- Pico de Gallo (or my easy fresh taco salsa): For a burst of fresh tomato, onion, and cilantro flavor, pico de gallo is a must-have. It adds a wonderful light and refreshing element.
- Baja Sauce: A reader favorite! This creamy, zesty sauce often found with fish tacos, provides a unique and irresistible flavor profile that pairs surprisingly well with chicken quesadillas.
Perfect Side Dishes for Chicken Quesadillas
- Instant Pot Mexican Rice: Transform your quesadillas into a complete, hearty meal by serving them alongside a flavorful and aromatic Mexican rice.
- Black Beans or Refried Beans: Simple yet satisfying, a side of black beans (seasoned or unseasoned) or creamy refried beans adds substance and a classic Mexican touch.
- A Simple Green Salad: For a lighter pairing, a fresh green salad tossed with a bright lime vinaigrette provides a refreshing contrast and a welcome crunch.
- Vegetarian Taco Salad: Another excellent choice for a lighter meal, offering a variety of textures and fresh flavors to complement the quesadillas.
- Tortilla Chips with Extra Salsa and Guac: When you want to lean into a more casual, snack-like meal, a bowl of crispy tortilla chips with extra salsa and guacamole makes for a fun and delicious side.
Unlock Perfection: Pro Tips & Expert Secrets for Your Best Quesadillas
While the recipe itself is straightforward, incorporating these tried-and-true tips and understanding the “why” behind them will consistently help you make the most delicious, perfectly crispy, and cheesy chicken quesadillas every single time. These are the secrets from my kitchen to yours:
- The Power of Two Cheeses: This isn’t just a preference; it’s a strategy. Monterey Jack cheese is renowned for its smooth, effortless melt, providing that desirable gooey texture. Sharp cheddar, on the other hand, contributes a deeper, more robust flavor and a beautiful color. Together, they create a balanced, complex flavor profile and the ideal melty, satisfying texture that elevates your quesadilla beyond basic.
- Patience with Medium Heat: Resisting the urge to crank up the heat is critical. Cooking your quesadilla in a skillet over a consistent medium (or even medium-low) heat allows the cheese ample time to melt completely and become beautifully gooey throughout the entire filling. Simultaneously, this lower heat ensures the tortilla can gradually toast to a beautiful golden-brown and develop that irresistible crispness without scorching or burning prematurely. Patience truly pays off here.
- Butter Both Sides, Every Time: Don’t skimp on the butter! Applying a fresh pat of butter to the pan before cooking each side of the quesadilla is paramount for achieving uniform goldenness and maximum crispiness. The butter fries the tortilla, creating a flavorful, crunchy exterior that is simply unmatched by dry-frying or using oil alone.
- Strategic Cheese Layering for “Glue”: Think of your cheese layers as edible adhesive. By placing a thin layer of cheese directly on the tortilla first, then adding your chicken and other fillings, and finally topping with more cheese, you create a powerful “cheese sandwich.” As the cheese melts, it acts as a glue, effectively sealing in all the delicious ingredients and preventing them from spilling out when you expertly flip the quesadilla.
- The Essential Resting Period: This small step makes a big difference in presentation and enjoyment. Allowing the cooked quesadilla to rest on a cutting board for just about one minute after it comes off the heat gives the super-hot, melted cheese a moment to firm up slightly. This ensures that when you slice it into wedges, you get clean cuts and less gooey overflow, making it easier to handle and eat.
- Rotisserie Chicken: Your Busy Night Hero: For unparalleled convenience on the busiest nights, a store-bought rotisserie chicken is your absolute best friend. It’s already perfectly cooked, wonderfully tender, and often seasoned, meaning all you have to do is shred it and toss it with your additional spices. This significantly cuts down on prep and cooking time, making this quesadilla recipe truly a “minutes-to-table” meal.
- Embrace Leftover Chicken: Don’t let cooked chicken go to waste! Whether it’s from last night’s roasted chicken, grilled breasts, or poached thighs, leftover chicken is ideal for quesadillas. It’s already cooked, so you simply need to shred or dice it, season it up, and you’re good to go. It’s a fantastic way to repurpose ingredients and minimize food waste.
FAQs About Chicken Quesadillas
Just skimming through? Here are some quick answers to the most commonly asked questions about making delicious chicken quesadillas at home:
The best cheese for chicken quesadillas is a combination of Monterey Jack and sharp cheddar. Monterey Jack melts incredibly smoothly, providing a creamy texture and mild flavor. Cheddar adds a delicious sharpness and a vibrant color. Together, they create the perfect balance of melty texture and rich flavor for this classic Mexican dish.
Yes, absolutely! Chicken quesadillas are excellent for meal prepping. You can cook them completely, allow them to cool, and then store them in an airtight container in the refrigerator for up to 3 days. For best results, reheat them in a skillet over medium heat or in an air fryer to restore their wonderful crispiness.
Rotisserie chicken is the most convenient and easiest option for making delicious chicken quesadillas, as it’s already cooked and seasoned. However, any leftover cooked chicken, whether from chicken breasts or thighs, works equally well. Just ensure it’s shredded or diced finely for easy incorporation into the filling.
To prevent soggy quesadillas, cook them in a skillet over consistent medium to medium-low heat until both sides are golden brown and crispy. Using butter instead of oil helps achieve better browning and flavor. Importantly, let them rest for at least a minute after cooking before cutting. When reheating, always avoid the microwave for the crispiest results.
Yes, chicken quesadillas freeze exceptionally well for up to 2 months. For cooked quesadillas, cool them completely, then freeze them in a single layer until solid before transferring to a freezer bag. You can also assemble uncooked quesadillas, wrap them tightly, and freeze them. Cook directly from frozen, adding a couple of extra minutes per side.
Large flour tortillas, typically 10 to 12 inches in diameter, are best for this chicken quesadilla recipe. Their pliability makes them easy to fold, and their size provides ample space for filling. They also crisp up beautifully in the pan, creating a satisfying texture.
Absolutely! Adding your favorite vegetables is a fantastic way to enhance your chicken quesadillas. Bell peppers, corn, spinach, diced tomatoes, or jalapeños are all excellent choices. For optimal results, sauté any raw or high-moisture vegetables beforehand to prevent them from releasing water and making your quesadilla soggy.
Chicken quesadillas pair wonderfully with a variety of dips and sides. For dipping, consider sour cream, fresh guacamole, zesty pico de gallo, or a vibrant cilantro lime crema. Popular side dishes include Mexican rice, black beans, refried beans, or a crisp green salad for a refreshing contrast.
More Mexican-Inspired Recipes You’ll Adore
If you’ve fallen in love with these chicken quesadillas, then you’re in for a treat! Explore more of our delicious and easy Mexican-inspired dishes that are perfect for any occasion:
- Crockpot Chicken Tacos: Tender, flavorful chicken with minimal effort.
- My favorite Beef Fajitas: Sizzling steak and peppers, a true crowd-pleaser.
- Crispy Baked Chicken Tacos: All the crunch, none of the mess.
- Homemade Ground Beef Tacos: Classic comfort food, simple and delicious.
- Spicy Fish Tacos: Light, zesty, and full of vibrant flavors.
- Instant Pot Mexican Rice: The perfect flavorful side, made effortlessly.
Pin
Chicken Quesadilla
Video
Ingredients
For the Chicken Filling
- 2 cups cooked shredded chicken (rotisserie chicken works great)
- 1 tbsp chili powder
- ½ tsp kosher salt
For the Quesadillas
- 4 large flour tortillas
- 2 cups shredded Monterey Jack cheese
- ½ cup finely diced red or white onion
- ½ cup chopped fresh cilantro
- 1 cup shredded sharp cheddar cheese
- 2 tbsp butter (divided, for greasing the pan)
For Serving
- Sour cream
- Pico de gallo
Instructions
-
In a bowl, toss the shredded chicken with chili powder and salt until evenly coated.
-
Lay out the flour tortillas. On one half of each, add a light layer of Monterey Jack, followed by the seasoned chicken, diced onion, and chopped cilantro. Top with the cheddar and finish with a bit more Jack. Fold the tortillas over to close.
-
Heat a large skillet over medium heat. Melt 1/2 tbsp butter, then add one quesadilla. Cook 2 to 3 minutes until golden underneath.
-
Lift the quesadilla slightly, add a small pat of butter to the pan, then flip the quesadilla into the melted butter, and cook another 2 to 3 minutes until the second side is golden and crisp.
-
Repeat with remaining quesadillas. Let rest for 1 minute before slicing into wedges. Serve with sour cream and/or pico de gallo.
Notes
Heat Level: Keep the skillet over medium to medium-low heat so the cheese has time to melt while the tortilla crisps up without browning too quickly.
Cheese: Always shred cheese from a block for best melting. Pre-shredded cheese contains anti-caking agents that can affect texture.
Seasoning: Swap chili powder for taco seasoning if you prefer bolder flavor.
Add-ins: Add sautéed bell peppers, tomato, or veggies of choice to the quesadilla filling. Remember to pre-cook raw vegetables to prevent a soggy quesadilla.
Storage: Store leftover quesadillas in an airtight container in the refrigerator for up to 3 days. Reheat in a skillet or air fryer for best results to maintain crispiness.
Nutrition
Carbohydrates: 19g |
Protein: 42g |
Fat: 40g |
Saturated Fat: 22g |
Polyunsaturated Fat: 3g |
Monounsaturated Fat: 11g |
Trans Fat: 0.2g |
Cholesterol: 148mg |
Sodium: 1176mg |
Potassium: 350mg |
Fiber: 2g |
Sugar: 3g |
Vitamin A: 1662IU |
Vitamin C: 2mg |
Calcium: 697mg |
Iron: 3mg
Nutrition information is automatically calculated, so should only be used as an approximation.
Tried this recipe? Leave a comment!