
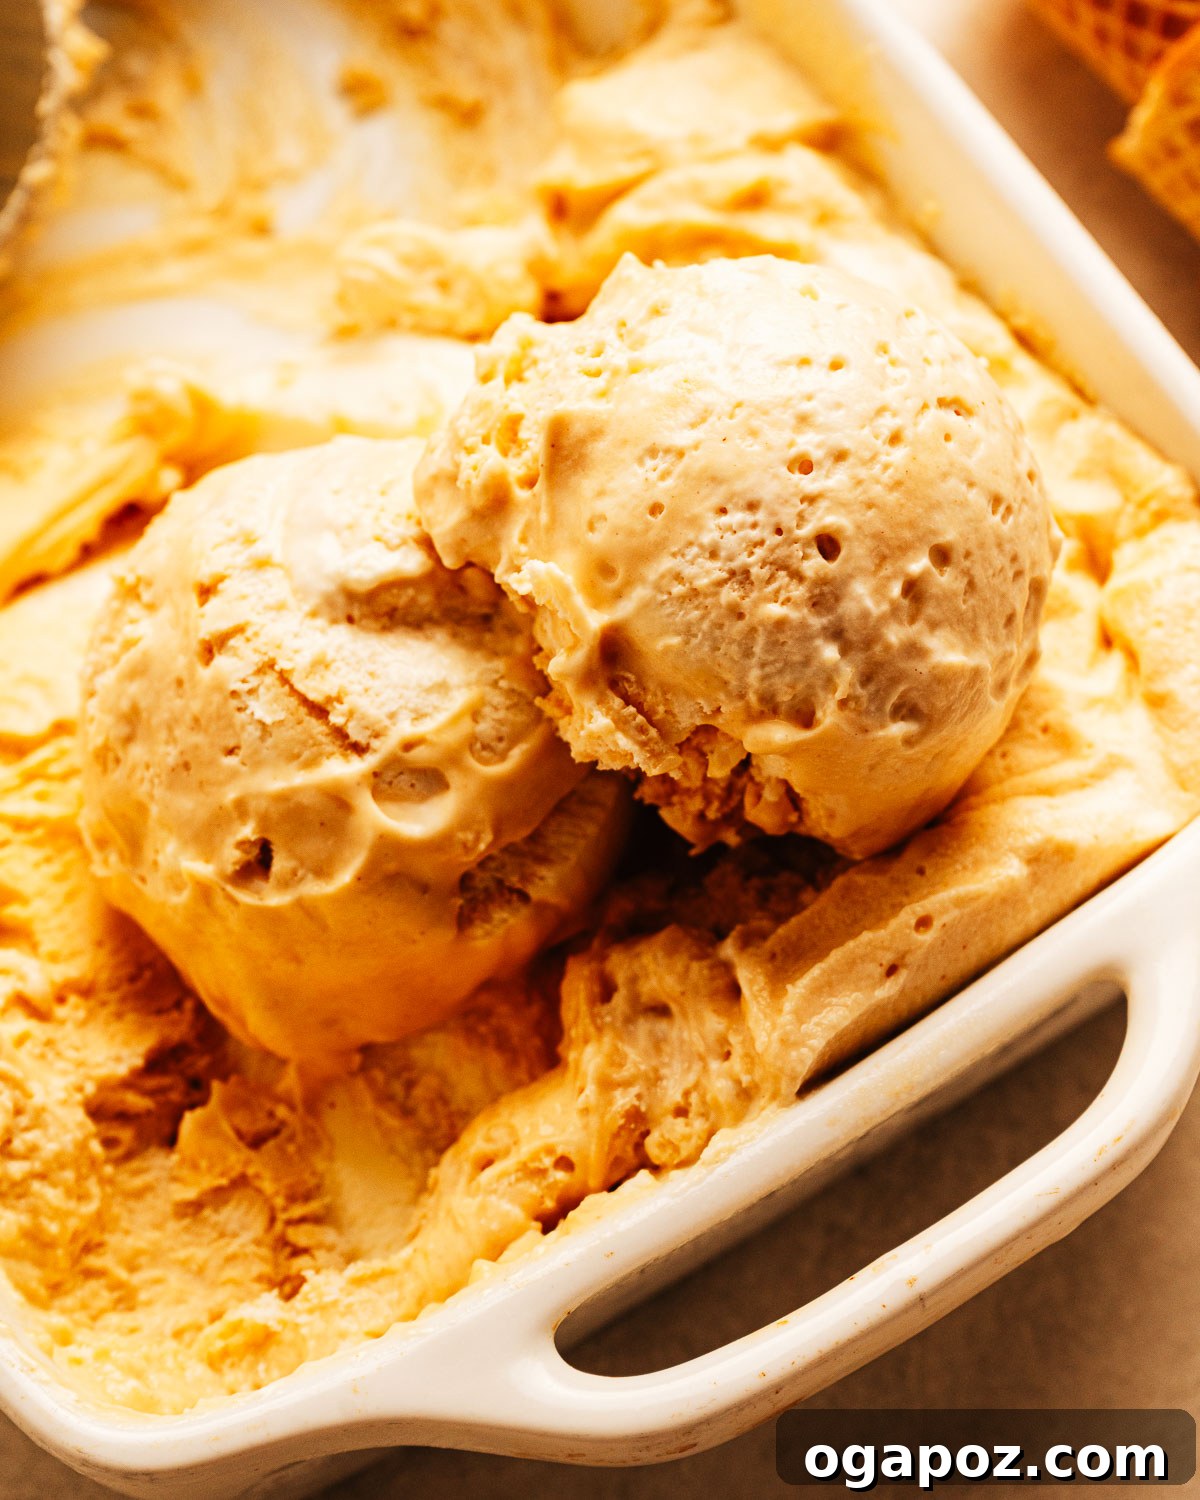
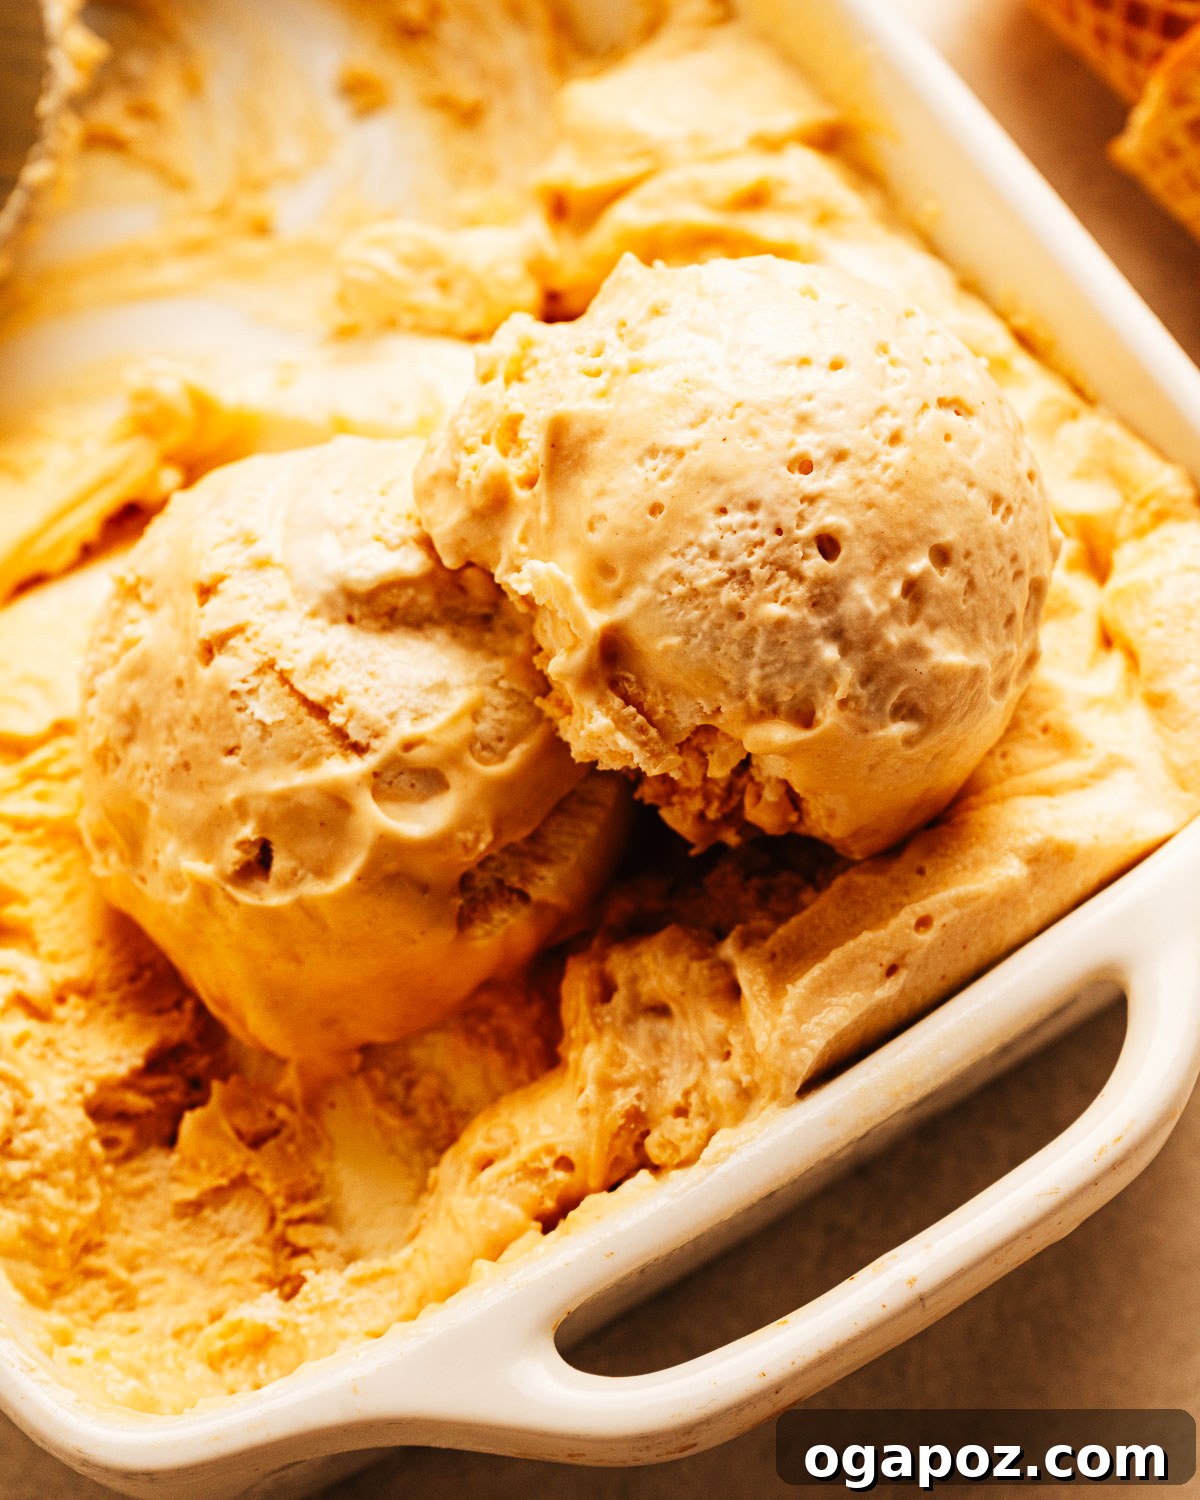
Easy homemade Peanut Butter Ice Cream made with just three ingredients and no ice cream maker. This simple no-churn method yields an ultra-rich, creamy texture that becomes scoopable after freezing. The whole base comes together quickly and the mixture is freezer-ready in minutes, making it perfect for hot days or last-minute dessert cravings.
Peanut Butter Ice Cream Ingredients
The base is made by folding cold whipped cream into a mixture of sweetened condensed milk and creamy peanut butter. Whipping the cream traps air so the finished ice cream stays soft, while the condensed milk prevents it from freezing solid and helps keep the texture smooth.
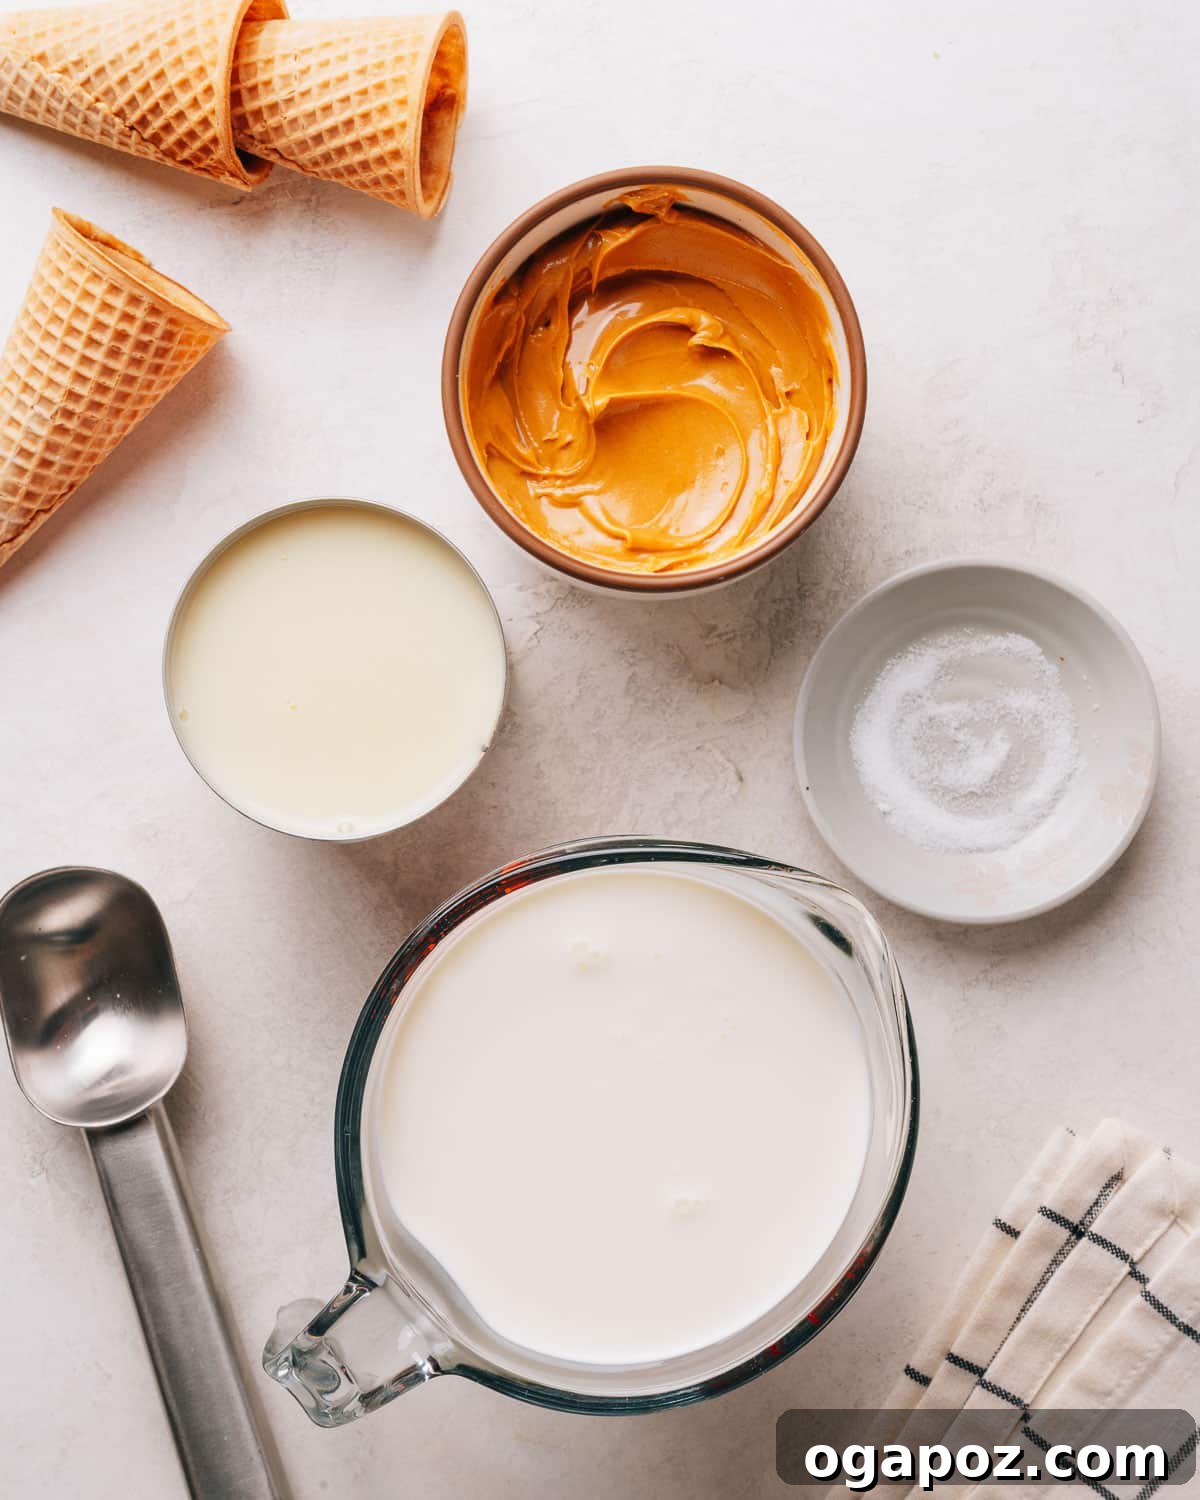
Primary ingredients for this easy peanut butter ice cream:
- Heavy whipping cream: keep it cold so it whips to stiff peaks.
- Sweetened condensed milk: provides the sweetness and helps keep the texture scoopable.
- Creamy peanut butter: use a conventional creamy peanut butter (not natural) for the smoothest result.
- Salt: a pinch balances the sweetness (optional).
Exact quantities appear in the recipe card later in the article.
If you enjoy no-churn ice cream, try other flavors like cookies-and-cream or strawberry for variety. This method works well with many add-ins and mix-ins.
Variations and Substitutions
This base accepts many delicious variations. A few ideas:
- Chocolate swirl: swirl warm hot fudge through the base before freezing for ribbons of chocolate.
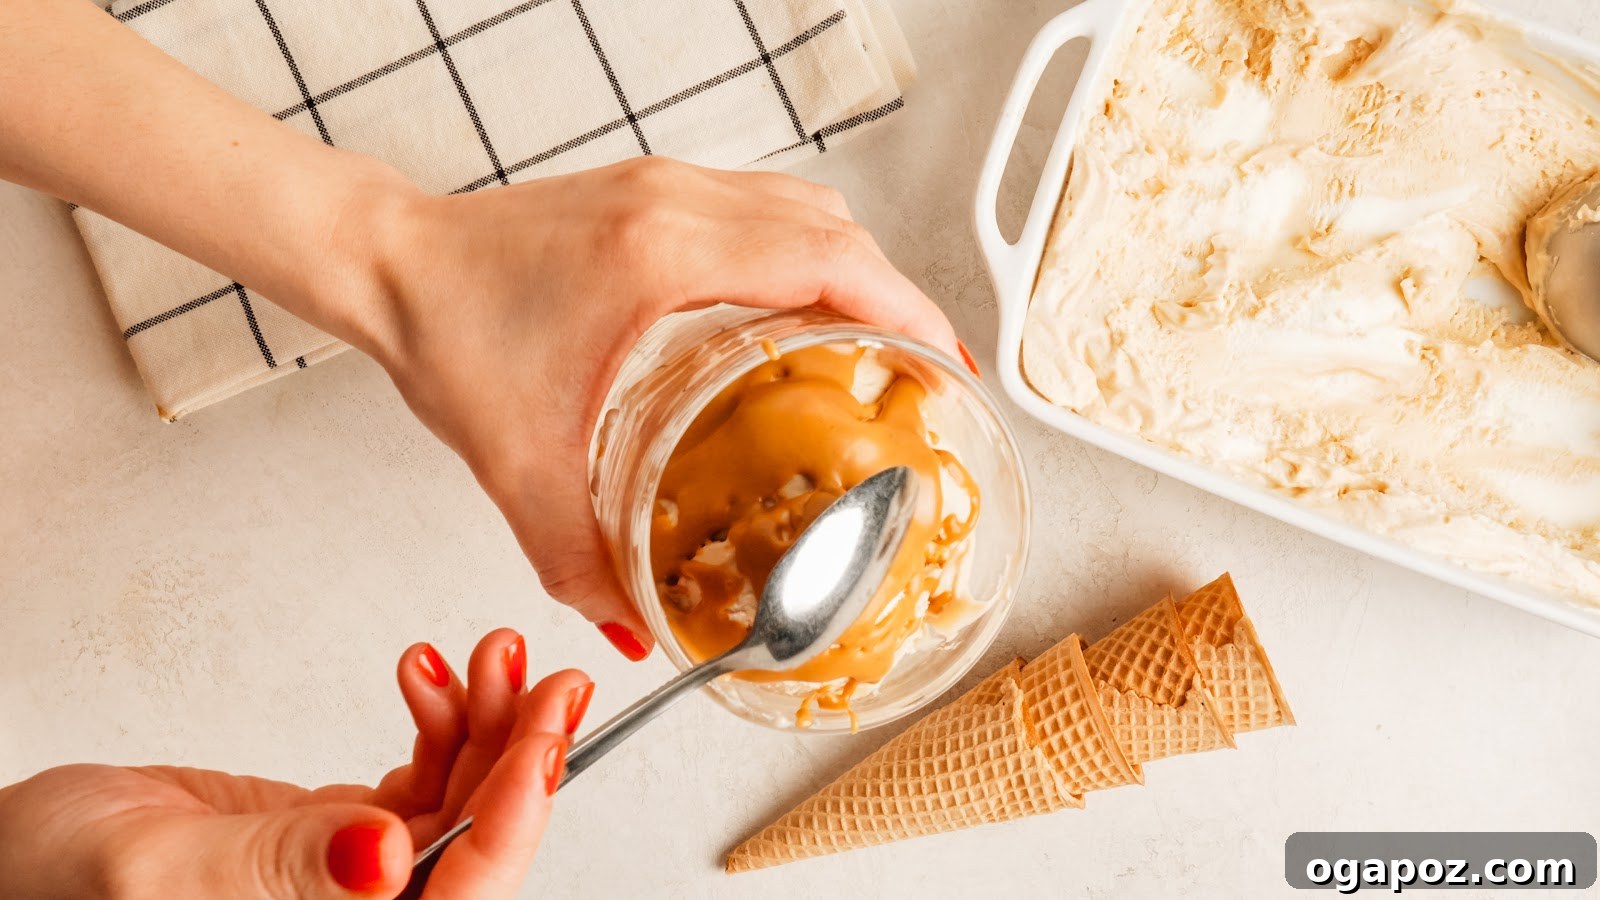
- Peanut butter ripple: drizzle extra melted peanut butter and create ripples with a knife.
- Crunchy mix-ins: fold in chopped peanuts, chopped peanut butter cups, or mini chocolate chips for texture.
- Dairy-free option: full-fat coconut cream can replace heavy cream; chill the can and whip the thick part to stiff peaks.
Tools You’ll Need
Only basic kitchen tools are required:
- Hand or stand mixer: to whip the cream to stiff peaks.
- Mixing bowls: one for whipping the cream and one for mixing the base.
- Loaf pan or freezer container: to freeze and store the ice cream.
- Plastic wrap: pressed on the surface to prevent freezer burn.
- Silicone spatula: for gentle folding.
How to Make Peanut Butter Ice Cream: An Easy Guide
Making this peanut butter ice cream is straightforward and breaks down into a few simple steps:
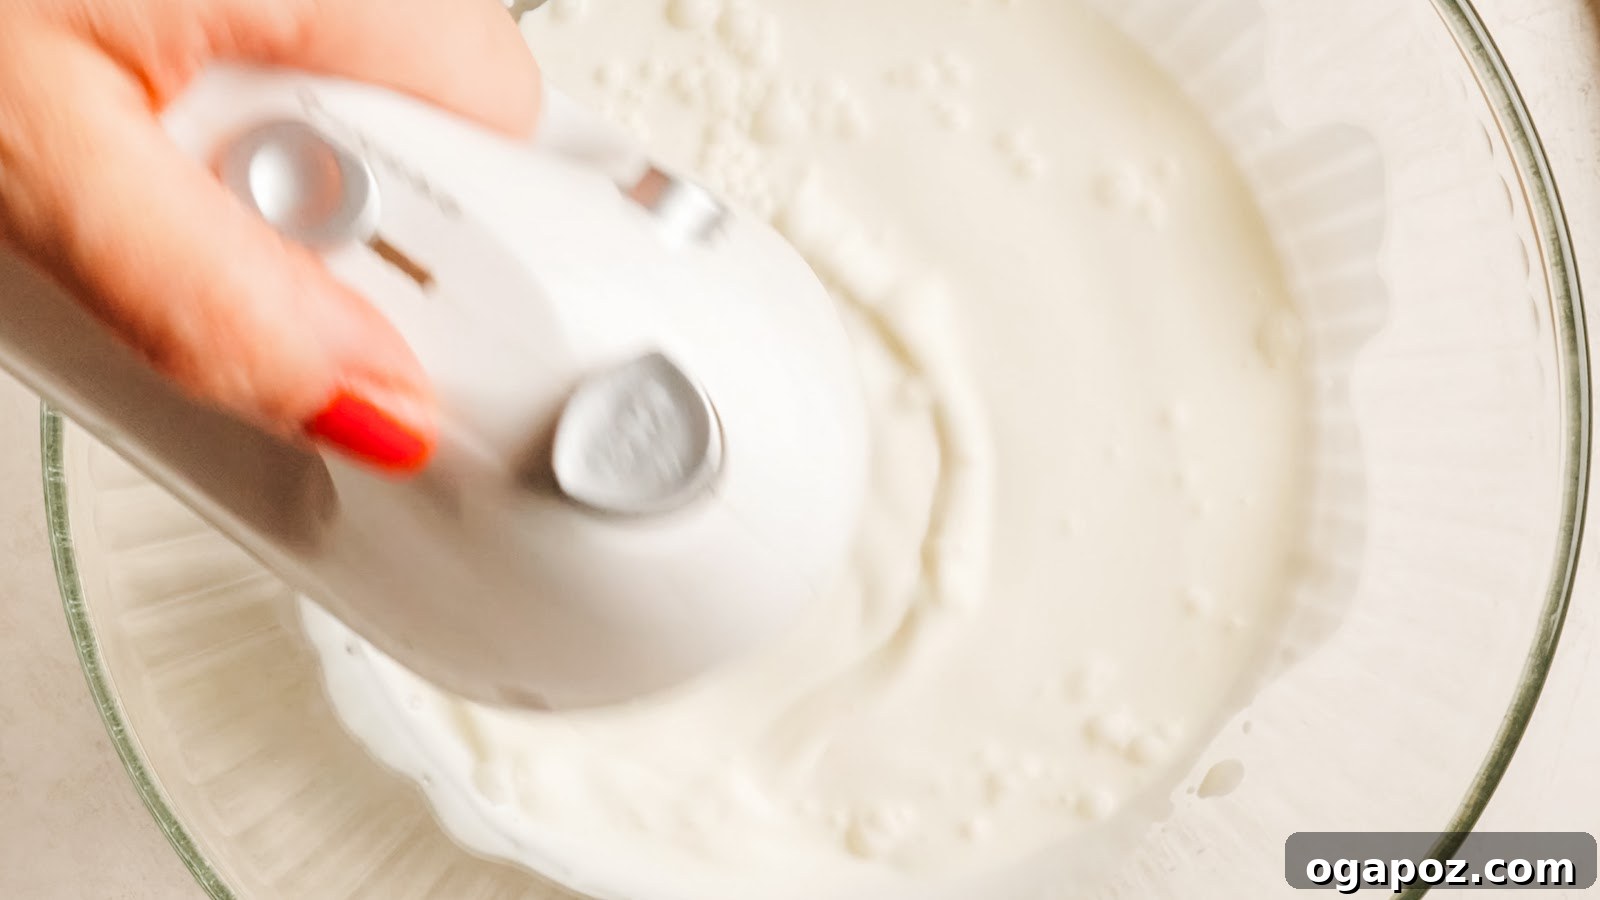
Whip the Cream
Beat cold heavy cream until it holds stiff peaks. This usually takes about 3 to 4 minutes with a mixer. Cold equipment helps the cream whip faster and trap more air for a light, scoopable texture.
Mix the Peanut Butter Base
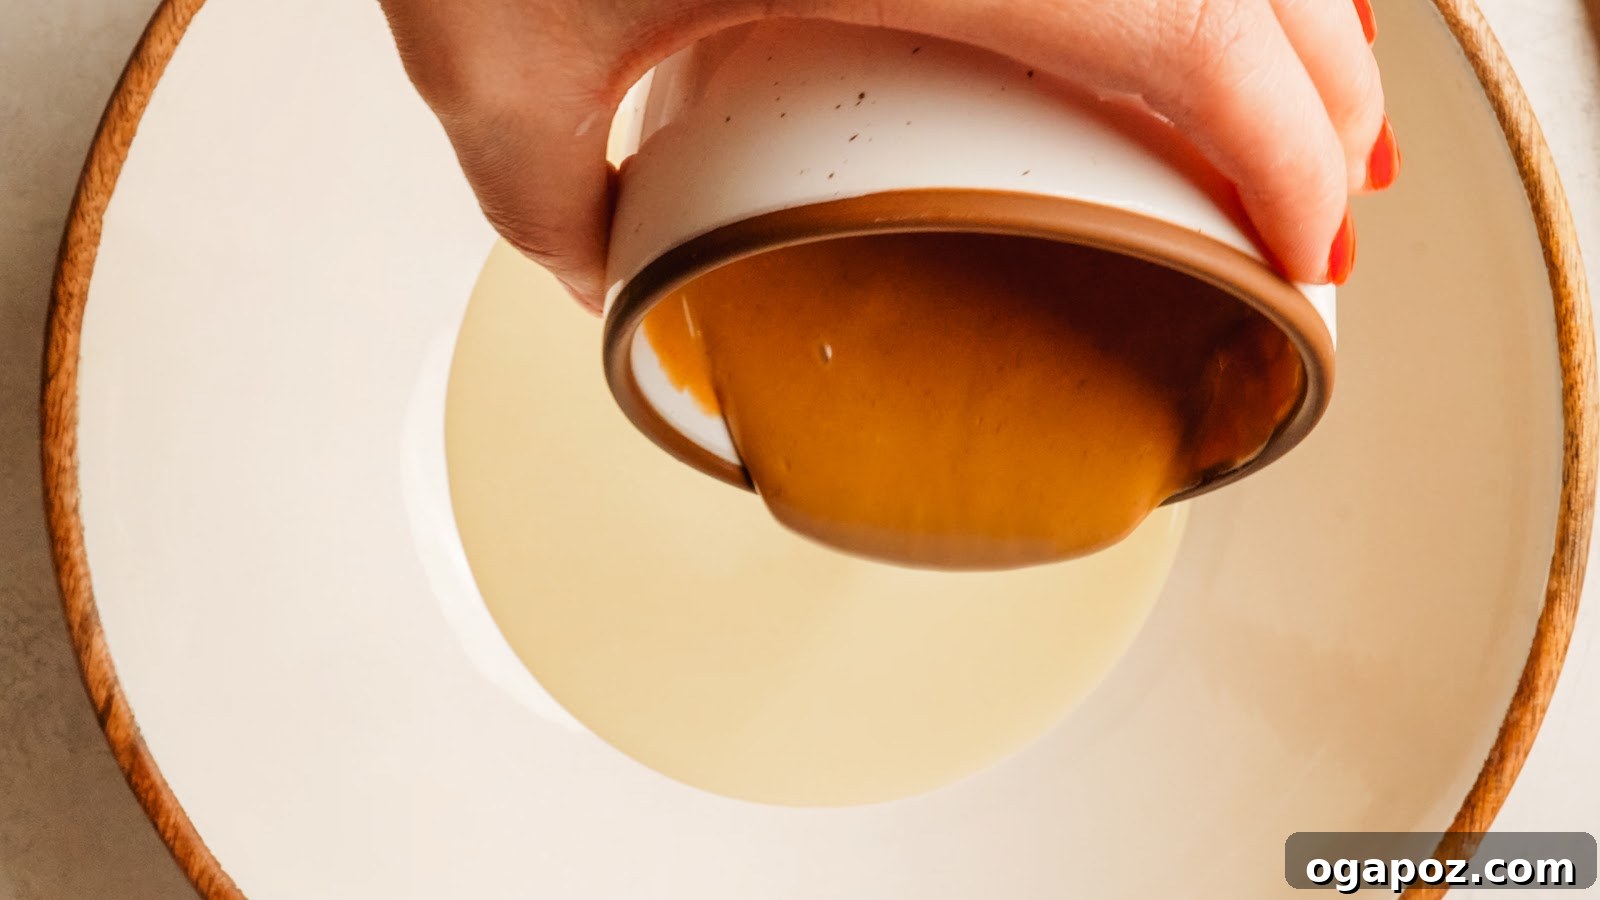
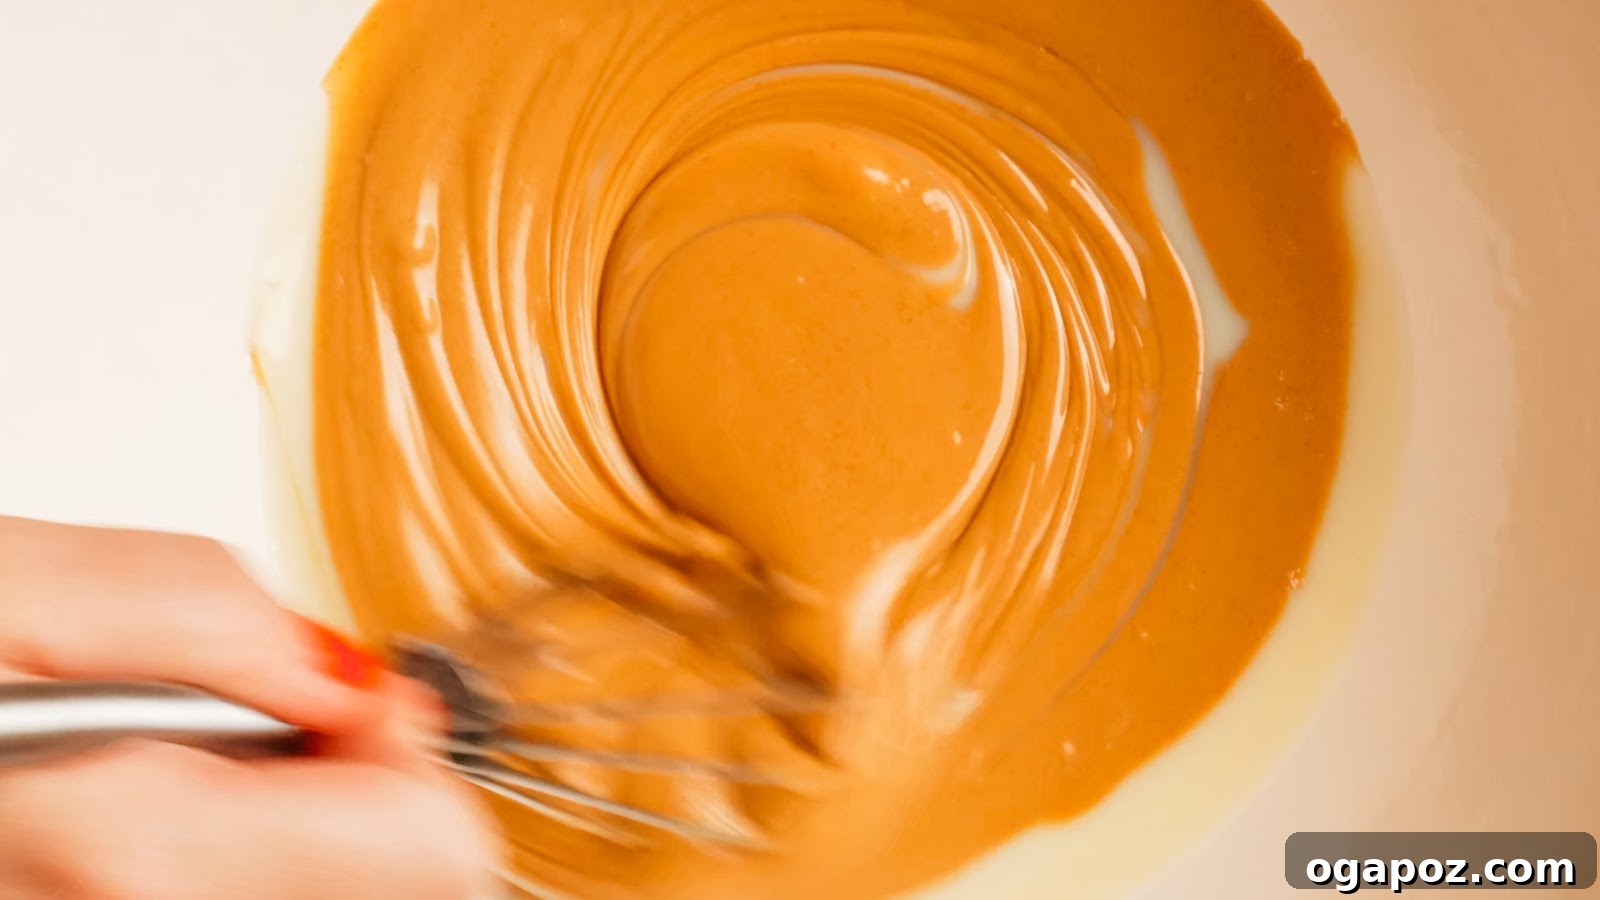
Heat the peanut butter briefly—about 15 to 20 seconds—so it becomes pourable. Whisk it together with the sweetened condensed milk and a pinch of salt until smooth. The peanut butter may briefly thicken as it absorbs liquid; it will relax and smooth out with continued whisking.
Fold in the Whipped Cream
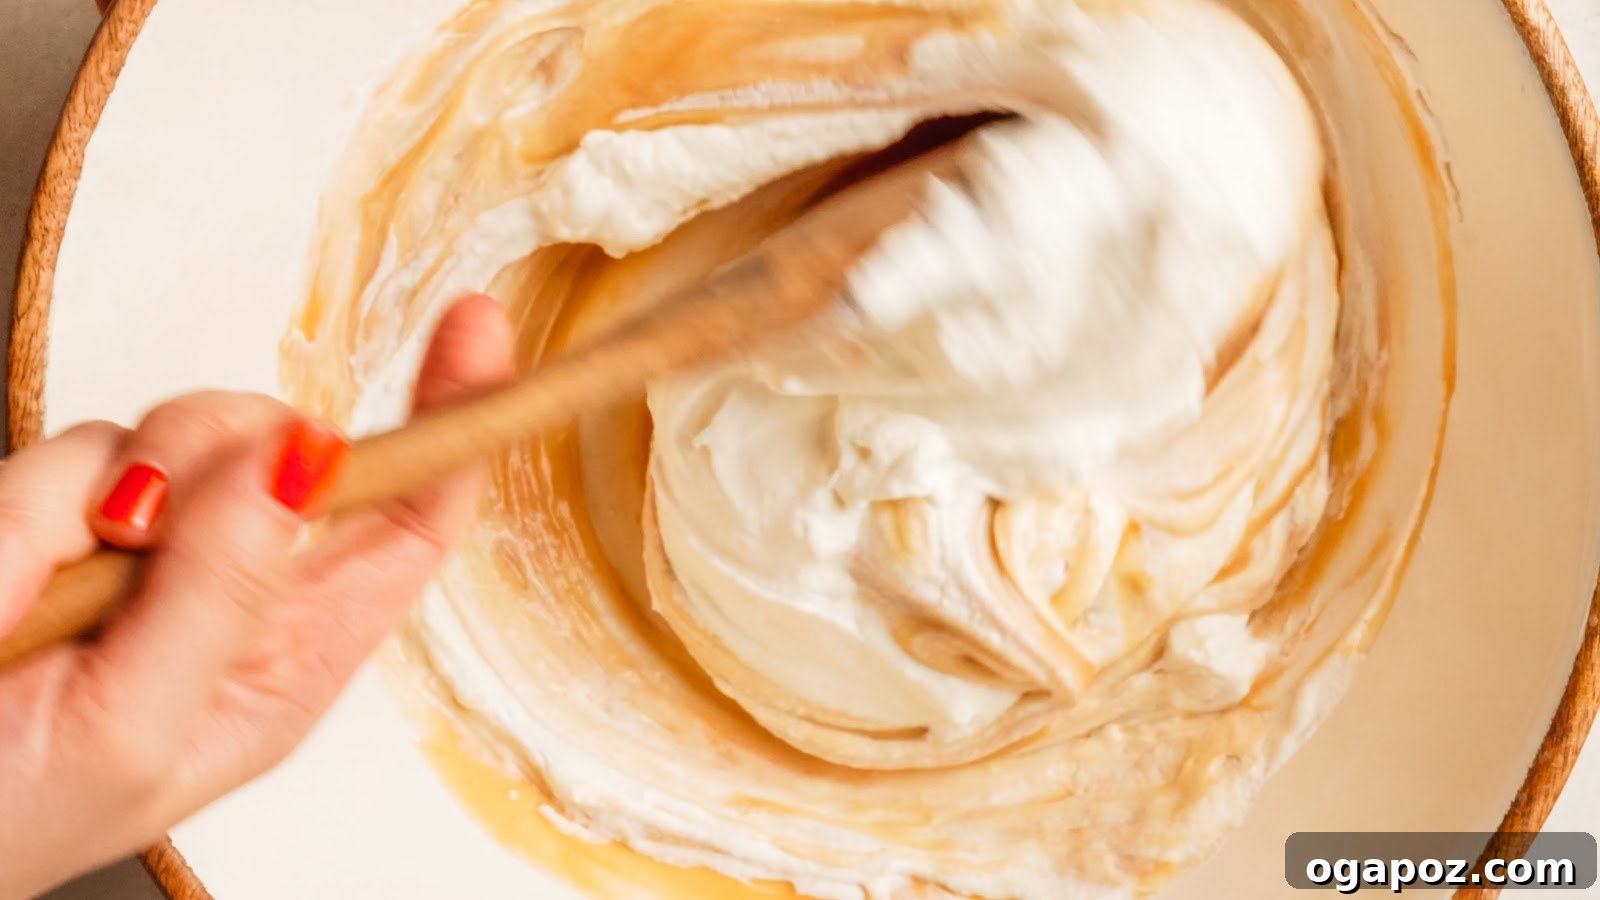
Stir one-third of the whipped cream into the peanut butter base to loosen it. Add the next third more gently to retain air, then fold in the final third carefully to keep the mixture fluffy. Avoid overmixing, which will deflate the whipped cream and make the ice cream dense.
Freeze Until Scoopable
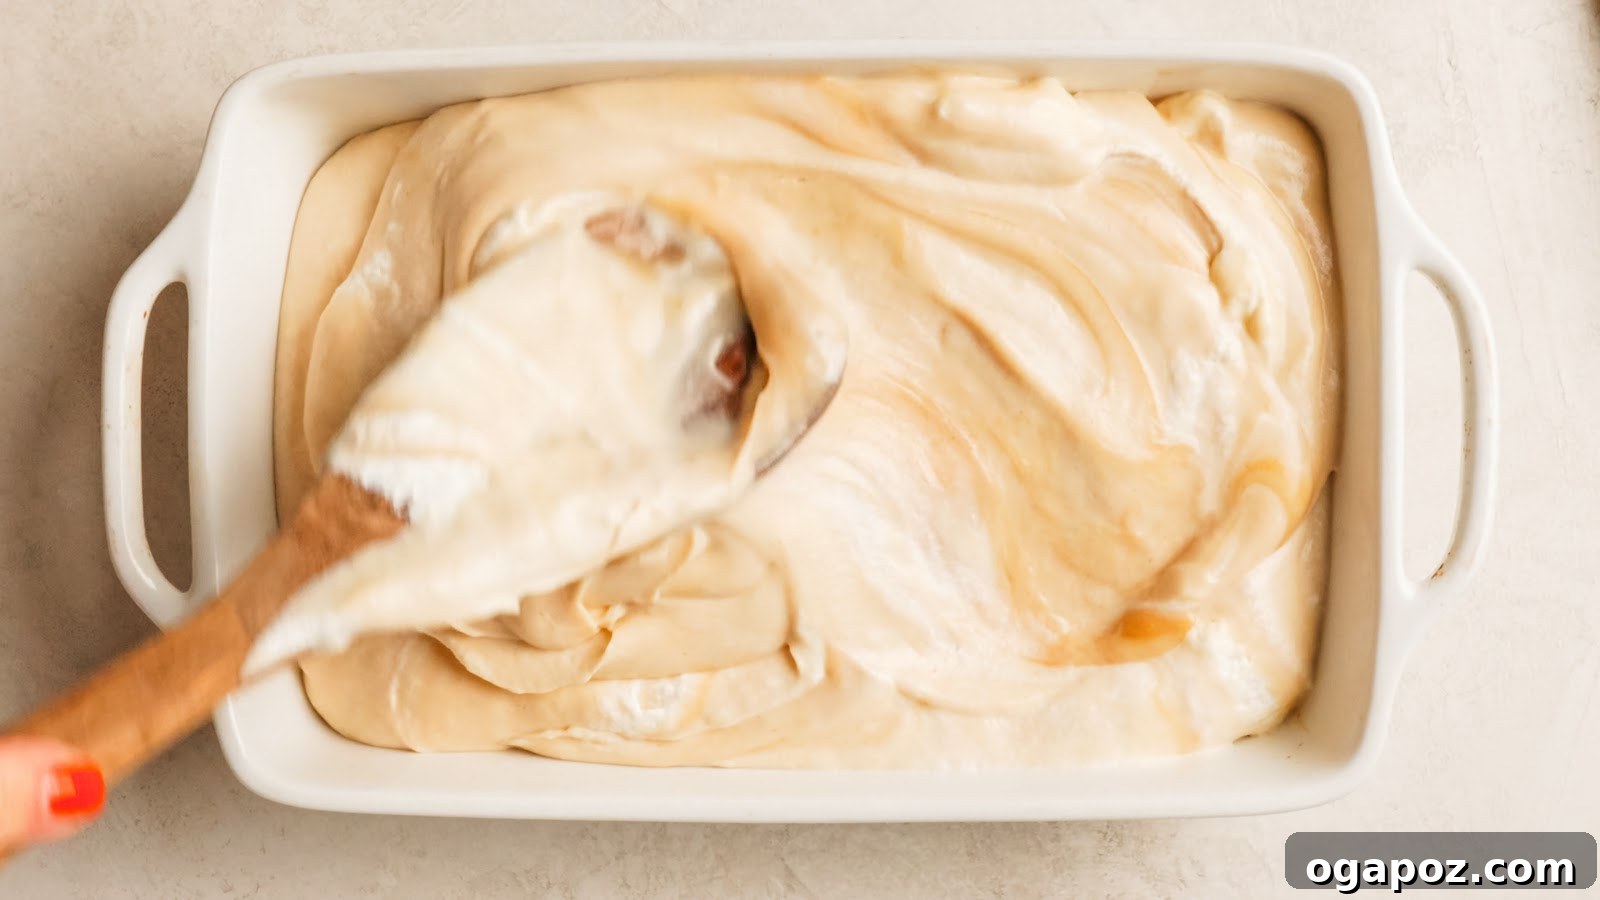
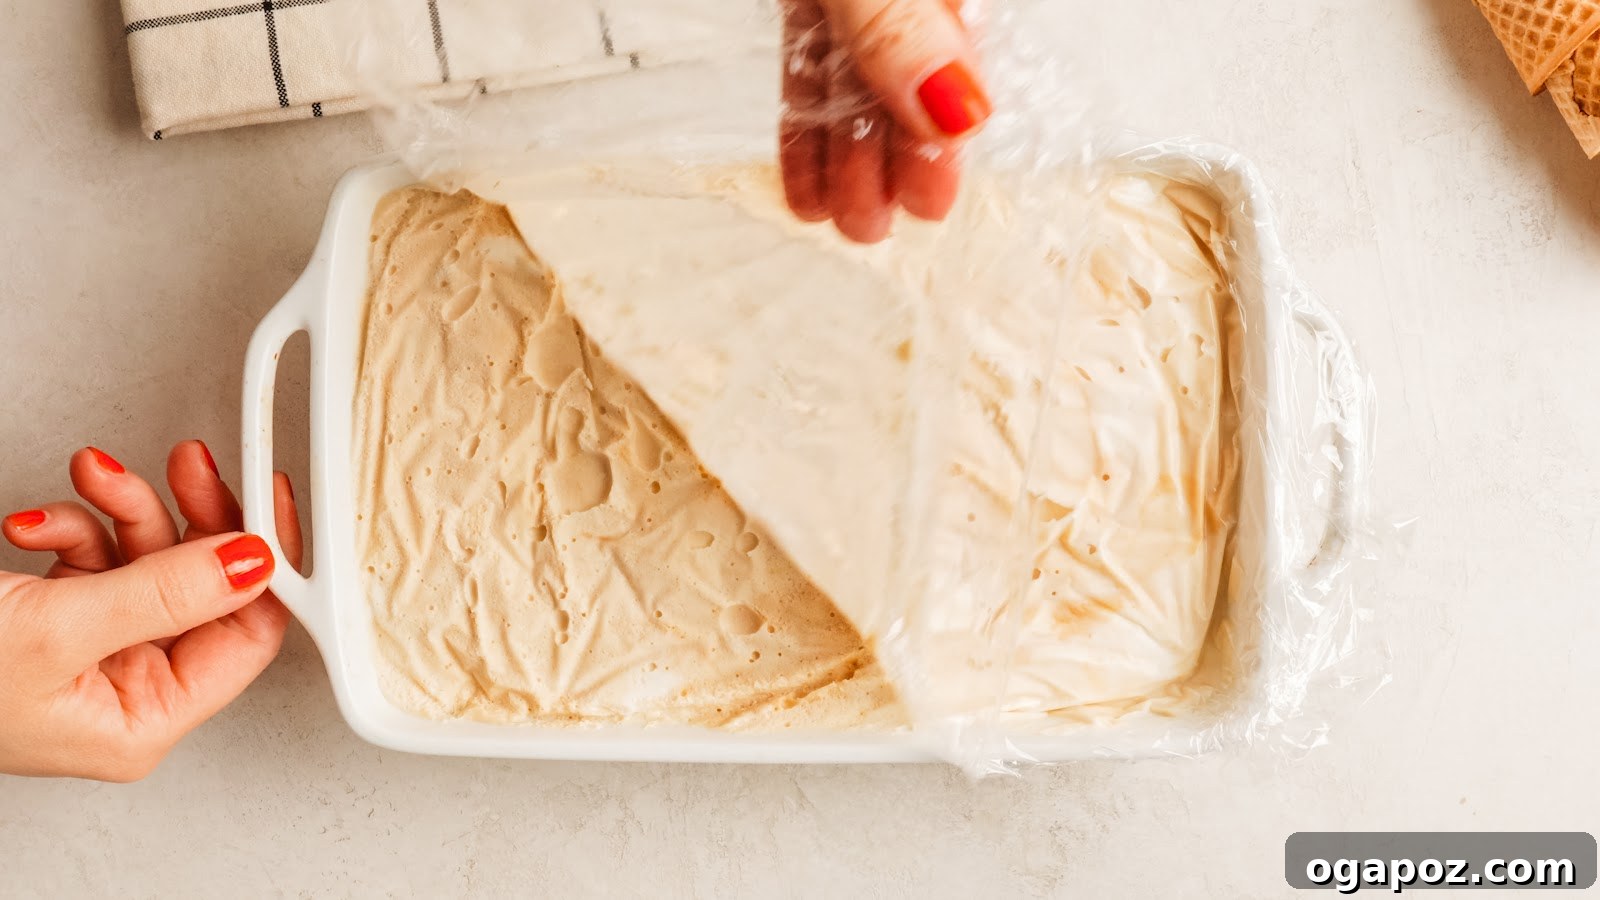
Transfer the mixture to a freezer-safe container and smooth the top. Press plastic wrap directly onto the surface to prevent ice crystals. Freeze for 4 to 6 hours or overnight until firm but scoopable. Let the ice cream sit at room temperature for several minutes before scooping for the best texture.
4 Common Mistakes to Avoid
To get the creamiest result, avoid these common errors:
- Using natural peanut butter: natural varieties often separate and can make the texture grainy; use a conventional creamy peanut butter for a smooth base.
- Over-mixing: aggressive folding will knock the air out of the whipped cream and produce a denser ice cream.
- Skipping plastic wrap: leaving the surface exposed can cause freezer burn and icy crystals.
- Serving straight from the freezer: allow the ice cream to warm slightly so it scoops cleanly and tastes creamier.
Make Ahead and Storage
This ice cream stores well and is ideal for planning ahead. Follow these tips to keep it tasting great.
Storing Leftovers
- Airtight container: store in a sealed container to avoid picking up freezer odors.
- Press the wrap: cover the surface with plastic wrap before sealing the container to limit air exposure.
- Best within two weeks: texture is creamiest during the first one to two weeks.
Freezing
- Freeze fully: allow 4 to 6 hours or overnight to set completely.
- Use a shallow pan: a wider, shallow container freezes faster and more evenly.
- Label the date: write the freeze date so you can track freshness.
Softening Before Serving
- Let it rest: sit at room temperature for 5 to 10 minutes to soften slightly.
- Warm your scoop: run the scoop under hot water for cleaner portions.
- Do not refreeze melted ice cream: fully melted then refrozen ice cream becomes icy and loses creaminess.
What to Serve with Peanut Butter Ice Cream
This ice cream is delicious on its own, and pairs well with a variety of toppings and desserts. A few suggestions:
Toppings and Add-Ins
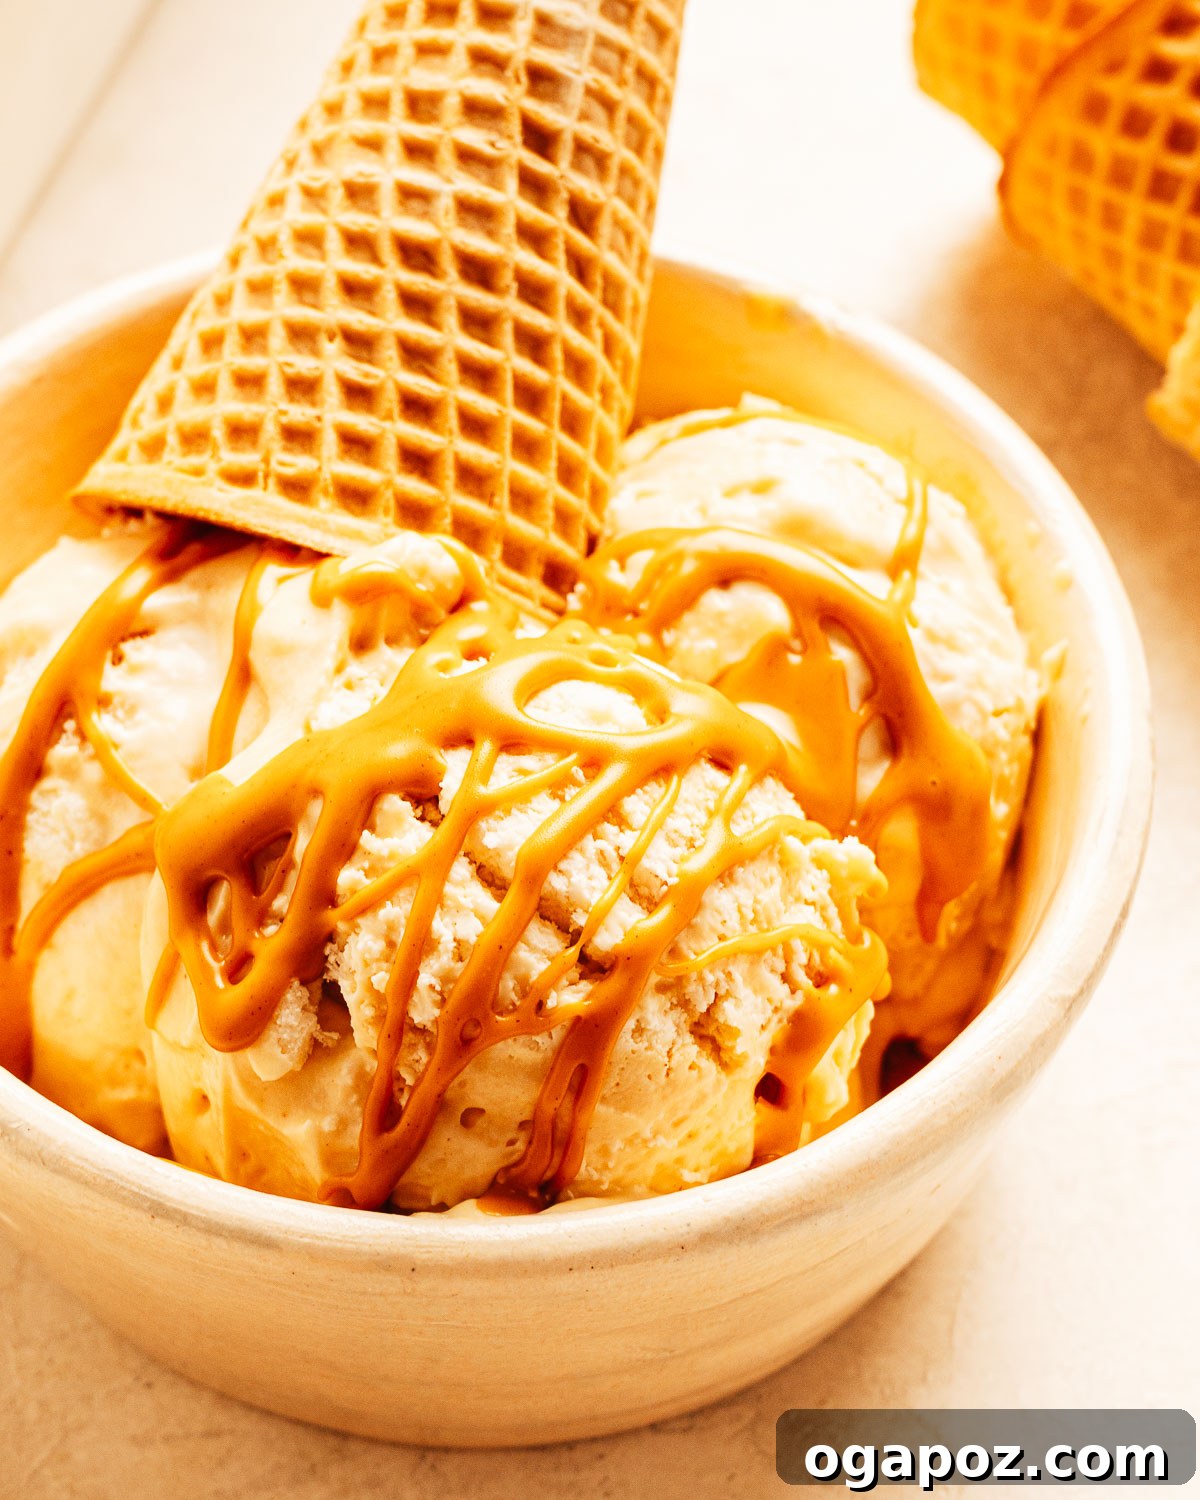
- Warm chocolate fudge: drizzle for a classic pairing.
- Chopped peanuts or chopped candy: add a salty crunch.
- Mini chocolate chips: scatter on top for texture.
- Crushed pretzels: for a salty-sweet contrast.
- Fresh banana slices: pair naturally with peanut butter.
Desserts to Serve It With
- Brownies: a scoop over warm brownies is indulgent.
- Chocolate cake: serve alongside a slice for an elegant dessert.
- Ice cream sandwiches: press a scoop between cookies and refreeze until firm.
- Warm cobbler: a scoop on hot fruit cobbler makes a lovely contrast of temperatures.
Tips for the Creamiest No-Churn Ice Cream
- Start cold: chill bowls and beaters to help the cream whip quickly.
- Whip to stiff peaks: the trapped air from properly whipped cream gives the ice cream its softness.
- Warm peanut butter slightly: pourable peanut butter blends more smoothly without lumps.
- Fold, do not stir: gentle folding preserves air and keeps the texture light.
- Chill the container: a cold pan helps the mixture set evenly in the freezer.
- Choose conventional creamy peanut butter: it blends cleanly and maintains a smooth texture.
Frequently Asked Questions
Quick answers to common questions about this recipe.
Yes. This no-churn recipe uses whipped cream to incorporate air instead of an ice cream machine. Simply whip the cream, fold it into the peanut butter and condensed milk base, then freeze.
Icy texture usually means the cream was under-whipped or the surface was left exposed. Whip to stiff peaks and press plastic wrap onto the surface before freezing. Allow a few minutes at room temperature before scooping.
Natural peanut butter often separates and can make the texture grainy or greasy. Conventional creamy peanut butter blends more smoothly and gives a more consistent result.
Swirl warm chocolate fudge or melted chocolate into the base before freezing. You can also fold in chocolate chips or chopped candy for extra chocolate flavor and texture.
Yes. Let the ice cream soften slightly, then sandwich between two cookies and refreeze until firm. Soft, chewy cookies work best for easy biting when frozen.
Stored in an airtight container with plastic wrap pressed on the surface, it keeps best for about two weeks. Texture is usually creamiest during the first week.
No extra sugar is needed. The sweetened condensed milk supplies the sweetness and helps maintain a soft texture.
Full-fat coconut cream can be used as a dairy-free substitute; chill the can and whip the thick portion to stiff peaks. Flavor will differ slightly, but the method remains the same.
Other No-Bake Frozen Treats You’ll Love
- Cookies and Cream Ice Cream
- Pistachio Ice Cream
- Homemade Banana Ice Cream
- Chocolate Peanut Butter Frozen Yogurt Bark
- Peanut Butter Frozen Yogurt Bites
- Easy no-bake desserts and frozen treats
3-Ingredient Peanut Butter Ice Cream (Easy, No-Churn)
Ingredients
- 2 cups cold heavy whipping cream
- 1 can (14 oz) sweetened condensed milk
- 1/2 cup creamy peanut butter (conventional, not natural)
- Pinch of salt (optional)
Instructions
- Beat the cold heavy cream until stiff peaks form, about 3 to 4 minutes.
- Microwave the peanut butter 15 to 20 seconds until pourable.
- Whisk together the sweetened condensed milk, peanut butter, and salt until smooth. The mixture may thicken briefly; this is normal.
- Whisk in one-third of the whipped cream to lighten the base. Add the next third more gently, then fold in the final third very gently to preserve air.
- Scrape into a freezer-safe container and smooth the top. Press plastic wrap directly onto the surface to prevent freezer burn. Freeze 4 to 6 hours or overnight.
- Let the ice cream sit 5 to 10 minutes before scooping to soften slightly for clean scoops.
Notes
Peanut butter: Use creamy, conventional peanut butter for the smoothest texture. A pinch of salt balances the flavors but is optional.
Nutrition (per serving, approximate)
Calories: 458 kcal | Carbohydrates: 34 g | Protein: 8 g | Fat: 33 g
Nutrition values are estimates and should be used as a guideline only.