
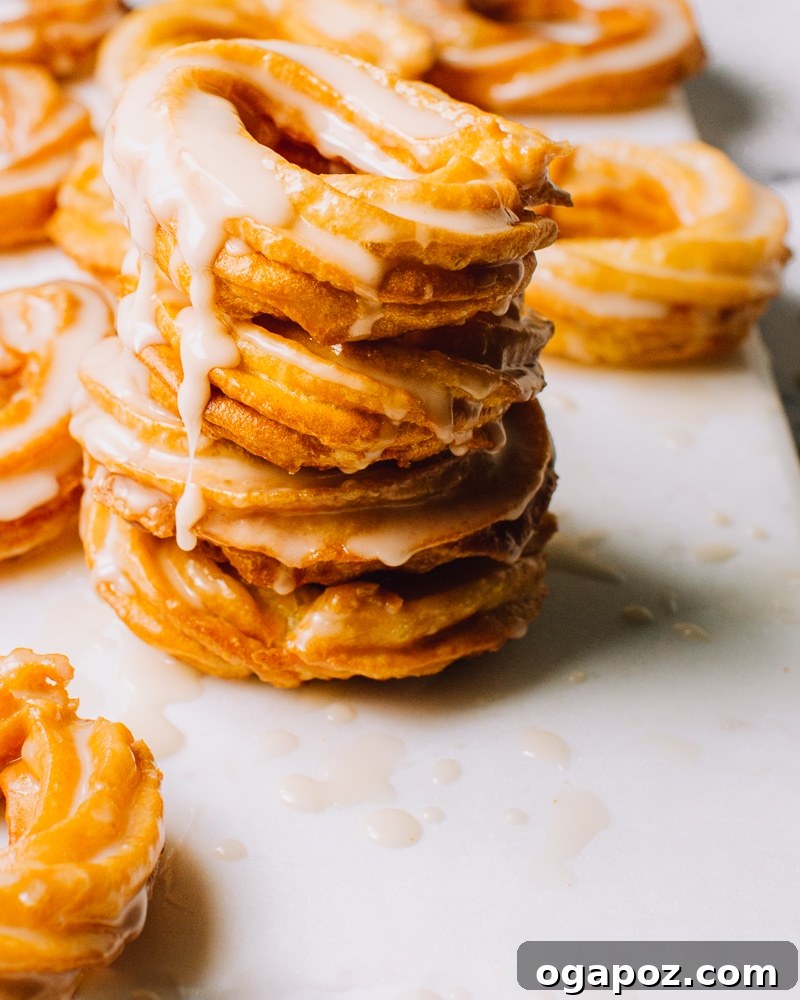
Prepare to create culinary magic with this meticulously tested French Cruller donut recipe. Unlike any other doughnut, these delightful treats boast an incredibly fluffy interior enveloped by a wonderfully crisp, almost shatteringly delicate exterior. Making homemade French Crullers is not just baking; it’s a rewarding weekend project or a truly special indulgence for any memorable occasion. Dive into the unique world of choux pastry and discover the secrets to these irresistible, deeply satisfying doughnuts.
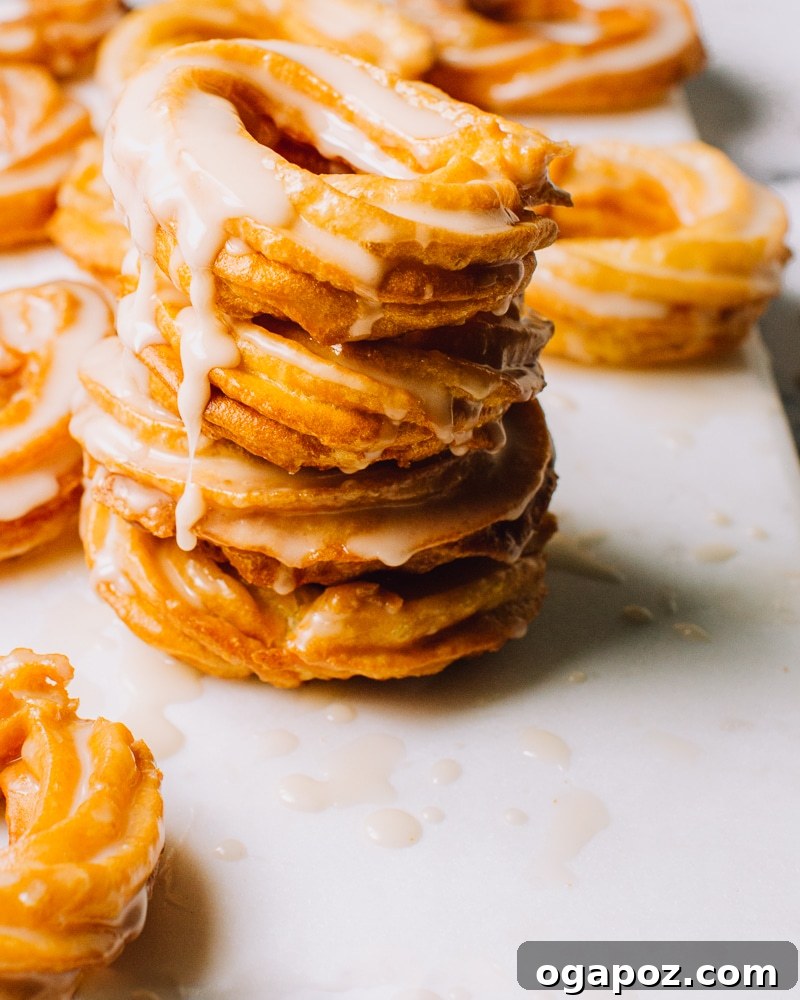
What Exactly Are French Crullers?
French Crullers stand apart from their yeast-risen and cake doughnut cousins, offering a distinctly elegant and sophisticated experience. Their unique texture and flavor come from a special dough known as choux pastry (pronounced “shoo”). This versatile dough is famously used in classic French confections like éclairs, cream puffs, and savory gougères – all delectable treats that highlight the pastry’s remarkable lightness and capacity to puff up dramatically. If you’ve ever savored one of these delicate pastries, you’ve already experienced the foundational magic of choux.
The creation of choux dough follows an intriguing method, beginning on the stovetop. Water and butter are gently brought to a rolling boil, then flour is quickly added, stirring vigorously. The flour immediately gelatinizes in the hot liquid, transforming into a smooth, cohesive dough ball in under a minute. This initial cooking step is crucial for developing the starch and drying out the dough, ensuring it can later absorb a significant amount of egg. Once the dough has cooled slightly, whole eggs are gradually beaten in, serving as the sole leavening agent. These eggs provide both moisture and structure, which are key to the cruller’s signature airy interior.
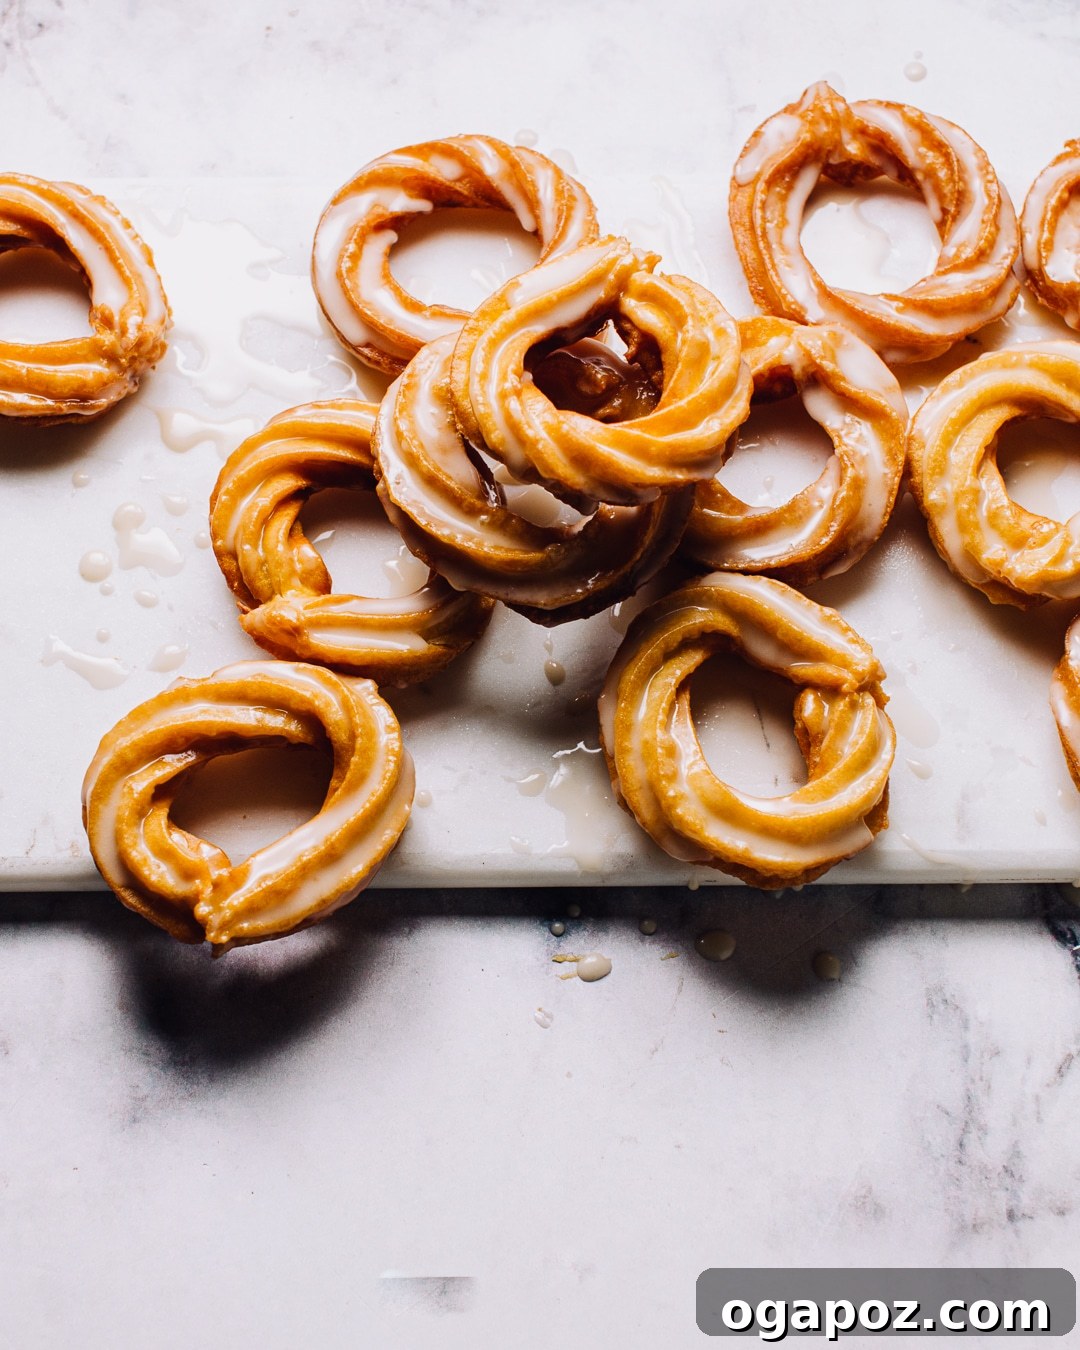
The beauty of a perfectly executed choux pastry lies in its simplicity and the scientific principles at play. The process is less about intricate folding or prolonged proofing and more about precise heating and hydration, resulting in a dough that is surprisingly forgiving yet produces spectacular results. When fried, the crullers develop a mesmerizing ridged pattern, which not only looks beautiful but also creates extra surface area for that coveted crisp texture and allows the glaze to adhere perfectly.
The Science Behind the Perfect Cruller: Why Choux Dough is Cooked Twice
Choux pastry, by its very nature, is a “twice-cooked” dough, and understanding this process is key to mastering French Crullers. The first cooking stage occurs in the saucepan, where the flour and liquid combine to form a thick, smooth paste. This step, often referred to as a “panade,” helps to cook out the raw flour taste and activate the starches, allowing the dough to absorb more moisture from the eggs without becoming sticky or runny.
After the eggs are incorporated and the dough is formed into its distinctive cruller shapes, it undergoes a second, high-heat cooking process – in this case, deep-frying. Because choux is a high-moisture dough, when it hits the hot oil (or oven, for baked choux pastries), its surface quickly sets and crisps. Meanwhile, the interior remains quite wet. As the internal moisture heats up, it rapidly transforms into steam. This steam becomes trapped by the now-firm outer shell, having no escape route.
The pressure from the trapped steam causes the dough to puff dramatically, creating large, airy pockets within. This is precisely how cream puffs get their hollow centers, and how French Crullers achieve their incredibly light, custardy interior with a distinctively open crumb. The result is a doughnut that is truly unparalleled: a beautifully browned exterior with countless crisp nooks and crannies that yield to a moist, ethereally fluffy interior, characterized by large, irregular holes and a subtly sweet, rich flavor profile that is never overwhelming.
This dual-cooking method ensures maximum expansion and a perfect balance of textures, making French Crullers a textural marvel that delights with every bite. The contrast between the fragile crispness of the outside and the cloud-like tenderness of the inside is what makes these donuts so utterly addictive and worth every step of the process.
How to Make French Crullers: A Step-by-Step Guide
Crafting these exquisite French Crullers at home is a rewarding journey. Here’s a detailed breakdown of each step to ensure your success:
-
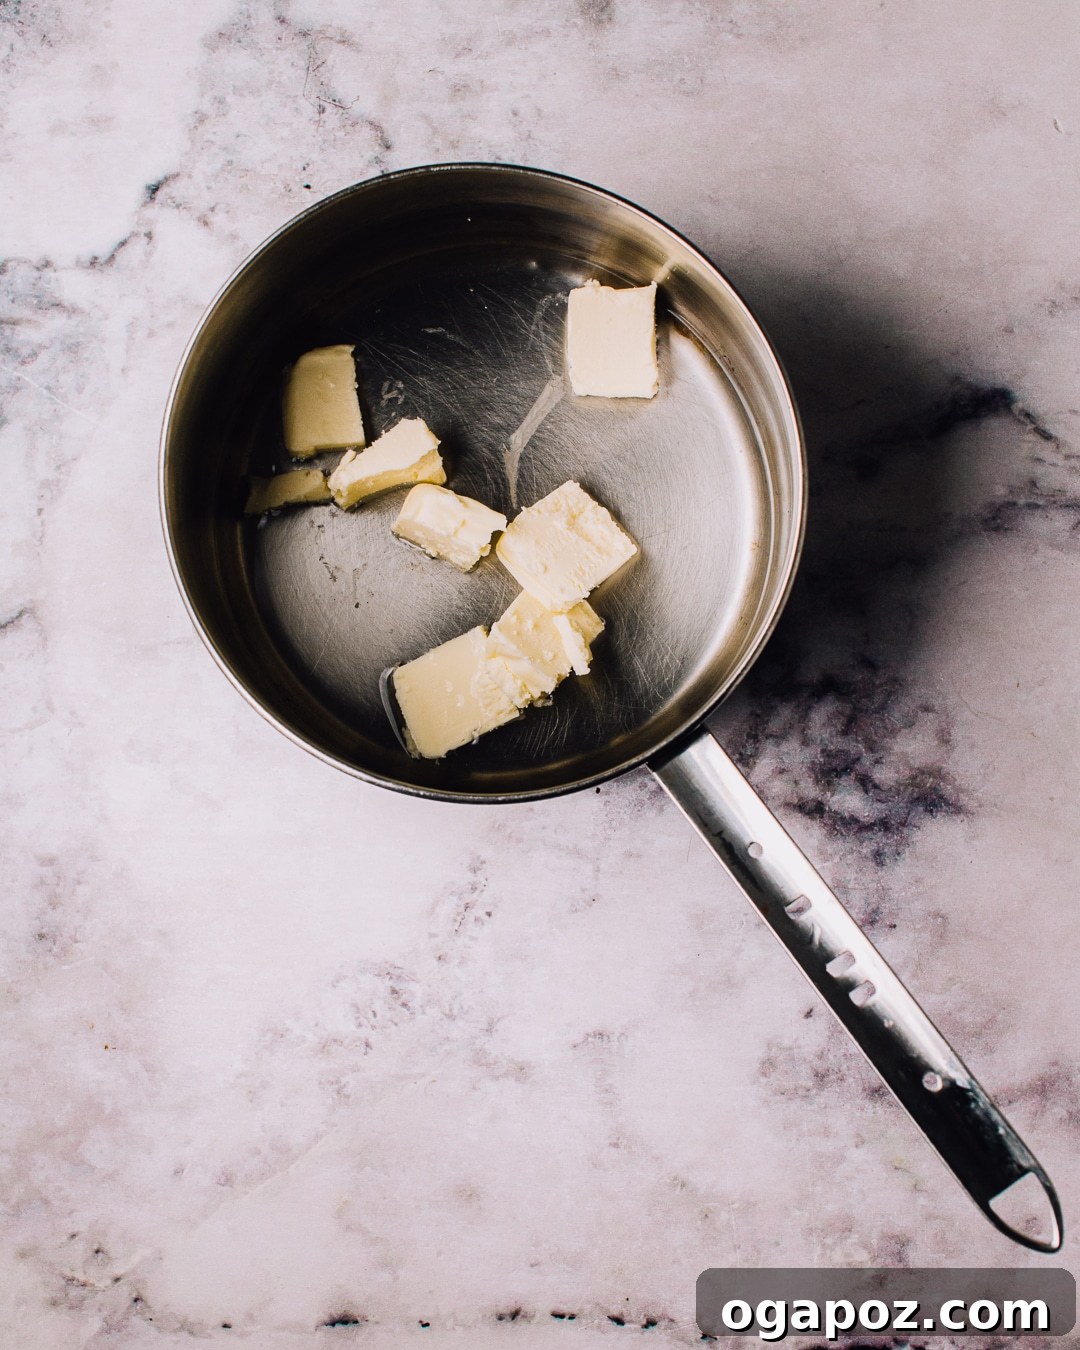
Begin with the Base: In a sturdy saucepan, combine water, unsalted butter, granulated sugar, and kosher salt. Bring this mixture to a vigorous boil over high heat, ensuring the butter is fully melted and integrated.

-
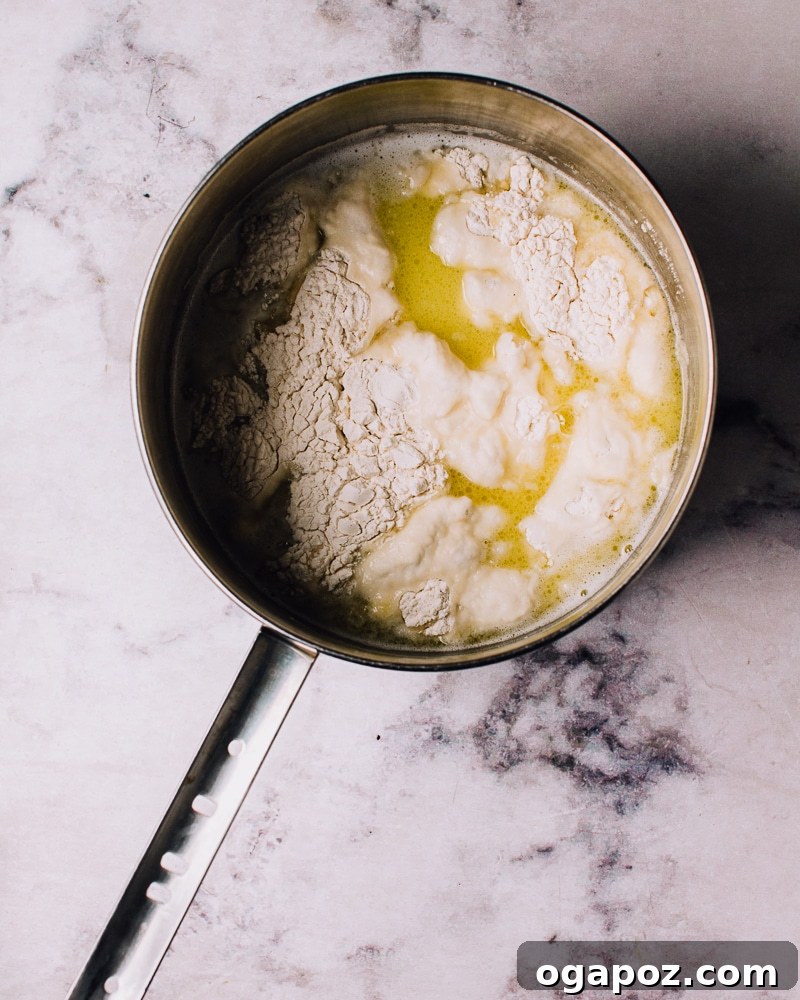
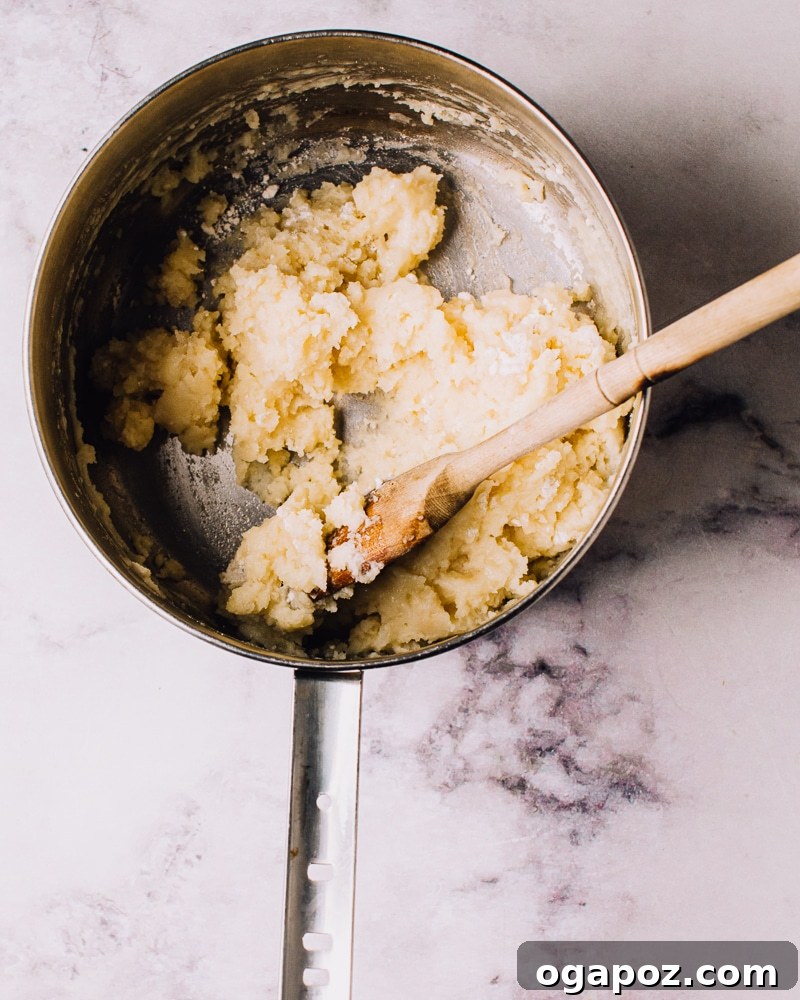
Add the Flour: Immediately remove the saucepan from the heat and swiftly dump in all the all-purpose flour at once. Using a sturdy wooden spoon or heat-resistant spatula, stir vigorously until the flour is completely incorporated and a shaggy dough forms.
-
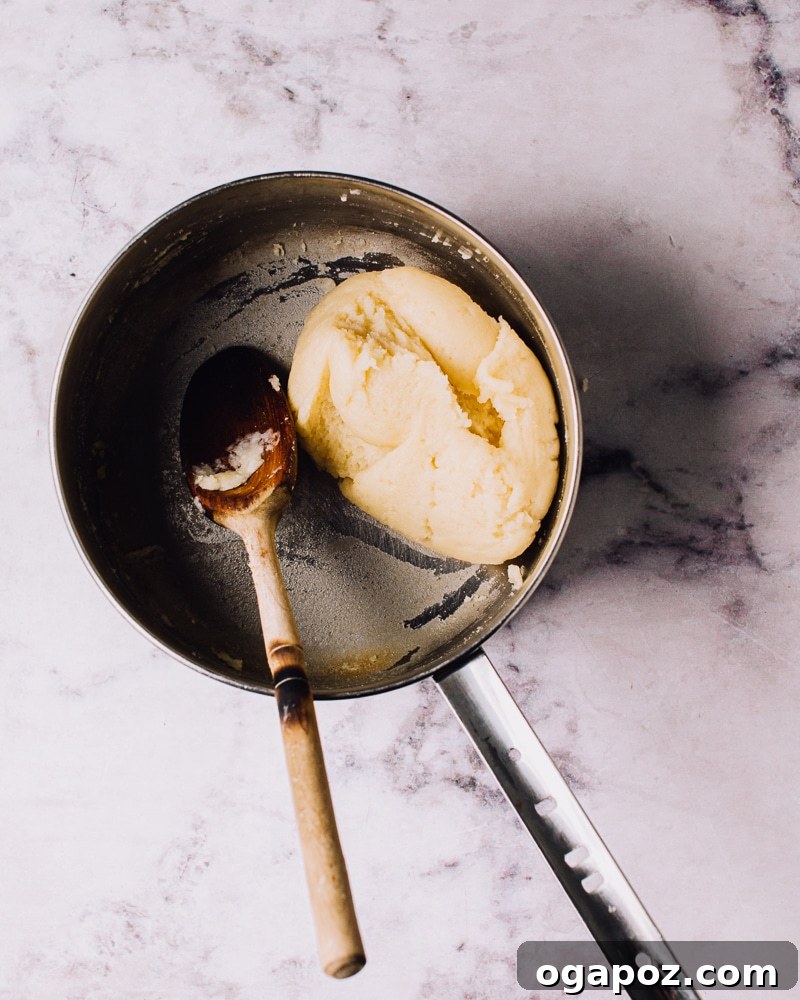
Cook the Dough: Return the saucepan to medium heat. Continue to stir the dough constantly for approximately 1 minute. The dough will come together into a smooth, cohesive ball and leave a thin film coating the bottom of the saucepan. This film is your visual cue that the dough is sufficiently cooked and dried out.
-
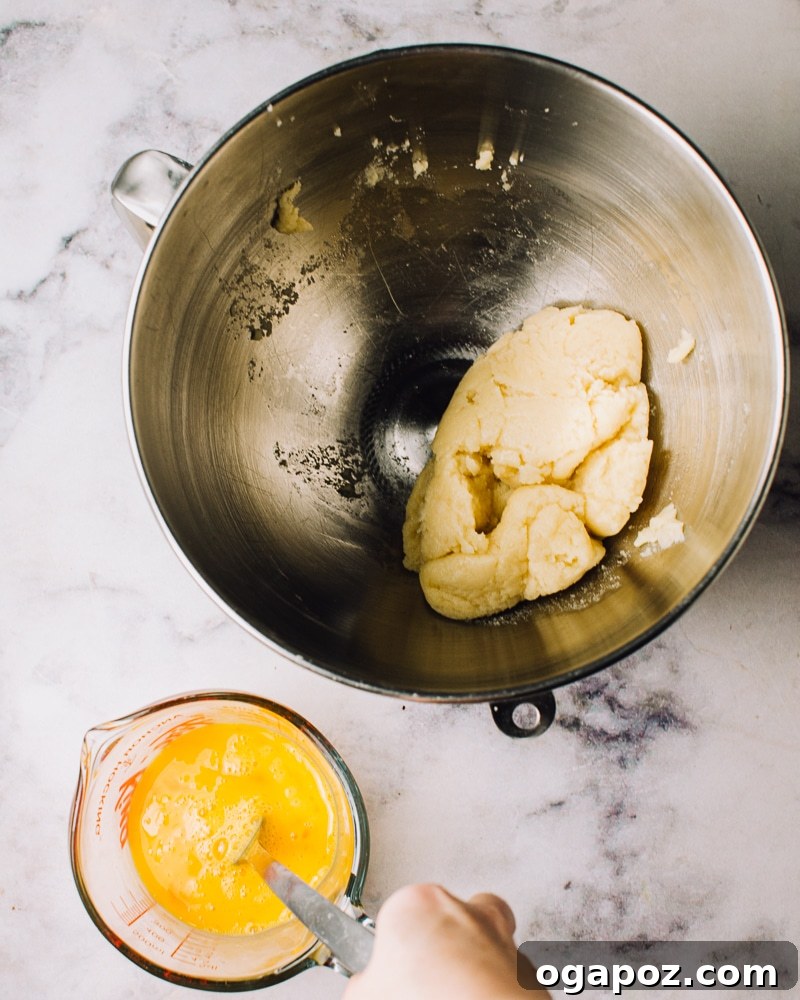
Cool the Dough: Transfer the hot dough immediately to the bowl of a stand mixer fitted with the paddle attachment. Allow the dough to cool for about 5 minutes, letting some of the steam escape. This prevents the eggs from cooking when added.
-
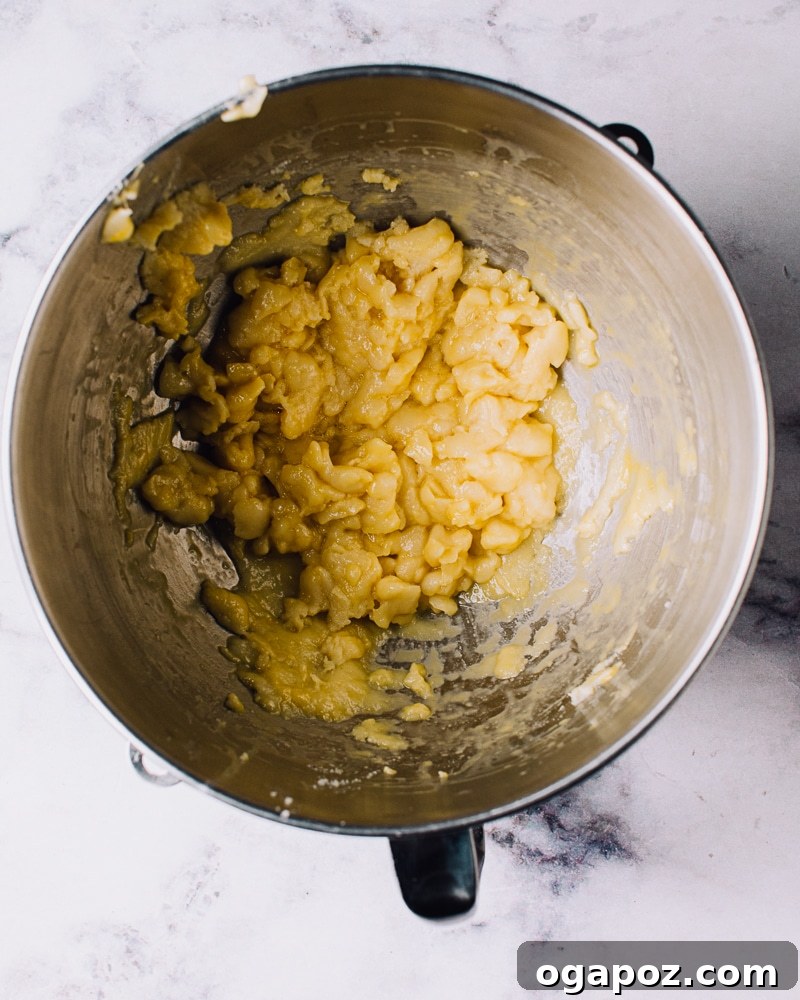
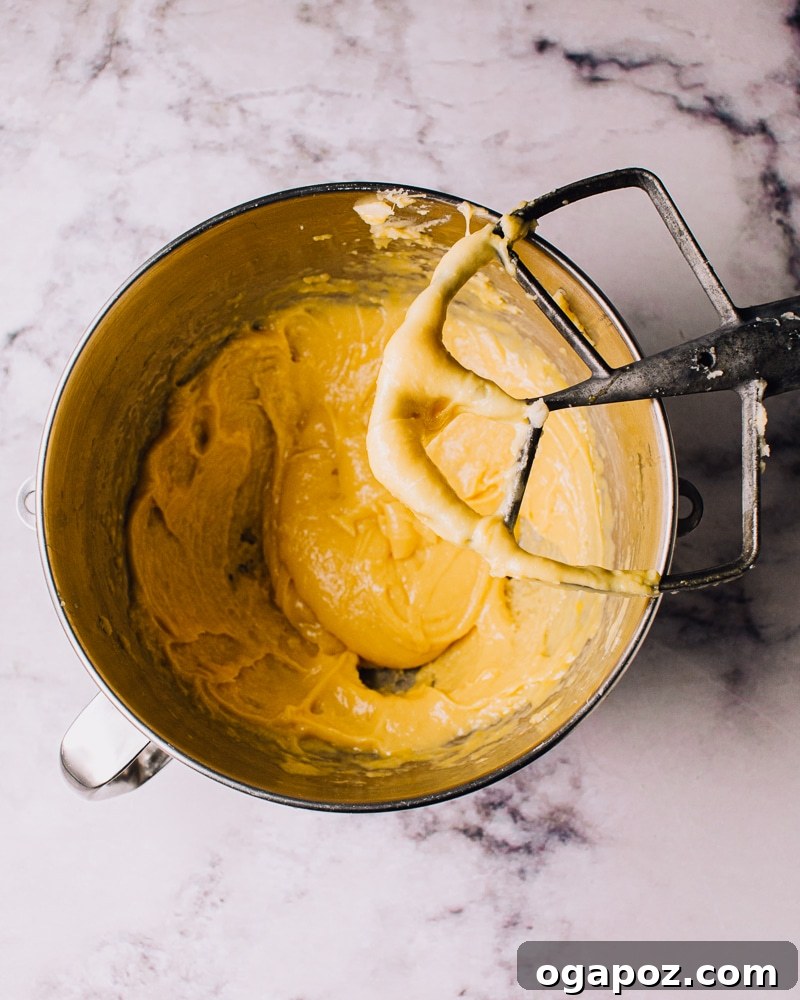
Incorporate the Eggs: With the mixer running on medium speed, gradually add the pre-beaten eggs, a splash (about a tablespoon or two) at a time. Ensure each addition is fully incorporated into the dough before adding the next. Continue until all the eggs are absorbed and a smooth, thick, and glossy batter forms. The dough should have a “V” shape when lifted with the paddle, slowly falling off.
-
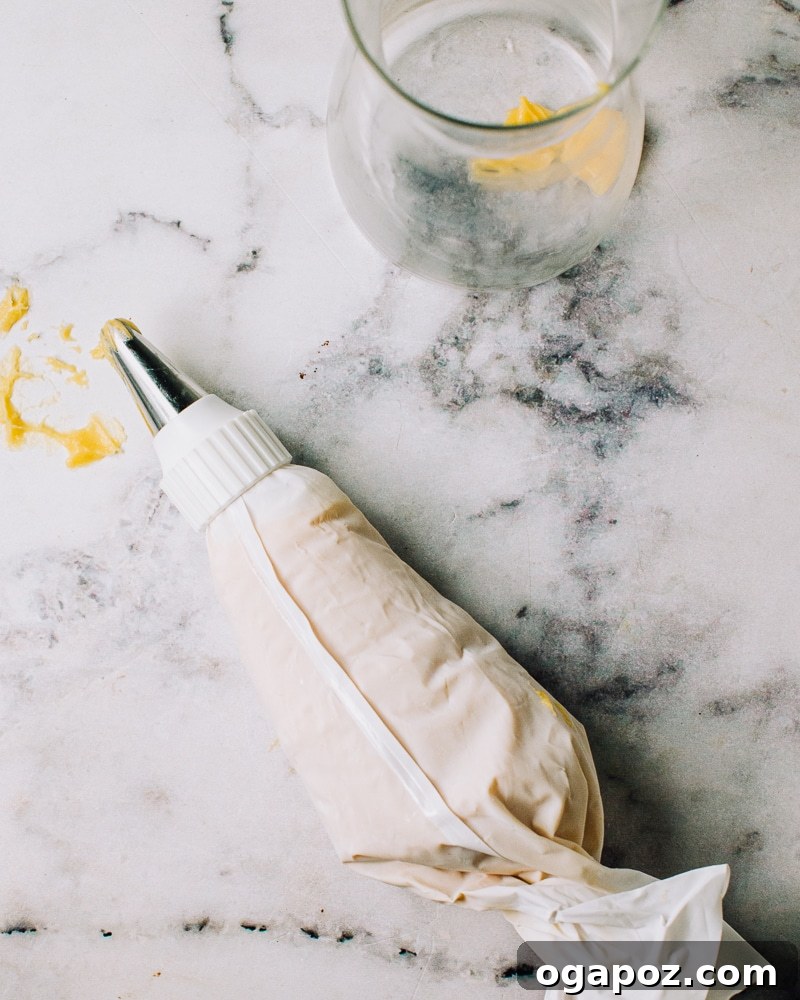
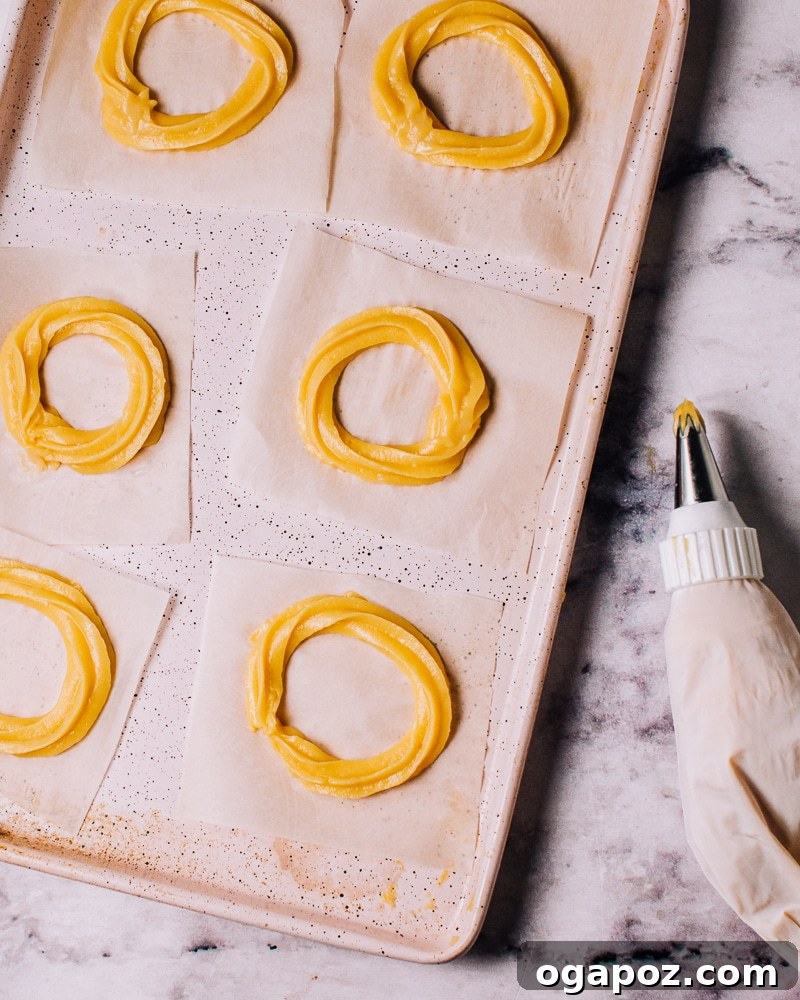
Chill the Batter: Transfer the prepared choux batter to a pastry bag fitted with a large star tip (ideally 1/2 inch or larger to create distinct ridges). Place the bag in the refrigerator to chill for 15 minutes. This cooling step helps the crullers hold their shape better when fried.
-
Prepare for Frying: While the dough chills, heat approximately 3 inches of oil in a deep, heavy-bottomed pot to a steady 375ºF (190ºC). Use a reliable thermometer to monitor the temperature. Cut several 4×4-inch squares of parchment paper, which will serve as individual templates for piping.
-
Pipe the Crullers: On each parchment square, pipe the chilled choux dough into 3 1/2-inch rings. Aim for consistent size and shape to ensure even cooking. The star tip will create the characteristic ridged pattern.
-
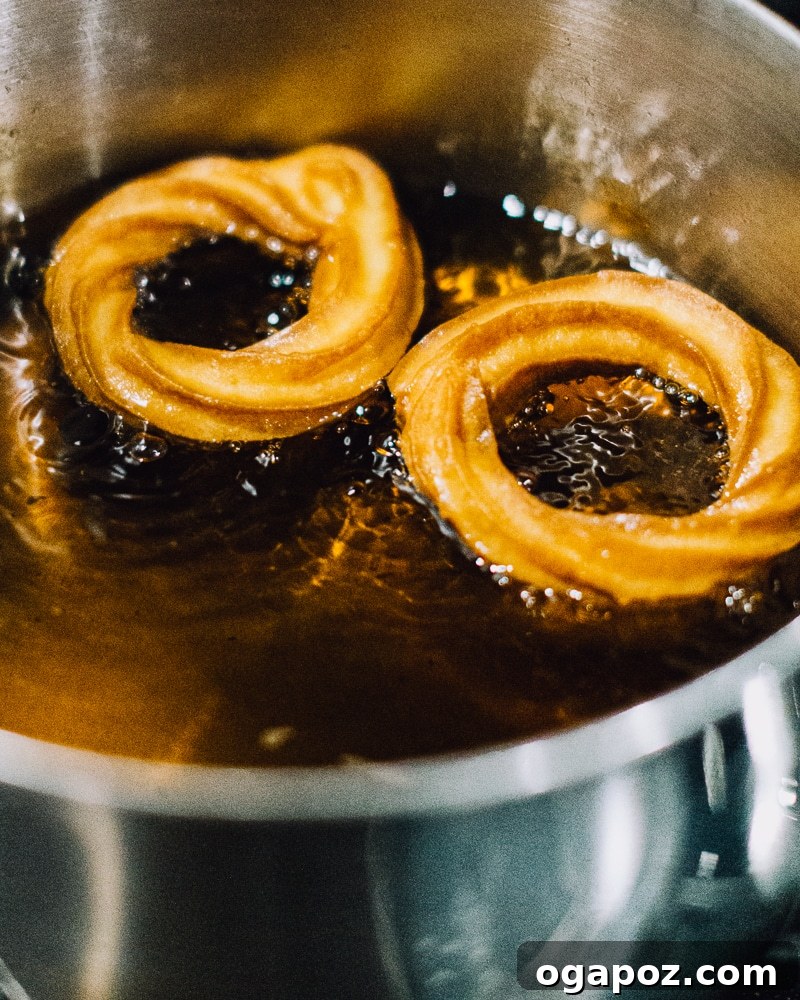
Fry the Crullers: Carefully use tongs to place the piped crullers, parchment-side up, into the hot oil. After a few seconds, gently pull off the parchment paper with the tongs and set it aside (it can be reused for the next batch). Fry about 3-4 crullers at a time, being careful not to overcrowd the pan, which can lower the oil temperature and result in greasy crullers.
-
Cook to Golden Perfection: Fry the crullers undisturbed for 3 minutes on the first side until golden brown and puffed. Then, carefully flip them over using tongs and cook for another 2-3 minutes on the second side, until both sides are a rich golden hue and the crullers feel light.
-
Cool and Glaze: Transfer the cooked crullers to a wire rack set over a baking sheet to cool completely. This allows any excess oil to drain off and prevents them from becoming soggy. Once cooled, they are ready for glazing.
Expert Tips for Unfailingly Perfect French Crullers
Achieving bakery-quality French Crullers at home is entirely possible with a few insider tips. Pay attention to these details for the best results:
- Flour Choice Matters: During recipe development, I experimented with both bread flour (often recommended by pastry chefs for its higher protein content) and standard all-purpose flour. Interestingly, the all-purpose flour consistently yielded crullers with a slightly greater rise and a beautifully delicate structure. While bread flour worked, all-purpose is often more readily available and performed exceptionally well in my tests, making it my preferred choice for home bakers.
- Optimal Oil Temperature is Key: Maintaining an oil temperature of 375ºF (190ºC) is critical. This high heat ensures that the delicate ridges piped into your crullers set almost instantly upon hitting the oil, preventing the dough from spreading out and losing its intricate shape. If the oil is too cool, the crullers will absorb too much oil and become greasy; if it’s too hot, they’ll brown too quickly on the outside while remaining raw inside. A reliable thermometer is your best friend here.
- Water vs. Milk in Choux: Many choux pastry recipes call for milk or a combination of milk and water. However, for French Crullers, using pure water (as specified in this recipe) results in the most delicious, shatteringly crisp exterior. The rich flakiness you desire comes from the water’s interaction with the fats, creating delicate layers. Don’t worry about the interior lacking richness – the high proportion of butter and eggs in the dough ensures a wonderfully rich and fluffy crumb even without milk.
- Frying Technique: Parchment-Side Up: Always place your piped crullers into the hot oil parchment-side up. The side of the dough that was resting against the parchment might have slightly flattened or “smooshed” during handling. By frying the “pretty” side (the one that was facing you after piping) first, you allow those beautiful ridges to set and crisp up perfectly, ensuring a visually stunning and texturally superior cruller.
- Knowing When Your Dough is Ready: The “doneness” of your choux pastry after its first cook in the pot is vital. You’ll know it’s ready when the mixture forms a cohesive, smooth ball that pulls away cleanly from the sides of the saucepan and leaves a distinct, thin film on the bottom. The dough should resemble a soft Play-Doh consistency, indicating that enough moisture has evaporated, and the starches are properly gelatinized. This ensures the dough can absorb the eggs effectively without becoming too slack.
- Skip the Freezing Step: I extensively tested freezing uncooked crullers, both for short periods (10 minutes) and overnight, to see if it enhanced the formation or retention of their beautiful ridges during frying. My findings consistently showed no significant difference in the final appearance or texture. Therefore, to save time and effort, you can confidently skip the freezing step and proceed directly to frying after the recommended 15-minute chill in the pastry bag.
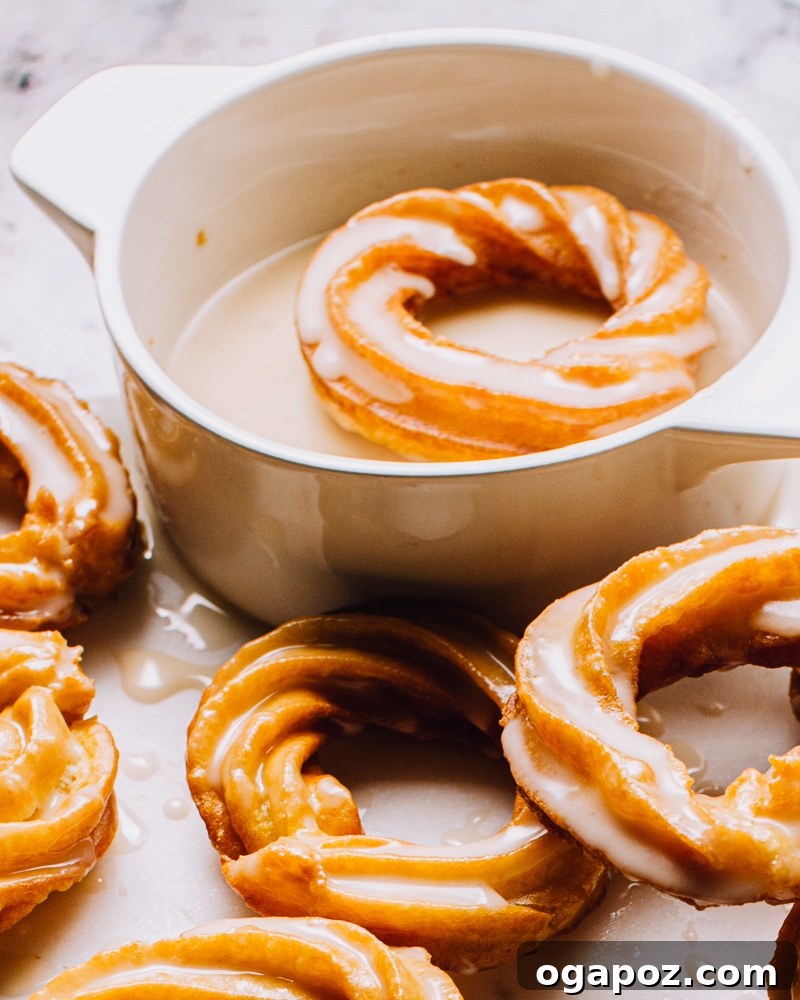
- Proper Glazing: While not a tip for the dough itself, ensure your crullers are fully cooled before glazing. Dipping warm crullers will result in a runny, absorbed glaze rather than a smooth, opaque coating.

Homemade French Crullers Recipe
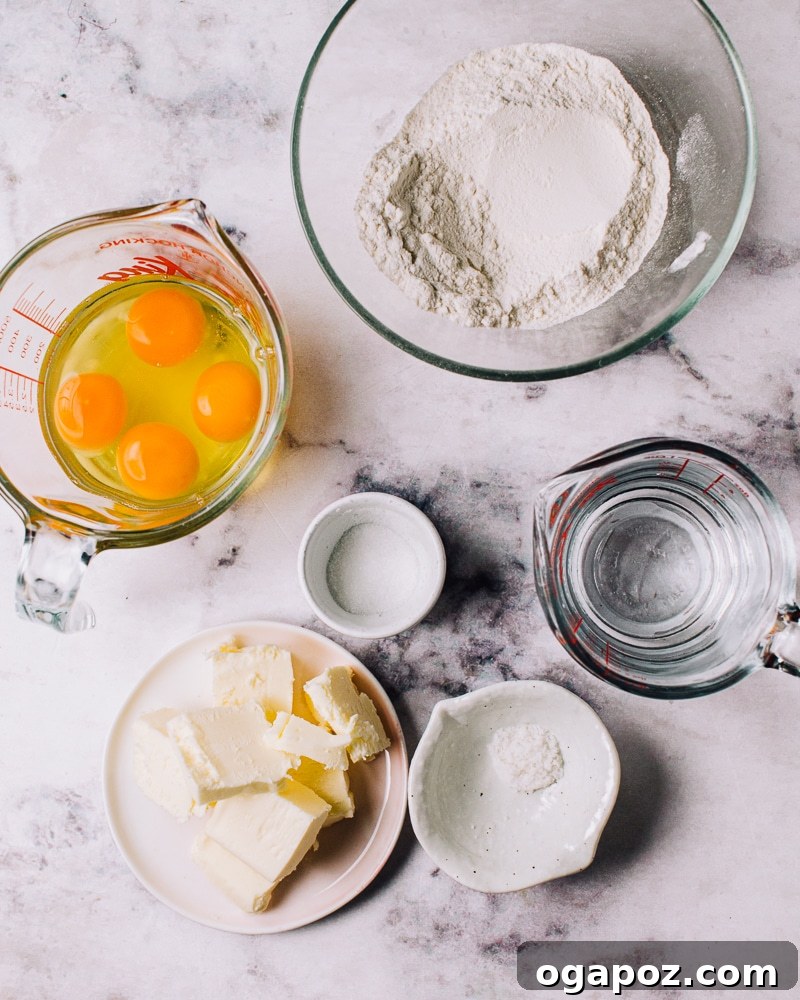
Ingredients
- 1 cup water
- 4 oz unsalted butter (1/2 cup)
- 1 tsp granulated sugar
- ½ tsp kosher salt
- 5 oz all-purpose flour (1 cup lightly spooned and levelled plus 2 tsp)
- 4 large eggs (beaten)
For Glaze
- 1 ½ cups confectioners’ sugar
- 3 tbsp milk
- 1 tsp pure vanilla extract
Instructions
-
Bring water, butter, sugar, and salt to a boil over high heat. Turn off heat and dump in the flour. Use a spoon or a spatula to stir it all together. Bring it back to medium heat and cook about 1 minute, until the mixture forms a cohesive ball and leaves a film on the bottom of the pot.
-
Transfer the dough to a stand mixer fitted with the paddle attachment. Let the dough cool for 5 minutes.
-
With the mixer running on medium speed, add a few tablespoonfuls of the beaten egg and incorporate completely. Repeat with the remaining egg, a few tablespoonfuls at a time, until all eggs are incorporated, and a smooth batter is formed.
-
Transfer the batter to a pastry bag fitted with a large (1/2″ or larger) star tip. Chill for 15 minutes in the fridge.
-
While the dough chills, bring a deep pot with 3 inches of oil to 375ºF (190ºC). Cut rough 4 x 4″ squares of parchment paper.
-
Pipe chilled dough in 3 1/2″ rings on the parchment paper squares.
-
Use tongs to carefully place crullers parchment-side up in the hot oil. Pull off the parchment paper using the tongs and set aside (you can reuse it with the next batch). Fry about 4 crullers at a time but don’t overcrowd the pan.
-
Cook for 3 minutes undisturbed on the first side then carefully flip the cruller using tongs and cook 2-3 minutes on the second side.
-
Transfer to wire racks to cool before glazing.
To Make Glaze
-
Whisk together the confectioners’ sugar, milk, and vanilla extract until smooth. Thin out with a little water, if needed, to reach your desired consistency. Pour into a shallow bowl and dip the cooled donuts halfway to glaze. Allow excess glaze to drip off before serving.
Serving and Storage Suggestions for French Crullers
These homemade French Crullers are best enjoyed fresh, ideally on the same day they are made, to fully appreciate their delicate crispness and fluffy texture. The contrast between the warm, soft interior and the freshly applied glaze is simply divine.
- Freshly Glazed: Once glazed, allow the glaze to set for about 15-20 minutes before serving. This prevents sticky fingers and ensures a beautiful presentation.
- Beyond Simple Glaze: While the classic vanilla glaze is irresistible, feel free to experiment with other flavors! A chocolate glaze (made by adding cocoa powder), a lemon glaze (with lemon juice and zest), or even a coffee-flavored glaze can elevate your crullers. You can also sprinkle with chopped nuts, sprinkles, or a dusting of cinnamon sugar for added flair.
- Pairing Suggestions: Serve your French Crullers with a strong cup of coffee, a warm mug of hot chocolate, or a glass of cold milk. They make a fantastic breakfast treat, a decadent dessert, or a sophisticated snack for afternoon tea.
- Storage: If you happen to have any leftovers, store them in an airtight container at room temperature for up to 1-2 days. Be aware that the exterior crispness will diminish over time as the moisture from the glaze and the interior softens the crust. Reheating them briefly in a toaster oven or air fryer might help restore some of the crispness, but they won’t be quite as good as freshly fried.
- Freezing Cooked Crullers: While fresh is best, cooked and unglazed French Crullers can be frozen for longer storage. Place them in a single layer on a baking sheet and freeze until solid, then transfer to an airtight freezer-safe bag or container for up to 1 month. Thaw at room temperature and then glaze before serving.
Why You’ll Love Making French Crullers at Home
There’s an undeniable charm and immense satisfaction that comes with baking something truly special from scratch, and French Crullers are no exception. While they might seem intimidating with their unique choux pastry, this recipe simplifies the process, making it accessible even for novice bakers. The active preparation time is surprisingly short, and the steps are clear and straightforward.
The reward? A batch of warm, perfectly golden, beautifully ridged doughnuts that taste infinitely better than anything you’d find at a typical bakery. The combination of the ethereal lightness and the deeply satisfying crunch, followed by the custardy chew, is an experience that commercial doughnuts rarely deliver. Plus, the aroma of fresh crullers frying in your kitchen is simply intoxicating!
This recipe is more than just instructions; it’s an invitation to explore a classic French pastry technique and transform simple ingredients into a gourmet delight. Whether you’re baking for a special brunch, an intimate gathering, or simply treating yourself to a moment of pure culinary bliss, these homemade French Crullers are sure to impress and become a cherished addition to your recipe repertoire. So, gather your ingredients, clear your schedule, and prepare to create something truly extraordinary. Happy frying!