
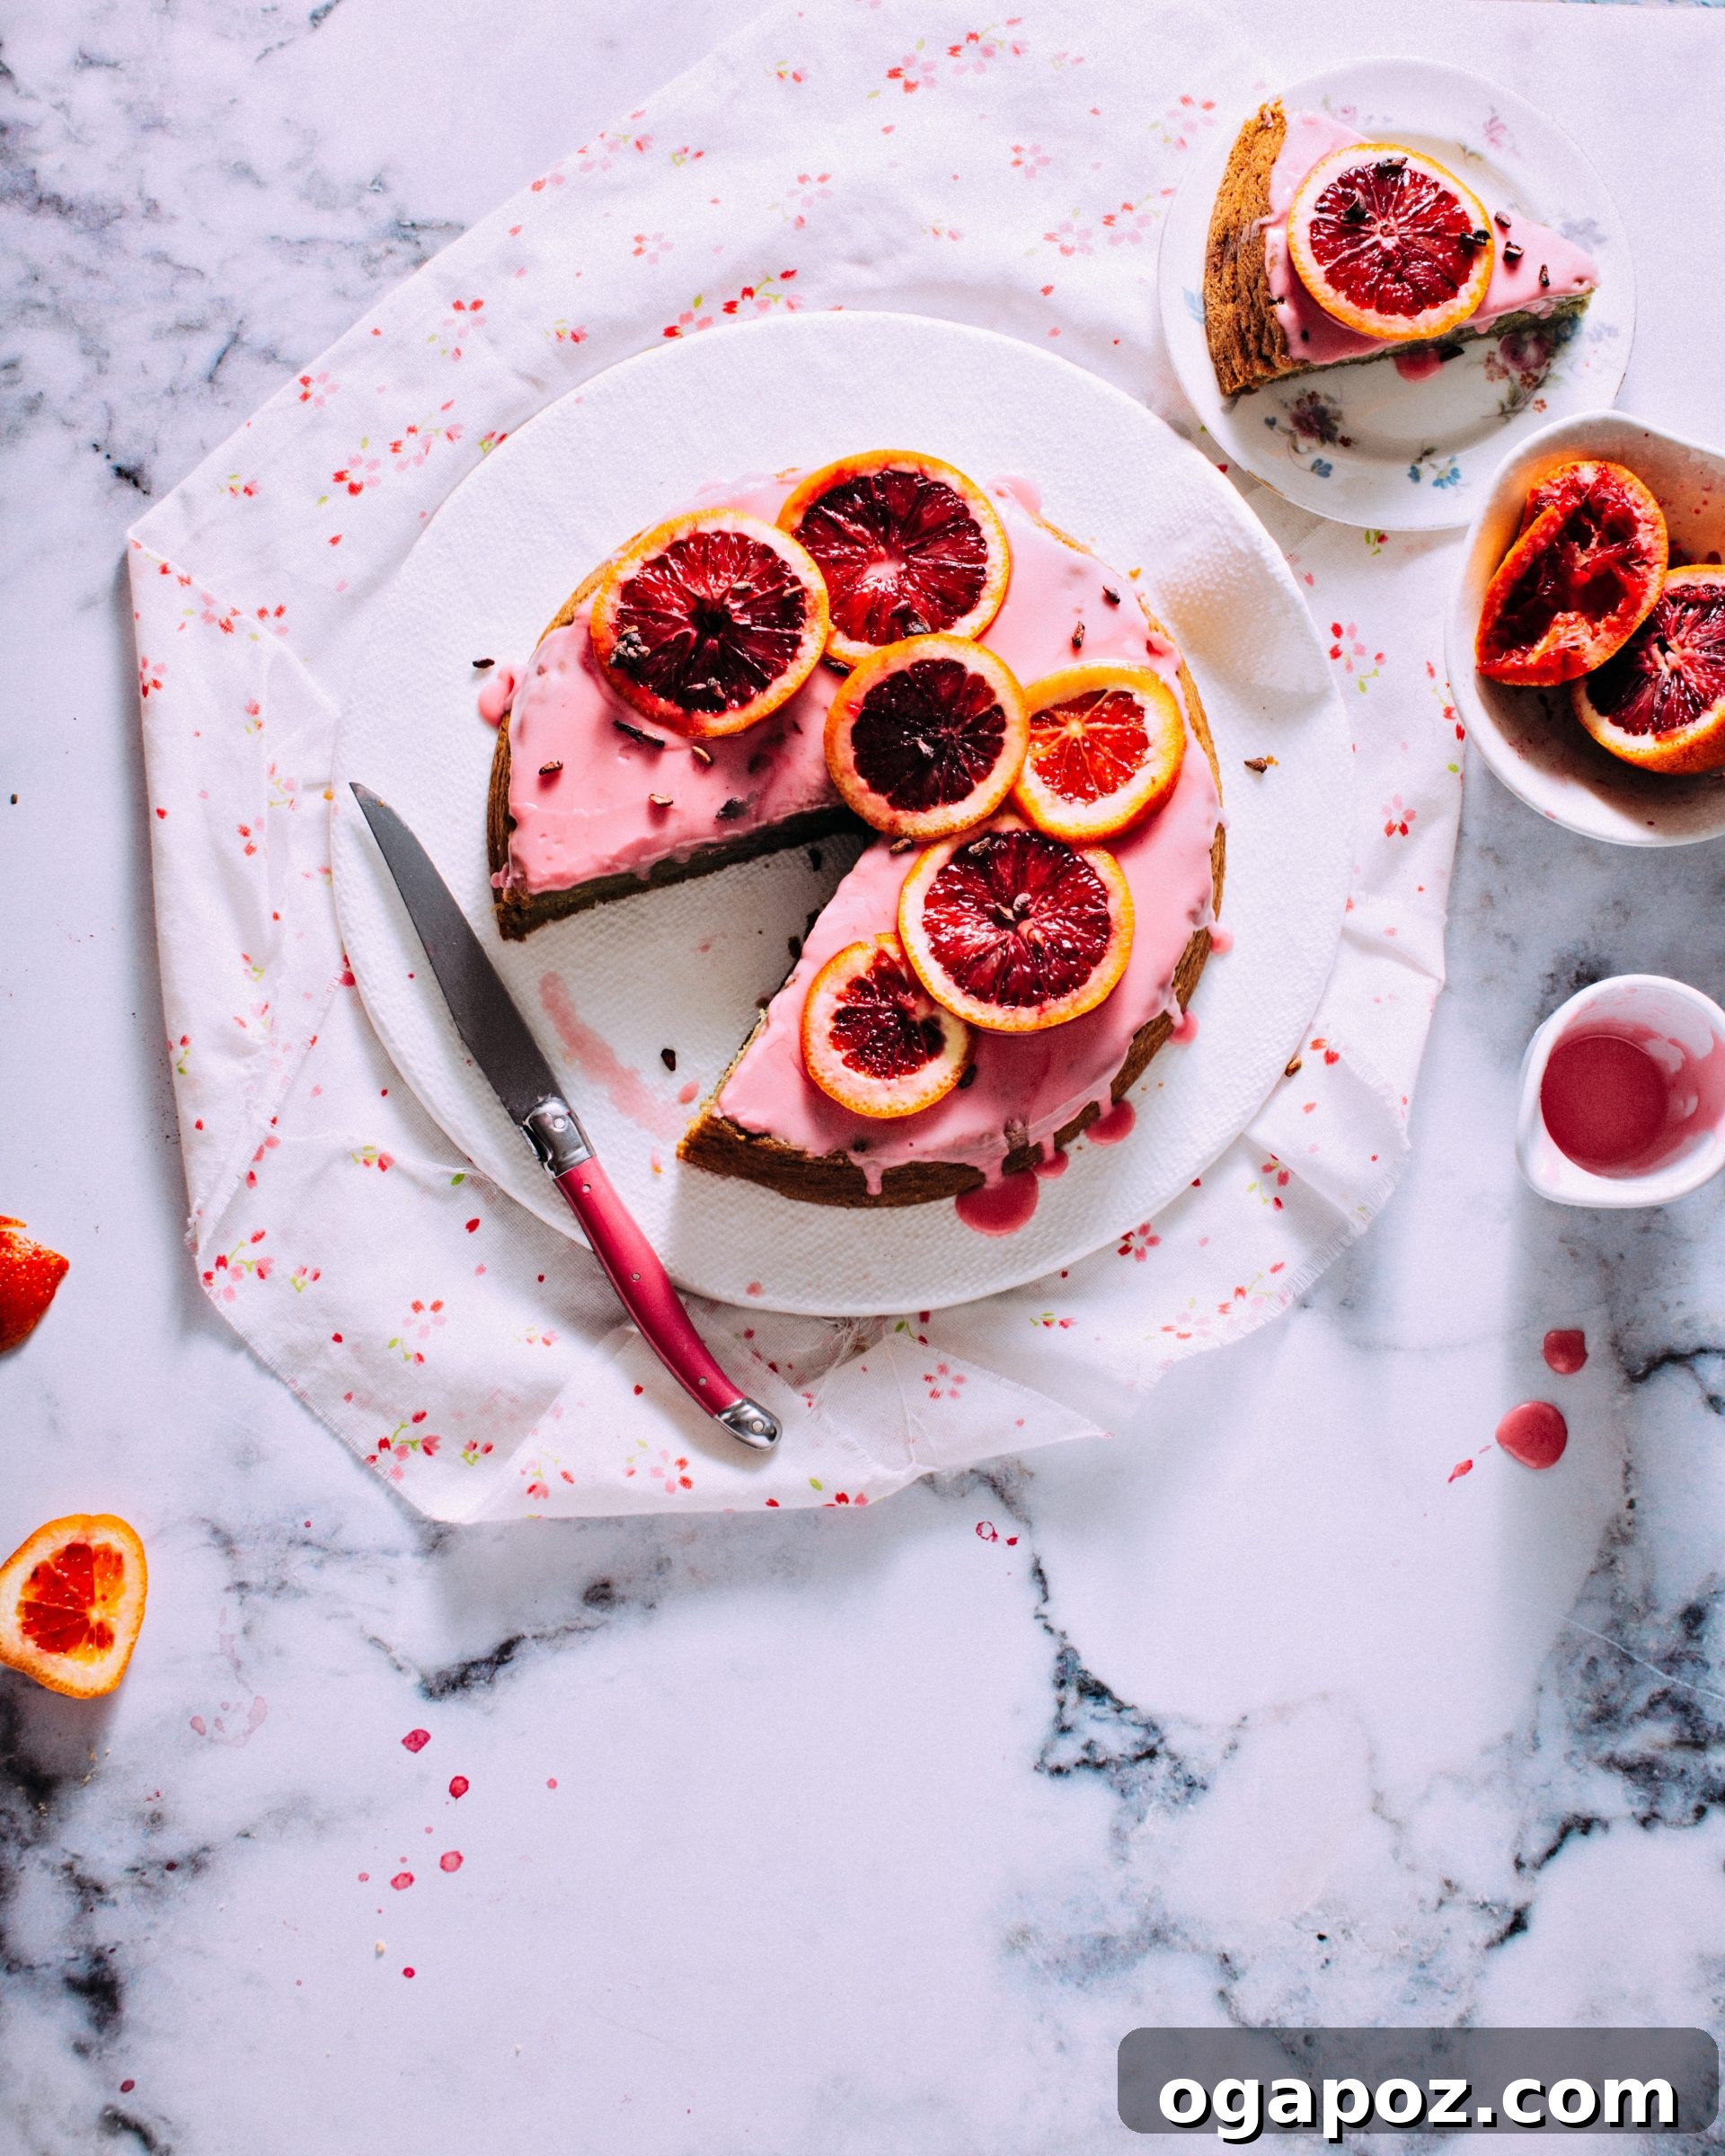
Experience the vibrant zest and exquisite moisture of our Blood Orange Cake, crowned with a shimmering blood orange glaze. This unique recipe ingeniously utilizes the entire blood orange – rind, pith, and fruit – to infuse every bite with an unparalleled depth of citrus flavor, resulting in an exceptionally tender and moist crumb that truly stands out.
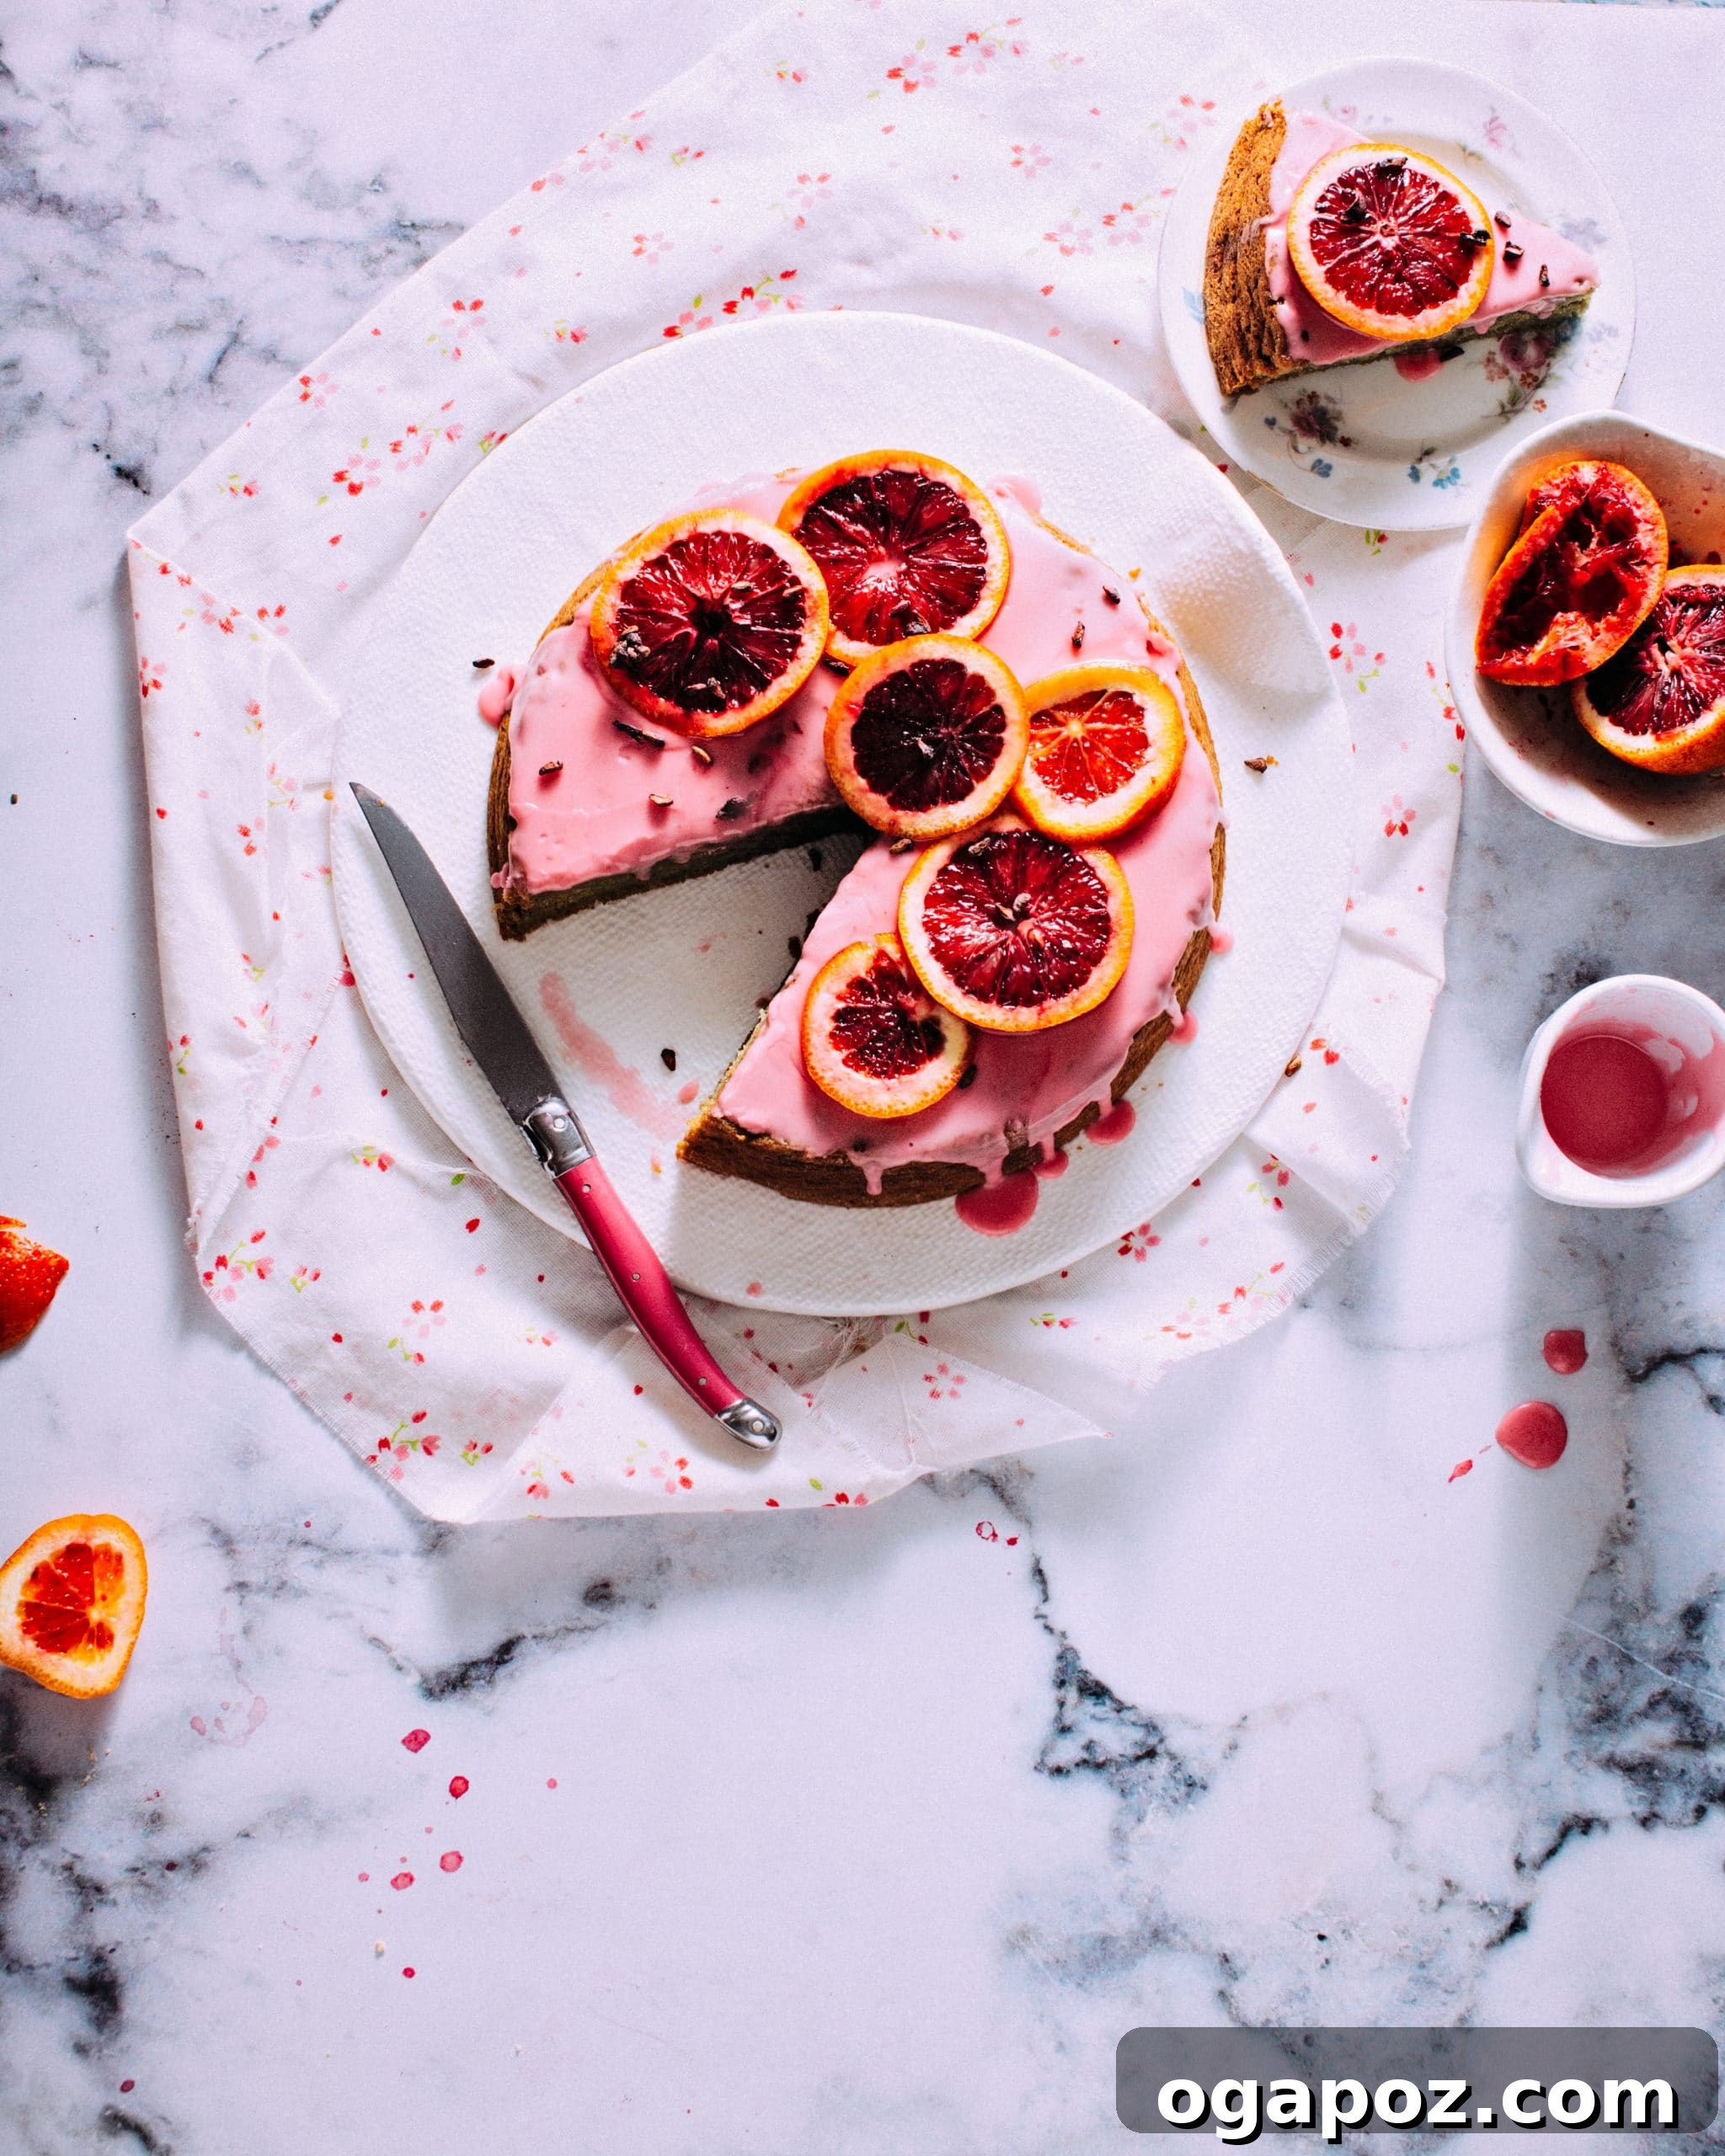
Blood Orange Cake: A Zesty Delight You Won’t Resist
There’s something truly magical about blood oranges. Their striking crimson flesh and distinct sweet-tart flavor make them a seasonal treasure. This Blood Orange Cake recipe is the quintessential way to celebrate these beautiful fruits, transforming them into a dessert that’s not just delicious but also visually stunning.
Imagine a cake that perfectly captures the essence of late winter and early spring – bright, refreshing, and full of promise. The elegant pink hue of the glaze, derived naturally from the blood oranges, adds a sophisticated touch, making this cake a showstopper for any occasion. It’s a delightful way to infuse your kitchen with sunshine during the colder months and welcome the warmer days ahead.
What makes this recipe particularly exceptional is its incredible simplicity and the clever use of the *entire* orange. By simmering whole orange slices until tender and then blending them into a smooth puree, we unlock every layer of citrus flavor. This innovative technique not only amplifies the natural sweetness and tang but also ensures an incredibly moist texture that stays fresh for days. Forget complicated steps or endless dishes; this recipe comes together effortlessly, requiring just two bowls and a blender – no stand mixer needed!
Essential Ingredients and Tools for Your Blood Orange Masterpiece
Crafting this phenomenal Blood Orange Cake begins with a handful of accessible ingredients and some basic kitchen tools. The star of the show, of course, is the blood orange itself, which we incorporate in a unique way to maximize flavor and moisture. By utilizing the whole orange—rind, pith, and juicy segments—we achieve an extraordinary depth of flavor that a simple zest or juice alone cannot provide. This method is the secret behind the cake’s signature moist crumb and intense citrus aroma.
Blood Orange Cake Ingredients: Quality Matters
Choosing fresh, quality ingredients is key to the success of any outstanding cake. For this blood orange delight, each component plays a vital role:
- Blood Oranges: Look for firm, heavy blood oranges with vibrant, unblemished skins. These will yield the most flavorful puree, which is critical for both moisture and that distinct citrus taste. Using the whole fruit ensures an incredibly rich, complex citrus profile.
- Unsalted Butter: Melted butter contributes to a rich, tender texture without the need for creaming. Its creamy fat content helps create a luxurious mouthfeel.
- Large Egg: The egg acts as a crucial binder, providing structure to the cake and helping to emulsify the wet ingredients, resulting in a cohesive and well-risen cake. Ensure it’s at room temperature for better incorporation.
- All-Purpose Flour: This is the structural foundation of our cake. Measure it accurately by spooning it into a measuring cup and leveling it off, rather than scooping directly, to avoid a dense cake.
- Granulated Sugar: Sweetens the cake, balancing the tartness of the blood oranges. It also contributes to moisture and browning.
- Baking Powder: This leavening agent is essential for creating a light and airy texture, ensuring the cake rises beautifully in the oven.
- Fine Sea Salt: A pinch of salt might seem small, but it’s mighty! It enhances all the other flavors, bringing out the sweetness of the sugar and the brightness of the citrus.
For the Irresistible Glaze
- Fresh Blood Orange Juice: Squeezed from a fresh blood orange, this juice is the foundation of our vibrant, naturally pink glaze. It adds a final burst of tangy citrus flavor and a beautiful sheen.
- Confectioners’ Sugar (Powdered Sugar): Provides the necessary sweetness and thickens the juice into a smooth, pourable glaze.
Variations and Flavor Enhancements
While the blood orange is king in this recipe, you can certainly experiment with other citrus fruits or fats to create your own unique version:
- Exploring Different Citrus: This recipe is wonderfully adaptable. Consider swapping blood oranges for cara cara oranges for a similar subtle pink hue and sweet flavor, or regular oranges for a classic taste. Tangerines, mandarins, or even Meyer lemons (which are sweeter than regular lemons) would also create fantastic variations, each offering a slightly different color and flavor profile. Avoid regular lemons, as their intense tartness might overpower the cake.
- Alternative Fats: Since the butter is melted and not creamed, you can easily substitute it with a good quality extra virgin olive oil for a distinct, sophisticated flavor. Olive oil cakes are known for their exceptional moisture and unique fruity notes that complement citrus beautifully.
- Adding Spices: A pinch of cardamom, ginger, or a hint of vanilla extract can add another layer of complexity to the cake’s flavor profile.
Essential Tools for a Seamless Baking Experience
Having the right equipment at hand will make your baking journey smoother and more enjoyable:
- Blender: Absolutely crucial for transforming the simmered blood orange slices into a silky-smooth puree, which is the heart of this moist cake. A high-speed blender will achieve the best texture.
- 9×2″ Round Baking Pan: This standard size cake pan is ideal for achieving the perfect thickness and even baking for this recipe. Ensure it’s clean and ready for preparation.
- Parchment Paper: A baker’s best friend! Lining the bottom of your pan with a circle of parchment paper guarantees that your cake will release easily and flawlessly, preventing any sticking.
- Two Large Mixing Bowls: One for your wet ingredients and one for your dry. This allows for proper integration and ensures you don’t overmix the batter later.
- Whisk and Rubber Spatula: A whisk for combining dry ingredients and a rubber spatula for gently folding the wet and dry mixtures are essential for achieving the right cake texture.
- Wire Cooling Rack: An indispensable tool for ensuring your cake cools evenly and prevents the bottom from becoming soggy. Air circulation is key for a perfectly cooled cake.
- Small Saucepan: For simmering the blood orange slices until tender.
- Instant-Read Thermometer: While not strictly mandatory, an instant-read thermometer is a professional secret for ensuring your cake is perfectly baked to 190°F (88°C) without being overdone or dry.
How to Bake the Perfect Blood Orange Cake: Your Easy Step-by-Step Guide
Baking this blood orange cake is a straightforward process, designed for simplicity without compromising on flavor or texture. With just a few key steps and minimal equipment, you’ll be well on your way to enjoying this delightful citrus creation. Let’s walk through the preparation together, ensuring every detail is covered for a flawless result.
Step 1: Creating the Signature Blood Orange Puree
The secret to this cake’s incredible moisture and intense flavor lies in its unique blood orange puree. This step is where the whole orange truly shines:
- Prepare the Oranges: Begin by thoroughly washing three medium blood oranges. Slice them into approximately 1/4-inch rounds. Don’t worry about the peel or pith; they are integral to the depth of flavor.
- Simmer until Tender: Place the sliced blood oranges and two cups of water into a medium saucepan. Bring the mixture to a boil over medium-high heat. Once boiling, reduce the heat to low, cover the saucepan, and let it simmer gently for about 20 minutes. The oranges should become very soft and easily pierced with a fork.
- Blend to Perfection: Carefully transfer the softened orange slices and their cooking liquid to a blender. Allow them to cool for about 10 minutes before blending to avoid steam buildup. Blend on high power until the mixture is completely smooth and free of any large chunks of peel. This may take a few minutes. The resulting puree should be thick and vibrant.
- Measure and Reserve: Measure out precisely two cups of this fragrant blood orange puree. Any leftover puree can be saved for smoothies or other culinary uses. This puree forms the aromatic and moist foundation of your cake batter.
Step 2: Preparing the Cake Batter
With your puree ready, assembling the cake batter is quick and easy, requiring just two bowls:
- Preheat Oven and Prepare Pan: Preheat your oven to 350°F (175°C). Take your 9×2″ round baking pan, grease it generously, and lightly flour it. For an extra layer of non-stick insurance, line the bottom with a circle of parchment paper. This preparation ensures your cake comes out perfectly.
- Combine Wet Ingredients: In a large mixing bowl, gently combine the two cups of blood orange puree with the melted butter. Crack in one lightly beaten, room-temperature egg. Using a room-temperature egg is crucial as it emulsifies better with the other ingredients, leading to a smoother batter and a finer crumb. Whisk these ingredients together until they are thoroughly combined and smooth.
-

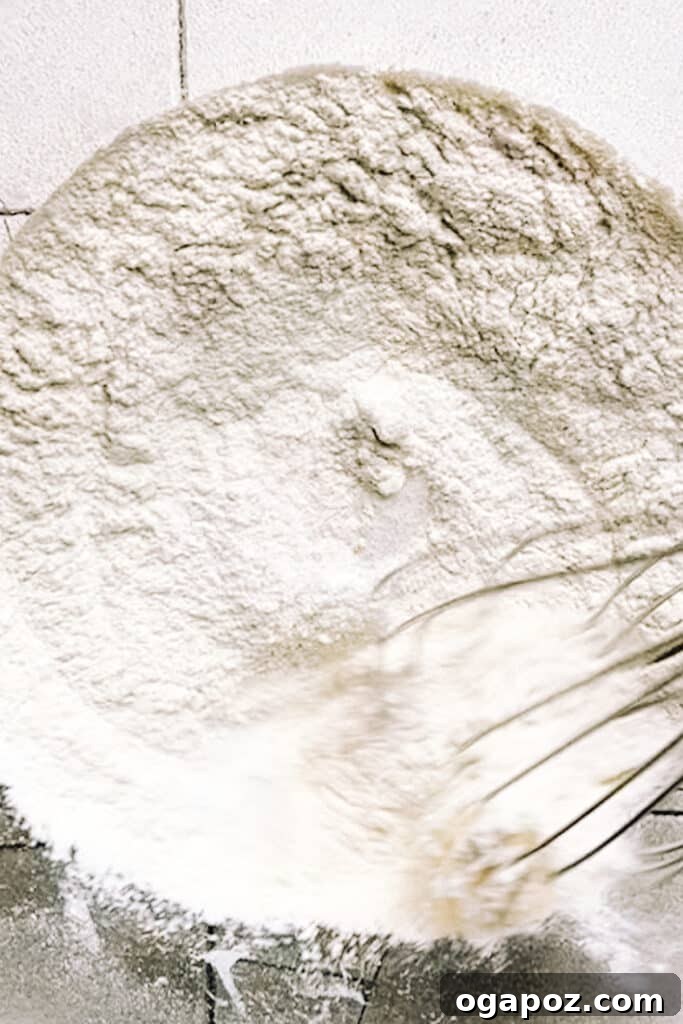
Whisk Dry Ingredients: In a separate, medium-sized bowl, whisk together the all-purpose flour, granulated sugar, baking powder, and half a teaspoon of salt. Whisking ensures these dry ingredients are evenly distributed, which is important for uniform rising and flavor throughout the cake.
- Gently Fold Wet into Dry: Pour the wet blood orange mixture into the bowl containing the dry ingredients. Using a rubber spatula, gently fold the ingredients together until they are *just* combined. The key here is to avoid overmixing. Overmixing develops gluten in the flour, which can lead to a tough, dry cake. A few small lumps in the batter are perfectly fine and will disappear during baking, leaving you with a wonderfully tender and airy cake with a soft crumb that melts in your mouth. Gentle folding preserves the air bubbles incorporated during mixing, which are essential for the cake’s light texture and rise.
Step 3: Baking and Cooling Your Cake
- Bake to Perfection: Pour the carefully prepared batter into your greased and floured baking pan. Transfer the pan to the center rack of your preheated oven and bake for approximately 40 minutes. The cake is done when a wooden skewer inserted into the center comes out clean, or, for precision, when an instant-read thermometer registers 190°F (88°C). The center should feel slightly bouncy when lightly pressed.
- Cooling Process: Once baked, remove the cake from the oven and let it cool in the pan for a few minutes. This allows the cake to set slightly. Then, carefully invert the cake onto a wire cooling rack and allow it to cool completely before glazing. Cooling completely is crucial; glazing a warm cake will result in a runny, absorbed glaze.
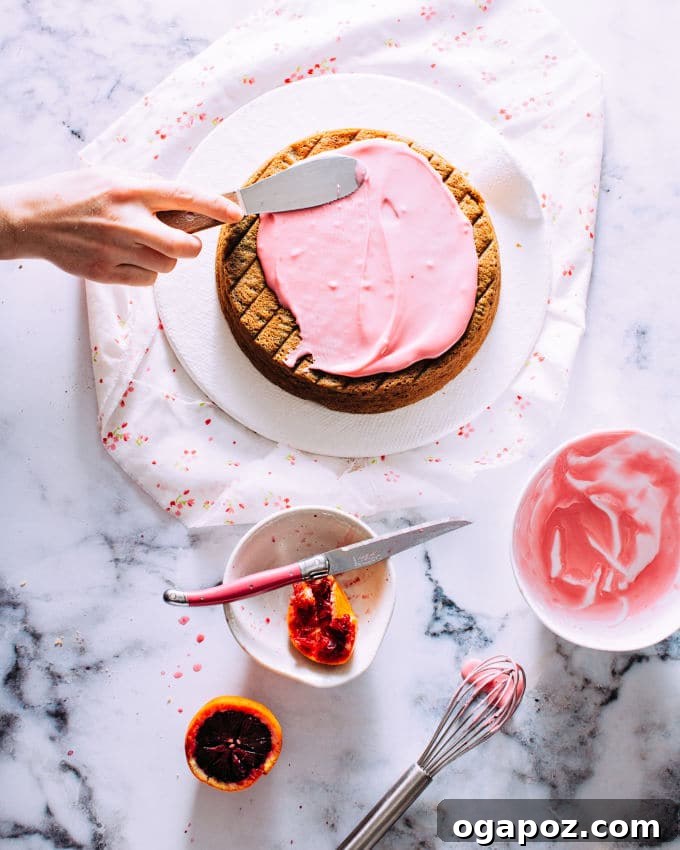
Step 4: Glazing and Garnishing for a Grand Finish
The final touch is a sweet, tangy blood orange glaze that adds both beauty and another layer of citrus flavor:
- Prepare the Glaze: In a small bowl, whisk together the freshly squeezed juice from one blood orange and one cup of confectioners’ sugar. Start with half the juice and add more gradually until you achieve your desired consistency. For a thinner, runnier glaze, add a tiny bit of water (about half a teaspoon at a time) until it’s perfect. For a thicker, more opaque glaze, use slightly less liquid.
- Apply the Glaze: Once the cake is completely cool, drizzle or spread the vibrant blood orange glaze evenly over the top. Allow it to set for a few minutes before slicing.
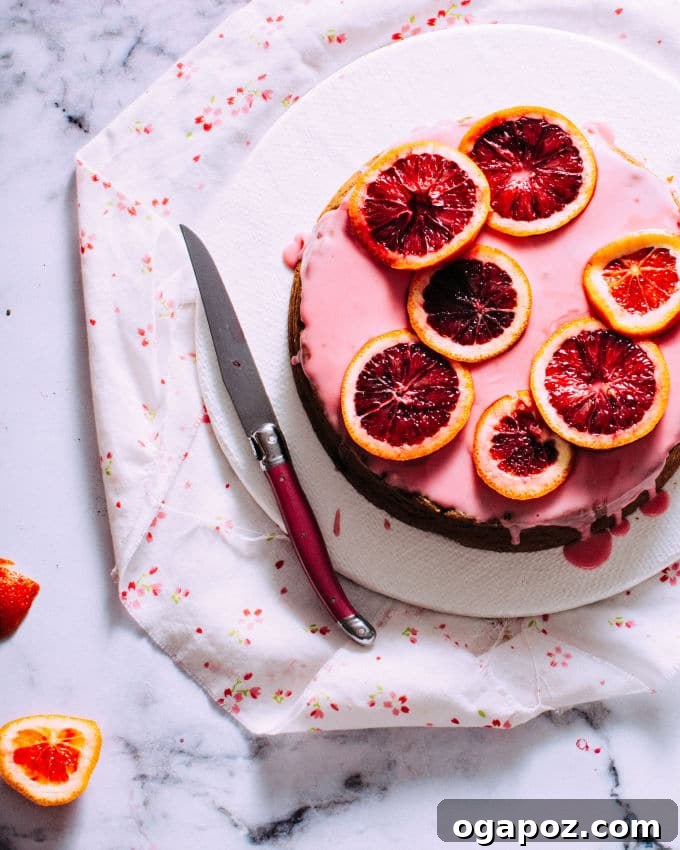
- Garnish with Flair: For an exquisite presentation, garnish your cake with very thin slices of fresh blood orange. These not only look stunning but also provide an additional burst of fresh citrus. Alternatively, a sprinkle of orange zest or toasted almond slivers can add texture and visual appeal.
Expert Tips for Success & Storage
To ensure your Blood Orange Cake turns out perfectly every time, keep these helpful tips in mind:
- Don’t Overmix: This is arguably the most important rule for a tender cake. Mix dry and wet ingredients only until just combined. A few lumps are okay!
- Room Temperature Ingredients: Ensure your egg is at room temperature. This helps it incorporate smoothly and evenly into the batter, preventing curdling and leading to a finer crumb.
- Accurate Measurement: Especially for flour, spoon it into your measuring cup and level it off with a straight edge rather than scooping directly from the bag. This prevents compacting the flour and adding too much, which can result in a dry cake.
- Pan Preparation: Always grease, flour, and line your pan with parchment paper. This guarantees easy release and prevents frustrating sticking.
- Oven Temperature: Trust your oven! If you suspect it runs hot or cold, use an oven thermometer to verify its accuracy. Consistent oven temperature is key for even baking.
- Cool Completely Before Glazing: Patience is a virtue here. Glazing a warm cake will cause the glaze to melt and run off, resulting in a soggy cake rather than a beautifully coated one.
How to Store Your Blood Orange Cake
This moist cake stores wonderfully, allowing you to enjoy its fresh flavors for days:
- At Room Temperature: Store the cake, covered tightly (a cake dome works perfectly), at room temperature for up to 3 days. The moisture from the blood orange puree helps keep it fresh.
- Refrigeration: If you live in a warm climate or want to extend its freshness, you can refrigerate the cake for up to 5 days. Be sure to bring it back to room temperature before serving for the best flavor and texture.
- Freezing: For longer storage, this cake freezes beautifully. Wrap individual slices or the whole cooled, unglazed cake tightly in plastic wrap, then in aluminum foil. It can be frozen for up to 2-3 months. Thaw overnight in the refrigerator, then bring to room temperature and glaze (if unglazed) before serving.
More Irresistible Citrusy Desserts to Brighten Your Day
If the vibrant flavors of this Blood Orange Cake have captured your heart, you’re in for a treat! Citrus fruits offer an endless array of possibilities for creating refreshing and memorable desserts. Here’s a curated collection of other drool-worthy orange and citrus dessert recipes that are sure to delight your taste buds:
- Classic Orange Cake: If you love the bright flavor of orange, try this delightful Portuguese Orange Cake for a slightly different, equally delicious texture.
- Zesty Lemon Curd Cake: For the true lemon enthusiasts, this Lemon Curd Cake, bursting with tangy lemon flavor and creamy curd, is an absolute must-try.
- Delightful Lemon Curd Cookies: Carry the bright lemon flavor into your cookie jar with these irresistible Lemon Curd Cookies – perfect for a sweet bite.
- Indulgent Chocolate Orange Cake: A match made in heaven! If you adore the combination of rich chocolate and bright orange, this Moist Chocolate Orange Cake is definitely for you.
- Seasonal Cranberry Lemon Cake: A long-standing favorite, this Cranberry Lemon Cake with Lemon Icing offers a delightful balance of tart and sweet, perfect for any season.
- Elegant Orange Pound Cake: Baked in a beautiful bundt pan and finished with a sweet orange glaze, this recipe for Orange Pound Cake is a timeless classic.
- Lemon Blueberry Sour Cream Muffins: While not strictly a dessert, these incredibly moist and flavorful Lemon Blueberry Sour Cream Muffins are so delicious, they certainly deserve a spot on this list!


Blood Orange Cake
A gorgeously moist Blood Orange Cake featuring a naturally pink blood orange glaze. This recipe uses the entire orange – peel, pith, and fruit – to create an incredibly deep flavor and a wonderfully tender crumb.
Print Recipe
Ingredients
For Blood Orange Puree
- 3 medium blood oranges, washed well and sliced into 1/4″ rounds
- 2 cups water
For Cake
- 2 cups blood orange puree
- ½ cup butter, melted
- 1 large egg, lightly beaten
- 1 ½ cups all-purpose flour
- 1 cup granulated sugar
- 1 tbsp baking powder
- ½ tsp salt
For Glaze
- 1 blood orange, juiced
- 1 cup confectioners’ sugar
Instructions
For Blood Orange Puree
- Bring sliced blood oranges and water to a boil in a medium saucepan. Cover, turn heat to low, and simmer for 20 minutes until very tender.
- Carefully transfer the mixture to a blender and let cool for 10 minutes. Blend on high power until completely smooth.
- Measure out two cups of the puree. Discard any leftover or repurpose it (e.g., in a smoothie).
For Cake
- Preheat oven to 350ºF (175°C). Grease and flour a 9×2″ round baking pan and line the bottom with a circle of parchment paper.
- In a large bowl, combine two cups of the cooled blood orange puree with the melted butter and lightly beaten egg. Stir well until thoroughly combined.
- In a separate bowl, whisk together the all-purpose flour, granulated sugar, baking powder, and salt.
- Pour the orange mixture into the flour mixture and gently fold together with a rubber spatula until just combined. Be careful not to overmix the batter.
- Pour the batter into the prepared pan. Bake in the center of the oven for about 40 minutes, or until the center feels a bit bouncy when lightly pressed and a wooden skewer comes out clean (internal temperature 190°F / 88°C).
- Let the cake cool for a few minutes in the pan, then invert it onto a wire cooling rack to cool completely before glazing.
For Glaze
- To make the glaze, whisk together the fresh blood orange juice and confectioners’ sugar in a small bowl until smooth. If you prefer a thinner glaze, add a tiny bit of water (about half a teaspoon at a time) until the desired consistency is reached.
- Once the cake is completely cool, spread or pour the glaze evenly over the top. Garnish the cake with more thinly-sliced fresh blood oranges or orange zest, if desired, before serving.
Nutrition Information (Approximate per serving)
Calories: 277kcal | Carbohydrates: 46g | Protein: 3g | Fat: 10g | Saturated Fat: 6g | Polyunsaturated Fat: 1g | Monounsaturated Fat: 3g | Trans Fat: 0.4g | Cholesterol: 41mg | Sodium: 327mg | Potassium: 17mg | Fiber: 2g | Sugar: 33g | Vitamin A: 320IU | Vitamin C: 2mg | Calcium: 91mg | Iron: 1mg
Nutrition information is automatically calculated and should only be used as an approximation.
Tried this recipe? Share your thoughts!
Leave a comment below to let us know how your Blood Orange Cake turned out!