
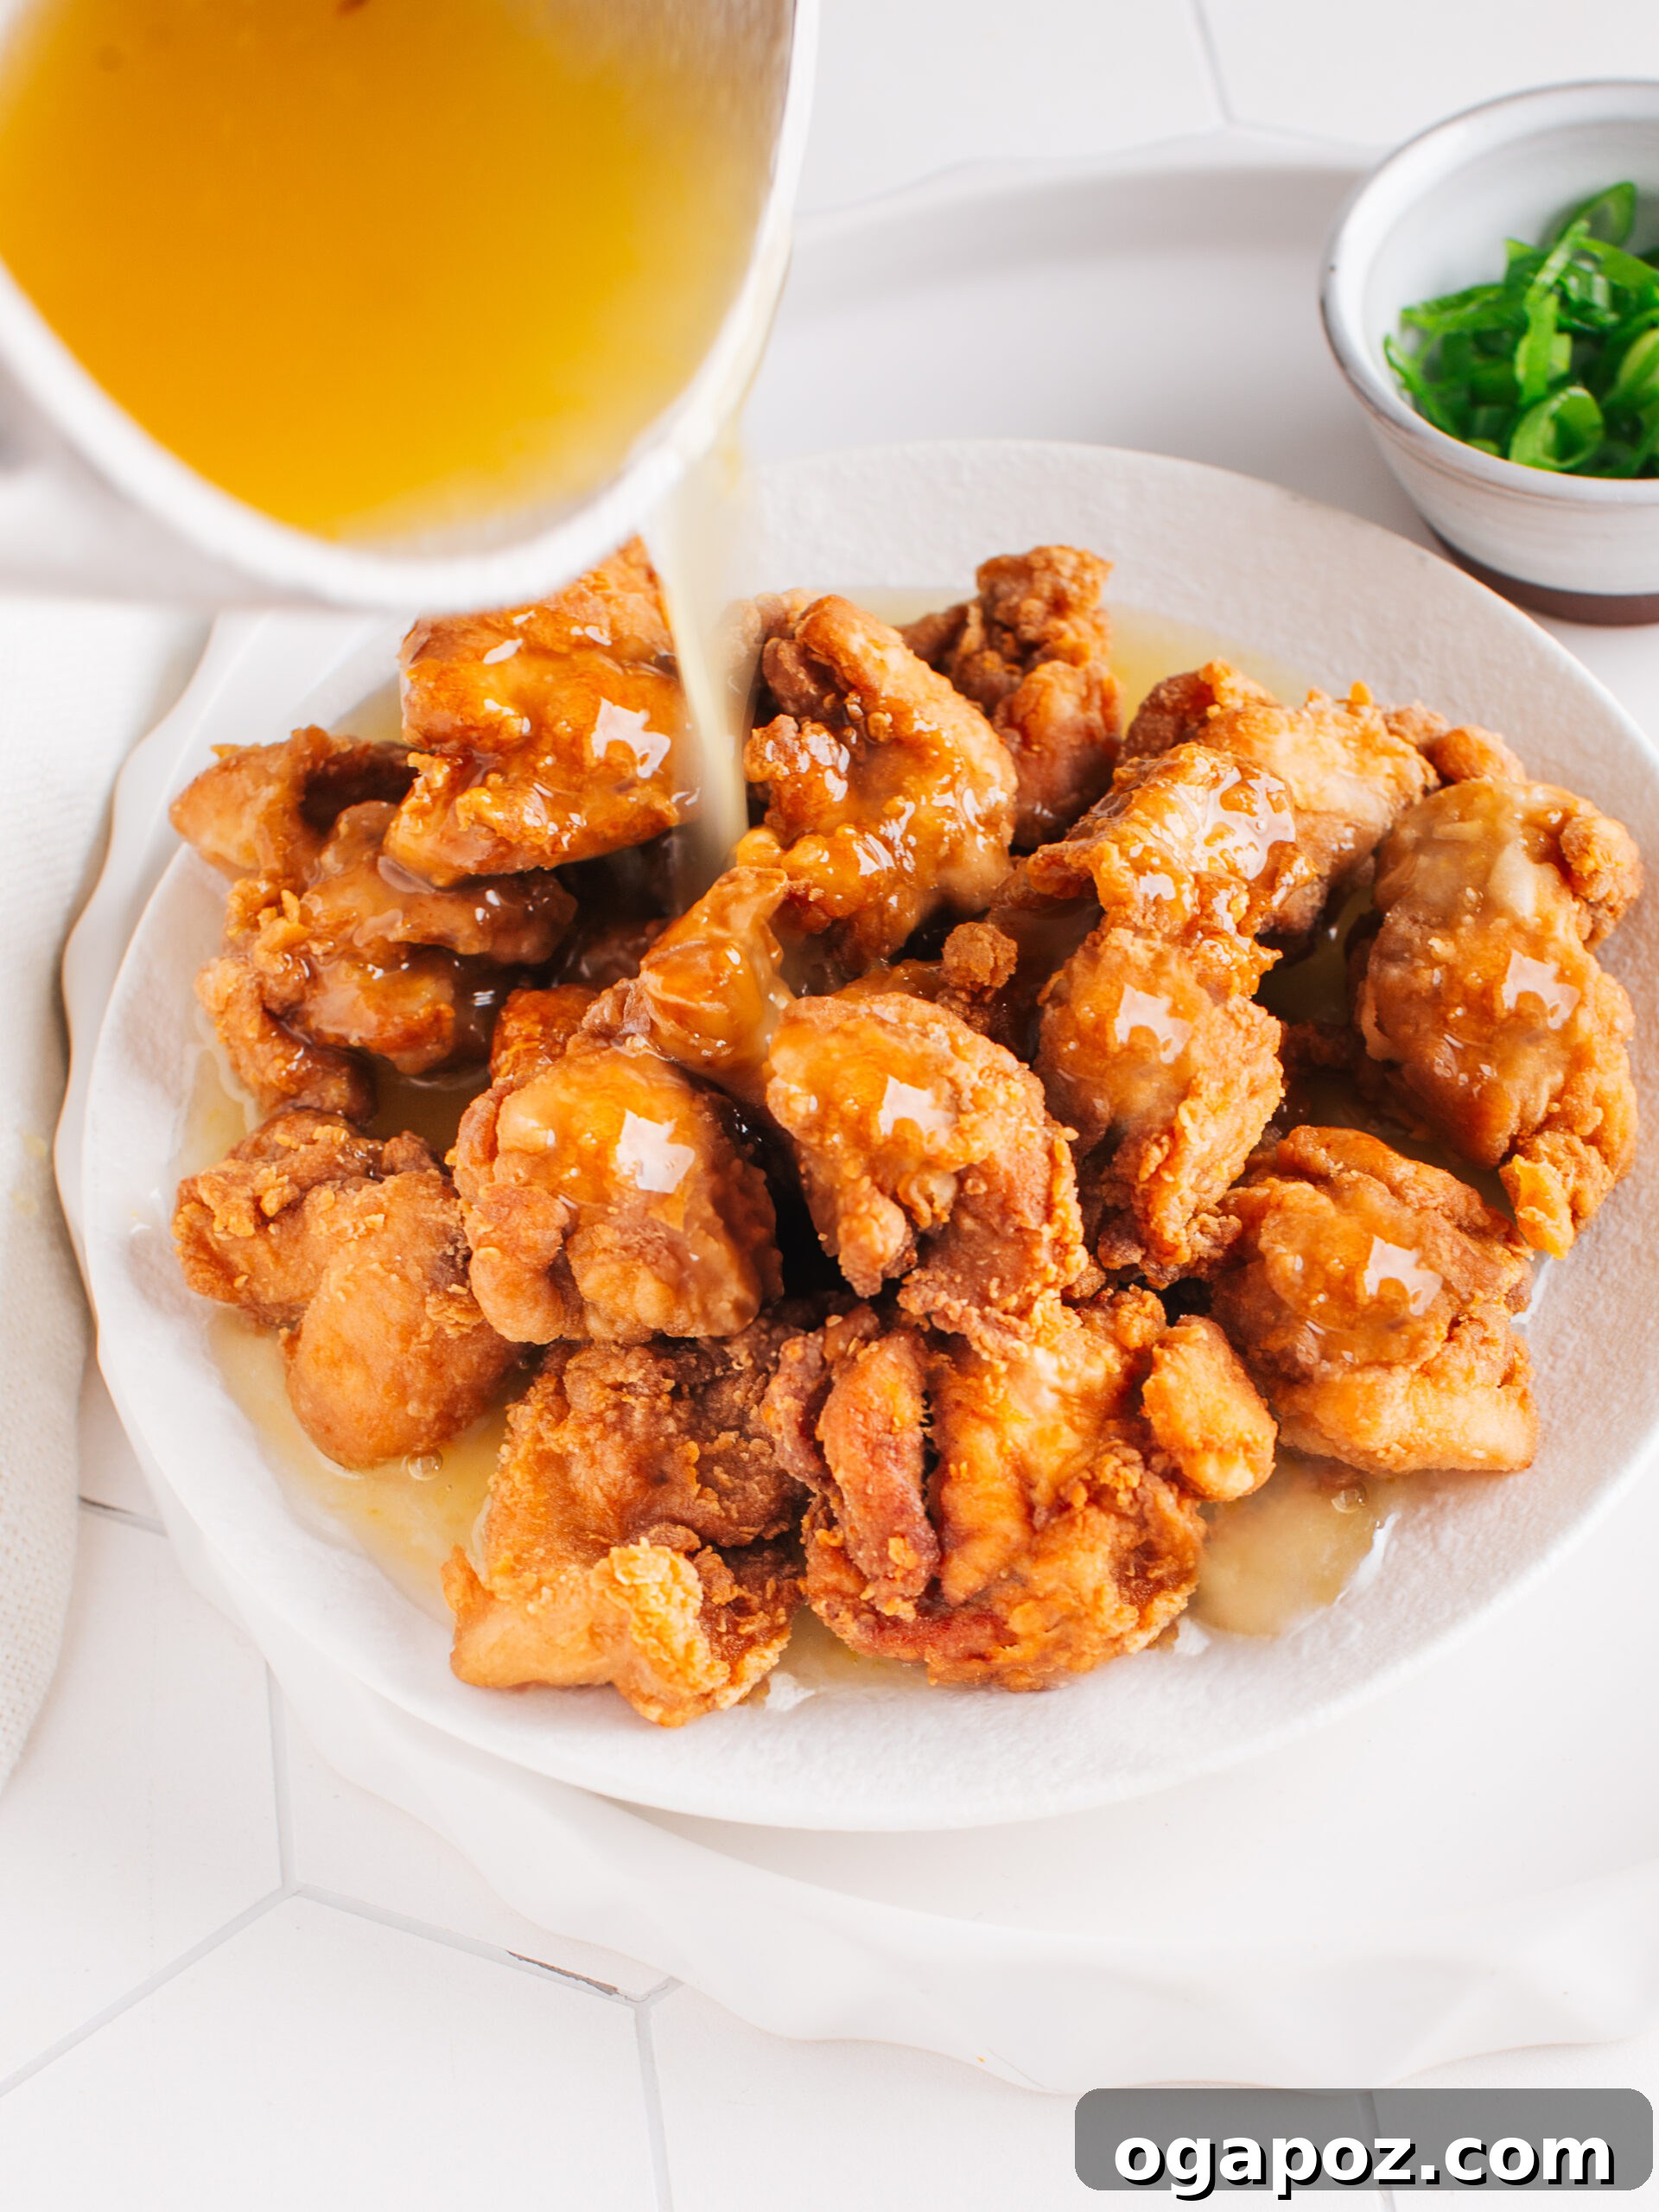
Unlock the secret to authentic Chinese takeout flavors right in your own kitchen with this incredible Crispy Lemon Chicken recipe. In under 30 minutes, you can transform simple ingredients into a dish that boasts perfectly crunchy chicken pieces enveloped in a luscious, sticky, and intensely lemony sauce. Say goodbye to delivery fees and hello to homemade perfection!
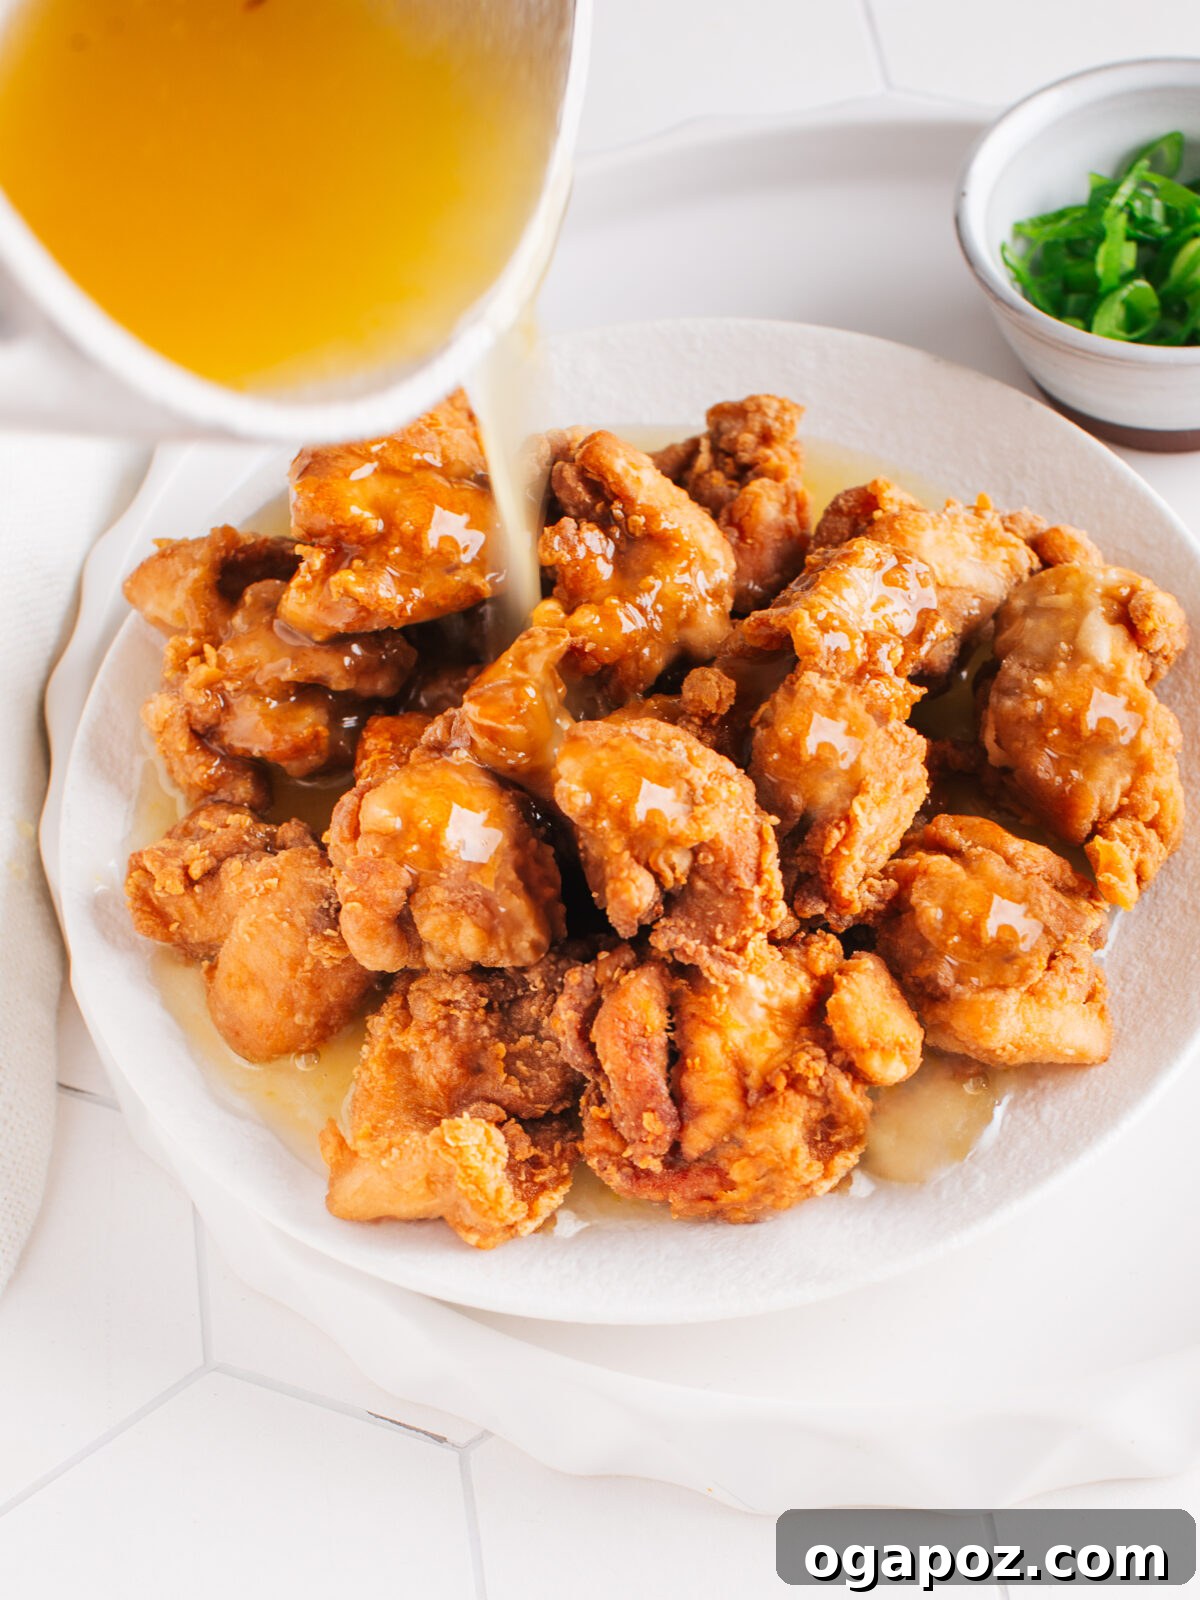
This dish is a true crowd-pleaser, delivering that sought-after takeout glossiness and a vibrant lemon flavor that will have you returning to this recipe time and time again. Its popularity isn’t just a personal preference; this very recipe was featured in Chatelaine magazine and has consistently garnered a multitude of 5-star reviews from home cooks everywhere. It’s simply THAT good!
Whether you prefer the classic deep-fried method or are looking for a lighter touch, I’ve got you covered. This guide includes a fantastic air fryer adaptation, ensuring everyone can enjoy this delightful dish. Prepare to impress your taste buds!
Mastering Homemade Lemon Chicken: The Essentials
Crafting this irresistible lemon chicken doesn’t require a pantry full of exotic ingredients. Instead, it relies on a handful of simple, readily available components and standard kitchen tools to achieve spectacular results. Let’s gather what we need to bring this culinary masterpiece to life.
Key Ingredients for Your Lemon Chicken
The magic of this recipe lies in the quality and balance of its core ingredients. Here’s what you’ll need to assemble:
For the Crispy Chicken
- Chicken Thighs: Boneless, skinless chicken thighs are highly recommended for their succulent texture and rich flavor. Cut them into uniform, bite-sized pieces (about 1.5 inches) to ensure even cooking and maximum crispiness. While chicken breasts or tenderloins can be used for a leaner option, thighs consistently deliver a more tender and juicy result that stands up well to frying.
- Soy Sauce: A foundational ingredient for Asian-inspired dishes, regular soy sauce adds a crucial umami depth and savory “salt” to the chicken. It also helps in the initial marination, infusing flavor before coating.
- All-Purpose Flour: This forms the primary structure of your batter, providing a robust base for the crispy coating. Its gluten content contributes to a desirable crunch.
- Cornstarch: The secret weapon for extra crispiness! Cornstarch, when combined with flour, creates a lighter, airier, and significantly crunchier crust. It’s also vital for thickening the lemon sauce, giving it that characteristic glossy, clingy texture.
- Baking Powder: Don’t skip this! A small amount of baking powder in the batter is what makes it puff up beautifully during frying, creating those delightful pockets of airy crispiness similar to what you’d find in professional takeout.
- Cold Water: Using cold water for the batter is key. It helps to keep the gluten in the flour from developing too much, preventing a tough crust, and contributes to a light, airy texture.
- Canola or Peanut Oil: These oils are ideal for deep-frying due to their high smoke points and neutral flavors. They allow the chicken to fry without burning and without imparting unwanted tastes. Olive oil is generally not recommended for deep-frying due to its lower smoke point.
- Green Onion: Thinly sliced green onions (scallions) serve as a vibrant and fresh garnish, adding a subtle oniony bite and a pop of color to the finished dish.
For the Tangy-Sweet Lemon Sauce
- Fresh Lemon Juice: The star of the show! Always opt for freshly squeezed lemon juice for the brightest, most authentic tangy flavor. Bottled juice simply won’t yield the same vibrant taste.
- Granulated Sugar: A crucial component to balance the sharp tartness of the lemon juice, creating a harmonious sweet-and-sour profile that defines classic lemon chicken.
- Chicken Broth: Regular (not unsalted) chicken broth provides a savory base for the sauce, adding depth and complexity. If you only have unsalted, you might need to adjust seasoning. Alternatively, water with a bouillon concentrate or cube works perfectly well for a quick substitute.
- Lemon Zest: The fragrant oils found in lemon zest are essential for amplifying the overall lemon flavor, adding an aromatic dimension that fresh juice alone cannot provide. Use a fine grater or microplane for best results.
Clever Substitutions and Creative Variations
This lemon chicken recipe is incredibly versatile, allowing you to adapt it to dietary needs or explore new flavor profiles. Consider these thoughtful modifications:
- Chicken Cut Alternatives: While thighs are preferred for their juiciness, you can certainly substitute them with boneless, skinless chicken breasts or tenderloins for a leaner meal. Adjust cooking times slightly as breasts may cook faster.
- Gluten-Free Soy Sauce: For a gluten-free version, swap regular soy sauce with tamari or coconut aminos. Both offer similar umami notes.
- Gluten-Free Flour Blend: To make the entire recipe gluten-free, replace all-purpose flour with rice flour or your preferred gluten-free flour blend. Ensure your chosen blend contains a binder or add a small amount of xanthan gum if necessary for structure.
- Alternative Frying Oils: If canola or peanut oil aren’t available, vegetable oil or avocado oil are excellent substitutes, also offering high smoke points suitable for frying.
- Garnish Options: If green onions aren’t on hand, fresh chives or even thinly sliced scallions provide a similar mild oniony freshness. A sprinkle of toasted sesame seeds can also add a pleasant nutty crunch.
- Broth Alternatives: For a vegetarian option, easily swap chicken broth for vegetable broth. As mentioned, water with bouillon concentrate is a convenient pantry staple hack.
- Explore Citrus Flavors: Feeling adventurous? Transform this into an orange chicken by swapping out the lemon zest and juice for fresh orange zest and juice. For a tested and true recipe, check out my dedicated Orange Chicken recipe.
- Spice It Up: For a hint of heat, add a pinch of red pepper flakes or a dash of sriracha to the lemon sauce.
Essential Tools for Success
Having the right kitchen equipment makes the cooking process smooth and enjoyable. Here’s a list of tools you’ll need:
- Large Mixing Bowl: Essential for marinating the chicken and preparing the batter.
- Whisk: Crucial for smoothly combining cornstarch with liquids for the sauce and for whisking batter ingredients.
- Small Saucepan: Perfect for simmering and thickening the flavorful lemon sauce.
- Dutch Oven or Deep Skillet/Pan: For safe and efficient deep-frying. Choose one with high sides to prevent oil splatters.
- Cooking Thermometer: Absolutely vital for accurately monitoring oil temperature, ensuring perfectly crispy (not greasy or burnt) chicken.
- Tongs or Slotted Spoon: For safely adding and removing chicken pieces from hot oil.
- Wire Rack with Paper Towels: To drain excess oil from the fried chicken, maintaining its crispiness.
- Air Fryer: If you opt for the air fryer version, this specialized appliance will be your go-to.
Step-by-Step Guide: How to Make Crispy Lemon Chicken
Creating this incredibly flavorful and satisfying dish is simpler than you might think. Follow these clear steps for a perfect outcome:
1. Marinate the Chicken for Enhanced Flavor
In a medium bowl, combine your bite-sized chicken pieces with the soy sauce. Toss gently to ensure each piece is evenly coated. Allow the chicken to marinate at room temperature while you proceed with preparing the batter and sauce. This brief resting period helps the chicken absorb flavor and cook more evenly.
2. Prepare the Signature Lemon Sauce
Begin by whisking the cornstarch with the fresh lemon juice in a small saucepan until the mixture is completely smooth and free of lumps. This step is crucial to prevent a lumpy sauce. Place the saucepan over medium heat, then stir in the granulated sugar, chicken broth (or water with bouillon concentrate), and lemon zest. Bring the mixture to a gentle boil, then reduce the heat to low and let it simmer for a few minutes. Continue cooking, stirring occasionally, until the sauce visibly thickens and achieves a beautiful, glossy sheen. Once it reaches the desired consistency, remove it from the heat and set aside.
3. Ready the Frying Oil
Pour 2-3 inches of canola or peanut oil into a large Dutch oven or a deep skillet. Ensure the pot is deep enough so the oil occupies no more than half its height to prevent overflow during frying. Heat the oil over medium heat until it registers a precise 375ºF (190ºC) on a cooking thermometer. Maintaining this exact temperature is paramount for achieving crispy, non-greasy chicken.
4. Craft the Crispy Batter
In another medium bowl, whisk together the all-purpose flour, cornstarch, and baking powder until well combined. Gradually add the cold water to the dry ingredients, stirring gently just until a thick batter forms. Avoid overmixing, which can develop gluten and lead to a tough crust. Now, add the marinated chicken pieces, along with any leftover soy sauce from their bowl, to the batter. Toss until every piece of chicken is thoroughly and evenly coated.
5. Fry the Chicken to Golden Perfection
Once your oil has reached the target temperature of 375ºF, carefully slide 6-8 battered chicken pieces into the hot oil using tongs. It’s crucial to fry in small batches to avoid overcrowding the pot, which would lower the oil temperature and result in soggy chicken. Cook the chicken, turning each piece once, for approximately 3-4 minutes, or until they turn a deep golden brown and reach an internal temperature of 165ºF (74ºC) in the center. Use a cooking thermometer to check for doneness. As each batch finishes, transfer the crispy chicken to a wire rack lined with paper towels to drain excess oil. Repeat this process with the remaining chicken until all pieces are perfectly fried.
6. Assemble and Serve with a Flourish
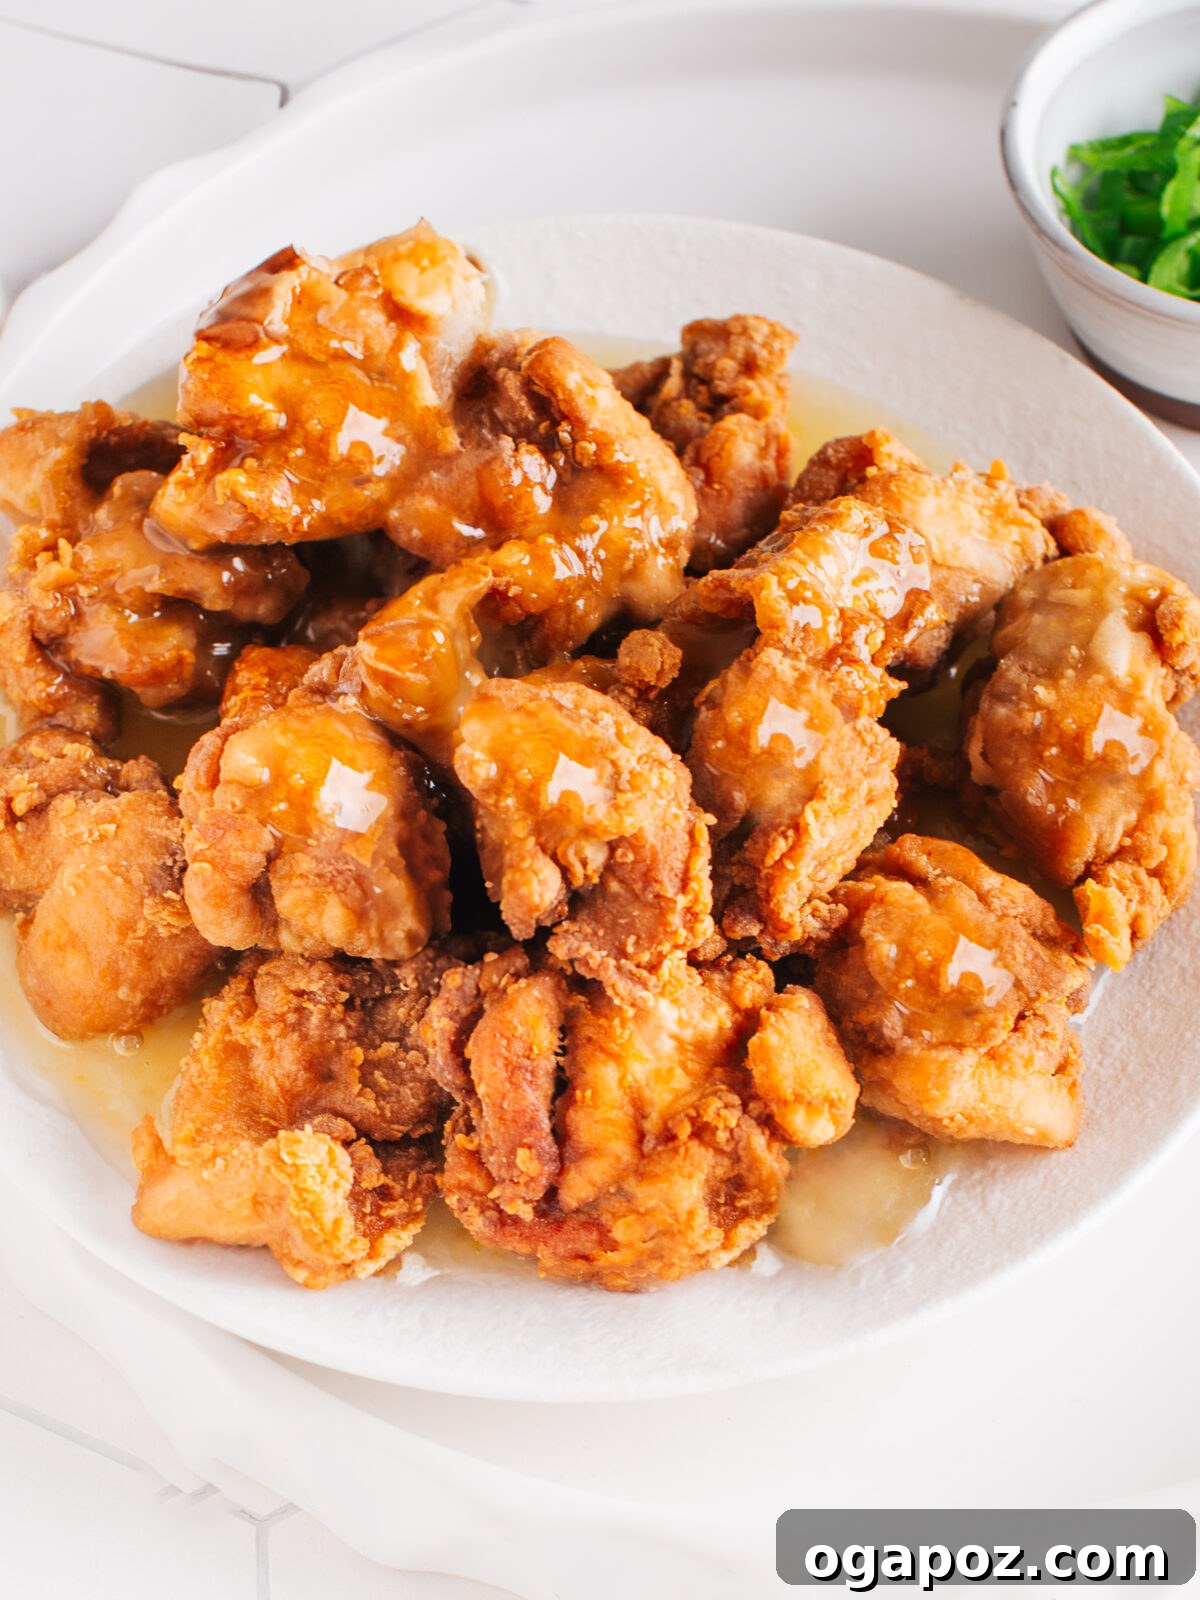
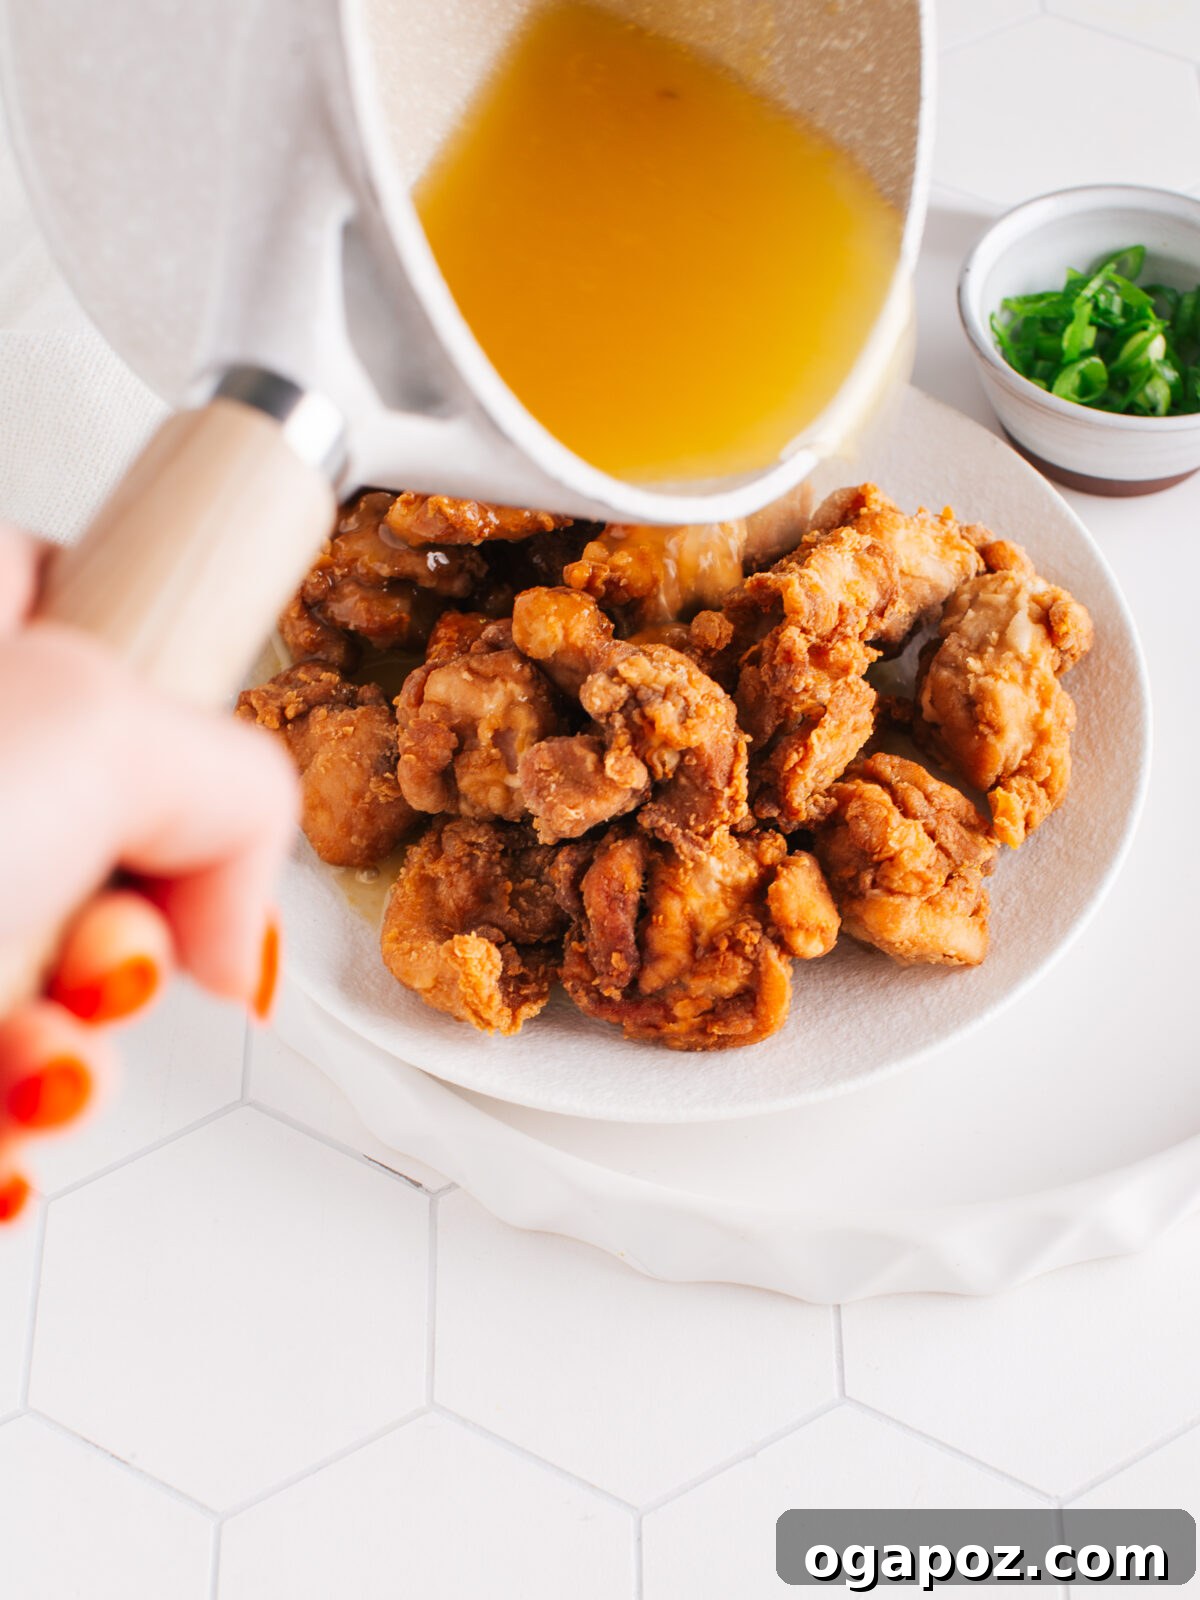
Just before serving, gently reheat the lemon sauce until it’s warm and pourable. Add the freshly fried crispy chicken pieces to the warm sauce and toss them carefully until each piece is beautifully coated in the sticky, glossy lemon glaze. Transfer the chicken to a serving platter and garnish generously with thinly sliced green onions. Serve immediately to enjoy the ultimate crispiness and vibrant flavors!
Air Fryer Lemon Chicken: A Lighter, Crispy Alternative
For those seeking a healthier take on this classic, or simply a less messy cooking method, the air fryer offers a fantastic alternative. While it won’t replicate the exact texture of deep-fried chicken, it still delivers wonderfully crispy results with significantly less oil. Here’s how to adapt the recipe for your air fryer:
Modify the Coating for Air Frying
Instead of a wet batter, we’ll create a dry, crunchy coating designed specifically for the air fryer. This mixture provides a satisfying crisp without the need for deep oil immersion:
- ¼ cup all-purpose flour
- 2 tbsp cornstarch
- 2 tbsp vegetable oil
- ¼ cup panko breadcrumbs (for extra crunch)
Prepare the Chicken
- Marinate the Chicken: Just as with the deep-fried method, toss your chicken pieces with soy sauce in a bowl and let them sit at room temperature while you prepare the air fryer coating. This infuses flavor into the chicken.
- Create the Dry Coating: In a separate bowl, thoroughly combine the flour, cornstarch, panko breadcrumbs, and vegetable oil. Mix until the oil is evenly distributed and the mixture has a slightly crumbly texture.
- Coat the Chicken: Add the marinated chicken pieces to this dry coating mixture. Toss well, ensuring every piece is fully coated for maximum crispiness in the air fryer.
Air Fry to Perfection
Preheat your air fryer to 375ºF (190ºC). Arrange the coated chicken pieces in a single layer within the air fryer basket. It’s crucial that the pieces do not touch to allow hot air to circulate freely around them, ensuring even cooking and crispiness.
Cook for 10-12 minutes, making sure to shake the basket vigorously halfway through the cooking time. This promotes even browning and crisping. Continue cooking until the chicken is golden brown and reaches an internal temperature of 165ºF (74ºC).
Serve with the Lemony Glaze
Gently reheat the prepared lemon sauce on the stovetop. Pour the warm, glossy sauce over the crispy air-fried chicken and toss until every piece is beautifully coated. Garnish with fresh green onions and serve immediately for a delicious, lighter version of classic lemon chicken.
Pro Tips for Perfect Lemon Chicken & Common Mistakes to Avoid
Achieving restaurant-quality lemon chicken at home is within reach, especially if you heed these expert tips and avoid common pitfalls:
- Uniform Chicken Pieces: Always cut your chicken into similarly sized pieces. This ensures that all pieces cook evenly at the same rate, preventing some from being undercooked while others become overcooked and dry.
- Precision Oil Temperature is Key: The most critical factor for crispy, non-greasy fried chicken is maintaining the correct oil temperature of 375ºF (190ºC).
- If the oil is too hot, the batter will burn quickly on the outside before the chicken has a chance to cook through, resulting in raw interiors.
- If the oil is too cool, the chicken will absorb excessive oil, leading to a greasy, heavy, and soggy crust. Invest in a reliable cooking thermometer and use it diligently for consistently perfect results.
- Avoid Overcrowding the Pot: Resist the urge to fry too many chicken pieces at once. Overcrowding dramatically lowers the oil temperature, leading to the issues mentioned above – greasy, unevenly cooked, and less crispy chicken. Fry in small batches (6-8 pieces at a time) to maintain the optimal oil temperature and ensure each piece develops a beautiful, crisp coating.
- Always Use Cold Water for Batter: When mixing your batter, cold water is essential. Warm water can accelerate gluten development, making the batter denser and less crispy. Cold water, on the other hand, inhibits gluten formation, creating a lighter, airier, and ultimately crispier coating that puffs up wonderfully.
- Don’t Skip the Resting Time: Allowing the marinated chicken to sit at room temperature for a short period before frying serves two purposes: it allows the chicken to fully absorb the savory soy sauce flavor, and it brings the chicken closer to room temperature, promoting more even cooking when it hits the hot oil. Skipping this can result in unevenly seasoned or less tender chicken.
- Proper Draining is a Must: As soon as the chicken comes out of the hot oil, transfer it immediately to a wire rack lined with paper towels. This setup allows excess oil to drip away, preventing the chicken from sitting in oil and becoming soggy. Proper draining is crucial for maintaining that delightful crispiness.
- Cornstarch in the Batter: The Science: Cornstarch is a powerhouse ingredient in this recipe. It absorbs moisture incredibly well, which is vital for creating a super crispy exterior. When fried, it contributes to a delicate, thin, and remarkably crunchy crust.
- Baking Powder for Airiness: The Science: Baking powder isn’t just for cakes! Its leavening action creates tiny air bubbles within the batter. As these bubbles expand rapidly in the hot oil, they make the coating light, airy, and distinctly puffy, contributing significantly to the signature texture of takeout-style lemon chicken.
- Serve Immediately: For the absolute best texture and flavor, serve the lemon chicken hot and fresh, right after it’s tossed in the sauce. The crispiness is at its peak immediately after cooking.
Make Ahead and Storage Tips
Planning ahead can make weeknight dinners a breeze, and proper storage ensures your leftovers remain delicious. Here’s how to manage your lemon chicken:
Preparation in Advance
You can get a head start on this recipe by marinating the chicken and preparing the lemon sauce up to a day in advance. Store the marinated chicken securely covered in the refrigerator. The sauce should be stored in an airtight container in the refrigerator as well. For the crispiest results, always mix the batter and coat the chicken just before you’re ready to cook.
Storage of Leftovers
Any leftover cooked lemon chicken should be stored in an airtight container in the refrigerator. It will remain delicious for up to 3 days. The sauce can be stored separately in an airtight container in the refrigerator for up to a week.
Reheating for Optimal Crispiness
To preserve the delicious crispiness of the chicken, avoid reheating it in the microwave. Microwaving tends to make fried chicken soggy. Instead, reheat the chicken pieces in an air fryer at 375ºF (190ºC) for 3-4 minutes, or until they are heated through and regain some crispness. Alternatively, you can reheat them in a conventional oven on a baking sheet at 375ºF (190ºC) for about 8-10 minutes. Reheat any leftover sauce gently on the stovetop over low heat, stirring frequently, until warmed through before pouring over the reheated chicken.
Serving Suggestions: What to Pair with Lemon Chicken
This versatile lemon chicken recipe shines on its own, but it also pairs beautifully with a variety of sides to create a complete and satisfying meal. Here are some delicious ideas:
- Classic Asian Sides: Serve it alongside a steaming bowl of fluffy white rice, jasmine rice, or brown rice. For a noodle option, a simple stir-fry of chow mein or lo mein noodles makes a fantastic accompaniment.
- Fresh Vegetables: Complement the rich chicken and sauce with vibrant, stir-fried green beans, tender bok choy, crisp broccoli florets, or snow peas. A light steamed vegetable medley also works wonderfully.
- Unexpected Pairings: Don’t limit yourself to Asian-inspired sides! Lemon chicken is surprisingly delicious with creamy mashed potatoes or even tossed with your favorite pasta for a unique fusion dish.
- Versatile Leftovers: Cold lemon chicken can be a delightful addition to salads for a quick lunch, wrapped in soft tortillas or lettuce cups, or simply enjoyed as a standalone snack dipped into additional sauce.
Frequently Asked Questions About Lemon Chicken
Here are answers to some of the most common questions about making this fantastic lemon chicken recipe:
How do I make this recipe gluten-free?
To make this lemon chicken gluten-free, you’ll need to make a couple of key substitutions. Replace the all-purpose flour in the batter with rice flour or a gluten-free flour blend. Additionally, ensure you use tamari or coconut aminos instead of traditional soy sauce, as standard soy sauce contains wheat.
What can I use if I don’t have chicken broth?
No chicken broth? No problem! You have a few excellent alternatives. Vegetable broth can be used as a direct 1:1 substitute. Alternatively, you can mix water with a bouillon concentrate or a bouillon cube (follow package instructions for concentration) to create a flavorful broth base for your sauce.
How can I add extra flavor to the chicken?
There are several ways to enhance the flavor of your crispy chicken. You can incorporate additional seasonings into the batter, such as a pinch of garlic powder, black pepper, cayenne pepper for a subtle kick, or paprika for a warm, earthy note. For a fresh aromatic touch, finely chopped fresh herbs like cilantro or parsley can be mixed into the batter or sprinkled over the cooked chicken.
Explore More Asian Take-Out Style Recipes You’ll Love
If you’re a fan of quick, easy, and incredibly flavorful Asian takeout-inspired recipes that you can whip up at home, then you absolutely must try these other fantastic dishes:
- Chow Mein Noodles: A classic noodle dish packed with vegetables and savory sauce.
- Chicken and Broccoli: Simple, healthy, and bursting with flavor.
- Pad Woon Sen: A delightful Thai glass noodle stir-fry that’s light yet satisfying.
- Gochujang Chicken (+ Homemade Gochujang Substitute): Sweet, spicy, and incredibly addictive Korean-inspired chicken.
- Hunan Shrimp: A fiery and flavorful shrimp dish for those who love a little heat.
- Thai Basil Pork: A quick and aromatic stir-fry with tender pork and fragrant basil.
- Chili Oil Ramen: A comforting and customizable ramen dish with a kick.
- Honey Garlic Chicken: A sticky, sweet, and savory chicken favorite that’s a healthier alternative.
- My Favorite Spicy Ramen Recipe: For the ultimate ramen experience with a flavorful broth.
- The Viral Sushi Bake: A deconstructed sushi sensation that’s easy to make and share.
- Crispy Spring Rolls: Perfect as an appetizer or a light meal, with an irresistible crunch.
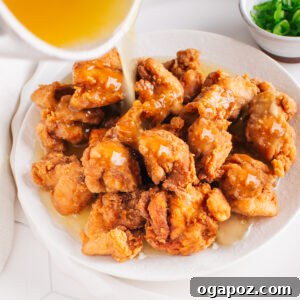
Lemon Chicken Recipe (Chinese Takeout Style!)
By: Jennifer Pallian BSc, RD
Make this Crispy Lemon Chicken recipe in under 30 min and instantly satisfy Chinese takeout cravings with crispy chicken in the tastiest, sticky lemon sauce.
Prep Time: 15 minutes
Cook Time: 12 minutes
Total Time: 27 minutes
Servings: 4
Ingredients
For the Chicken:
- 1 lb chicken thighs (about 5, cut into 1 ½” pieces)
- 1 tbsp regular soy sauce
- ¼ cup all-purpose flour
- 2 tbsp cornstarch
- 1 tsp baking powder
- ¼ cup cold water
- Canola or peanut oil (for frying)
- 1 green onion (thinly sliced, for garnish)
For the Sauce:
- 1 tbsp cornstarch
- ¼ cup fresh lemon juice
- ¼ cup granulated sugar
- ¼ cup regular chicken broth (not unsalted) OR ¼ cup water + ¾ tsp bouillon concentrate
- 1 tsp lemon zest
Instructions
- Marinate Chicken: Toss chicken pieces with soy sauce in a bowl and let stand at room temperature while you prepare the batter and sauce.
- Make Sauce: Off the heat, whisk 1 tbsp cornstarch with lemon juice in a small saucepan until smooth. Place on medium heat, then add sugar, broth, and zest. Bring to a boil, then reduce heat and cook a few minutes more until the sauce is thick and glossy. Remove from heat.
- Heat Oil: Heat 2-3 inches of canola or peanut oil in a large Dutch oven over medium heat until it reaches 375ºF (190ºC). The pot should be deep enough so the oil doesn’t overflow.
- Prepare Batter: In a medium bowl, whisk together ¼ cup flour, 2 tbsp cornstarch, and baking powder. Add ¼ cup cold water, stir gently to combine, then add the chicken and any liquid in the bowl. Stir to evenly coat the chicken.
- Fry Chicken: When oil reaches 375ºF, slide 6-8 chicken pieces in using tongs. Work in 2 batches so that the pieces don’t touch. Cook chicken, turning once, until pieces are deeply golden brown and reach 165ºF (74ºC) in the center, about 3-4 minutes. Transfer to a paper-towel-lined wire rack and continue with the next batch until all chicken is cooked.
- Serve: Just before serving, gently reheat the sauce and pour it over the chicken, tossing until coated. Top with green onion to serve.
Notes
Air Fryer Adaptation
If you want to try making this lemon chicken in the air fryer, it won’t be exactly like the deep-fried version, but it’s still tasty! Here’s how:
Adjust the Coating: Instead of a batter, use a dry coating with a bit of oil for crispiness:
- ¼ cup all-purpose flour
- 2 tbsp cornstarch
- 2 tbsp vegetable oil
- ¼ cup panko breadcrumbs
Marinate the Chicken: Mix the chicken pieces with soy sauce and let them sit at room temperature while you prepare the coating.
Prepare the Coating: Combine the flour, cornstarch, panko breadcrumbs, and oil in a bowl to make a crumbly mixture. Toss the marinated chicken in this mixture until evenly coated.
Cook Until Crispy: Preheat your air fryer to 375ºF (190ºC). Arrange the coated chicken pieces in the air fryer basket in a single layer, making sure they don’t touch. Cook for 10-12 minutes, shaking the basket halfway through, until the chicken is golden brown and reaches an internal temperature of 165ºF (74ºC).
Finish with Sauce: Reheat the sauce, pour it over the cooked chicken, and toss to coat. Garnish with green onions before serving.
Nutrition Information (Approximate Per Serving)
Calories: 353kcal | Carbohydrates: 26g | Protein: 20g | Fat: 19g | Saturated Fat: 5g | Polyunsaturated Fat: 4g | Monounsaturated Fat: 8g | Trans Fat: 0.1g | Cholesterol: 111mg | Sodium: 447mg | Potassium: 268mg | Fiber: 1g | Sugar: 13g | Vitamin A: 120IU | Vitamin C: 7mg | Calcium: 78mg | Iron: 1mg
Nutrition information is automatically calculated and should only be used as an approximation.