
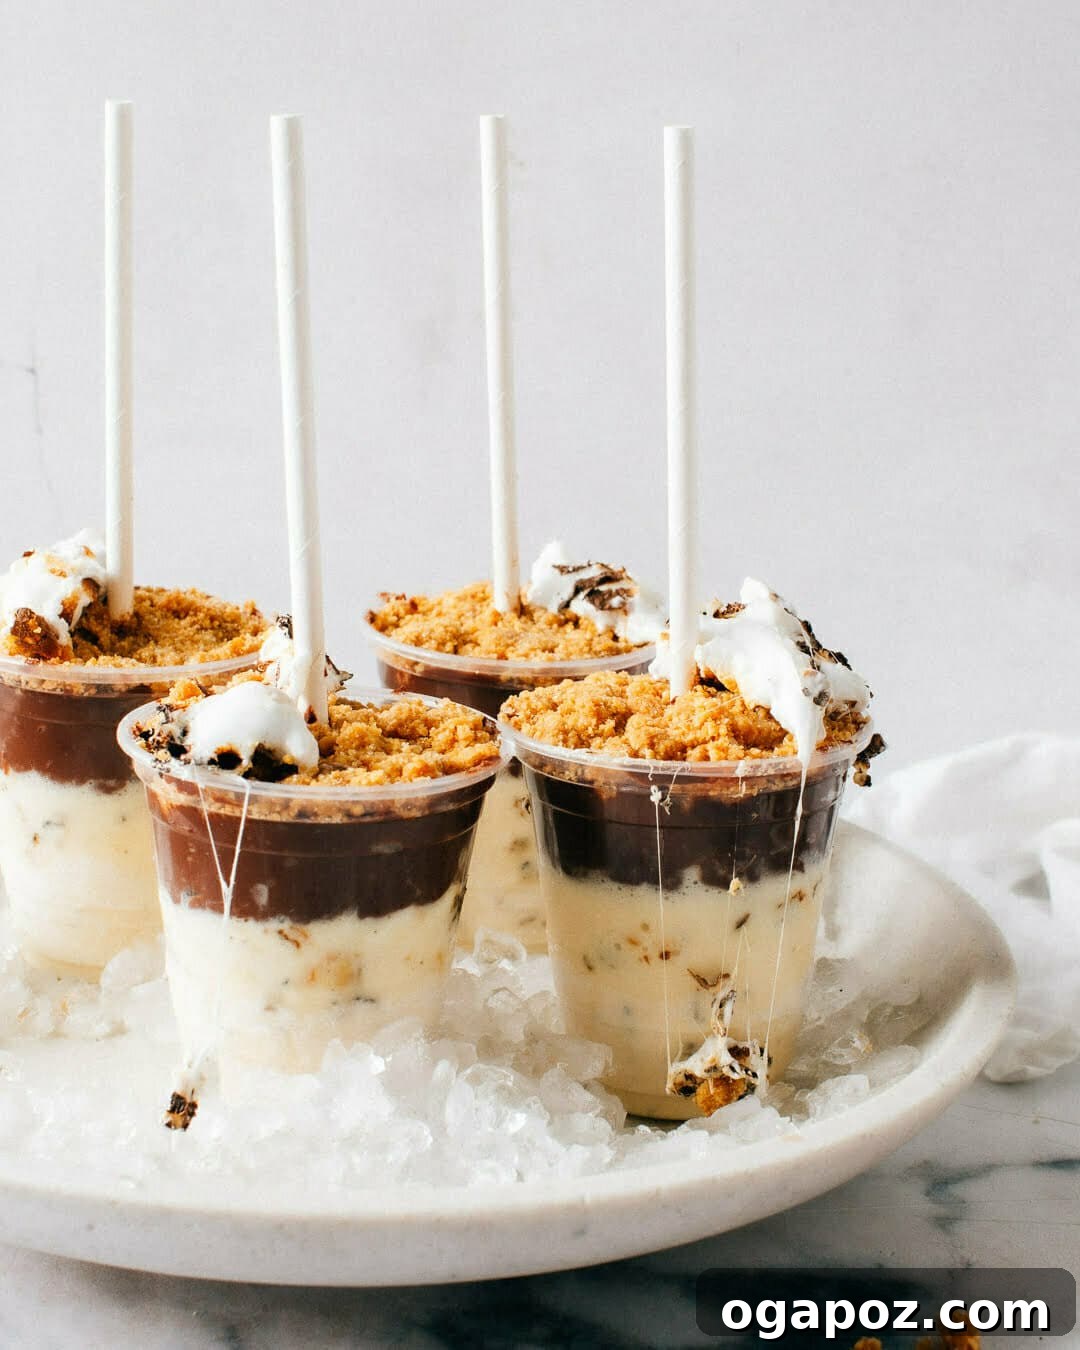
Prepare to elevate your summer dessert game with this incredible S’Mores Pops recipe, a delightful creation that takes the beloved classic campfire treat and reimagines it as the ultimate frozen indulgence. Forget the sticky mess and glowing embers; these S’Mores Ice Cream Pops offer an unparalleled experience with their perfectly balanced layers of creamy marshmallow-infused ice cream, luscious chocolate fudge, and a crisp, buttery graham cracker crumble. Each bite delivers a nostalgic burst of flavor, making these pops a truly irresistible and refreshing frozen delight perfect for any occasion.
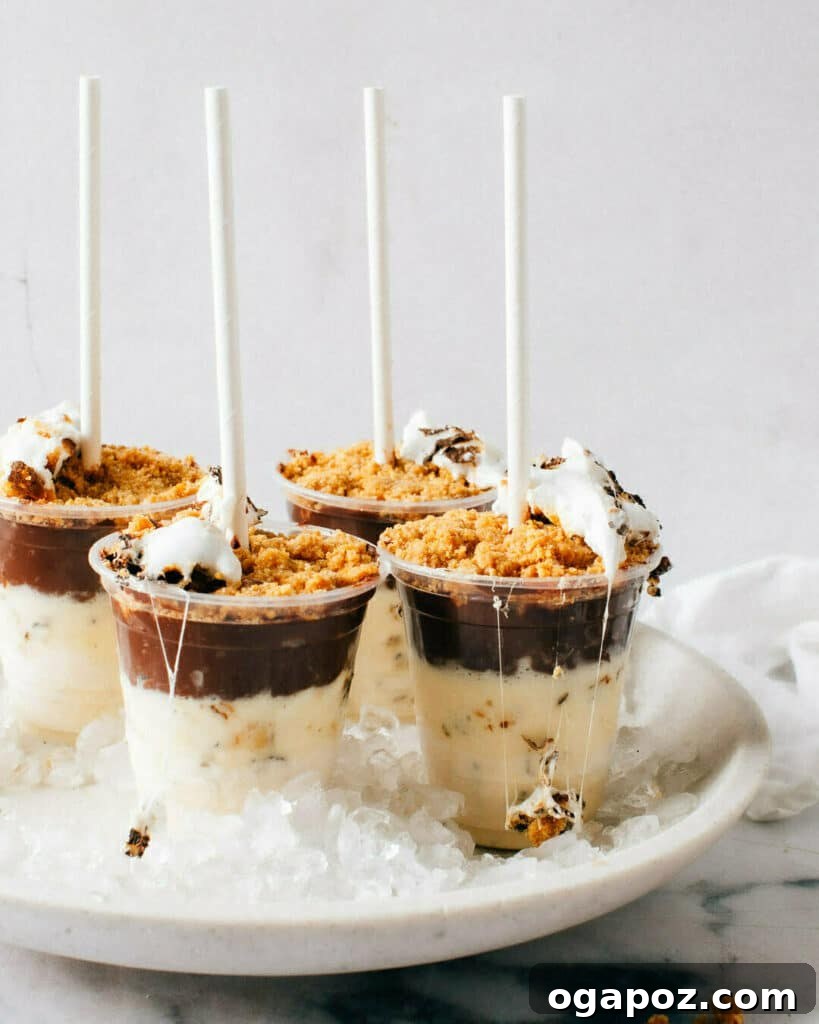
Frozen S’Mores Ice Cream Pops are a spectacularly convenient way to enjoy your s’mores craving without the need for a campfire or even a tent. They represent the quintessential make-ahead summer dessert, simplified with the genius of oven-toasted marshmallows and readily available store-bought ice cream. Imagine sinking your teeth into a perfectly proportioned pop, where every element of a traditional s’more is present and accounted for, but with a wonderfully cool, creamy twist. This recipe is designed to be approachable for home cooks of all skill levels, ensuring a rewarding and delicious outcome every time.
Why You Need These Frozen S’Mores Ice Cream Pops This Summer
Summer is synonymous with s’mores, but the heat can sometimes make fire-roasting marshmallows less appealing. That’s where these frozen s’mores pops come in! They offer all the beloved flavors and textures of a classic s’more, but in a refreshing, chilled format. This innovative recipe transforms a beloved campfire tradition into an elegant, mess-free frozen dessert that’s perfect for backyard BBQs, pool parties, or simply a sweet treat on a hot day. The ease of preparation, coupled with their undeniable deliciousness, makes them a must-try for anyone looking to impress with minimal effort.
Beyond their amazing taste, these ice cream pops boast several fantastic benefits:
- A Fun, Cooling Twist on a Classic: They offer a refreshing take on a nostalgic treat, equally adored by adults and children. The cool creaminess provides a welcome respite from the summer heat, making them a superior choice when temperatures soar.
- Perfectly Make-Ahead: Prepare them completely in advance and store them in your freezer for up to a week. This flexibility makes them an ideal dessert for entertaining, as you can focus on your guests rather than last-minute food prep.
- Effortless Hand-Held Dessert: Served on a stick, these S’mores Ice Cream Pops require no plates, forks, or spoons. Enjoy fewer dishes to wash when you’re hosting a casual backyard gathering, making cleanup a breeze and allowing you more time to relax and enjoy the company.
- Customizable and Versatile: While the classic combination is unbeatable, these pops can be easily adapted to different tastes. Experiment with various ice cream flavors or add extra mix-ins for a personalized touch.
- Kid-Friendly Activity: Getting children involved in the layering process can be a fun and engaging summer activity, leading to delicious rewards they’ll be proud to have helped create.
How to Make Frozen S’mores Ice Cream Pops: A Step-by-Step Guide
Crafting these delectable Frozen S’More Ice Cream Pops is a straightforward process, built around three core components: the toasted marshmallow s’mores ice cream base, a rich chocolate fudge sauce, and a crunchy graham cracker crumble. Each element plays a crucial role in creating the authentic s’mores experience in a frozen form.
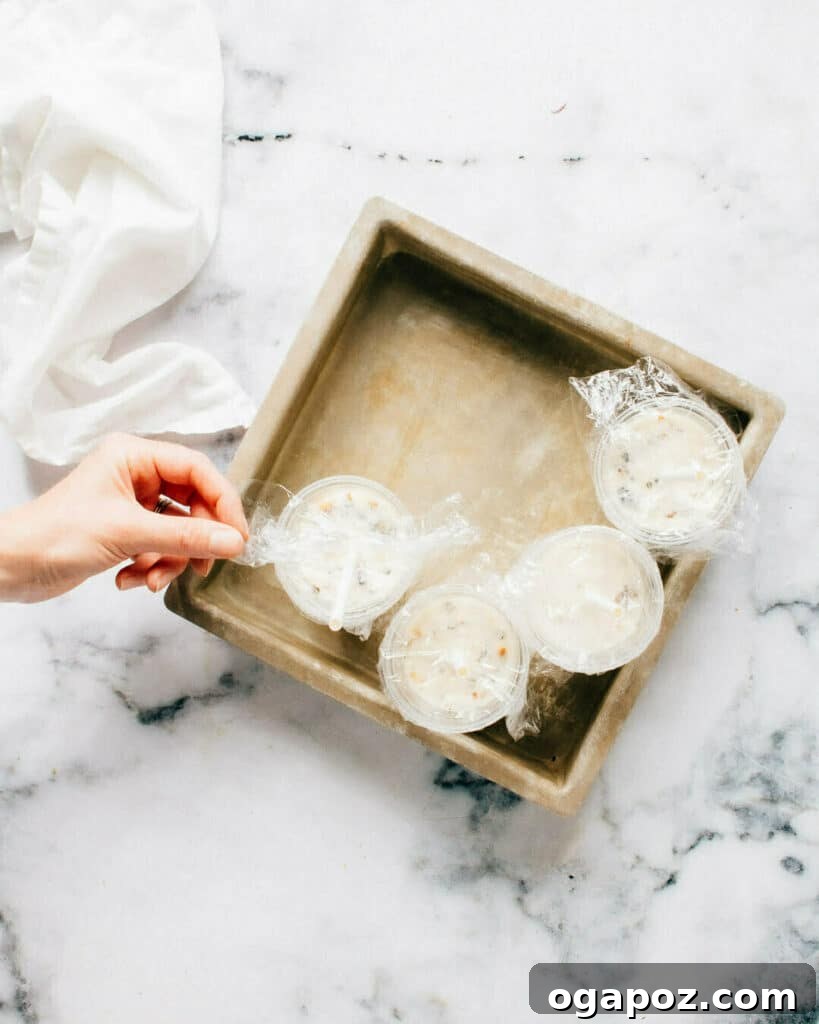
- The Ice Cream Base: Begin with your favorite store-bought vanilla ice cream. To make it pliable for mixing, soften it on the counter for 15-20 minutes, or use short 20-second bursts in the microwave on medium power, stirring between each burst until it reaches a soft, workable consistency. The key is softened, not melted.
- Perfectly Toasted Marshmallows: The secret to truly authentic s’mores flavor without the campfire lies in oven-toasting your marshmallows. This quick and mess-free method ensures a beautifully golden exterior and a gooey interior. You’ll find detailed instructions below in the recipe card for achieving perfectly toasted marshmallows every time.
- Decadent Fudge Sauce: Whip up a batch of homemade double chocolate stovetop fudge sauce. Its rich, velvety texture and deep chocolate flavor are unparalleled. Alternatively, if time is of the essence, consider using a simpler Cocoa Hot Fudge Sauce Recipe or a high-quality store-bought option. Any leftover fudge makes a fantastic topping for future sundaes!
- Crispy Graham Cracker Crumble: Create a delightful graham cracker crumble by stirring together graham baking crumbs with melted butter and a touch of granulated sugar. This mixture should resemble wet sand, allowing you to press it together lightly to form satisfying clumps that provide the perfect textural contrast to the creamy layers.
- Assembling Your Pops: To construct these frozen masterpieces, layer all the components in small (approximately 7-oz) paper cups (though plastic works just as well). For the popsicle sticks, insert them through a layer of plastic wrap placed over the top of the ice cream base. This wrap helps to freeze the sticks firmly in place while the ice cream is still soft. To ensure a distinct and appealing layer of chocolate, it’s crucial to allow the ice cream base to harden sufficiently in the freezer before adding the next layers. This prevents the fudge from sinking and blending with the ice cream.
Tips for Success and Delicious Variations
Making these S’mores Pops is straightforward, but a few tips can ensure they turn out perfectly every time:
- Softening Ice Cream: Don’t rush this step. Over-softened ice cream will result in a runny base that’s hard to layer. Aim for a consistency similar to soft-serve.
- Marshmallow Integration: Once toasted, gently fold the marshmallows into the softened ice cream. Don’t overmix, as you want some recognizable marshmallow swirls and pieces for texture.
- Layering Strategy: Freezing between layers is essential for visually distinct and stable pops. While the recipe suggests freezing the ice cream base first, you can also give the fudge layer a quick chill before adding the crumble if you want extra definition.
- Unmolding: If your pops are stuck, run the cup briefly under warm water for a few seconds. The heat will slightly melt the outer edge, allowing you to easily slide the pop out. Avoid leaving it under water too long, or the pop will begin to melt.
- Storage: Once unmolded, wrap each pop tightly in plastic wrap to prevent freezer burn and store them in an airtight container for up to a week.
Exciting Variations to Try:
- Flavor Exploration: While vanilla is classic, try chocolate ice cream for a double chocolate s’more, or even coffee or mint chocolate chip for a gourmet twist.
- Nutty Crunch: Add a layer of chopped peanuts or almonds to the graham cracker crumble for an extra layer of crunch and flavor.
- Fruit Fusion: A thin layer of raspberry or strawberry jam could add a delightful fruity tang that complements the chocolate and marshmallow.
- Extra Chocolatey: Sprinkle mini chocolate chips into the ice cream layer or over the fudge for an intense chocolate experience.
More Delicious Ice Cream and Frozen Treat Recipes
If you’re a fan of these S’mores Pops, you’ll surely love exploring other delightful frozen desserts. Here are some of our other top picks for cooling down in style:
Another Favourite Foodess S’mores-y Recipe: S’mores Cookies
Homemade Ice Cream Sandwich Wafers
Cookies and Cream Ice Cream (No-Churn, 4-Ingredient Recipe!)
Cherry Cheesecake Popsicles
Refreshing Yogurt Popsicles
Easy 3-Ingredient Homemade Banana Ice Cream
Fresh Strawberry Popsicles

Frozen S’Mores Ice Cream Pops
Jennifer Pallian BSc, RD
30 minutes
4 hours
6
Ingredients
S’Mores Ice Cream Layer
-
25 large marshmallows -
Oil for pan -
4 cups vanilla ice cream, softened (that’s 1 liter)
Chocolate Fudge Layer
-
½ cup milk or cream -
⅓ cup granulated sugar -
2 tbsp cocoa powder -
1-100 g dark chocolate bar chopped -
½ tsp vanilla extract -
1 pinch salt
Graham Cracker Crumble Layer
-
½ cup graham cracker crumbs -
2 tbsp melted butter -
1 tbsp sugar
Instructions
For S’Mores Ice Cream Layer:
-
Preheat your broiler with the oven rack positioned in the top slot. Lightly oil a baking sheet to prevent sticking, then arrange the marshmallows in a single, even layer. Broil for 3-4 minutes, carefully watching until they are beautifully golden brown and toasted. They should then effortlessly slide off the pan without any sticky residue. Gently fold these perfectly toasted marshmallows into your softened vanilla ice cream.
-
Divide the marshmallow-ice cream mixture evenly between 6 small (approximately 7-oz) paper or plastic cups. Cover each cup with a layer of plastic wrap or foil, then carefully insert a popsicle stick through the cover into the center of the ice cream mixture. This cover helps to hold the stick firmly in place as the ice cream sets. Freeze until the ice cream layer is completely firm, typically for at least 2 hours.
For Chocolate Fudge Layer:
-
In a medium saucepan, whisk together the milk or cream, granulated sugar, and cocoa powder until the mixture is smooth and free of lumps. Bring this mixture to a gentle simmer over medium-high heat, continuing to whisk occasionally to ensure the sugar fully dissolves. Remove the saucepan from the heat and immediately add the chopped dark chocolate. Let it stand for about 5 minutes, allowing the chocolate to melt, then whisk vigorously until the sauce is perfectly smooth and glossy. Finally, whisk in the vanilla extract and a pinch of salt. Allow the fudge sauce to cool completely before using.
For Graham Cracker Crumble Layer:
-
In a small bowl, combine the graham cracker crumbs, melted butter, and sugar. Stir these ingredients together until they are well combined and resemble wet sand. For added texture, gently press some of the crumbs together with your fingers to create delightful, larger clumps.
To Assemble:
-
Once your ice cream layer is thoroughly frozen, carefully pour a generous layer of the cooled chocolate fudge sauce over the top of each ice cream pop in its cup (approximately 2 ½ to 3 tablespoons per pop). Immediately sprinkle the prepared graham cracker crumble over the chocolate layer, gently pressing it down to help it adhere to the fudge. Return the pops to the freezer and freeze until the chocolate layer is completely firm, which will take about 2 hours. To unmold, briefly run the cup under hot water for a few seconds. Alternatively, for longer storage, wrap each pop tightly with plastic wrap and store in an airtight container for up to a week.
Notes
Tried this recipe? Share your thoughts below!
We love hearing about your creations and feedback.