
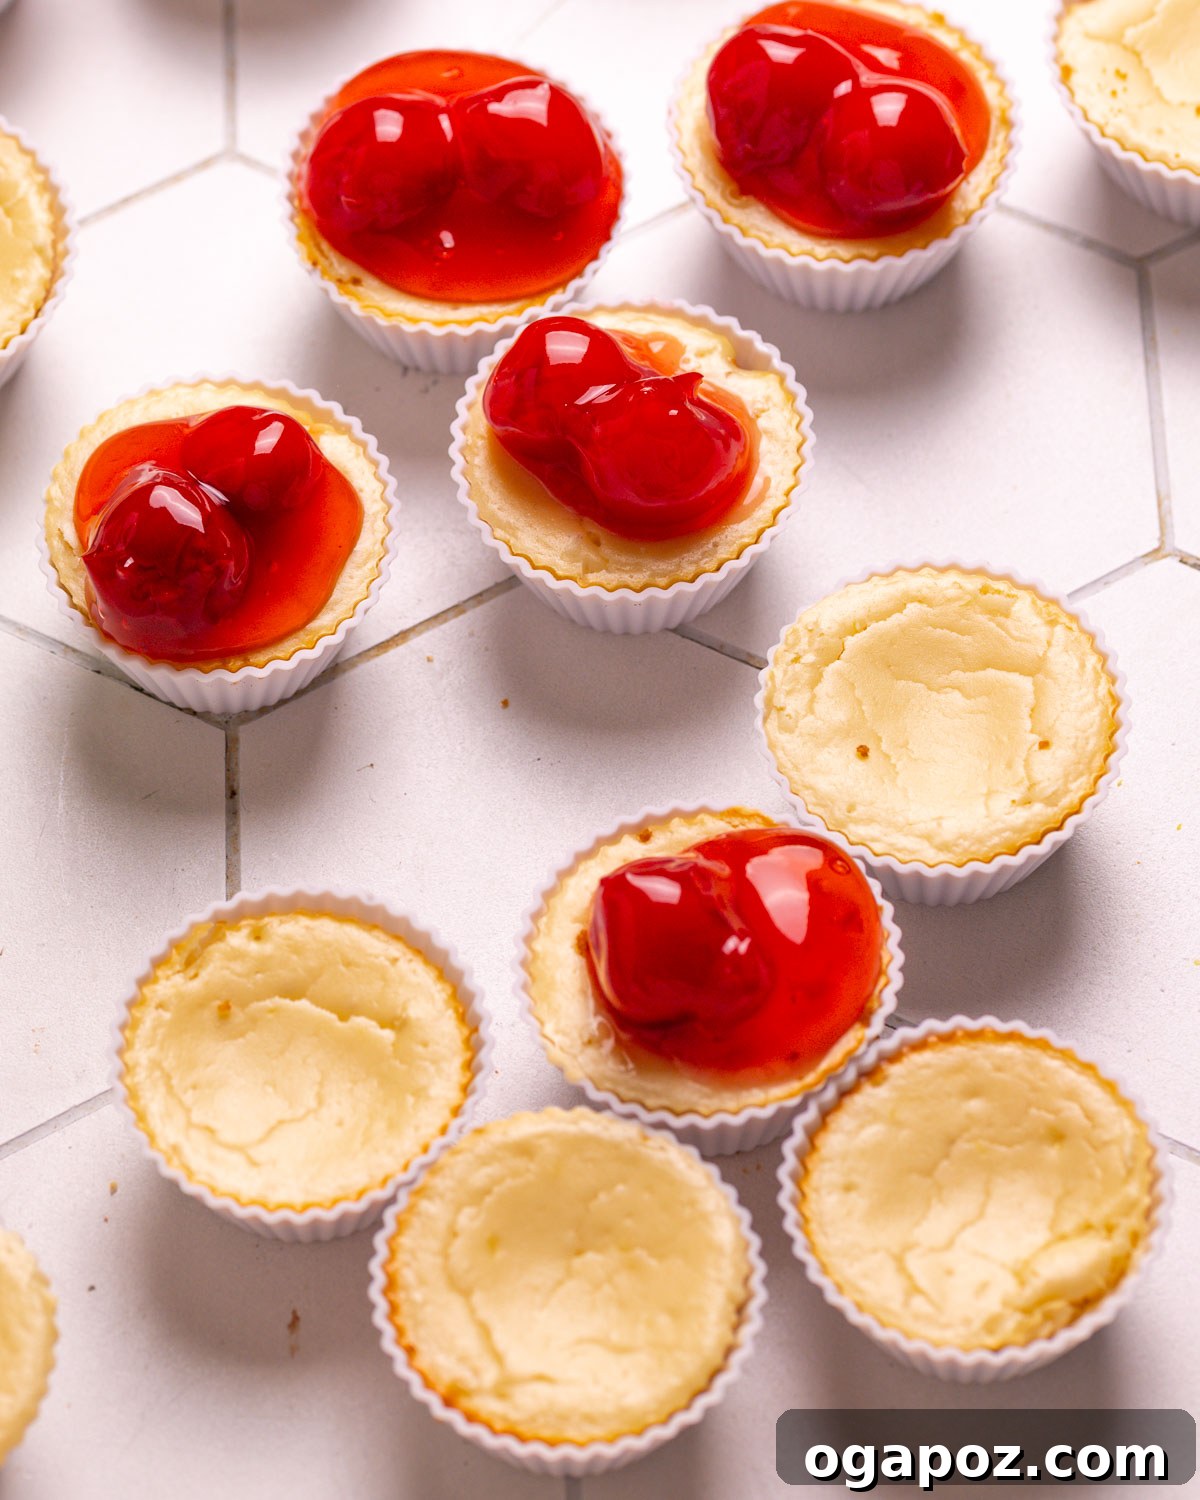
Cheesecake Bites: Your Ultimate Guide to Irresistible Mini Cheesecakes
Welcome to the world of Cheesecake Bites! Imagine smooth, rich cheesecake perfection, miniaturized into a delightful, single-serving treat. These luscious morsels feature a perfectly buttery, crumbly graham cracker base crowned with an incredibly creamy and tangy cheesecake filling. They are the ideal dessert for any gathering, a thoughtful gift, or simply a sweet indulgence for yourself.
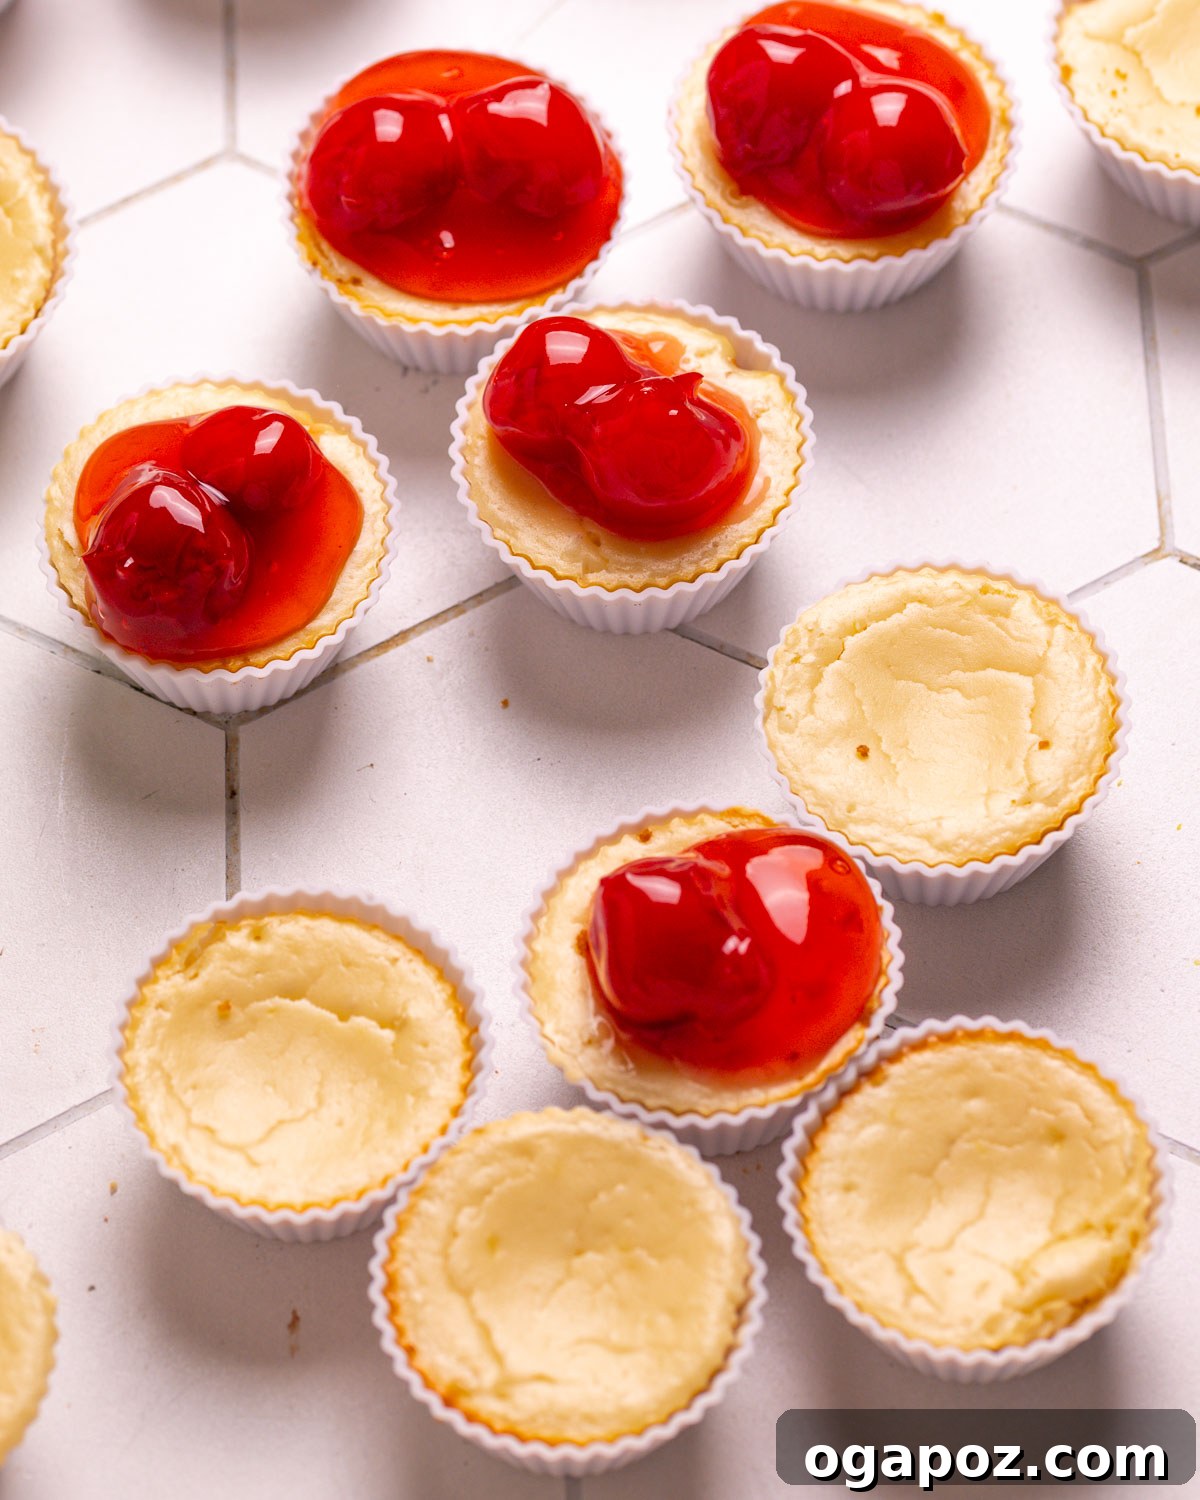
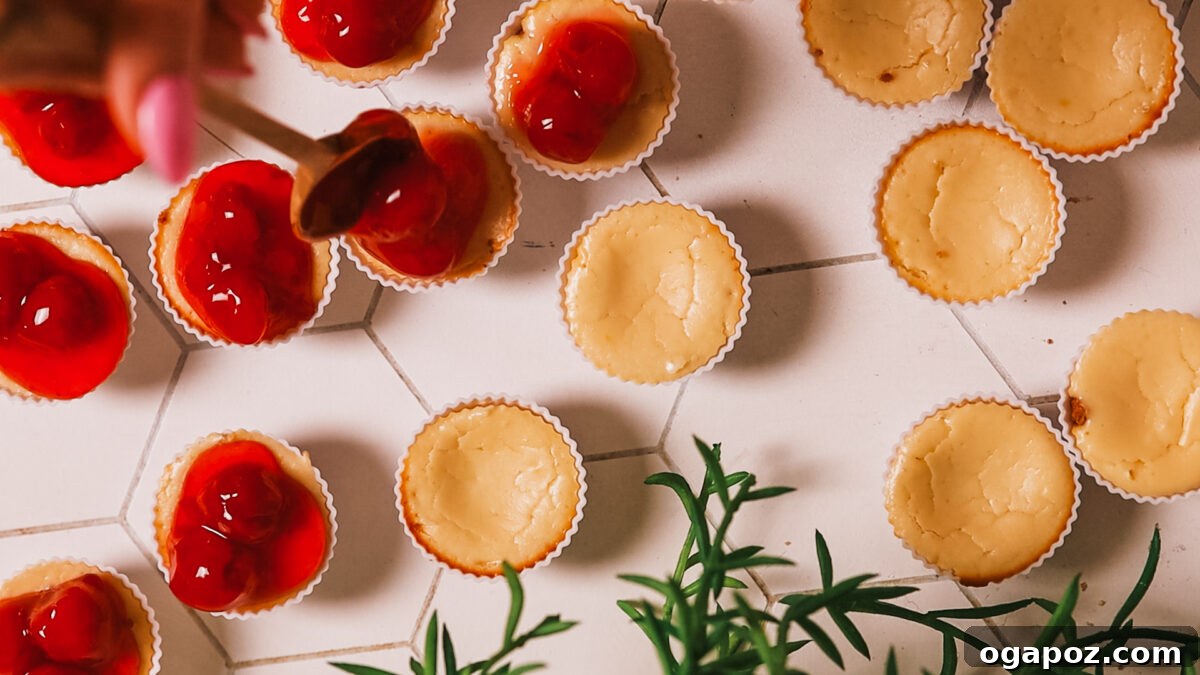
These creamy, dreamy mini cheesecakes boast the finest graham cracker crust, providing that essential textural contrast to the velvety filling. I personally adore adorning these dessert nibbles with a generous dollop of luscious cherry pie filling, much like I do for my beloved no-bake cheesecake and cherry cheesecake bars. The bright tang of the cherries perfectly complements the rich, sweet cream cheese.
MOM’S SHORTCUT: Short on time or ingredients? You can easily skip the homemade crust! Simply spoon the cheesecake batter directly over vanilla wafers (like Nilla wafers) placed in your muffin tin before baking. This quick trick offers a delicious alternative with minimal fuss.
Essential Ingredients & Tools for Perfect Cheesecake Bites
Gather your simple ingredients and necessary tools to embark on your cheesecake baking adventure. Precision and quality ingredients are key to achieving that signature smooth, creamy texture.
Cheesecake Bites Ingredients
You’ll need a handful of basic pantry staples to create the classic, irresistible cream cheese base for these mini delights:
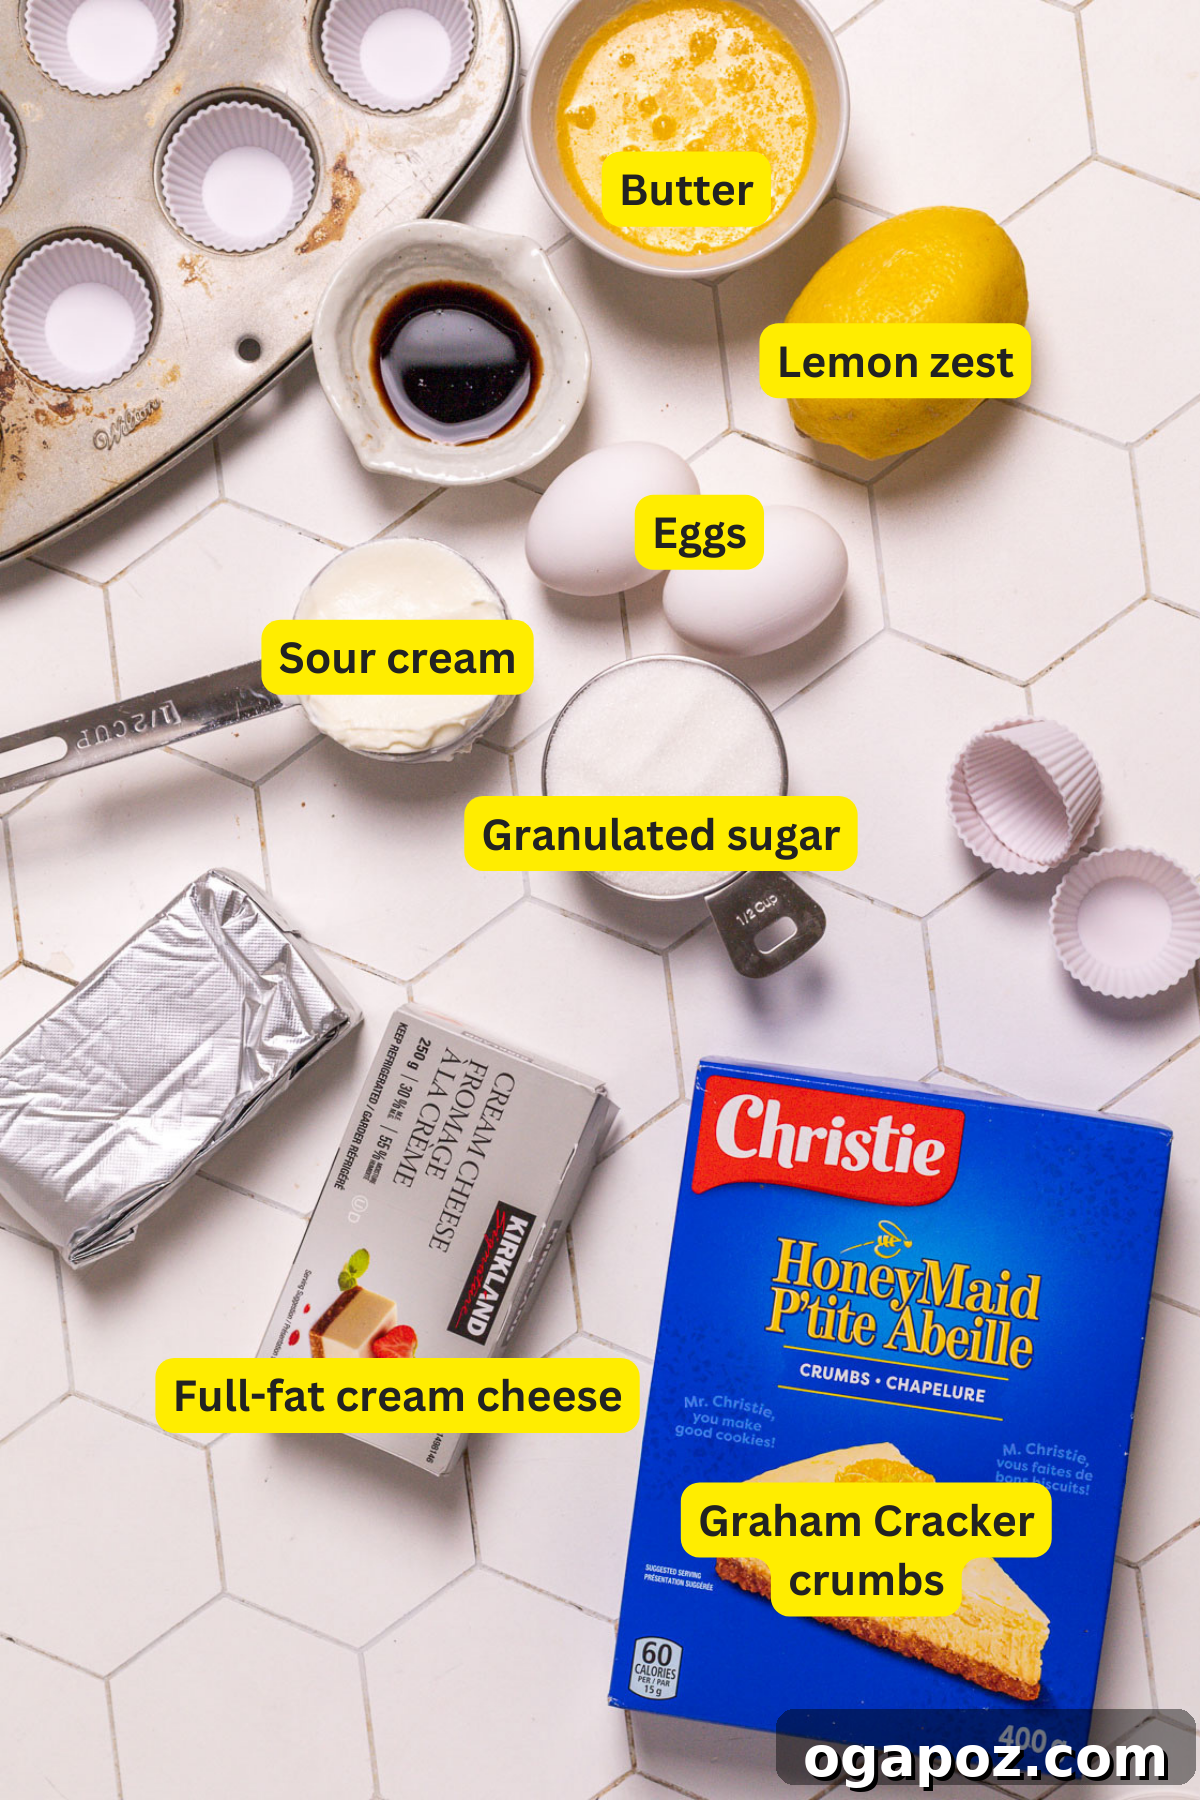
- Graham Cracker Crumbs: The foundation of these bites begins with classic graham cracker crumbs. They impart a familiar, slightly honeyed crunch that is essential to any great cheesecake crust. For the best texture, ensure they are finely crushed.
- Granulated Sugar: This provides the perfect level of sweetness for both the crisp crust and the luxuriously creamy filling. It balances the tanginess of the cream cheese beautifully.
- Kosher Salt: A tiny pinch of kosher salt in the crust helps to elevate and round out all the flavors, preventing the sweetness from being overwhelming and adding depth.
- Unsalted Butter (Melted): Melted butter is crucial for binding the graham cracker crumbs together, creating a firm and flavorful crust. Using unsalted butter gives you more control over the overall saltiness of the recipe.
- Full-Fat Cream Cheese (Softened): This is the star ingredient! Full-fat cream cheese is absolutely essential for achieving that lusciously smooth, rich, and dense texture that defines a classic cheesecake. Always allow it to soften to room temperature before mixing to ensure a velvety, lump-free filling.
- Sour Cream: Adding sour cream introduces a delightful tanginess and a wonderfully creamy texture to the mini cheesecakes. It contributes to the filling’s signature richness and helps prevent it from becoming too dense.
- Vanilla Extract: I never skimp on a generous two teaspoons of high-quality vanilla extract in my cheesecakes. It adds a warm, aromatic depth of flavor that is simply indispensable.
- Lemon Zest (Optional, but Highly Recommended): While optional, I enthusiastically recommend incorporating a tablespoon of fresh lemon zest. Its bright, citrusy notes lift the entire flavor profile, adding a refreshing zing that truly makes these bites sing.
- Large Eggs (Room Temperature): Room-temperature eggs incorporate more smoothly and evenly into the batter, which is vital for maintaining a velvety, lump-free filling. Adding cold eggs can cause the mixture to seize and become clumpy.
Exact ingredient quantities can be found in the comprehensive recipe card at the bottom of this article.
Creative Substitutions & Flavorful Variations
This versatile recipe can be easily adapted to suit your preferences or what you have on hand. Don’t hesitate to experiment with these delightful twists:
- Alternative Cookie Base: For a unique flavor profile, swap the classic graham cracker crumbs for crushed Biscoff cookies. Their distinct spiced, caramelized flavor will elevate the crust to an entirely new level, offering a gourmet touch.
- Sour Cream Alternatives: If sour cream isn’t available, or you’re looking for a healthier alternative, plain Greek yogurt (preferably a high-protein variety) works wonderfully. It will still provide that desirable tang and creamy consistency.
- Vanilla Extract Substitutions: Elevate the vanilla flavor by switching to vanilla bean paste for a richer, more pronounced taste. Alternatively, vanilla powder or even almond extract can be used. If using almond extract, remember it’s much more potent, so use about half the amount to avoid overpowering the cheesecake.
- Citrus Zest Swaps: The lemon zest is fantastic, but you can create different citrus variations by using orange or lime zest instead. A small splash of lemon juice (about ½ teaspoon) can also be used if fresh zest isn’t available, but the zest provides a more intense aroma.
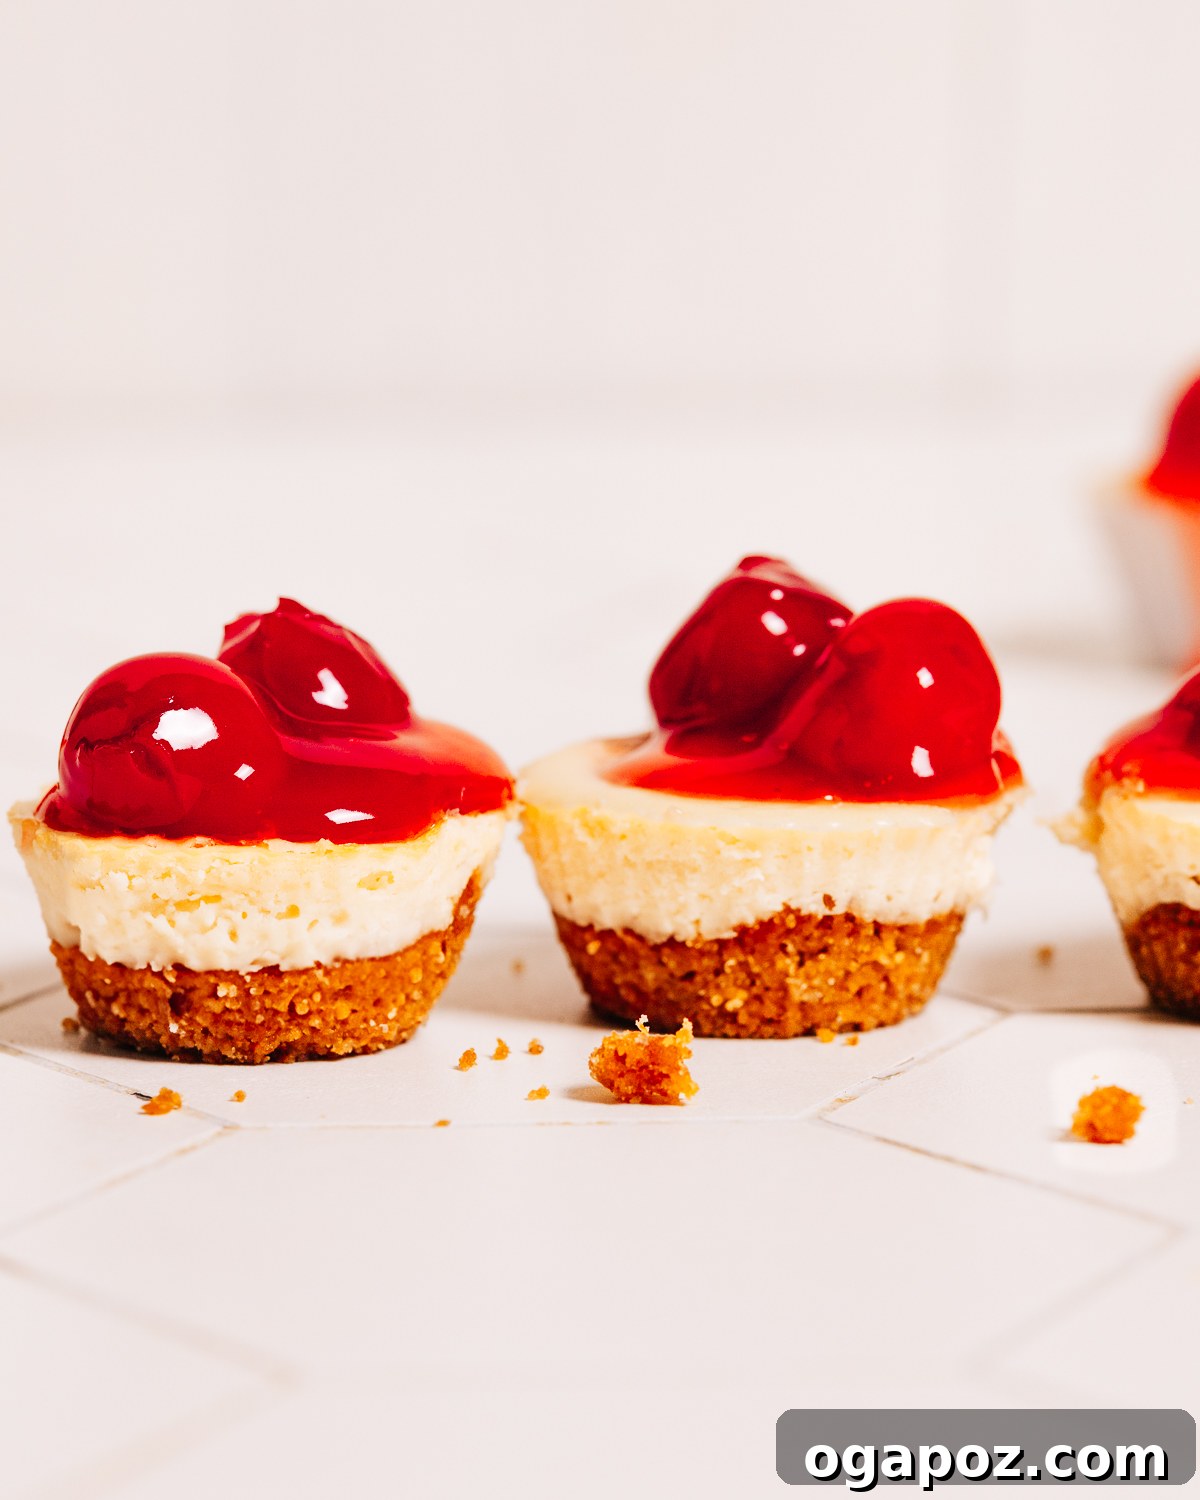
Elevate Your Mini Cheesecake Recipe with Irresistible Toppings:
The beauty of cheesecake bites lies in their versatility. They serve as a perfect canvas for an endless array of toppings. Get creative and make them uniquely yours!
- Fruit Fillings & Preserves: For effortless elegance, use store-bought fruit pie filling, your favorite preserves, or a vibrant jam. Classic cherry, strawberry, or blueberry fillings are always a hit.
- Fresh Fruit & Whipped Cream: A simple yet sophisticated choice! Garnish with an assortment of fresh berries (strawberries, raspberries, blueberries) and a dollop of freshly whipped cream, just like in my Philadelphia Cheesecake recipe.
- Chocolate Indulgence: Drizzle with homemade chocolate ganache and sprinkle with chopped candies. Imagine mini eggs for charming Easter cheesecake bites, fall-themed candies for autumn festivities, or crushed candy canes for a festive Christmas treat.
- Bright Lemon Curd: For a zesty and bright finish, top your cheesecake bites with a spoonful of homemade or store-bought lemon curd, reminiscent of my Lemon Swirl Cheesecake.
Related: For another rich indulgence, don’t miss our Ultimate Chocolate Cheesecake Recipe.
Essential Tools for Baking Success
Having the right tools makes the baking process smooth and enjoyable:
- Muffin Pans: You’ll need either two mini muffin pans (for smaller, more delicate bites) or a standard muffin tin with a set of cupcake liners (for larger, more substantial treats). Liners make removal and cleanup much easier.
- Mixing Bowls: A set of sturdy mixing bowls of various sizes will be invaluable for separately preparing the graham cracker crust and the creamy cheesecake filling.
- Electric Mixer: For the silkiest filling, you can use a stand mixer fitted with the paddle attachment. Alternatively, a reliable hand mixer will work just as effectively to achieve a perfectly smooth batter.
How to Make Perfect Cheesecake Bites: A Step-by-Step Guide
Creating these luscious cheesecake bites is simpler than you might think. Follow these straightforward steps to achieve a flawless, creamy dessert every time:
Step 1: Prepare Your Oven and Muffin Tins
Preheat your oven to a precise 325°F (160°C). This moderate temperature helps prevent cracks. Line two mini muffin pans or a standard muffin tin with paper liners. Alternatively, if not using liners, make sure to grease each cavity thoroughly with baking spray or butter to prevent any sticking.
Step 2: Craft the Perfect Graham Cracker Crust
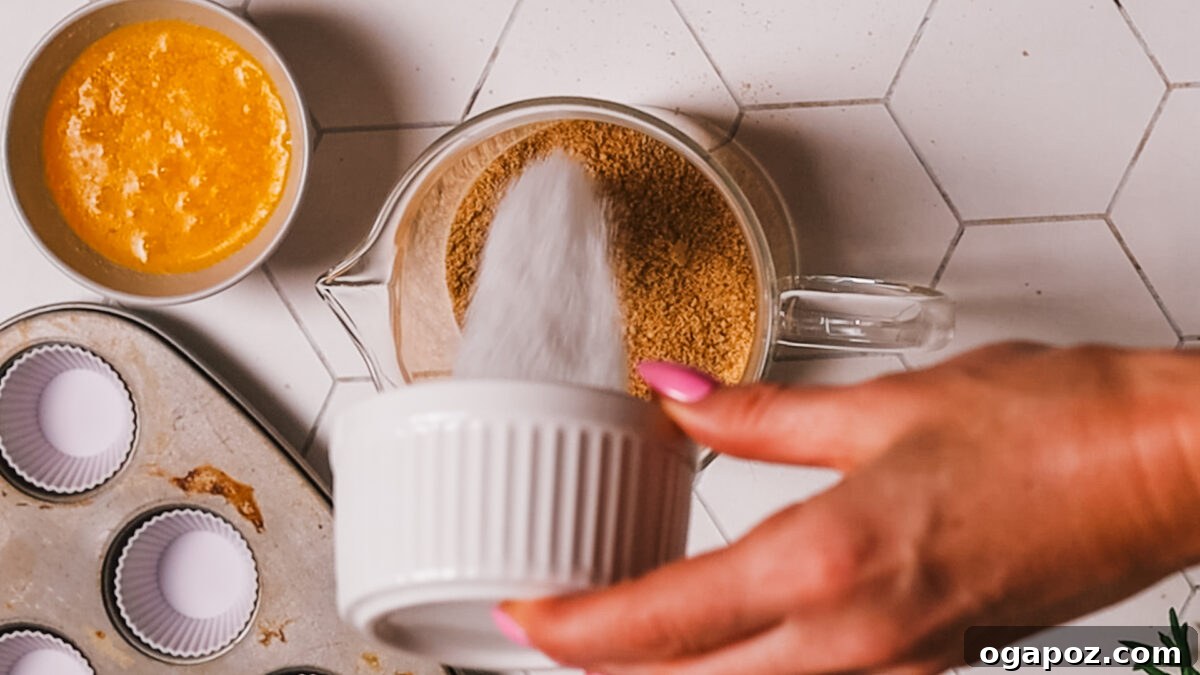
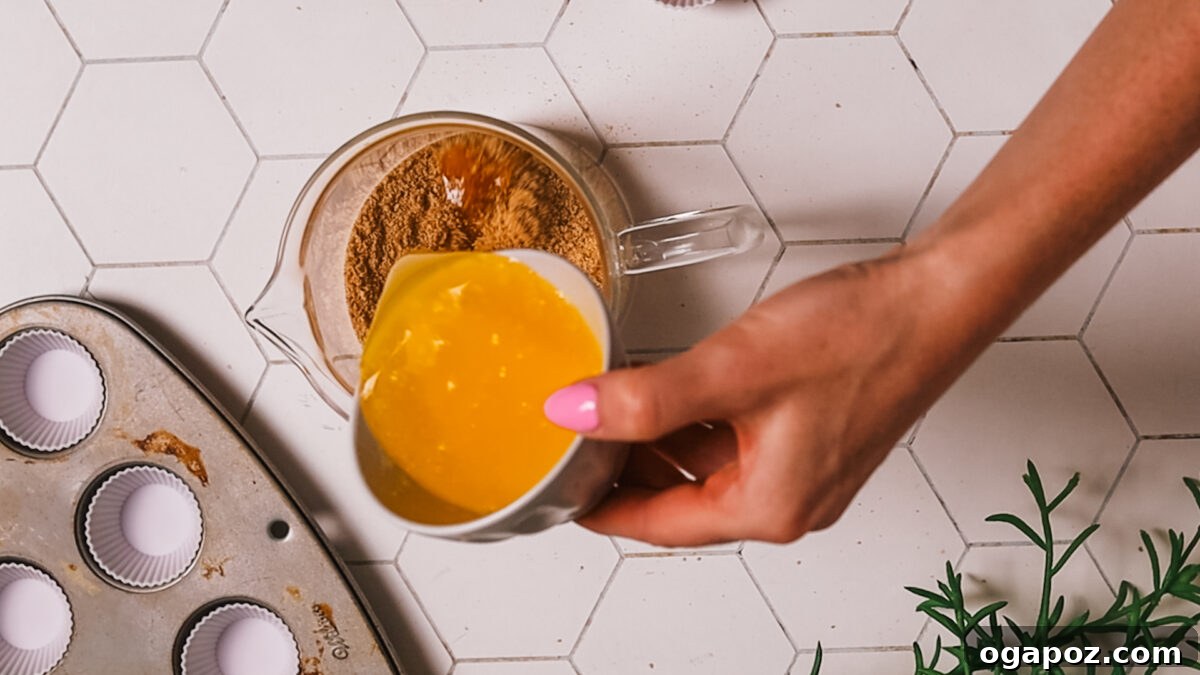
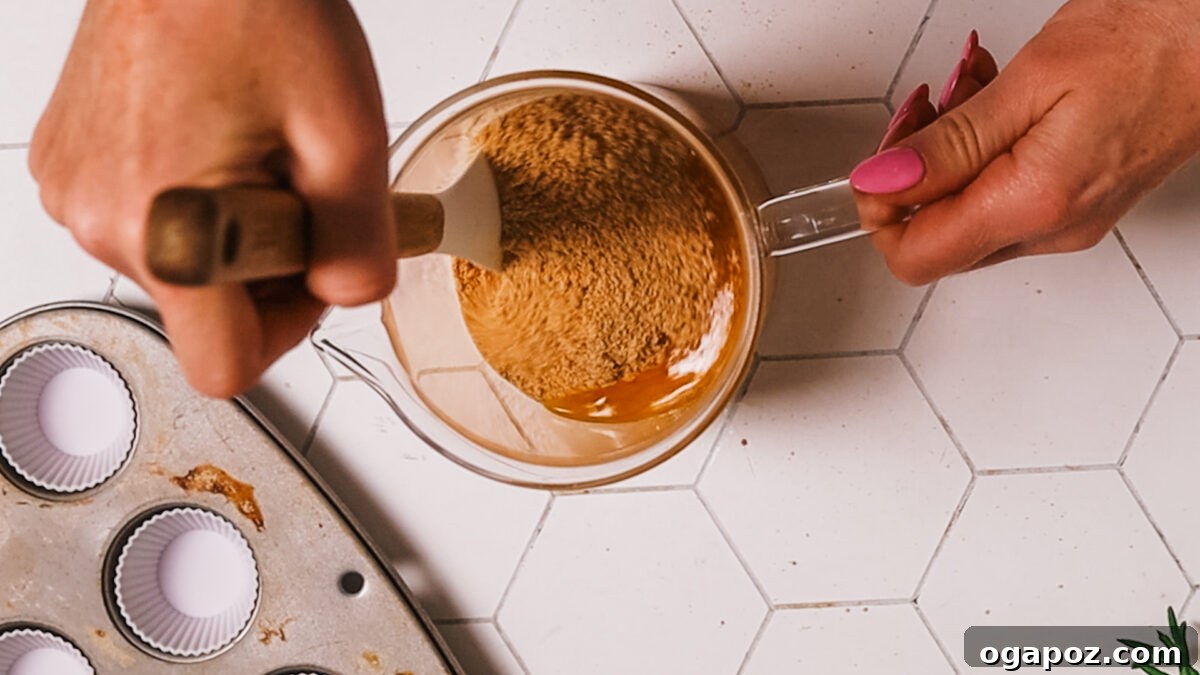
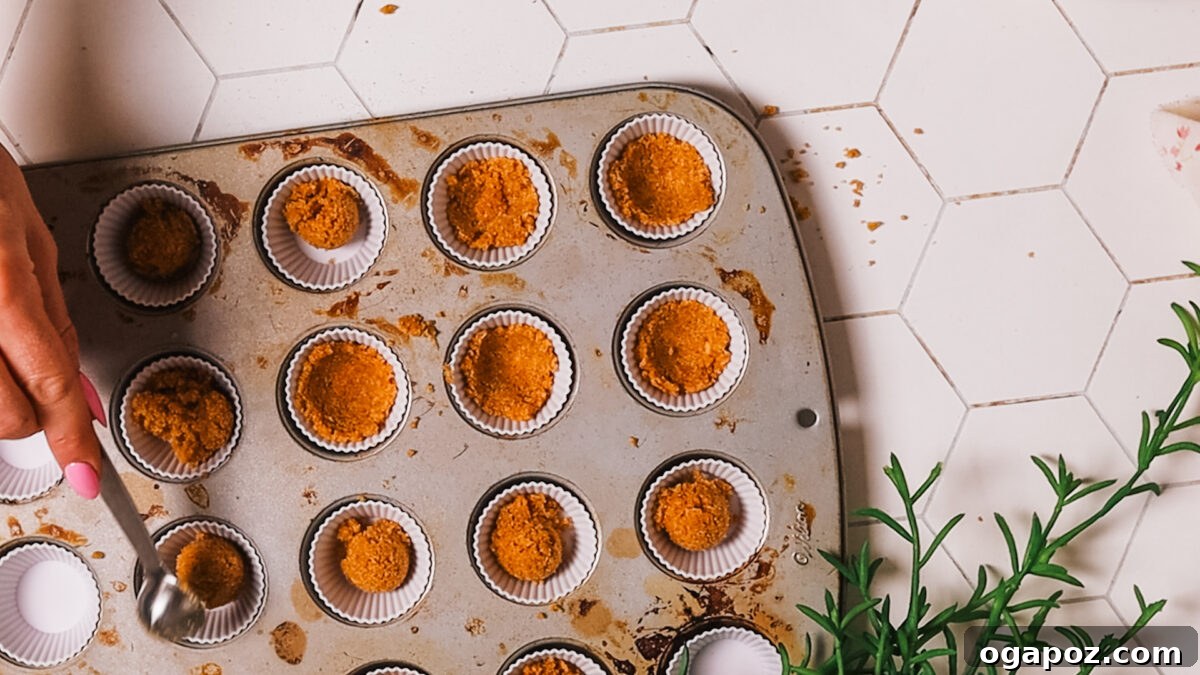
In a medium mixing bowl, combine the finely crushed graham cracker crumbs, granulated sugar, and a pinch of kosher salt. Pour in the melted butter and stir until the mixture is evenly moistened and resembles wet sand. For mini muffin cups, press about 1 heaping teaspoon of this mixture firmly into the bottom of each cavity. For regular-sized cups, use 1 heaping tablespoon. The key is to press down firmly to create a compact crust. Bake the crust for 7 minutes. This crucial pre-baking step helps set the crust and prevents it from becoming soggy. Once baked, set the pans aside to cool slightly while you prepare the filling.
Step 3: Create the Velvety Cheesecake Filling
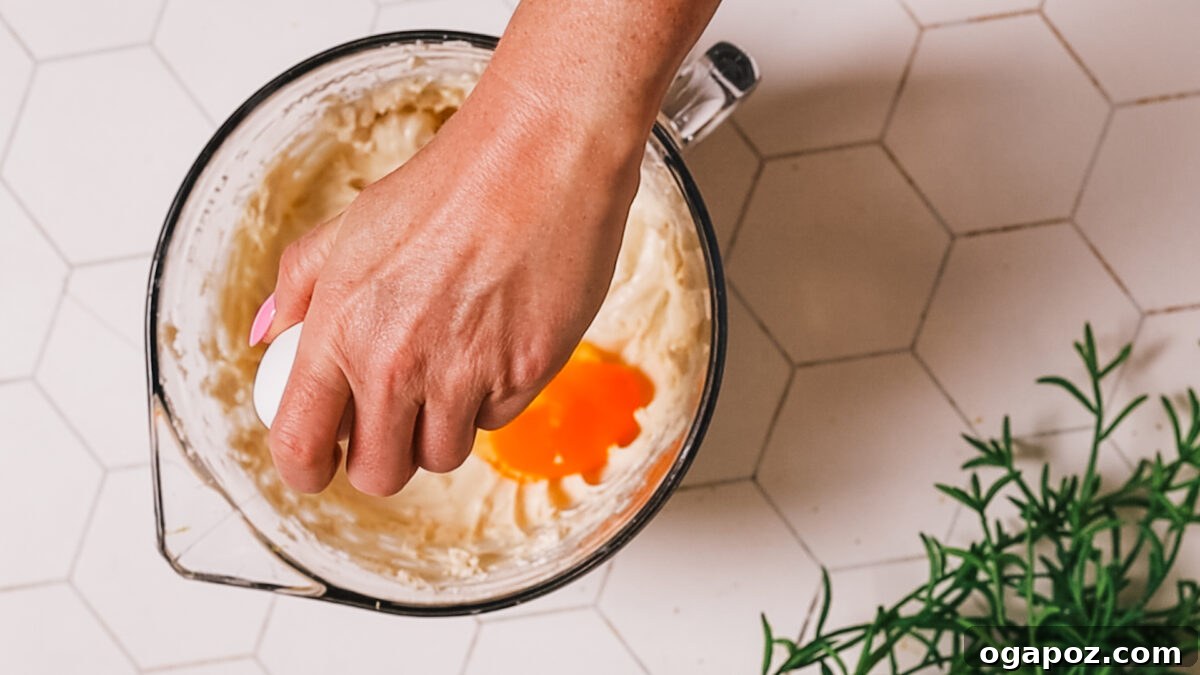
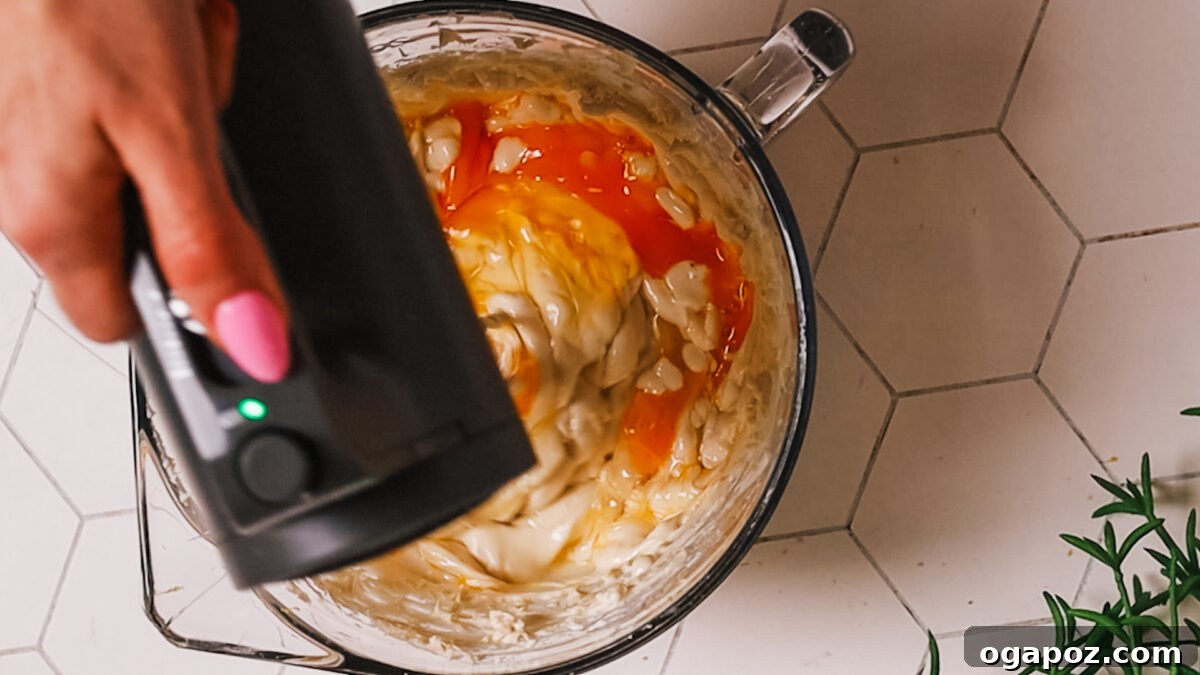
In a large mixing bowl, using either a stand mixer fitted with the paddle attachment or a hand mixer, beat the softened full-fat cream cheese with granulated sugar, vanilla extract, and optional lemon zest until the mixture is completely smooth and creamy. Make sure there are no lumps of cream cheese remaining. Next, add the sour cream and mix on low speed just until it is fully incorporated. Finally, beat in the large eggs one at a time, mixing very gently and only until they are just combined. Avoid overmixing the batter, especially after adding the eggs, as this can incorporate too much air, which can lead to cracks in your finished cheesecakes.
Step 4: Fill, Bake, and Chill to Perfection
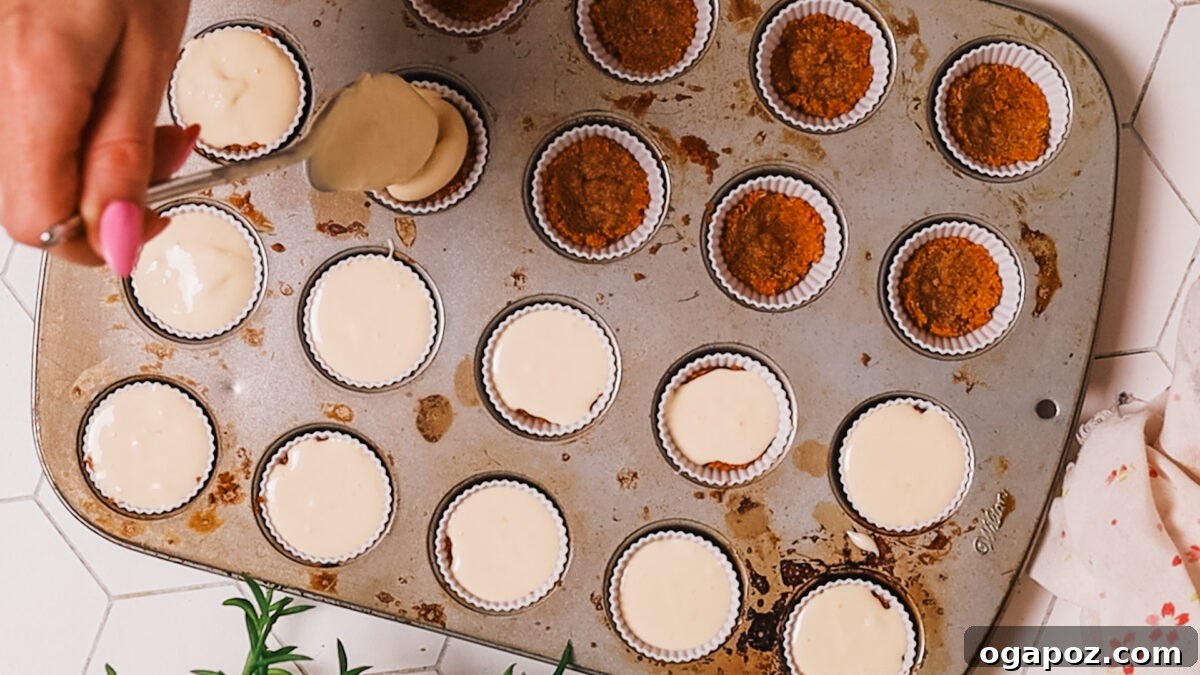
Spoon the prepared cheesecake filling over the slightly cooled, pre-baked crusts, filling each muffin cavity nearly to the top. For mini muffin tins, approximately 1 tablespoon of batter per cup is ideal, while larger muffin tins will require about 2 tablespoons. Bake for 15–18 minutes. The cheesecake bites are done when the edges are set, but the centers still have a slight, delicate wobble—like firm Jell-O—when you gently jiggle the pan. For a foolproof check, an instant-read thermometer inserted into the center should register 145ºF (63°C). Overbaking will result in dry or cracked cheesecakes. Once baked, allow the bites to cool completely at room temperature on a wire rack. This slow cooling helps prevent cracks. Then, transfer them to the refrigerator and chill for at least 3 hours, or ideally, overnight. This crucial chilling period allows the cheesecake to set properly, firm up, and develop its full flavor and creamy texture. Add your favorite toppings just before serving for the best presentation and taste.
Avoid These 5 Common Mistakes for Flawless Cheesecake Bites
While this recipe is generally forgiving, being aware of these common pitfalls will guarantee you achieve perfect, creamy cheesecake bites every single time:
1. Overmixing the Batter: This is arguably the most common mistake. Beating the filling too vigorously or for too long—especially after the eggs have been added—can incorporate excessive air into the batter. This air expands during baking, causing the cheesecakes to puff up, and then contracts drastically as they cool, leading to unsightly cracks and a less dense, fluffy texture. Always mix just until the ingredients are smooth and barely combined to achieve that classic, dense, and creamy bite.
2. Skipping Room Temperature Ingredients: Patience is a virtue in cheesecake making! Using cold cream cheese, eggs, or sour cream directly from the refrigerator will prevent them from blending smoothly with the other ingredients. This often results in a lumpy, inconsistent filling that lacks that desired silky texture. Plan ahead and allow your cream cheese, eggs, and sour cream to sit out at room temperature for at least 30-60 minutes before you begin mixing. This ensures they emulsify beautifully, creating the silkiest possible batter.
3. Not Pre-Baking the Crust: While it might seem like an extra step, quickly pre-baking the graham cracker crust is vital. Skipping this short bake can leave you with a soft, soggy bottom that detaches from the cheesecake filling. Pre-baking helps the crust firm up, creates a sturdy barrier against moisture from the filling, and ensures a delightful crisp texture that perfectly complements the creamy top.
4. Overbaking: Knowing when your cheesecake bites are perfectly baked is key. They should emerge from the oven when their centers are *just* set, still exhibiting a slight, gentle jiggle when the pan is moved. If they appear completely firm and unmoving when you take them out, they are likely overbaked. Overbaked cheesecakes can become dry, crumbly, and prone to cracking as they cool. The most foolproof method is to use an instant-read thermometer, ensuring they reach an internal temperature of 145ºF (63°C).
5. Not Allowing Enough Chill Time: Cheesecake is a dessert that truly benefits from patience! Rushing the chilling process means the fats in the cream cheese haven’t had adequate time to firm up, resulting in soft, messy, and unappealing bites. Always commit to chilling your cheesecake bites for a minimum of 3 hours, but for the absolute best texture, flavor, and stability, an overnight chill in the refrigerator is highly recommended. This allows the flavors to meld and the structure to fully set.
Make-Ahead & Storage Solutions for Your Cheesecake Bites
Cheesecake bites are wonderfully convenient for meal prepping or preparing in advance for parties. Their small size makes them easy to store and serve.
You can effortlessly make these delicious treats up to 2 days ahead of time. Once completely cooled and set, store them in an airtight container in the refrigerator until you’re ready to serve. For longer storage, they freeze exceptionally well. Simply freeze them without any toppings, and then thaw them in the fridge overnight before adding your desired garnishes and serving.
For everyday storage, keep your baked and cooled cheesecake bites in an airtight container in the refrigerator for up to 5 days. Ensure they are well-covered to prevent them from drying out or absorbing any unwanted odors from other foods in your fridge.
How to Store Cheesecake Bites in the Freezer
Freezing cheesecake bites is a fantastic way to enjoy them later. To freeze, arrange the fully cooled bites (without any toppings) on a baking sheet, ensuring they aren’t touching each other. Place the baking sheet in the freezer until the bites are completely solid, which usually takes about 1-2 hours. Once frozen solid, transfer them to a freezer-safe container or a heavy-duty zip-top bag. This step prevents them from sticking together. They will maintain their quality for up to 2 months in the freezer. When you’re ready to enjoy them, simply thaw the frozen bites in the refrigerator overnight. Add your favorite toppings just before serving for that fresh-baked appeal.
Final Notes, Pro Tips + Science-Based Secrets for Cheesecake Perfection
As a food scientist, I love sharing the underlying principles that ensure perfect results every time. Here are my essential tips and “science-based secrets” for achieving truly flawless cheesecake bites:
- Embrace the Chill Time: This isn’t just a suggestion; it’s a critical step! Cheesecake needs ample time to set. During chilling, the fat molecules in the cream cheese crystallize and firm up, which stabilizes the structure and allows the flavors to deepen and meld. Rushing this process leads to a soft, unstable, and less flavorful dessert. Think of it as allowing the cheese to “rest” into its perfect creamy form.
- Gentle Mixing is Golden: Overbeating the filling, particularly after adding eggs, whips too much air into the batter. During baking, this air expands, creating a light, airy structure. However, as the cheesecake cools, this expanded air contracts, causing the cheesecake to deflate and often crack dramatically. To avoid this, mix slowly and only until the ingredients are just combined and smooth. A gentle hand mixer or stand mixer on low speed is your best friend here.
- The Magic of Room Temperature Ingredients: This is a cornerstone of smooth cheesecake. Cold cream cheese, eggs, and sour cream don’t emulsify (blend smoothly) with each other. Cold fats can remain stiff, leading to a lumpy, grainy batter. When ingredients are at room temperature, their fat molecules are more pliable and able to evenly disperse, creating a homogenous, velvety smooth batter that bakes beautifully.
- Mastering the “Jiggle Test” for Doneness: The visual cue for a perfectly baked cheesecake is crucial. The centers of your cheesecake bites should still have a slight, delicate wobble when you gently jiggle the pan. This indicates that the eggs have just set, but the interior remains moist and creamy. Remember, cheesecakes continue to cook from residual heat (carryover cooking) as they cool, so pulling them out a little early is key to preventing overbaking and ensuring that coveted creamy texture. If they look completely firm, they’re already overdone.
- Pro Tip for Mini Muffin Tins: Achieving a perfectly even and compact crust in mini muffin tins can be tricky. My go-to trick is to use the back of a small measuring spoon or even a shot glass to firmly press the graham cracker mixture into each cavity. This ensures a uniform base that won’t crumble, keeping everything neat and tidy.
Frequently Asked Questions About Cheesecake Bites
If you’re quickly scanning this guide, here are some essential highlights and answers to common questions you won’t want to miss:
While you *can* use low-fat cream cheese, it’s not ideal for optimal results. Full-fat cream cheese is key to achieving the richest, creamiest, and most satisfying texture in your cheesecake bites. Low-fat versions tend to yield a thinner filling and a less luxurious, sometimes rubbery, bite. For the best experience, stick with full-fat.
Unlike larger cheesecakes, a water bath is typically not necessary for these mini cheesecake bites! Because they are small and bake relatively quickly, they are less prone to cracking from rapid temperature changes. Simply focus on not overbaking them, and they should remain beautifully smooth and crack-free.
The most reliable indicator is the “jiggle test.” Gently jiggle the muffin pan; if the centers of the cheesecake bites wobble slightly, much like a set Jell-O, they are perfectly done. They will continue to set and firm up as they cool completely. An instant-read thermometer reading 145ºF (63°C) in the center is also a foolproof method.
Absolutely! For a delicious crustless version, simply grease your muffin tin thoroughly or use paper liners. The resulting bites will still be wonderfully creamy and flavorful, just a little more delicate in texture and easier to scoop out. They are a great option for those avoiding gluten or grains.
The best defense against sticking is a good offense! Always use paper liners, or generously grease your muffin tin with baking spray or softened butter. For an extra layer of insurance, allow the cheesecake bites to chill completely in the refrigerator before attempting to remove them from the pan. This ensures they are firm enough to release cleanly.
Yes, absolutely! While graham crackers are classic, feel free to experiment. Vanilla wafers, Oreo cookies (crushed with the cream filling), Biscoff cookies, or even shortbread cookies can make fantastic crusts. Just ensure they are finely crushed and mixed with melted butter.
The secret to a lump-free filling lies in two key practices: first, ensure your cream cheese is completely softened to room temperature. Second, beat the cream cheese on its own or with the sugar until it’s perfectly smooth before adding other ingredients. Scrape down the sides of the bowl frequently to catch any unmixed bits.
The Best Cheesecake Bites You’ll Ever Try!
By: Jennifer Pallian BSc, RD
Nothing beats these incredibly easy-going cheesecake bites. Luscious and velvety smooth, they offer the perfect creamy base, ready to be adorned with all your favorite cheesecake toppings.
Cook Time: 25 minutes
Total Time: 45 minutes (plus chilling)
Yields: 48 mini bites (or 24 standard)
Ingredients
For the Crust:
- 1¼ cups graham cracker crumbs (or Biscoff for an extra flavor kick)
- 3 tbsp granulated sugar
- ⅛ tsp kosher salt
- 4 tbsp unsalted butter, melted
For the Cheesecake Filling:
- 2 (8-oz each) bricks full-fat cream cheese, softened to room temperature
- ½ cup granulated sugar
- 2 tsp vanilla extract
- 1 tbsp lemon zest, optional (for brightness)
- ½ cup sour cream (or plain Greek yogurt)
- 2 large eggs, room temperature
Instructions
Prepare Crust:
- Preheat oven to 325°F (160°C). Line two mini muffin tins or one standard muffin tin with paper liners, or grease well to prevent sticking.
- In a medium bowl, mix graham cracker crumbs, 3 tbsp sugar, salt, and melted butter until well combined.
- Press about 1 heaping teaspoon of the mixture into each mini-pan cavity (or 2 heaping teaspoons for regular muffin tins), pressing firmly to create a compact crust.
- Bake for 7 minutes. Remove from oven and let cool slightly.
Make the Filling:
- In a large bowl, using an electric mixer, beat the softened cream cheese with ½ cup sugar, vanilla extract, and lemon zest (if using) until the mixture is smooth and creamy. Scrape down the sides of the bowl.
- Mix in the sour cream until just combined.
- Beat in the eggs one at a time on low speed, mixing just until each egg is fully incorporated. TIP: Avoid overmixing, as excess air can cause cracks during baking.
Fill & Bake:
- Spoon the cheesecake filling evenly into the prepared, cooled crusts in the muffin tins (do not remove crusts from the pan). You’ll need about 1 tablespoon of batter per mini cheesecake bite, or 2 tablespoons per standard-sized bite.
- Bake for 15-18 minutes, or until the centers are mostly set but still have a slight jiggle. TIP: The foolproof way to check for doneness is with an instant-read thermometer – they should reach 145ºF (63°C).
- Let the cheesecake bites cool completely at room temperature on a wire rack. Then, transfer to the refrigerator and chill for at least 2 hours, or preferably overnight, to allow them to fully set and firm up.
- Top with your desired toppings once they are thoroughly chilled.
Notes
- Yield: This recipe makes approximately 48 mini cheesecake bites (filling two mini muffin tins). If using standard muffin tins, it will yield 24 larger cheesecake bites (filling two standard muffin tins).
- To Freeze: To store for longer, place fully cooled and untopped bites on a baking sheet and freeze until solid. Then, transfer to an airtight, freezer-safe container or zip-top bag. They will keep well for up to 2 months. Thaw in the refrigerator overnight before adding toppings and serving.
Nutrition
Nutrition information is automatically calculated, so should only be used as an approximation per serving.
- Calories: 147kcal
- Carbohydrates: 19g
- Protein: 2g
- Fat: 7g
- Saturated Fat: 4g
- Polyunsaturated Fat: 0.4g
- Monounsaturated Fat: 2g
- Trans Fat: 0.2g
- Cholesterol: 43mg
- Sodium: 127mg
- Potassium: 42mg
- Fiber: 0.4g
- Sugar: 14g
- Vitamin A: 218IU
- Vitamin C: 1mg
- Calcium: 23mg
- Iron: 1mg
Tried this recipe? We’d love to hear from you! Leave a comment below and share your experience. Your feedback helps us grow and create even more delicious recipes for you!