
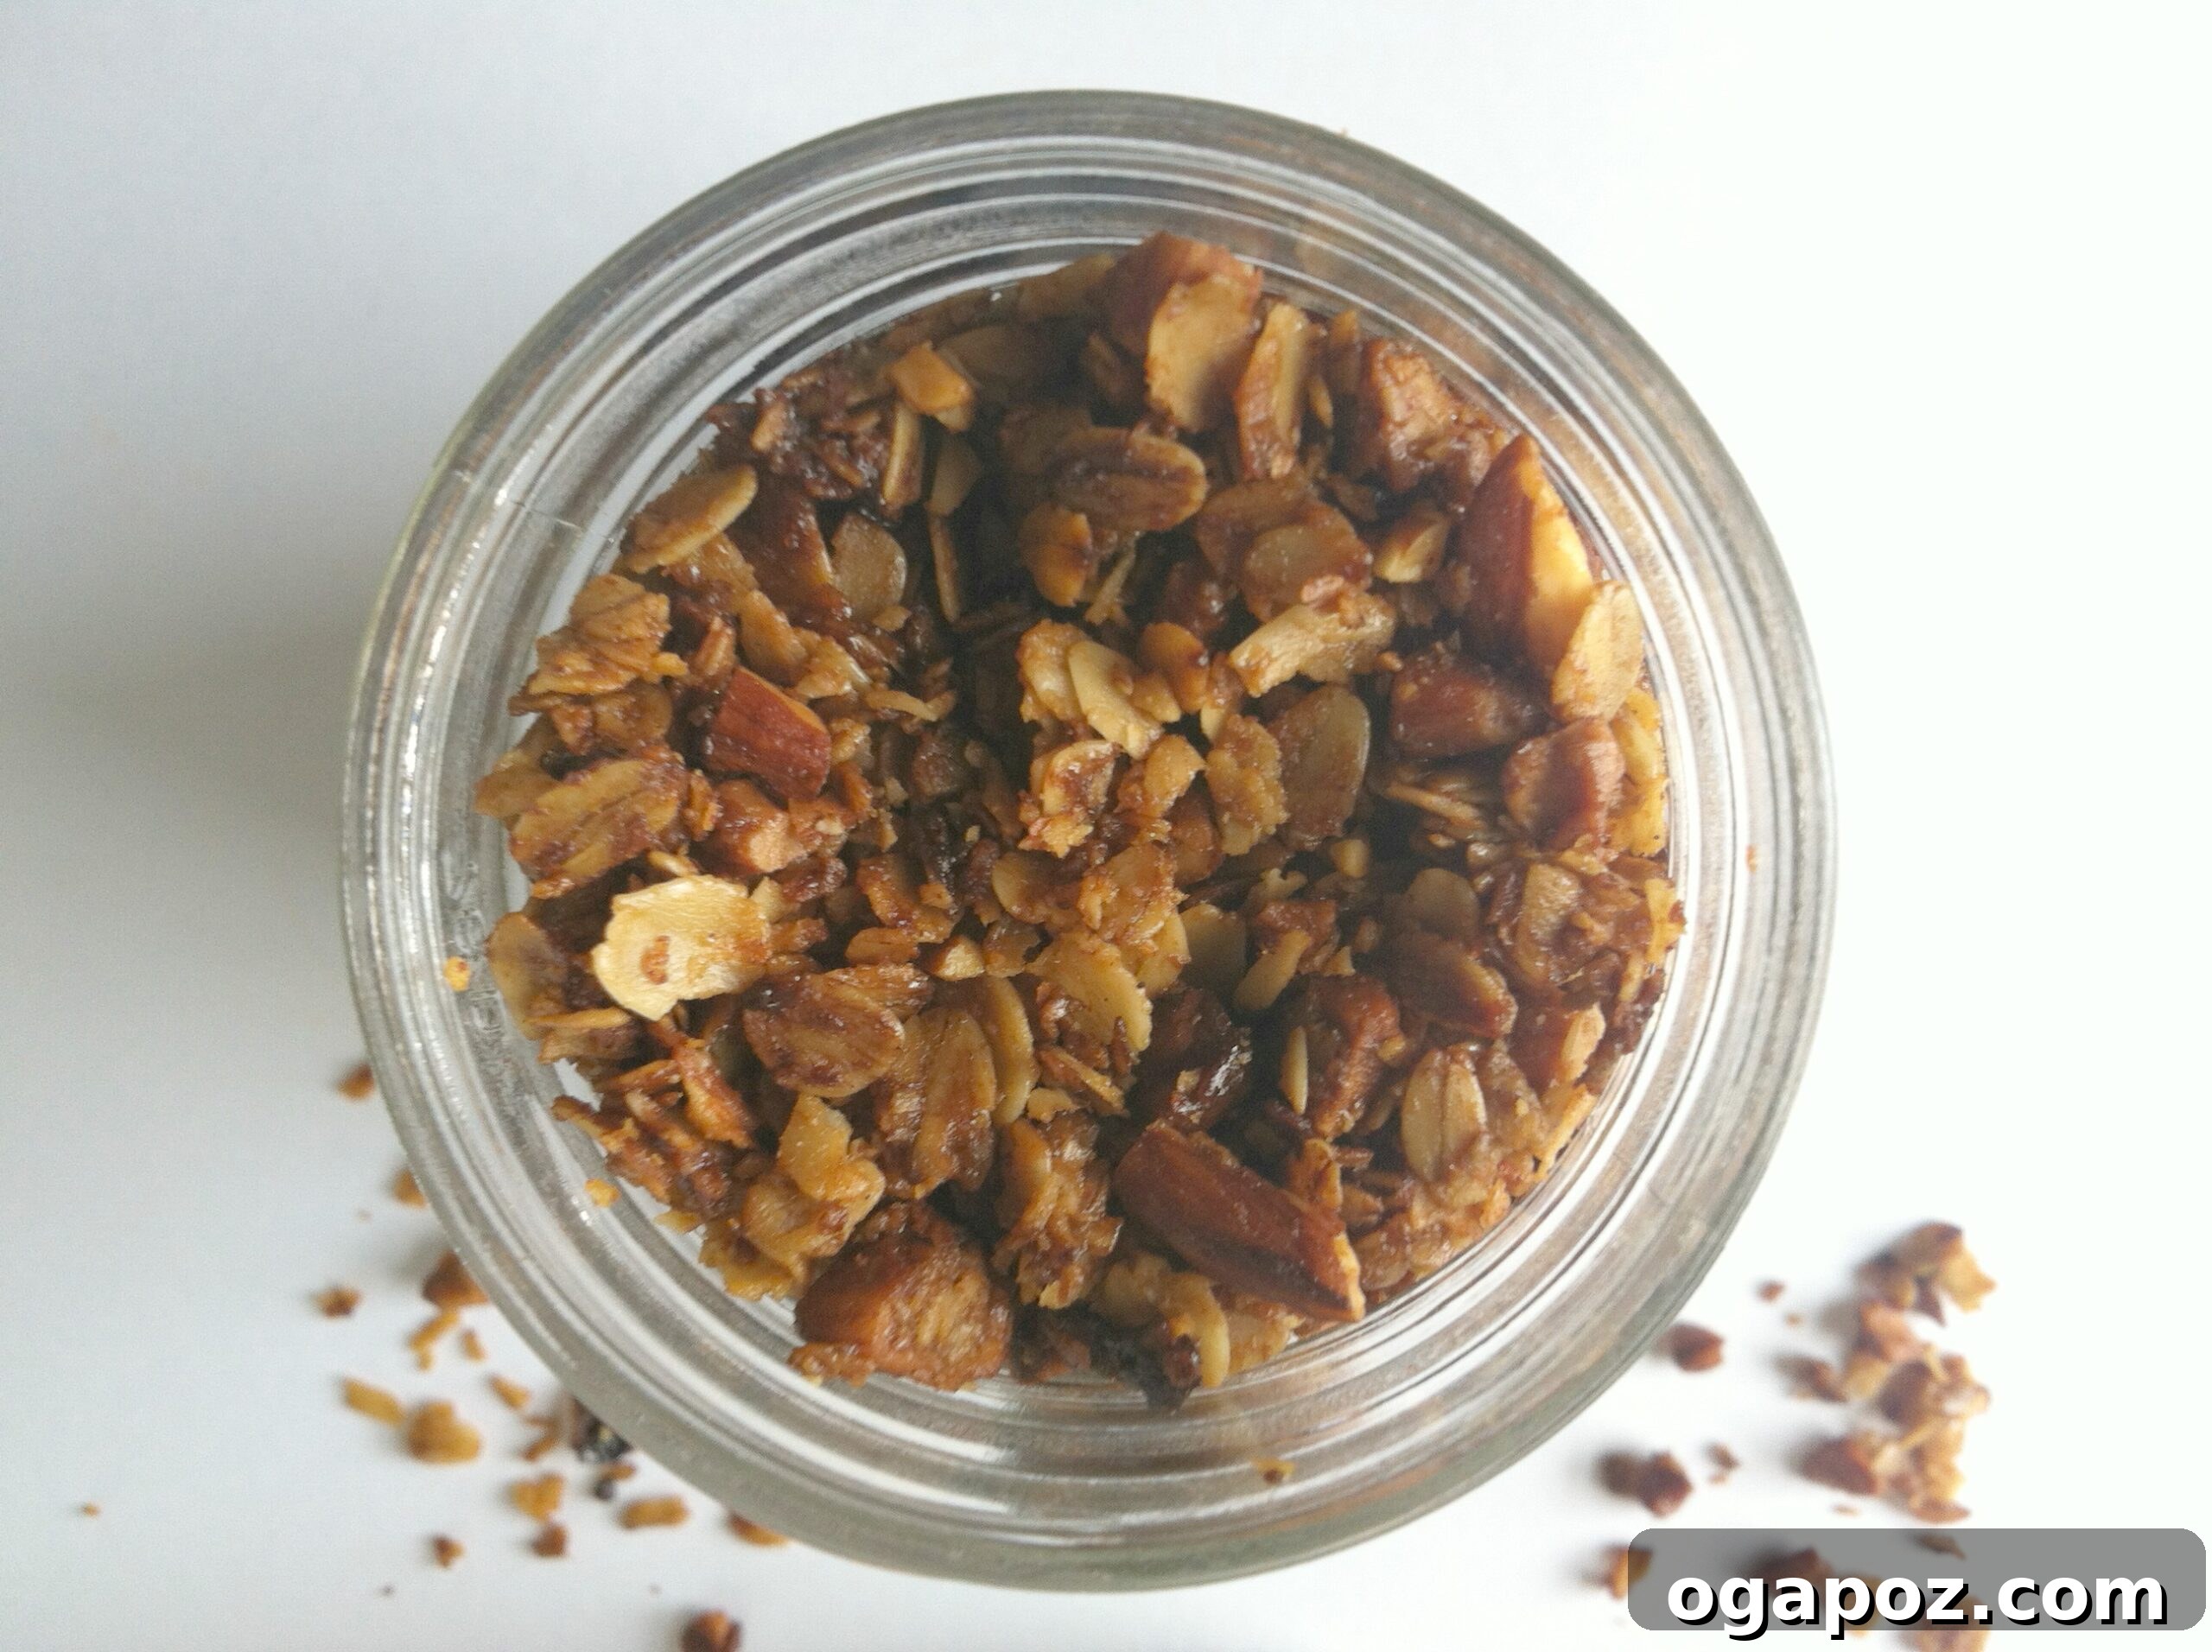
Prepare to transform your breakfast and snack routine with this incredibly simple and utterly delicious recipe for **Homemade Granola**. Once you taste the difference, you’ll agree it’s far superior to any store-bought variety, offering unmatched freshness, customizable flavors, and significant health benefits.
Last year, five months after our son Will was born, my husband and I desperately needed a break. We embarked on a short, much-anticipated weekend getaway to Door County, Wisconsin. While it couldn’t quite replicate the cherished magic of Traverse City, Michigan—our absolute favorite summer escape—Door County offered its own serene beauty and charm. It was a beautiful, much-needed retreat, providing a peaceful respite from the delightful chaos of newborn life, even if only for two precious nights.
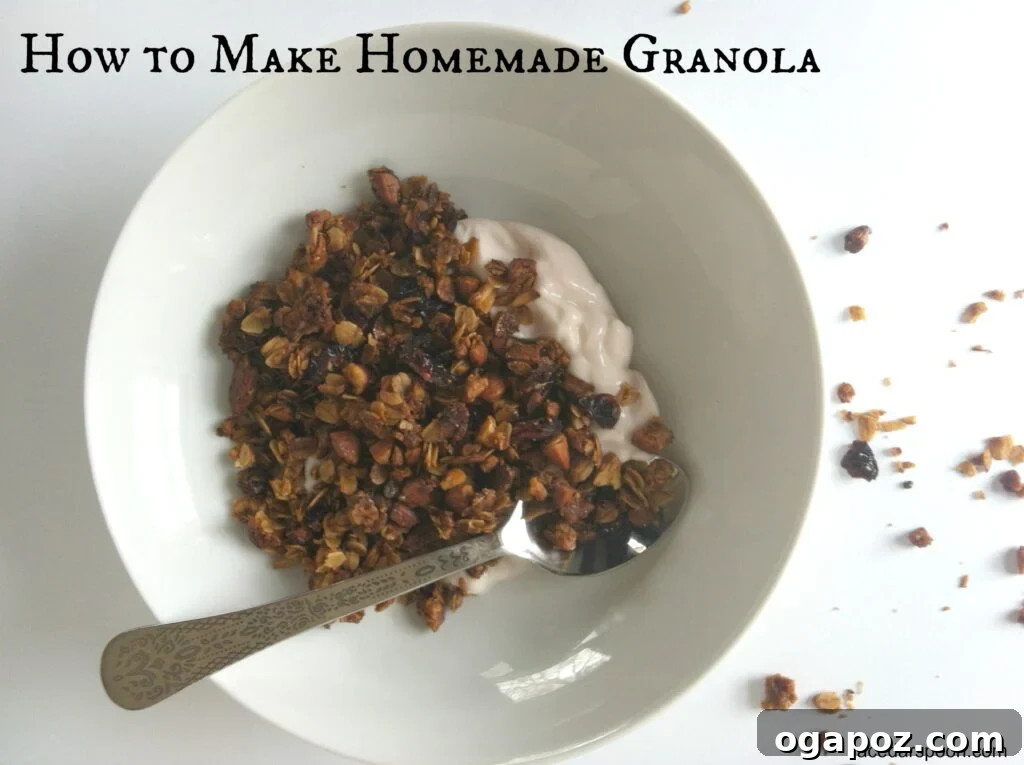
The Ultimate Homemade Granola Recipe: Simple, Healthy, and Delicious
Anyone who has navigated the early days of parenthood with a newborn understands the profound scarcity of sleep, the rarity of quiet moments with a spouse, and the absolute necessity of more coffee than one person should probably consume. And let me be clear, I wouldn’t trade those moments for anything in the world – it’s simply the reality of the beautiful, exhausting journey.
During our Door County escape, we discovered an enchanting Bed and Breakfast, The Juniper Inn. This charming establishment perfectly encapsulated why my husband and I dream of one day owning our own B&B. (Naturally, I envision myself as the resident chef, crafting delightful breakfasts for our guests!) The Juniper Inn was the epitome of quaint, quiet, peaceful, and serene. We’ve always been drawn to B&Bs when traveling without our little one because they offer such a personal, intimate experience. More importantly, the food is invariably homemade, often highlighting fresh, local ingredients from nearby farmers and artisans. This focus on wholesome, handcrafted meals is truly inspiring, and it was there that my love for quality, homemade breakfast items, especially granola, truly deepened.
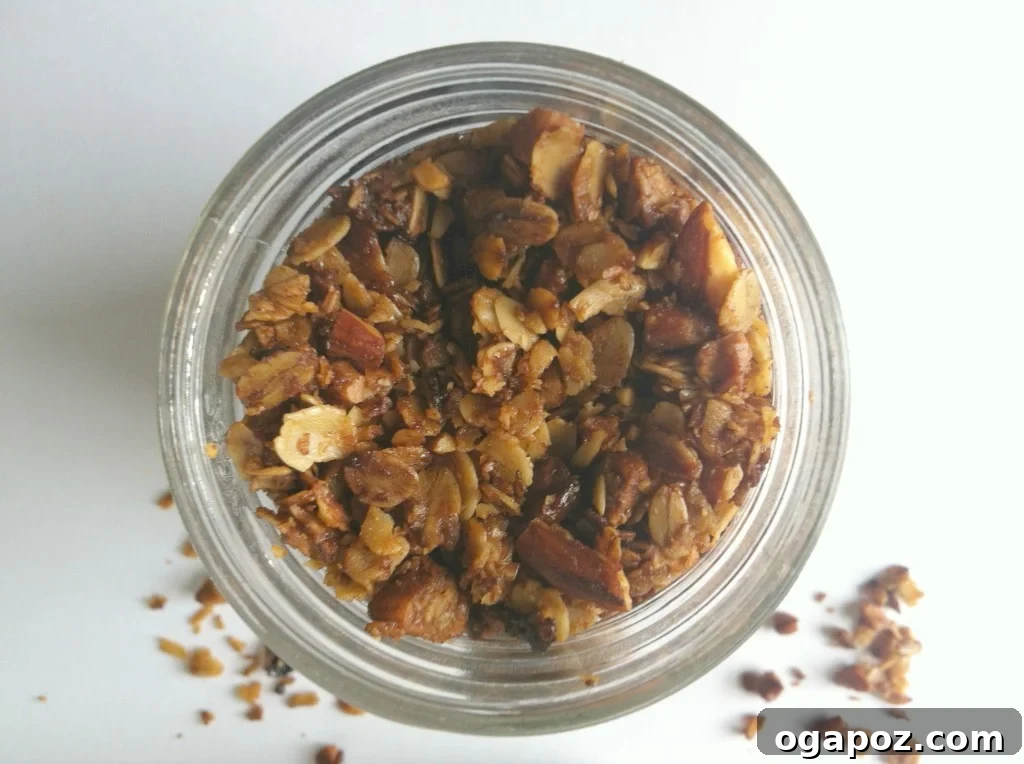
The Irresistible Allure and Versatility of Homemade Granola
It was at these delightful Bed and Breakfasts that my appreciation for homemade granola truly blossomed. Almost every establishment we’ve stayed at proudly serves their own unique blend, a testament to the comforting and wholesome nature of this simple dish. Granola’s universal appeal lies in its incredible versatility. It’s not just a breakfast cereal; it’s a delightful addition to a bowl of creamy yogurt and fresh fruit, a satisfying crunch to sprinkle over smoothies, or a perfect, energizing snack to power you through a busy day. Its comforting crunch, satisfying blend of flavors, and inherent goodness make it a staple in any health-conscious kitchen.
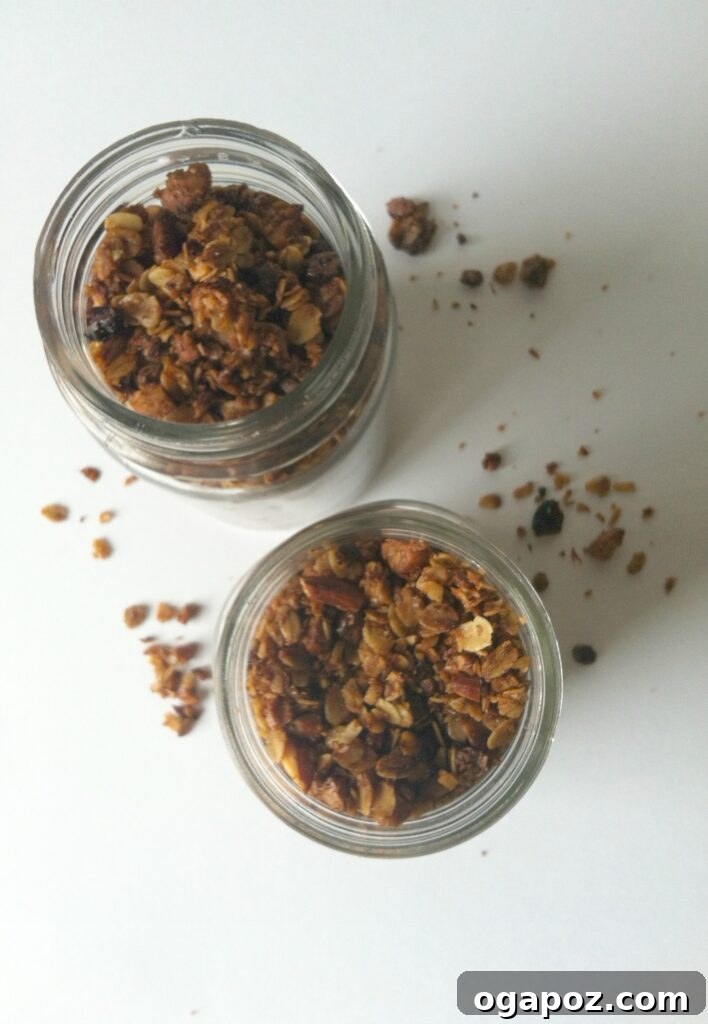
Why Make Your Own Granola? Unlocking Flavor, Health & Savings
For too long, the idea of making my own granola had lingered in the back of my mind. It felt like one of those culinary tasks reserved for expert bakers, a project perhaps too complicated for a busy schedule. But a few weeks ago, inspired by those B&B breakfasts, I finally took the plunge. And I’m so glad I did! The process was surprisingly easy, the taste was absolutely incredible, and the benefits extend far beyond just flavor. Here’s why making your own granola is a game-changer you’ll wish you’d discovered sooner:
1. Superior Taste and Unbeatable Freshness
There’s simply no comparison to the taste of freshly baked homemade granola. The oats are perfectly toasted, the nuts are fragrant and crisp, and the subtle spices are vibrant and aromatic. Store-bought versions, even the “premium” ones, often taste stale, overly sweet, or possess an artificial undertone, lacking the nuanced flavors and dynamic texture of a homemade batch. You control the baking time, ensuring a perfectly golden, crunchy, and caramelized result every single time, straight from your oven.
2. Unmatched Health Benefits and Ingredient Control
When you make granola at home, you gain complete autonomy over what goes into your food. This means:
- Reduced Sugar Content: Many commercial granolas are sugar bombs, packed with hidden sweeteners. You can significantly reduce the amount, or opt for natural, unrefined sweeteners like pure honey or maple syrup in moderation, tailoring it precisely to your dietary needs.
- Wholesome, Healthy Fats: Choose high-quality oils like olive oil, coconut oil, or even avocado oil, avoiding undesirable trans fats or highly processed vegetable oils often found in mass-produced granolas. These healthy fats are crucial for nutrient absorption and sustained energy.
- Nutrient-Dense Add-ins: Load your granola with powerhouse ingredients like old-fashioned oats (a fantastic source of soluble fiber, which aids digestion and heart health), a diverse range of nuts and seeds (providing essential healthy fats, plant-based protein, and micronutrients like magnesium, zinc, and Vitamin E), and dried fruits (for natural sweetness, vitamins, and antioxidants).
- No Artificial Additives or Preservatives: Say goodbye to cryptic ingredients, artificial flavors, colors, and preservatives. Your kitchen, your rules! Every ingredient is recognizable and intentional, contributing to a cleaner, healthier snack.
3. Economical and Cost-Effective
Buying high-quality, healthy granola from the grocery store can be surprisingly expensive, with premium brands often commanding a hefty price per pound. The cost per serving quickly adds up. By making it yourself, you can dramatically cut down on expenses, especially when you purchase staples like oats, nuts, and seeds in bulk. A single batch of homemade granola offers significant savings without compromising an iota on quality or flavor. It’s a smart choice for your wallet and your health.
4. Endless Customization Opportunities
This is perhaps the most exciting and liberating aspect of DIY granola. Your kitchen becomes a culinary playground where creativity knows no bounds! You’re not limited to the pre-set, sometimes monotonous, flavor profiles of commercial brands. Whether you crave a tropical blend with coconut and mango, a robust nutty crunch with pecans and walnuts, a warm spiced mix with cardamom and ginger, or a chocolatey delight, you can tailor every single element to your exact preferences. This ability to personalize your granola makes it truly special, ensuring you’ll never get bored and always have a snack that perfectly matches your mood and cravings.
Once you experience the immense satisfaction and delicious results of making your own, there’s truly no turning back to store-bought varieties!
Crafting Your Perfect Granola: The Essential Ingredients
The beauty of homemade granola lies in its simplicity and inherent adaptability. Here’s a detailed look at the core components you’ll need to get started, along with tips for making the best choices and understanding their role in your delicious creation:
Oats: The Hearty Foundation
Start with **2 cups of old-fashioned rolled oats**. This is crucial for the perfect granola! Avoid quick-cooking or instant oats, as they are too finely processed and won’t hold their texture as well during baking, often resulting in a mushy or crumbly outcome. Old-fashioned oats provide that desirable chewy texture, absorb the flavors beautifully, and are the key to forming those satisfying clusters that define great granola. They are also a fantastic source of soluble fiber.
Nuts and Seeds: For Crunch, Nutrition, and Flavor
Next, you’ll need **1 ½ cups of your favorite nuts and/or seeds**. This is where you can truly personalize your granola’s crunch and nutritional profile. Think whole or roughly chopped almonds (I often crush them into pieces for easier eating and better distribution), hearty pecans, earthy walnuts, creamy cashews, protein-packed sunflower seeds, vibrant pumpkin seeds (pepitas), or even tiny, omega-3 rich flax seeds for an added nutritional boost. Combining a few different types adds wonderful complexity to both the flavor and texture of your granola. Lightly toasting them dry in a pan for a few minutes before mixing can enhance their natural oils and aroma, but it’s not strictly necessary as they’ll toast beautifully in the oven.
Healthy Oils: The Binding Agent and Crispness Creator
You’ll need **1/3 cup of a good quality oil**. I prefer using extra virgin olive oil for its mild, almost undetectable flavor and its impressive health benefits. Alternatively, melted coconut oil also works wonderfully, adding a subtle tropical note and a lovely aroma to your granola. The oil plays a vital role in binding the dry ingredients together, ensuring even browning during baking, and contributing significantly to that desirable crisp and crunchy texture that makes granola so addictive.
Sweeteners: For the Perfect Touch of Caramelized Goodness
For sweetness and to help create those delightful clusters, grab **1/3 cup of honey or pure maple syrup**. Both are excellent, natural liquid sweeteners. Honey imparts a rich, distinct floral sweetness and helps achieve a beautiful golden color. Maple syrup offers a slightly less sweet, more earthy, and warm flavor profile. Choose the one that best suits your palate. These natural liquid sweeteners are absolutely key to forming the irresistible crunchy clumps we all love in granola.
Spices and Extracts: Elevating the Flavor Profile
A little spice goes a long way in transforming simple oats into an aromatic delight. Include **½ teaspoon of fine sea salt** (which is crucial for balancing and enhancing all the other flavors, not just making it salty), **¼ teaspoon of ground cinnamon**, and a **pinch each of ground nutmeg and ground ginger**. These warm, comforting spices add incredible depth, complexity, and a wonderfully inviting aroma to your granola, making it feel truly gourmet. Don’t forget **½ teaspoon of pure vanilla extract**, which adds a lovely fragrant finish that beautifully complements and rounds out the other ingredients.
Dried Fruit: A Burst of Sweetness and Chewiness (Added Later)
Finally, select **¼ cup of your favorite dried fruit**. Common favorites include chewy dried cranberries, sweet raisins, tangy chopped dried apricots, or luxurious dried cherries. *It’s paramount to add the dried fruit during the last 10 minutes of baking, or even after the granola has fully cooled.* This specific timing prevents the fruit from becoming overly hard, brittle, or burning, ensuring it remains plump, soft, and deliciously chewy within your crunchy granola.
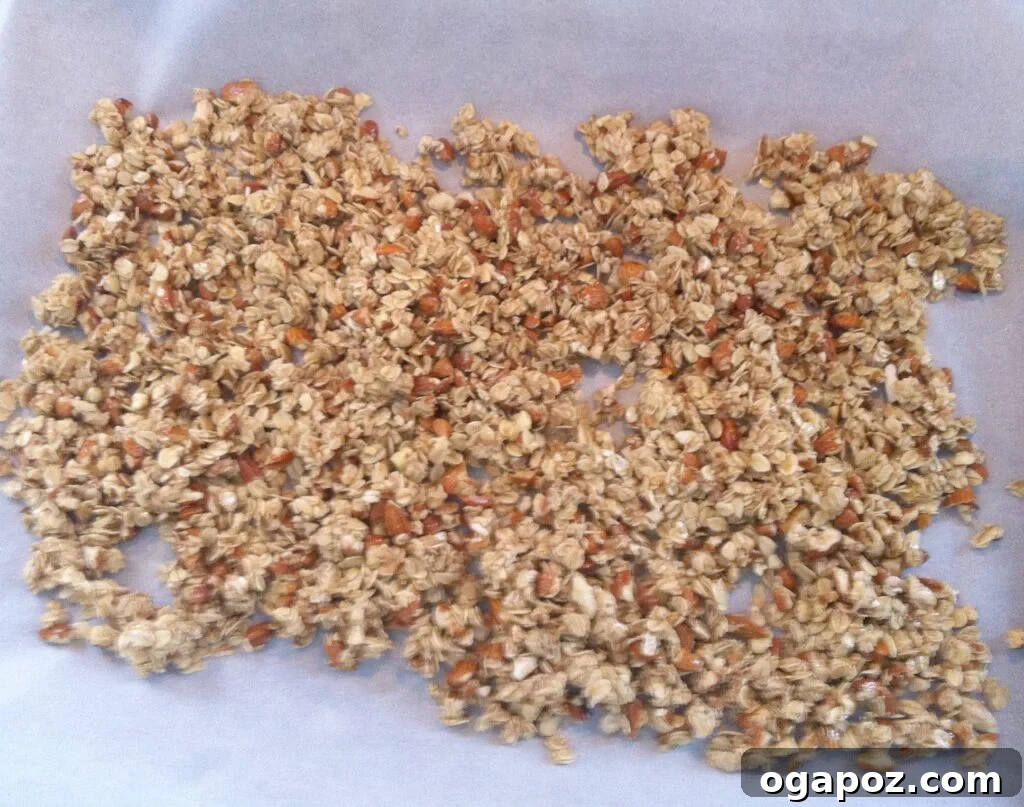
Step-by-Step Guide to Baking Your Perfect Granola
Follow these simple, clear steps for a perfect batch of homemade granola every time. Precision and attention to detail will ensure a delicious, crunchy outcome:
- Preheat your oven to **350 degrees Fahrenheit (175 degrees Celsius)**. It’s essential that the oven is at the correct temperature before you put the granola in, ensuring even baking from the very beginning.
- In a large mixing bowl, combine the **2 cups of old-fashioned oats** and your chosen **1 ½ cups of nuts and/or seeds**. Use a sturdy spoon or your hands to mix them well, ensuring they are evenly distributed.
- Pour the **1/3 cup of olive oil** (or coconut oil) and **1/3 cup of honey** (or maple syrup) over the dry oat and nut mixture in the bowl. Stir everything together thoroughly, taking your time to ensure all the oats and nuts are evenly coated with the wet ingredients. This coating is what will help everything clump together and toast beautifully.
- Next, add the **½ teaspoon of salt, ¼ teaspoon of cinnamon, a pinch of nutmeg, a pinch of ginger**, and **½ teaspoon of vanilla extract**. Continue to mix well, making sure these aromatic spices and the fragrant vanilla are distributed throughout the entire mixture for a consistent, delightful flavor in every bite.
- Line a large baking sheet (a standard half-sheet pan works best) with **parchment paper**. This critical step prevents sticking and makes cleanup an absolute breeze. Spread the granola mixture out onto the prepared baking sheet in a single, even layer. Avoid piling it too thick or overcrowding the pan, as this can lead to steaming instead of proper toasting, resulting in soggy granola.
- Bake the granola for a total of **25-30 minutes** at 350°F (175°C). It’s crucial to stir the granola every **10 minutes** during baking. This stirring ensures that all pieces bake evenly, prevents the edges from burning while the center remains undercooked, and encourages the formation of those lovely crunchy clusters.
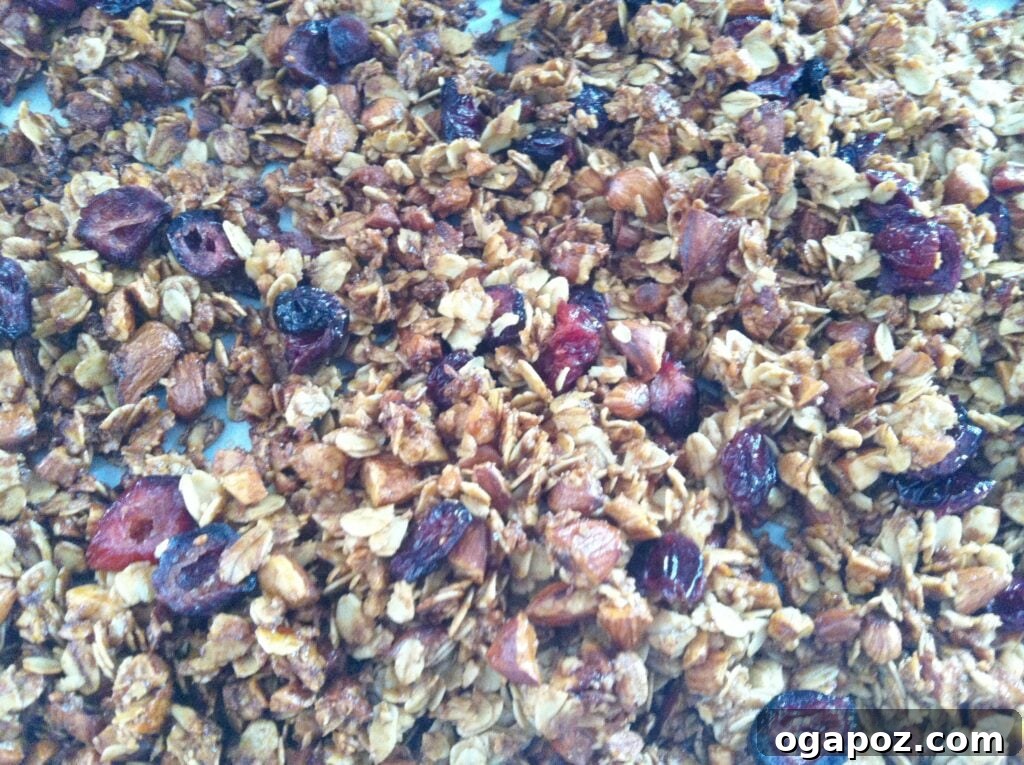
- During the **last 10 minutes of baking**, add your chosen **¼ cup of dried fruit** to the granola mixture. Stir it in well to distribute evenly. This timing is important to prevent the dried fruit from becoming overly hard, brittle, or burnt, ensuring it remains plump and delightfully chewy within your crunchy granola.
- Once baked, remove the granola from the oven. It should be beautifully golden brown and incredibly fragrant. Allow it to cool completely and undisturbed on the baking sheet before transferring it to an airtight container. As it cools, it will crisp up further and develop those wonderful, satisfying clusters. Resist the urge to pick at it while warm; patience will be rewarded with superior crunch!
Customize Your Granola: Endless Flavor Combinations
The true magic of homemade granola truly shines in its boundless potential for customization. Don’t be afraid to unleash your creativity and experiment with different additions to craft a blend that perfectly suits your unique palate. Here are some fantastic ideas to inspire your next batch, categorized for easy exploration:
Nuts & Seeds (Beyond the Basics):
- **Pecans:** Add a rich, buttery flavor and a softer crunch.
- **Walnuts:** Offer a slightly bitter, earthy note that pairs wonderfully with dried fruits.
- **Cashews:** Provide a creamy texture and a subtle, sweet nuttiness.
- **Pistachios:** For a unique, slightly savory flavor and a pop of green color.
- **Chia Seeds:** Boost omega-3 fatty acids and add a subtle thickening quality, which can help with cluster formation.
- **Hemp Seeds:** Provide a significant boost of plant-based protein and healthy fats with a soft texture.
- **Sesame Seeds:** For a delicate nutty flavor and a tiny, satisfying crunch.
- **Sliced Hazelnuts:** Offer a distinct, earthy, and slightly sweet flavor.
Dried Fruits (Beyond Cranberries) – Remember to add these towards the end of baking or after:
- **Dried Blueberries or Cherries:** For tart-sweet bursts of intense fruit flavor and vibrant color.
- **Chopped Dried Apricots or Figs:** Add a wonderfully chewy texture and a deep, caramel-like sweetness.
- **Banana Chips:** For a tropical crunch and natural sweetness (add these towards the very end of baking or after for optimal crispness, as they can burn easily).
- **Shredded Coconut (Unsweetened):** Toasted coconut adds an incredible aroma, a delicate sweetness, and a lovely texture. Add with the oats for the last 15-20 minutes of baking to prevent burning.
- **Diced Dried Mango or Pineapple:** For an exotic, chewy, and sweet tropical twist.
Sweeteners & Flavor Enhancers (Adjust quantities to taste):
- **Brown Sugar:** A touch of packed brown sugar can create deeper caramel notes and a chewier texture.
- **Agave Nectar:** A popular vegan alternative to honey, offering a neutral sweetness.
- **Molasses:** For a robust, dark, and slightly bitter flavor; use sparingly for complexity.
- **Citrus Zest (Orange or Lemon):** Finely grated zest adds a bright, fresh aroma and flavor (add after baking to preserve oils).
- **Cocoa Powder or Cacao:** Mix 1-2 tablespoons of unsweetened cocoa powder with the dry ingredients for a delicious chocolatey twist.
- **Espresso Powder:** A teaspoon can deepen chocolate flavors or add a subtle coffee note.
Special Additions (Always add after baking and cooling):
- **Chocolate Chips or Cacao Nibs:** Stir in after the granola has completely cooled for a delightful sweet treat and textural contrast.
- **Peanut Butter Chips or White Chocolate Chips:** For extra indulgence and specific flavor profiles.
- **Freeze-Dried Fruit Pieces:** Offer an intense fruit flavor and a unique, airy crunch (they are very delicate, so add after the granola has fully cooled).
- **Mini Marshmallows:** For a fun, gooey addition to a s’mores-inspired granola (add just before serving).
Simple Homemade Granola Recipe
Homemade Granola
By Julia Jolliff
Homemade granola is not only healthy but also incredibly easy to customize to your personal tastes. Enjoy it with yogurt and fresh fruit, or simply grab a handful as a satisfying snack on the go.
Prep Time: 10 minutes
Cook Time: 25-30 minutes
Total Time: 35-40 minutes
Yields: 4 servings
Ingredients
- 2 cups old-fashioned rolled oats (not quick-cooking)
- 1 1/2 cups almonds, crushed into pieces (or a mix of your favorite nuts/seeds)
- 1/3 cup olive oil (or melted coconut oil)
- 1/2 teaspoon fine sea salt
- 1/4 teaspoon ground cinnamon
- Pinch of ground nutmeg and ground ginger
- 1/3 cup honey (or pure maple syrup)
- 1/2 teaspoon pure vanilla extract
- 1/4 cup dried cranberries (or other dried fruit, to be added towards the end of baking)
Instructions
- Preheat your oven to 350°F (175°C). Line a large baking sheet with parchment paper.
- In a large bowl, combine the oats and crushed almonds (or other nuts/seeds).
- Pour the olive oil and honey (or maple syrup) over the dry mixture. Stir very well until all ingredients are thoroughly and evenly coated.
- Add the salt, cinnamon, nutmeg, ginger, and vanilla extract. Continue to mix until all spices are fully incorporated.
- Spread the granola mixture evenly in a single layer on the prepared baking sheet.
- Bake for 25-30 minutes, stirring gently every 10 minutes to ensure even toasting and prevent burning.
- During the last 10 minutes of baking, add the dried cranberries (or other dried fruit) to the granola mixture and stir to combine.
- Remove the baking sheet from the oven and let the granola cool completely on the pan. It will crisp up and form clusters as it cools.
- Once cooled, transfer to an airtight container for storage.
Notes for Success
- **Storage:** Homemade granola stores exceptionally well for up to 2 weeks in a sealed, airtight container at room temperature. For longer storage, you can freeze it for up to 3 months. Always ensure it’s completely cool before storing to prevent sogginess.
- **Baking Time Varies:** Oven temperatures can differ significantly. Keep a close eye on your granola, especially towards the end of baking. My oven often gets it perfectly golden brown in about 26 minutes total. You want it toasted and fragrant, but definitely not burnt, which can give it a bitter taste.
- **Even Toasting:** Stirring every 10 minutes is key to ensuring all the pieces cook evenly and achieve that desirable golden crispness without uneven burning.
- **Cluster Formation:** For larger clusters, press the granola down lightly with a spatula after the final stir, then resist stirring it after it comes out of the oven until it has cooled completely. Breaking it apart after cooling will yield beautiful, chunky clusters.
Nutrition Information (Approximate per serving)
(Based on 4 servings of the base recipe)
- Calories: 1008 kcal
- Carbohydrates: 116g
- Protein: 27g
- Fat: 52g
- Saturated Fat: 6g
- Polyunsaturated Fat: 11g
- Monounsaturated Fat: 32g
- Trans Fat: 0.01g
- Sodium: 300mg
- Potassium: 843mg
- Fiber: 19g
- Sugar: 27g
- Vitamin A: 5 IU
- Vitamin C: 1mg
- Calcium: 210mg
- Iron: 7mg
Disclaimer: Nutrition information is automatically calculated and should only be used as an approximation. Actual values may vary based on specific ingredients, brands, and serving sizes used.
Serving Suggestions and Expert Storage Tips
Beyond the Bowl: Creative Ways to Enjoy Your Homemade Granola
While a classic bowl with creamy yogurt and fresh fruit is always a winner, homemade granola opens up a world of culinary possibilities, making it a versatile staple in your kitchen:
- **Classic Breakfast Delight:** Serve with your favorite milk (dairy or non-dairy, such as almond, oat, or soy milk) for a wholesome, fiber-rich, and satisfying start to your day.
- **Layered Yogurt Parfaits:** Create stunning and delicious parfaits by layering your granola with Greek yogurt, a vibrant assortment of fresh berries, and a delicate drizzle of extra honey or maple syrup.
- **Smoothie Enhancer:** Add a generous handful to your morning smoothie before blending for extra texture, a boost of fiber, and added nutrients, transforming a simple drink into a more substantial meal.
- **Irresistible Dessert Topping:** Sprinkle generously over baked apples, fruit crisps, a scoop of vanilla ice cream, or even a creamy panna cotta for an unexpected and delightful textural crunch.
- **On Oatmeal or Chia Pudding:** Elevate your cooked oatmeal or chia seed pudding by stirring in or sprinkling granola on top for enhanced flavor, satisfying crunch, and added nutritional complexity.
- **Homemade Trail Mix Component:** Combine your freshly made granola with extra nuts, seeds, chocolate chips, and dried fruit for a personalized, energizing, and much healthier homemade trail mix perfect for hikes or busy days.
- **Energy Bars or Bites Base:** Use your homemade granola as a key ingredient in crafting your own no-bake energy bars or bites, perfect for quick fuel on the go.
- **Straight from the Hand:** Honestly, it’s so incredibly good that you might just find yourself grabbing handfuls directly from the container as a quick, satisfying, and wholesome snack throughout the day!
Keeping Your Granola Fresh: Expert Storage Made Easy
Proper storage is absolutely key to maintaining the irresistible crunch, vibrant flavor, and overall freshness of your homemade granola. Follow these simple tips to ensure every spoonful is as good as the first:
- **Cool Completely Before Storing:** This is perhaps the most crucial step. Always ensure your granola is completely cooled to room temperature before transferring it to any storage container. Storing warm granola will trap moisture, create condensation, and inevitably lead to soggy, unappetizing results. Let it cool on the baking sheet for at least an hour.
- **Utilize an Airtight Container:** Once fully cooled, transfer the granola to an airtight container. Glass jars with tight-fitting lids, sturdy plastic containers with sealed lids, or heavy-duty resealable freezer bags all work perfectly. The goal is to keep out air and moisture.
- **Store in a Cool, Dark Place:** Keep your stored granola in a cool, dark, and dry place, such as a pantry, kitchen cupboard, or a dry corner of your counter. Avoid direct sunlight, extreme heat, or humid environments, which can degrade its quality and shorten its shelf life.
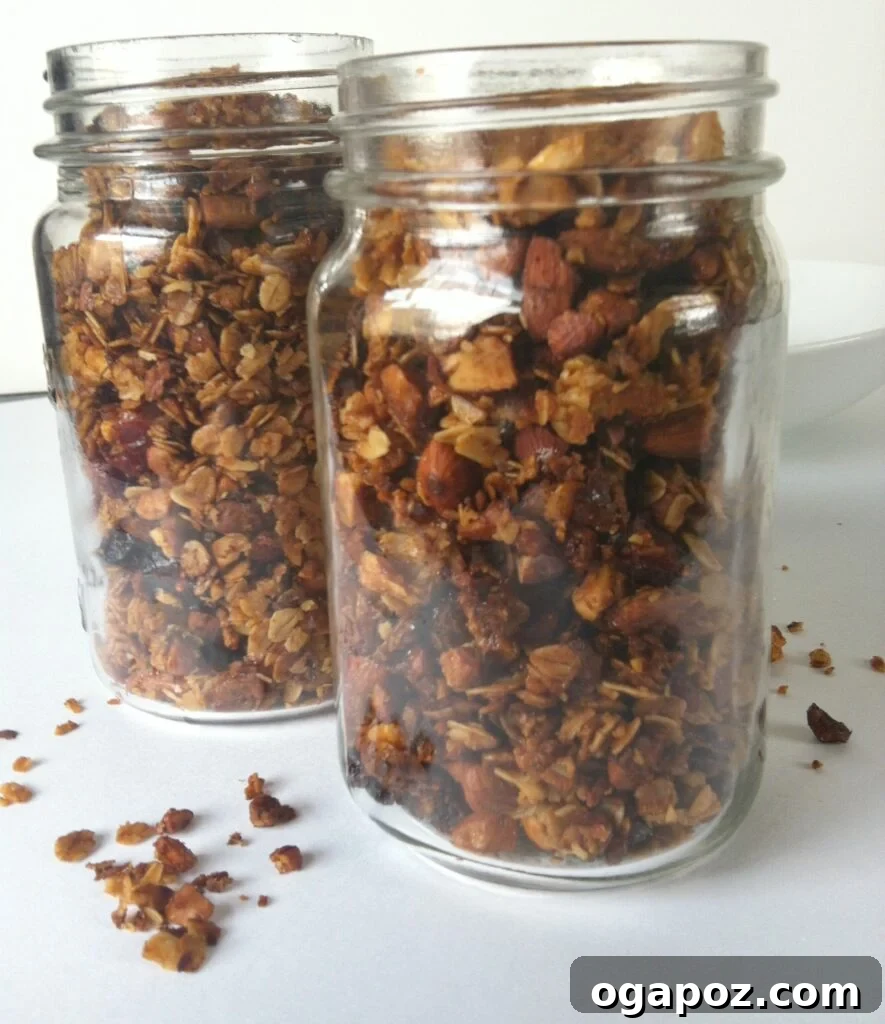
- **Optimal Shelf Life:** When properly stored in an airtight container at room temperature, homemade granola will stay wonderfully fresh and crunchy for up to two weeks. The rich flavors of the toasted nuts and spices will remain vibrant.
- **Freezing for Extended Freshness:** For longer storage, homemade granola freezes beautifully. To freeze, first spread the completely cooled granola in a single layer on a baking sheet and freeze for about an hour until solid. This prevents clumping. Then, transfer the frozen granola to a freezer-safe bag or container, removing as much air as possible. It can be stored in the freezer for up to three months. Simply thaw at room temperature before enjoying; there’s no need to reheat.
Conclusion: Your Homemade Granola Journey Begins Here
Embracing the art of making homemade granola is a profoundly rewarding experience that offers a multitude of benefits, elevating your everyday meals and snacks. From the incredible customizable flavors and superior freshness that store-bought versions simply cannot match, to the undeniable health advantages of ingredient control and significant cost savings, there’s every compelling reason to ditch the pre-packaged varieties for good. This simple, adaptable recipe empowers you to create a wholesome, deeply delicious, and profoundly satisfying breakfast or snack that perfectly suits your taste, dietary needs, and healthy lifestyle.
So, gather your favorite oats, nuts, and spices, preheat your oven, and embark on your own delightful homemade granola journey. You’ll be amazed at how easy it is to achieve culinary perfection in your own kitchen, and your taste buds (and your wallet!) will undoubtedly thank you. Happy baking!