
Mastering Homemade Yogurt (Laban): A Step-by-Step Guide to Fresh, Healthy Dairy
There’s a certain magic that comes with homemade food, a connection to tradition and a purity that store-bought options often lack. For me, that magic is intrinsically tied to the creamy, tangy goodness of homemade yogurt, or Laban as it’s known in Lebanese culture. My earliest memories are steeped in the comforting scent of milk warming on the stove and the quiet hum of an old, orange yogurt maker. I vividly recall watching my Mom, a true culinary artist, transform simple ingredients into a staple that graced our table daily.

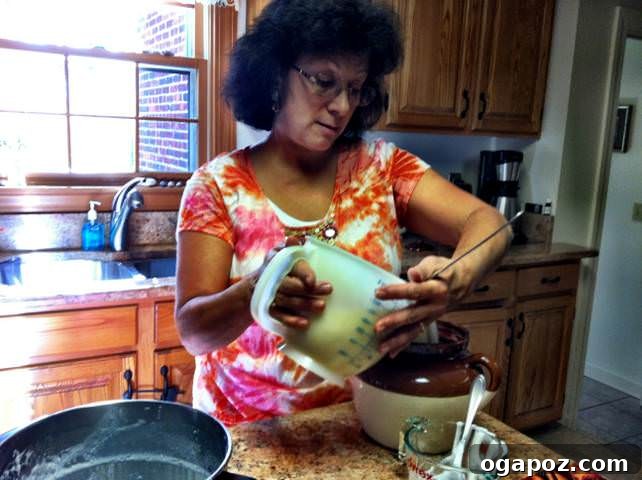
This image captures her in action during a visit to Tennessee, still perfecting the craft she’s honed for decades. Her trusty, if somewhat unsightly, orange yogurt maker would diligently hold six cups of milk, maintaining the perfect warm embrace for the cultures to work their magic. We devoured that yogurt with an enthusiasm usually reserved for candy, a testament to its irresistible fresh flavor.
The Cultural Heartbeat of Laban in Lebanese Cuisine
If you have any connection to Lebanese heritage, you understand the profound role Laban plays in our culinary landscape. It’s more than just a dairy product; it’s a versatile cornerstone, deeply woven into the fabric of our meals and daily life. We enjoy it with warm pita bread, as a cool counterpoint to savory kibbeh, alongside tender grape leaves, or simply for a wholesome breakfast. It’s often whisked into refreshing cucumber salads, offering a zesty creaminess that elevates humble vegetables. Indeed, in our household, Laban isn’t just an accompaniment; it’s the “ketchup for our fries,” the indispensable condiment that enhances almost everything. I personally prefer my Laban plain, embracing its naturally tart flavor – a preference many find surprising, but one that truly highlights its authentic taste.
Why Embrace DIY Yogurt: A Journey to Health and Simplicity
Years passed, and eventually, Mom’s beloved orange yogurt maker found a new home at Goodwill. Fast forward to 2012, and the arrival of my son marked a pivotal moment in my approach to food. Like many parents, I became fiercely dedicated to ensuring his diet was as healthy and wholesome as possible, diligently working to minimize processed foods and those ingredients with names impossible to pronounce. He adored yogurt, but as I began to purchase it week after week, the staggering amounts of added sugar and artificial ingredients in commercial brands became increasingly concerning. The alternative—organic, sugar-free yogurt—came with a price tag that felt utterly disproportionate, especially when I realized the simplicity of making my own.
The solution, a memory from my childhood, resurfaced with clarity: Mom’s homemade yogurt. She had always known precisely what went into every batch, controlling the fat content, ensuring pure ingredients, and deciding whether to add fruit or a touch of sweetness. This realization was my “aha!” moment. While some might deem a yogurt dilemma trivial, for me, regaining control over the sugar levels and avoiding questionable additives was paramount to my family’s health and well-being. It was time to reclaim this traditional skill.
On a subsequent visit home, my Mom patiently guided me through her time-honored method of making homemade yogurt. To my delight, it was surprisingly straightforward, demystifying a process I had once thought complex. The most astonishing revelation? You only need two fundamental ingredients to create this culinary marvel.
The Essential Ingredients: Simplicity at Its Best
Creating your own batch of delicious, wholesome Laban requires incredibly few components, making it an accessible project for any home cook:
- Four cups of Milk: Opt for 2% or whole milk. The fat content contributes significantly to the yogurt’s texture and flavor. While skim milk can be used, it typically results in a much thinner yogurt with a less robust taste. Whole milk yields the creamiest, most luxurious result. The choice of milk also impacts the final consistency and richness, so experiment to find your preference.
- Three tablespoons of Plain Yogurt (Starter) or a Dedicated Starter Culture: This is the magical ingredient that kickstarts the fermentation process. We often use plain low-fat or regular yogurt from reputable brands like Stonyfield, Dannon, or Fage. The key is to select the freshest possible yogurt that explicitly states it contains “live and active cultures.” These beneficial bacteria are what transform milk into yogurt. Avoid non-fat yogurt as a starter, as a little fat helps produce a better, richer consistency. If you prefer to use a dedicated freeze-dried starter culture, consult the tip section at the end of this guide for recommendations. The starter essentially “seeds” your new batch with the necessary bacteria.
Necessary Tools for Your Yogurt-Making Adventure
While the process is simple, having the right equipment ensures success and ease:
- Thermometer: A crucial tool for accurately monitoring milk temperature. An instant-read or candy thermometer works perfectly, ensuring the milk is neither too hot (which kills the cultures) nor too cool (which prevents proper fermentation).
- Towels (or a Blanket): Essential for insulation during the incubation phase. These help maintain a consistent warm environment, crucial for the active cultures to thrive.
- Large Container with a Lid: An enamel or porcelain bowl is ideal, but any food-grade container that can hold the milk mixture and be securely covered will work. The lid helps keep contaminants out and maintains warmth.
- Large Pot: For heating the milk. A heavy-bottomed pot prevents scorching and distributes heat evenly.
- Measuring Cup: For precise liquid measurements.
- Stirring Spoon: A long-handled spoon is best for stirring the milk while heating and mixing the starter.
Your Step-by-Step Guide to Homemade Laban
With your ingredients and tools at the ready, let’s embark on the fulfilling journey of making your own delicious Laban:
-
Heat the Milk to Just Below a Simmer:
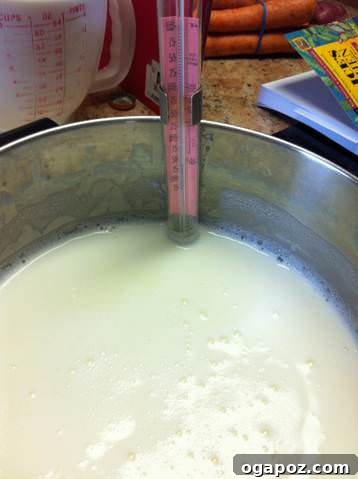
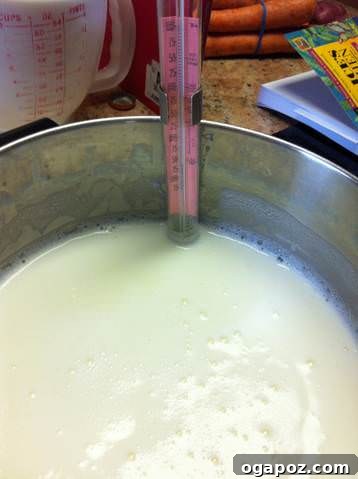
Pour four cups of milk into your large pot. Place it over medium-high heat. Your goal is to bring the milk to a temperature just shy of boiling, around 180-190°F (82-88°C). You’ll notice foam forming on the surface as it approaches this point. It’s absolutely critical to stir the milk constantly throughout this phase to prevent it from scorching at the bottom of the pot. This heating process serves two main purposes: it denatures the milk proteins, which contributes to a thicker yogurt, and it kills any undesirable bacteria that might compete with your yogurt cultures. This step typically takes about 10-15 minutes, depending on your stove and pot. Should the milk begin to boil vigorously, remove it from the heat immediately to avoid scorching, which can impart an unpleasant cooked flavor.
-
Cool the Milk to the Ideal Temperature:
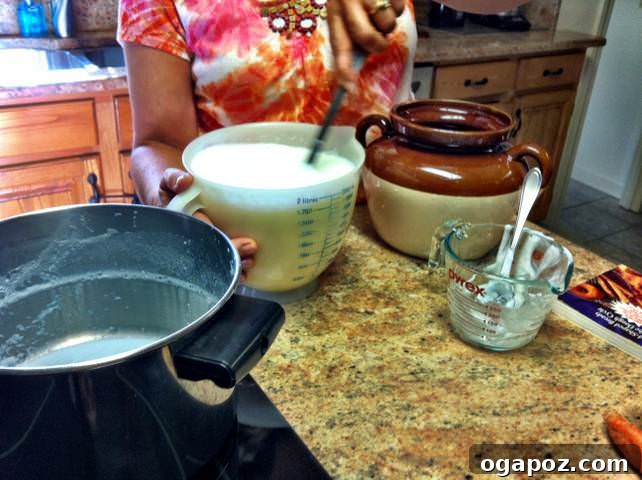
Once the milk has reached the desired temperature, remove the pot from the heat. Now, you must allow it to cool down to a specific temperature: 120°F (49°C). This cooling phase is crucial because introducing your starter cultures into milk that is too hot will kill the beneficial bacteria, preventing fermentation. The traditional “finger test”—where you can comfortably hold your finger in the milk for a count of ten—is a reliable indicator, but for absolute precision, a thermometer is highly recommended. Depending on your room temperature, this cooling process can take a significant amount of time, often 40 minutes or more. During this time, a thin layer of foam or “skin” may form on the milk’s surface; this is normal.

-
Prepare and Incorporate the Starter:
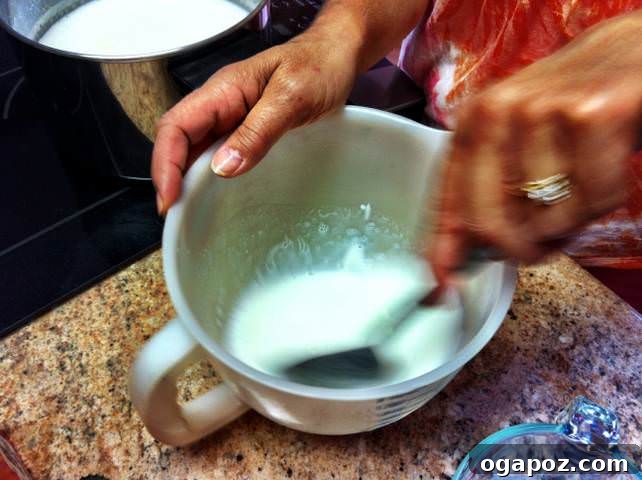
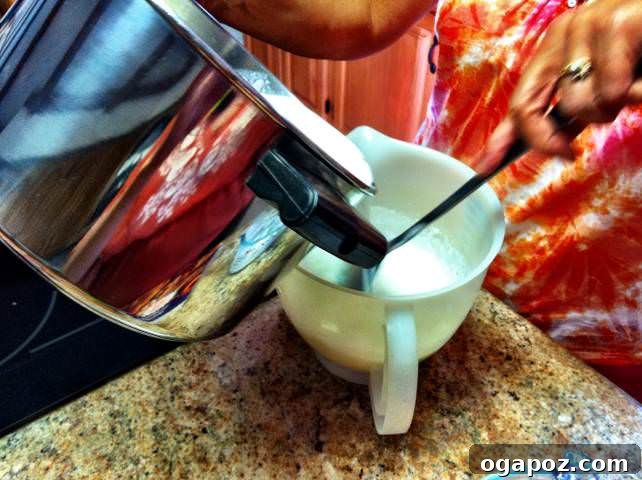
While the milk is cooling, place three tablespoons of your chosen starter yogurt (or activated starter culture) into a separate mixing bowl. Once the cooled milk reaches 120°F, spoon several tablespoons of this warm milk into the bowl with the starter. Whisk vigorously until you achieve a smooth, lump-free paste. This step, known as tempering, helps to gradually bring the starter up to temperature and ensures it mixes evenly into the larger volume of milk. Gently add this starter paste to the remainder of the warm milk in the pot and stir it in thoroughly but gently, ensuring the cultures are uniformly distributed.
-
Incubation: The Magic of Transformation:
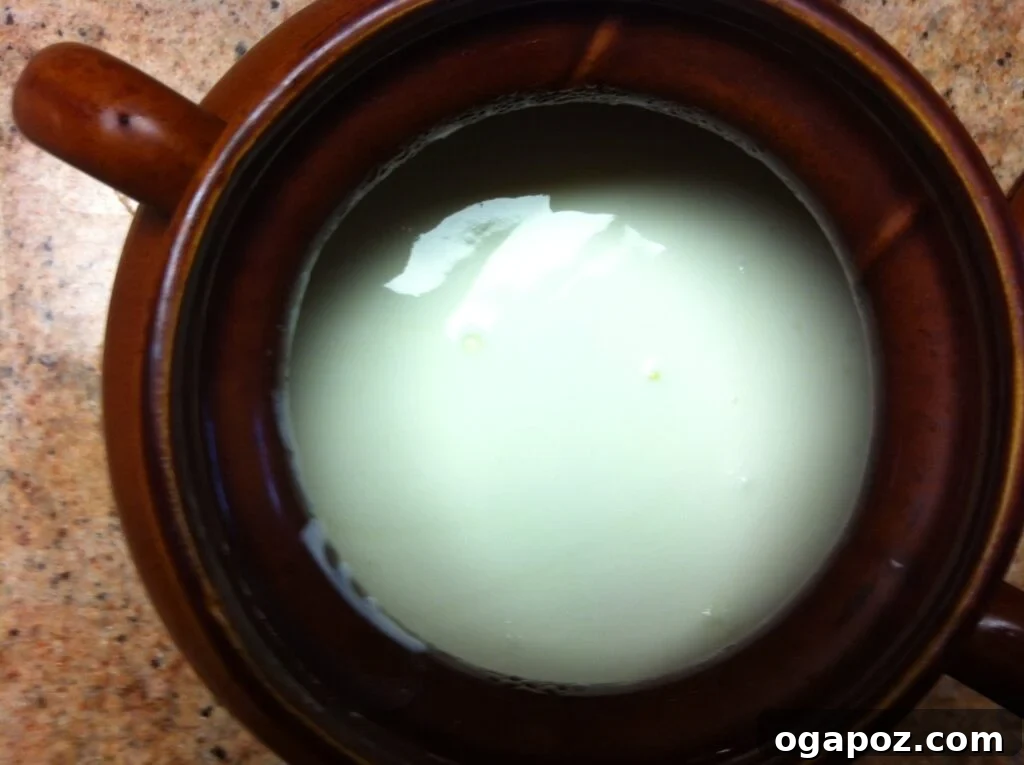
Carefully pour the milk and starter mixture into your clean enamel or porcelain container. Cover it securely with a lid or plate. Now comes the critical incubation phase. Wrap the container snugly with a towel – one towel might suffice in warmer summer months, but in winter, using a blanket or two thick towels will provide better insulation. Find a warm, draft-free spot in your kitchen where the container can rest undisturbed. Allow the mixture to incubate for 4 to 12 hours, or until it has visibly set. My Mom and I often let it sit overnight to ensure maximum thickness and flavor. You’ll know it’s ready when the top of the yogurt appears firm and doesn’t slosh around when gently tilted. During incubation, the live active cultures consume the lactose (milk sugar) and produce lactic acid, which thickens the milk and gives yogurt its characteristic tangy flavor.
As depicted here, we used two towels, creating a cozy cocoon for the yogurt in a warm kitchen corner. This passive incubation method leverages ambient warmth to facilitate the fermentation process.
-
Chill and Enjoy Your Fresh Laban:
Once your yogurt has set, gently transfer the covered container to the refrigerator. Chilling is essential as it halts the fermentation process, further firms up the yogurt’s texture, and enhances its flavor. Allow it to chill for at least 4 hours, or ideally, overnight, before serving. The result will be a beautifully smooth, creamy, and wonderfully tangy homemade Laban, a true labor of love that far surpasses anything you’d find in a store. We recently enjoyed a fresh batch alongside a traditional Lebanese feast of Kibbeh, warm pita, and creamy hummus—a perfect culinary harmony.

Expert Tips for Homemade Yogurt Perfection
Making homemade yogurt is a rewarding experience that becomes even easier and more intuitive with practice. Here are some invaluable tips to ensure your success and help you fine-tune your technique:
- Choosing Your Starter: When we first embarked on this journey, without a dedicated starter culture, we successfully used three tablespoons of plain, live-culture Stonyfield yogurt. If you prefer to use a specialized freeze-dried starter, several reputable online sources offer them. Here are a couple you might consider:
- Cultures for Health – Yogurt Starter
- King Arthur Flour – Yogurt Starter
Using a commercial yogurt as a starter is a great way to begin, but dedicated starter cultures can sometimes offer more consistent results or specific strains of bacteria.
- The Art of Incubation Time: The duration of your yogurt’s incubation directly impacts its flavor and thickness. Generally, the longer the yogurt sits, the tangier and often thicker it will become. While you can certainly achieve a set yogurt in 3-4 hours, we find that letting it incubate overnight yields a far superior taste and texture, allowing the cultures ample time to develop. My Mom has even utilized a slightly warmed oven (turned off, of course, with just the pilot light or residual heat) as an effective incubation chamber, especially in colder climates.
- Creating a Continuous Starter Cycle: One of the most economical and satisfying aspects of homemade yogurt is the ability to use a small portion of your freshly made batch as the starter for your next one. Once your yogurt is chilled and ready, simply scoop out a few tablespoons into a clean, airtight container and refrigerate it. This “mother” starter can be used for your subsequent batches, creating a sustainable and continuous supply of homemade yogurt. Ensure this starter portion is always fresh for the best results.
- Understanding Flavor Variations: The taste of your homemade yogurt can vary depending on several factors, particularly the age and freshness of your starter. If you use a starter that has been refrigerated for a week or more, your resulting yogurt will likely have a more pronounced tart flavor. Conversely, using a very fresh starter (either a new commercial yogurt or a portion from a recently made batch) typically produces a sweeter, milder yogurt. Experiment with different starter ages to discover your preferred level of tanginess.
- Maintaining Ideal Temperature: Consistency is key. Keeping the milk at the perfect temperature during heating and cooling, and then ensuring a stable warm environment during incubation, are the most critical factors for successful yogurt making. Avoid temperature fluctuations during incubation, as this can hinder the bacterial activity.
- Exploring Different Milk Types: While our recipe focuses on cow’s milk, you can experiment with goat’s milk or even plant-based milks like soy or cashew milk. Be aware that non-dairy milks often require different thickeners or specific starter cultures to achieve a similar consistency.
I understand that the first attempt at making yogurt can feel a little daunting, as it did for me. However, I promise that with each batch you make, the process becomes incredibly easy and intuitive. Don’t hesitate to reach out with any questions or leave a comment below—I’m here to help you discover the joy of homemade Laban!
Julia