
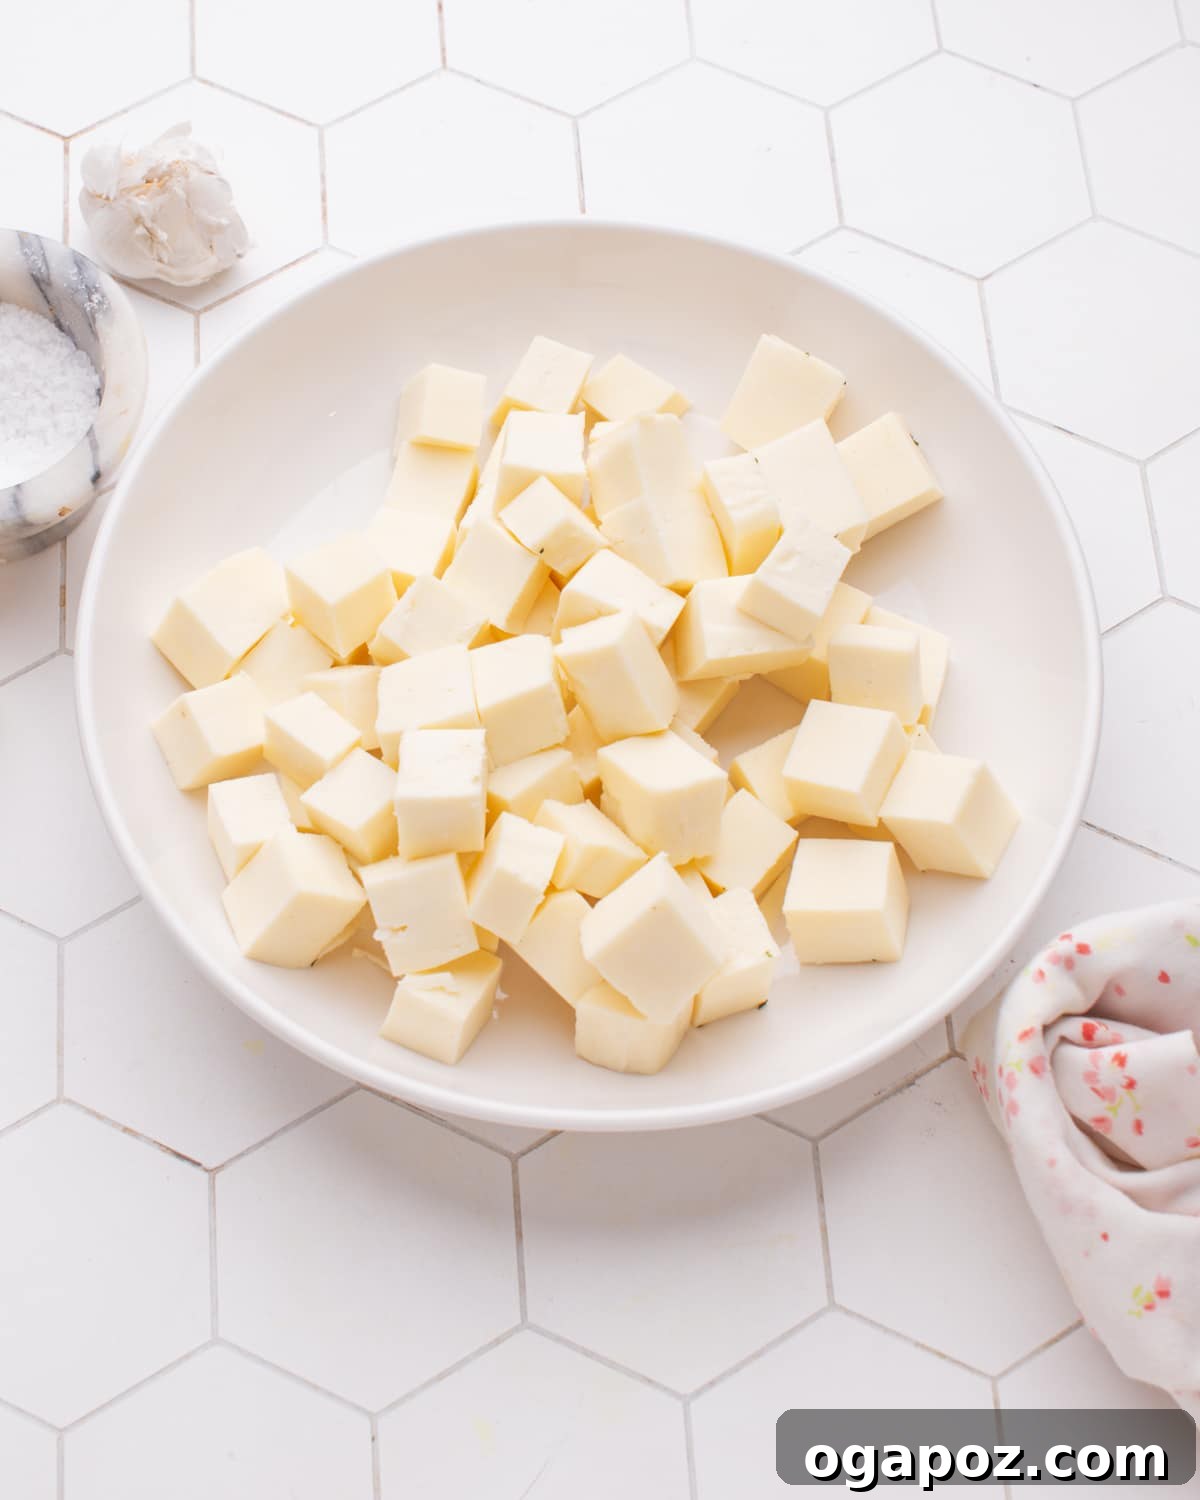
Ever wondered if you could master the art of making fresh, delicious paneer right in your own kitchen? You’re in luck! This comprehensive guide will walk you through an incredibly easy homemade paneer recipe that demands just three simple ingredients, about 10 minutes of active time, and virtually no specialized culinary skills. Forget bland, rubbery store-bought options; prepare to elevate your Indian cooking with paneer that’s wonderfully fresh, tender, and bursting with milky flavor. Follow along as we unveil each crucial step to crafting your very own homemade paneer using milk, transforming ordinary dairy into extraordinary Indian cottage cheese.
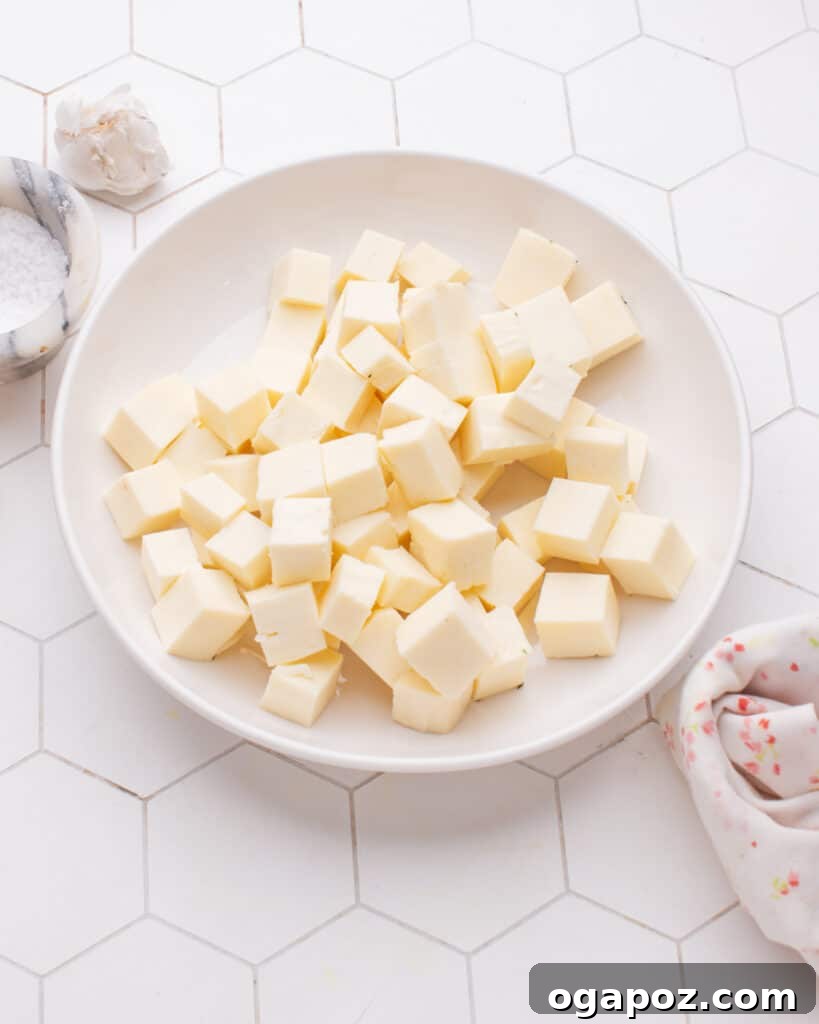
What is Paneer? A Staple of Indian Cuisine
If you’re here, chances are you already have a love for paneer, or you’re curious to learn more about this incredible ingredient. For the uninitiated, paneer is a fresh, non-melting cheese that holds an irreplaceable position in Indian cooking. Unlike many other cheeses, paneer is made without rennet, making it a naturally vegetarian-friendly option that’s widely enjoyed across India and beyond.
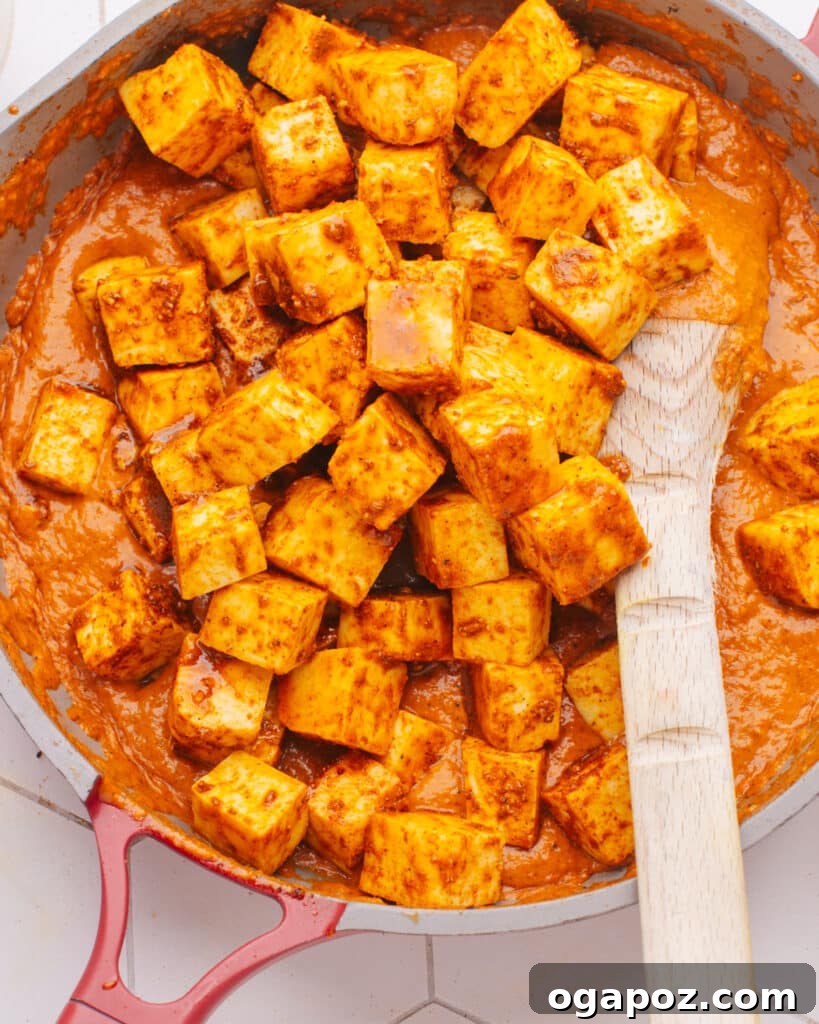
Its unique texture—firm yet creamy, with a delightful chewiness—makes it incredibly versatile. You’ll find paneer adding substance and richness to a vast array of vegetarian dishes, from hearty curries to savory snacks and even delectable desserts. Imagine tender cubes of paneer soaking up the rich flavors of a spicy curry, or grilled to perfection for a smoky appetizer. It’s a culinary chameleon that effortlessly adapts to different preparations.
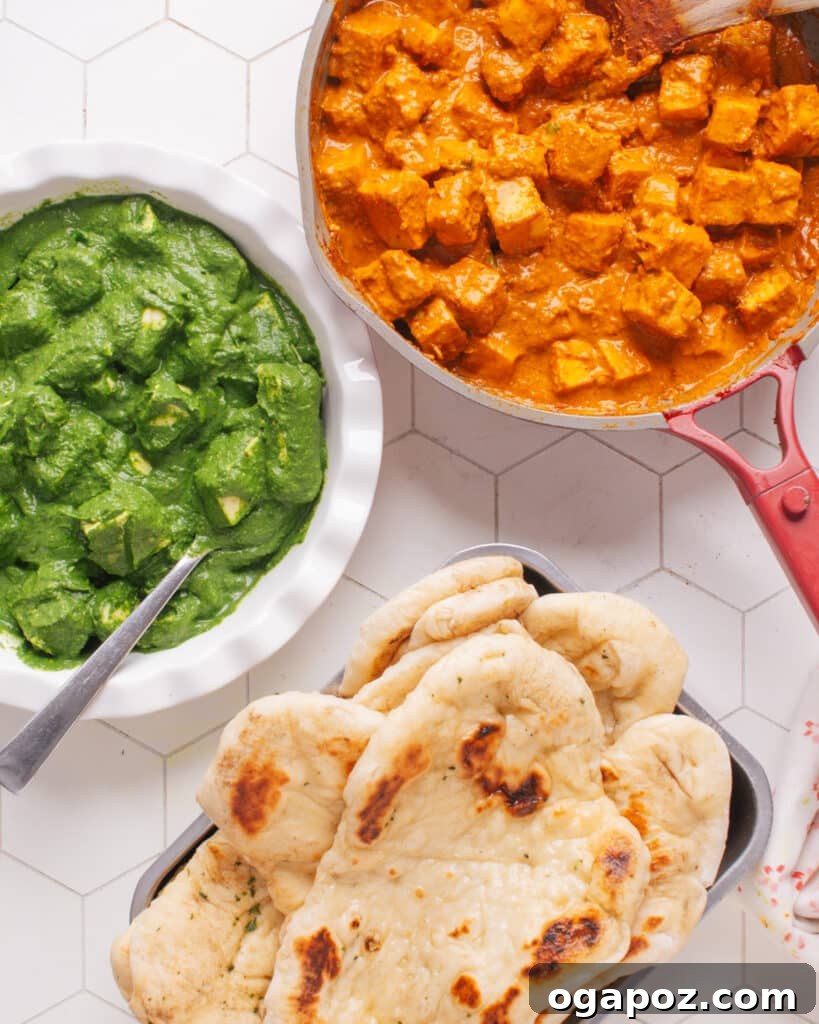
Beyond its culinary adaptability, paneer is also valued for its nutritional profile, offering a good source of protein and calcium. It’s a fantastic alternative to meat, providing satisfying bulk and texture to vegetarian meals. Popular dishes include classics like Saag Paneer (spinach curry with paneer), rich Butter Paneer, and the decadent Malai Kofta (paneer dumplings). For snack lovers, try my marinated paneer on skewers for grilling!
The process of making paneer is a fascinating one, essentially involving the gentle curdling of milk using a food-safe acid, typically lemon juice or vinegar. This separates the milk into solid curds and liquid whey. After draining the whey, the curds are pressed into a firm block, ready to be sliced, cubed, or crumbled. This homemade version of Indian cottage cheese not only offers unparalleled freshness but also boasts a superior, more authentic flavor compared to most store-bought varieties, which can often be rubbery or contain unwanted additives.
Essential Ingredients for Homemade Paneer
Crafting paneer at home is surprisingly straightforward, relying on just a few fundamental ingredients that likely already reside in your pantry or refrigerator. The magic lies in their interaction and the simple technique. Here’s a detailed look at what you’ll need:
The Core Three Ingredients
- Whole Milk: This is the foundation of your paneer. Also known as homogenized or full-fat milk, whole cow’s milk is most commonly used due to its fat content, which yields a creamy, rich, and generous amount of paneer. While cow’s milk is standard, buffalo milk is traditionally used in many parts of India and can produce an even richer, firmer paneer due to its higher fat and protein content. Avoid skim or low-fat milk if possible, as they result in a much smaller yield and a drier, less flavorful paneer.
- Lemon Juice: This is your acidic coagulant, the key player in separating the milk into solid curds and liquid whey. The citric acid in lemon juice efficiently breaks down the milk proteins. Freshly squeezed lemon juice is always preferred for the best flavor, as bottled varieties can sometimes have a slightly artificial taste. If you don’t have lemon juice, don’t worry—there are excellent alternatives!
- Salt (Optional but Recommended): A good pinch of salt is optional, but highly recommended. Adding salt at the right stage enhances the natural milky flavor of the paneer, preventing it from tasting flat. It’s a small addition that makes a noticeable difference in the final product.
Variations and Substitutions for Your Coagulant
The beauty of homemade paneer lies in its flexibility. While lemon juice is a popular choice, you can experiment with other acidic ingredients to curdle the milk, each imparting a slightly different nuance to your paneer:
- Yogurt instead of Lemon Juice: If you’re looking for a slightly milder flavor profile, yogurt can be an excellent alternative. Yogurt is less acidic than lemon juice, so you’ll need a bit more and may need to adjust the quantity. Start with about ½ cup of plain, unsweetened yogurt per gallon of milk and add more incrementally if the milk doesn’t curdle sufficiently. The resulting paneer can have a subtle tang.
- Vinegar (White or Apple Cider) instead of Lemon Juice: White vinegar or apple cider vinegar are direct and effective swaps for lemon juice. Use the same quantity you would for lemon juice (e.g., ¼ cup per gallon of milk). Vinegar tends to curdle milk very efficiently and can produce a slightly firmer paneer. Ensure you rinse the curds well to remove any lingering vinegar taste.
- Heavy Cream for Richer Paneer: For an exceptionally rich and decadent paneer, consider adding up to ½ cup of heavy cream to your whole milk before heating. This boosts the fat content, resulting in an even creamier, more luxurious cheese that’s perfect for special dishes.
Related Reads: Curious about how paneer compares to other cheeses and protein sources? Check out our guides on Tofu vs. Paneer and Halloumi vs Paneer.
Essential Kitchen Equipment You’ll Need
Making paneer doesn’t require specialized gadgets. Most of what you need is likely already in your kitchen. Here’s a breakdown:
- Large Stockpot: Essential for heating the milk. Choose one that’s large enough to comfortably hold your milk volume and prevent boil-overs when the milk froths up. A pot with a thick bottom helps prevent scorching.
- Colander: This will hold your cheesecloth and curds, allowing the whey to drain away efficiently.
- Cheesecloth or Clean Tea Towel: Absolutely critical for straining the curds from the whey. A fine-mesh strainer alone won’t suffice, as the curds are too fine and will pass through. Cheesecloth provides the perfect filtration, while a clean, open-weave muslin cloth or even a thin, bleached cotton tea towel can work as effective alternatives. Ensure whatever you use is clean and scent-free.
- Heavy Skillet and Cans (or other weights): These improvised weights are used to press the strained curds into a firm, cohesive block. The more pressure you apply and the longer you press, the firmer your paneer will be. You can use anything heavy: a cast-iron skillet, heavy books, cans of tomatoes, a pot filled with water, or even a small weight plate. Consistency in pressure is key for an even block.
- Large Spoon or Ladle: For stirring the milk and adding the coagulant.
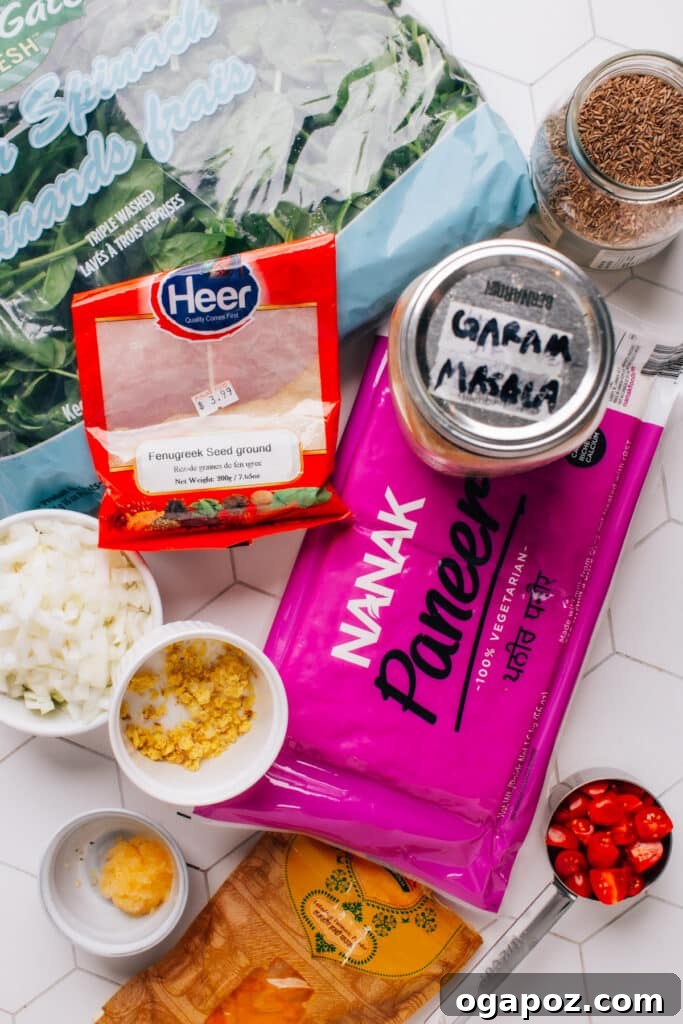
While store-bought paneer is convenient, it can often have a rubbery texture and sometimes contains stabilizers or preservatives that compromise its natural flavor. The joy and superior quality of homemade paneer are simply unmatched.
Enough talk about the theory and equipment. Let’s roll up our sleeves and get started!
Crafting Your Own Paneer: A Detailed Step-by-Step Guide
Making paneer is a rewarding experience. Here’s how to do it with ease:
- Heat the Milk to a Rolling Boil:
Begin by pouring your whole milk into a large, heavy-bottomed stockpot. Place it over medium heat. Stir occasionally to prevent the milk from scorching at the bottom of the pot. As the milk heats, watch it closely, especially once it starts to steam. It will quickly come to a rolling boil and can overflow in an instant if unattended. As soon as you see large bubbles forming rapidly and the milk is actively boiling, immediately remove the pot from the heat. - Curdle the Milk:
With the milk removed from the heat, pour in the lemon juice (or your chosen acidic coagulant like vinegar or yogurt). Stir gently and continuously for about 30 seconds. You’ll notice almost instantly that the milk begins to curdle, separating into distinct solid white curds and yellowish-greenish translucent liquid (whey). If, after 30 seconds, the separation isn’t clear, add another tablespoon of lemon juice and stir again. It almost always works on the first try with sufficient heat and acid. Let the mixture stand undisturbed for 10 minutes to allow for complete separation.
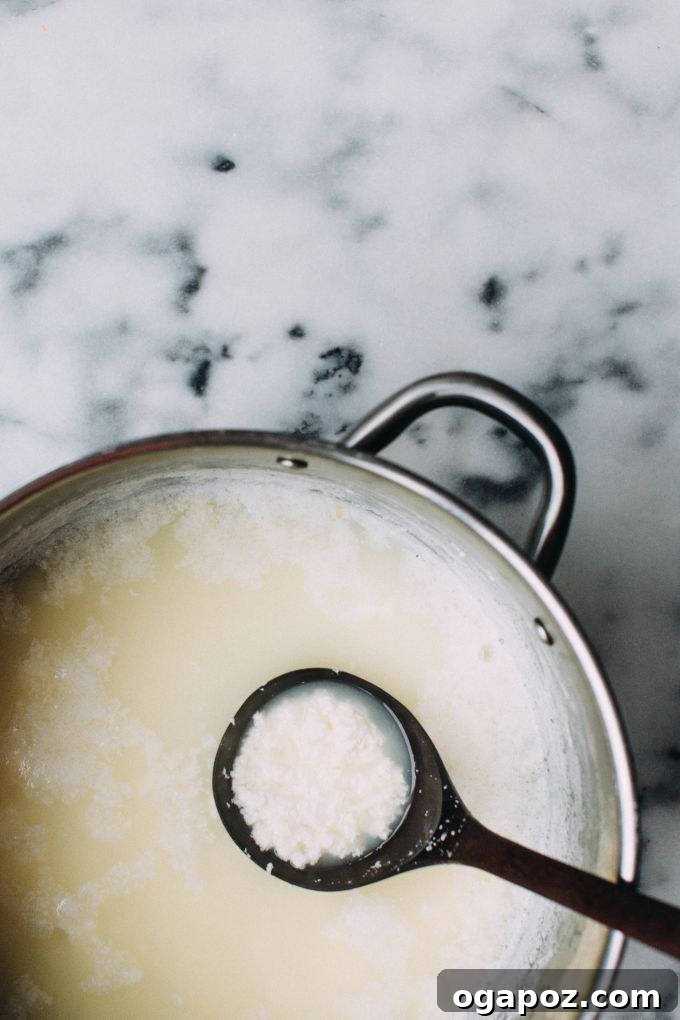
3. Strain the Curds from the Whey:
Prepare your straining setup by lining a colander with two layers of cheesecloth (or a clean, thin muslin cloth/tea towel). Place the colander in the sink or over a large bowl to collect the whey (which can be saved for baking, soups, or even to knead dough!). Carefully pour the curdled milk mixture into the cloth-lined colander. Allow it to sit for a few minutes, letting most of the liquid whey drain away naturally. Once the initial draining is complete, gather the corners of the cloth and gently rinse the curds under cool running water for about a minute. This step is crucial to wash away any residual lemon or vinegar flavor, ensuring a clean, milky taste for your paneer.
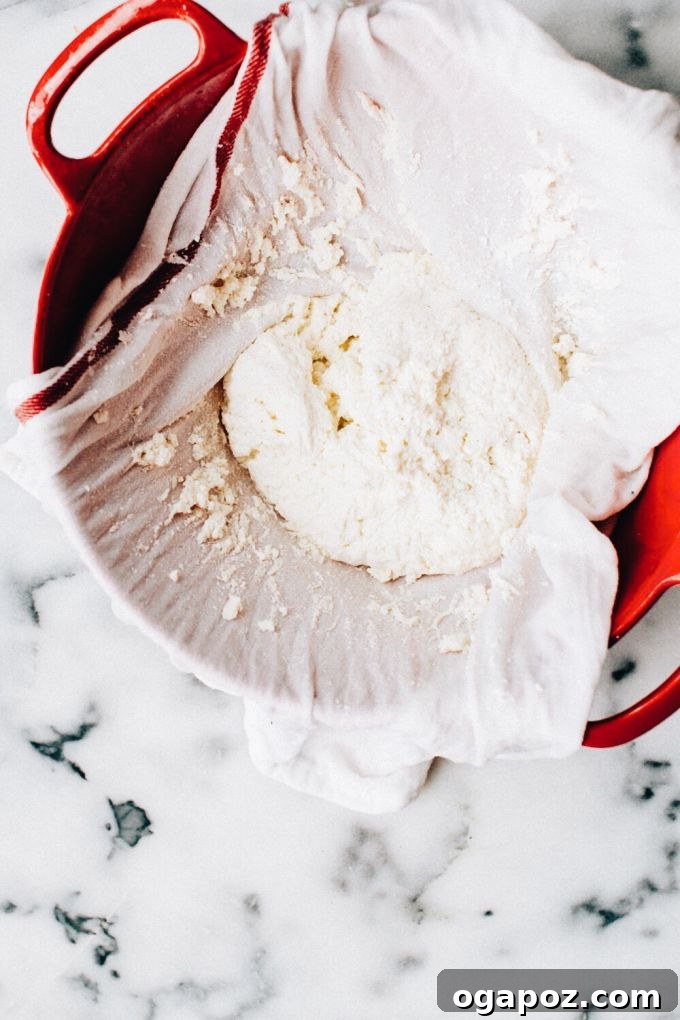
4. Season and Form the Paneer Ball:
Once rinsed, twist the corners of the cheesecloth tightly to form a ball, gently squeezing out as much remaining moisture as possible. The curds will start to consolidate into a soft, cohesive mass. Open the cloth and add a good pinch of salt directly to the curds. Mix it in with a spoon or your hands, then taste a small bit to adjust the seasoning if desired. Rewrap the curds into a tight ball within the cloth, twisting the top firmly to create a compact package.
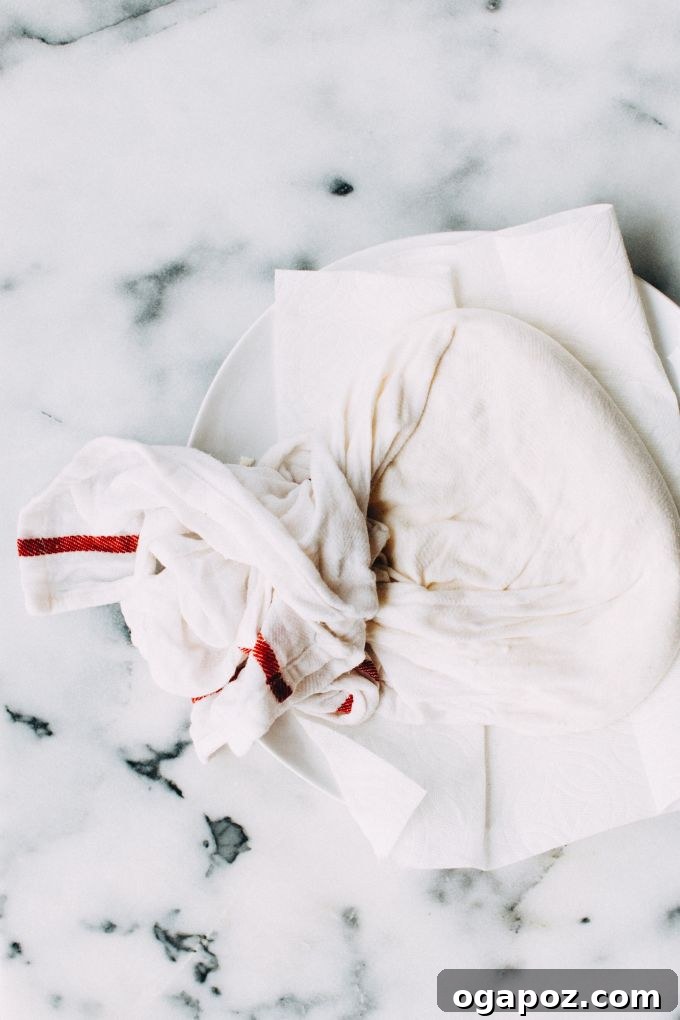
5. Press the Paneer into a Firm Block:
Place the cloth-wrapped paneer bundle onto a plate lined with a few layers of paper towel (this helps absorb any lingering moisture). Flatten the bundle slightly with your hand to ensure an even shape. Now, place a heavy skillet or a cutting board on top of the paneer bundle. Load the skillet with additional weights—cans of tomatoes, heavy books, or a pot full of water work perfectly. The goal is to apply consistent, even pressure. Allow the paneer to press and drain for approximately 20 minutes for a softer paneer, or up to 1-2 hours for a firmer block that’s easier to slice and fry. Once pressed, unwrap your beautiful homemade paneer, cut it into desired shapes, and it’s ready to use!
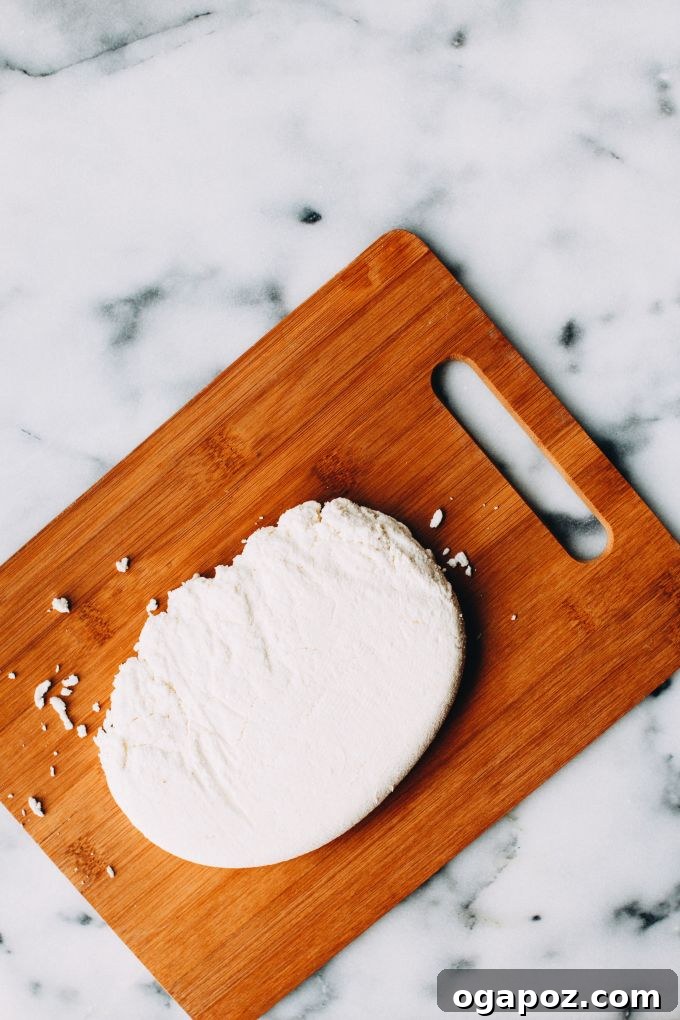
It’s truly that simple, yet the result is a culinary triumph! Nobody needs to know how easy it was (unless you choose to share this amazing recipe, which we encourage!). The best part, aside from enjoying soft, buttery paneer with warm naan, is the satisfaction of casually mentioning, “Oh, last night, when I was making cheese…” It’s a delightful feeling that only homemade goodness can bring.
Storing Your Homemade Paneer
One of the many advantages of homemade paneer is its excellent keeping quality. You can easily prepare it in advance and store it to enjoy throughout the week. Here’s how to ensure your paneer stays fresh and delicious:
Refrigeration (Make-Ahead)
- Proper Storage: Once your paneer block is pressed and cooled, it’s crucial to store it correctly to maintain freshness. Wrap the paneer tightly in plastic wrap, or even better, place it in an airtight container submerged in fresh cold water. Changing the water daily can further extend its freshness.
- Shelf Life: Stored properly in the refrigerator, homemade paneer will remain fresh and delicious for up to a week.
- Refresh Before Use: If your paneer feels a bit hard or dry after refrigeration, simply soak it in warm water for about 5 to 10 minutes before use. This will beautifully restore its soft, tender texture, making it perfect for cooking.
Can You Freeze Paneer?
Yes, absolutely! Paneer holds up remarkably well in the freezer, making it a fantastic option for meal prep and extending its shelf life even further. However, be aware that the texture can change slightly after thawing; it may become a bit more crumbly or slightly firmer. This makes it ideal for dishes where it will be cooked in a sauce, like curries, rather than eaten raw or lightly fried, where texture is paramount. Here’s how to freeze it properly:
- For Whole Blocks: If you’ve made a large block of paneer and plan to use it whole or slice it later, wrap it very tightly in plastic wrap, followed by a layer of aluminum foil or place it in a freezer-safe airtight container. This helps prevent freezer burn.
- For Cubes or Slices: If you know you’ll be using paneer in specific shapes, it’s best to cut it into cubes or slices before freezing. Spread the pieces out on a baking sheet lined with parchment paper and freeze them individually for about 1-2 hours. This “flash freezing” prevents them from sticking together. Once frozen, transfer the individual pieces to a freezer-safe zip-top bag, removing as much air as possible.
- For Grated Paneer: If you prefer to use grated paneer, grate it fresh and then store it in a zip-top bag, again ensuring minimal air exposure.
To use frozen paneer, the best method is to thaw it slowly in the refrigerator overnight. Alternatively, for quicker thawing, you can place the frozen paneer (still wrapped) in a bowl of warm water for about 30 minutes. If, after thawing, it feels a little dry, soaking it in warm water for a few minutes can help restore some moisture and softness. Freezing is most effective for paneer destined for saucy dishes, as any subtle changes in texture will be less noticeable when it’s enveloped in a rich gravy.
Frequently Asked Questions (FAQs) About Making Paneer at Home
Got a quick question about homemade paneer? We’ve got quick, insightful answers here!
How is paneer prepared?
Paneer is traditionally prepared by heating whole milk to a boil, then introducing an acidic agent like lemon juice, vinegar, or yogurt to curdle it. This process separates the milk into solid curds and liquid whey. The curds are then collected, drained, rinsed, seasoned (optionally), and pressed under weight to form a firm block, which can then be cut into various shapes for cooking.
Is homemade paneer good?
Absolutely, homemade paneer is often considered far superior to most store-bought varieties. It boasts a fresher, creamier taste and a more tender, less rubbery texture. Furthermore, making it at home allows you to control the ingredients, ensuring no additives, and customize its firmness and fat content to your preference.
Are cottage cheese and paneer the same?
No, cottage cheese and paneer are distinctly different, though both are fresh cheeses. Paneer is a firm, pressed cheese that can be easily sliced, cubed, or fried without melting, making it ideal for robust curries and grilling. Cottage cheese, on the other hand, is a soft, unpressed cheese with a creamy, lumpy texture, typically consumed as is or mixed into lighter dishes. Their culinary applications are quite different due to their structural properties.
Related: For a deeper dive into their differences and substitution tips, read our article on Cottage Cheese Vs Paneer.
How much paneer does a gallon of milk make?
From one gallon of whole milk (approximately 3.8 liters), you can typically expect to yield about 1.5 to 2 pounds (roughly 680 to 900 grams) of paneer. This yield can vary slightly based on the fat content of the milk, the efficiency of the curdling process, and how much whey is pressed out during shaping.
Is it cheaper to make your own paneer?
Generally, yes, making your own paneer can be more cost-effective than purchasing it, especially if you buy whole milk in larger quantities or when it’s on sale. While the initial cost of milk might seem similar, you gain control over the quality and freshness, often yielding a superior product for a comparable or lower price per pound than premium store-bought options.
How much paneer can I make from 1 Litre milk?
From one liter of whole milk, you can typically yield approximately 200 to 225 grams (about 7 to 8 ounces) of fresh paneer. Again, this is an estimate and can vary with milk quality and fat content.
Does homemade paneer melt?
No, paneer is a non-melting cheese. Unlike cheeses like mozzarella or cheddar, paneer retains its shape even when heated to high temperatures. Instead of melting, it softens and becomes wonderfully tender, absorbing the flavors of the sauces it’s cooked in. This unique property makes it excellent for grilling, frying, and simmering in curries without losing its integrity.
Is store-bought paneer good?
Store-bought paneer can certainly be convenient and good, especially from reputable brands that prioritize freshness and quality. However, it often pales in comparison to the taste and texture of homemade paneer. Homemade offers unparalleled freshness, a creamier texture, and the absence of preservatives or stabilizers sometimes found in commercial versions.
Can I use low-fat milk to make paneer?
While technically possible, using low-fat or skim milk to make paneer is not recommended for the best results. You will achieve a significantly lower yield, and the resulting paneer will be much drier, less creamy, and can have a more crumbly texture compared to paneer made with whole milk. For the authentic paneer experience, full-fat milk is essential.
What’s the best acid to use for making paneer?
Lemon juice is widely considered the most popular and often the best acid for making paneer due to its readily available citric acid, which provides a clean flavor and consistent curdling. White vinegar and plain yogurt are also excellent alternatives. Vinegar curdles quickly and effectively, while yogurt can impart a very subtle tang. My personal preference remains with lemon juice for its balanced flavor contribution.
How long does it take to make paneer?
The active preparation time for making paneer is surprisingly quick, roughly 10-15 minutes. This includes heating the milk, adding the acid, and straining. However, you’ll also need to account for inactive time for the curds to fully separate (about 10 minutes) and for the paneer to press into a firm block (anywhere from 20 minutes to 2 hours, depending on desired firmness). So, from start to finish, you’re looking at about 40 minutes to 2.5 hours total, with most of that being hands-off waiting time.
Delicious Dishes to Use Your Homemade Paneer
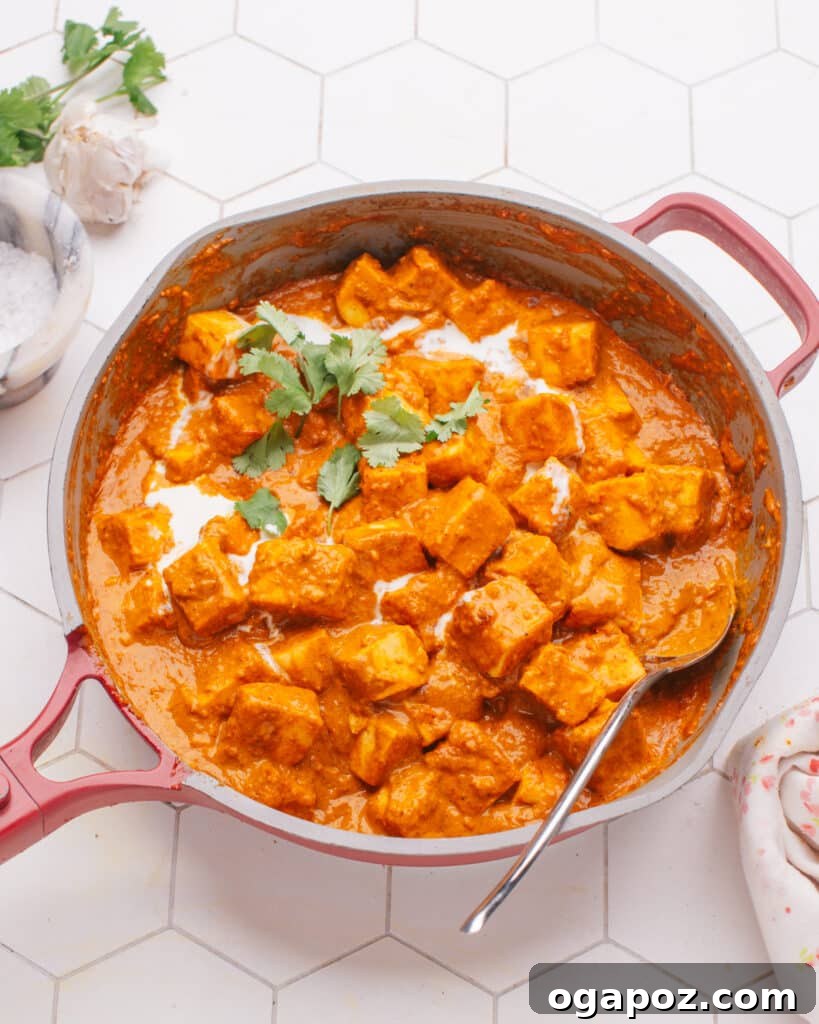
Once you’ve experienced the joy of creating your own paneer, you’ll want to use it in all your favorite Indian dishes. Homemade paneer cubes are simply perfect in rich, aromatic Indian gravies, beautifully complemented by easy basmati rice or warm roti. Here are a few of my absolute favorites that truly shine with fresh paneer:
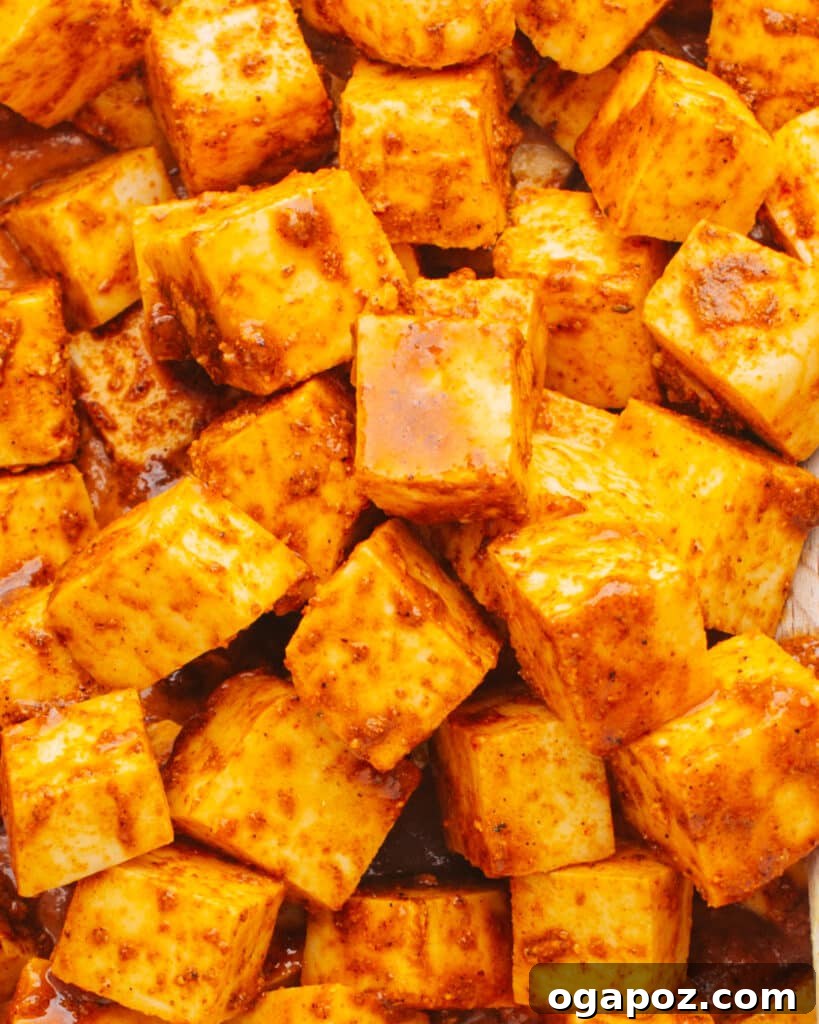
- Paneer Butter Masala: A creamy, rich, and slightly sweet curry that’s a universal favorite.
- Saag Paneer: A vibrant, healthy dish featuring paneer cubes swimming in a luscious spinach gravy.
- Malai Kofta: Soft paneer and potato dumplings served in a rich, creamy sauce.
- Palak Paneer: Another delicious spinach and paneer curry, known for its deep green hue.
- Explore even more culinary possibilities with these 52+ Delicious Paneer Recipes, including Paneer Tikka Masala, Matar Paneer, Malai Paneer, Paneer Jalfrezi (with onions and peppers), and Paneer Makhani.
Next on your culinary adventure: Master How to Marinate Paneer for incredible flavor!
How to Make Paneer at Home (Step-By-Step Guide + Easy Recipe)
Jennifer Pallian BSc, RD
2 minutes
15 minutes
40 minutes
6
Ingredients
- 12 cups whole milk
- ¼ cup lemon juice
- good pinch of salt to taste
Instructions
Boil the Milk
-
Heat milk over medium heat in a large stockpot until it comes to a boil. Watch closely as soon as it starts to steam, as it will froth and overflow quickly after it boils.
-
As soon as it boils, remove from heat and add lemon juice. Stir for about 30 seconds, as the milk starts to curdle (if it doesn’t, add another tablespoon of lemon juice – but it almost always does).
-
Let stand 10 minutes.
Drain the paneer
-
Line a colander with cheesecloth, muslin, or a clean towel.
-
Pour the curdled mixture carefully into the cloth-lined colander and let it stand for a few minutes.
-
When most of the liquid has drained, rinse it a bit with cold water (to get rid of the lemon flavor).
Squeeze and press the paneer
-
Pick up corners of the cloth and twist into a ball, squeezing as much moisture as possible from the paneer.
-
Open and stir in a pinch of salt; taste, and add more if desired.
-
Wrap it up again and squeeze it tightly. Make a knot in the cloth.
-
Place the cloth-wrapped paneer on a paper towel-topped plate with the knot to the side. Press it down to flatten it (this ensures a nice, flat brick of paneer).
-
Put a heavy skillet on top, then a couple of large cans. Allow paneer to drain like this for 20 minutes, then cut and use as desired.
Nutrition
Carbohydrates: 24g |
Protein: 16g |
Fat: 16g |
Saturated Fat: 9g |
Polyunsaturated Fat: 1g |
Monounsaturated Fat: 3g |
Cholesterol: 59mg |
Sodium: 188mg |
Potassium: 753mg |
Fiber: 0.03g |
Sugar: 24g |
Vitamin A: 803IU |
Vitamin C: 4mg |
Calcium: 610mg |
Iron: 0.01mg
Nutrition information is automatically calculated, so should only be used as an approximation.