
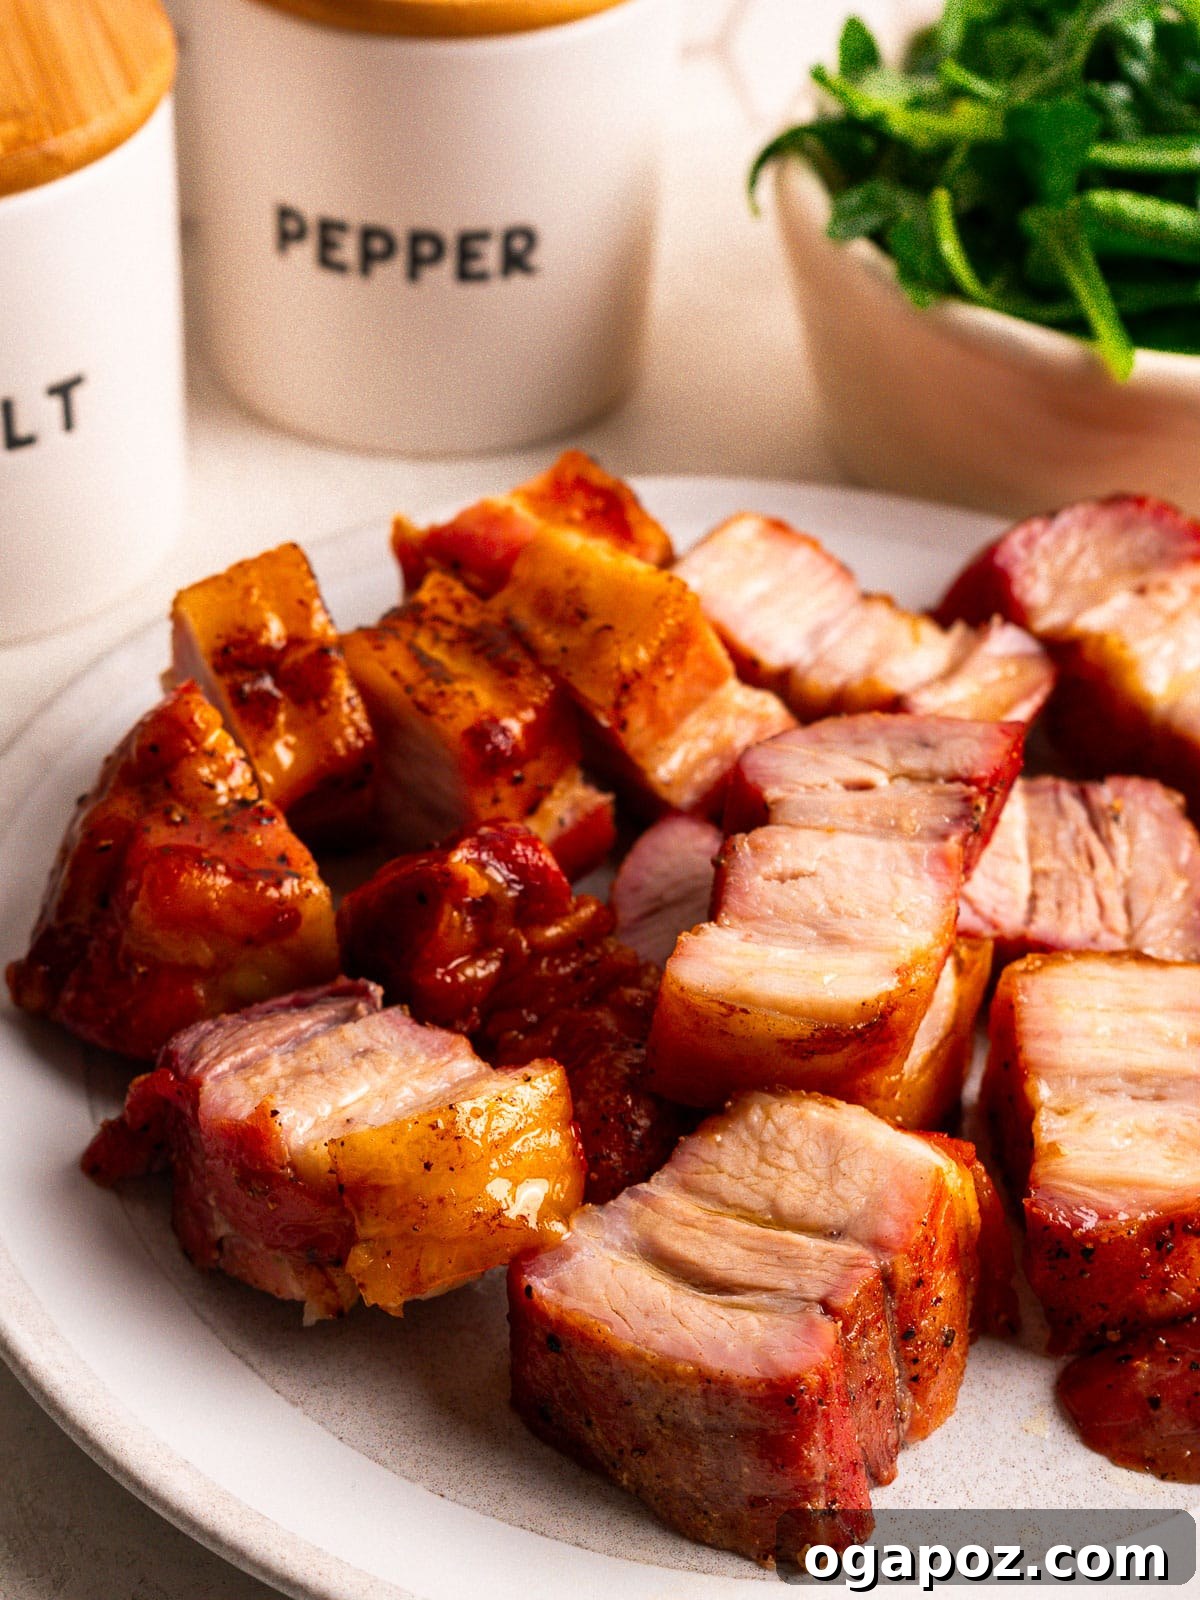
Crispy Pork Belly — a slow-roasted pork belly that yields tender, pull-apart meat and a glassy, shattering crackling. This oven method uses a simple dry-brine and a final high-heat blast to produce reliably crisp skin and juicy meat every time.
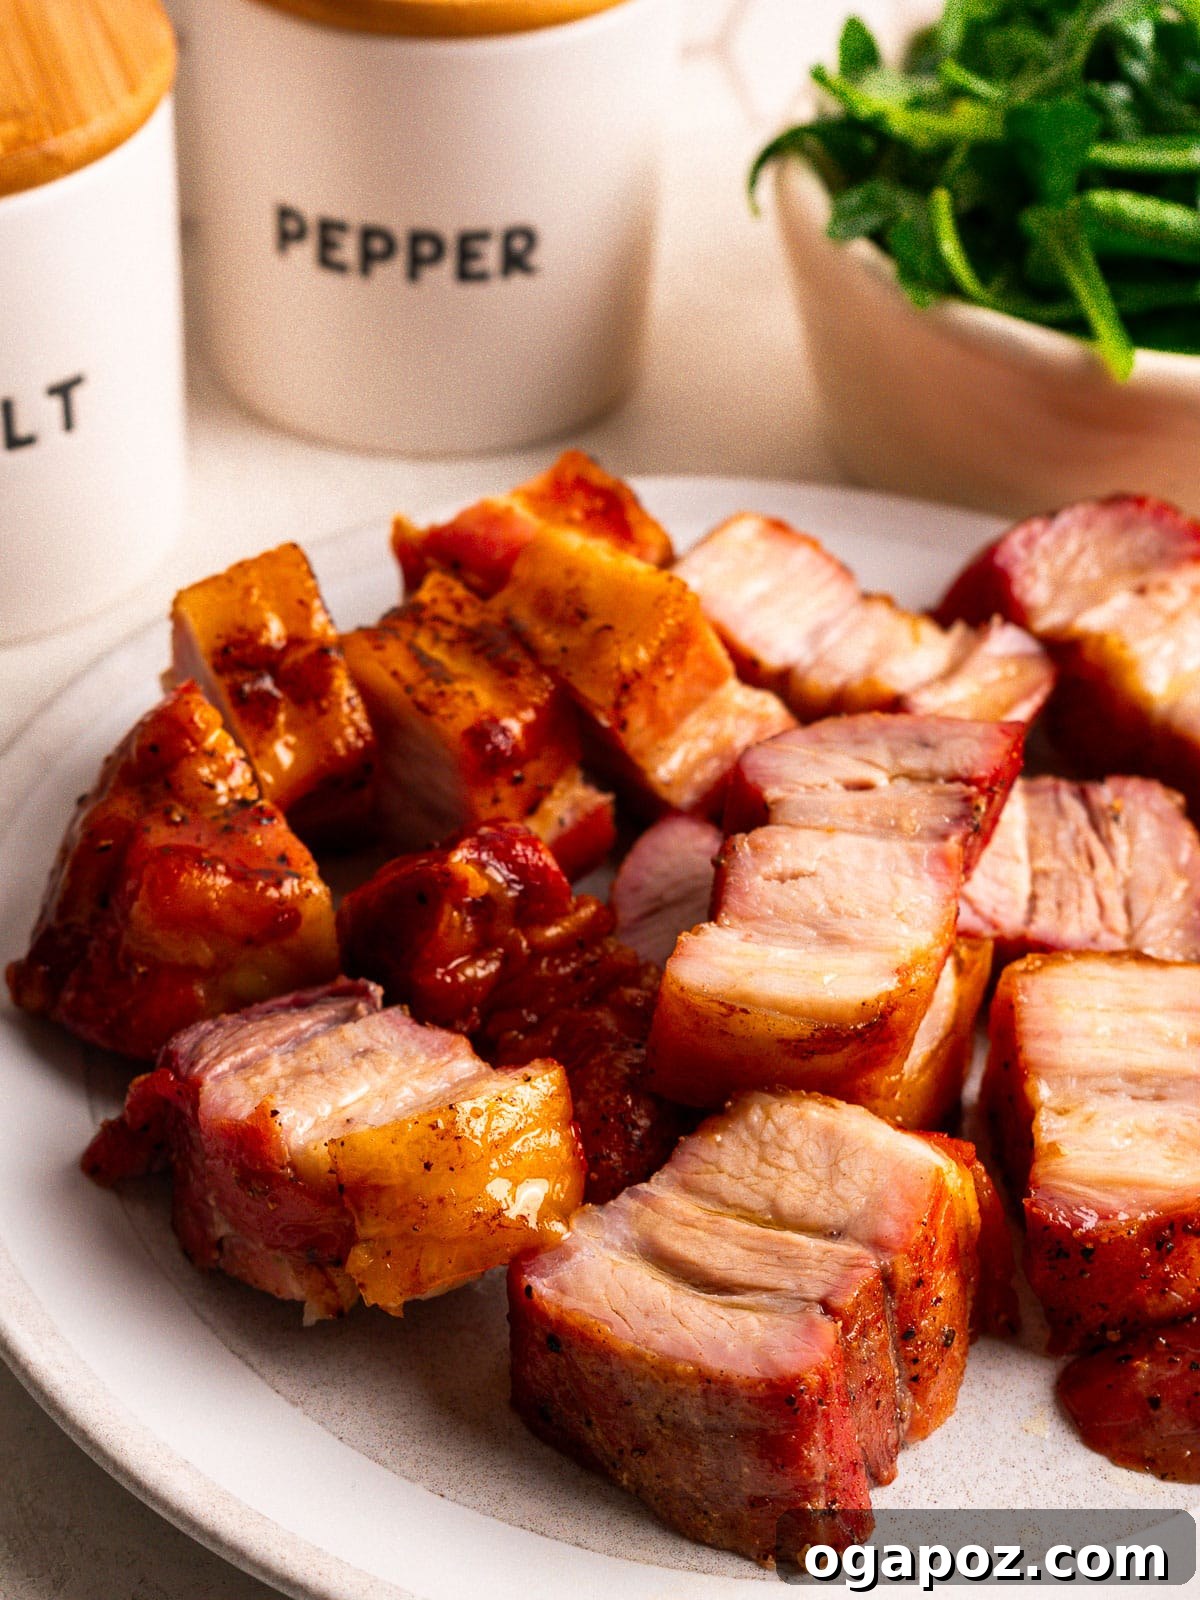
Crispy pork belly has two rewards: meat that is soft enough to pull apart and a top layer of crackling that snaps like glass. Achieving that crackling is usually a matter of drying the skin properly rather than simply increasing oven heat. Below are clear steps, ingredient notes, variations, common mistakes to avoid, storage and serving ideas to help you get perfect results.
Crispy Pork Belly Ingredients
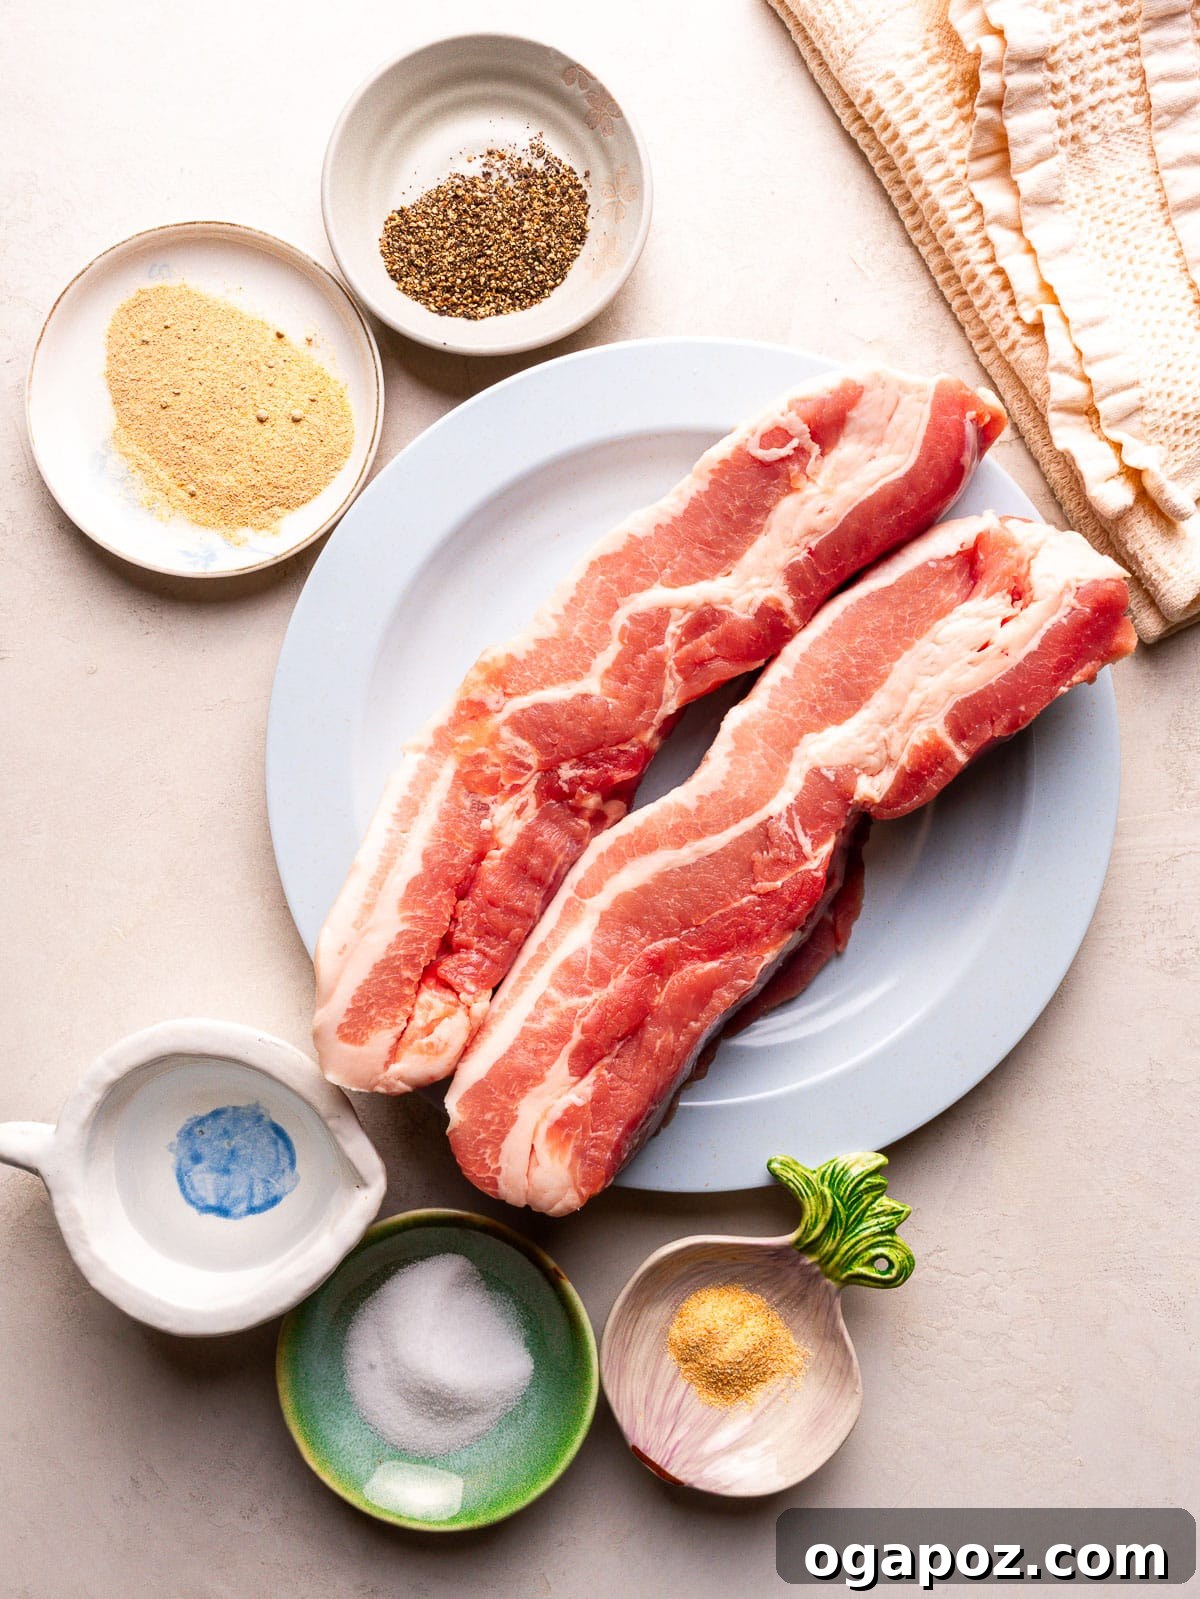
These are the essentials for the recipe below.
- Skin-on pork belly: a flat slab (2½–3 lb) is ideal, but smaller slabs work too—adjust the cooking time.
- Kosher salt: used twice — in the meat rub and as a dry brine on the skin that gets brushed off before roasting.
- Black pepper.
- Garlic powder.
- Onion powder.
- White vinegar: wipes the skin clean of surface moisture and oil before salting.
Full recipe quantities and timing are listed in the recipe section below.
If you enjoy tender pork, consider trying other pork dishes for variety and inspiration.
Variations and Substitutions
The seasoning for the meat is flexible; the skin treatment is not. Keep the skin plain and dry for best crackling.
- Chinese style: replace garlic and onion powder with five-spice for the meat side.
- Vietnamese style: season meat simply with salt and pepper and serve with fish sauce and lime.
- Spicy: add cayenne or chili flakes to the meat rub for heat.
- Vinegar swap: apple cider vinegar can replace white vinegar for wiping the skin.
- Smaller slab: a 2 lb piece will finish sooner—start checking tenderness earlier.
Tools You’ll Need
- Roasting pan: deep enough to catch rendered fat.
- Wire rack and rimmed tray: to lift the pork so air circulates under it.
- Paper towels: for thorough drying.
- Pastry brush: to wipe and remove salt from the skin.
- Aluminum foil: crumpled to prop the slab level if needed.
- Serrated knife: cuts through crackling cleanly without shattering it into shards.
How to Make Crispy Pork Belly: An Easy Guide
The key to glassy crackling is dehydration. Salt draws moisture from the skin, and leaving the skin uncovered in the refrigerator lets that moisture evaporate instead of steaming the skin. Follow these steps for consistent results.
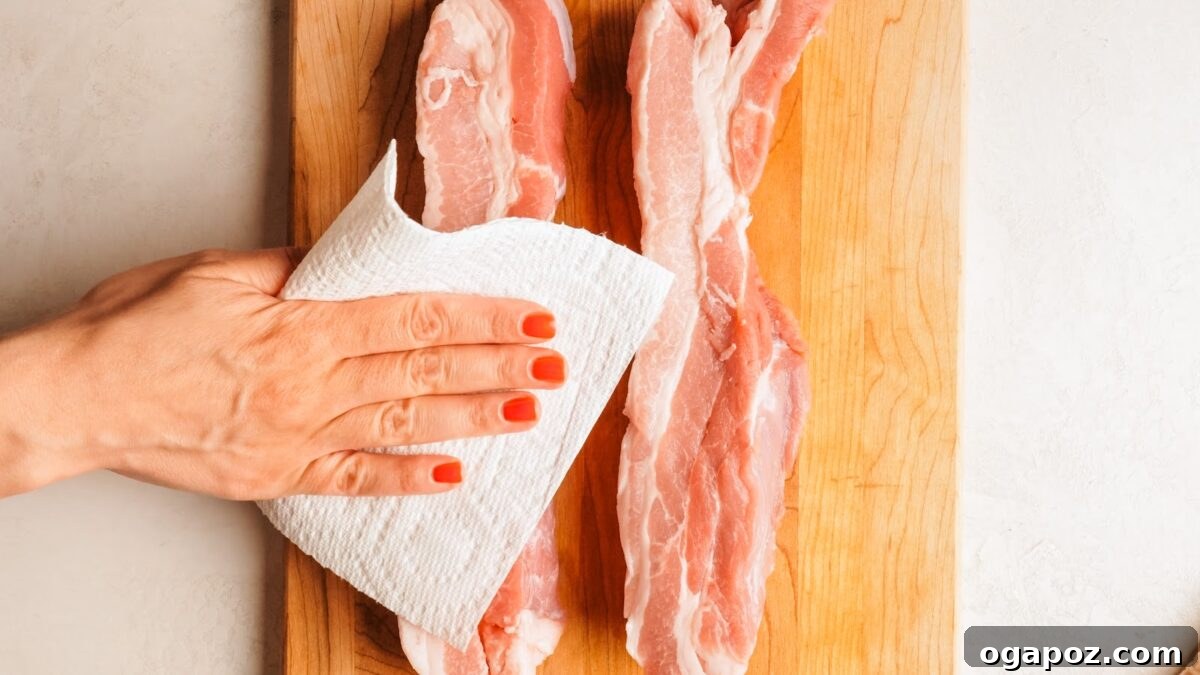
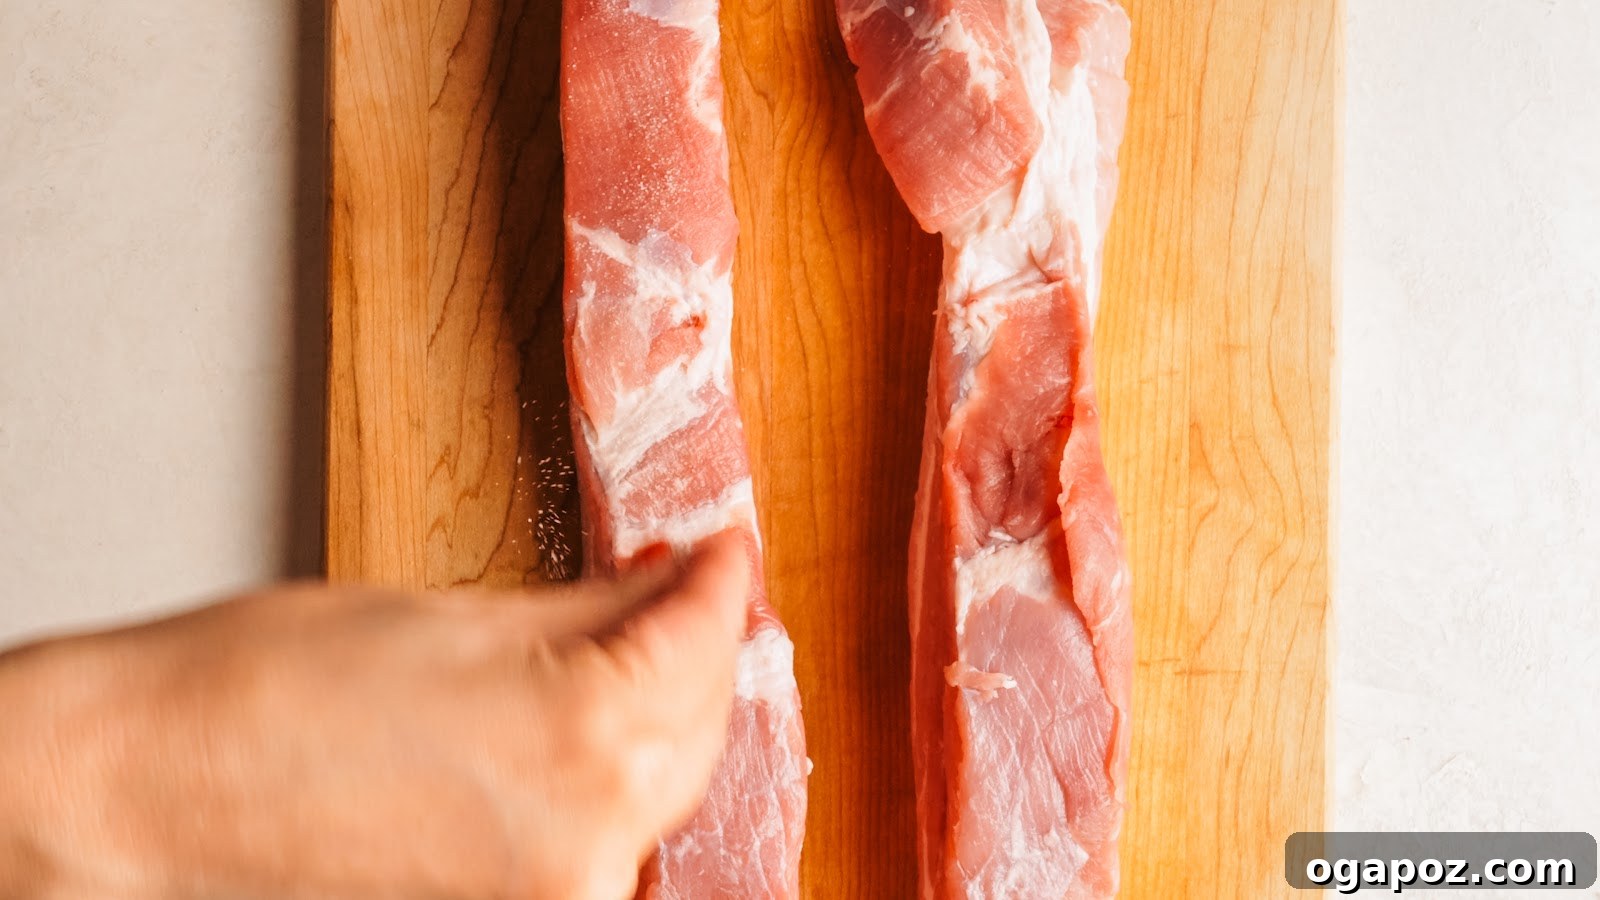
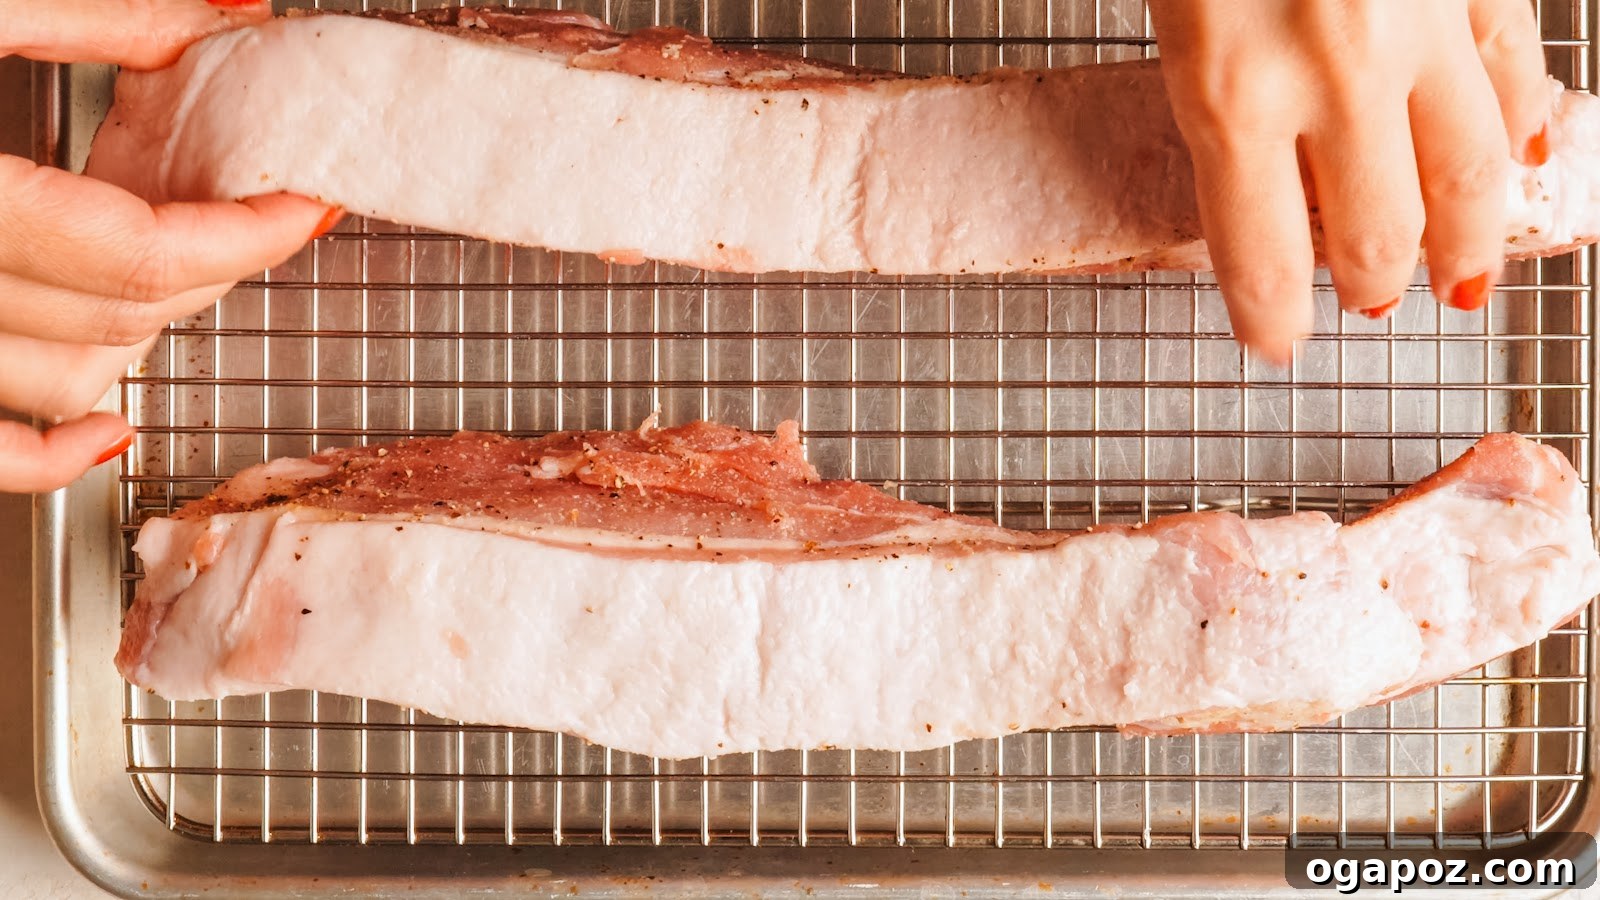
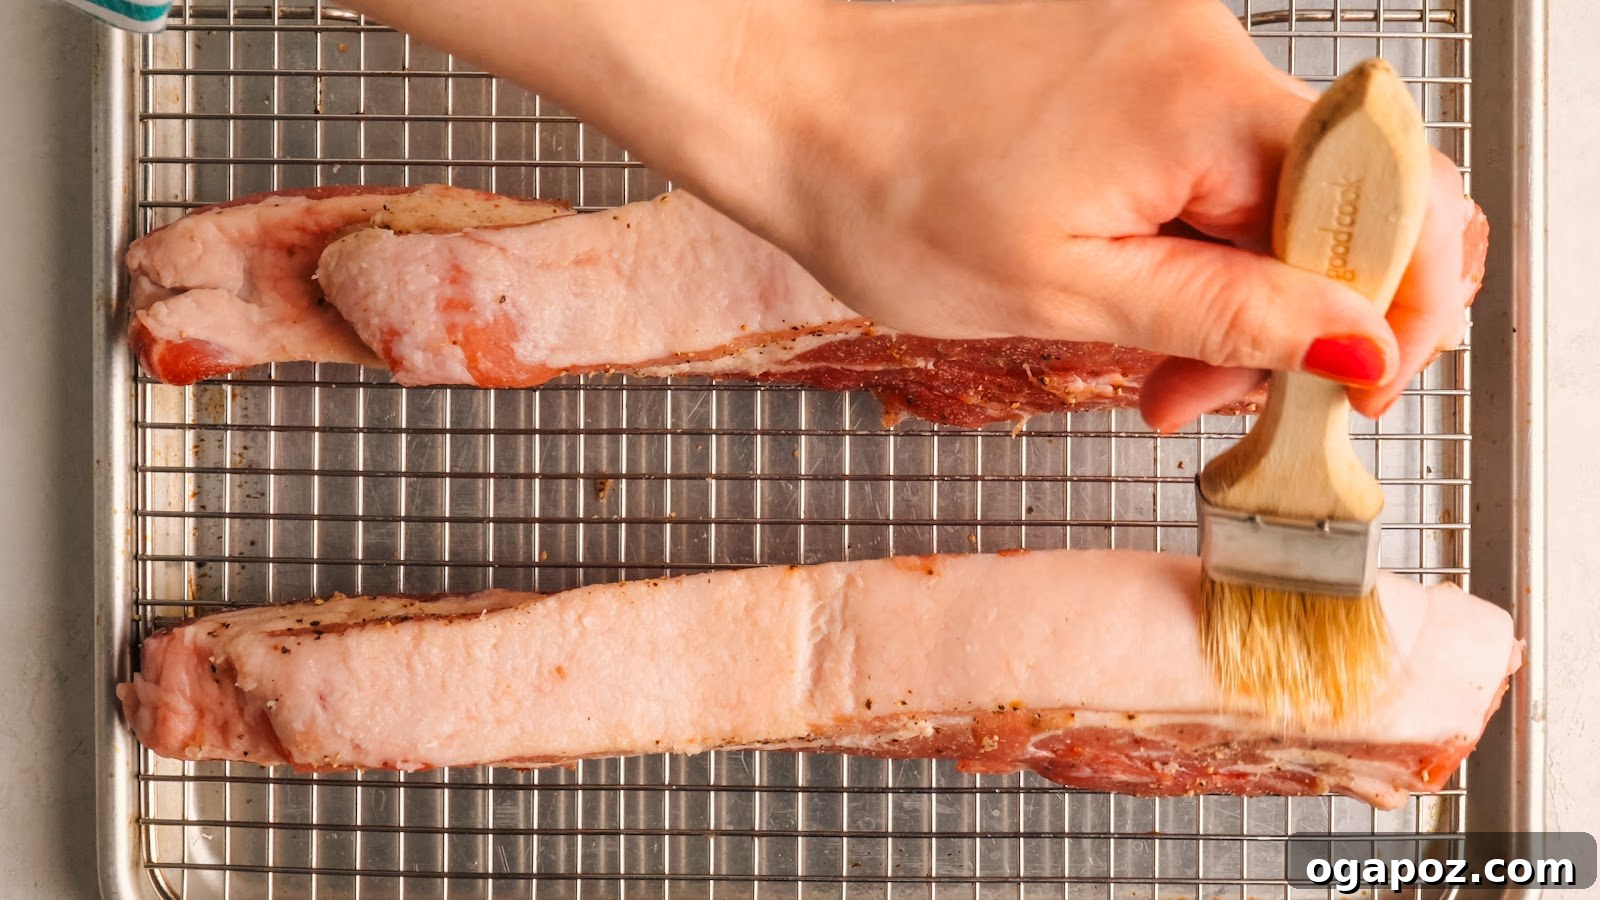
Season the Meat Side Only
Pat the pork belly fully dry the night before. Place the belly meat side up and rub the meat with kosher salt, black pepper, garlic powder and onion powder. Avoid getting any of these seasonings on the skin—the powders will burn during the final high-heat finish and dark spots will form.
Dry-Brine the Skin Overnight
Flip the slab so the skin is facing up. Wipe the skin with a little white vinegar to remove surface oils and moisture, then pat dry. Sprinkle kosher salt evenly over the skin. Place the belly on a rack over a tray and leave it uncovered in the refrigerator for 12 to 24 hours. This overnight step is essential: dry skin puffs; damp skin steams.
Slow Roast at 300°F
Preheat the oven to 300°F. Brush off excess salt from the skin and blot it dry. Place the belly skin side up on a rack in a roasting pan. If the slab leans, prop it level with crumpled foil so the skin stays perfectly upright. Roast for 2½ to 3 hours, or until the meat is very tender and much of the fat has rendered. The skin will look pale and papery at this point—this is normal.
Finish with High Heat
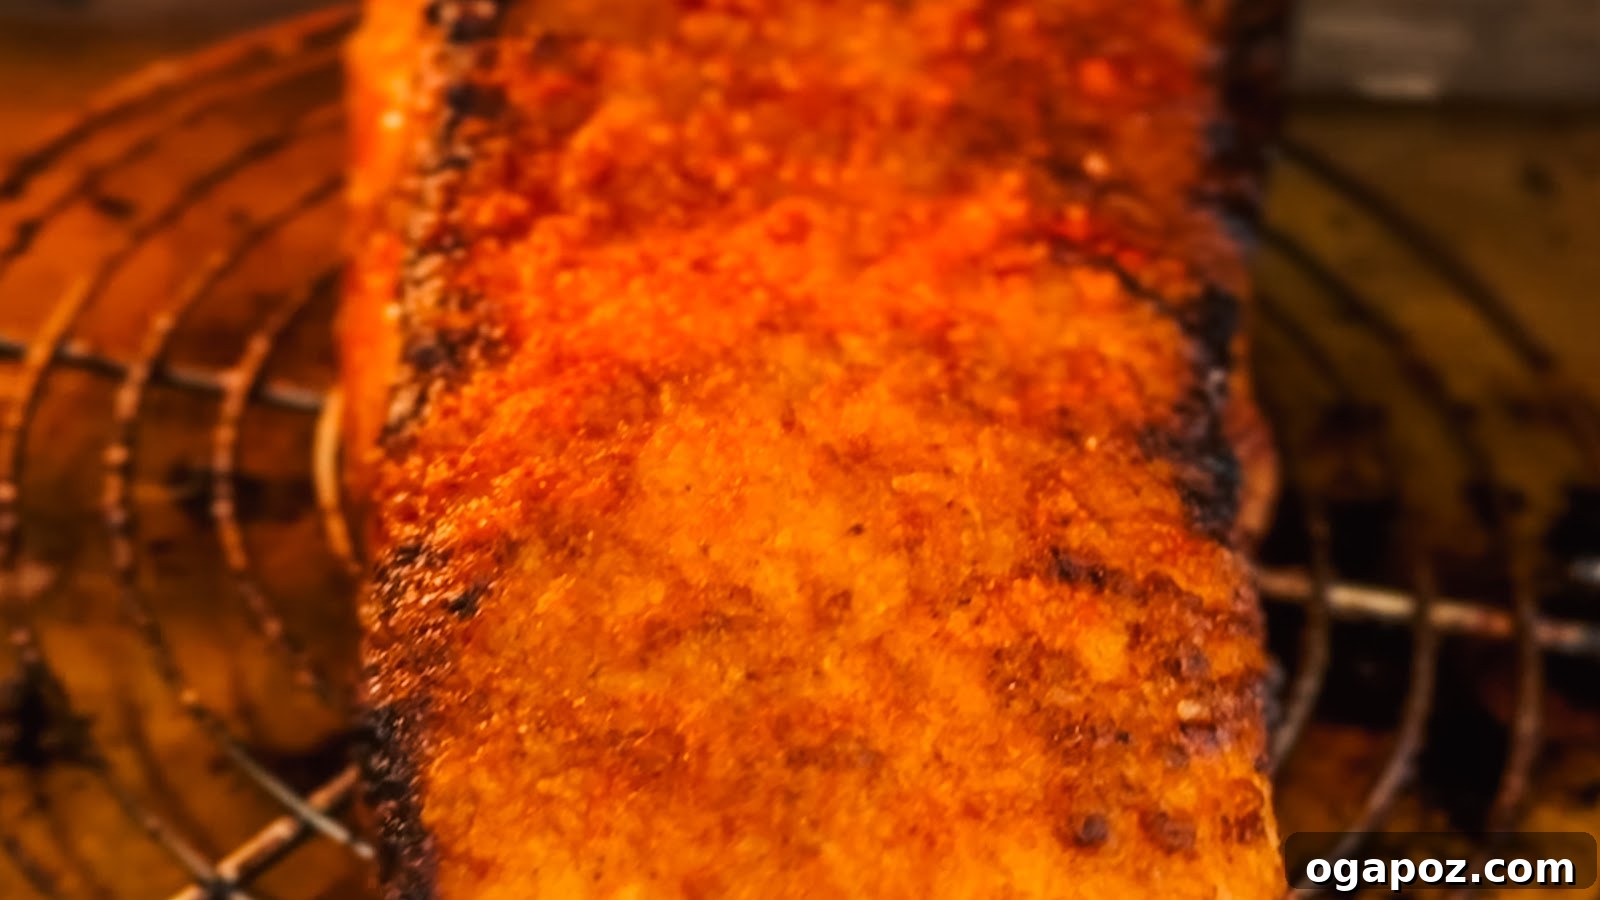
Increase the oven temperature to 425°F and roast for 20–30 minutes more. The skin will puff, blister and turn a deep amber color. Start watching at 20 minutes to avoid burning. Listen for active sizzling or snapping—an audible crackle like cereal popping means the crackling is forming. Remove when the surface is evenly bubbled and amber.
Rest and Slice
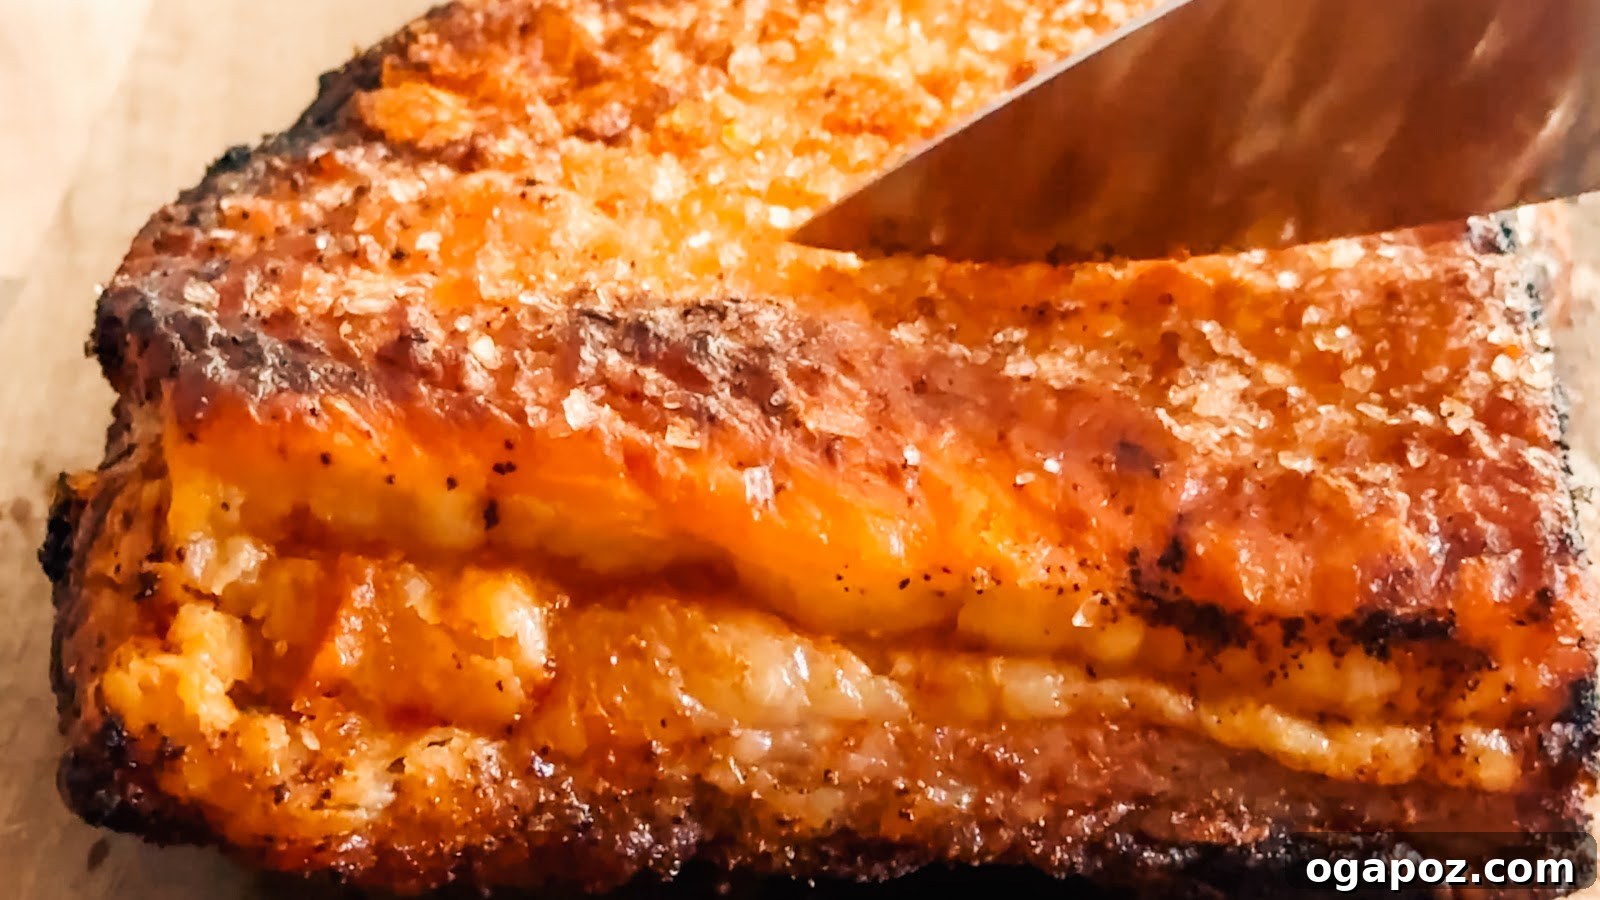
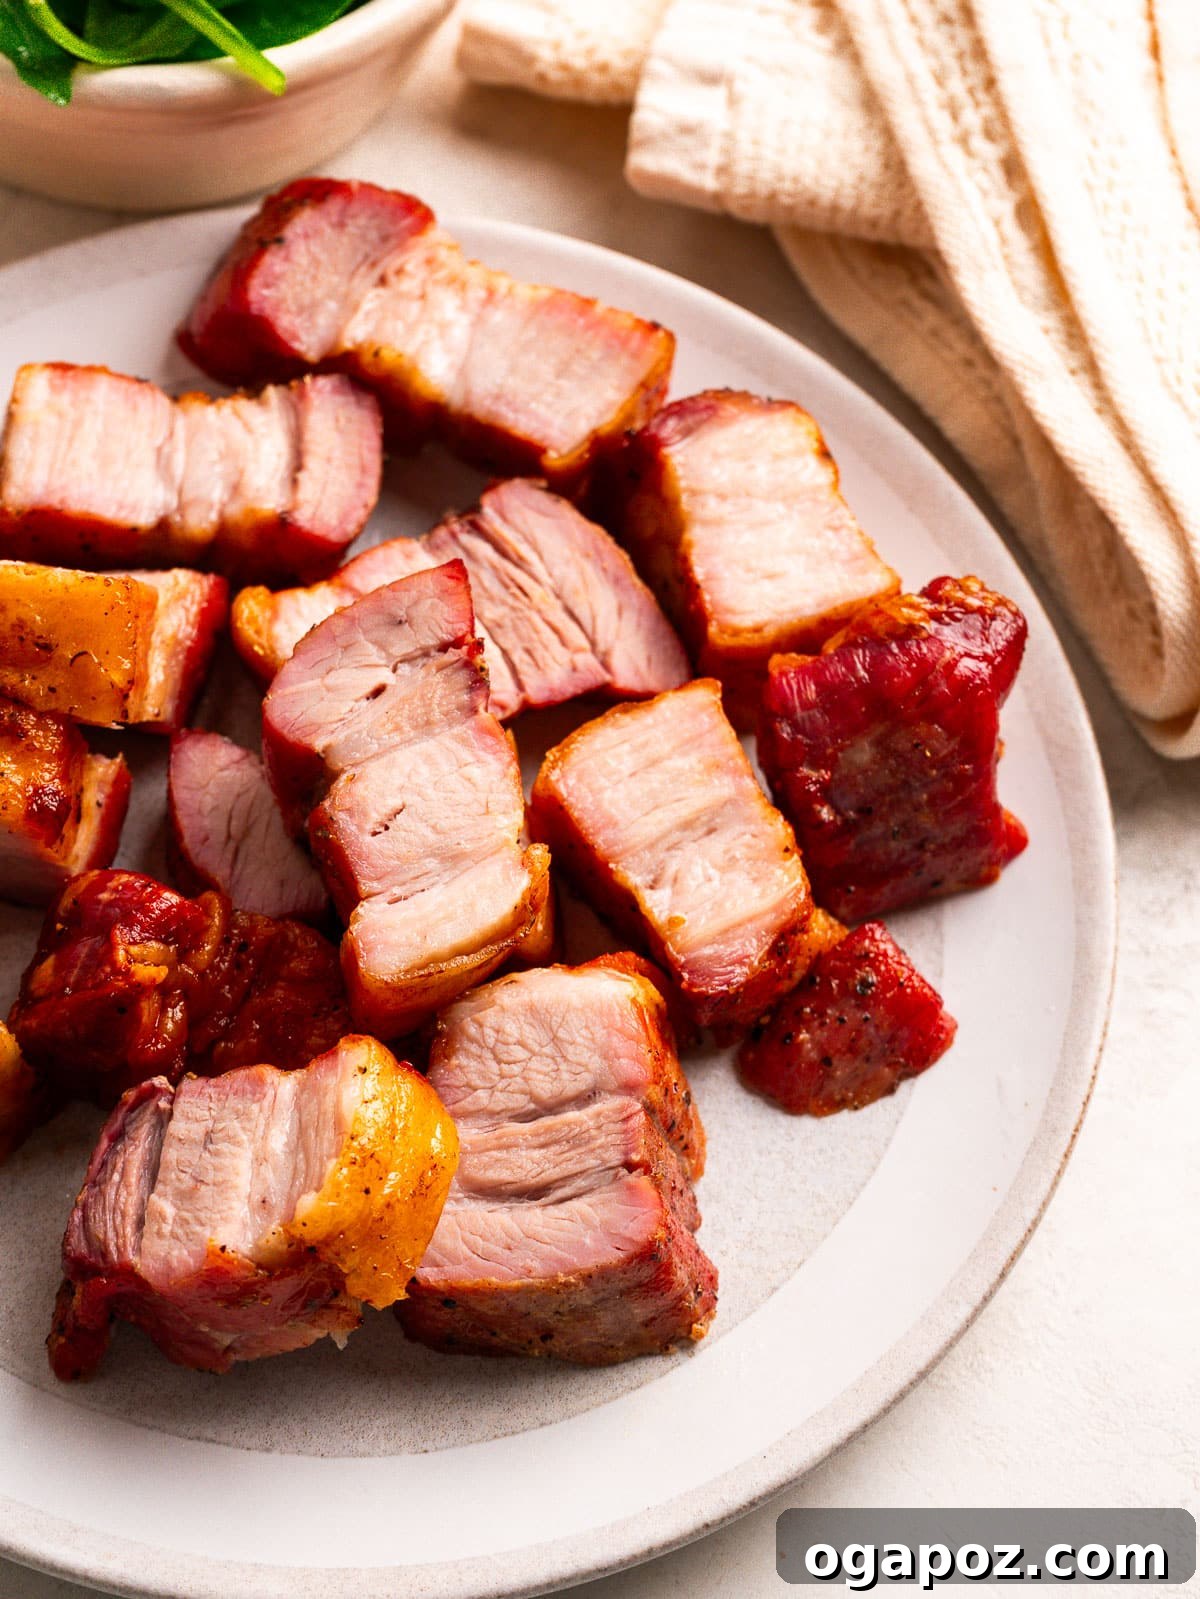
Let the roast rest uncovered on the counter for 15 minutes. This short rest allows the crackling to set. Use a serrated knife and slice with the skin side down, pressing straight through to preserve large pieces of crackling instead of shattering it into tiny shards.
Five Common Mistakes to Avoid
Avoid these frequent errors to get crispy, even crackling:
- Getting spices on the skin: powdered spices burn during the hot finish—keep the skin free of seasonings.
- Skipping overnight fridge time: the skin must dry out; a shortcut will produce steamed, soft skin.
- Letting the slab tip: a tilted slab collects rendered fat on one side and prevents even crisping—prop level if needed.
- Walking away during the high-heat blast: the crackling can turn from perfect to burnt quickly—stay nearby.
- Cutting too soon or covering it: the skin needs about 15 minutes of dry rest; covering traps steam and softens the crackling.
Make Ahead and Storage
The overnight dry-brine is the primary make-ahead step, so plan a day ahead. Here’s how to store and reheat leftovers to preserve texture as much as possible.
Storing Leftovers
- Refrigerator: keep leftovers up to 4 days.
- Leave uncovered: air exposure slows softening of the crackling.
- Store whole if possible: larger pieces retain texture better than thin slices.
Freezing
- Not recommended: freezing breaks the crackling’s glassy texture; the meat freezes fine but the skin will not fully recover.
- If you must: freeze the meat for later use in chopped dishes, noodles or fried rice, rather than expecting crisp crackling.
Reheating
- Air fryer: best method to revive crispness with dry heat.
- Hot oven on a rack: also effective; allow air to reach the skin.
- Avoid microwave: it will make the crackling chewy in seconds.
What to Serve with Crispy Pork Belly
This roast is rich, so pair it with acidic and crunchy elements to balance the plate.
Toppings and Add-Ins
- Dipping sauces: hot mustard, chili crisp, or a soy-vinegar dip cut the richness.
- Quick pickles: thinly sliced cucumber or red onion in vinegar add brightness.
- Fresh herbs: cilantro or scallion refresh each bite.
- Flaky finishing salt: a light pinch just before serving enhances texture and flavor.
Sides and Pairings
- Steamed jasmine rice: soaks up rendered fat and juices.
- Simple salads and roasted vegetables: something cold and sharp or roasted and peppery balances the pork’s richness.
Final Tips for the Best Crackling
- Keep the skin facing straight up: if it tilts, fat will baste the skin and prevent crisping.
- Use your ears: active snapping during the final minutes indicates success more reliably than color alone.
- Rotate the pan: compensate for oven hot spots for even browning.
- Rest it dry: do not cover the roast after it comes out of the oven—steam undoes the crackling.
Frequently Asked Questions
Quick answers to common questions about making crispy pork belly.
Crackling fails when the skin retains moisture. Salt the skin and leave it uncovered in the fridge for 12–24 hours so it can dry out. Dry skin puffs and blisters during roasting; damp skin only steams.
Vinegar removes surface oil and moisture so the salt can draw water out overnight. Wiping the skin with vinegar and then patting dry helps the skin dehydrate more evenly.
An air fryer works well for reheating and crisping leftovers, but a large slab benefits from long, slow oven roasting to render fat properly before the final high-heat finish.
Use dry heat—an air fryer or a hot oven on a rack. Avoid the microwave, which makes the skin rubbery.
Scoring is optional. The overnight dry-brine usually works better because cuts can let fat seep up and create damp spots that fail to crisp.
Freezing preserves the meat but not the crackling. If you freeze, plan to use the meat in dishes where crispness isn’t required.
It is known by many names: roast pork belly with crackling in British cuisine, siu yuk in Chinese cuisine, and lechon kawali in Filipino kitchens. This recipe is a slow roast finished with a high heat blast.
Other Pork Recipes You’ll Love
- Tender Spare Ribs
- Tender Pork Stew
- Stuffed Pork Tenderloin
- Pork Chop Skillet with Apples
- Truly-Tender Pork Tenderloin
- Spicy Ground Pork and Vegetable Stir Fry
Crispy Pork Belly Recipe (Oven Method for Perfect Crust)
Slow-roasted pork belly with tender meat and blistered crackling. The overnight salt cure on the skin is the essential step.
Prep Time: 15 minutes · Cook Time: 2 hours 30 minutes · Crisping: ~25 minutes · Total Time: ~3 hours 10 minutes · Serves: 6
Ingredients
- 2½–3 lb slab skin-on pork belly
- 2 tsp kosher salt (for the meat)
- 1 tsp black pepper
- 1 tsp garlic powder
- 1 tsp onion powder
- 1 tbsp white vinegar (for wiping the skin)
- 1 tbsp kosher salt (for the skin)
Instructions
- The night before: Pat the pork belly bone-dry. Place meat side up and rub 2 tsp kosher salt, black pepper, garlic powder and onion powder into the meat and sides only. Keep all seasoning off the skin.
- Flip the slab skin side up. Wipe the skin with the vinegar and pat dry. Rub 1 tbsp kosher salt evenly over the skin. Set on a rack over a tray and leave uncovered in the refrigerator for 12–24 hours to dry.
- To roast: Preheat the oven to 300°F. Brush excess salt off the skin and blot it completely dry. Place the belly skin side up on a rack in a roasting pan; prop level with foil if it tips.
- Roast for 2½–3 hours until the meat is very tender and the fat has rendered. The skin should look pale and papery at this stage.
- Increase the oven to 425°F and roast an additional 20–30 minutes until the skin puffs, blisters and turns amber. Watch closely from 20 minutes to avoid burning. Rotate the pan if browning unevenly. Listen for active sizzling and snapping.
- Remove and let rest uncovered on the counter for 15 minutes. Test the crackling by gently scraping with a knife to hear the crunch.
- Slice with a serrated knife, skin side down, pressing straight through to keep the crackling intact.
Notes
- Why salt then brush: Salt draws moisture overnight; brushing it off lets the surface dry and puff instead of steam.
- Keep skin up: Ensure the skin stays horizontal to avoid fat pooling and prevent soft spots.
- Leftovers: Store uncovered in the fridge up to 4 days and reheat in an air fryer or hot oven to revive crispness.