
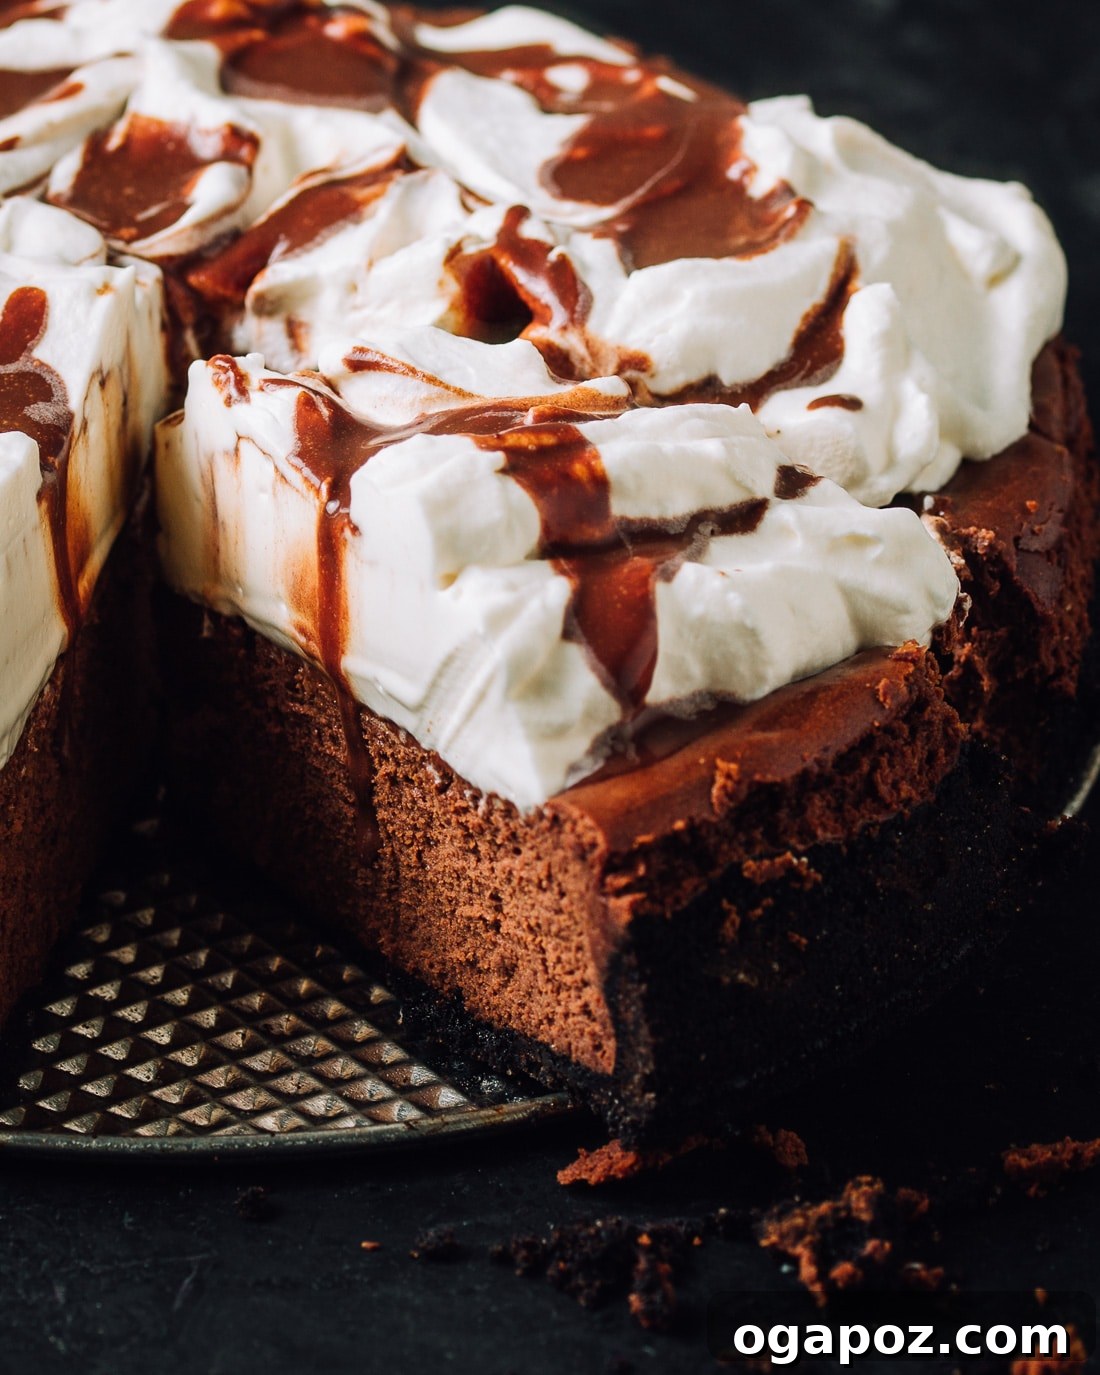
Prepare yourself for the most incredibly dreamy and undeniably rich **chocolate cheesecake recipe** you’ll ever encounter. This easy-to-follow guide will help you create a dessert that boasts an exquisite creamy texture and an intense chocolate flavor, thanks to the perfect combination of cocoa powder and quality dark chocolate.
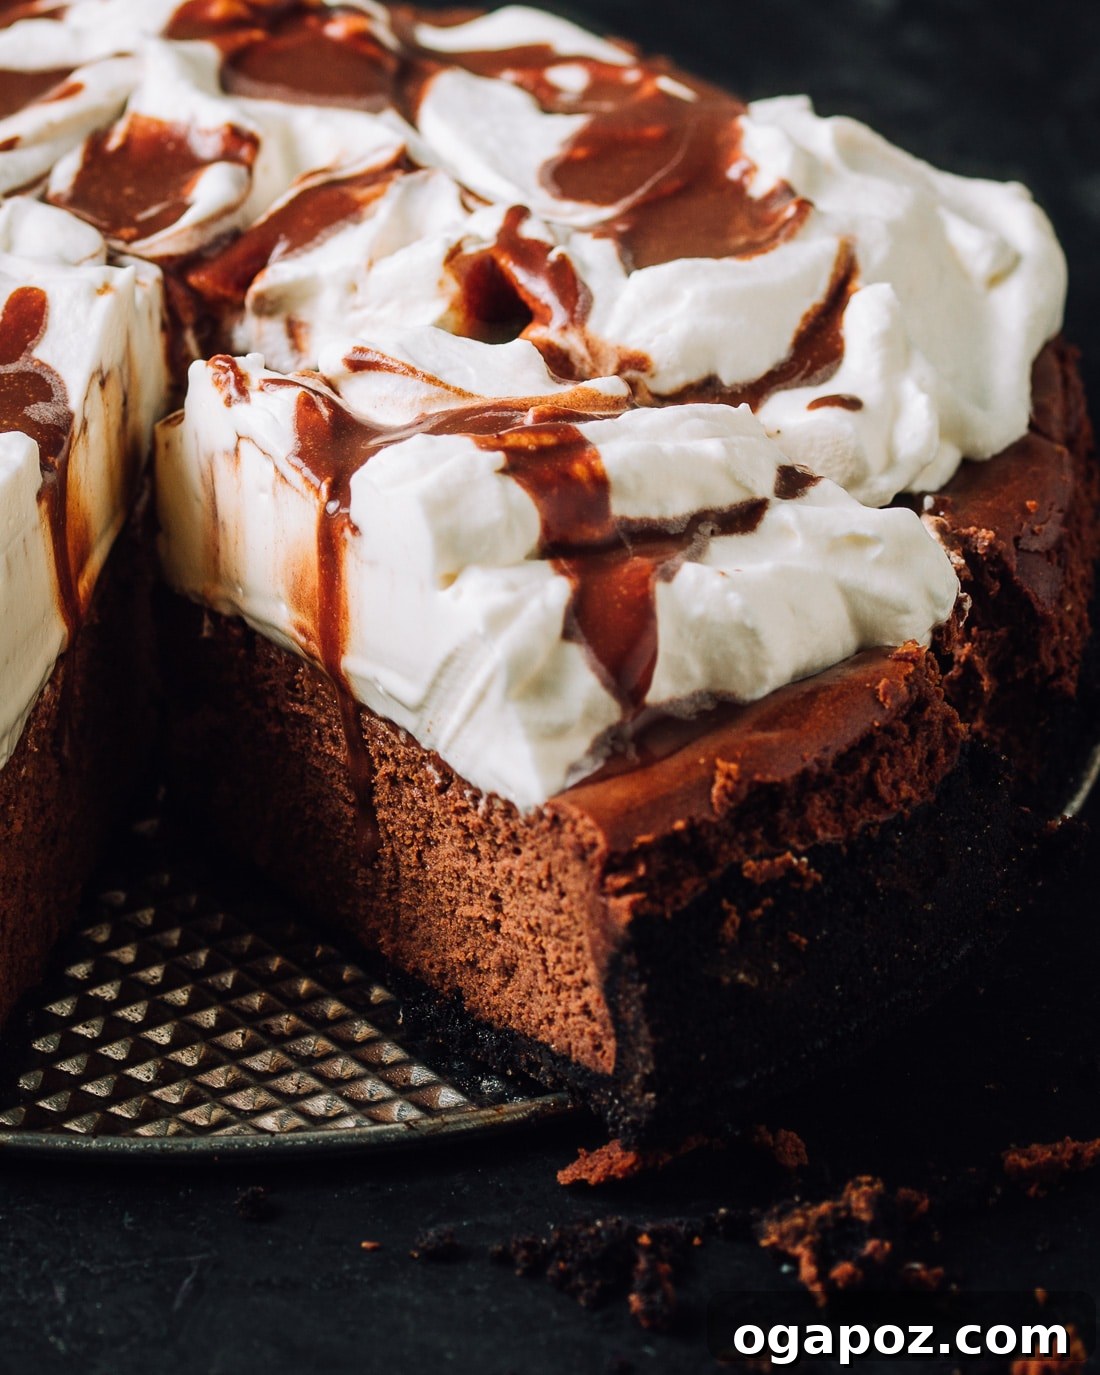
This perfect chocolate cheesecake starts with a delightfully crumbly, intensely chocolatey wafer crust. It provides the ideal foundation for an unbelievably rich and velvety filling, all crowned with a cloud-like pillow of softly whipped vanilla cream. This divine combination delivers lightness and balance to every decadent bite.
For those who adore a classic base, you might also enjoy our exceptional graham cracker crust recipe, which offers a different but equally delightful texture. And if you’re looking for more cheesecake inspiration, don’t miss our beloved Classic Philadelphia Cheesecake, featuring a remarkably creamy three-ingredient filling, or our effortlessly simple no-bake cheesecake recipe, perfect for warmer days or when you need a quick dessert solution!
Unlocking the Secrets to a Truly Rich Chocolate Cheesecake
Achieving that deep, complex chocolate flavor and an irresistibly creamy texture in your cheesecake isn’t magic; it’s about understanding a few key principles. Follow these secrets to elevate your chocolate cheesecake from great to absolutely unforgettable.
1. The Power of Dual Chocolate: Use Both Chocolate and Cocoa Powder
To truly amplify the deep, nuanced chocolate flavor, the ultimate secret lies in employing both melted dark chocolate *and* unsweetened cocoa powder. Melted dark chocolate contributes a luxurious, smooth richness and a beautiful glossy finish, while cocoa powder adds an unparalleled depth and intensity that chocolate alone cannot achieve. This dynamic duo ensures a multi-layered chocolate profile that will delight any connoisseur. For best results, consider Dutch-processed cocoa powder for a darker color and milder flavor, or natural cocoa powder for a more robust, slightly fruity chocolate note.
2. Enhance Flavor with Vanilla and Salt
It might seem counterintuitive to add salt to a sweet dessert, but a good pinch of coarse salt is crucial. It doesn’t make the cheesecake salty; instead, it masterfully balances the sweetness and remarkably enhances the chocolate’s natural bitterness and complexity, making the chocolate flavor pop. Similarly, a generous splash of pure vanilla extract acts as a perfect counterpoint, deepening and rounding out the overall taste profile. Always opt for pure vanilla extract over imitation for the most authentic and aromatic results.
3. The Importance of Quality Chocolate
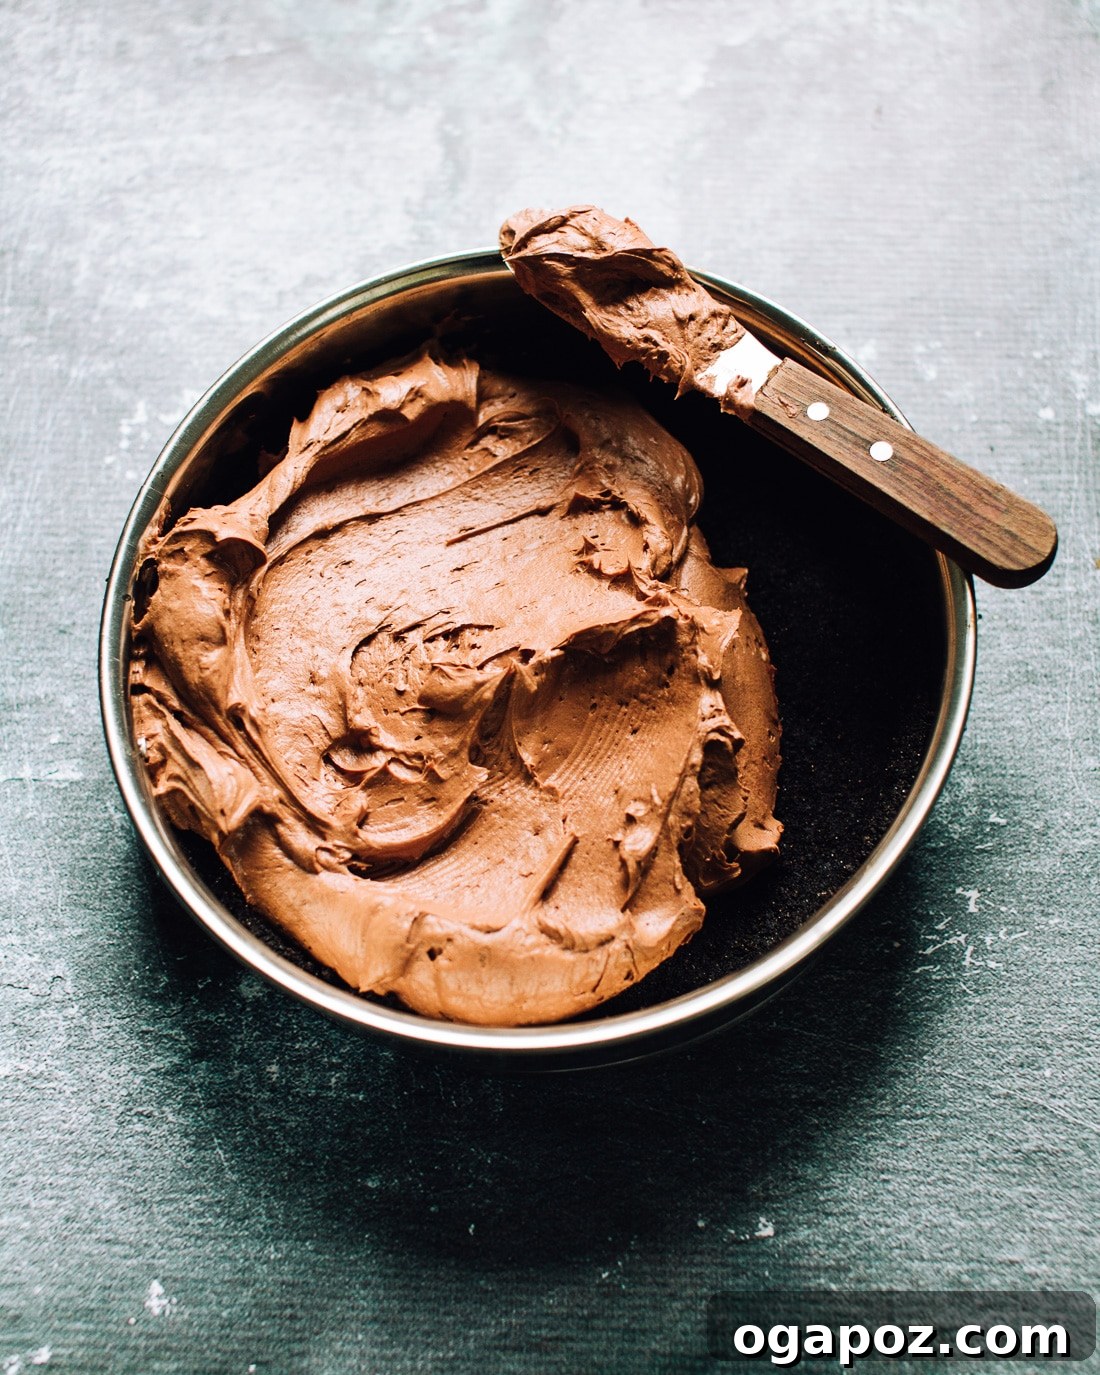
Do I really need to splurge on expensive chocolate for baking? While you can certainly make a decent cheesecake with standard chocolate chips, investing in premium dark chocolate for this recipe will make a significant difference. High-quality dark chocolate (around 60-70% cocoa solids) offers superior creaminess, melts perfectly smoothly, and delivers a complex, not-too-sweet flavor profile with subtle fruity or earthy notes that cannot be matched by most chocolate chips. These chips often contain stabilizers that prevent them from melting as smoothly, which can affect the final texture of your cheesecake. For a truly professional and decadent result, choose a good quality baking chocolate bar.
Clever Tricks for a Flawless Chocolate Cheesecake
Mastering cheesecake involves more than just great ingredients; it’s also about technique. These practical tips will help ensure your baking process is smooth and your final cheesecake is nothing short of perfect.
Effortless Crust Preparation
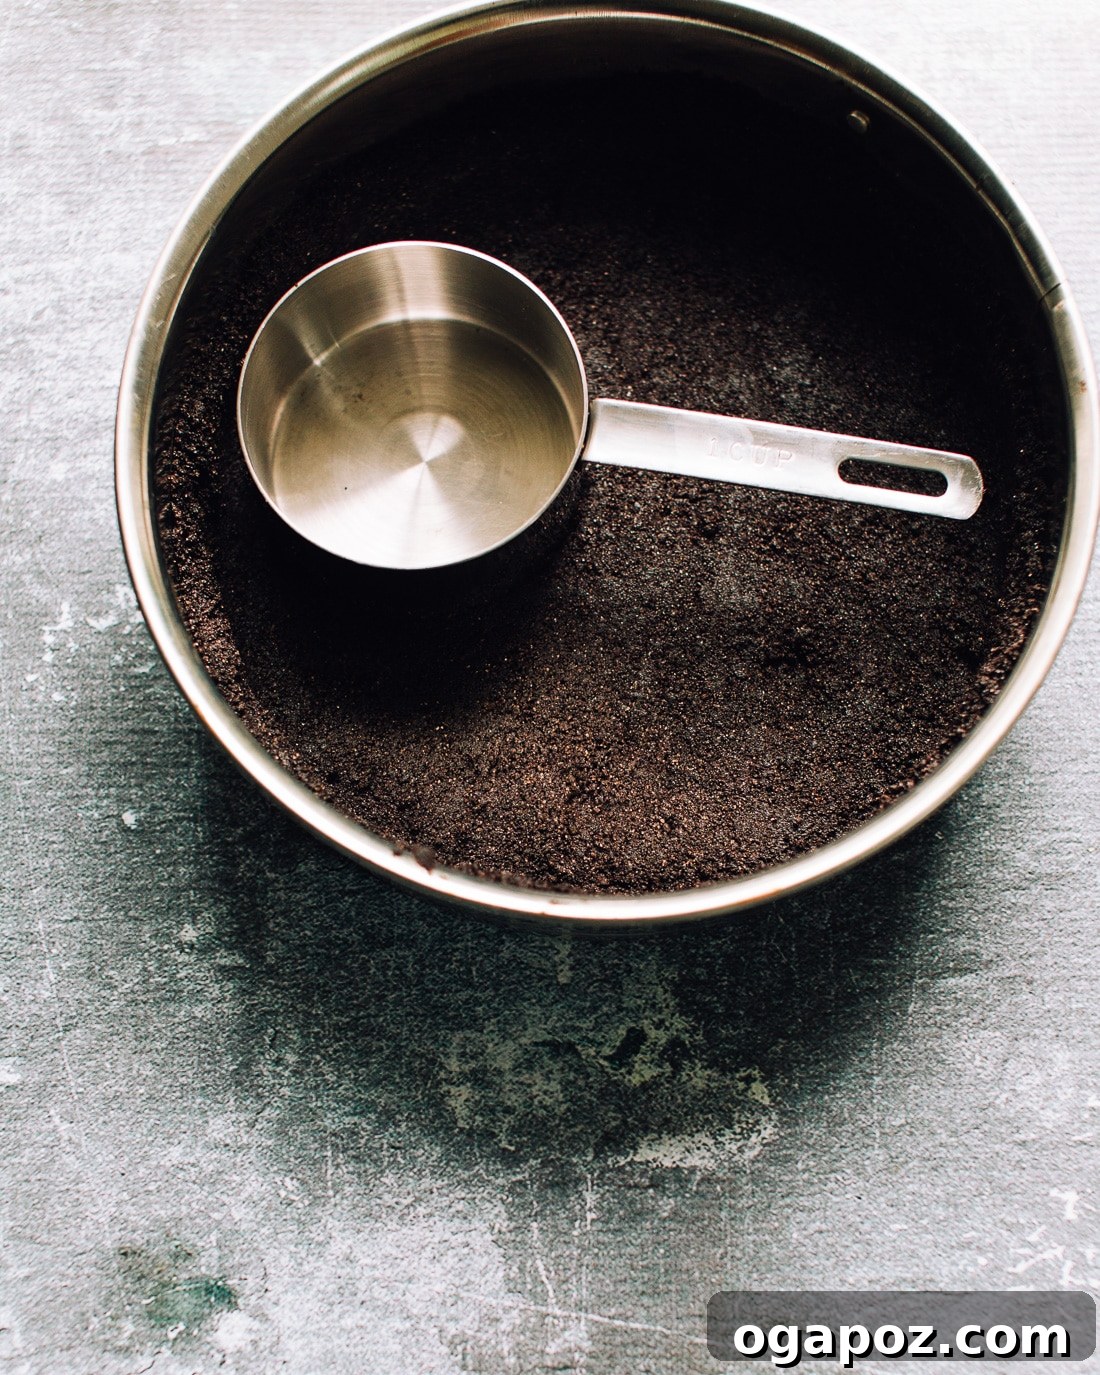
Begin your cheesecake journey by preparing the crust. To minimize cleanup and save time, I prefer to combine the chocolate wafer cookie crumbs, melted butter, and granulated sugar directly in the springform pan. Once combined, use the flat bottom of a measuring cup or a glass to firmly and evenly press the mixture into the bottom and approximately one inch up the sides of the pan. This creates a sturdy, delicious base that holds its shape beautifully and provides a delightful textural contrast to the creamy filling.
Perfectly Melting Your Chocolate
While your crust bakes to golden perfection, it’s the ideal time to melt the dark chocolate for the filling. It’s crucial that the chocolate cools to room temperature before being incorporated into the cream cheese mixture to prevent any curdling or uneven texture. My preferred method for melting is using a microwave on medium (50%) power, stirring frequently to ensure it melts evenly without scorching. Alternatively, if you prefer a more traditional approach, a double boiler offers gentle, controlled heat, yielding a silky-smooth melted chocolate every time.
How to Prevent Your Cheesecake From Cracking
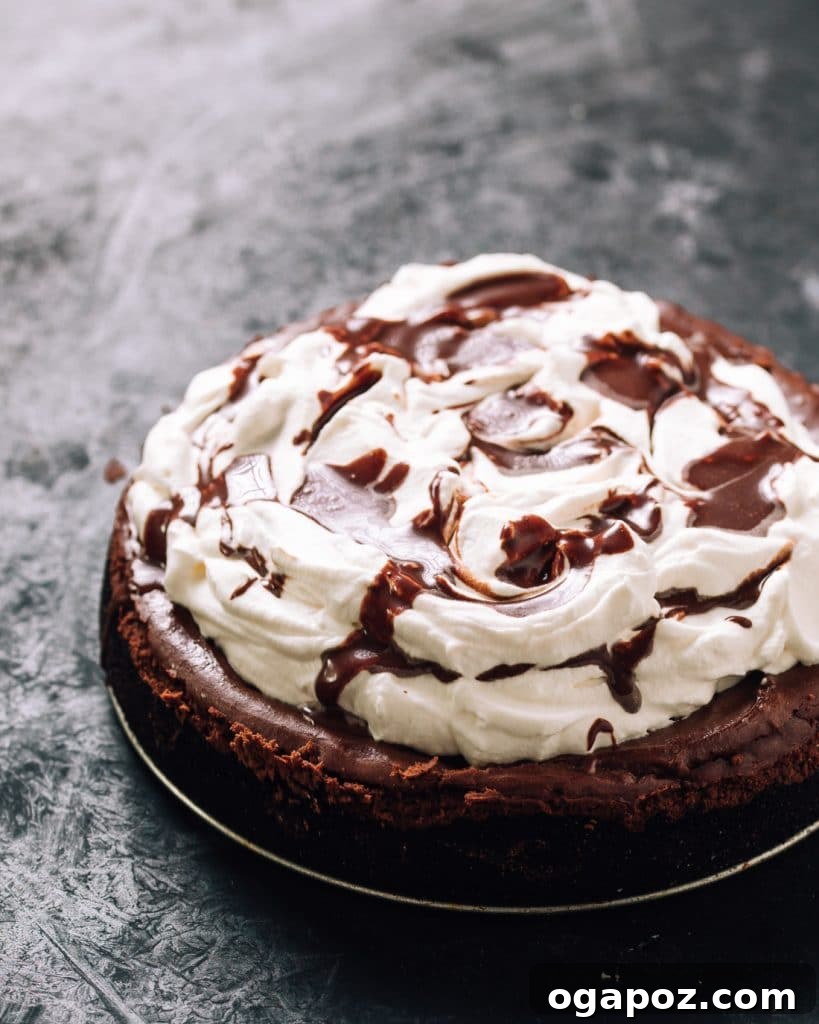
One of the most common anxieties when baking cheesecake is the dreaded crack. The key to a smooth, unblemished surface lies in how you combine your ingredients. Unlike regular cakes, where incorporating air is often desired for lightness, with cheesecake, the goal is simply to combine the ingredients gently. Over-beating, especially after adding the eggs, introduces too much air into the batter. This air causes the cheesecake to rise excessively during baking and then deflate too rapidly during cooling, leading to unsightly cracks. Beat on low speed until *just* blended, scraping down the sides of the bowl frequently to ensure everything is incorporated without whipping in unnecessary air. A water bath can also provide a moist baking environment, preventing rapid temperature changes and further minimizing cracks.
How To Tell When Your Chocolate Cheesecake is Done
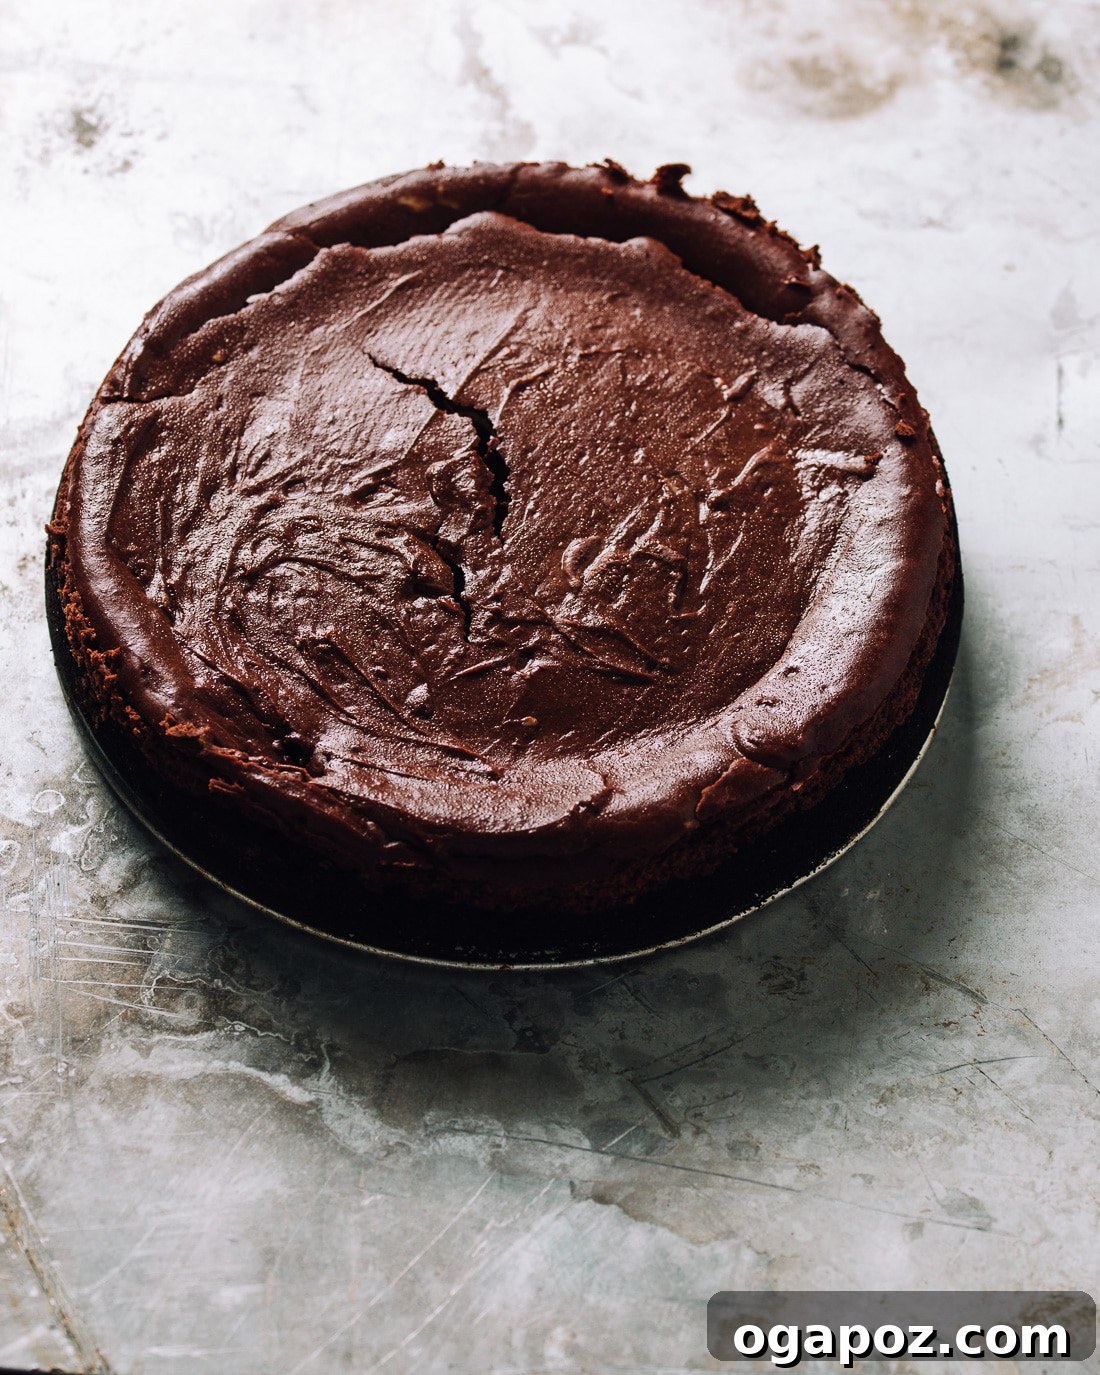
Knowing exactly when your cheesecake is perfectly baked is crucial for its creamy texture. While experienced bakers can often tell by feel, a cooking thermometer offers the most foolproof and accurate method for testing doneness.
- **Temperature Check:** The center of the cheesecake should register precisely 150ºF (65ºC) when tested with an instant-read thermometer.
- **The Jiggle Test:** Even at 150ºF, the very center of the cake will still have a slight “jiggle” when you gently shake the pan. This is perfectly normal and desired! The residual heat will continue to cook the cheesecake as it cools, resulting in that signature silky, custardy texture. If the entire cheesecake is firm and no longer jiggles, it’s likely overbaked, which can lead to a drier texture and increased risk of cracks.
Should your cake happen to crack despite your best efforts, don’t despair! It’s still incredibly delicious, and a generous layer of whipped cream topping or a decadent chocolate drizzle can elegantly conceal any imperfections. Remember, homemade treats are always full of love, imperfections and all!
More Irresistible Cheesecake Recipes Everyone LOVES:
- No-Bake Cherry Cheesecake Bars – Quick, refreshing, and utterly delicious.
- Cheesecake Popsicles – A fun, frozen twist on your favorite dessert.
- Pumpkin Cheesecake Bars – Perfect for fall gatherings and festive occasions.
- Easy Caramel Apple Cheesecake Recipe – A sophisticated blend of sweet and tangy flavors.
- Easter Egg Cheesecake – A charming and festive dessert for spring celebrations.
- Sweet Potato Cheesecake (with a tasty Pecan Crust for Cheesecake) – A unique and comforting flavor profile.
The Best Rich Chocolate Cheesecake Recipe
Jennifer Pallian BSc, RD
40 minutes
1 hour
1 hour 40 minutes
10
Ingredients
For the Crust:
- 1 ⅔ cups (9 oz) crushed chocolate wafer cookies
- ¼ cup (2 oz) unsalted butter, melted
- 2 tbsp granulated sugar
For the Filling:
- 8 oz quality dark chocolate (chopped) or chocolate chips
- 3 x 8-oz packages plain full-fat cream cheese, at room temperature
- 1 cup granulated sugar
- ¼ cup unsweetened cocoa powder
- ¼ tsp coarse salt
- 2 tsp pure vanilla extract
- 3 large eggs
For the Whipped Cream Topping:
- 1 ½ cups cold whipping cream (heavy cream)
- ¼ cup granulated sugar
- ½ tsp pure vanilla extract
For the Chocolate Drizzle:
- 1 oz dark chocolate, chopped
- 2 oz whipping cream (heavy cream)
Instructions
-
**1. Prepare the Crust:** Preheat your oven to 325ºF (160ºC). In a 9-inch springform pan, combine the crushed chocolate wafer cookies, melted butter, and granulated sugar. Mix well until all crumbs are evenly moistened. Firmly press this mixture into the bottom and about 1 inch up the sides of the pan. Bake the crust for 10 minutes to set it, then remove from the oven and maintain the oven temperature.
-
**2. Melt the Chocolate:** Place the chopped dark chocolate (or chips) in a microwave-safe bowl. Microwave on 50% power for 2 minutes. Remove and stir. Continue microwaving on 50% power in 30-second intervals, stirring thoroughly after each interval, until the chocolate is about 80% melted. At this point, remove from the microwave and stir continuously until the residual heat completely melts the chocolate and it becomes smooth. Set aside to cool to a lukewarm, pourable temperature.
-
**3. Prepare the Filling:** In the bowl of a stand mixer fitted with the paddle attachment, or using a large bowl with an electric hand mixer, combine the room temperature cream cheese, granulated sugar, unsweetened cocoa powder, and coarse salt. Beat on low speed until just combined and smooth, taking care not to incorporate too much air. Scrape down the sides and bottom of the mixer bowl thoroughly. Gradually beat in the cooled, melted chocolate and pure vanilla extract until fully blended. Finally, add the eggs one at a time, beating on low speed only until each egg is just incorporated. Over-mixing at this stage can lead to cracks in your finished cheesecake. Pour the smooth filling into the pre-baked crust.
-
**4. Bake the Cheesecake:** Carefully place the springform pan into the preheated 325ºF (160ºC) oven. Bake for approximately 55 minutes, or until the internal temperature reaches 150ºF (65ºC) in the center, and only the very center of the cheesecake gently jiggles when you softly shake the pan. Once baked, carefully run a thin knife around the inside edge of the springform pan to prevent cracking during cooling. Allow the cheesecake to cool completely to room temperature on a wire rack before transferring it, still in the pan, to the refrigerator to chill for a minimum of 4-6 hours, or preferably overnight, for best setting and flavor development.
-
**5. Make the Whipped Cream Topping:** In a clean stand mixer bowl with the whisk attachment, or using an electric hand mixer, whip the cold heavy cream until soft peaks begin to form. Gradually add the granulated sugar and pure vanilla extract, continuing to whip until medium-stiff peaks are achieved. Be careful not to over-whip, which can turn it grainy.
-
**6. Prepare the Chocolate Drizzle:** In a small microwave-safe bowl, combine the chopped dark chocolate and whipping cream. Microwave on 50% power for 1 ½ to 2 minutes, or until the chocolate is about 80% melted. Stir until the mixture is completely smooth and glossy. Allow the chocolate drizzle to cool to room temperature before artfully drizzling it over the chilled whipped cream-topped cheesecake.
Tried this recipe? Leave a comment! We’d love to hear from you.