
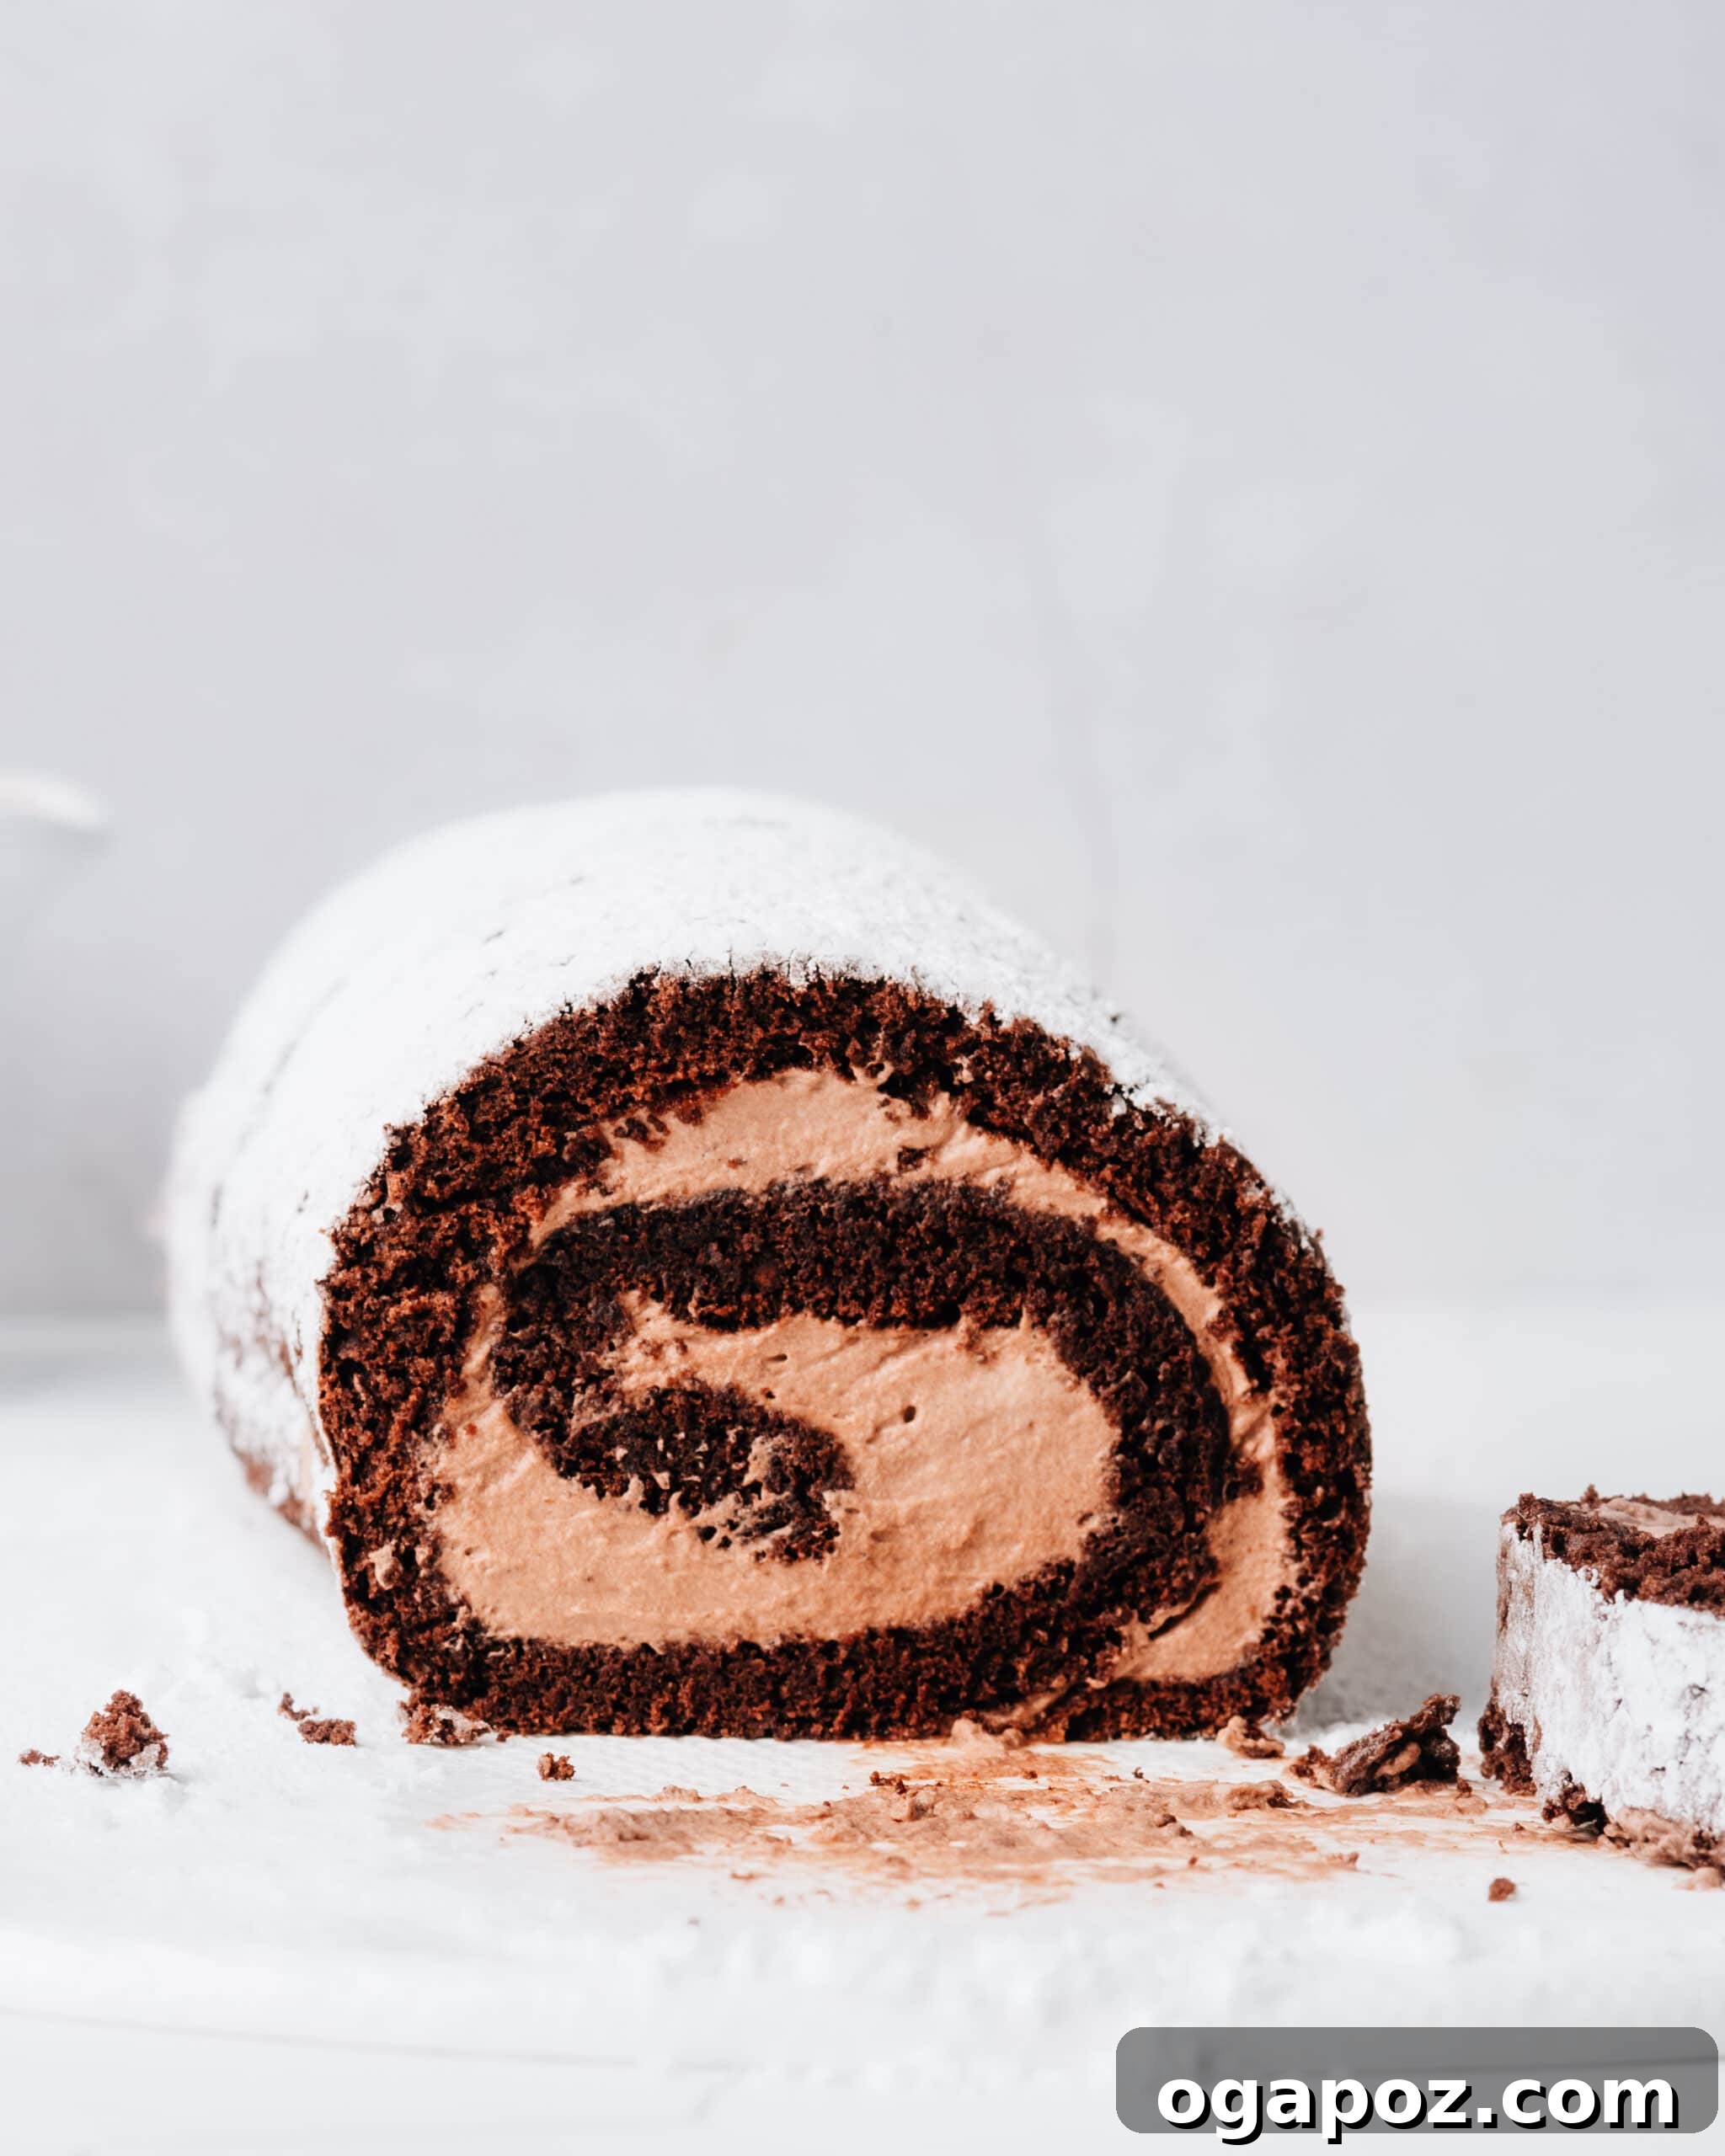
Embark on a delightful baking adventure with our truly easy Chocolate Swiss Roll Cake recipe. This guide promises a soft, airy chocolate sponge cake generously filled with a velvety, fluffy chocolate cream. What sets this recipe apart are the simplified rolling steps, designed to make the process completely foolproof, even for novice bakers. Prepare to impress your friends and family with this stunning yet achievable dessert!
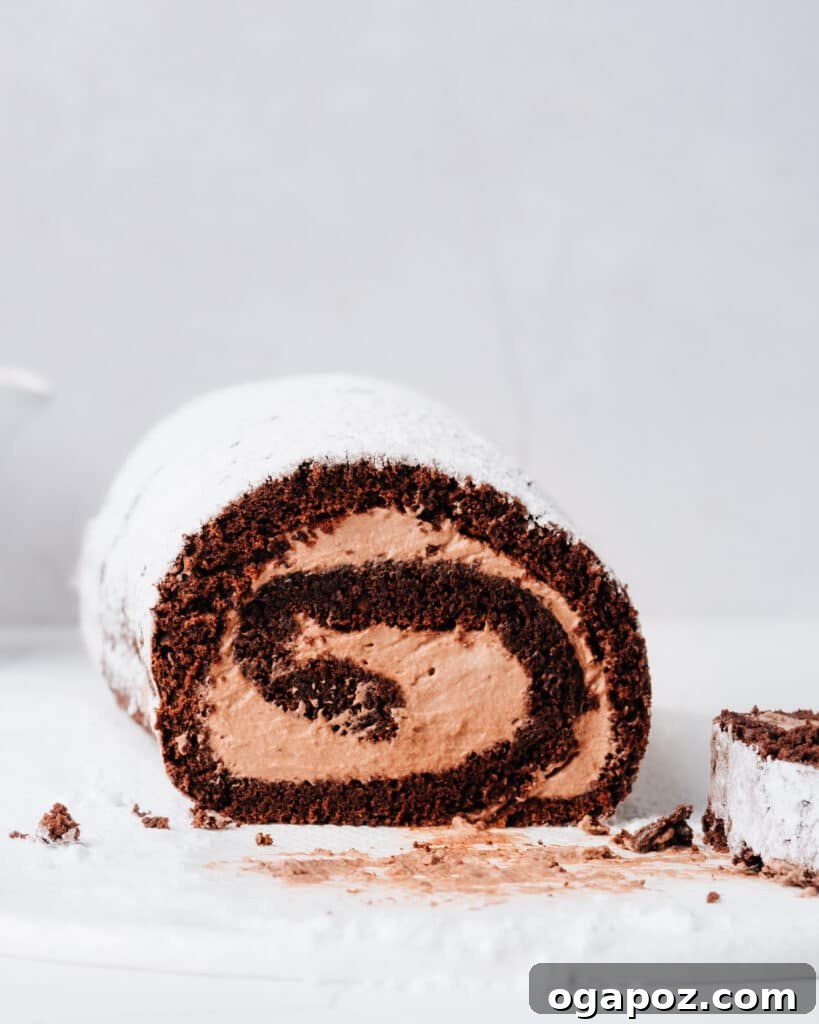
There’s something uniquely enchanting about an airy, cream-stuffed sponge cake, and this Chocolate Swiss Roll is no exception. It perfectly embodies that magical combination of light cake and rich, decadent filling. While the technique of separating and whipping egg whites and yolks might seem a bit more involved than, say, a straightforward moist chocolate cake, I assure you, the extraordinary payoff in texture and flavor is absolutely worth the minimal extra effort.
Each slice reveals a cloud-like chocolate sponge, robust enough to hold its shape yet melt-in-your-mouth tender, cradling a generous layer of pillowy chocolate cream. The delightful contrast between the intensely rich, smooth cream and the feather-light, delicate cake creates an experience that is nothing short of sublime. This dessert isn’t just a treat; it’s a testament to simple elegance in baking.
Essential Ingredients for Your Chocolate Swiss Roll: A Detailed Look
Understanding your ingredients is key to successful baking. For this Chocolate Swiss Roll, simplicity meets perfection. Here’s a closer look at what you’ll need and why each component is crucial:
- No Oil or Butter in the Cake: This is a defining characteristic of a classic sponge cake. The lightness and airy texture come from the whipped eggs, making it feel less heavy and more delicate. This also makes the cake naturally lower in fat compared to butter-based cakes, focusing on the pure chocolate and egg flavor.
- Eggs: The Heart of the Sponge: We use both egg whites and yolks, whipped separately, to create the incredible volume and tender crumb of the cake. For optimal whipping results and maximum volume, it is crucial that your eggs are at room temperature. Cold eggs simply won’t whip up as effectively, yielding a less airy cake. If you’re short on time, here’s my quick method for bringing ingredients to room temperature in a flash.
- Granulated Sugar: Sweetness and Structure: Note that the granulated sugar measurement is divided between the egg whites and the yolks. In the egg whites, sugar plays a vital role in dissolving into the proteins, stabilizing the foam and preventing it from collapsing. In the yolks, it helps create a creamy, light base for the batter.
- Cocoa Powder: For Deep Chocolate Flavor: This ingredient delivers that rich, dark chocolatey flavor we all crave in a chocolate cake. For this particular recipe, both Dutch-processed cocoa powder and natural cocoa powder work beautifully, so use whichever you have on hand. Dutch-processed cocoa tends to be darker and less acidic, resulting in a deeper chocolate color and milder flavor, while natural cocoa is lighter in color and more acidic. Either will provide a delicious chocolate essence.
- All-Purpose Flour, Baking Powder, and Fine Sea Salt: These dry ingredients form the structure of the cake. The flour provides the main bulk, baking powder acts as a leavening agent, giving the cake its lift, and a touch of fine sea salt enhances all the flavors, balancing the sweetness and deepening the chocolate notes.
- Milk: Moisture and Tenderness: A small splash of milk is added to the yolk mixture, contributing to the cake’s moisture and ensuring a tender, not dry, sponge.
Crafting the Luxurious Chocolate Cream Filling
The filling for this Swiss Roll is wonderfully simple yet incredibly decadent – a classic, four-ingredient whipped cream that transforms into a rich chocolate cloud. Here’s what makes it perfect:
- Heavy Whipping Cream: The Foundation of Fluffiness: Just like with baking powder, temperature matters here, but in reverse! For optimal whipping and maximum volume, your heavy whipping cream should be thoroughly chilled from the fridge. Cold cream whips up faster and holds its peaks much better than room-temperature cream, creating that irresistible fluffy texture. Aim for a cream with at least 35% milk fat.
- Confectioners’ Sugar (Powdered Sugar): Sweetness and Stability: We use confectioners’ sugar instead of granulated sugar for a reason. Its fine texture dissolves more readily into the cold cream, preventing any grittiness. Crucially, confectioners’ sugar often contains a small amount of cornstarch, which acts as a natural stabilizer, helping the whipped cream hold its shape longer and resist weeping.
- Cocoa Powder and Vanilla Extract: Flavor Boosters: A good quality cocoa powder is essential here to infuse the cream with a rich chocolate flavor that complements the sponge perfectly. Pure vanilla extract adds a layer of warmth and complexity, enhancing the overall taste profile of the filling.
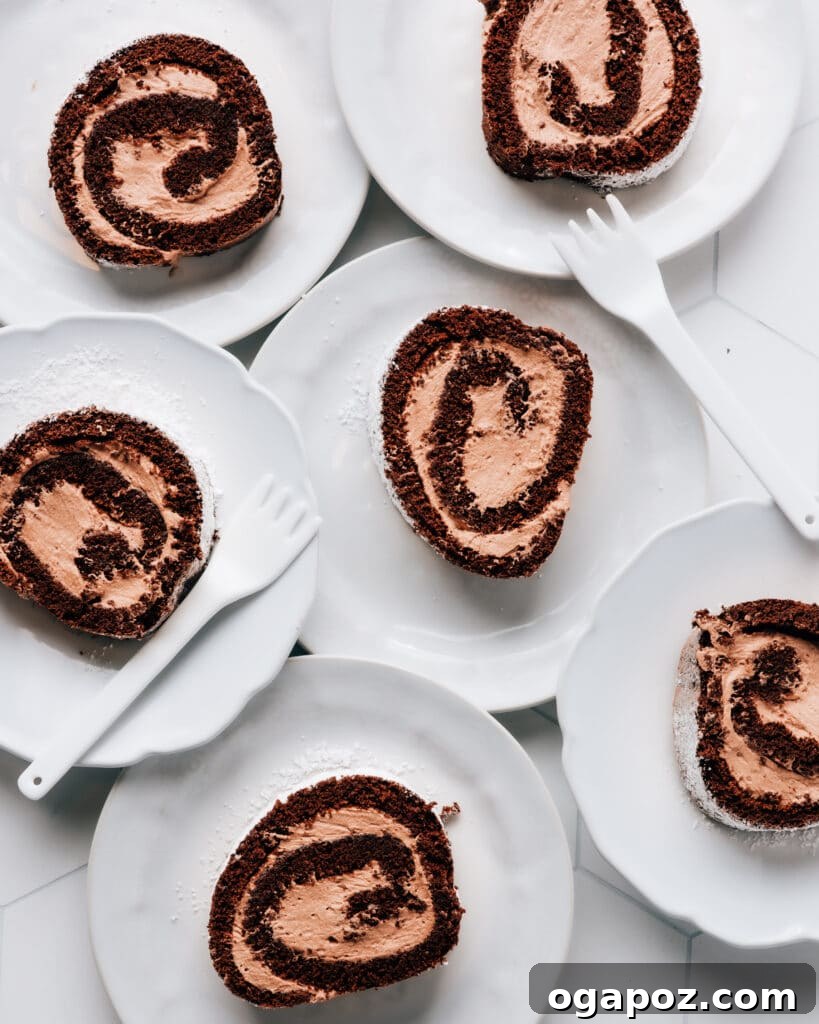
How to Make a Flawless Chocolate Swiss Roll Cake: Step-by-Step Guide
Creating a beautiful Chocolate Swiss Roll might seem daunting, but with these clear steps and a few clever tricks, you’ll achieve bakery-quality results right in your own kitchen. Let’s dive into the process.
Whipping the Egg Whites and Yolks Separately: The Secret to a Light Sponge
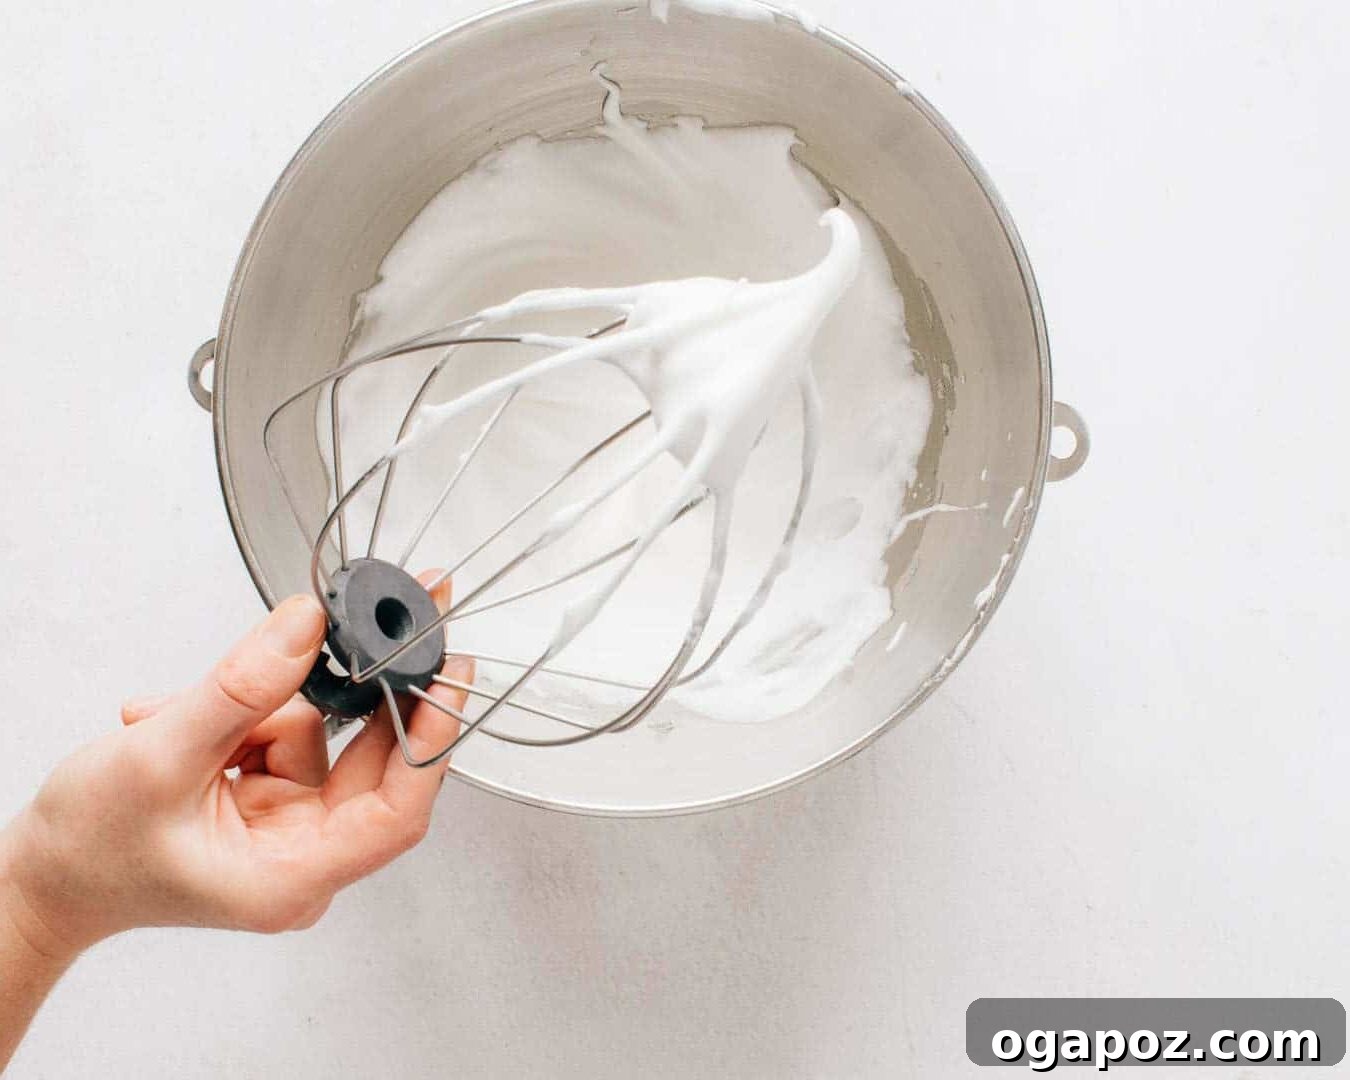
I know what you might be thinking: “Separating and whipping eggs separately? That sounds like a lot of extra effort!” And yes, for anyone who doesn’t whip meringue on a regular basis, it can feel a little intimidating. But here’s the good news: I’ve rigorously tested this specific cake recipe with over-beaten whites, under-beaten whites, and perfectly-beaten whites, and guess what? There was virtually no discernible difference in the final cake’s texture or rise.
So, don’t sweat it! The key is to aim for medium-firm peaks – when you lift the whisk, the meringue will hold a peak, but the very tip will gently droop a bit. Once you reach this stage, simply scrape the beaten whites into a separate bowl. Then, here’s my time-saving secret: move on to beating the yolks without even bothering to wipe out the mixer bowl. That’s right, no need to clean it! I’m not in the business of complicating things when it’s not necessary.
Next, we’ll beat the egg yolks with a portion of the granulated sugar until they are creamy and lighter in color. This method replaces the traditional creaming of butter with sugar, demonstrating that it’s not *more* work, just a *different* approach that results in a lighter cake. Finally, the dry ingredients (flour, cocoa, baking powder, salt) are gently folded in along with a splash of milk, creating a balanced batter ready for the delicate touch of the egg whites.
Baking Your Perfect Chocolate Sponge
Proper baking is crucial for a flexible sponge. Preheat your oven to 375ºF (190ºC) and prepare an 11×17-inch sheet pan by lining it with parchment paper, ensuring there’s an overhang on the short edges. Lightly grease the parchment paper to guarantee a non-stick surface. Pour the batter onto the prepared pan and spread it evenly into all corners. Bake for 10-12 minutes, or until the cake loses its sheen and feels lightly springy to the touch. Avoid overbaking, as this can lead to a dry cake that is prone to cracking when rolled.
The Simple, Foolproof Way to Roll Up a Swiss Roll Cake: No Cracks Guaranteed!
The rolling technique is often considered the trickiest part of making a Swiss Roll, but with my simplified method, you’ll achieve a perfectly shaped cake every time without any fear of cracking. The secret lies in rolling the cake while it’s still warm, which allows the sponge to “learn” and set in the correct curved shape. This initial roll creates a memory in the cake, making the final, filled roll smooth and effortless.
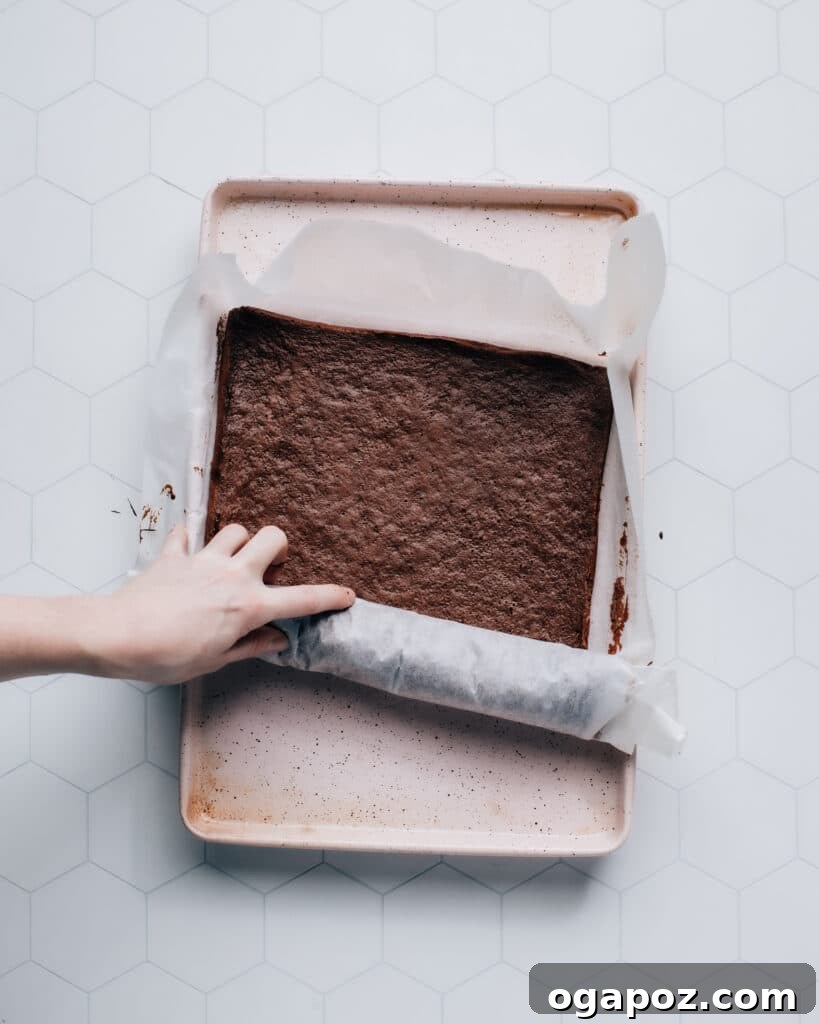
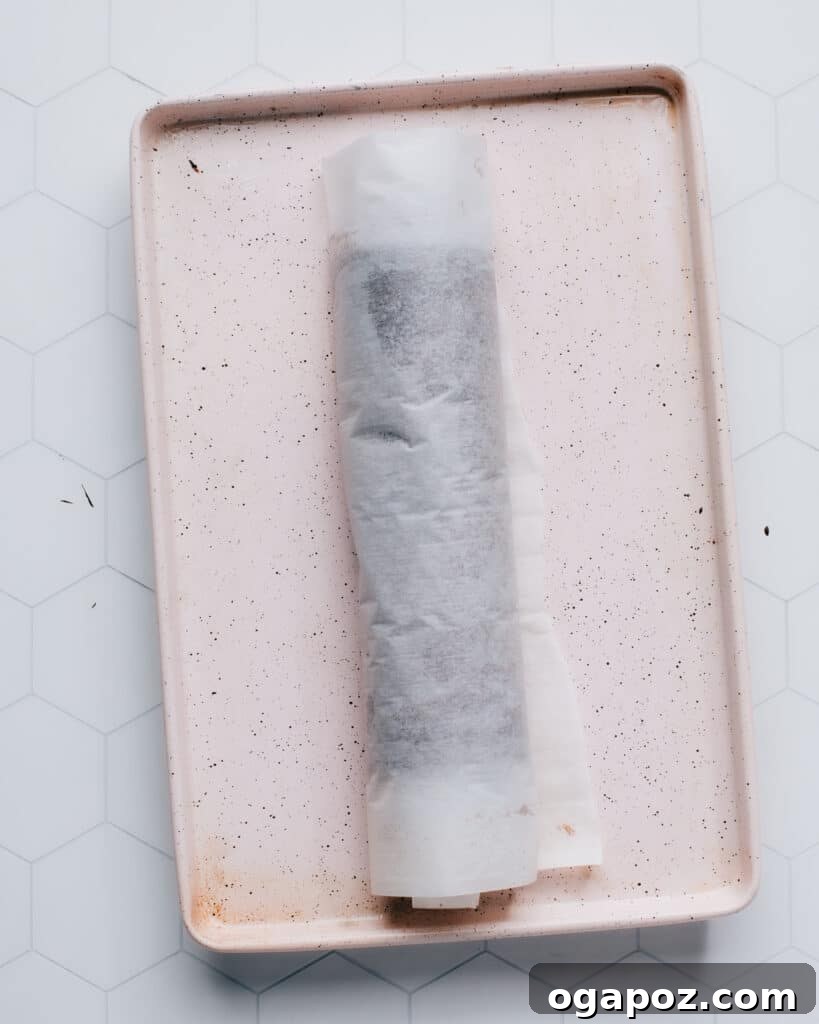
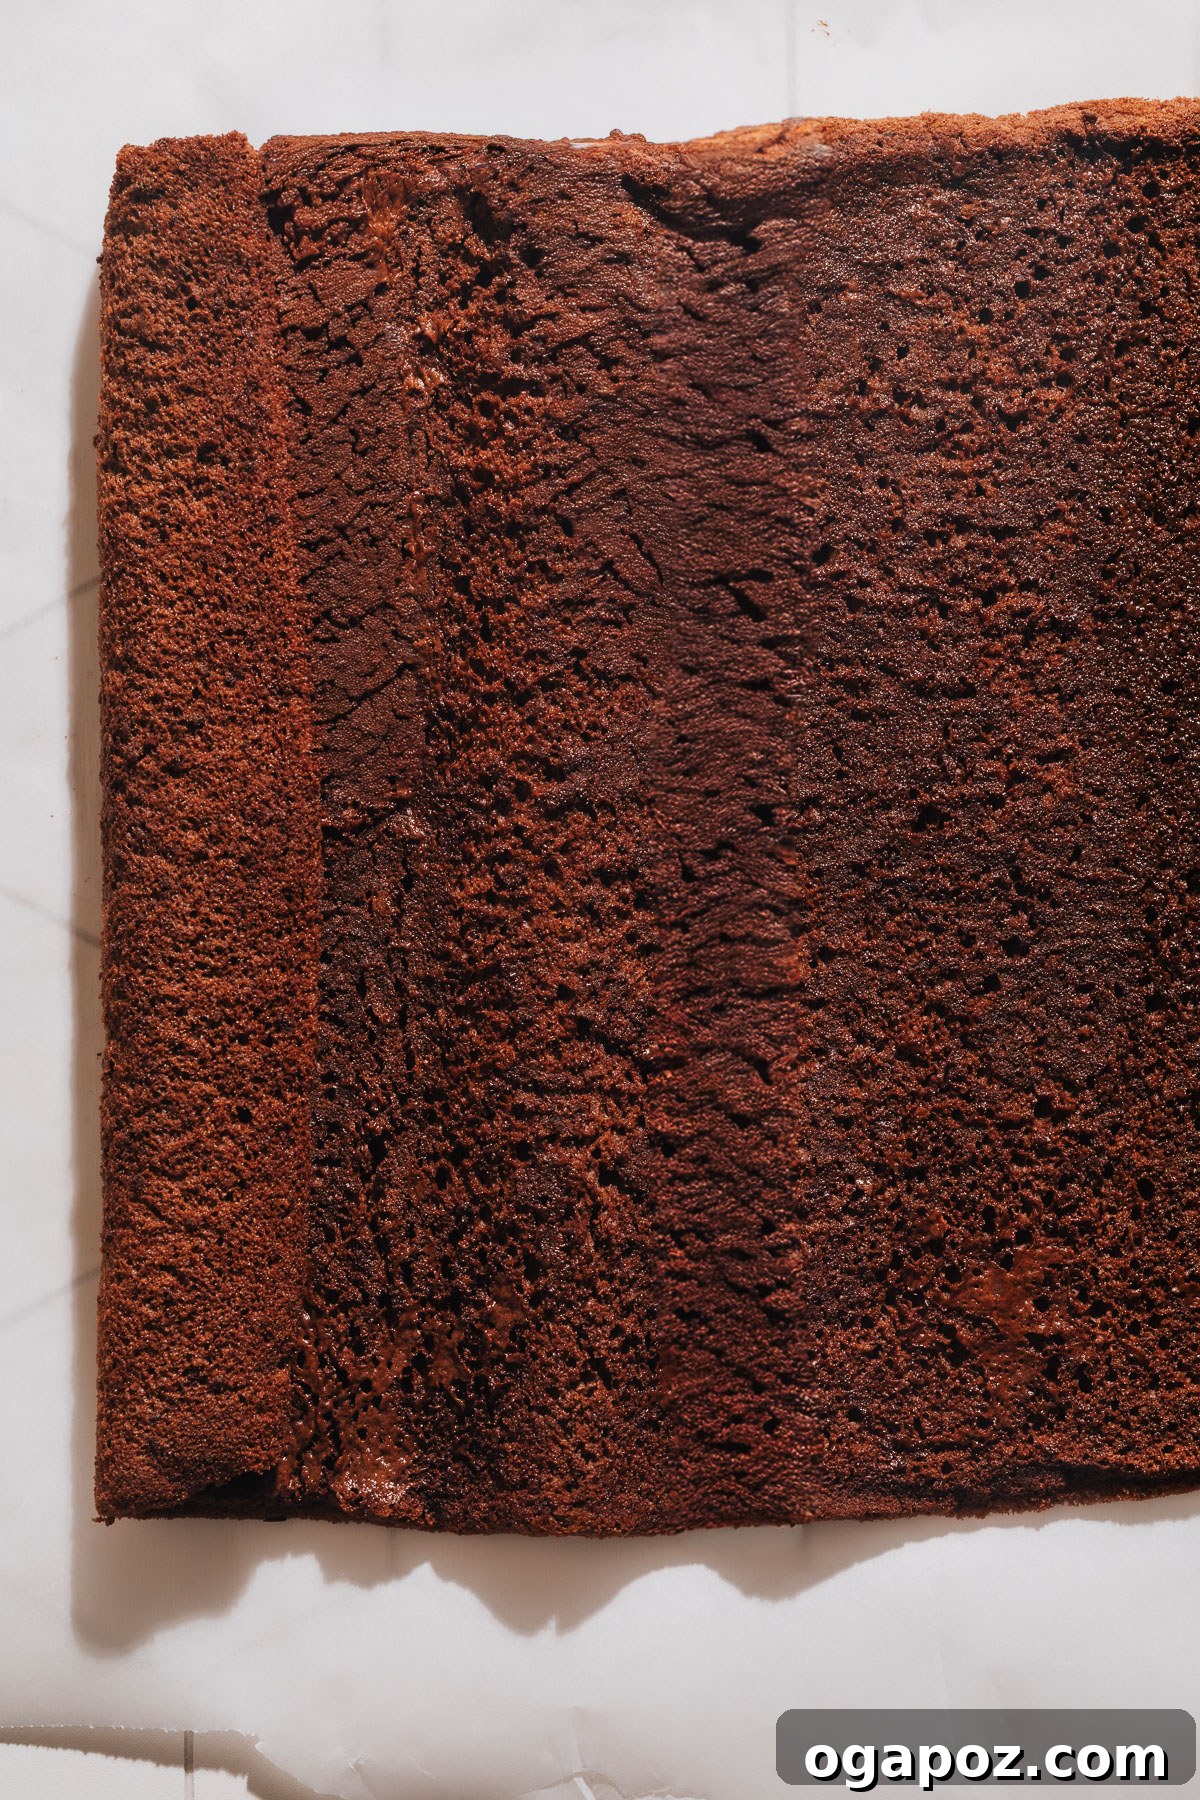
Follow these simple steps for a perfect roll:
- Cool Slightly: Once baked, let the cake cool for just a few minutes in the pan until it’s comfortable enough to handle without burning your fingers. It should still be quite warm and pliable.
- Initial Roll (with Parchment): Crucially, leave the cake in the pan! Using the parchment paper it was baked on, start rolling the cake up from one of the short edges. The parchment paper will roll with it, providing support and preventing sticking. This initial roll is vital for training the cake into its spiral shape.
- Cool Completely: Transfer the wrapped, rolled cake (still in its parchment) to a cooling rack. Let it cool completely to room temperature. This allows the cake to set in its new form, ensuring flexibility for the final fill.
- Unroll and Fill: Once completely cool, gently unroll the cake. Don’t worry if you notice any tiny tears or cracks – these are usually hidden once the cake is filled and re-rolled, or they disappear beautifully under a dusting of confectioners’ sugar.
Traditionally, rolled cakes are flipped onto a sugar-dusted tea towel, which can be an awkward and messy affair. My method eliminates this unnecessary step entirely. Since parchment paper is naturally nonstick, I tested rolling the cake directly on the paper it was baked on, and it turns out there’s absolutely no reason to transfer it at all! This streamlined process saves time and reduces mess, ensuring your baking experience is as enjoyable as the final product.
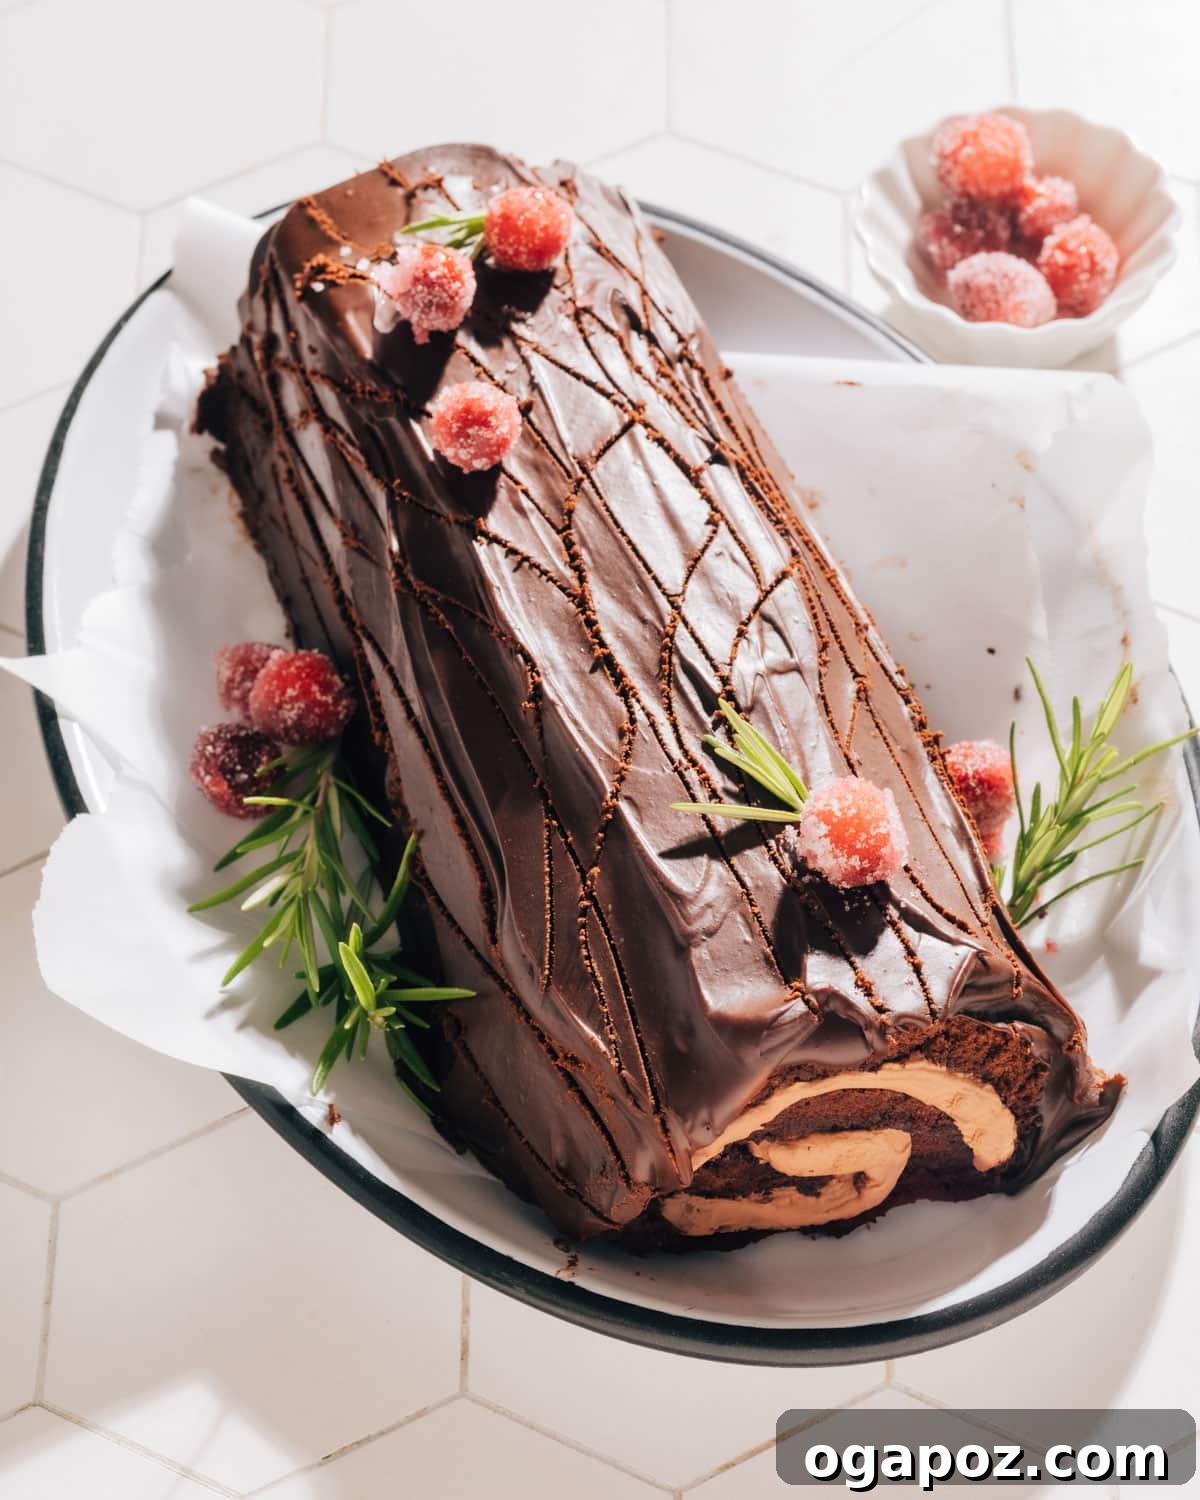
Transform Your Swiss Roll into a Stunning Yule Log (Bûche de Noël)
This versatile Chocolate Swiss Roll recipe serves as the perfect base for a festive Bûche de Noël, also known as a Yule Log. It’s an iconic holiday dessert that beautifully combines the tender chocolate cake and creamy filling with enchanting seasonal decorations. A Yule Log is one of my favorite chocolate Christmas desserts, guaranteed to be a showstopper on your holiday table.
To transform your Swiss Roll into a picturesque Yule Log, simply prepare a quick and easy microwave ganache to drape over the rolled cake. For an extra touch of winter elegance, adorn your creation with glistening sugared cranberries and delicate sprigs of fresh rosemary. These simple garnishes evoke the imagery of a forest floor, making your dessert truly magical.
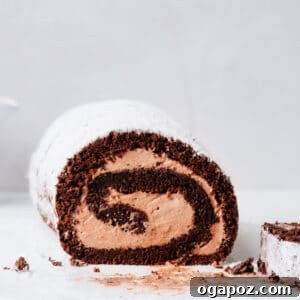
Easy Chocolate Swiss Roll Cake
Jennifer Pallian BSc, RD
An easy Chocolate Swiss Roll Cake recipe, featuring a tender sponge and rich chocolate cream. My simplified rolling steps make it completely foolproof!
45 minutes
10 minutes
10
Ingredients
For Cake
- 4 large eggs, separated (at room temperature)
- ½ cup + ⅓ cup granulated sugar (divided use)
- 1 tsp pure vanilla extract
- ½ cup all-purpose flour (64 g)
- ⅓ cup cocoa powder (35 g)
- 1 tsp baking powder
- ⅛ tsp fine sea salt
- ⅓ cup milk
- Confectioners’ sugar for dusting
For Chocolate Cream Filling
- 1 cup heavy whipping cream (very cold)
- 2 ½ tbsp cocoa powder
- ¼ cup confectioners’ sugar
- ½ tsp vanilla extract
Instructions
For the Cake:
- Preheat your oven to 375ºF (190ºC). Line an 11×17-inch sheet pan with parchment paper, allowing an overhang on the short edges for easy handling. Lightly grease the parchment paper to prevent sticking.
- In a stand mixer fitted with the whisk attachment, beat the egg whites on medium speed until they become foamy. With the mixer running, gradually add ½ cup of the granulated sugar, about a tablespoonful at a time, ensuring each addition is incorporated before adding more. Increase the speed to high and continue beating until medium-stiff peaks form (the meringue will hold its shape, but the very tip will droop slightly).
- Carefully scrape the beaten egg whites into a separate, clean bowl. Return the mixer bowl to the stand mixer (no need to wash it!).
- Add the egg yolks to the same mixer bowl with the remaining ⅓ cup of granulated sugar. Beat with the whisk attachment on medium speed for about 2 minutes, until the mixture is creamy and lightened in color. Reduce the speed to low and beat in the vanilla extract until just combined.
- In a separate medium bowl, whisk together the all-purpose flour, cocoa powder, baking powder, and fine sea salt until well combined.
- With the mixer on low speed, add about ⅓ of the dry flour mixture to the egg yolk mixture and beat until just incorporated. Next, add ½ of the milk and beat on low speed again. Repeat this process with the remaining dry ingredients and milk (for a total of 3 additions of the flour mixture and 2 additions of milk). Beat only until the ingredients are just combined to avoid overmixing.
- Remove the mixer bowl from the stand mixer. Gently fold in the whipped egg whites using a large silicone spatula. Use a light hand to preserve as much air as possible in the batter.
- Scrape the batter onto the prepared sheet pan and spread it evenly into all corners, ensuring a consistent thickness. Bake for 10-12 minutes, or until the cake loses its glossy shine and the center feels lightly springy when gently pressed. Be careful not to overbake, as this can make the cake dry and prone to cracking.
- Let the cake cool in the pan for a few minutes, just until you can comfortably handle it without burning your fingers. While still warm, begin rolling the cake up from one of the short edges, along with the parchment paper. Transfer the wrapped, rolled cake to a cooling rack and allow it to cool completely to room temperature. This initial roll helps the cake retain its shape for the final assembly.
For the Chocolate Cream Filling:
- In a stand mixer with a whisk attachment (or using an electric hand mixer), whip the very cold heavy cream on high speed until soft peaks begin to form. Sift in the cocoa powder and confectioners’ sugar, then continue whipping until medium-stiff peaks are achieved. Beat in the vanilla extract. Be careful not to overbeat, or the cream may become grainy.
To Assemble:
- Once the cake is completely cold, gently unroll it on a clean work surface, leaving it on top of the parchment paper.
- Evenly spread the chocolate cream filling over the entire surface of the cake, leaving a small border (about ½ inch) around the edges. Carefully roll the cake back up, gently peeling the parchment paper away as you go.
- Place the rolled cake seam-side down on a serving platter. If you’re concerned about breakage, use a rimless baking sheet or pizza peel to carefully transfer it.
- If desired, trim away the less-than-perfect end slices for a neater presentation. Cover the Swiss Roll loosely with plastic wrap and refrigerate until ready to serve. For easier, cleaner slicing, it’s best to chill the cake for at least 2 hours, or even overnight. Just before serving, dust the top generously with confectioners’ sugar for a beautiful finish. This cake can be made up to 24 hours in advance.
Notes and Pro Tips
Make Ahead Tip: Chilling this cake overnight not only makes it significantly easier to slice but also allows the cake to absorb moisture and flavor from the filling, resulting in an even more tender and delicious dessert. Consider preparing it a day before you plan to serve for the best results!
Optional Ganache Topping: For an extra layer of decadence and a more sophisticated look (especially if turning into a Yule Log), consider adding a simple ganache topping.
Ganache Ingredients:
- ¾ cup heavy cream
- 6 oz finely chopped dark chocolate (good quality makes a difference!)
Ganache Instructions:
- In a microwave-safe bowl, combine the heavy cream and finely chopped dark chocolate.
- Microwave the mixture in 20-second bursts. After each burst, stir well with a spatula or whisk. Continue microwaving and stirring until the chocolate is completely melted and the mixture is smooth and glossy. Residual heat will continue to melt any small chocolate pieces, so keep stirring!
- Allow the ganache to cool slightly at room temperature to thicken to a spreadable consistency before pouring or spreading it over your Swiss Roll or Yule Log.
Tip: Stir more than you think you need to – residual heat is crucial for achieving a perfectly smooth ganache without scorching the chocolate.
Nutrition Information (per serving)
|
Carbohydrates: 28g
|
Protein: 5g
|
Fat: 11g
|
Saturated Fat: 7g
|
Polyunsaturated Fat: 1g
|
Monounsaturated Fat: 3g
|
Trans Fat: 0.01g
|
Cholesterol: 94mg
|
Sodium: 107mg
|
Potassium: 124mg
|
Fiber: 2g
|
Sugar: 18g
|
Vitamin A: 463IU
|
Vitamin C: 0.1mg
|
Calcium: 69mg
|
Iron: 1mg
Nutrition information is automatically calculated and should only be used as an approximation.