
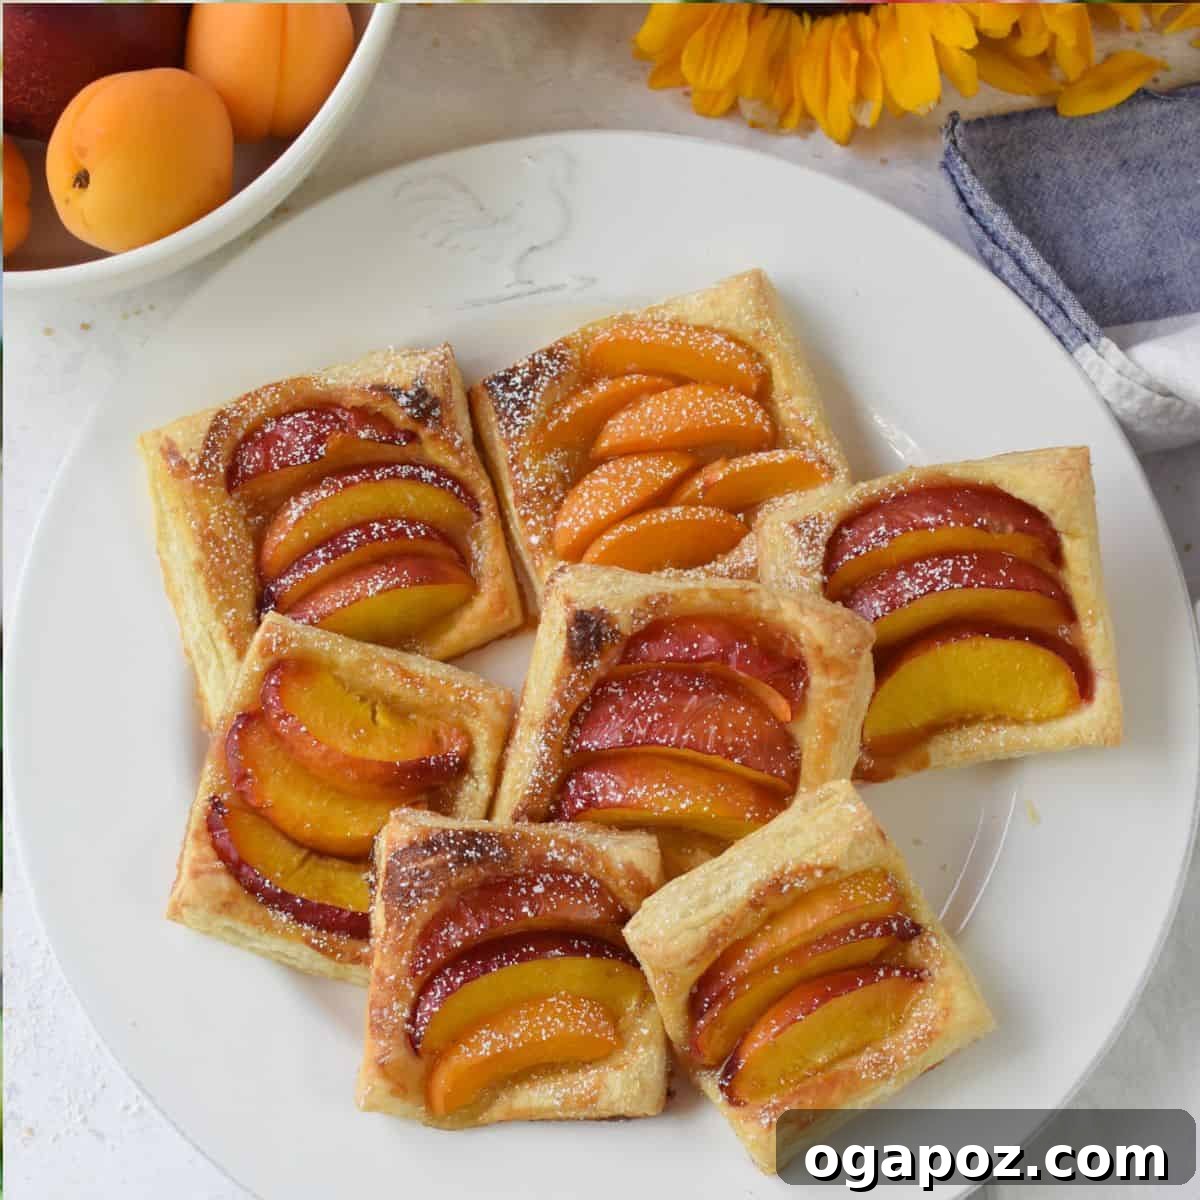
Easy Peach Tart: Your Go-To Flaky Summer Fruit Dessert
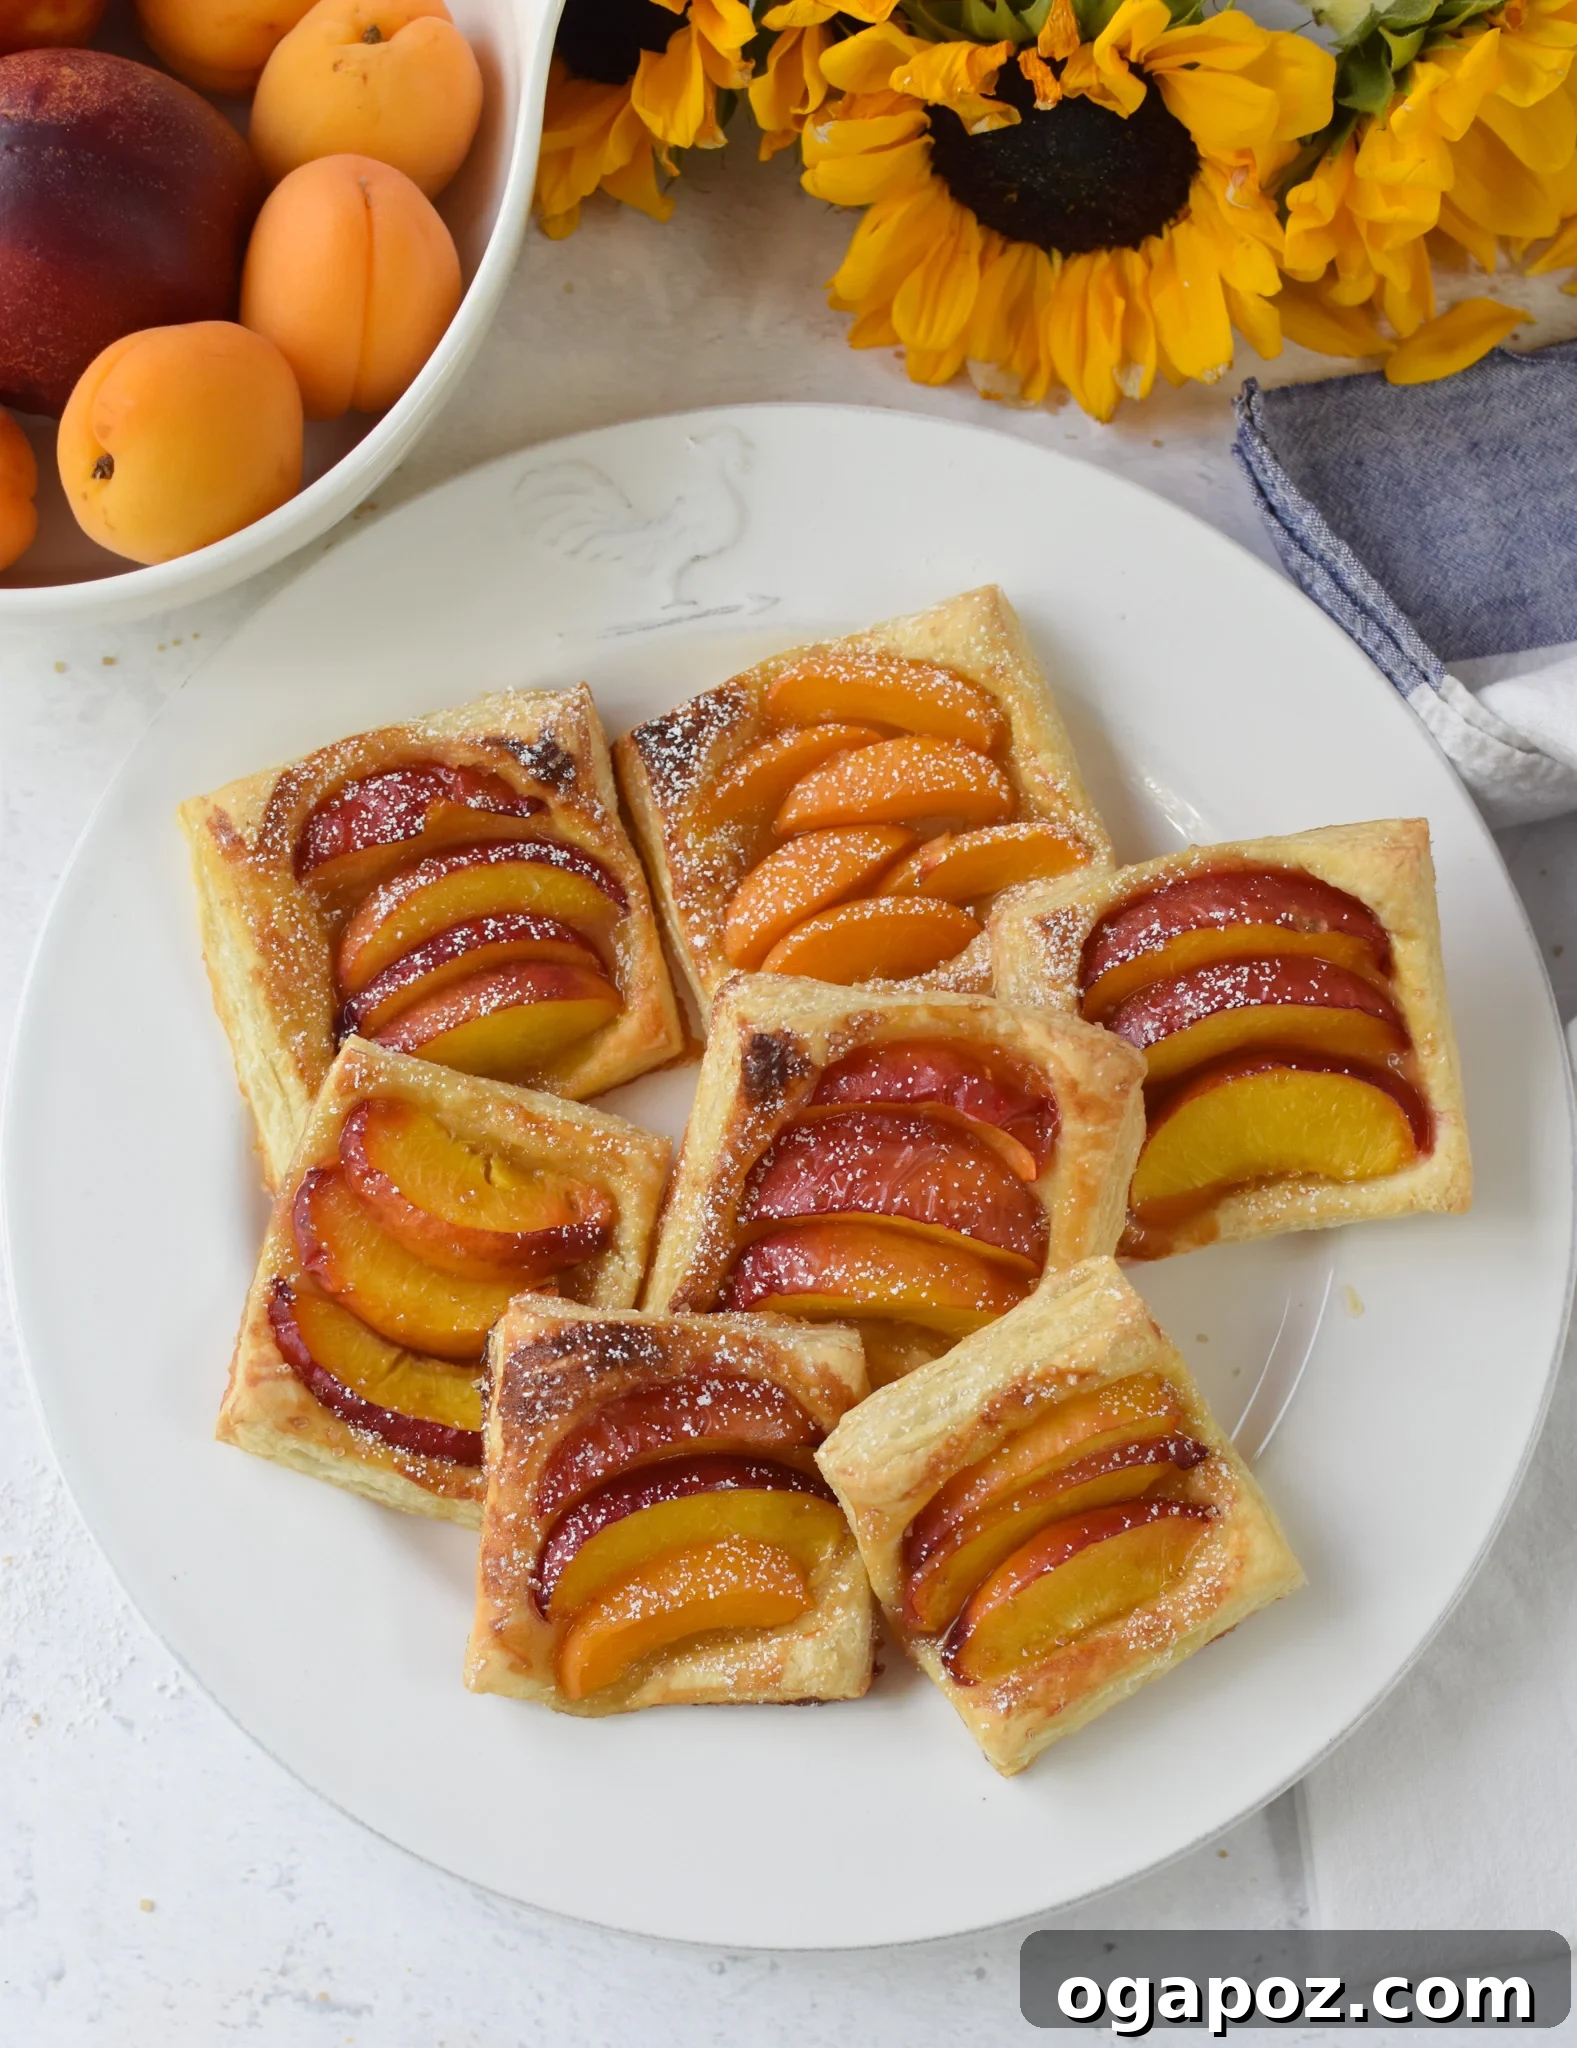
Welcome to the heart of summer baking with this incredibly simple yet elegant Easy Peach Tart. This recipe is your quintessential guide to transforming sweet, sun-ripened peaches into a stunning dessert that requires minimal effort but delivers maximum flavor. Imagine a golden, buttery puff pastry crust cradling tender, caramelized peach slices, all kissed with a delicate drizzle of honey. It’s a versatile treat that fits seamlessly into any part of your day – from a delightful breakfast pastry to a light brunch offering, an afternoon snack, or a sophisticated after-dinner dessert.
While peaches are the star of this particular show, the beauty of this tart lies in its adaptability. You can effortlessly substitute any seasonal stone fruit. Think vibrant nectarines, delicate apricots, rich plums, or even a scattering of tart cherries. Summer is the prime time to find these fruits at their peak: juicy, flavorful, and brimming with natural sweetness. Their inherent qualities make them superb ingredients for both sweet and savory dishes, but they truly shine when baked into pastries like this simple tart.
Why You’ll Fall in Love with This Easy Peach Tart
This isn’t just another dessert; it’s an ode to summer simplicity. With busy schedules, finding recipes that are both impressive and easy to execute is a true win. This peach tart uses just a handful of ingredients and comes together in mere minutes, making it the perfect last-minute indulgence or a quick treat for unexpected guests. The contrast of the airy, flaky puff pastry against the soft, sweet fruit creates a textural symphony that is simply irresistible.
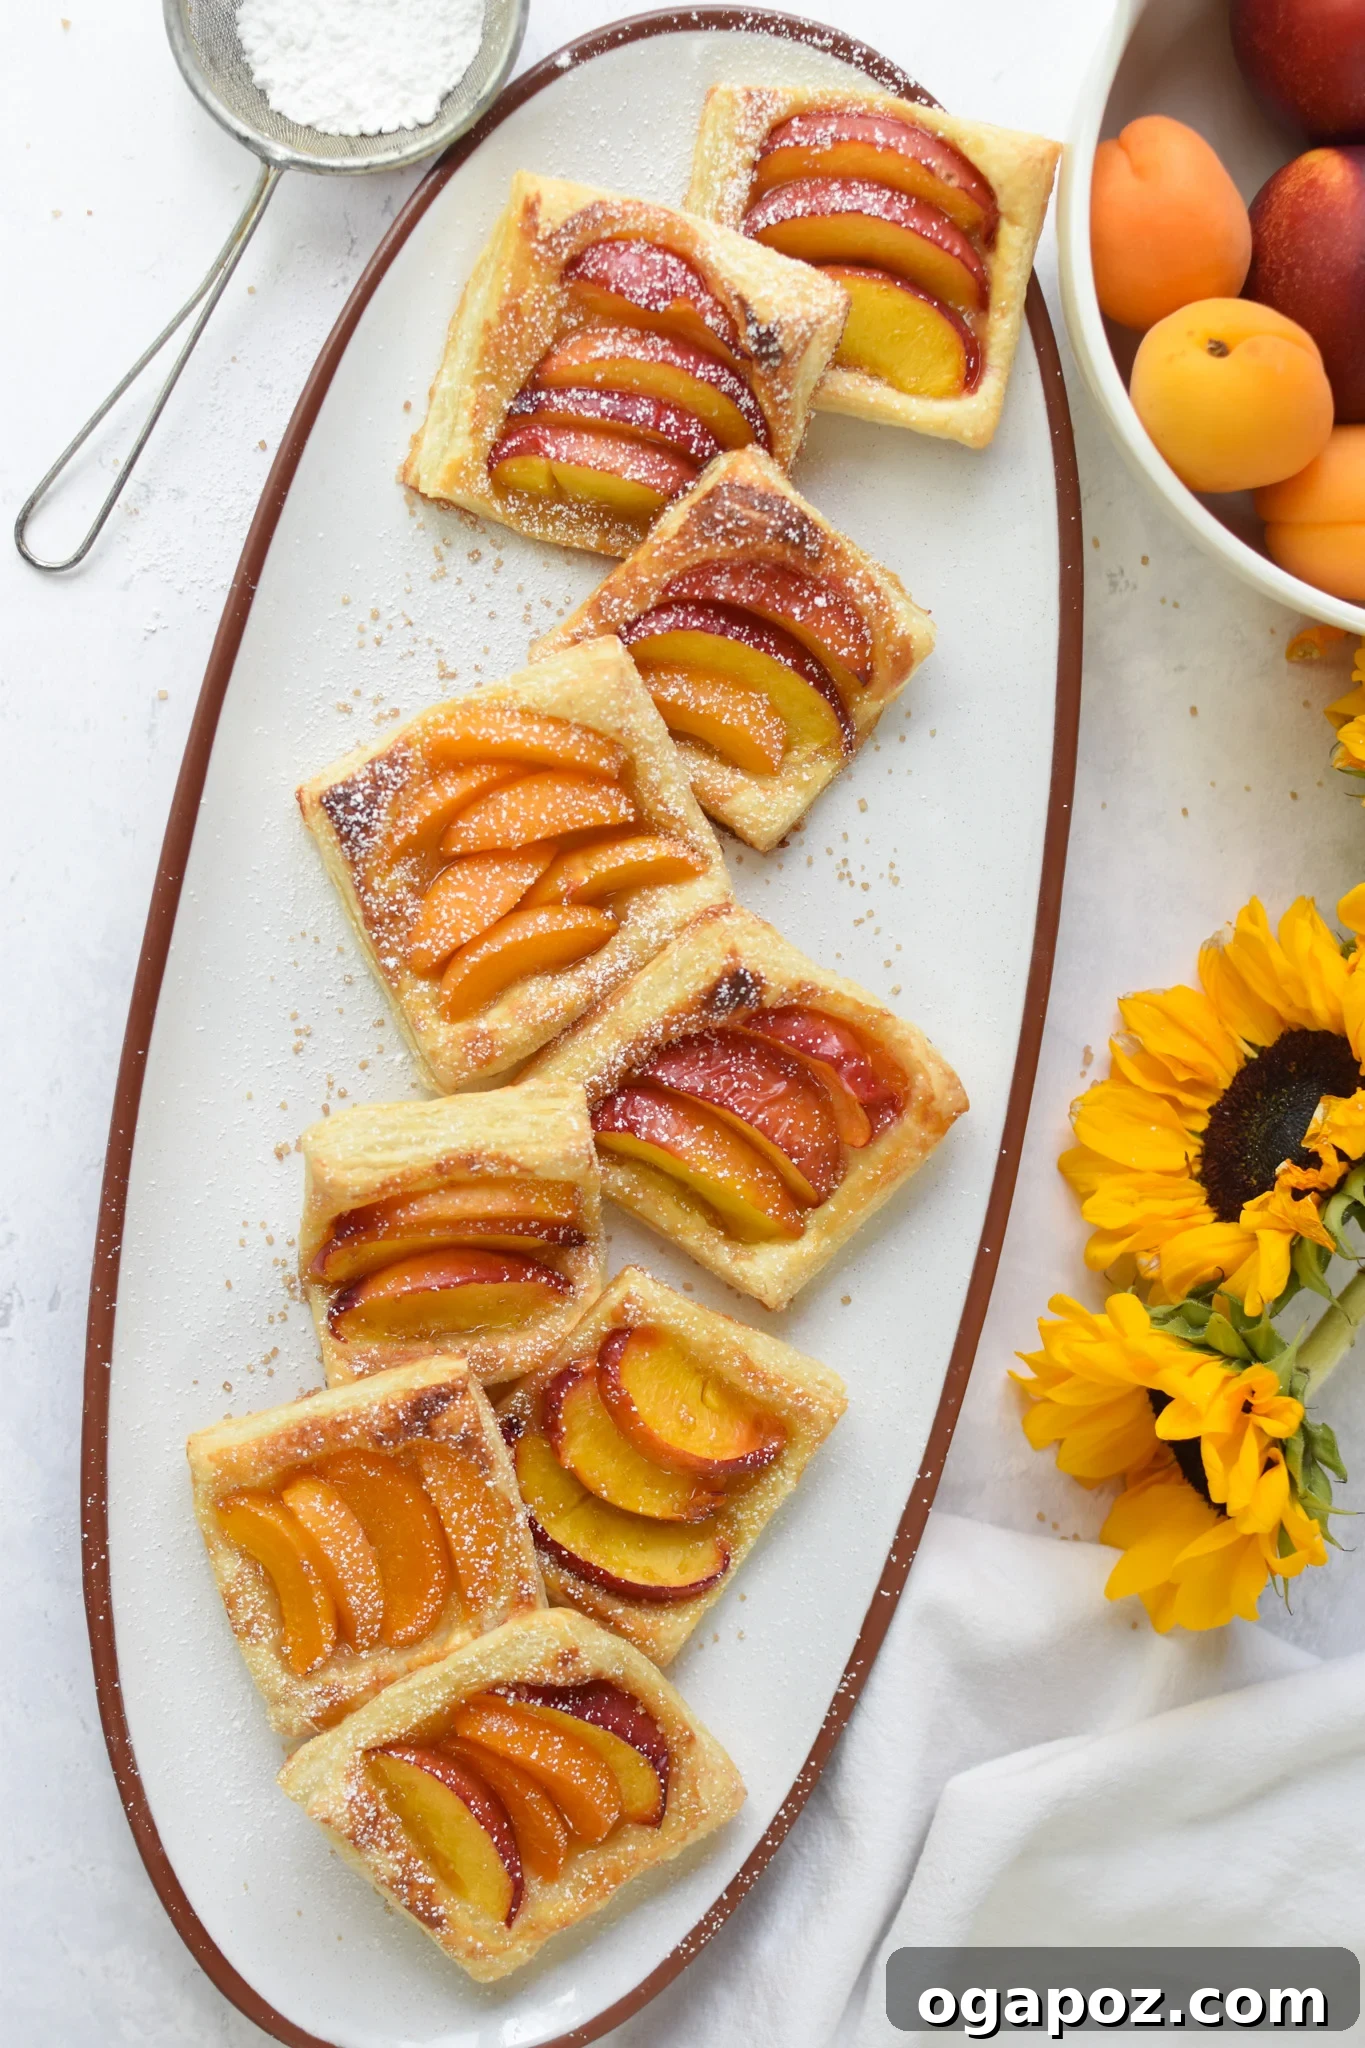
Beyond its ease and exquisite taste, this tart offers a rustic charm that makes it a feast for the eyes. Its golden-brown crust and vibrant fruit topping are inherently beautiful, requiring no fancy decorating skills. It’s the kind of dessert that looks like it took hours, but in reality, is ready in under 30 minutes. Pair it with your morning coffee for a luxurious start to the day, or serve it warm with a scoop of vanilla bean ice cream for an unforgettable evening treat. This easy peach tart is destined to become a beloved staple in your summer kitchen.
Essential Ingredients for a Perfect Peach Tart

The magic of this peach tart lies in its reliance on a few high-quality components. When selecting your ingredients, prioritize freshness and flavor to ensure the most delightful outcome. Here’s a detailed look at what you’ll need and some tips for selection:
- Stone Fruit: The star of the show! While juicy peaches are fantastic, feel free to use 2-3 medium nectarines and 3-4 medium apricots as listed in the recipe card for a mixed fruit tart. Other delicious options include plums or cherries. Always choose fruit that is ripe but firm enough to hold its shape when sliced. Look for fruit with a fragrant aroma and vibrant color.
- Puff Pastry: The foundation of our tart. Look for ready-made puff pastry sheets in the freezer section of your grocery store. Most come in pre-rolled sheets, making preparation incredibly simple. The key is to ensure it is fully thawed in the refrigerator before use – usually overnight or for several hours – so it’s pliable and easy to unfold without cracking. Avoid thawing at room temperature for too long, as it can become sticky.
- Honey: This serves as a sweet glaze that enhances the fruit’s natural sugars. Drizzle it generously over the baked tart for a beautiful sheen and an extra layer of sweetness. For an exciting variation, consider using hot honey to introduce a subtle spicy kick, which pairs surprisingly well with the sweet peaches.
- Turbinado Raw Cane Sugar: This coarse, golden sugar is crucial for both flavor and texture. Sprinkled over the fruit and pastry, it caramelizes during baking, creating a delightful crunchy texture and a sparkling finish that truly elevates the tart’s appearance and taste. Its larger crystals stand up better to high heat than fine granulated sugar.
- Large Egg (for Egg Wash – Optional but Recommended): A simple egg wash (one large egg mixed with a splash of water) is your secret weapon for achieving that beautiful, glossy golden-brown crust. It contributes to the pastry’s color and slightly crisp texture, giving your homemade tarts a professional bakery-quality finish. While optional, it’s a highly recommended step for aesthetic appeal.
Step-by-Step Guide: Crafting Your Easy Peach Tart
This recipe is designed for simplicity, allowing you to create impressive individual peach tarts with ease. Follow these detailed steps to ensure a perfectly baked, flaky, and fruit-filled treat every time.
Step 1: Thaw Puff Pastry & Preheat Oven
The first crucial step is to thaw your frozen puff pastry according to the package directions. This usually means leaving it in the refrigerator overnight or on the counter for 30-40 minutes until it’s pliable but still cool. While the pastry thaws, preheat your oven to 400°F (200°C). Prepare two baking sheets by lining them with parchment paper. This simple trick prevents sticking and ensures easy cleanup, allowing your delicate tarts to lift off flawlessly.
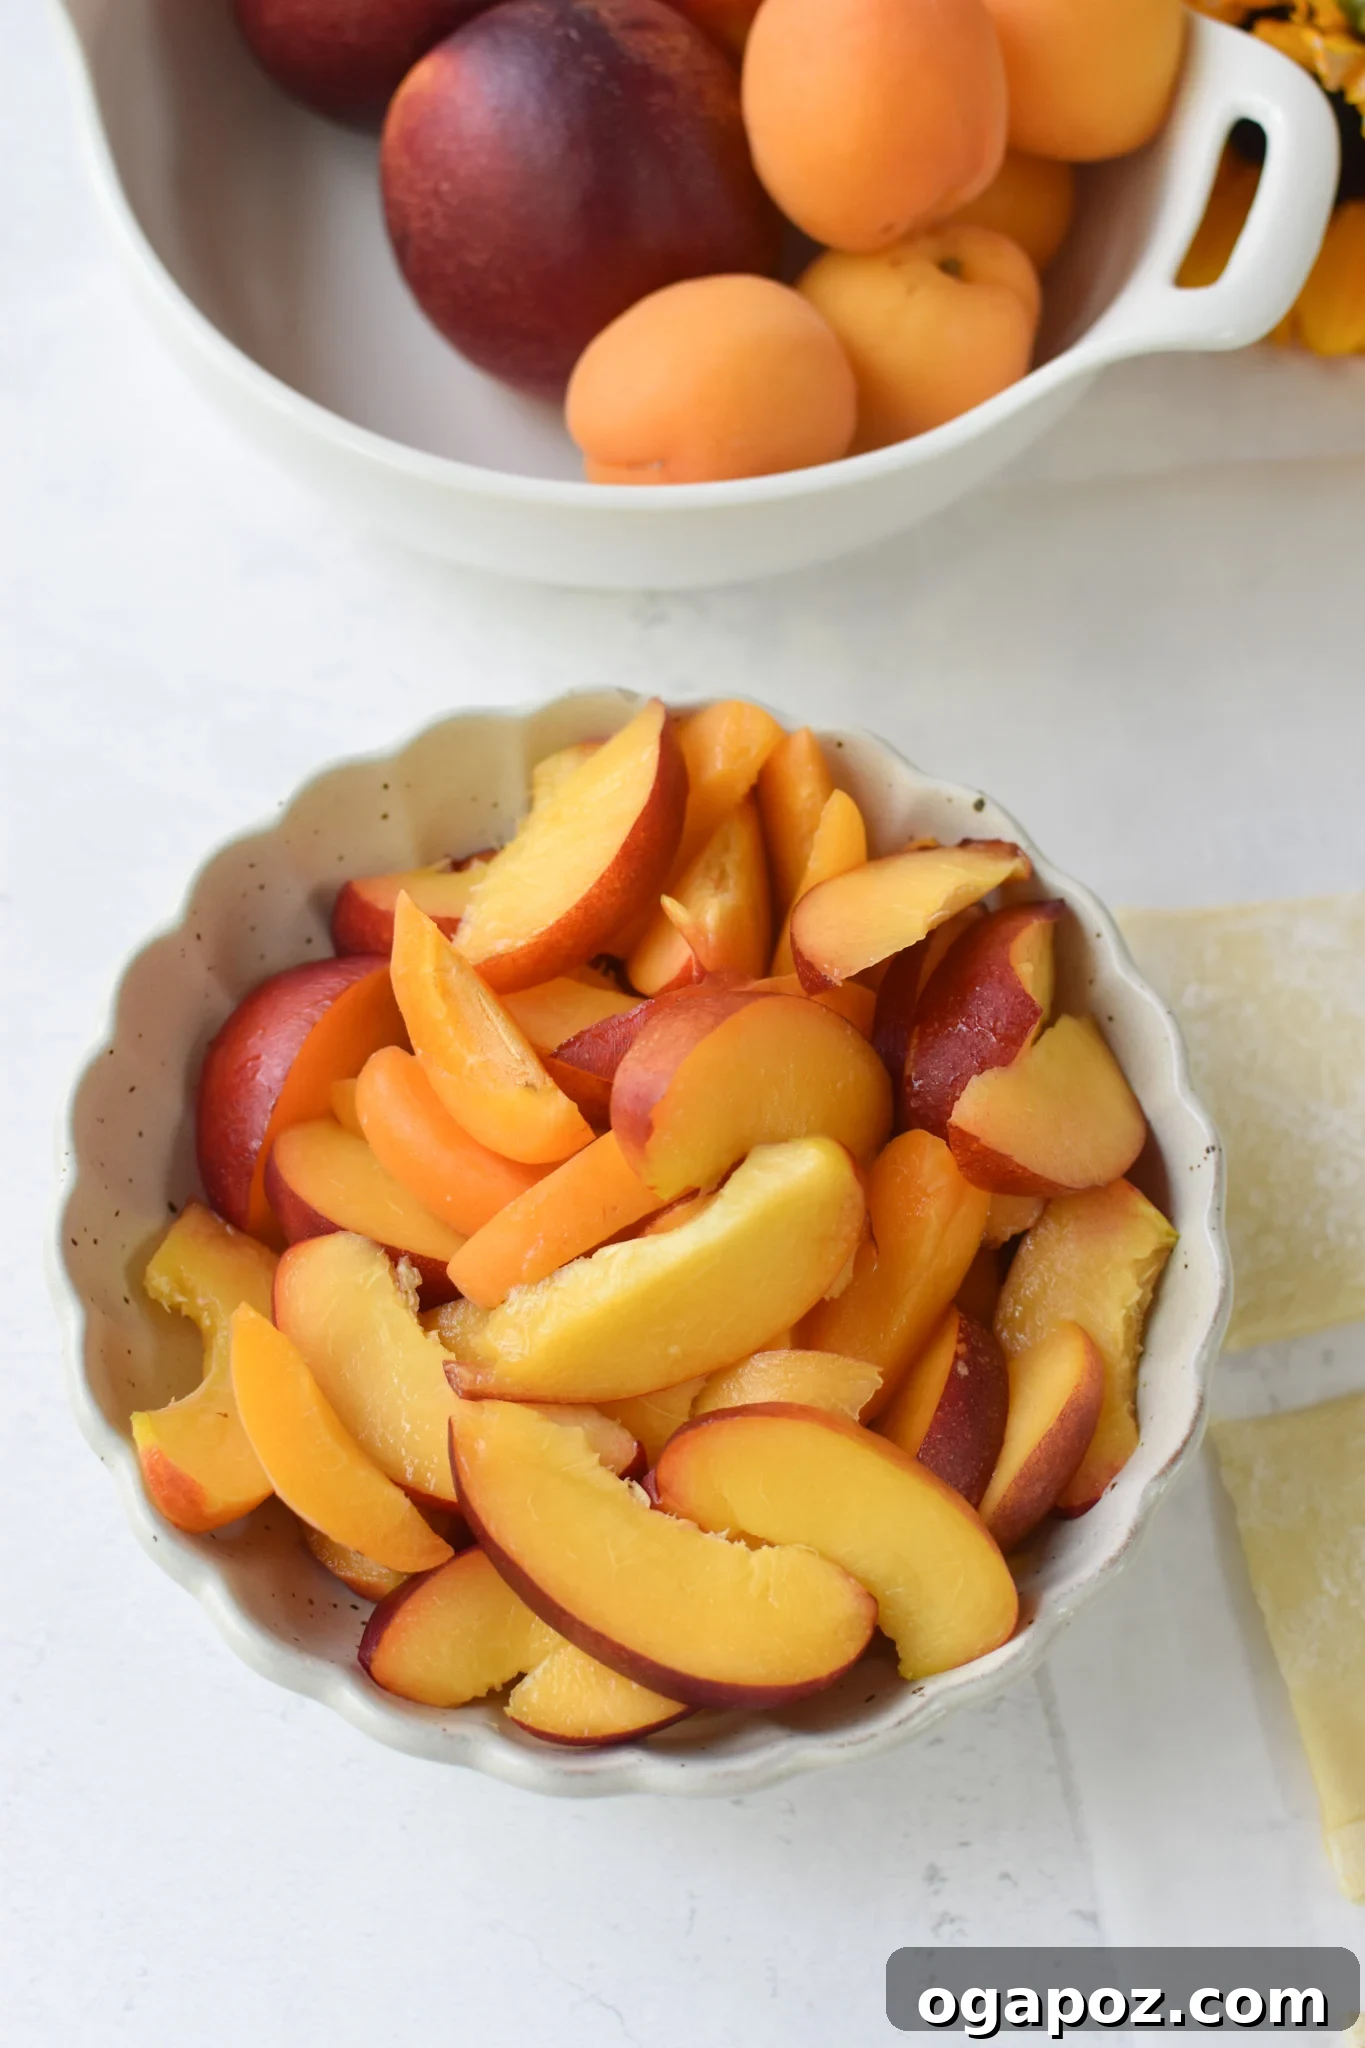
Step 2: Slice Your Stone Fruit with Care
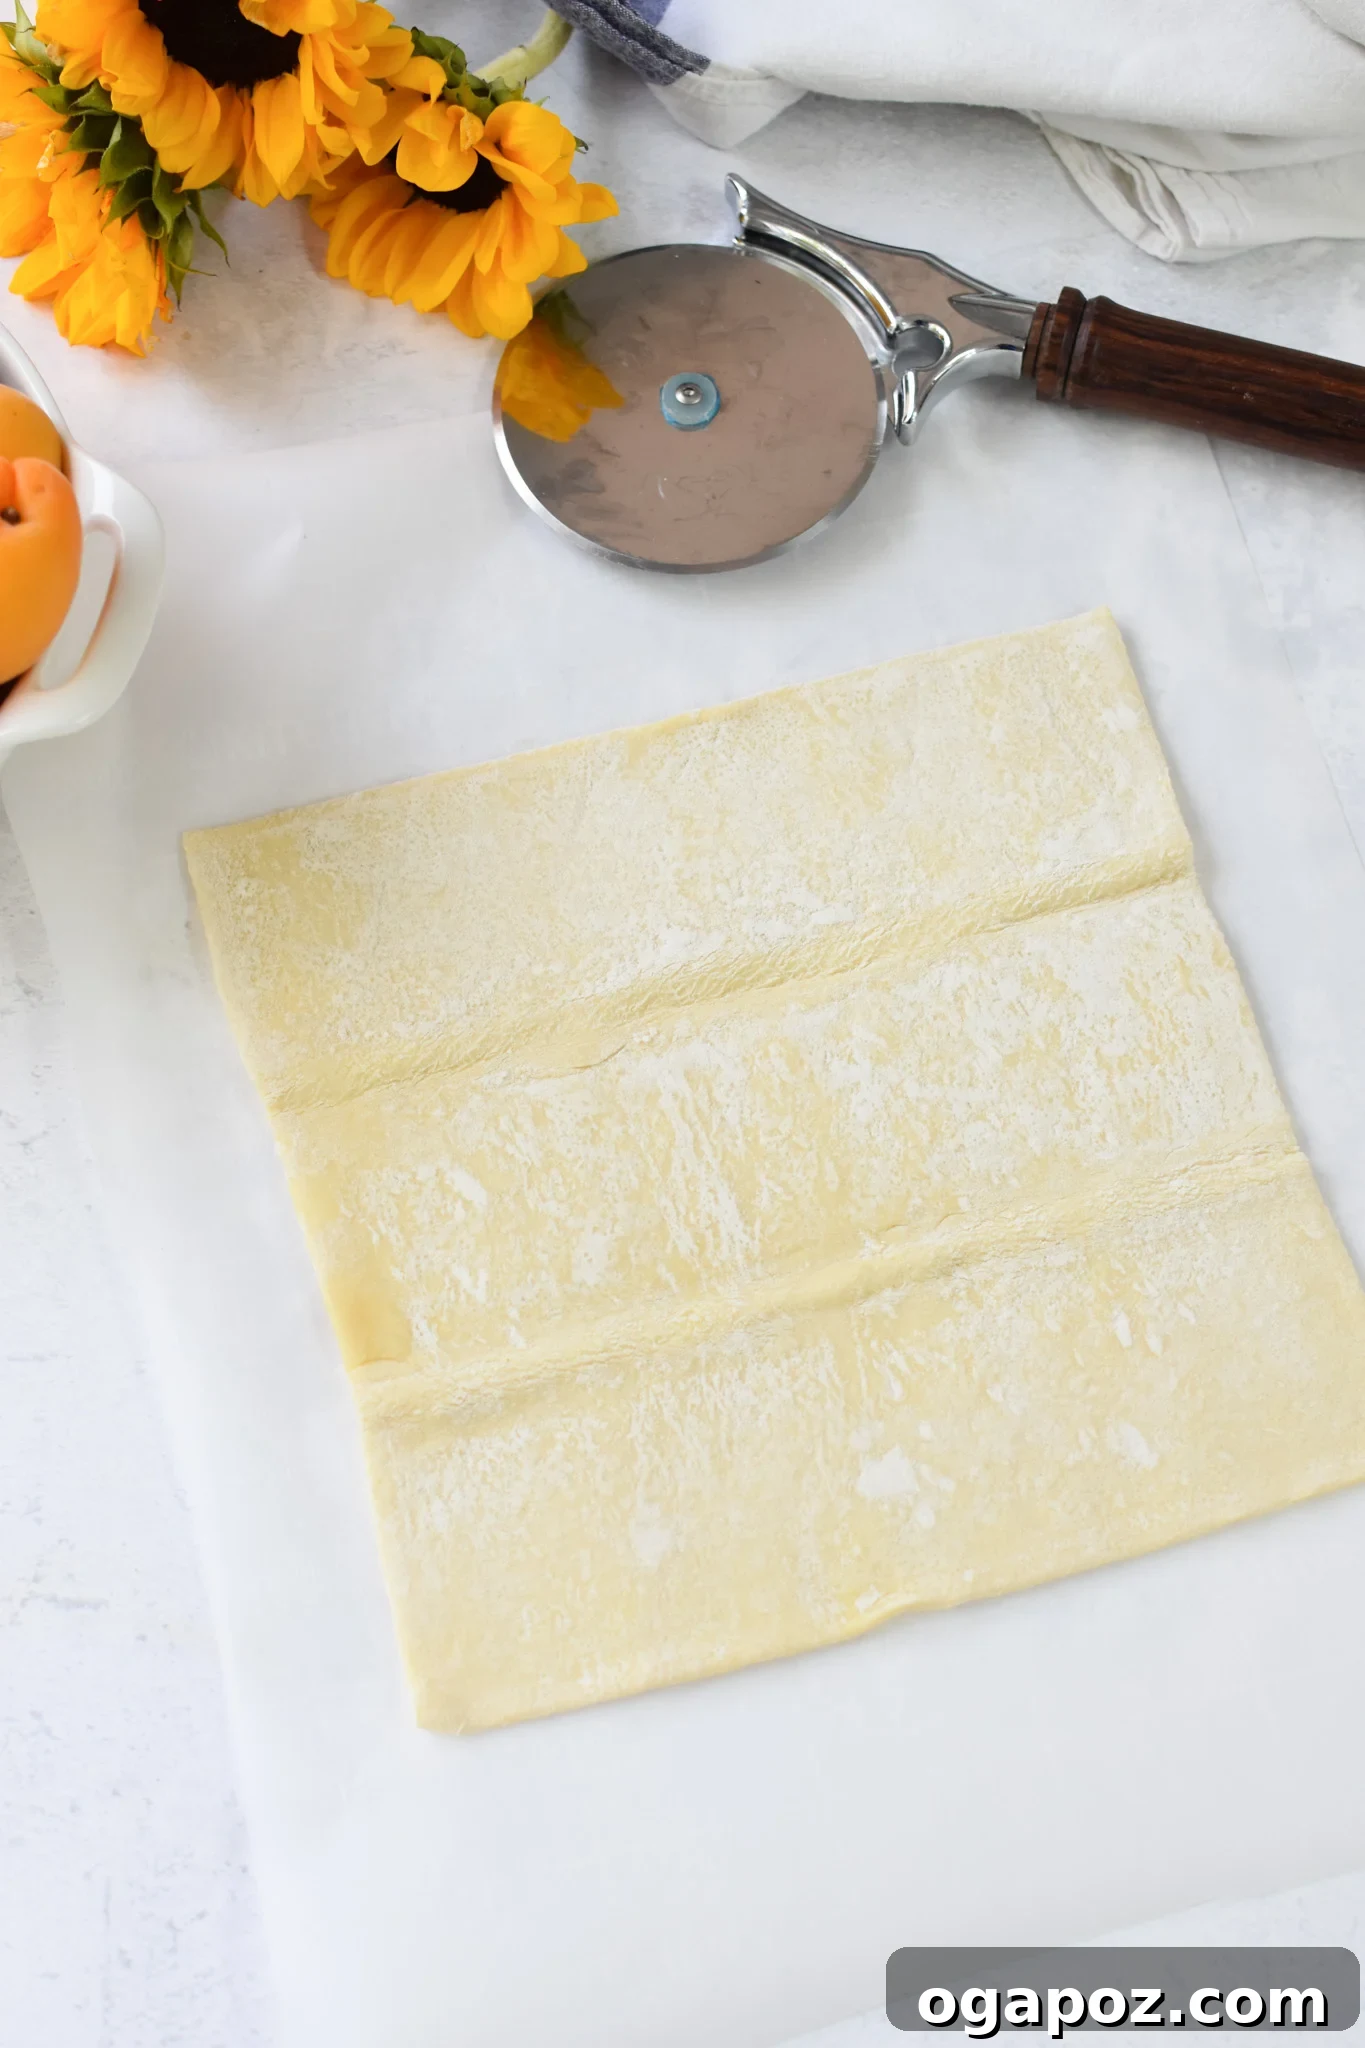
As your pastry thaws, thinly slice your chosen stone fruit. For peaches, nectarines, or apricots, aim for slices about ⅛ to ¼ inch thick. Consistency in thickness is key for even cooking and a beautiful presentation. Thinner slices will soften more quickly and elegantly drape over the pastry. Once sliced, set the fruit aside. On a lightly floured surface, carefully unroll your thawed puff pastry sheet. Using a rolling pin, gently roll it into a large rectangle, ensuring an even thickness across the entire sheet.
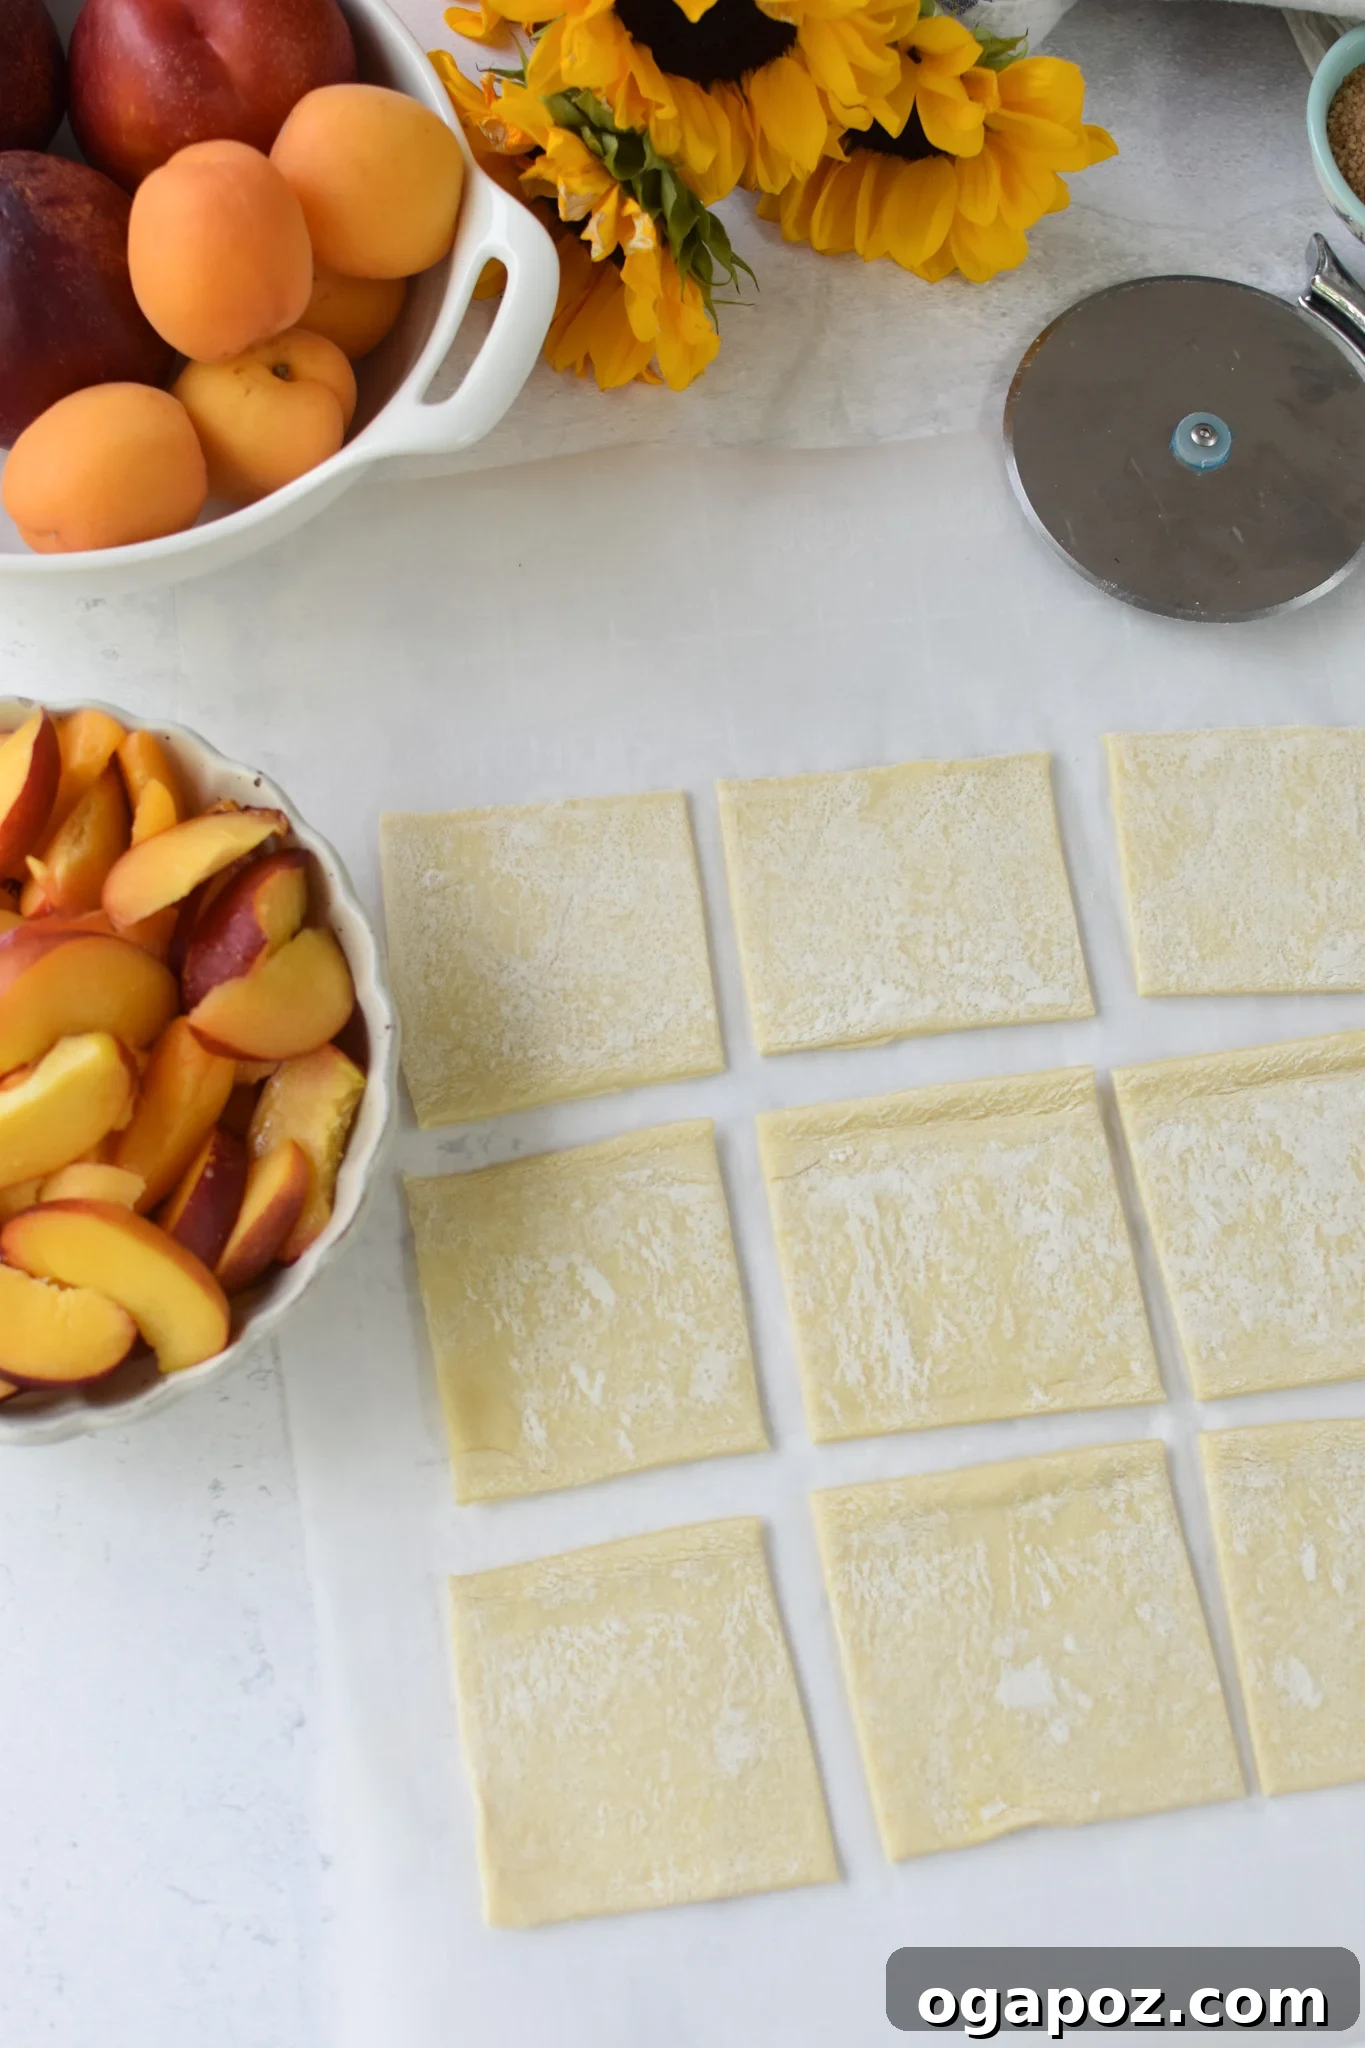
Step 3: Cut and Arrange Puff Pastry Squares
Once your pastry is rolled out, use a sharp knife or a pizza cutter to divide each puff pastry sheet into 9 equal squares. This size is ideal for individual tarts. Carefully transfer these squares onto your parchment-lined baking sheets, leaving about an inch of space between each to allow for even puffing and browning during baking. The slight separation ensures each tart cooks independently and crisps up beautifully.
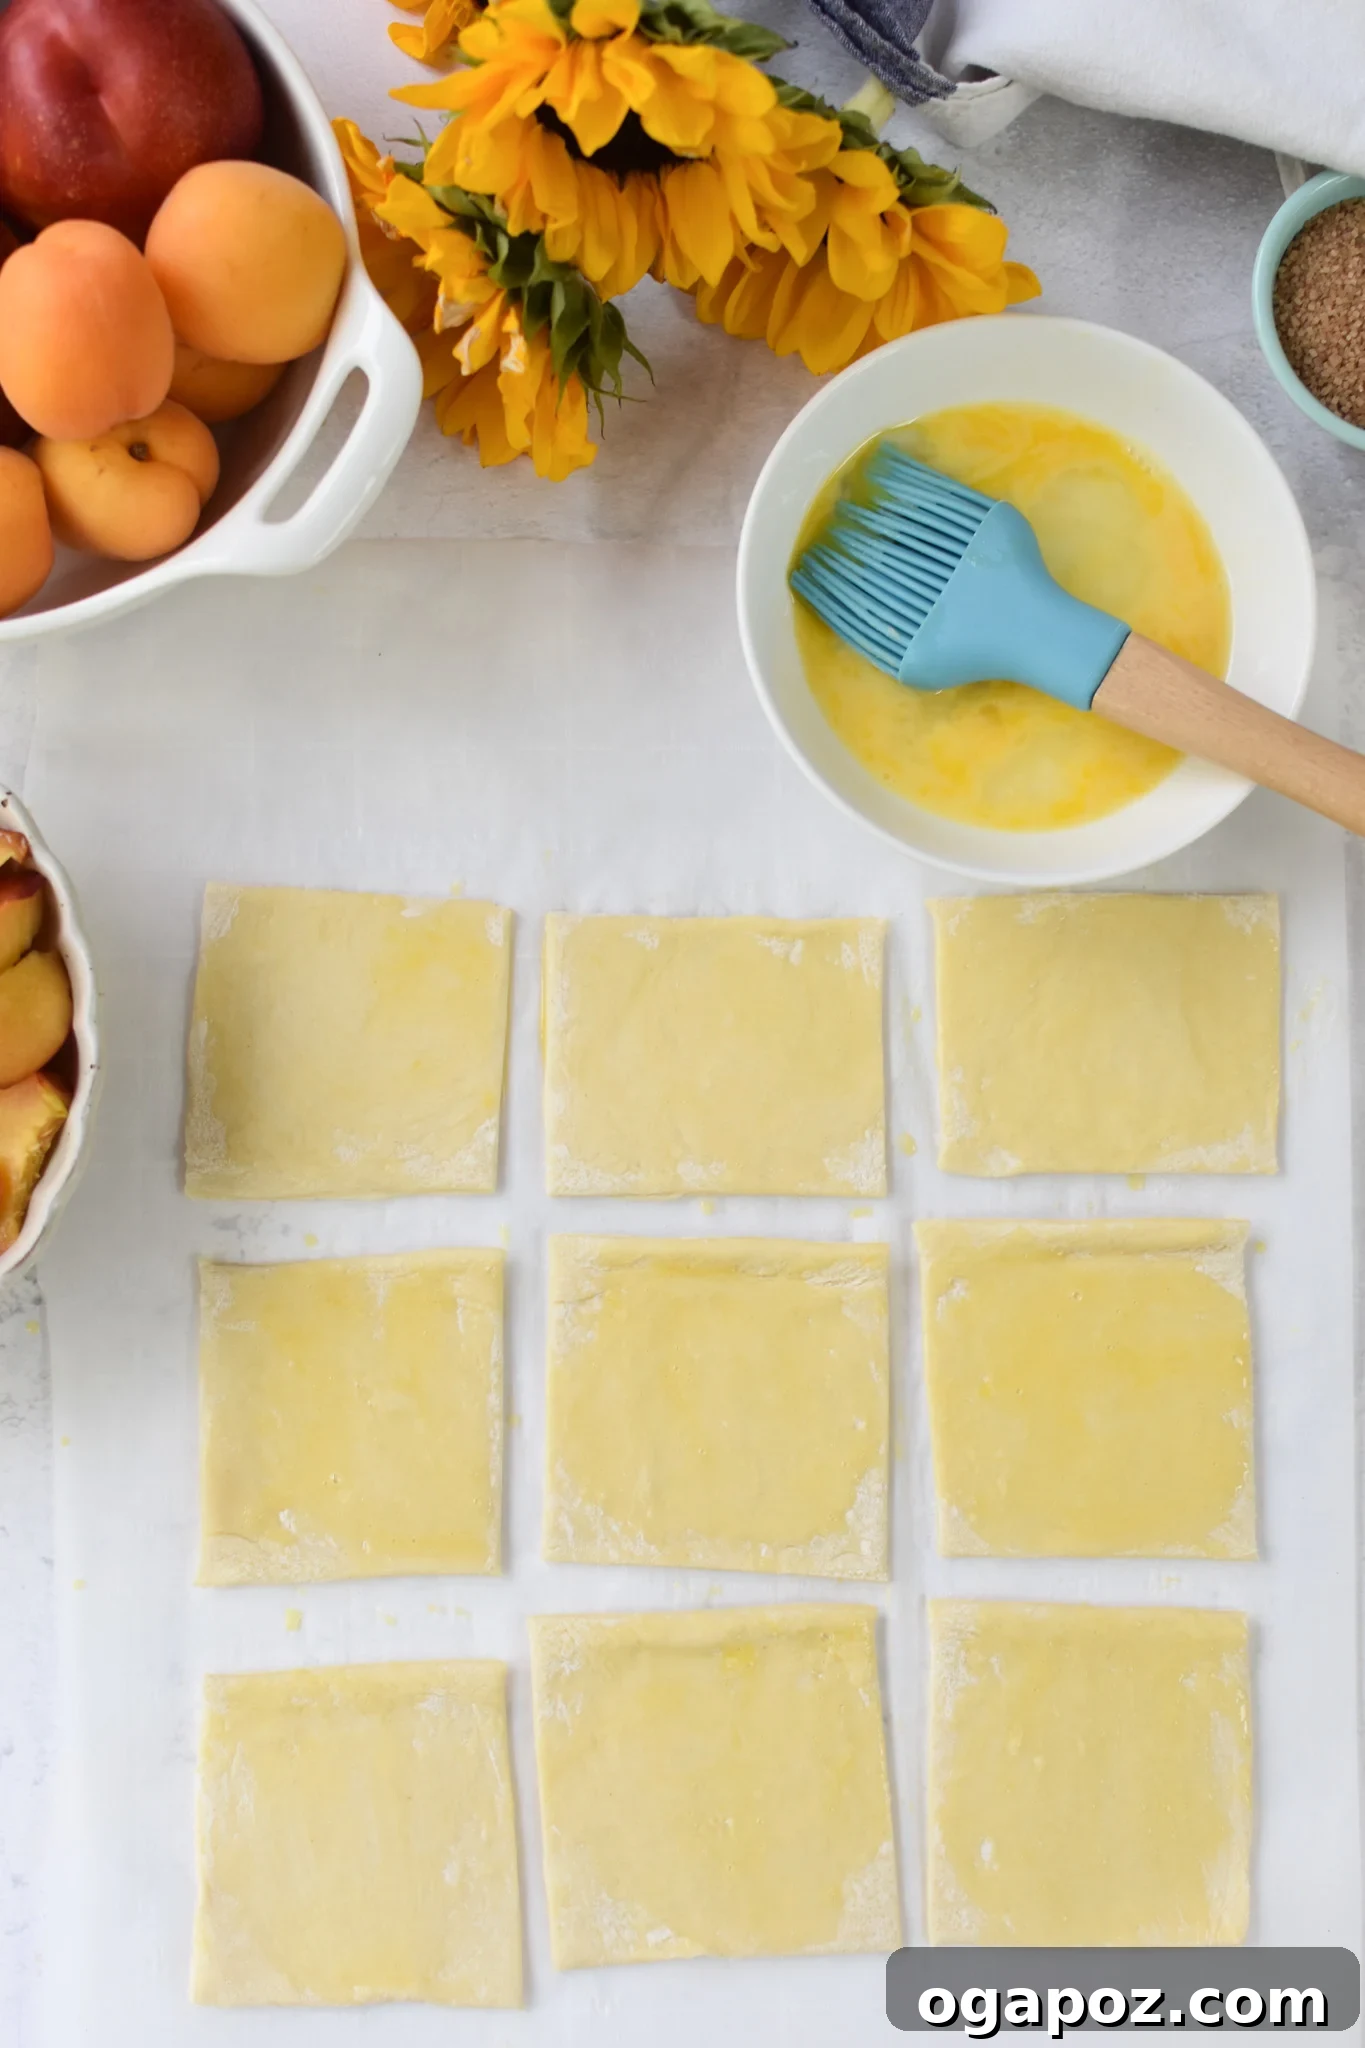
Step 4: Brush with Egg Wash for a Golden Glaze
In a small bowl, whisk one large egg with a splash of water (approximately one teaspoon) to create a simple egg wash. Using a pastry brush, lightly brush the outer edges of each puff pastry square. This egg wash is the secret to achieving that rich, golden-brown, and slightly glossy finish on your tart crust. It also helps the edges puff up beautifully, creating a defined and appealing border around your fruit filling.
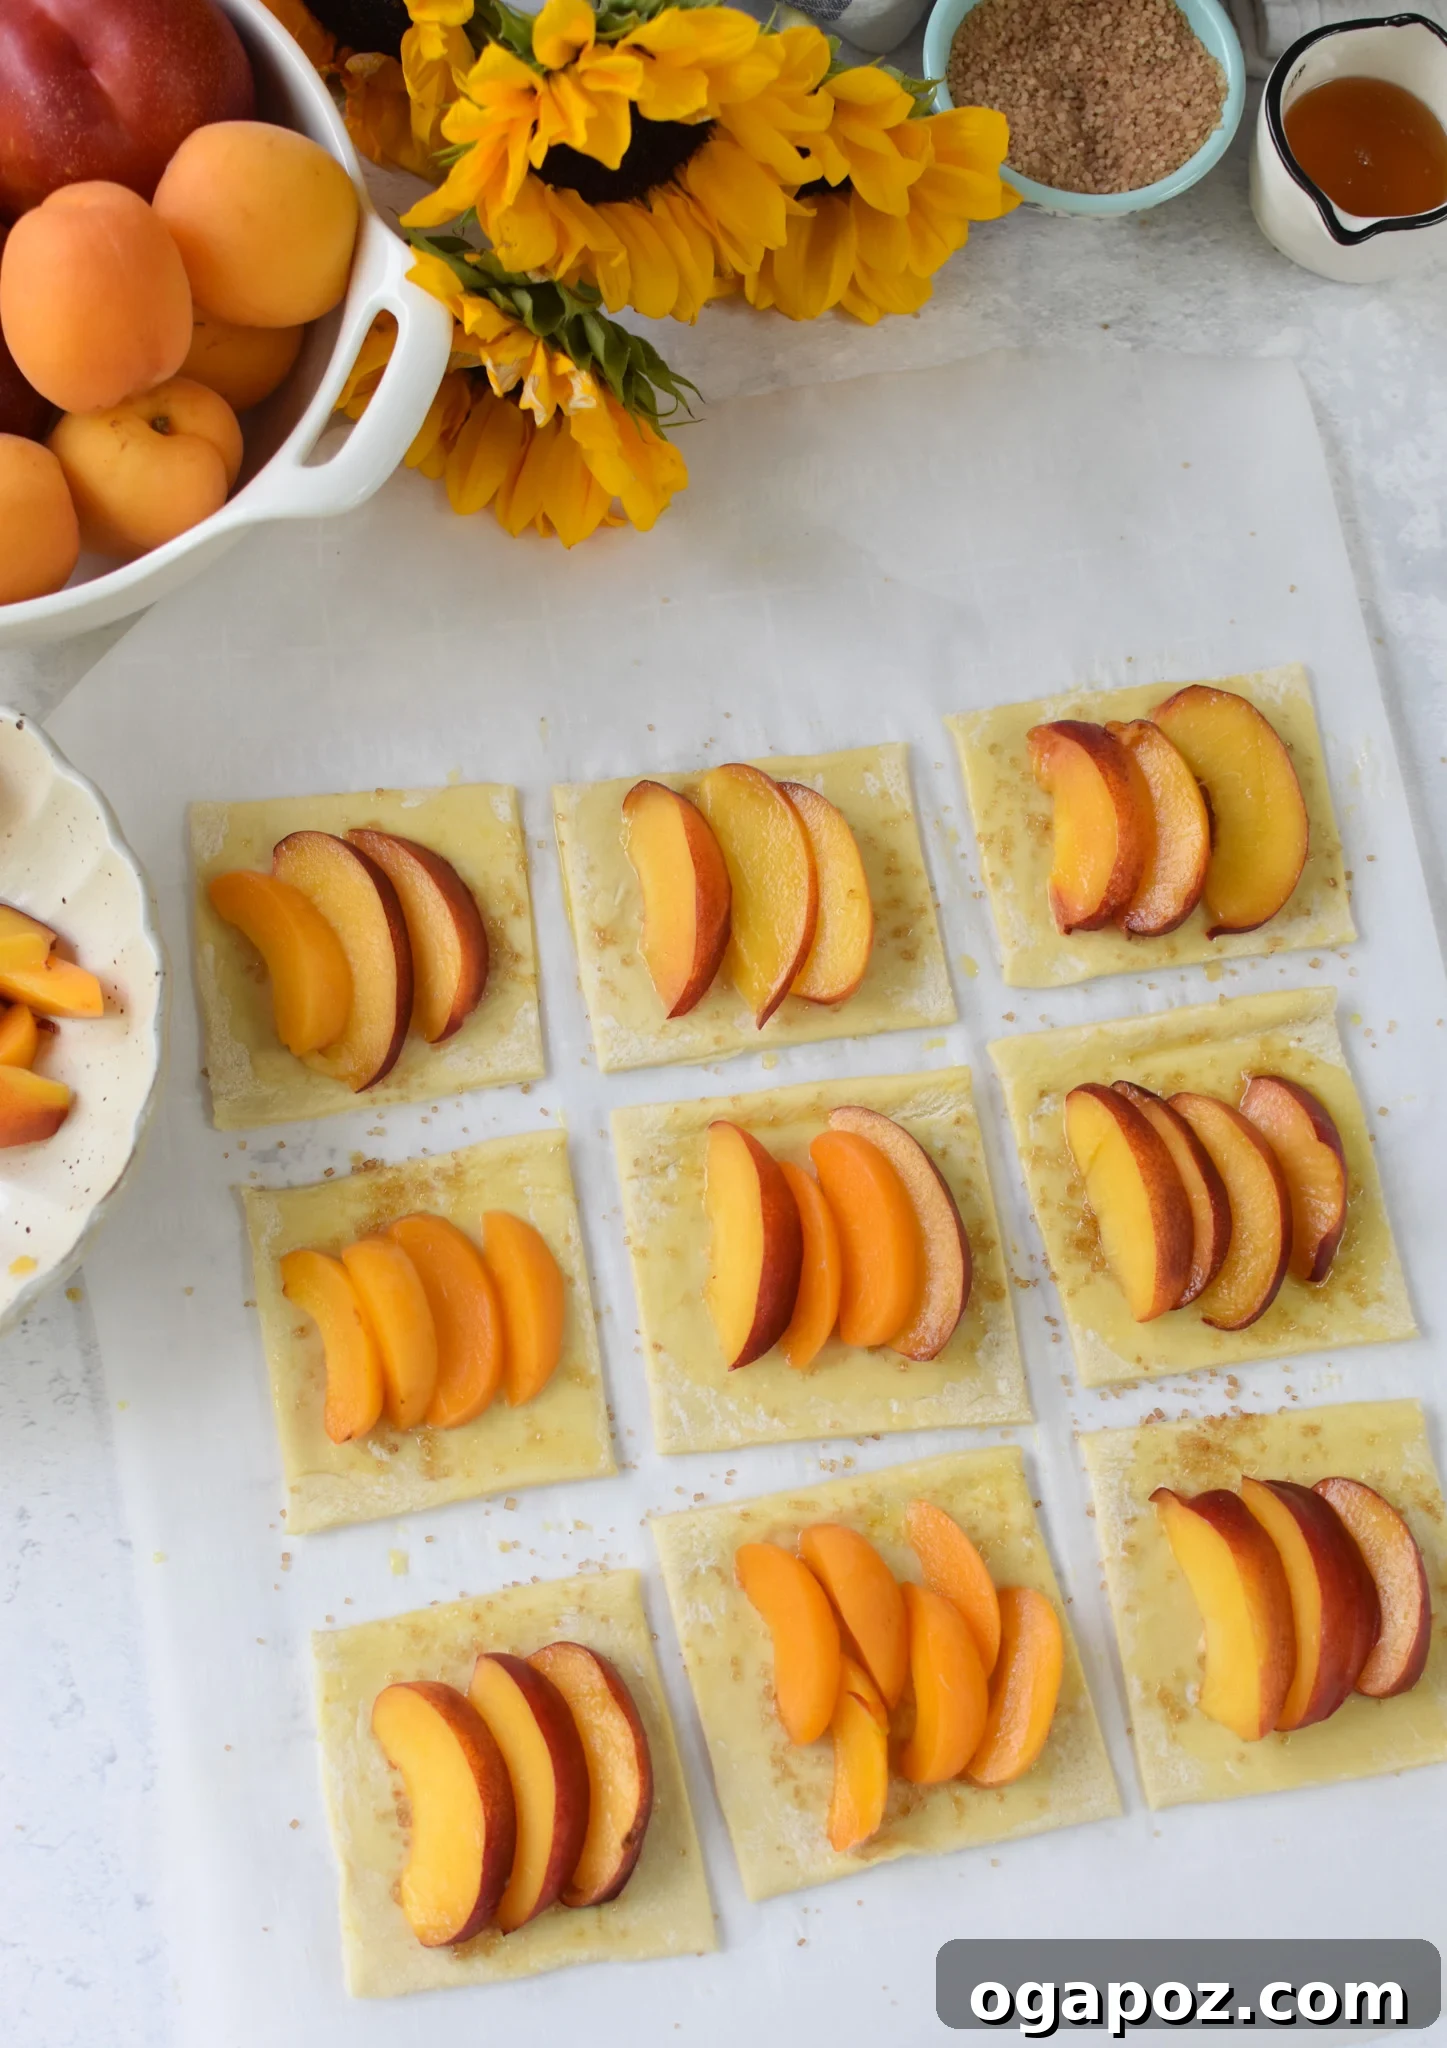
Step 5: Sweeten and Top with Fresh Fruit
After applying the egg wash, sprinkle a generous pinch of coarse turbinado raw cane sugar over each pastry square, focusing on the egg-washed edges and a bit into the center. This sugar will caramelize during baking, adding a delightful crunch and extra sweetness. Next, artfully arrange an equal amount of your thinly sliced peaches, apricots, or nectarines on top of each square. Ensure you leave a small, uncovered border around the edges; this space allows the pastry to puff up and form a beautiful, defined crust.
Step 6: Add Final Sweetness Before Baking
For an extra layer of sweetness and sparkle, sprinkle a little more turbinado sugar directly over the fruit on each tart. This encourages the fruit juices to release and caramelize. Finally, gently drizzle a small amount of honey over the fresh fruit on each tart. The honey will melt into the fruit and pastry during baking, creating an irresistible sticky-sweet topping that perfectly complements the fruit.
Step 7: Bake to Golden Perfection
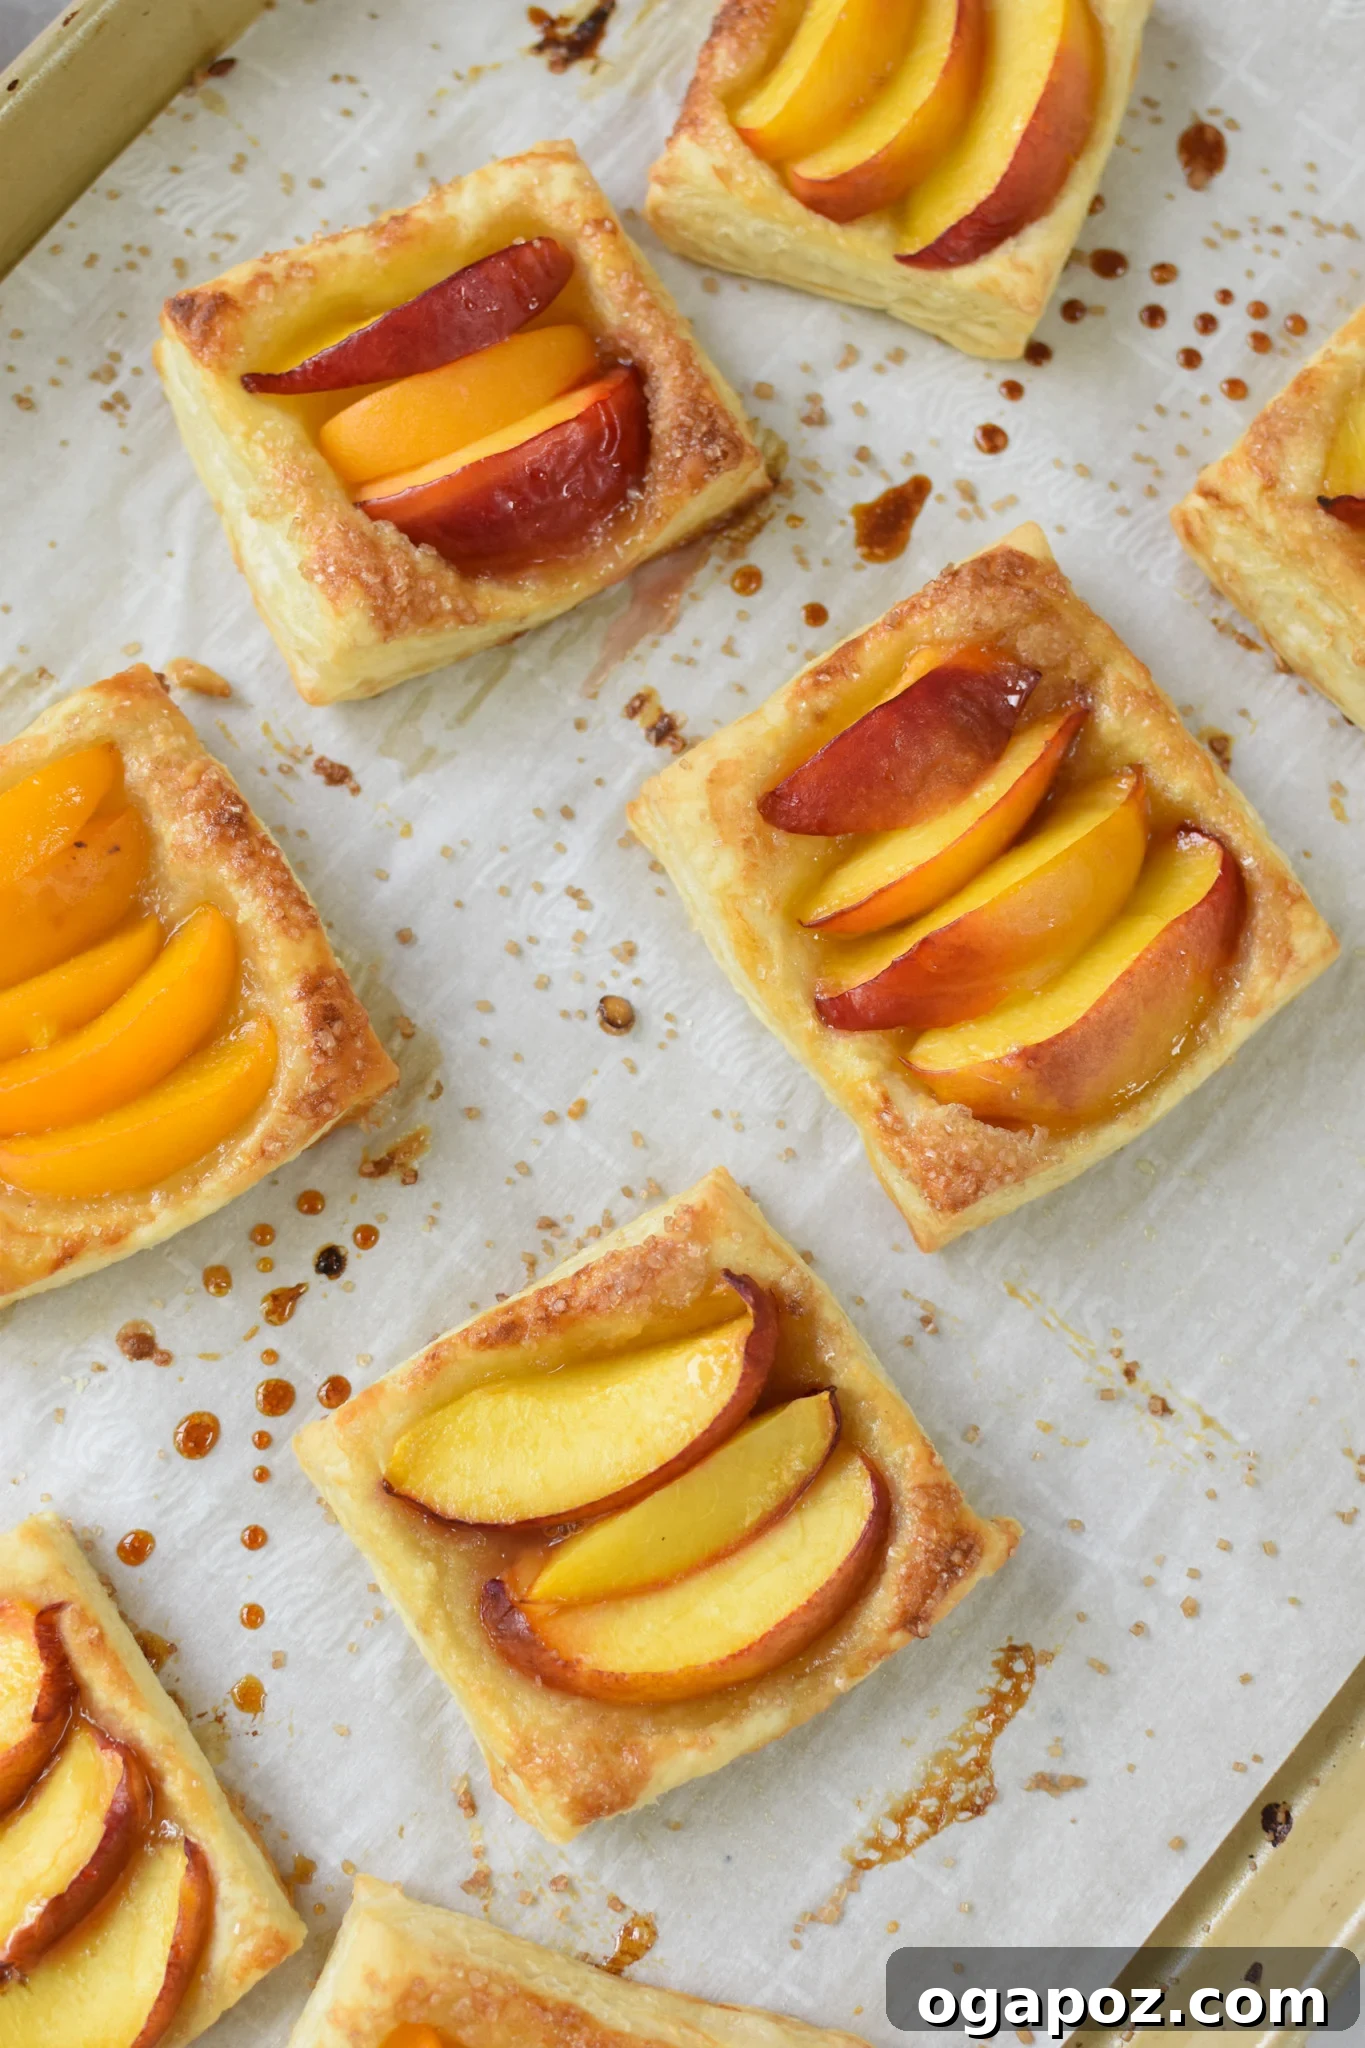
Carefully transfer your baking sheets to the preheated 400°F (200°C) oven. Bake the tarts for 12-15 minutes. Keep a close watch; the tarts are done when the puff pastry is visibly golden brown, beautifully puffed up around the edges, and the fruit appears tender and slightly caramelized. Baking times can vary slightly depending on your oven, so trust your visual cues.
Step 8: Cool and Serve Warm
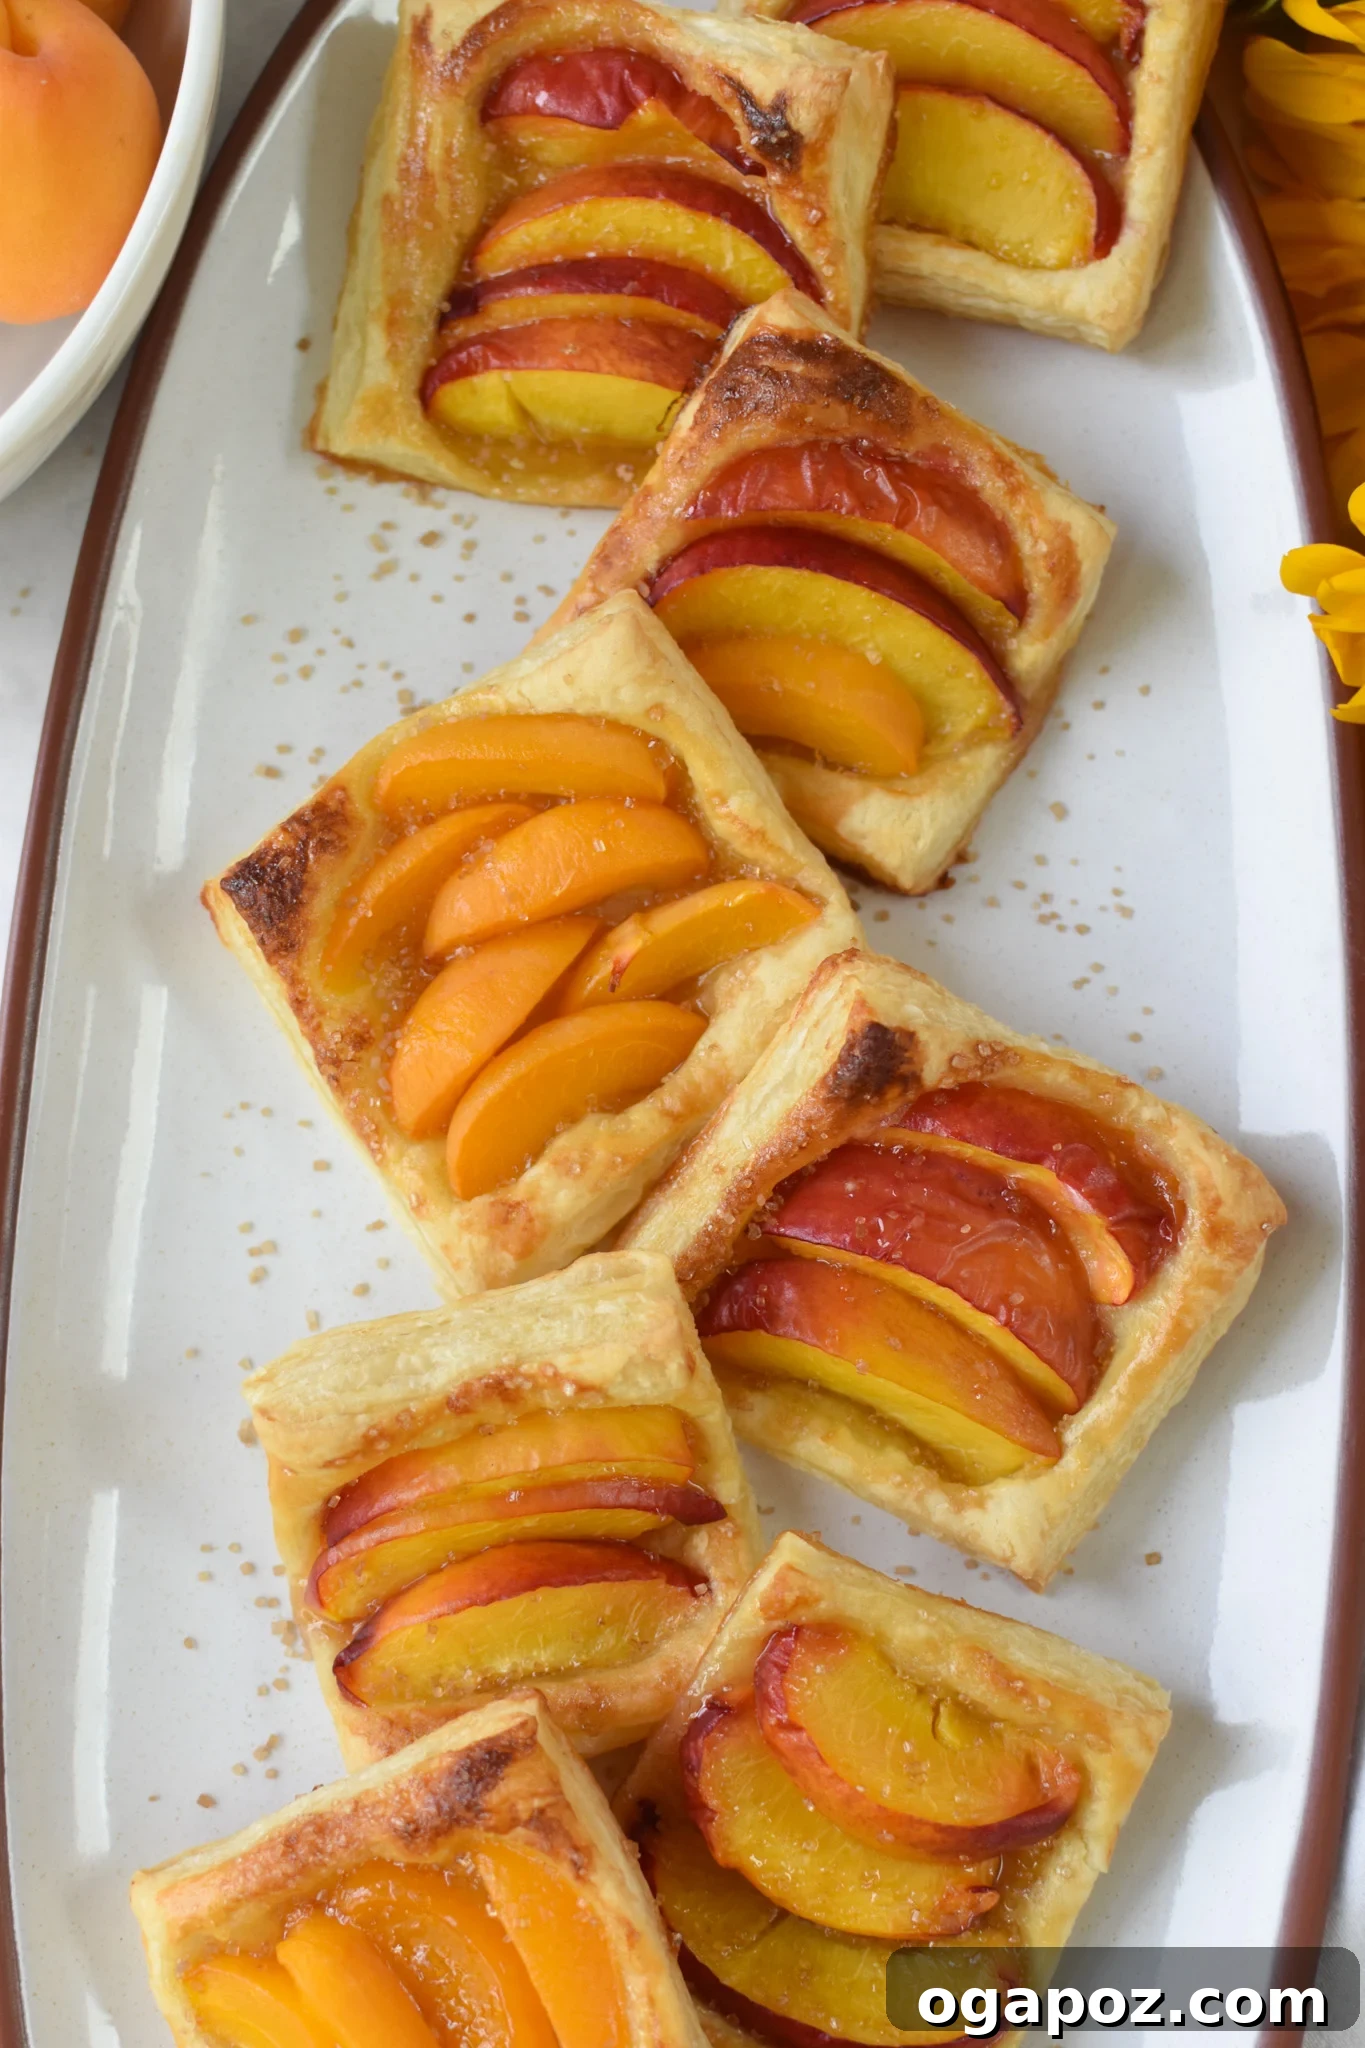
Once baked, remove the tarts from the oven and allow them to cool on the baking sheets for about 5 minutes. This cooling period helps them firm up slightly, making them easier to transfer without breaking. Using a spatula, carefully move the warm tarts to a wire rack to cool completely, or serve them immediately. These tarts are absolutely divine served warm, perhaps with a generous scoop of creamy vanilla ice cream, a dollop of mascarpone, or a swirl of fresh whipped cream for an even more decadent experience.
Creative Variations and Customizations for Your Tart
While the classic peach tart is undeniably delicious, this recipe offers a fantastic foundation for culinary creativity. Don’t be afraid to experiment and make it your own with these exciting modifications and flavor additions:
- Add a Savory Element with Cheese: For a delightful sweet-and-savory combination, consider sprinkling some crumbled goat cheese or salty feta cheese over the pastry before you add the fruit. The tangy notes of the cheese complement the sweetness of the peaches beautifully, making this tart equally suitable as a unique appetizer or a sophisticated brunch item.
- Explore a Medley of Fruits: The versatility of this tart extends to its fruit filling. Beyond peaches, feel free to use a mix of summer berries like strawberries or blackberries, or other stone fruits such as cherries, nectarines, plums, or apricots. For a fall-inspired version, thinly sliced apples or pears, perhaps tossed with a hint of cinnamon, would be equally comforting and delicious.
- Infuse with Warm Spices: To deepen the flavor profile, a touch of spice can work wonders. Gently toss your sliced fruit with a small amount of warm spices like ground cinnamon, nutmeg, or a pinch of allspice before arranging them on the pastry. Be mindful not to overpower the delicate fruit flavors; a light hand is best.
- Vary Your Sweetener: Instead of, or in addition to, turbinado sugar, experiment with brown sugar. Brown sugar adds a richer, molasses-like sweetness and can create a lovely caramelized texture when sprinkled on the fruit or pastry before baking. You can also toss the sliced peaches directly in brown sugar for an extra layer of sweetness.
- Introduce Fruit Preserves: For an added layer of fruit flavor and to create a moisture barrier, spread a thin layer of your favorite fruit preserves onto the puff pastry before adding the fresh fruit. Apricot preserves, strawberry jam, or raspberry jelly are excellent choices that not only deepen the fruit essence but also contribute a beautiful gloss and help prevent the pastry from becoming soggy under juicy fruit.
Storage and Reheating Recommendations
Should you find yourself with any leftover peach tarts – a rare occurrence, indeed! – proper storage will ensure they remain delicious. Store cooled tarts in an airtight container at room temperature for up to 1 day, or in the refrigerator for up to 3 days. To restore their wonderful crispiness, reheat individual tarts in an air fryer at 300°F (150°C) for 3-5 minutes, or in a conventional oven on low heat (around 275°F / 135°C) for 5-10 minutes, until they are warmed through and the pastry has revived its flakiness. Microwaving is not recommended as it can make the pastry soft and unappealing.
Tips for Perfecting Your Easy Peach Tart Every Time
- Keep Pastry Cold: Puff pastry is best when worked with quickly while still cold. This helps achieve maximum puff and flakiness.
- Uniform Slices: Ensure your fruit slices are of even thickness. This guarantees consistent cooking and a beautiful presentation.
- Don’t Overload: Avoid piling too much fruit onto each pastry square. An even layer allows the pastry to cook properly and prevents sogginess.
- Parchment Paper is Key: Always use parchment paper for easy transfer and to prevent sticking.
- Adjust Sweetness to Taste: Taste your fruit before adding sugar. If your peaches are exceptionally sweet, you might reduce the amount of turbinado sugar slightly.
- Serve Warm: While delicious at room temperature, these tarts truly shine when served warm, especially with a cold accompaniment like ice cream.
Frequently Asked Questions (FAQ) About Peach Tarts
- Can I use frozen peaches for this tart? Yes, you can. If using frozen peaches, ensure they are fully thawed and thoroughly patted dry with paper towels to remove excess moisture. This step is crucial to prevent a soggy crust. You may also need to increase the baking time slightly.
- What if my puff pastry isn’t puffing up properly? This can happen if the pastry becomes too warm and the butter melts before baking, or if the oven isn’t hot enough. Ensure your pastry remains cold during preparation and your oven is fully preheated to the specified temperature. Avoid overworking the dough.
- Can I prepare the tart ahead of time? For the best results in terms of flakiness and freshness, it’s recommended to assemble and bake the tarts just before serving. However, you can slice the fruit and have the pastry thawed a few hours in advance to speed up the process.
- Is there a gluten-free puff pastry option? Absolutely! Many brands now offer high-quality gluten-free puff pastry in the freezer aisle. Simply follow the package instructions for thawing and handling.
- What other sweeteners can I use? Besides honey and turbinado sugar, you could experiment with a light brush of maple syrup or agave nectar before baking, or dust with powdered sugar after baking for a different finish.
More Delightful Fruit-Filled Recipes to Enjoy
If you’ve savored the fresh flavors and ease of this Easy Peach Tart, we invite you to explore more of our fruit-forward recipes. From quick snacks to comforting breakfasts and vibrant salads, there’s always a delicious way to incorporate nature’s bounty into your culinary creations.
Vegetarian
Frozen Greek Yogurt Fruit Bites
Breakfast
Peaches and Cream Baked Oatmeal
Vegetarian
Fruit Salad with Lemon Poppy Seed Dressing
Snack
Frozen Yogurt Granola Bites
Tried this recipe? Leave a comment below! Subscribe to our newsletter or follow us on Facebook, Instagram, or Pinterest for the latest recipes and culinary inspiration.
Easy Peach Tart
This Easy Peach Tart is the perfect recipe to use summer peaches. The puff pastry pairs perfectly with the sweet peaches and drizzle of honey to create the perfect appetizer, snack or even an addition to a brunch.
Ingredients
- 2 sheets frozen puff pastry, thawed
- 1 large egg , mixed with a splash of water {optional for golden brown color}
- 3-4 medium apricots, pitted and very thinly sliced
- 2-3 medium nectarines, pitted and thinly sliced
- Coarse turbinado raw cane sugar
- Honey, for drizzling
Instructions
-
Thaw the puff pastry according to the package.
-
Preheat oven to 400 F. Line two baking sheets with parchment paper.
-
While pastry is thawing, thinly slice the apricots and nectarines and set aside.
-
Lightly flour a large cutting board and carefully unfold the puff pastry. Gently roll the puff pastry into a large rectangle.
-
Cut each puff pastry sheet into 9 squares and place onto the baking sheet.
-
Using a pastry brush, brush each square lightly with the egg wash. Sprinkle the sugar on each square.
-
Top each square with an equal amount of the apricots and nectarines. Sprinkle each tart with the more sugar and a drizzle of honey.
-
Bake the tarts for 12-15 minutes, until the tarts are golden brown and starting to become puffy. Remove from the oven and let cool for 5 minutes before transferring.
Notes
- The egg wash is an important part of the process to get that beautiful golden color on the puff pastry. You can use a vegan option instead of the egg if you want.
- Any stone fruit works – try peaches, plums, cherries, nectarines, peaches or apricots. You can mix them also which creates a beautiful tart.
Nutrition
Carbohydrates: 65g,
Protein: 12g,
Fat: 48g,
Saturated Fat: 12g,
Polyunsaturated Fat: 6g,
Monounsaturated Fat: 27g,
Trans Fat: 0.01g,
Cholesterol: 47mg,
Sodium: 332mg,
Potassium: 253mg,
Fiber: 3g,
Sugar: 9g,
Vitamin A: 810IU,
Vitamin C: 5mg,
Calcium: 24mg, Iron: 4mg
Nutrition information is automatically calculated, so should only be used as an approximation.
Tried this recipe?Mention @acedarspoon or tag #acedarspoon!