
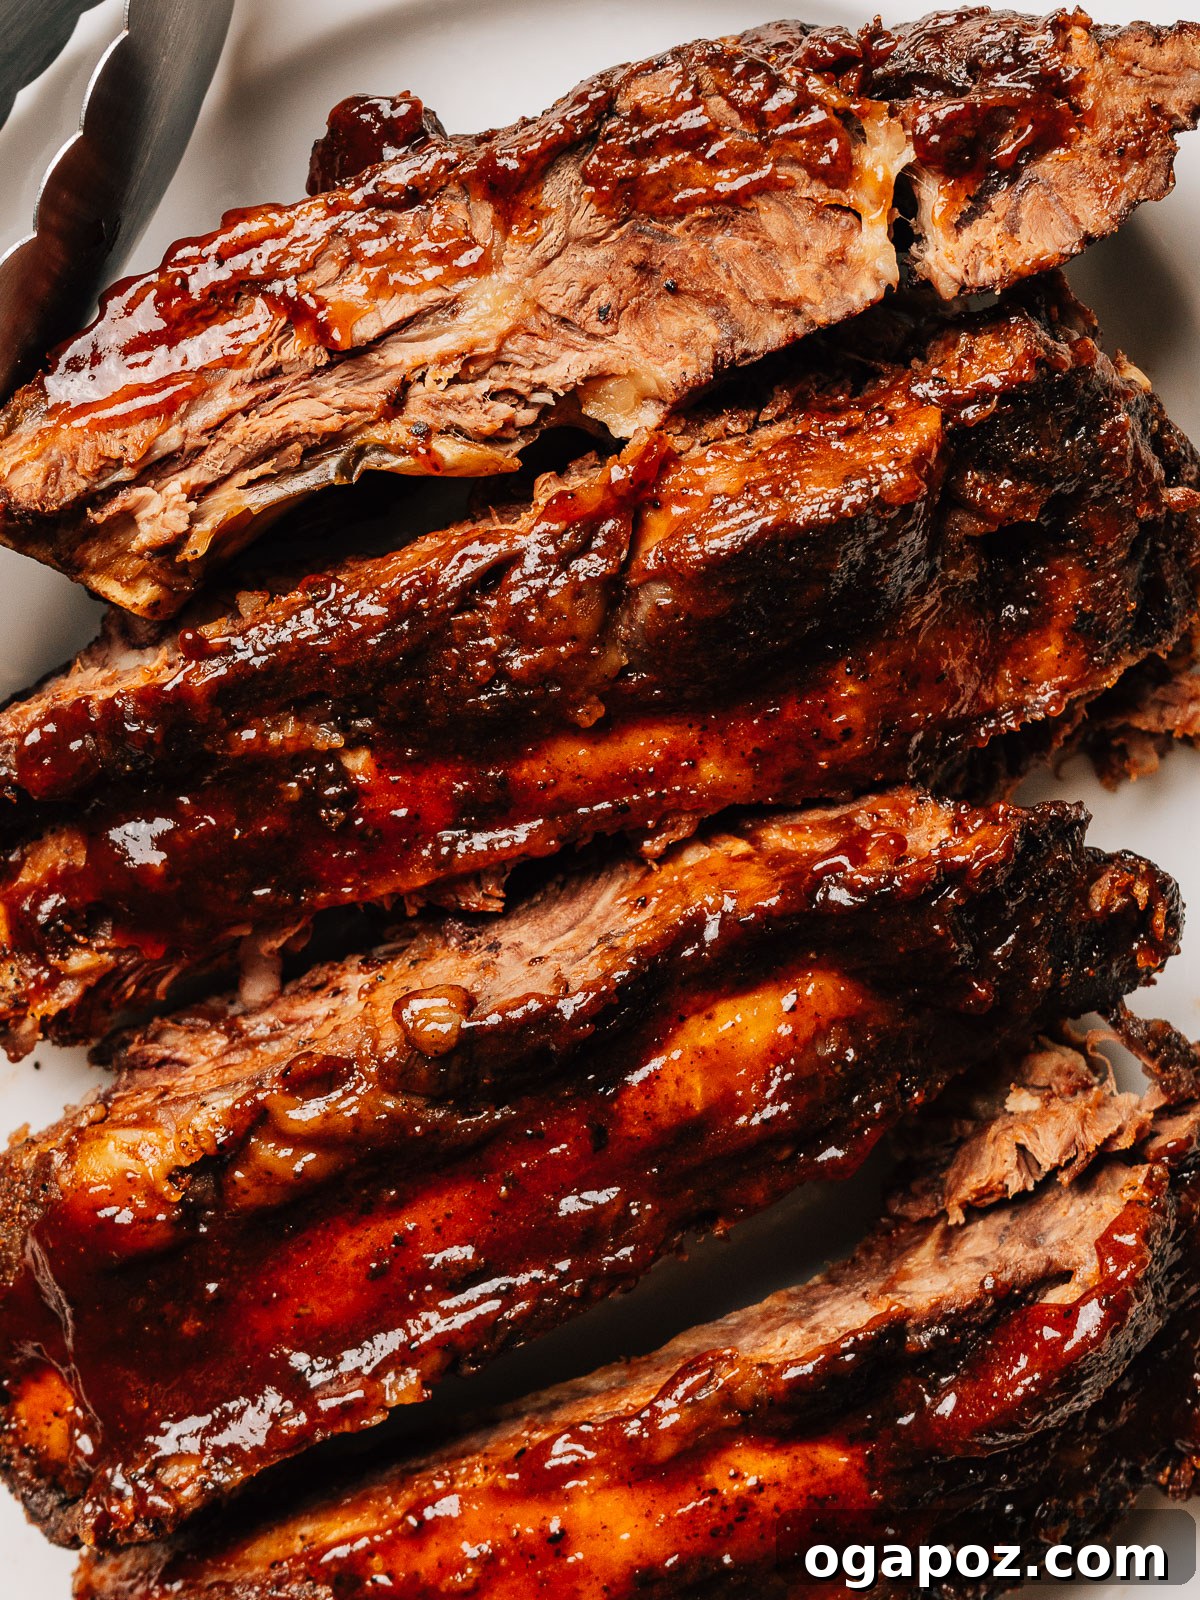
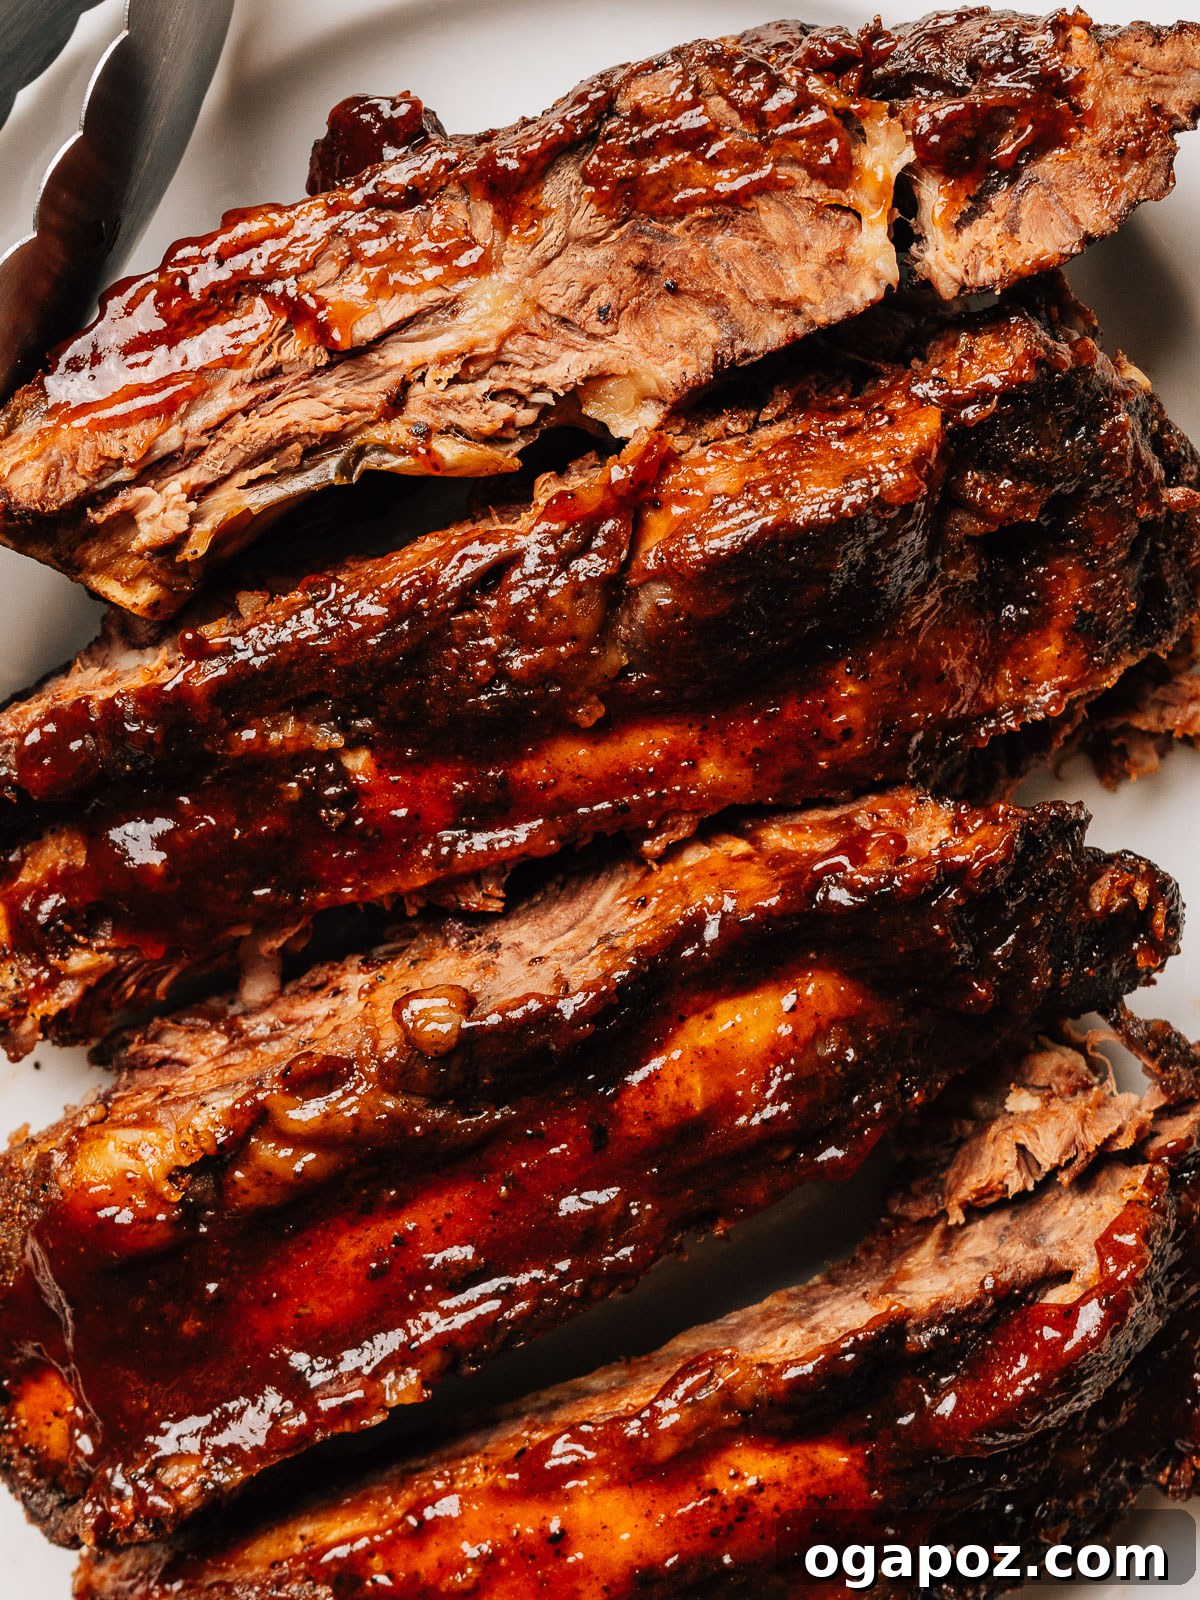
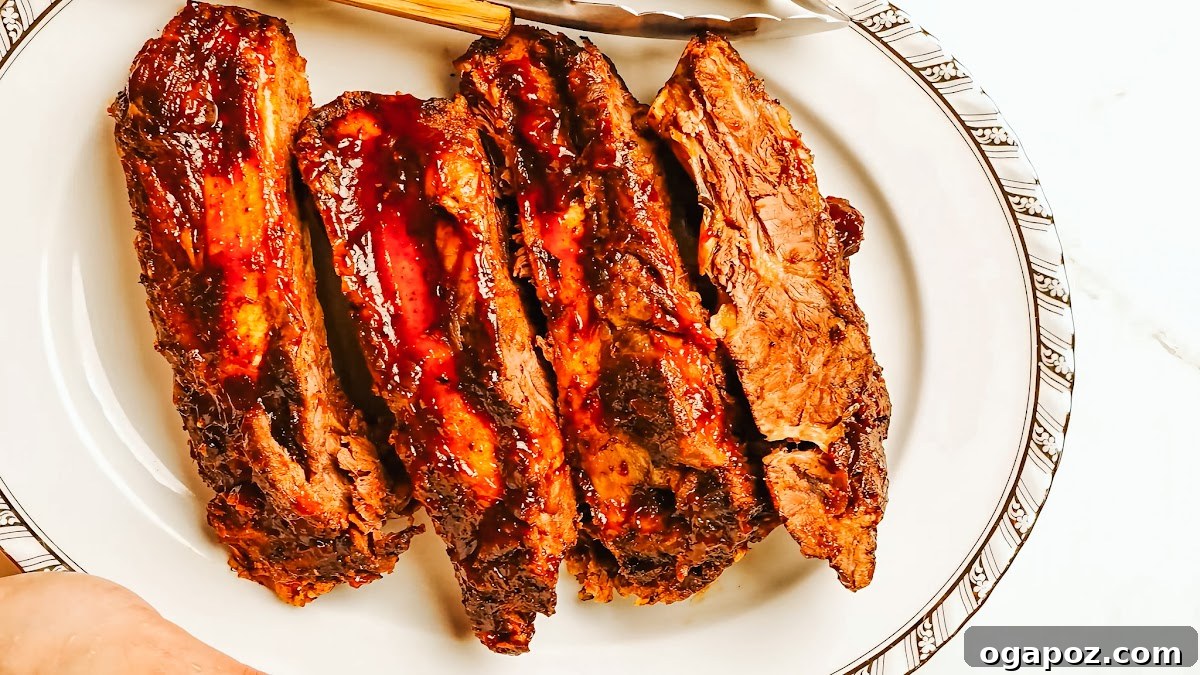
Prepare to be amazed by this incredibly easy **Beef Ribs oven recipe**, designed to deliver fall-off-the-bone tender beef back ribs every single time. With a meticulously crafted spice rub and an irresistibly sticky BBQ sauce finish, these ribs are guaranteed to have everyone at your table licking their fingers and asking for more. Forget complicated smokers or grills; achieve perfect ribs right from your oven!
Essential Ingredients for Perfect Oven Beef Ribs
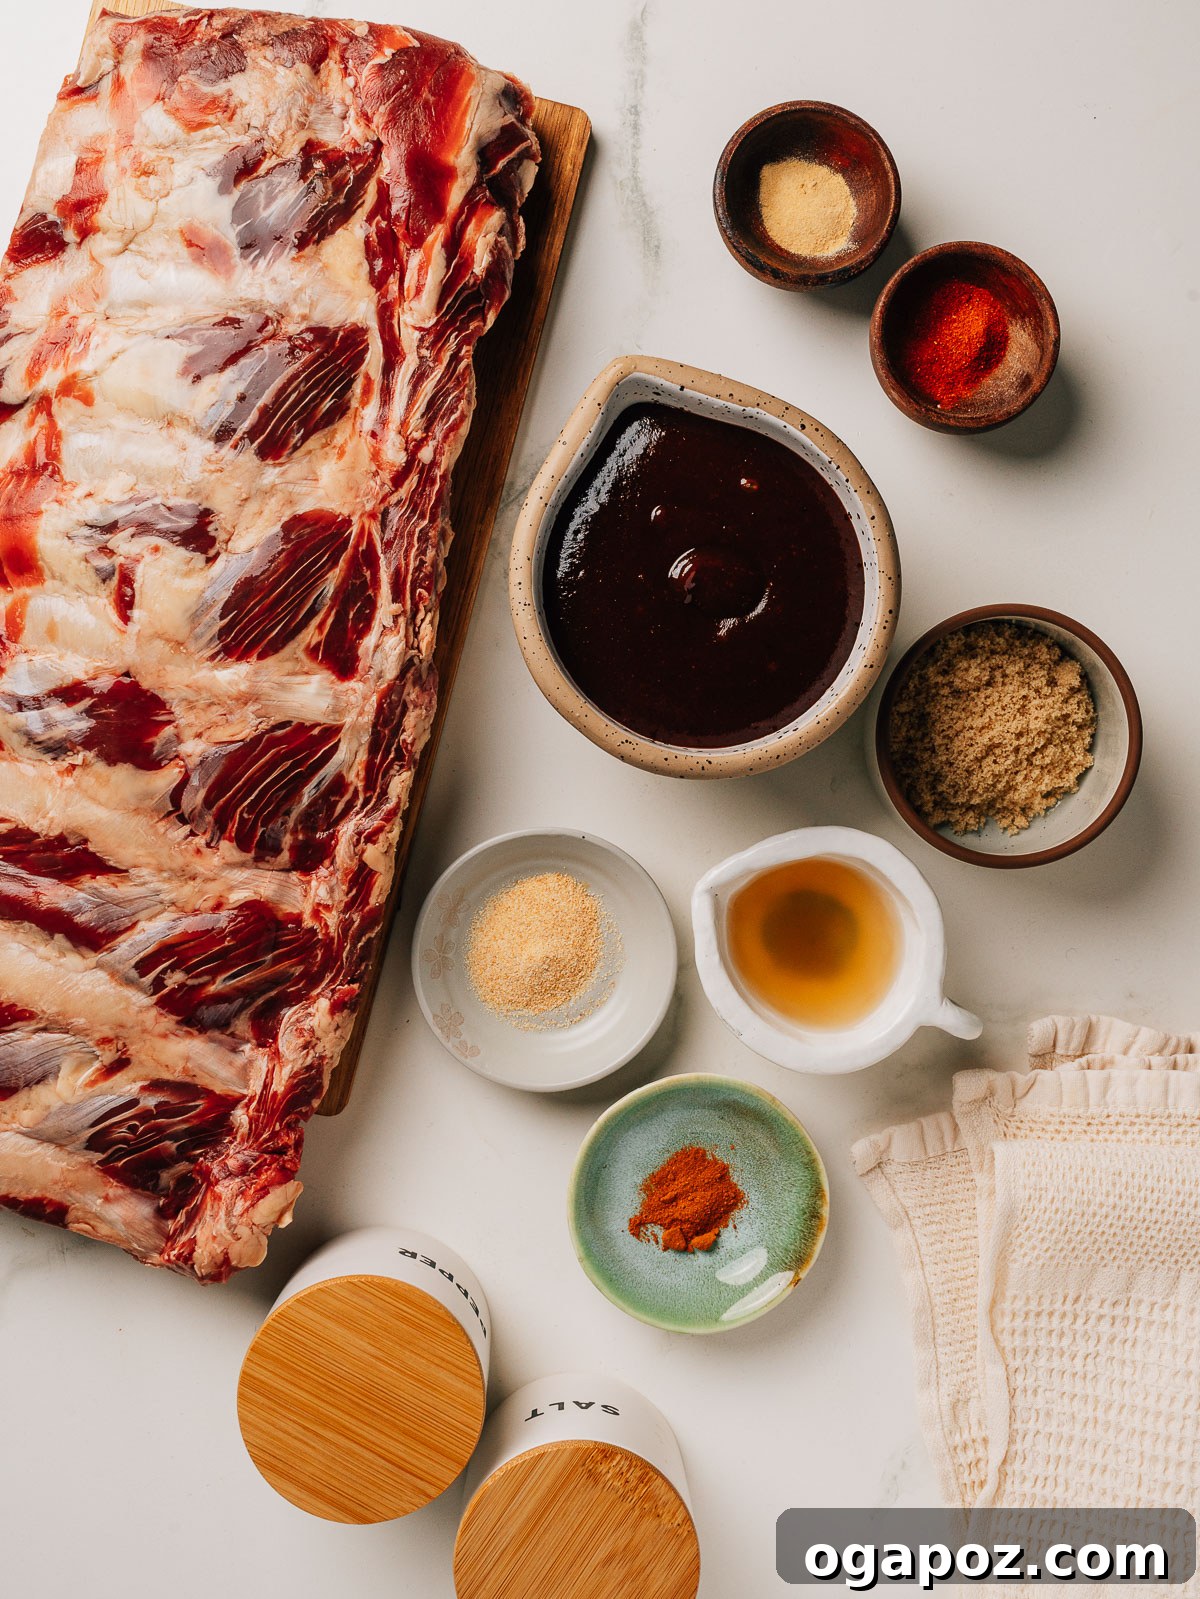
Crafting exceptional oven-baked beef ribs doesn’t require a long list of exotic items. You only need a few staple pantry spices and, most importantly, a quality rack of beef back ribs. When selecting your ribs, always ask your butcher for a rack weighing between 3.5 to 4 lbs, ensuring it has ample meat on top of the bones for a truly satisfying experience.
- Beef Back Ribs: The star of our show. Look for a rack with generous meat distribution, both between and on top of the bones. A 3.5 to 4 lbs rack is ideal for optimal tenderness and flavor. Beef back ribs offer a rich, beefy flavor that distinguishes them from their pork counterparts.
- Brown Sugar: More than just a sweetener, brown sugar plays a crucial role in developing that desirable dark, sticky “bark” on the ribs during cooking. Its caramelizing properties are key to a truly irresistible glaze.
- Kosher Salt: Essential for seasoning the meat deeply and evenly. Kosher salt’s larger granules adhere well and, crucially, help draw out moisture, which contributes to better browning during the final broiling step.
- Coarse Black Pepper: For the best flavor, always opt for freshly cracked black pepper. It adds a gentle, aromatic heat that complements the rich beef without overpowering its natural taste.
- Garlic Powder: A fundamental component of any great rib rub. Garlic powder provides savory depth and a quintessential BBQ flavor without the risk of fresh garlic burning during the long cooking process.
- Onion Powder: Working in harmony with garlic powder, onion powder adds a sweet, savory balance to the spice rub, creating a well-rounded flavor profile that penetrates the meat beautifully.
- Smoked Paprika: This ingredient is a game-changer, imparting a wonderful smoky flavor to your ribs, mimicking the taste of slow-smoked beef without needing a smoker or wood chips. It’s crucial for that authentic BBQ essence.
- Cayenne Pepper: A small pinch of cayenne adds a pleasant warmth to the rub. If you prefer less heat, feel free to skip it, or offer hot sauce on the side for those who enjoy an extra kick.
- Apple Cider Vinegar: Splashing this over the ribs before sealing the foil is a secret weapon. Its acidity helps tenderize the meat by breaking down tough fibers, while also infusing a subtle, tangy flavor that brightens the overall profile.
- BBQ Sauce: The grand finale! Choose your favorite high-quality store-bought barbecue sauce for convenience, or elevate your ribs with a homemade version. Many find that the sauce from a classic Spare Ribs recipe works wonderfully here.
You’ll find the precise quantities for each ingredient conveniently listed in the comprehensive recipe card towards the end of this article.
Flavorful Variations and Smart Substitutions
One of the joys of cooking is customization, and this beef rib recipe is wonderfully adaptable. Feel free to adjust the spices to match your personal taste or dietary needs. For a milder heat, consider swapping cayenne pepper for a touch of chili powder. If you prefer a less intense smokiness, regular paprika can easily stand in for smoked paprika in your rub.
When it comes to sweeteners, honey or maple syrup are excellent alternatives to brown sugar in the rub, each offering its own unique caramelized notes. For the liquid used to create steam, while apple cider vinegar adds a tangy complexity, beer or apple juice can be fantastic substitutes. Both infuse the ribs with additional flavor and contribute to the moist, tender environment inside the foil packet.
The final glaze offers another opportunity for creativity. Any good quality barbecue sauce will work beautifully. For a refreshing change, I sometimes opt for a creamy Alabama white sauce, which provides a tangy, mayonnaise-based contrast to the rich beef. Alternatively, a blend of your favorite spicy hot sauce mixed with a touch of honey creates a fantastic sweet-and-spicy glaze that’s truly unforgettable.
Essential Tools for Rib Perfection
Having the right tools makes all the difference in achieving perfectly cooked beef ribs. Here’s what you’ll need in your kitchen:
- Rimmed Baking Sheet or Roasting Pan: This is crucial for catching any drips during the long cooking process and provides a stable, flat surface for your foil-wrapped ribs.
- Heavy-Duty Aluminum Foil: A tight seal is paramount! You’ll need heavy-duty foil to effectively trap the steam, which is key to tenderizing the ribs during their low and slow bake. Double-wrapping can sometimes be beneficial for extra security.
- Paper Towel: An indispensable aid for gripping the often-slippery membrane (silver skin) when you remove it from the back of the ribs.
- Butter Knife: Perfect for carefully sliding under the silver skin to loosen it, making it easier to grab and pull off.
- Basting Brush: Essential for applying an even, thick layer of BBQ sauce during the final broiling step, ensuring a beautiful, caramelized glaze.
- Meat Thermometer: Your most reliable tool for verifying doneness. For truly tender, fall-off-the-bone ribs, the internal temperature should consistently read between 200 to 205 degrees Fahrenheit.
How to Make Beef Back Ribs in the Oven: Your Step-by-Step Guide
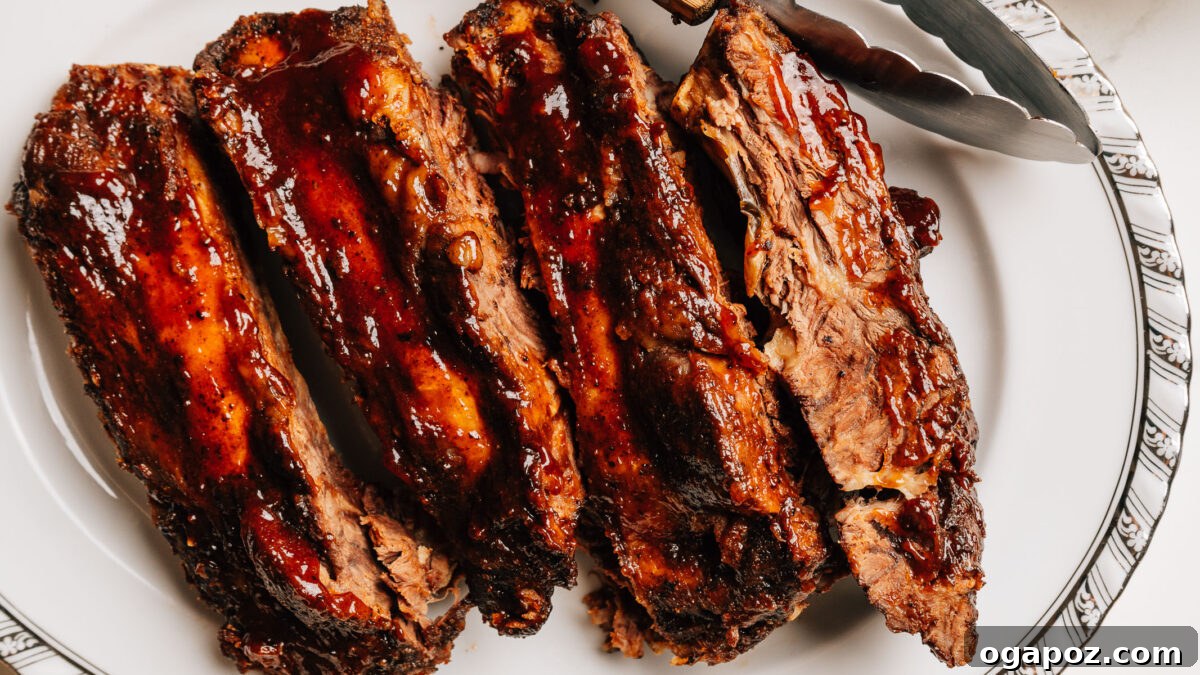
Creating sensational **beef ribs in the oven** is surprisingly simple and far less intimidating than using a smoker. The process is straightforward: season, wrap, bake, and broil. Follow these easy steps to achieve a perfectly tender and flavorful rack every time.
1. Remove the Membrane (Silver Skin)
This initial step is crucial for achieving truly tender ribs. Flip the rack so the bone side is facing up. You’ll notice a thin, somewhat shiny layer covering the back of the bones—this is the silver skin or membrane. If left on, this membrane becomes tough and chewy during cooking, and more importantly, it prevents your flavorful spice rub from properly penetrating the meat.
To remove it, carefully slide a butter knife or the blunt end of a spoon under one corner of the membrane to loosen it. Once you have a small edge lifted, grab it firmly with a paper towel for better grip. Pull the membrane off in one slow, steady motion. It should peel away in a single piece, exposing the bare bones beneath. Don’t worry if it tears; simply grab another section and continue pulling until it’s entirely removed.
2. Season the Ribs Generously
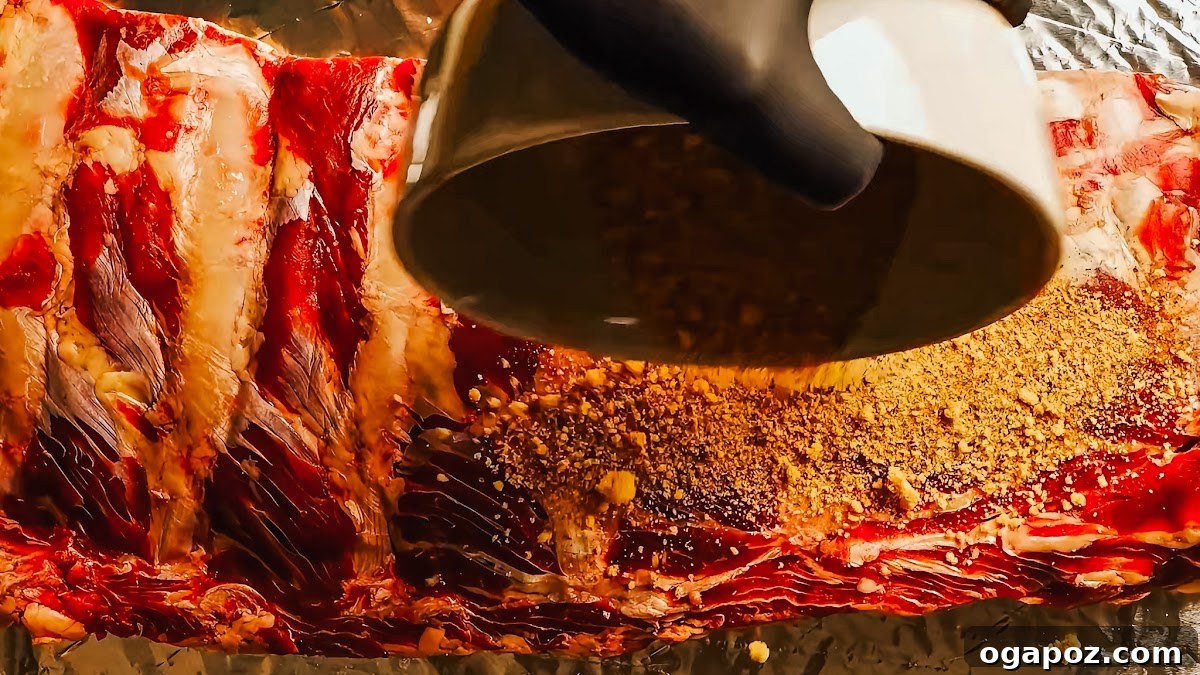
Preheat your oven to a consistent 275 degrees Fahrenheit (135°C). In a small bowl, combine the brown sugar, kosher salt, coarse black pepper, garlic powder, onion powder, smoked paprika, and cayenne pepper. Stir these spices together thoroughly to create a well-mixed rub.
Before applying the rub, pat the entire rack of ribs dry with paper towels. This helps the seasoning adhere better. Now, generously rub the spice mixture over both sides of the rack, ensuring every surface is coated. Don’t be shy – press the rub firmly into the meat to maximize flavor absorption. This dry rub will form a delicious, flavorful crust as the ribs cook.
3. Wrap Tightly and Bake Low and Slow
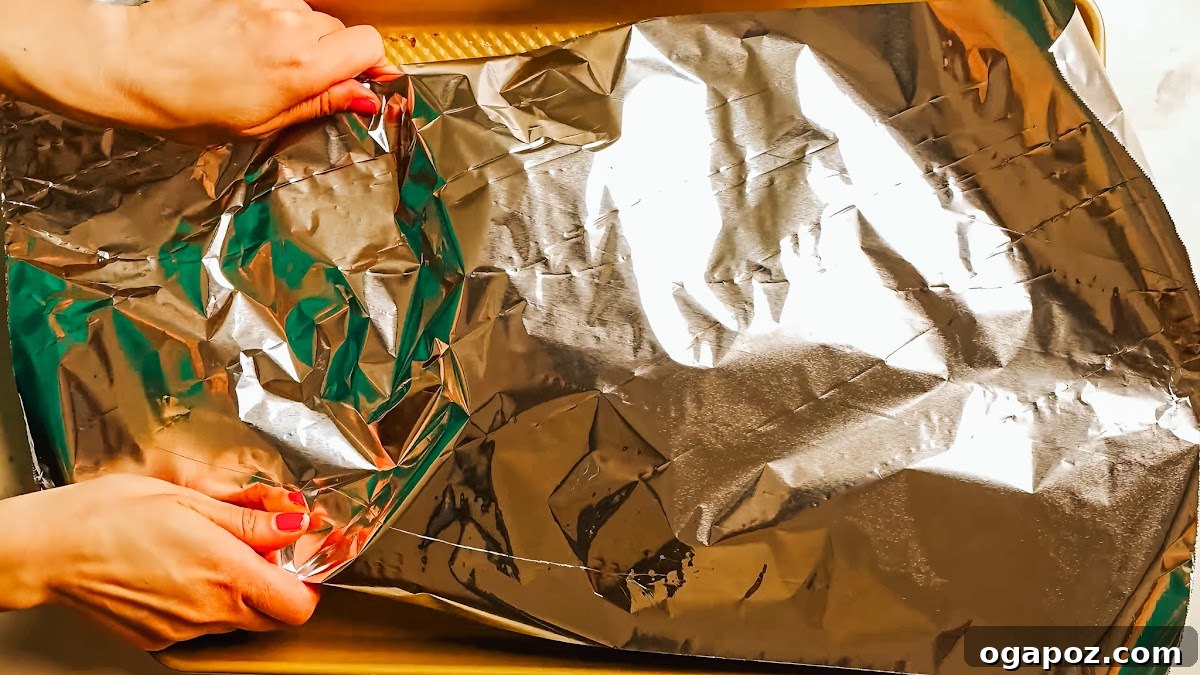
Lay out two large sheets of heavy-duty aluminum foil on your baking sheet or roasting pan, overlapping them slightly to create a strong seal. Place the seasoned ribs, meat-side up, in the center of the foil. Evenly splash the apple cider vinegar (or your chosen liquid) over the top of the rack, being careful not to wash away the rub.
Carefully seal the foil tightly around the ribs, creating a sealed packet. It’s vital that no steam escapes; the trapped liquid and vinegar will generate steam, creating a braising effect that slowly tenderizes the tough connective tissues in the beef. This “low and slow” method is the secret to succulent, fall-apart ribs. Bake the foil-wrapped ribs at the low oven temperature of 275°F (135°C) for approximately 3 hours, or until they are exceptionally tender.
The exact **beef back ribs cooking time** may vary slightly depending on the size and thickness of your rack. To confirm doneness, the internal temperature, when measured with a meat thermometer inserted between the bones, should register between 200 to 205 degrees Fahrenheit (93-96°C). Visually, the meat should have pulled back from the bone tips by about half an inch, indicating optimal tenderness.
4. Broil with BBQ Sauce for a Sticky Glaze
Once the ribs are tender, carefully open the foil packet. Be extremely cautious of the hot steam that will escape. Transfer the ribs to a clean baking sheet, discarding the foil and any accumulated liquids (unless you plan to use them for another purpose, like a jus, though not typically needed for this recipe).
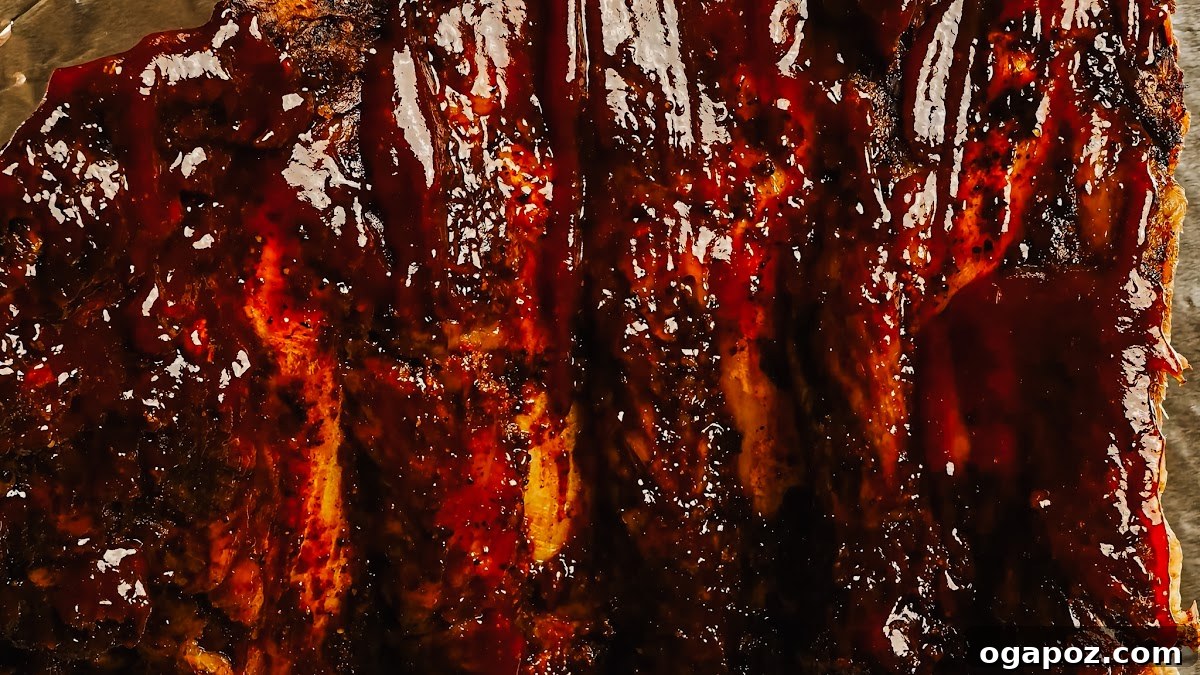
Increase your oven temperature to the broil setting. While the oven preheats, generously brush a thick layer of your favorite BBQ sauce all over the top and sides of the ribs. Aim for about 1/2 cup of sauce to create a beautiful glaze.
Place the uncovered, sauced ribs under the broiler for 3 to 5 minutes. Stay vigilant and watch them closely, as broilers can quickly burn food. The goal is for the barbecue sauce to bubble, caramelize, and develop a slightly charred, sticky crust on the edges, without burning. This step adds that irresistible final touch of flavor and texture.
Once broiled to perfection, remove the ribs from the oven and allow them to rest for a crucial 15 minutes. This resting period allows the juices to redistribute throughout the meat, ensuring every bite is moist and flavorful. After resting, use a sharp knife to cut between the bones, separating the rack into individual ribs. Serve hot and enjoy!
5 Common Mistakes to Avoid for Perfect Beef Back Ribs
Even with a straightforward recipe, certain pitfalls can prevent your beef back ribs from reaching their full potential. Here are the most frequent mistakes home cooks make and how to steer clear of them:
- Skipping the Membrane Removal: This is perhaps the most critical step often overlooked. Leaving the silver skin on the back of the ribs results in a chewy, tough texture that detracts from the tender meat. Furthermore, the membrane acts as a barrier, preventing your delicious spice rub from properly penetrating and flavoring the meat. Always take the time to remove it for a superior dining experience.
- Cooking at Too High a Temperature: Beef back ribs thrive on a “low and slow” cooking method. A consistent oven temperature of 275 degrees Fahrenheit (135°C) is ideal. Cooking at higher temperatures will cause the meat fibers to tighten too quickly, drying out the ribs before the tough connective tissues have a chance to break down and become gelatinous and tender. Patience is key for succulent results.
- Not Sealing the Foil Tightly Enough: The foil packet is your ribs’ best friend in the oven. A loose seal allows precious steam to escape. It’s this trapped steam, combined with the apple cider vinegar, that braises the ribs, keeping them incredibly moist and aiding in the tenderizing process. If you suspect your foil might be thin or prone to tearing, double-wrap the ribs to ensure an airtight seal.
- Applying BBQ Sauce Too Early: While tempting to coat them early for maximum flavor, adding barbecue sauce before the long baking process is a recipe for disaster. Most BBQ sauces contain sugar, which will burn and scorch at 275°F (135°C) over several hours. The sauce is meant for the final stage, brushed on only for the short broil step. Those last few minutes under the broiler are all you need to create a beautifully caramelized, sticky glaze.
- Skipping the Crucial Resting Period: It’s hard to wait when delicious ribs are fresh out of the oven, but cutting into them immediately is a common mistake. This allows all the flavorful juices to escape, leaving you with drier meat. Resting the ribs for 15 minutes after cooking allows the meat fibers to relax and reabsorb those juices, resulting in a significantly more tender and moist final product.
Make-Ahead and Storage Tips for Beef Ribs
These oven-baked beef ribs are not just for immediate enjoyment; they are also excellent for meal prep and make-ahead convenience. You can complete much of the preparation in advance, allowing you to serve tender, saucy ribs with minimal effort on serving day.
Storing Leftovers
- Fridge Storage: Place any cooked leftover ribs in an airtight container. They will keep beautifully in the refrigerator for 3 to 4 days. For added moisture and flavor, include any remaining pan juices or extra BBQ sauce with them.
- Make-Ahead Spice Rub: For ultimate convenience, mix your spice rub ingredients up to a week in advance. Store it in an airtight jar or container at room temperature, ready to use whenever you decide to make ribs.
- Season Overnight: For even deeper flavor penetration, apply the dry rub to your ribs the night before you plan to cook them. Cover the seasoned ribs tightly and store them in the fridge overnight. This allows the spices to work their magic, resulting in a more intensely flavored final dish.
Freezing for Future Feasts
- Freeze for Up to 3 Months: Cooked beef ribs freeze exceptionally well. To freeze, wrap individual ribs or sections of ribs tightly in heavy-duty aluminum foil. Then, place the foil-wrapped ribs into a freezer-safe bag, pressing out as much air as possible before sealing. They can be stored in the freezer for up to 3 months.
- Thaw Overnight: When you’re ready to enjoy your frozen ribs, transfer them from the freezer to the refrigerator the night before. Allow them to thaw completely for even reheating and the best texture.
Reheating Beef Back Ribs
- Oven Reheating Method: The best way to reheat ribs is in the oven. Wrap the thawed ribs in foil and place them on a baking pan. Reheat at a moderate temperature of 300°F (150°C) for approximately 20 minutes, or until they are warmed through to the center.
- Add Moisture for Juiciness: To prevent the ribs from drying out during reheating, splash a tablespoon of water or apple juice into the foil packet before sealing it. This creates a steamy environment that keeps the ribs tender and moist.
- Microwave Reheating: For a quicker option, individual ribs can be gently reheated in the microwave. Cover them with a damp paper towel to help retain moisture and heat in short bursts until warm.
How to Serve Your Delicious Oven Baked Beef Ribs
These oven-baked beef ribs are the quintessential centerpiece for a festive weekend dinner or a casual gathering. I love the interactive experience of setting out the entire rack on a large cutting board and letting everyone pull off their own ribs. It evokes the relaxed, communal feel of a classic backyard cookout, even when prepared indoors.
Irresistible Beef Back Ribs Toppings
Elevate your rib experience with a few thoughtful garnishes and toppings:
- Extra Barbecue Sauce: Always a crowd-pleaser! Set out a small bowl of your favorite BBQ sauce for dipping. For those who crave an extra layer of heat, a spicy hot sauce on the side is a welcome addition.
- Pickled Red Onions: The bright, tangy acidity of pickled red onions provides a fantastic contrast to the rich, savory meat. They add a refreshing crunch and a burst of flavor to every bite, cutting through the richness beautifully.
- Fresh Herbs: A sprinkle of finely chopped fresh parsley or cilantro not only adds a vibrant pop of color but also brings a touch of herbaceous freshness that brightens the overall dish.
Classic Side Dishes for Beef Back Ribs
No rib feast is complete without the perfect accompaniment of hearty and flavorful side dishes. Here are some classic pairings that complement beef ribs wonderfully:
- Cornbread: A staple for any BBQ meal. My skillet cornbread with its delightful honey butter glaze is an ideal match. For a softer, spoonable option, consider a comforting cornbread casserole.
- Potato Salad: A generous bowl of creamy classic potato salad offers a cool, tangy counterpoint to the warm, rich ribs, rounding out the plate perfectly.
- Coleslaw: My classic coleslaw brings essential crunch and a refreshing element. Its creamy dressing perfectly balances the smoky, savory flavors of the ribs.
- Baked Beans: A quintessential barbecue side, baked beans are always a hit. Alongside pickles and grilled corn, they complete a truly satisfying Saturday spread, creating a harmonious and balanced meal.
How to Make the Best Beef Back Ribs: Final Notes & Expert Secrets
Achieving truly exceptional beef back ribs goes beyond just following the steps; it involves understanding a few key secrets and making informed choices:
- Choose Ribs with Abundant Meat: The quality of your ribs dictates the final outcome. When at the butcher, specify that you’re looking for beef back ribs with thick, ample meat on top. Some racks might be cut too close to the bone, leaving very little meat. Ask for ribs cut from closer to the chuck end, where the meat tends to be thicker and more marbled, ensuring a more satisfying bite.
- Understand Beef Back Ribs vs. Short Ribs: It’s crucial not to confuse these two distinct cuts. Beef back ribs come from the upper rib cage, near the spine, and typically have less meat between the longer, curved bones. Short ribs, on the other hand, are cut from the lower chest area and are much thicker and meatier, requiring different cooking times and methods due to their higher fat content and different muscle structure. For delicious short rib recipes, explore my Korean short ribs or convenient slow cooker Korean short ribs.
- The Difference Between Beef and Pork Ribs: While both are beloved, beef and pork ribs have distinct characteristics. Pork ribs are generally smaller, leaner, and cook faster, offering a milder flavor. Beef back ribs, conversely, boast a richer, more intensely beefy flavor and typically require longer cooking times to achieve tenderness. If you’re looking for pork options, my baked spare ribs recipe is a fantastic choice.
For those eager to expand their rib-making repertoire, consider trying my honey garlic spare ribs or the unique cranberry chipotle ribs for an exciting twist. And if you’re exploring other easy baked main courses, my honey BBQ baked chicken is another family favorite.
Frequently Asked Questions About Oven-Baked Beef Back Ribs
For those looking for quick answers, here are some of the most commonly asked questions regarding cooking beef back ribs in the oven:
How long does it take to cook beef back ribs in the oven?
The total cooking time for beef back ribs in the oven is approximately 3 hours at 275 degrees Fahrenheit (135°C) when wrapped in foil. This is followed by an additional 3 to 5 minutes under the broiler with BBQ sauce for glazing. Plan for a total of about 3.5 hours, including preparation and crucial resting time before slicing and serving.
What is the best oven temperature for beef back ribs?
The optimal oven temperature for beef back ribs is 275 degrees Fahrenheit (135°C). This low and slow cooking method is essential because it effectively breaks down the tough connective tissue in the meat without causing it to dry out. Higher temperatures would tighten the meat fibers, resulting in chewy rather than tender ribs.
Do you have to remove the membrane from beef back ribs?
Yes, it is highly recommended to always remove the membrane, also known as the silver skin, from the back of the ribs. This thin layer becomes rubbery and tough when cooked, and it also prevents your spice rub from properly flavoring the meat. To remove it, use a butter knife to loosen one corner, then grip it with a paper towel and pull it off in one swift motion.
What is the difference between beef back ribs vs short ribs?
Beef back ribs are sourced from the upper rib section near the spine, characterized by thinner meat between long, curved bones. Short ribs, conversely, originate from the lower chest area and are notably thicker and meatier. Due to their distinct characteristics, they require different cooking times and methods to achieve the best tenderness and flavor.
What internal temperature should beef back ribs reach?
Cook beef back ribs until their internal temperature reaches between 200 to 205 degrees Fahrenheit (93-96°C). At this temperature, the connective tissue will have fully broken down, ensuring the meat is exceptionally tender. For an accurate reading, insert a meat thermometer between the bones, avoiding contact with the bone itself.
Can you make beef back ribs on the grill instead of the oven?
Absolutely! Beef back ribs can be successfully cooked on a grill using indirect heat. Set up your grill for two-zone cooking, aiming to maintain a consistent temperature around 275 degrees Fahrenheit (135°C). Place the ribs on the cooler side of the grill, close the lid, and cook for approximately 3 hours, or until they reach the desired tenderness.
How do you know when beef back ribs are done?
You’ll know your ribs are done when the meat has visibly pulled back from the ends of the bones by about half an inch. The internal temperature should be between 200 to 205 degrees Fahrenheit (93-96°C). Additionally, if you gently poke the meat between the bones with a fork, it should feel very tender and yield easily.
Can you use this recipe for pork ribs instead of beef?
While this specific spice rub and general method can be adapted for pork ribs, you will need to reduce the cooking time significantly. Pork ribs are typically thinner and cook much faster, usually requiring about 2 to 2.5 hours at the same 275°F (135°C) temperature. For a recipe specifically tailored to pork, I recommend checking out my baked spare ribs recipe.
More Delicious Rib and Beef Recipes You’ll Love
If you enjoyed this recipe, here are some other fantastic beef and rib dishes to add to your culinary rotation:
- Korean Short Ribs
- Slow Cooker Korean Short Ribs
- Cranberry Chipotle Ribs
- Baked Spare Ribs
- Honey Garlic Spare Ribs
- Honey BBQ Baked Chicken
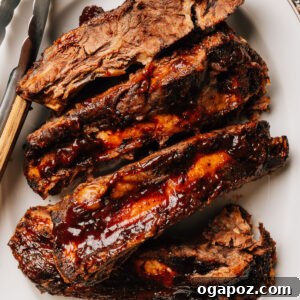
Tender Beef Back Ribs in the Oven
By: Jennifer Pallian BSc, RD
This oven-baked beef back ribs recipe is cooked low and slow in a sealed foil pouch until fork-tender. A simple dry rub builds deep flavor, and a quick broil with BBQ sauce creates a sticky, caramelized finish, perfect for a memorable meal.
Prep Time: 15 minutes
Cook Time: 3 hours 30 minutes
Total Time: 3 hours 45 minutes
Servings: 4 servings
Ingredients
- 4 lbs beef back ribs
- 2 tbsp brown sugar
- 1 tbsp kosher salt
- 1 tbsp ground black pepper (coarse is best)
- 1 tsp garlic powder
- 1 tsp smoked paprika
- 1 tsp onion powder
- ¼ tsp cayenne pepper
- 2 tbsp apple cider vinegar or water
- ⅔ cup BBQ sauce
Instructions
- Preheat oven to 275°F (135°C).
- Flip ribs bone-side up and carefully loosen the thin white membrane (silver skin) with a butter knife. Grip it firmly with a paper towel and pull it off completely.
- In a small bowl, thoroughly mix brown sugar, kosher salt, coarse black pepper, garlic powder, smoked paprika, onion powder, and cayenne. Press the rub evenly over all sides of the ribs, ensuring a good coating.
- Lay a long sheet of heavy-duty foil on a large baking sheet, overlapping if necessary. Place the ribs in the center and fold the edges up to form a shallow boat. Pour apple cider vinegar or water underneath the ribs (avoiding the spice rub). Seal tightly with another sheet of foil, ensuring no steam can escape.
- Bake for 3 hours. The meat should visibly begin to pull back from the bone tips, indicating tenderness.
- Carefully open the foil packet, being cautious of hot steam. Increase the oven temperature to broil.
- Brush BBQ sauce evenly over the ribs. Return the uncovered ribs to the oven and broil for about 3-5 minutes, watching closely until the sauce is bubbling and lightly charred in spots.
- Allow the ribs to rest for 15 minutes before slicing between the bones and serving.
Notes
- Beef Back Ribs: These ribs derive most of their meat from between the bones and require time to soften. If they feel tough, they are likely still undercooked. Simply reseal and return them to the oven for an additional 20-30 minutes.
- Membrane Removal: Removing the silverskin greatly improves the ribs’ tenderness and allows the seasoning to deeply penetrate the meat. If it tears during removal, just take off as much as you can.
- Foil Seal: A tightly sealed foil packet is paramount. The internal steam created is what braises the ribs, ensuring they remain tender and moist without drying out.
- Tongs Test for Doneness: To check for doneness, carefully lift the rack with tongs about one-third of the way from one end. If the rack bends into a gentle U shape and the surface meat shows slight cracks, your ribs are likely ready. If they remain stiff, continue baking for another 20 to 30 minutes.
- Homemade BBQ Sauce: For a delicious homemade option, consider using just the sauce portion from my Spare Ribs recipe.
- Storage: Store any leftover cooked ribs in an airtight container in the refrigerator for up to 4 days. Reheat them wrapped in foil at 300°F (150°C) or gently in the microwave until thoroughly warmed.
Nutrition (Approximate per serving)
Calories: 615 kcal | Carbohydrates: 27g | Protein: 56g | Fat: 30g | Saturated Fat: 13g | Polyunsaturated Fat: 1g | Monounsaturated Fat: 13g | Cholesterol: 171mg | Sodium: 2434mg | Potassium: 1188mg | Fiber: 1g | Sugar: 22g | Vitamin A: 407IU | Vitamin C: 1mg | Calcium: 50mg | Iron: 7mg
Nutrition information is automatically calculated and should only be used as an approximation.