
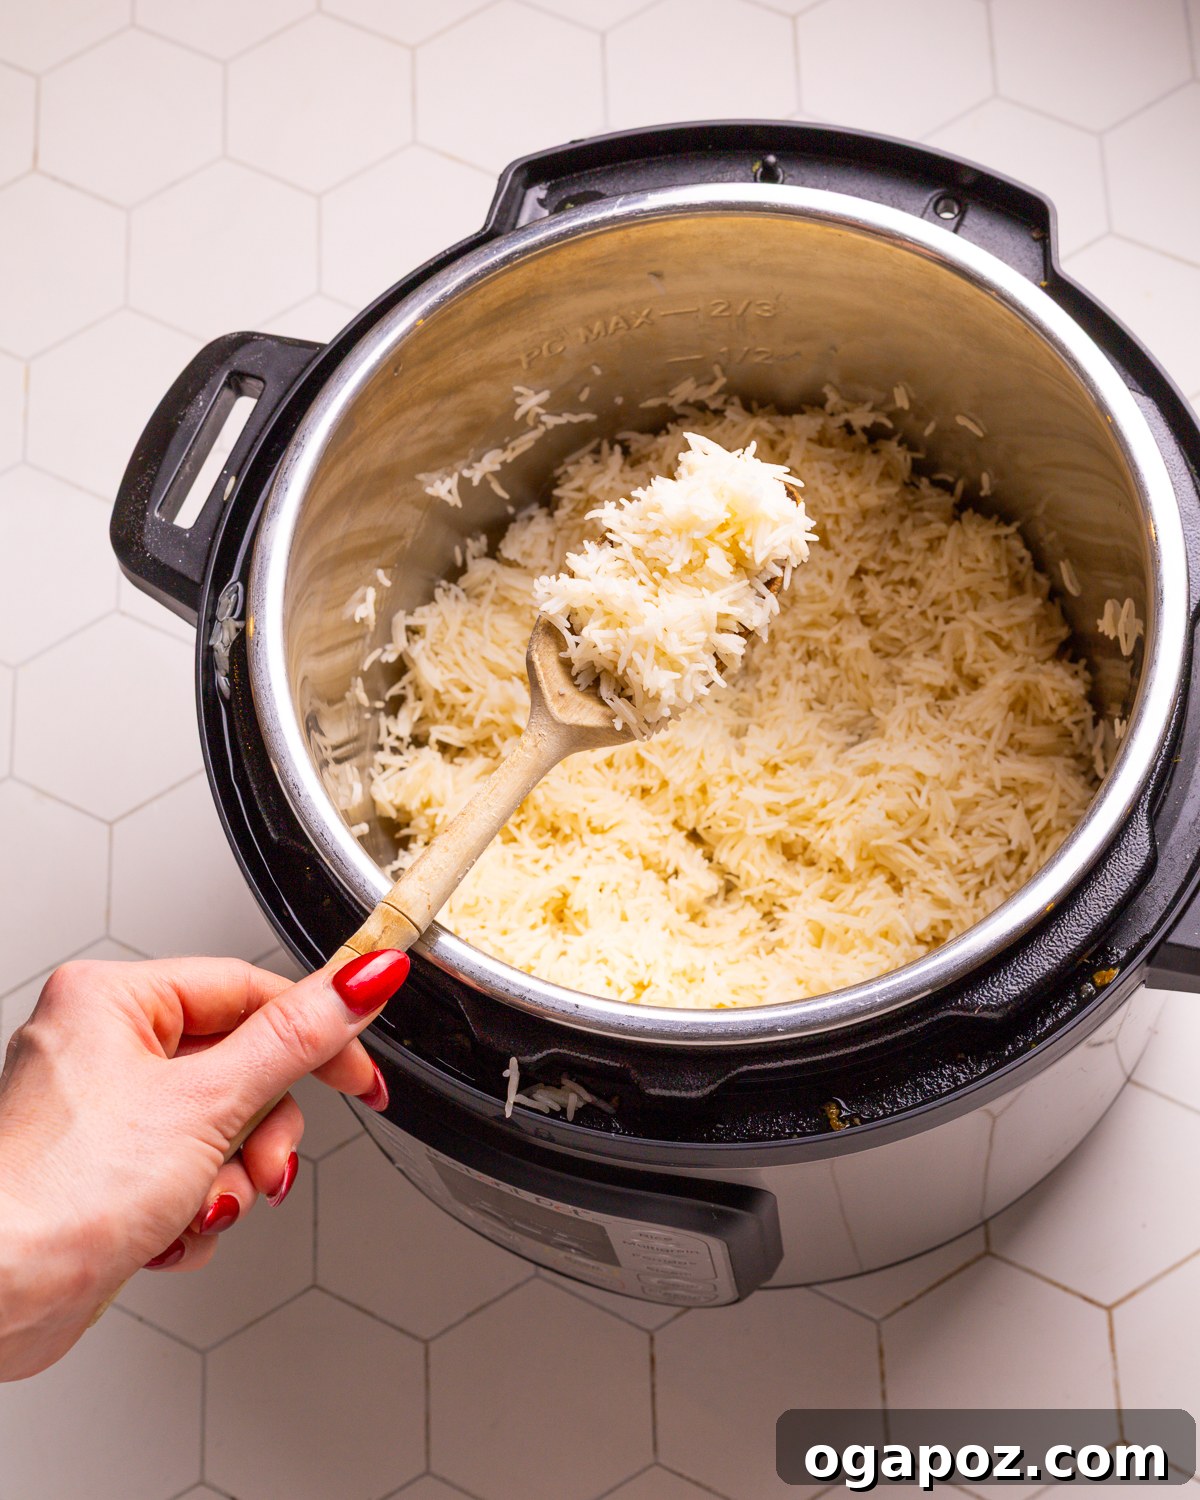
Say goodbye to mushy, sticky, or undercooked grains! This ultimate guide will show you how to achieve **perfect Instant Pot rice** every single time. Whether you’re a seasoned Instant Pot user or just starting, our failproof methods ensure fluffy, separated grains with minimal effort. Imagine setting your pressure cooker and returning to perfectly cooked rice in mere minutes – yes, it’s that simple!
Mastering Instant Pot Rice: Avoid These 5 Common Mistakes
Achieving consistently fluffy and delicious Instant Pot rice is simple, but there are a few common pitfalls that can lead to less-than-perfect results. Understanding these mistakes and how to prevent them is key to becoming an Instant Pot rice master.
-
Skipping the Rinse (The Gummy Rice Culprit)
Many home cooks skip rinsing rice, thinking it’s an unnecessary step. However, raw rice grains often have a layer of excess surface starch. When cooked, this starch can release and cause the grains to stick together, resulting in a gummy or mushy texture. **The Fix:** Always rinse your rice thoroughly under cold running water until the water runs completely clear. This simple action washes away the excess starch, promoting distinct, fluffy grains.
-
Using the Wrong Water Ratio (Too Much Liquid = Mush)
Unlike stovetop cooking where water evaporates, the Instant Pot is a sealed environment, meaning very little moisture escapes. If you use the same water-to-rice ratio as you would for traditional methods, your rice will likely turn out waterlogged and mushy. **The Fix:** For most white rice varieties (jasmine, basmati, long-grain), a 1:1 ratio (1 cup rice to 1 cup water) is generally ideal. Brown rice requires a bit more, typically 1:1.25 (1 cup rice to 1.25 cups water). We’ll provide exact ratios in the recipe section.
-
Quick-Releasing Pressure Too Soon (Unevenly Cooked Grains)
While the Instant Pot is known for its speed, directly releasing pressure immediately after cooking can disrupt the final stages of rice absorption. A sudden drop in pressure can cause the rice grains to burst or result in unevenly cooked rice, where some parts are soft and others are still firm. **The Fix:** Always allow for a natural pressure release (NPR) for at least 10 minutes (often more for brown rice) before manually releasing any remaining pressure. This resting period allows the rice to finish steaming gently, absorbing residual moisture and achieving a perfect texture.
-
Opening the Lid Prematurely (Interrupting the Final Cook)
Patience is a virtue, especially when cooking rice in the Instant Pot. Lifting the lid before the recommended natural release time is over is similar to quick-releasing pressure. The rice needs that sealed resting time to fully absorb steam and complete its cooking process. Opening the lid too early will release crucial steam and heat, leading to rice that is undercooked, firm, or inconsistently textured. **The Fix:** Resist the urge to peek! Let the Instant Pot complete its full natural release cycle (usually 10 minutes) before carefully opening the lid.
-
Not Fluffing the Rice After Cooking (Compacted and Sticky)
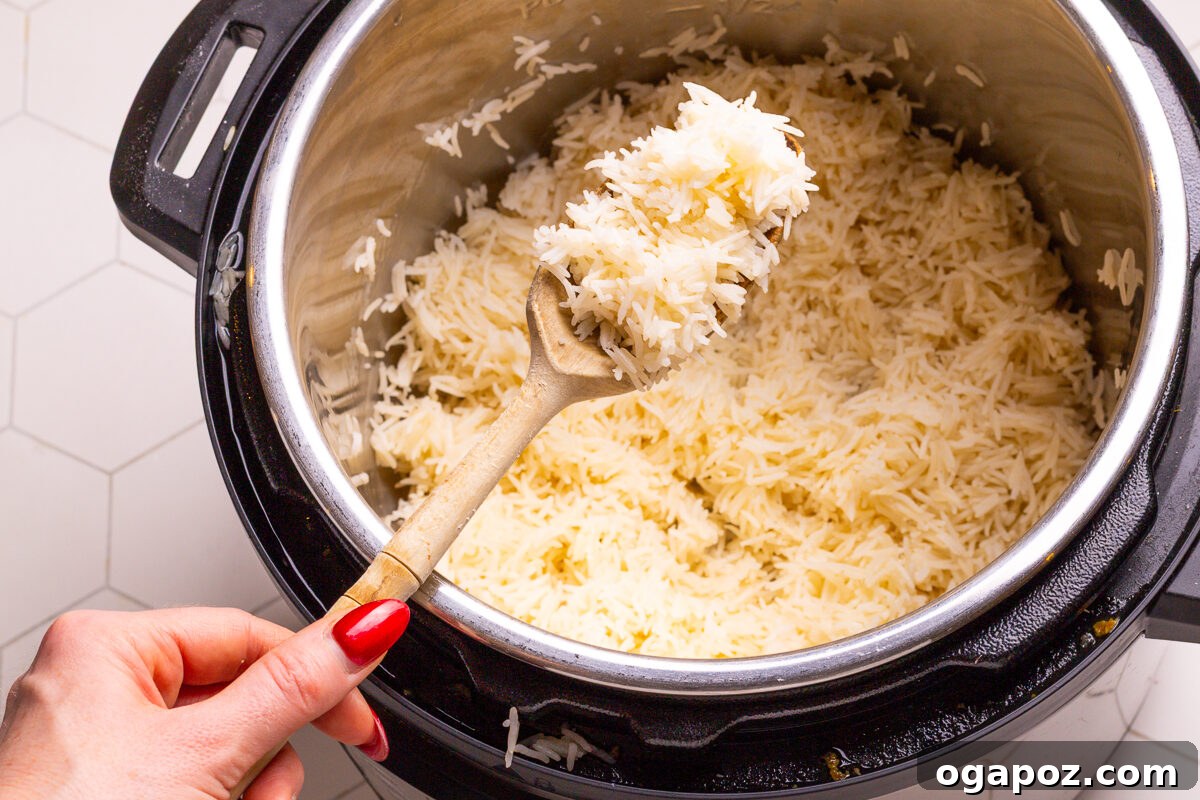
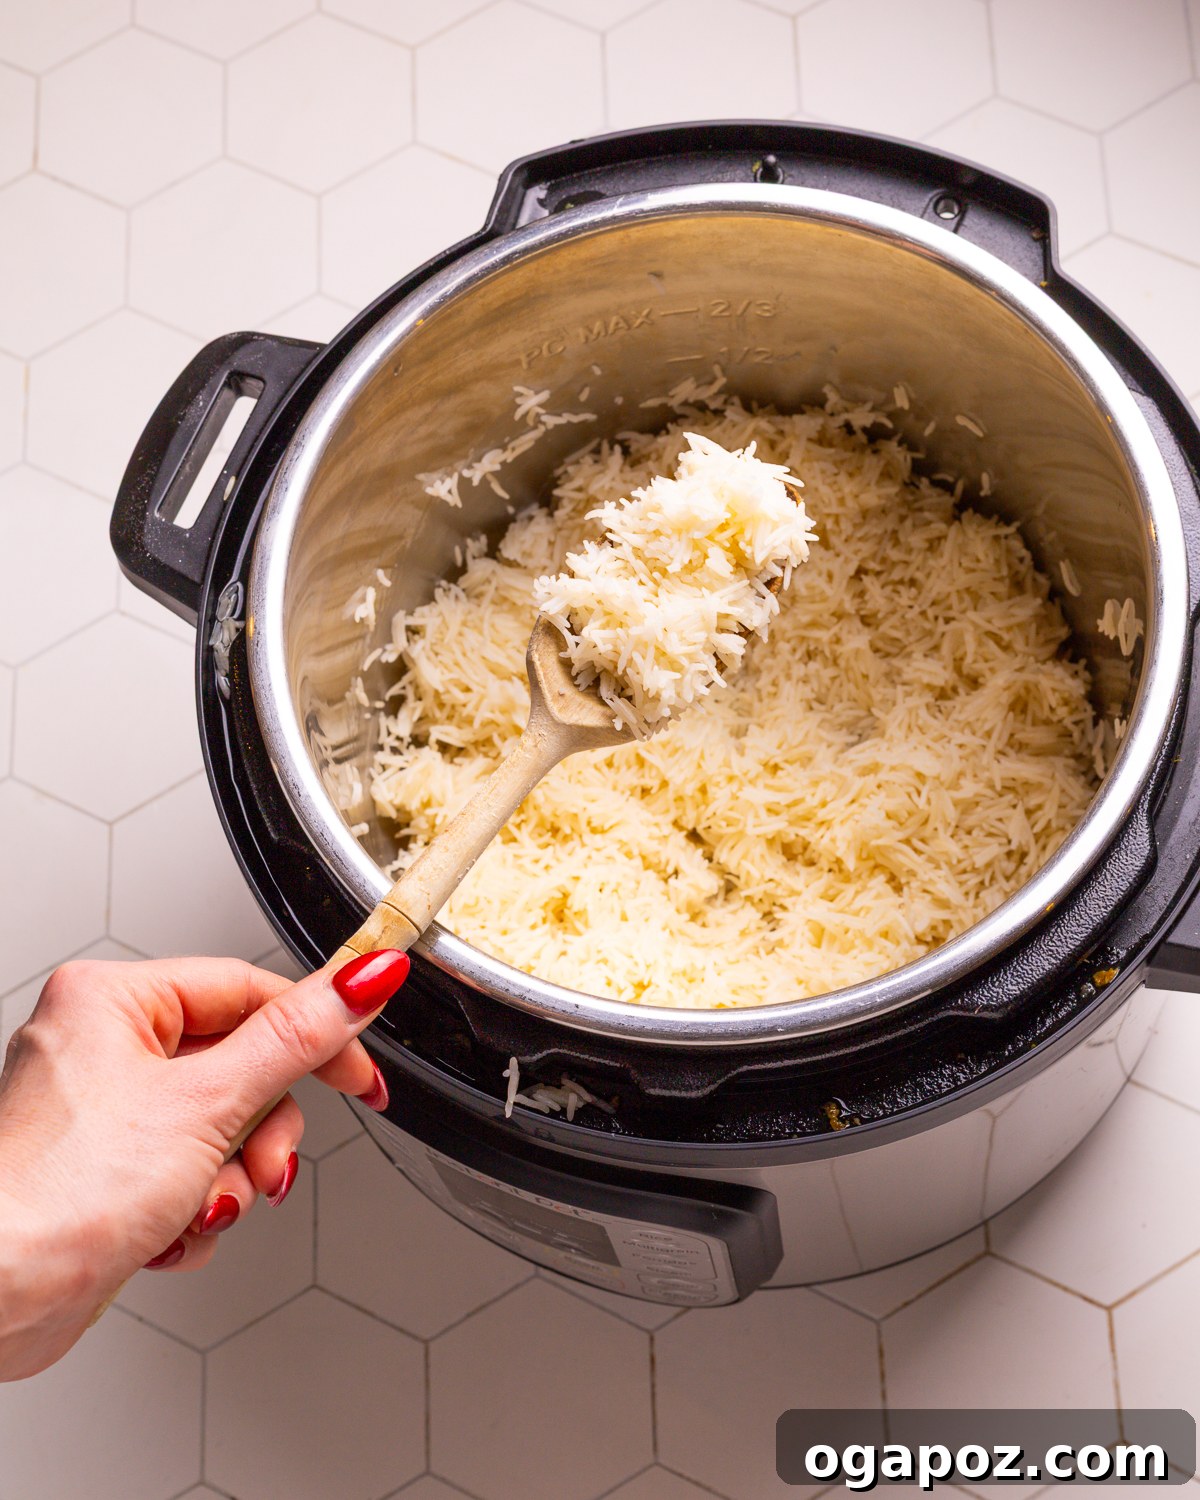
Once your Instant Pot rice is perfectly cooked and has undergone its natural release, it will be quite compact at the bottom of the pot. If left undisturbed, the grains can stick together and become dense. **The Fix:** Immediately after cooking and releasing pressure, use a fork or a rice paddle to gently fluff the rice. This action separates the grains, releases trapped steam, and gives your rice that light, airy, and fluffy texture everyone loves. Always fluff from the bottom up to ensure even distribution.
Essential Ingredients for Instant Pot Rice
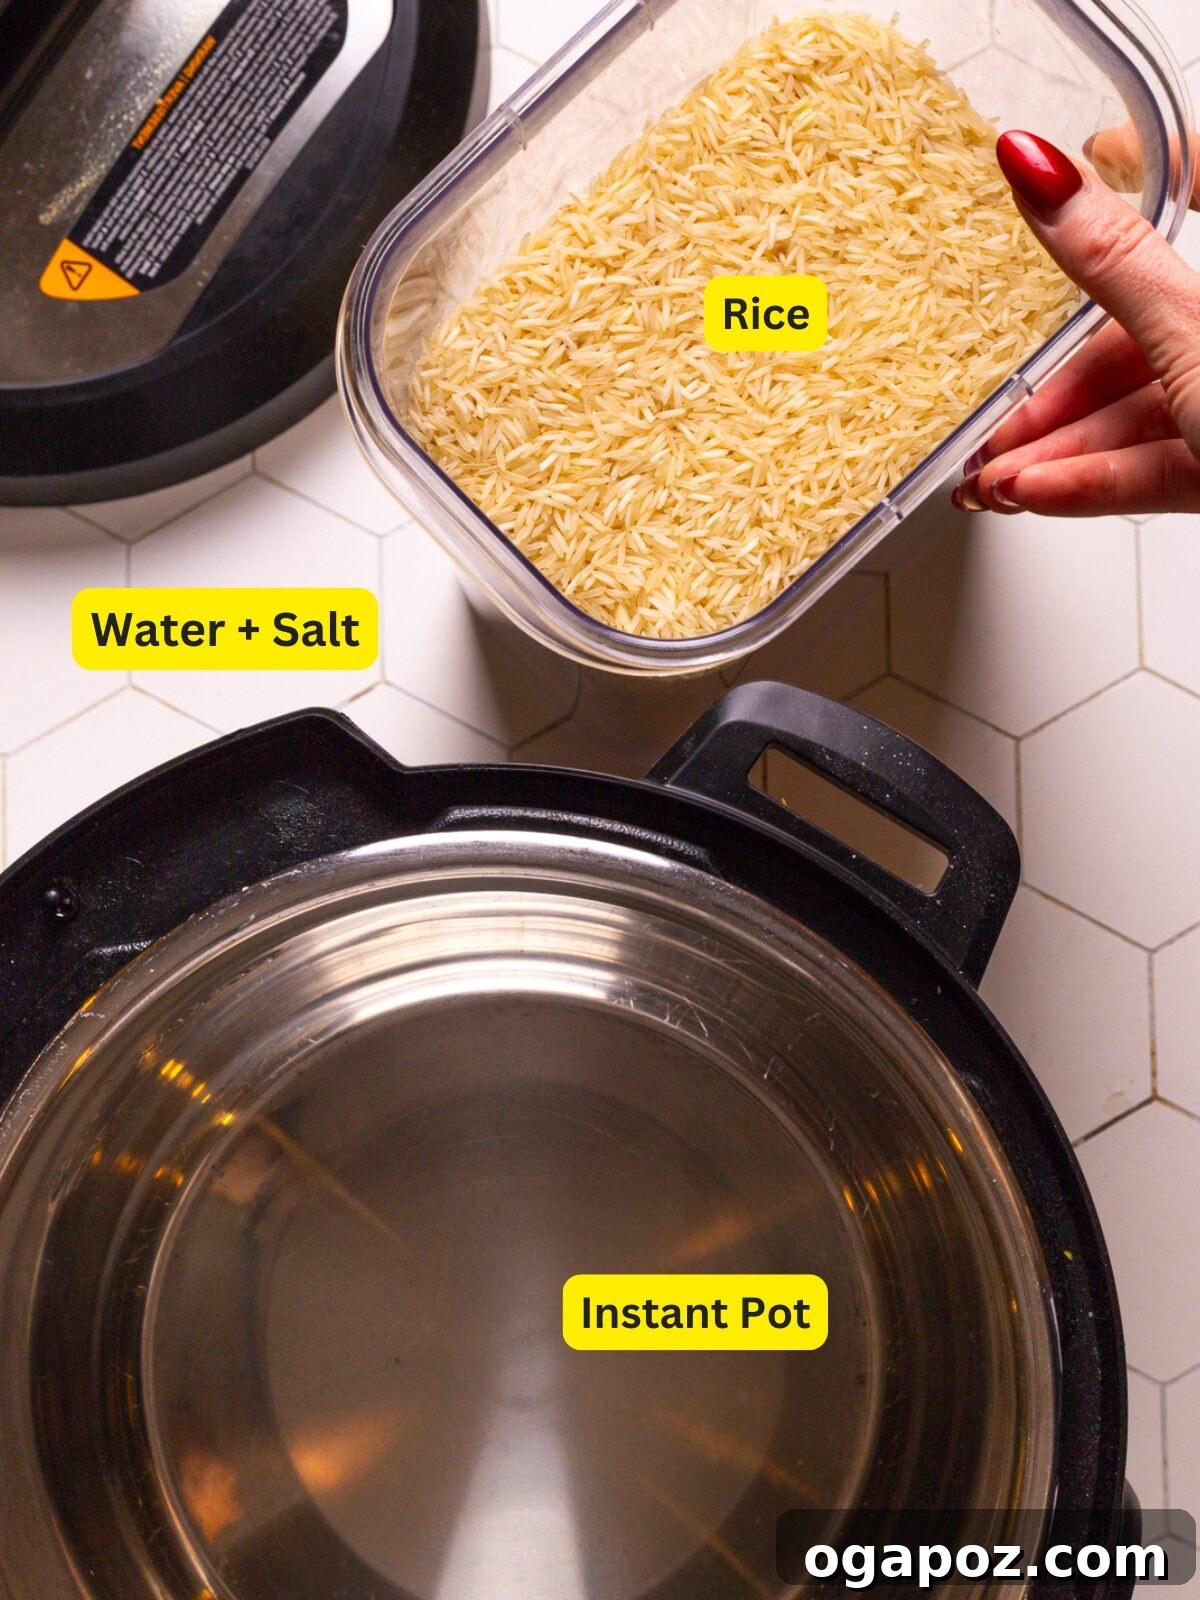
Making delicious rice in your Instant Pot requires just a few basic ingredients. The beauty of this method lies in its simplicity and the quality of the end product.
-
Rice: The star of the show! This pressure cooker technique is incredibly versatile and works wonderfully with various types of rice.
- White Rice: This includes popular varieties like **Jasmine rice** and **Basmati rice**. Both long-grain and short-grain white rice perform exceptionally well. For these, a 1:1 rice-to-water ratio is generally recommended, with a 3-minute high-pressure cook time followed by a 10-minute natural release.
- Brown Rice: A healthier, chewier alternative. Brown rice requires a slightly different water ratio and longer cooking time due to its outer bran layer. We suggest a 1:1.25 rice-to-water ratio (e.g., 1 cup rice to 1.25 cups water) and a 22-minute high-pressure cook time, also with a 10-minute natural release.
- Other Varieties: While this guide focuses on white and brown rice, your Instant Pot can also handle wild rice or black rice. Just be aware that their specific water ratios and cooking times will differ from those outlined here. Consult specialized recipes for those types to ensure optimal results.
- Water: The liquid medium for cooking. The quantity is critical for perfect texture, as discussed in the “mistakes” section. Use filtered water if your tap water has a strong taste, as it can subtly affect the rice flavor.
- Salt: A crucial ingredient for seasoning. Adding a touch of salt to your cooking water enhances the natural flavor of the rice, transforming it from bland to wonderfully savory. Don’t skip this step!
Exact ingredient quantities for various rice types are detailed in the recipe card below.
Explore More Instant Pot Rice Varieties: Instant Pot Mexican Rice, Easy Sushi Rice, and a foolproof Basmati Rice Recipe (no measuring required for perfection!)
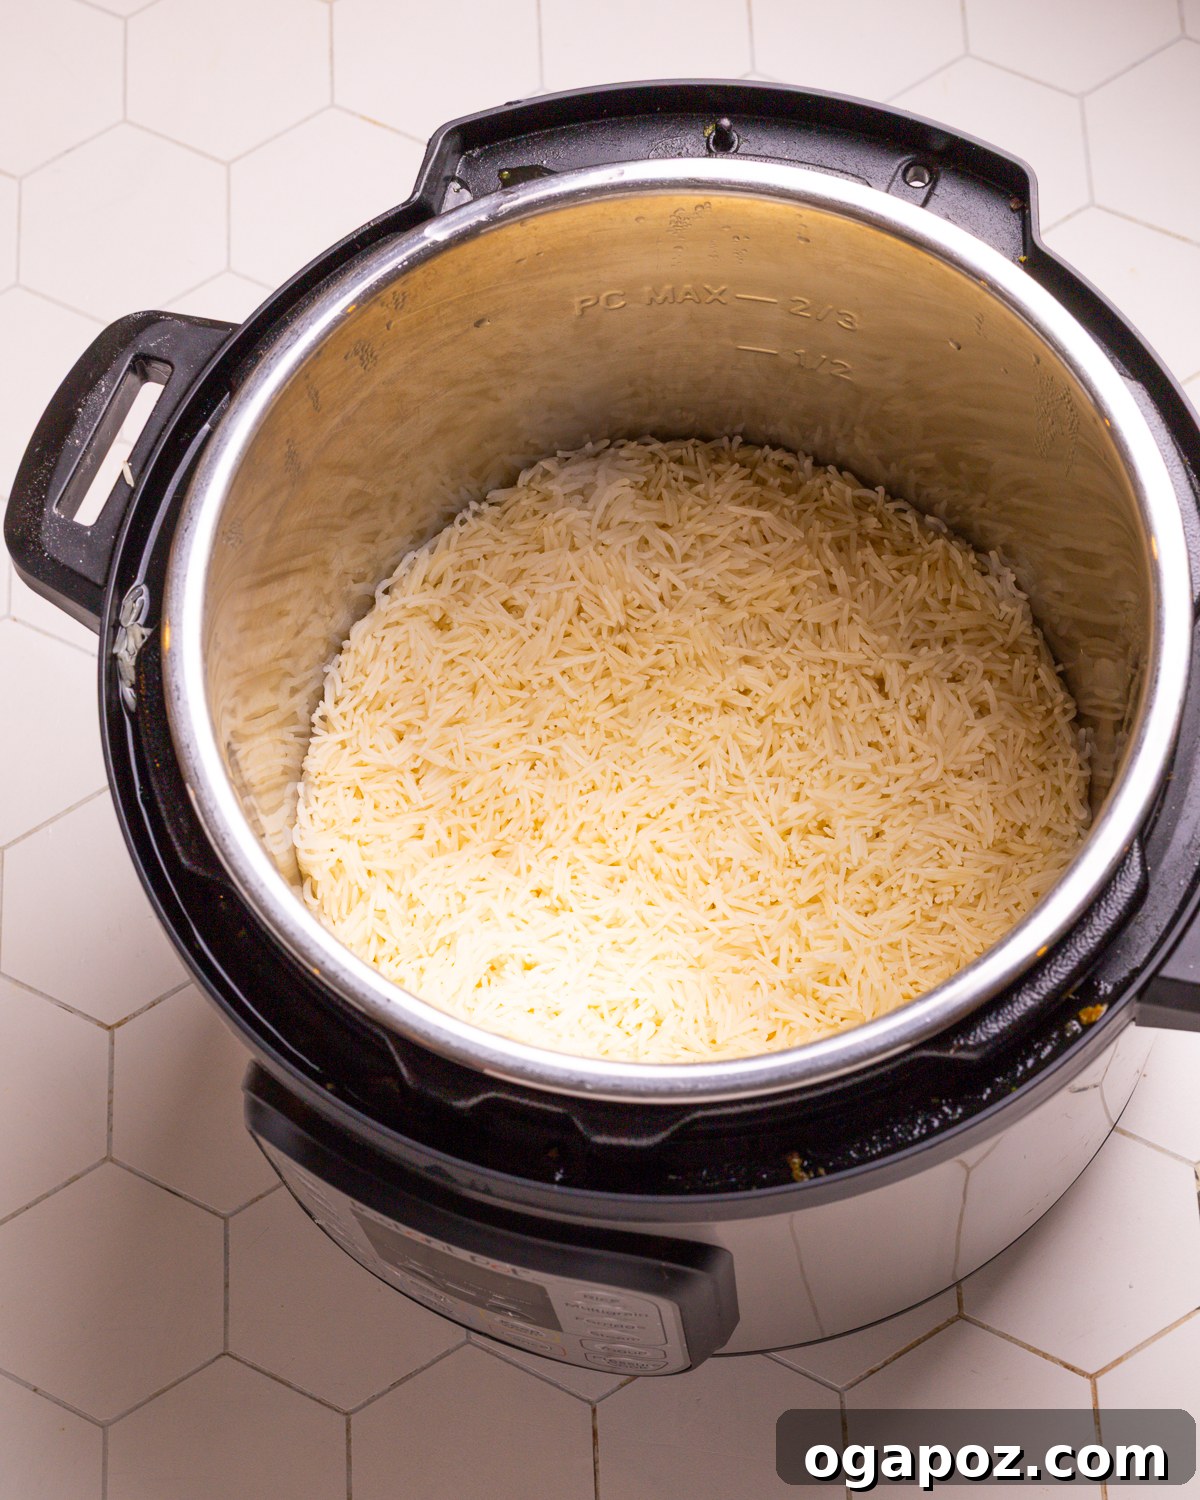
How to Make Instant Pot Rice: A Step-by-Step Guide for Flawless Results
Follow these simple steps to cook perfectly fluffy rice in your Instant Pot, whether it’s white or brown.
1. Rinse the Rice Thoroughly
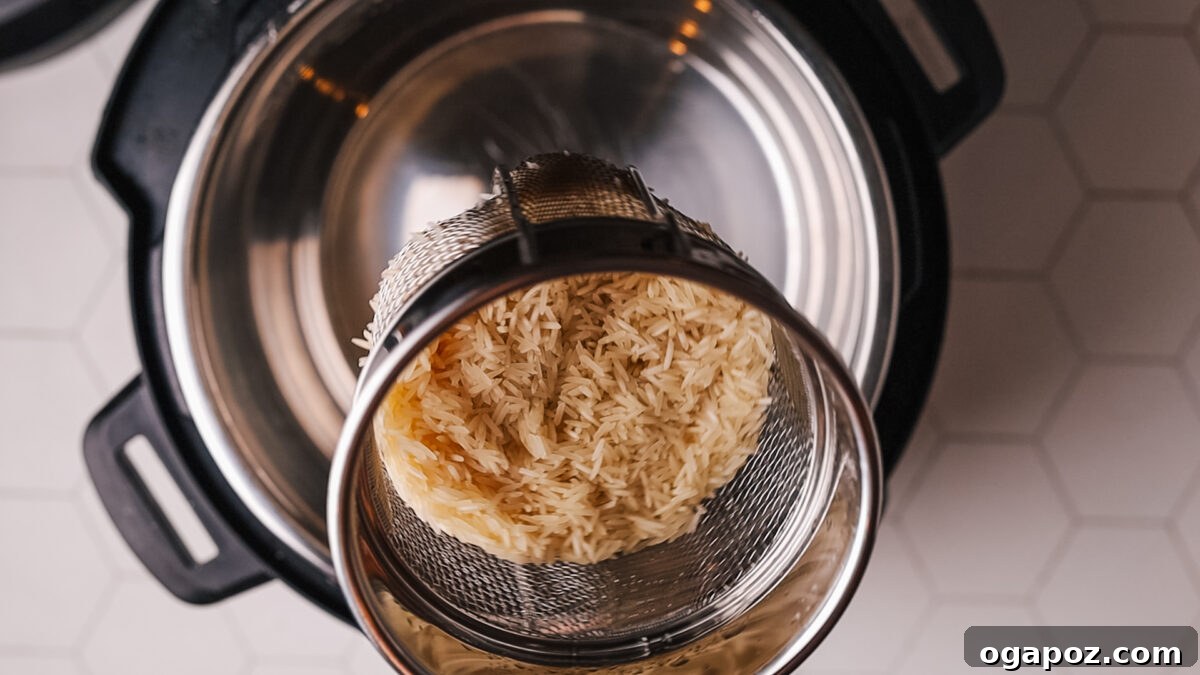
Place your chosen rice in a fine mesh strainer. Rinse under cold running water, gently swirling the rice with your fingers, until the water draining from the bottom of the strainer runs completely clear. This crucial step removes excess surface starch, preventing gummy rice. Once rinsed, allow the rice to drain for a minute or two.
2. Add Ingredients to the Instant Pot
Transfer the rinsed and drained rice to the inner pot of your Instant Pot. Add the appropriate amount of fresh water and salt according to the type of rice you are cooking (refer to the recipe card for specific ratios). Secure the lid on your Instant Pot, ensuring the sealing ring is properly in place and the steam release valve is set to the “Sealing” position.
3. Pressure Cook and Release
Select the “Manual” or “Pressure Cook” setting on your Instant Pot and adjust the cooking time based on your rice type:
- For **White Rice** (Jasmine, Basmati, Long Grain): Cook on high pressure for **3 minutes**.
- For **Brown Rice** (Long Grain, Short Grain): Cook on high pressure for **22 minutes**.
Once the cooking cycle is complete, the Instant Pot will beep. **Do not open the lid immediately!** Allow for a **10-minute natural pressure release (NPR)**. During this time, the pot will gradually depressurize, and the rice will continue to steam and absorb residual moisture, achieving its ideal texture. After 10 minutes, carefully move the steam release valve to the “Venting” position to perform a quick release of any remaining pressure. Once the float valve drops, you can safely open the lid.
4. Fluff and Serve
Immediately after opening the lid, use a fork or a rice paddle to gently fluff the rice. This separates the grains, releases trapped steam, and ensures your rice is light and airy. Serve your perfectly cooked Instant Pot rice warm as a delicious side dish or as the base for your favorite meals.
RELATED: Wondering how much rice to cook? Check out my guide on how much rice per person for helpful portioning tips.
Make Ahead and Storage Tips for Instant Pot Rice
Instant Pot rice is not only delicious but also incredibly convenient for meal preparation. Cooking a larger batch ahead of time can save you precious minutes during busy weeknights. Proper storage ensures your rice remains fresh and safe to eat.
- Cooling: Before storing, it is crucial to allow the cooked rice to cool completely to room temperature. Spreading the rice on a baking sheet can speed up this process and prevent bacterial growth.
- Refrigeration: Store cooled cooked rice in an airtight container in the refrigerator for up to **4 days**. Ensure the container is sealed tightly to prevent the rice from drying out or absorbing other odors from the fridge.
- Freezing for Longer Storage: For extended freshness, cooked rice freezes exceptionally well. Portion the cooled rice into individual, freezer-safe bags or containers. Flattening the rice in bags helps with quicker freezing and thawing. Label with the date. Frozen rice can be stored for up to **3 months**.
How to Reheat Instant Pot Rice (Leftovers)
Reheating leftover rice correctly is essential to maintain its fluffy texture and prevent it from becoming dry or clumpy. Here are three effective methods:
- Microwave Method: This is the quickest way to reheat. Place your desired portion of rice in a microwave-safe bowl. Add a splash (1-2 tablespoons per cup of rice) of water or broth over the rice. Cover the bowl loosely with a damp paper towel or a microwave-safe lid (leaving a small vent). Microwave in 30-second intervals on medium power, fluffing gently with a fork in between, until heated through and steamy. The added moisture helps rehydrate the grains.
- Stovetop Method: For a more controlled reheat, place the rice in a non-stick pan over low to medium-low heat. Add a tablespoon or two of water or broth. Cover the pan and let the rice warm through, stirring occasionally and fluffing with a fork, for about 5-7 minutes. The lid helps trap steam, rehydrating the rice.
- Steaming Method: This method yields the most consistently fluffy results. Place the rice in a heatproof dish or a steamer basket. Cover the rice with a damp paper towel or a tight-fitting lid. Place the dish/basket over a pot of simmering water (ensure the water doesn’t touch the rice). Steam for 5-10 minutes, or until the rice is warm and fluffy. This gentle heat and moisture infusion is perfect for restoring texture.
Delicious Pairings: How to Serve Your Instant Pot Rice Recipe
Perfectly cooked Instant Pot rice is the quintessential versatile side dish, capable of complementing an endless array of main courses. Its fluffy texture and subtle flavor make it an ideal foundation for various cuisines and culinary creations.
For a taste of global flavors, your Instant Pot basmati rice pairs exceptionally well with rich and saucy Indian-inspired dishes like my Red Chicken Curry, the creamy Chicken Korma, or the vibrant vegetarian delight of Palak Paneer. The rice beautifully absorbs the complex spices and sauces, balancing the richness of the main course.
Beyond Indian cuisine, consider these delightful serving suggestions:
- Classic Comfort: Serve your warm, fluffy rice with a knob of butter melting into it, alongside a perfectly grilled chicken breast, baked salmon, or a hearty steak. Add a vibrant green side like my Pan-Fried Asparagus or steamed broccoli for a complete, easy meal.
- Stir-Fries and Asian Bowls: Instant Pot jasmine rice is fantastic with any stir-fry, soaking up the savory sauces. Use it as a base for custom Buddha bowls with your favorite protein (tofu, shrimp, beef), roasted vegetables, and a drizzle of sesame ginger dressing.
- Soups and Stews: Stir a scoop of rice into hearty soups or stews just before serving to add substance and absorb flavors. It’s particularly good with chili, lentil soup, or a robust beef stew.
- Taco Bowls and Burritos: Instead of tortillas, use Instant Pot white rice as the base for deconstructed taco or burrito bowls, loaded with seasoned ground meat or beans, salsa, avocado, and cheese.
- Breakfast Bowls: Leftover rice can even be transformed into a savory breakfast! Fry it lightly with an egg, some vegetables, and a dash of soy sauce for a quick, satisfying meal.
The possibilities are endless. Let your perfectly cooked Instant Pot rice elevate your next meal!
Frequently Asked Questions About Instant Pot Rice
Quickly find answers to common questions about cooking rice in your Instant Pot:
Why is my Instant Pot rice too mushy or sticky?
Mushy or sticky rice is typically caused by one of two issues: using too much water, or skipping the crucial rinsing step. The Instant Pot traps all steam, so a 1:1 ratio for white rice (and 1:1.25 for brown) is key. Rinsing removes excess surface starch that makes rice gummy. Ensure you follow these steps for best results.
Why is my Instant Pot rice undercooked or too firm?
If your rice turns out too firm, it usually means it didn’t absorb enough moisture. Next time, try adding an extra 1-2 tablespoons of water per cup of rice. More importantly, always ensure you allow for a full 10-minute natural pressure release after cooking. This resting time is vital for the rice to finish cooking gently and fully absorb all the steam.
Can I double or triple the rice recipe in the Instant Pot?
Absolutely! The Instant Pot is excellent for cooking larger quantities of rice. The key is to maintain the same water-to-rice ratio, regardless of the amount. For example, if you double the rice, double the water. The cooking time under pressure generally remains the same, but be aware that the Instant Pot will take longer to come to pressure when cooking a larger volume.
Can I use the “Rice” button on my Instant Pot?
While your Instant Pot has a dedicated “Rice” button, it’s often optimized for specific types of rice (usually white rice) and might not offer the precision needed for truly perfect, fluffy grains. It’s often set to a lower pressure or a specific auto-sensing cycle. For consistent, failproof results with different rice types, using the “Manual” or “Pressure Cook” setting with the recommended times and water ratios is generally preferred.
Can I meal prep rice in the Instant Pot?
Yes, the Instant Pot is fantastic for meal prepping rice! Cook a large batch at the beginning of the week, let it cool completely, and then store it in airtight containers in the fridge for up to 5 days, or freeze it for up to 3 months. When reheating, always add a splash of water to help rehydrate and keep the rice fluffy.
Is a rice cooker the same as an Instant Pot?
No, a rice cooker and an Instant Pot are distinct appliances. A rice cooker is designed solely for cooking rice, often with specialized settings for different varieties, using a gentle steaming process. An Instant Pot, while excellent at cooking rice, is a multi-cooker that functions as a pressure cooker, slow cooker, steamer, sauté pan, and more. While both can cook rice, the Instant Pot offers far greater versatility.
Other Instant Pot Recipes You’ll Love
- Instant Pot Steak
- Instant Pot Chicken Chili
- Instant Pot Chicken Soup
Instant Pot Rice (Perfect Every Time!)
Jennifer Pallian BSc, RD
This is my recipe for sticky, fluffy, failproof Instant Pot rice. If you’ve had your share of rice catastrophes in the past – I’ve got you covered for perfect grains every single time.
20 minutes
20 minutes
6
Ingredients
- 2 cups rice (white, jasmine, basmati, or brown)
- 2 cups water (adjust for brown rice as noted below)
- 1 tsp kosher salt
Instructions
- Rinse rice thoroughly under cold water until the water runs clear. Drain well.
- Add the rinsed rice, fresh water, and salt to the Instant Pot inner pot.
-
For White Rice (Jasmine, Basmati, Long Grain): Pressure cook on high for 3 minutes.
For Brown Rice: Pressure cook on high for 22 minutes.
For both types of rice, allow a **10-minute natural pressure release** after cooking time is complete. Then, manually release any remaining pressure.
Fluff the cooked rice with a fork immediately after opening the lid and serve.
Notes
Tips for Perfect Instant Pot Rice
- Rinse your rice well. This washes away extra starch that can make it gummy. Run cold water over it until it’s no longer cloudy.
- Use less water than you would on the stove. The Instant Pot locks in steam, so too much water leads to mushy rice. A 1:1 ratio for white rice is generally perfect.
- Let the pressure release naturally. Give it at least 10 minutes (natural pressure release) before opening the lid so the rice finishes cooking gently and absorbs moisture fully.
- Resist peeking. Opening the lid too soon can mess with the pressure, temperature, and texture, leaving you with firm or unevenly cooked grains.
- Fluff right after cooking. A quick toss with a fork helps keep the grains separate and light instead of compact and sticky.
Nutrition
Calories: 228kcal |
Carbohydrates: 50g |
Protein: 4g |
Fat: 0.4g |
Saturated Fat: 0.1g |
Polyunsaturated Fat: 0.1g |
Monounsaturated Fat: 0.1g |
Sodium: 395mg |
Potassium: 72mg |
Fiber: 1g |
Sugar: 0.1g |
Calcium: 20mg |
Iron: 1mg
Nutrition information is automatically calculated and should only be used as an approximation.
Tried this recipe? Leave a comment!