
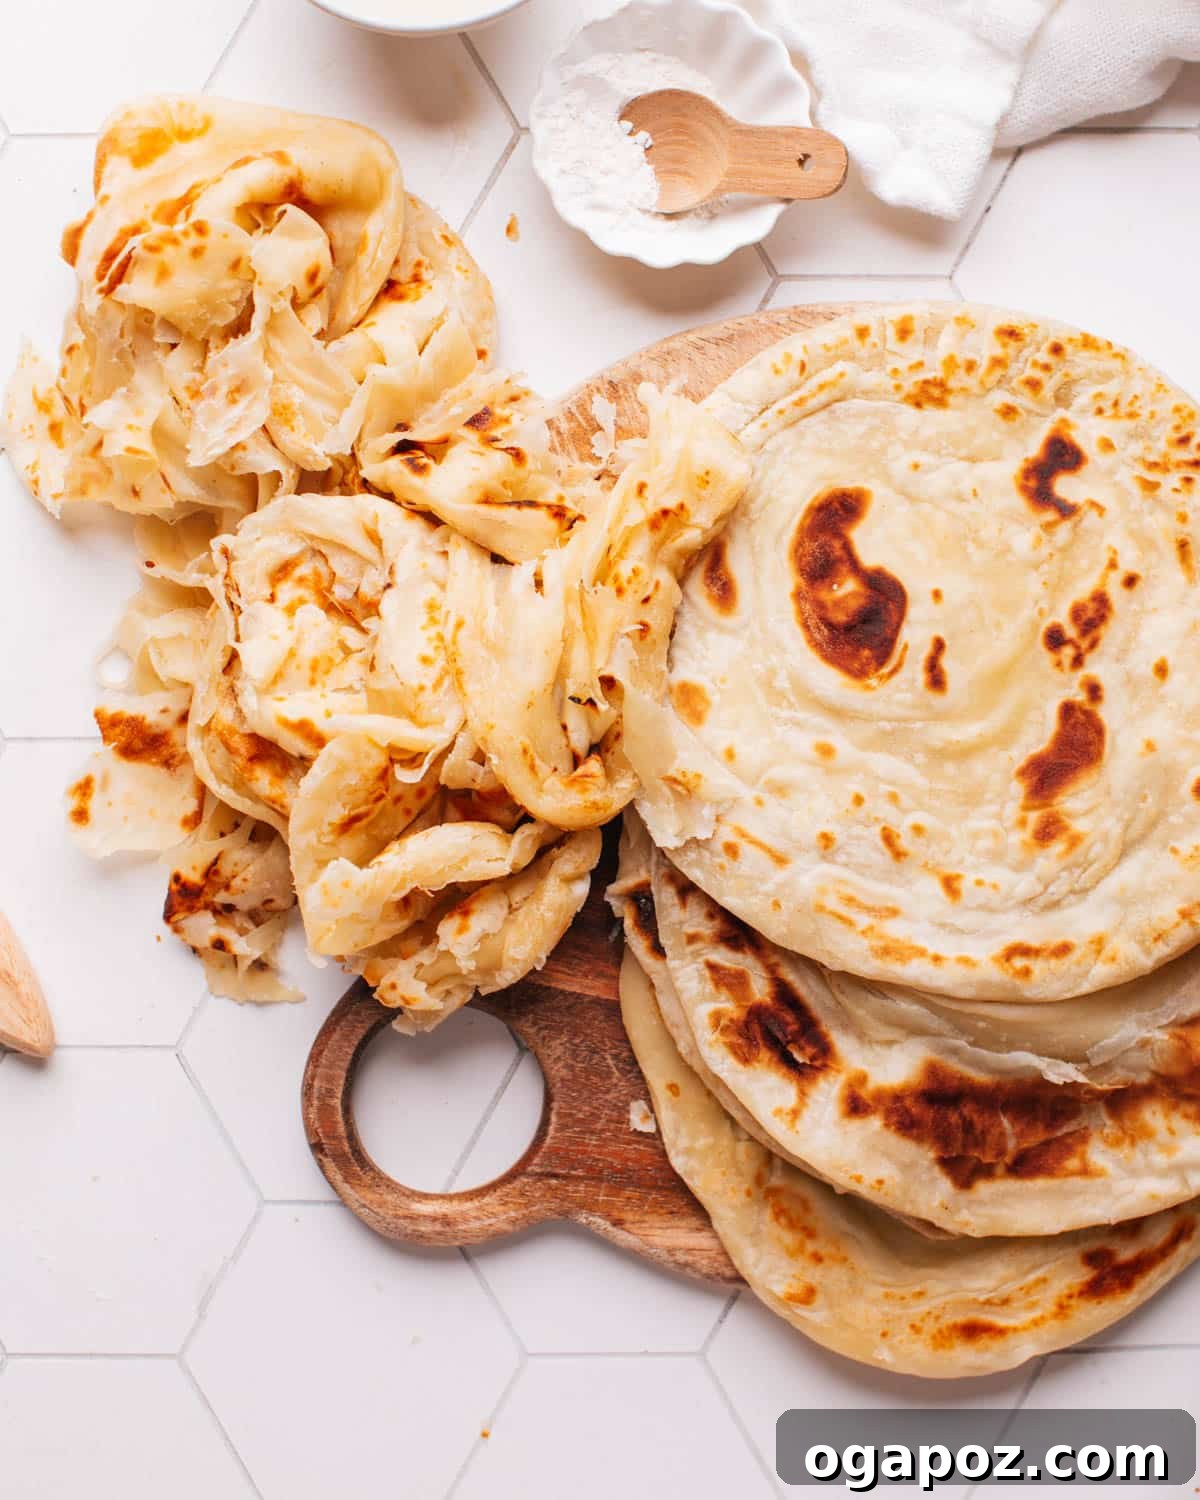
After nearly two decades of refining, I’m thrilled to share my perfected paratha recipe. This comprehensive, step-by-step guide empowers you to create effortlessly stretchy, incredibly soft, and irresistibly flaky parathas that pull apart into beautiful, distinct layers. Prepare to elevate your home cooking and meet your new favorite obsession!
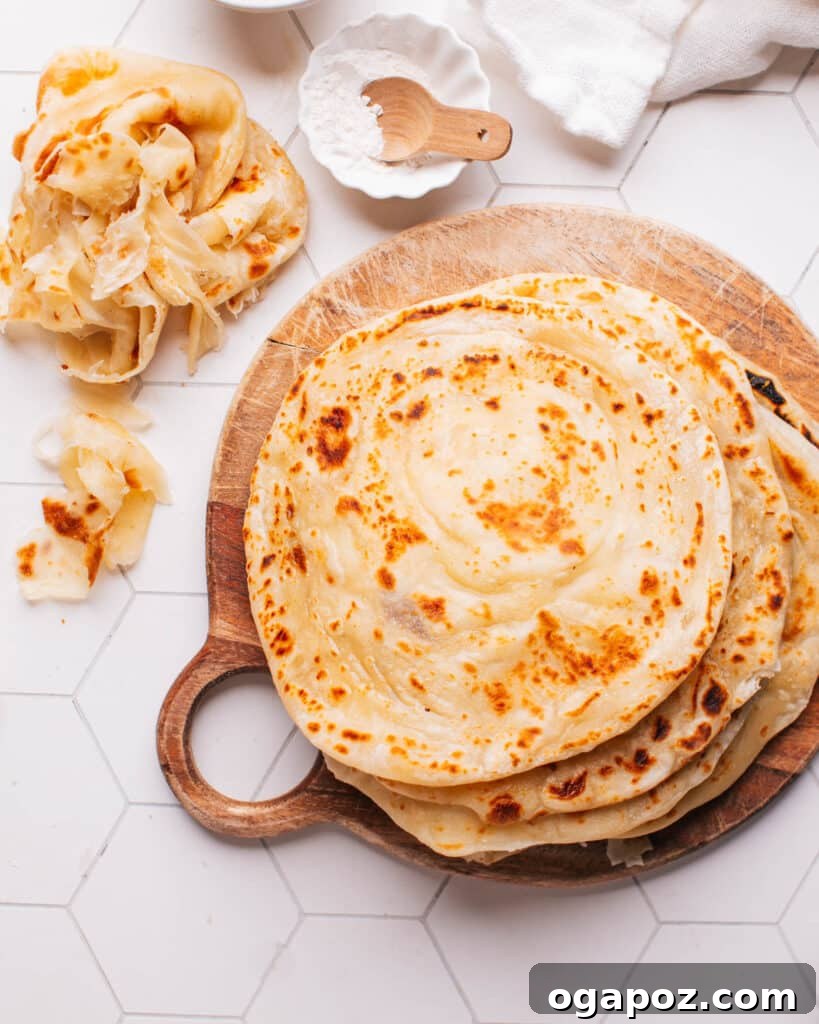
If I were forced to choose just one food to savor for the rest of my days, this exceptional paratha would undoubtedly be my top contender. There’s something truly magical about tearing into warm, buttery layers of this chewy Indian flatbread. Whether enjoyed on its own as a delightful snack or used to scoop up a rich, spicy curry, the experience is consistently satisfying and endlessly appealing.
Why This Paratha Recipe is Uniquely Easy and Foolproof
I stand firmly behind this recipe, confident that it will become a cherished staple in your kitchen. Just like my wildly popular naan recipe, this paratha method has undergone rigorous testing and countless iterations since its initial publication in 2009. I’ve explored a dozen variations – experimenting with different liquid ratios, the inclusion or exclusion of eggs or baking powder, and various cooking techniques (with or without a lid). My goal was always clear: to develop a dough that is not only simple to handle but consistently yields thin, tender parathas with unmistakable flaky layers and an exceptional depth of flavor.
While the process involves a few resting stages, the cumulative effort is genuinely worthwhile. The extraordinary results, characterized by a delightful texture and rich taste, will make you forget the time invested. For those new to the world of Indian flatbreads, understanding the fundamental differences is key. (You can delve deeper into the distinctions by reading Paratha vs Naan to appreciate what makes each unique!)
Understanding Paratha: A Beloved Indian Flatbread
At its heart, paratha is a diverse type of flatbread originating from the Indian subcontinent. While traditionally prepared with whole-wheat flour, often referred to as “atta,” its versatility allows for the use of various other flours. The dough typically combines flour, water, a fat such as oil or ghee (clarified butter), and sometimes a pinch of salt. After kneading, it’s rolled into a distinct shape – most commonly a circle, but often folded and coiled for layers – and cooked on a tava (a flat griddle) or a standard skillet.
Parathas offer a spectrum of culinary experiences, enjoyed in numerous forms:
- Plain Paratha: This is the most straightforward rendition. The dough is simply rolled out and cooked without any internal fillings, showcasing the pure flavor and texture of the bread itself.
- Stuffed Paratha: These are a hearty and popular choice, featuring a variety of savory fillings. Common options include spiced mashed potatoes (famously known as Aloo Paratha), crumbled paneer (Indian cheese), finely chopped gobi (cauliflower), fresh spinach, various lentils, or even seasoned minced meats.
- Layered Paratha (The Star of This Recipe!): Distinguished by its multiple, delicate layers, this style is achieved through a specific technique. The dough is brushed with melted butter or ghee, folded or coiled intricately, and then re-rolled. This layering process results in an incredibly flaky and tender flatbread. It boasts many regional names such as Kerala Parotta, Lachha Paratha, Roti Canai (in Southeast Asia), and Malabar Parotha, reflecting its widespread appeal and slight variations across different cultures.
- Spiced or Flavored Paratha: In this variation, spices or aromatic herbs like fenugreek leaves (methi) or carom seeds (ajwain) are directly incorporated into the dough mixture, infusing the flatbread with an extra dimension of flavor.
Parathas are customarily served hot and frequently grace breakfast tables across India, Pakistan, and Bangladesh. However, their versatility extends to any meal of the day. They are often accompanied by cooling yogurt (raita), tangy pickles, sweet or savory chutney, and are an indispensable partner to rich curries, such as succulent chicken or lamb vindaloo. The act of eating paratha is often a tactile pleasure, torn by hand and used to scoop up the accompanying dishes.
The Allure of Layered Paratha: A Culinary Journey Through Regional Delights
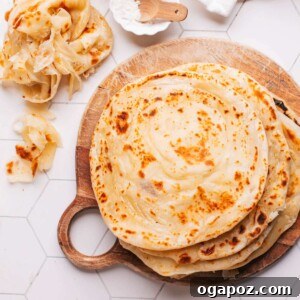
What sets layered paratha apart is its mesmerizing texture – a symphony of crisp edges and soft, chewy interiors, all thanks to its numerous, distinct layers. Across much of India, this specific style of layered flatbread is widely recognized as “Lachha Paratha.” The term “lachha” itself translates to “layers” in Hindi, perfectly describing these multi-layered delights. The characteristic flakiness is achieved through a meticulous folding technique of the dough, often involving brushing with fat and re-rolling, before it’s flattened for cooking. Once on the griddle, these hidden layers puff and separate, creating a delightful textural contrast that makes each bite a unique experience.
Kerala Parotta: A South Indian Icon
My husband hails from Kerala, a beautiful southern state in India, where this glorious layered flatbread is commonly known as Malabar Paratha or Kerala Parotta. (Indeed, this beloved bread boasts a multitude of names and spellings, a testament to its widespread popularity!) Southern India offers a million compelling reasons to visit: its people are incredibly warm, kind-hearted, and vibrantly cultural; the landscape is a breathtaking tropical paradise, complete with winding waterways and lush villages. Yet, even if these enchanting elements didn’t exist, I would still journey there for one singular pleasure: the exquisitely flaky, buttery parotta. It’s an experience best enjoyed without the formalities of plates or cutlery, often savored simply with a banana leaf and bare fingers, allowing for an utterly delightful and uninhibited indulgence.
A key distinction of Kerala Parotta from other layered parathas found across India is its primary ingredient: all-purpose flour (maida). This choice of flour contributes to a notably softer and more tender flatbread, which often sets it apart from its North Indian counterparts that might use whole wheat flour.
The essence of this layered flatbread transcends geographical borders, inspiring variations and earning new names:
Roti Canai: Malaysia and Indonesia’s Flaky Favorite
In the vibrant culinary scenes of Malaysia and Indonesia, a remarkably similar bread goes by the name of “Roti Canai.” This flaky, often crispy, flatbread is also crafted from all-purpose flour and is typically served alongside rich dhal (lentil curry) or various meat curries. The artisanal technique involved in its creation – featuring extensive folding and layering to achieve that signature flaky texture – closely mirrors the methods used for Kerala Parotta, highlighting a shared culinary heritage.
The Caribbean Connection: “Buss Up Shut” or “Paratha Roti” in Jamaica and Trinidad
Across the Caribbean, particularly in Trinidad and Tobago and Jamaica, a captivating variant is known as “Buss Up Shut” or “Paratha Roti.” This name, “Buss Up Shut,” evocatively describes the bread’s appearance: a torn-up, fluffy flatbread that strikingly resembles a “busted-up shirt.” It’s a staple often paired with hearty curries and stews, serving as a comforting and flavorful accompaniment that speaks to the rich cultural fusion in the region.
While each region, restaurant, or family may introduce subtle modifications in ingredients or preparation techniques, they all converge on the fundamental concept: a wonderfully flaky, layered flatbread that brings joy to tables worldwide.
The Game-Changing Secret Ingredient for Irresistibly Soft Paratha Dough
Through countless experiments and meticulous fine-tuning of this paratha recipe, one particular ingredient emerged as a true revelation, significantly enhancing both the dough’s workability and the final texture of the flatbreads. This culinary secret is none other than YOGURT!
I extensively tested this recipe using various liquids—milk, plain water, eggs, and finally, yogurt. Even without altering the liquid-to-flour ratio, the yogurt-infused dough was remarkably easier to manage and consistently produced the softest parathas. Here’s why yogurt works wonders:
- Gluten Modification for Tenderness: The natural acidity present in yogurt delicately weakens the gluten structure within the dough. Gluten, often considered the “muscle” of dough, provides strength but can also lead to toughness if overdeveloped. By gently tempering the gluten, yogurt contributes to a much more tender and pliable paratha, ensuring a pleasant chew rather than a tough bite.
- Enhanced Stretchiness and Reduced Stickiness: The acid in yogurt also imbues the dough with increased stretchiness while simultaneously reducing its inherent stickiness. This is an invaluable advantage, particularly when working with a high-liquid-ratio dough like paratha, making it far more manageable and enjoyable to roll out thinly without frustration.
- Preservation of Softness During Cooking: The proteins found in yogurt play a crucial role in slowing down the tightening of the gluten network as the dough cooks. This mechanism is key to achieving and maintaining that desired soft, tender final texture, preventing the paratha from becoming stiff or brittle once it leaves the heat.
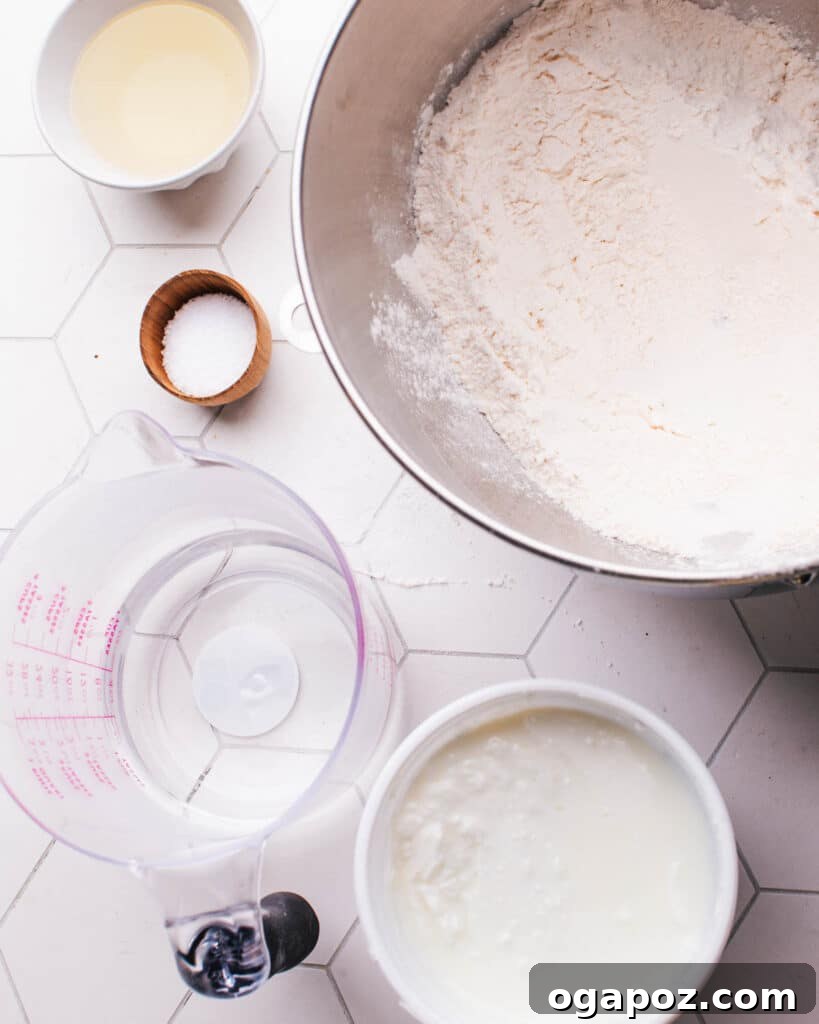
Essential Ingredients and Tools for Your Paratha Masterpiece
Embarking on your paratha-making journey requires a few key components. Gather these essentials to ensure a smooth and successful experience.
Core Paratha Ingredients
These are the fundamental building blocks for creating your delicious, flaky parathas:
- All-purpose Flour: This forms the primary base of our dough, contributing to its soft yet resilient structure, crucial for achieving those signature layers.
- Vegetable Oil: Incorporated into the dough, oil adds essential moisture and lubricity, making the dough pliable, elastic, and easier to work with. It also contributes to the paratha’s tender texture.
- Salt: A simple yet vital ingredient, salt enhances and balances the overall flavor of the paratha, preventing it from tasting bland.
- Warm Water: Used to hydrate the flour and bring the dough together, warm water helps activate the gluten more gently and promotes a smoother, more extensible dough.
- Yogurt: Our secret weapon! Yogurt is critical for its ability to tenderize the dough, enhance its stretchiness, and impart a subtle, delightful tanginess that elevates the paratha’s flavor profile.
- Melted Butter (or Ghee): Essential for brushing between the layers of dough, this fat is what creates the distinct flakiness and rich, buttery flavor that defines a perfect layered paratha.
Creative Variations and Smart Substitutions
Feel free to customize your parathas to suit your preferences or dietary needs:
- Flour Alternatives: While all-purpose flour yields the softest parathas, you can achieve a higher fiber option by replacing all or part of the all-purpose flour with whole wheat flour (atta). Be aware that whole wheat flour will result in a slightly denser texture and may require a little more liquid.
- Ghee for Richness: For an authentic, deeply aromatic, and richer flavor, consider using melted ghee (clarified butter) instead of regular melted butter when brushing the dough layers. Ghee adds a distinctive nutty note.
- Spice it Up: Infuse your parathas with extra flavor by incorporating spices directly into the dough. A pinch of ground cumin, carom seeds (ajwain), or even finely chopped fresh fenugreek leaves can add a wonderful aromatic dimension.
- Dairy-Free/Vegan Option: To make this recipe completely lactose-free and vegan, simply substitute the regular yogurt with a high-quality, plain dairy-free yogurt (such as almond or soy-based yogurt) and use a plant-based butter alternative for brushing the layers.
Indispensable Kitchen Tools
Having the right equipment at hand will make the paratha-making process significantly easier and more enjoyable:
- Stand Mixer (with Dough Hook): A stand mixer is invaluable for effortlessly kneading the dough to the perfect consistency, saving you time and arm strength. Alternatively, a food processor with a kneading attachment can work, or you can knead by hand.
- Bench Scraper or Sharp Knife: These tools are perfect for cleanly dividing the dough into equal portions, ensuring consistent paratha sizes.
- Rolling Pin: Essential for rolling out the dough thinly and evenly, a good rolling pin is crucial for creating those delicate layers.
- Cast-Iron Skillet or Nonstick Pan: A heavy-bottomed cast-iron skillet provides even heat distribution, which is ideal for cooking parathas to a beautiful golden brown with crispy edges. A good quality nonstick pan also works well.
- Pastry Brush: A brush is necessary for evenly applying melted butter or ghee to the dough layers, a critical step for achieving flakiness.
- Spatula: A sturdy, flat spatula is indispensable for flipping the parathas easily and safely while they cook on the griddle.
With these ingredients meticulously measured and your tools at the ready, you’ll find the art of making flawless parathas surprisingly approachable and incredibly rewarding.
Mastering Paratha: An Easy Step-By-Step Guide to Flaky Perfection
Crafting exquisite parathas at home doesn’t have to be an intimidating task. With this simple, detailed guide, you’ll be able to create soft, flavorful, and beautifully layered parathas with confidence. For a visual demonstration, make sure to scroll down and watch the full video tutorial embedded in the recipe card!
Step 1: Preparing the Paratha Dough
The foundation of a great paratha is its dough. Follow these steps for a perfectly pliable mix:
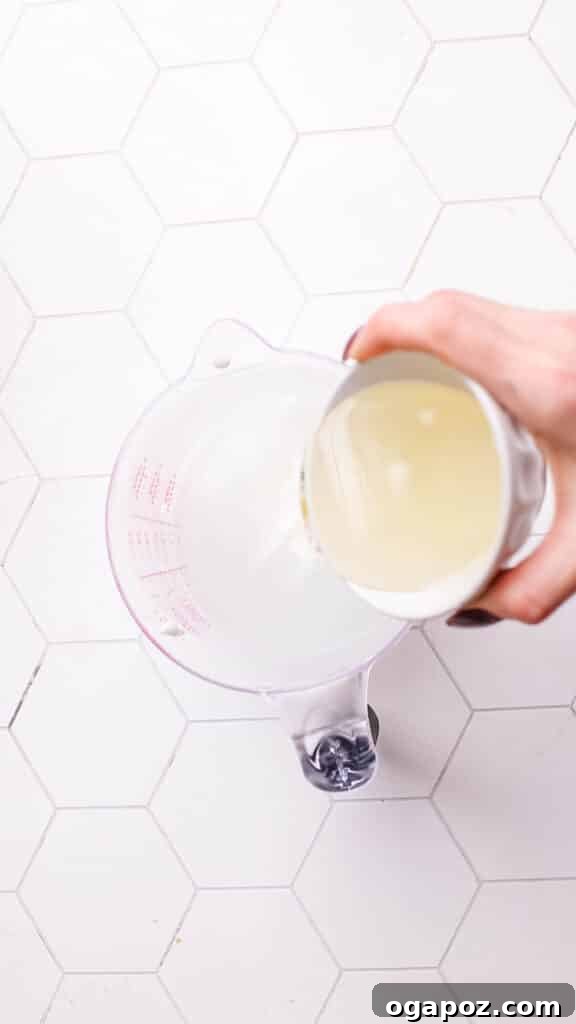
- Begin by assembling all your ingredients and tools. Place the all-purpose flour and salt into the bowl of your stand mixer. In a separate bowl, whisk together the warm water, yogurt, and vegetable oil.
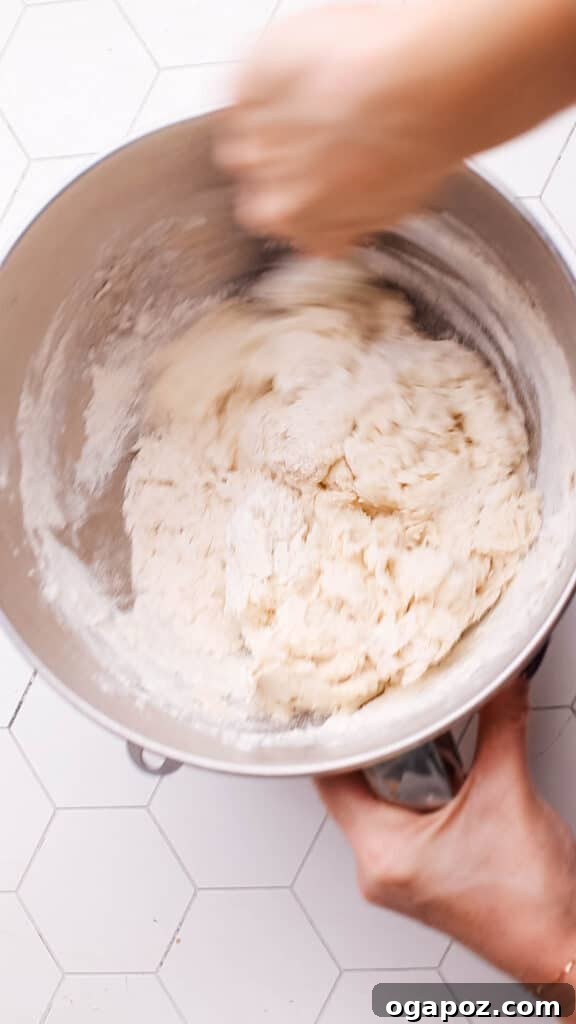
- Pour the wet mixture into the dry ingredients in the stand mixer bowl. Using your hand or a sturdy spoon, stir everything together until a shaggy, somewhat loose dough forms. Don’t worry if it looks a bit messy at this stage.
- Attach the dough hook to your stand mixer and knead the dough on medium-low speed for approximately 3 minutes. The dough will feel sticky, which is exactly the desired consistency. To handle it more easily, lightly wet your hands before removing the dough from the mixer bowl. (If you’re kneading by hand, continue for 5-7 minutes until the dough becomes smooth and elastic.)
Step 2: Dividing and Resting the Dough for Optimal Texture
Resting is crucial for relaxing the gluten, making the dough easier to roll and ensuring a softer final product:
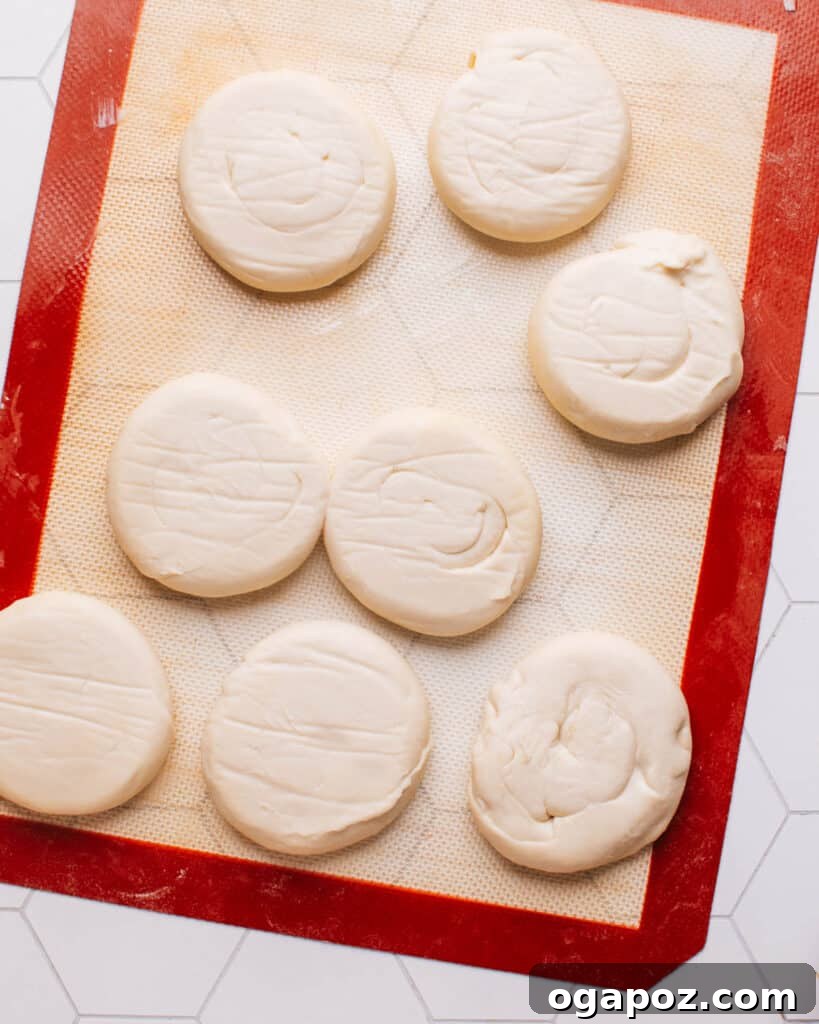
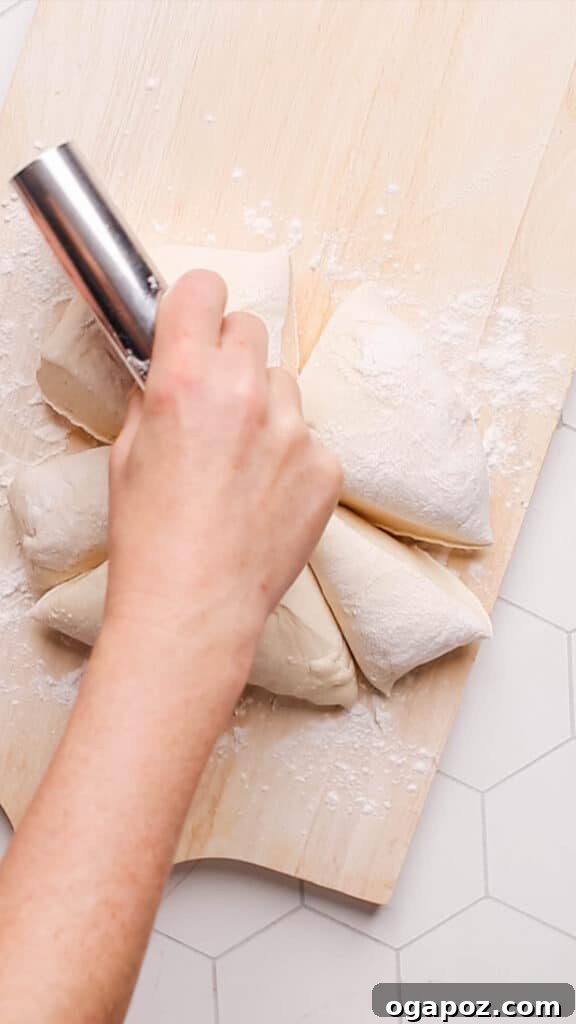
- Lightly oil your hands and a bench scraper or knife. Carefully divide the sticky dough into 8 equal portions. These portions will be individual parathas.
- Arrange the dough pieces on a lightly oiled surface, cover them with a damp kitchen towel, and allow them to rest undisturbed for at least one hour. This resting period is essential; it allows the gluten to relax, making the dough exceptionally pliable and enabling you to roll out thin, soft, and beautifully layered flatbreads.
Step 3: Shaping the Dough for Signature Layers
This is where the magic of layering truly begins:
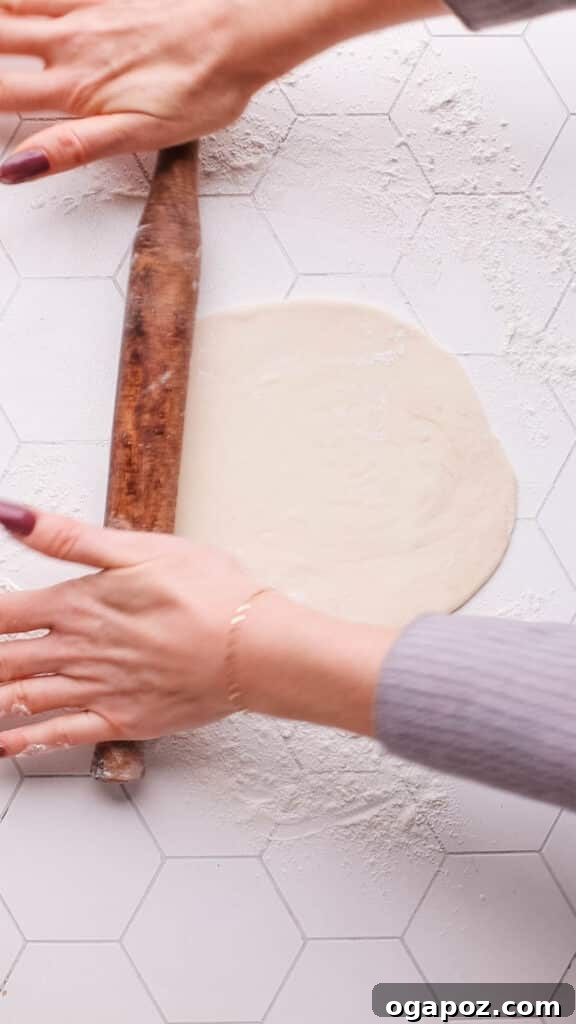
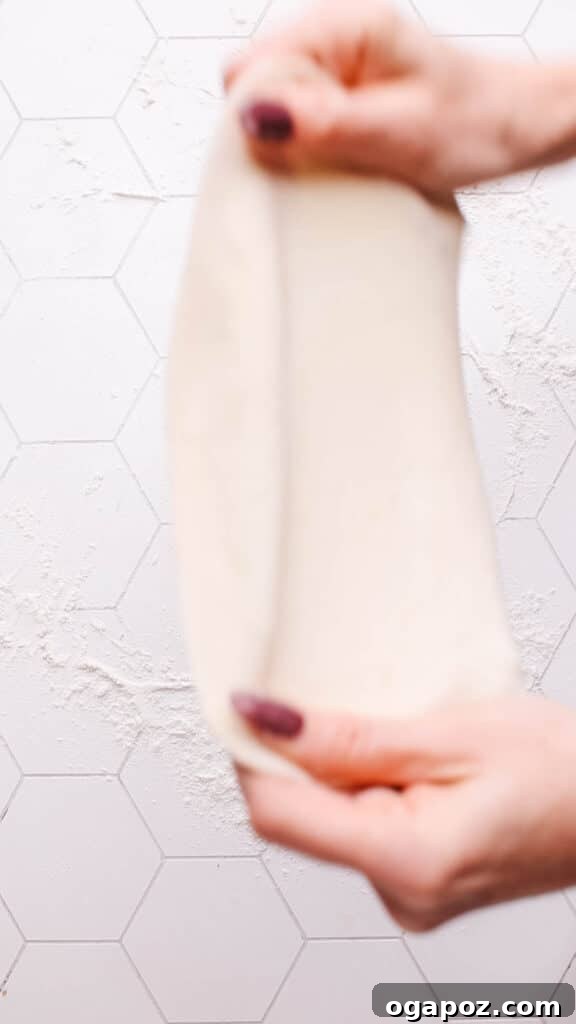
- On a lightly floured work surface, take one piece of dough and roll it out as thinly as possible. Don’t be concerned about achieving a perfect circle at this stage; focus on thinness. You can even use your hands to gently pull and stretch the dough further, similar to how you would stretch pizza dough. The thinner the dough, the more layers your paratha will have.
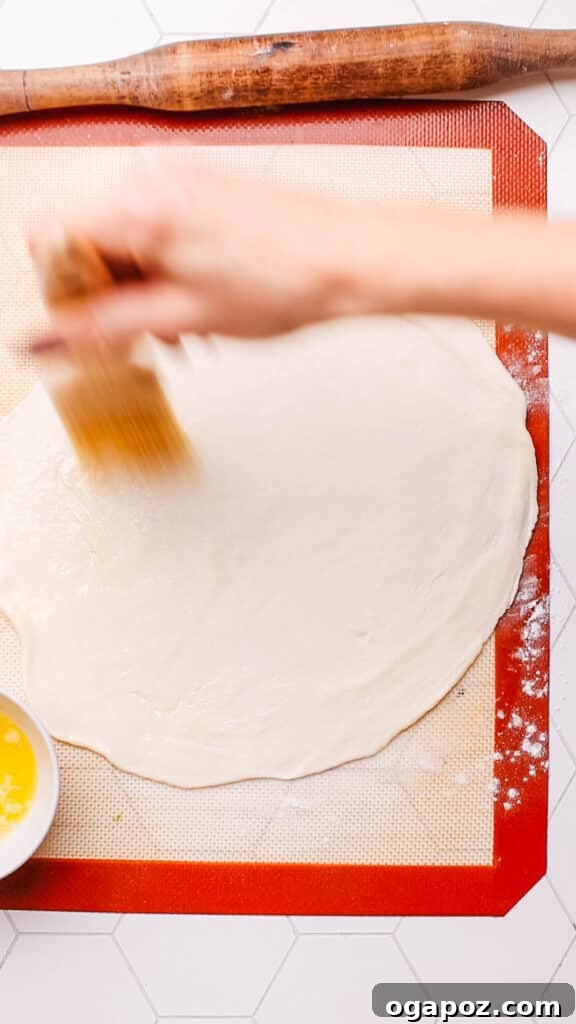
- Generously brush the entire surface of this flattened dough with melted butter (or ghee). This fat is crucial for creating the separation and flakiness between layers.
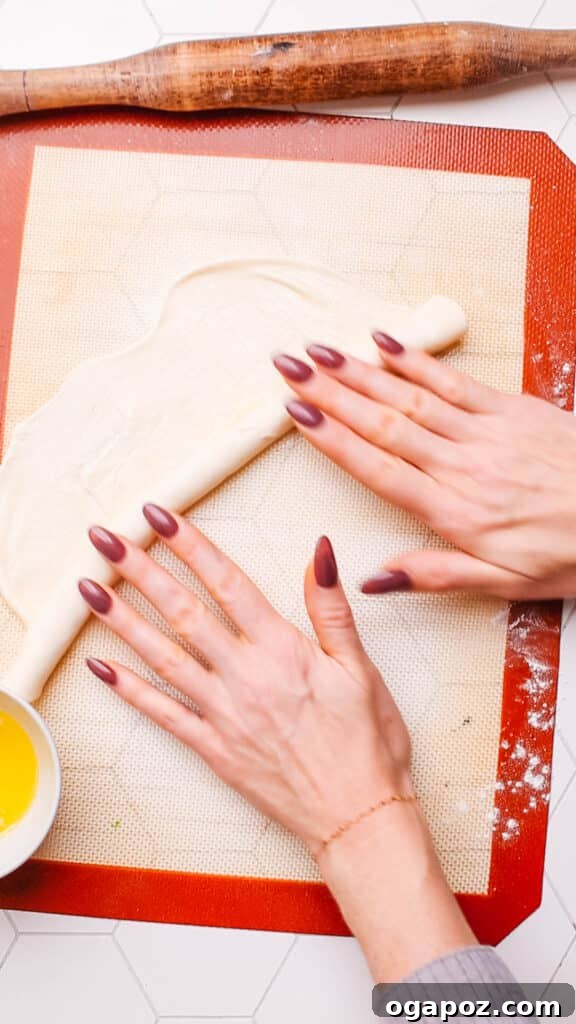
- Carefully roll the buttered dough up from one of its long edges, creating a tight, long rope-like shape, much like you would roll cinnamon buns.
Step 4: Coiling and a Second Essential Rest
The final shape before cooking, and another rest, are vital for layering:
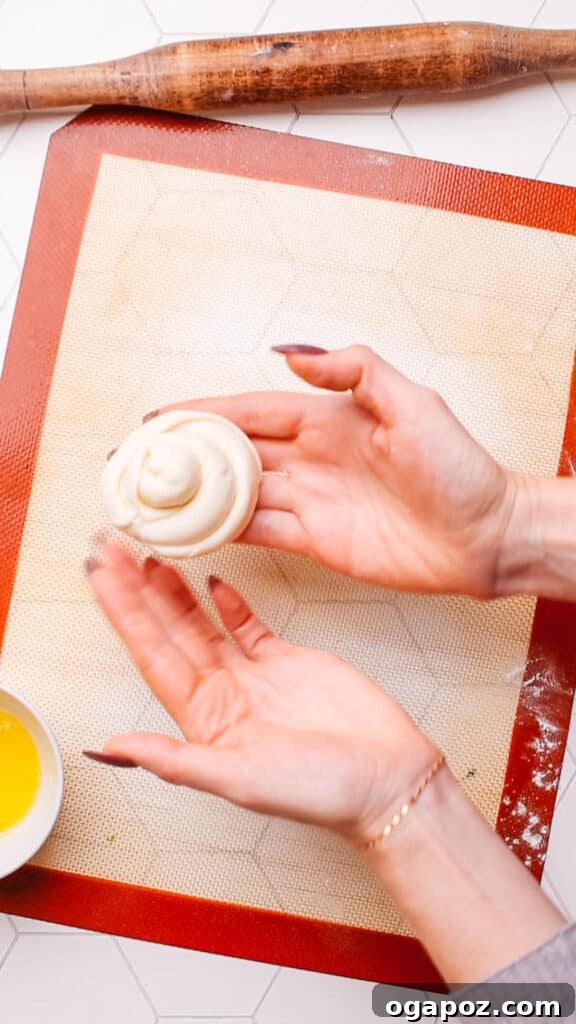
- Take the long rope of dough and gently twist it. Then, coil this twisted rope into a tight spiral, resembling a snail’s shell. Pinch the end firmly to secure it.
- Lightly flatten the coiled dough with the palm of your hand. Place it back on your oiled surface, cover with the damp towel, and let it rest for another hour. This second rest allows the dough to relax fully, making it much easier to roll out into the final paratha shape without resistance. This coiled dough can also be prepared in advance and stored in the refrigerator for up to 48 hours; just ensure it returns to room temperature before cooking.
Step 5: Cooking Your Flaky Paratha to Perfection
The heat and technique used here are key to golden, puffed parathas:
- Preheat your cast-iron skillet or heavy-bottomed pan over medium-high heat for about 5 minutes until it’s evenly hot.
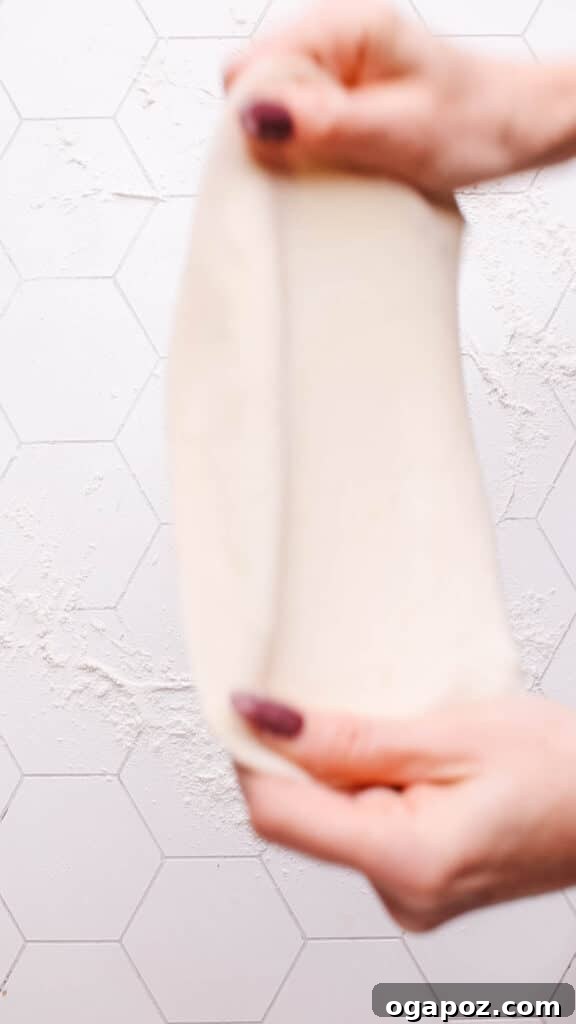
- Meanwhile, on a lightly floured surface, take one coiled piece of dough and roll it out as thinly as possible into a circle. Give it a final, gentle stretch with your hands just before placing it in the hot skillet.
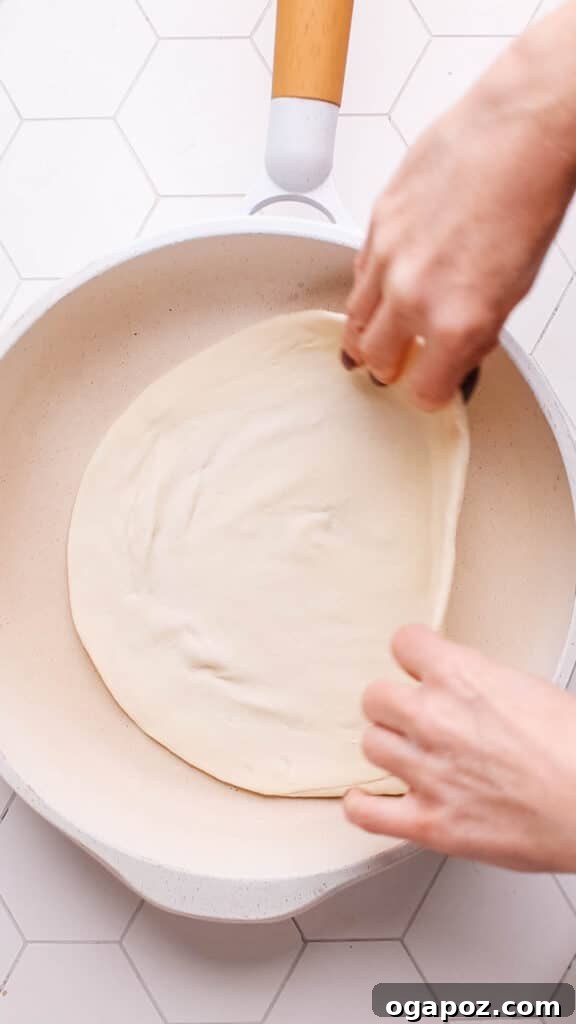
- Place the rolled paratha into the preheated skillet. Cook for 30-60 seconds on the first side until you see beautiful golden-brown spots forming. Flip the paratha. Continue flipping every 20 seconds or so, gently pressing down on the edges with your spatula. This frequent flipping and pressing encourages the paratha to puff up in spots, indicating the layers are separating beautifully and cooking evenly.
Step 6: Separating the Layers for the Ultimate Flaky Texture
This final step ensures your paratha is wonderfully layered and ready to enjoy:
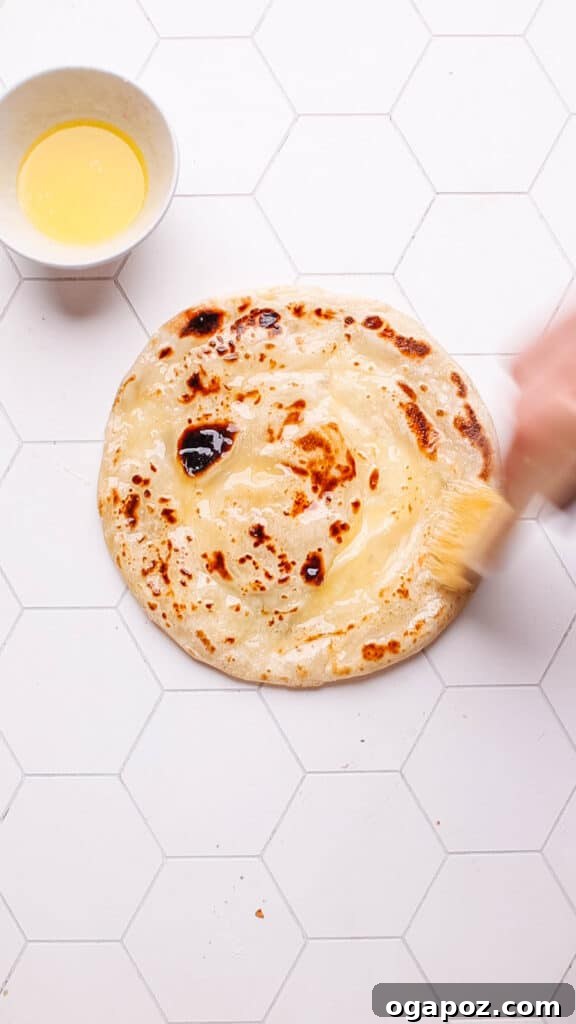
- Once cooked, immediately transfer the hot paratha from the skillet to a cutting board. Promptly brush it with a little more melted butter; this not only adds flavor but also helps keep the paratha soft and pliable.
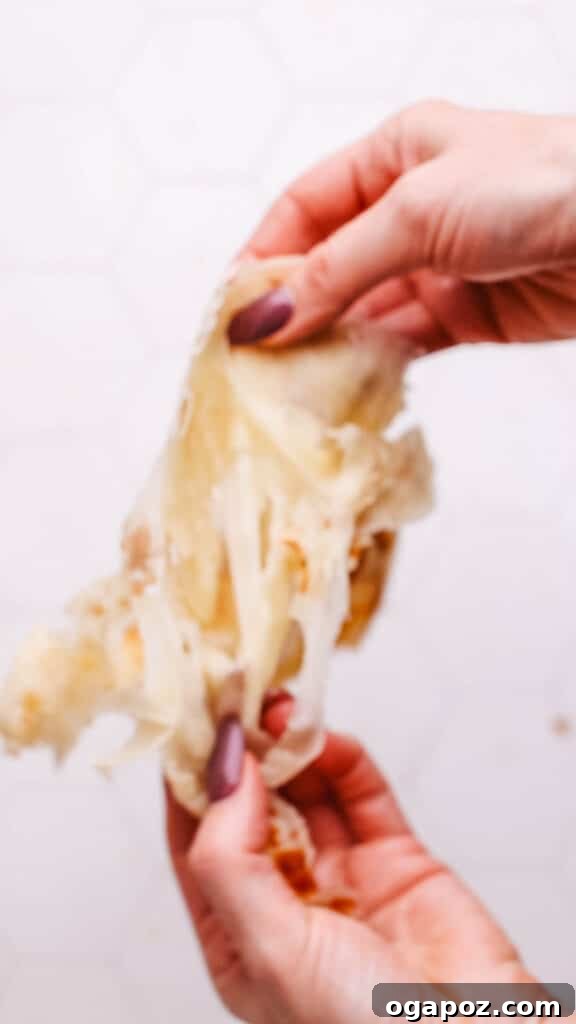
- While the paratha is still very warm (but cool enough to handle safely), gently scrunch it up between your hands. This action helps to “break” the internal layers, allowing them to separate and become more distinct, creating that signature flaky texture.
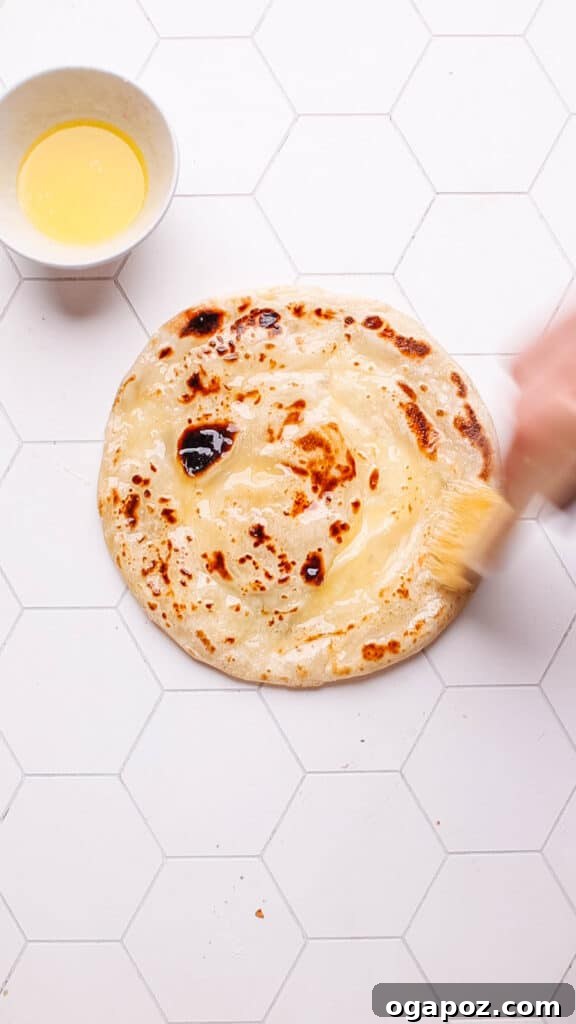
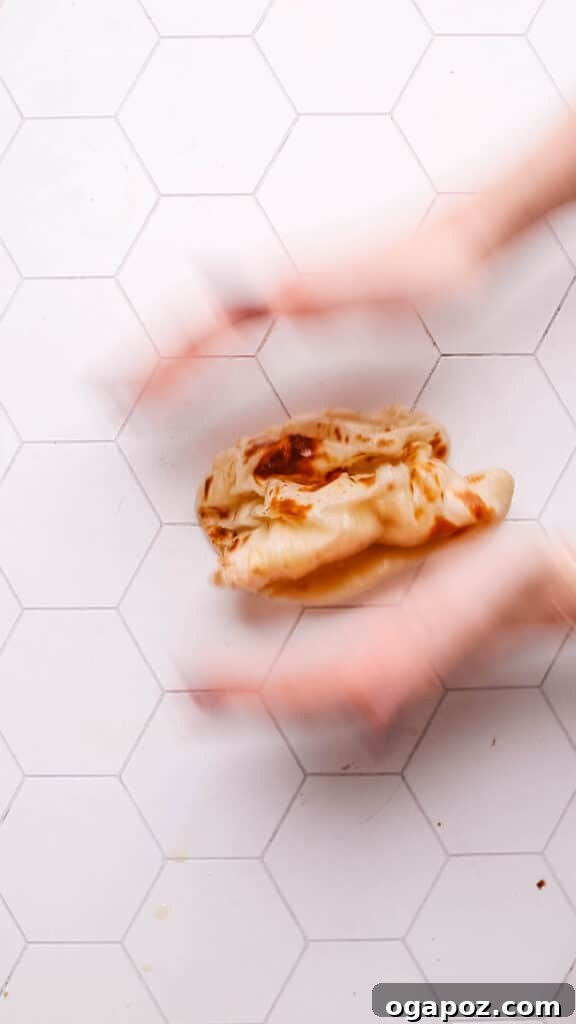
And there you have it! With these detailed steps, you are now equipped to create remarkably soft, flavorful, and perfectly flaky parathas right in the comfort of your own kitchen. Enjoy the fruits of your labor!
Serving Suggestions: Elevating Your Paratha Experience
Serving paratha is wonderfully straightforward, yet the possibilities for pairing and enjoyment are virtually limitless. Its versatile nature makes it a perfect accompaniment to a wide range of dishes.
Ways to Serve Paratha:
- Classic Enjoyment: Savor your paratha simply on its own, appreciating its buttery, flaky goodness. Enhance the experience with a side of cooling plain yogurt, a dollop of rich ghee, or a tangy Indian pickle for an authentic touch.
- Curry Companion: Parathas are the quintessential partner for various Indian curries. Their sturdy yet soft texture makes them ideal for scooping up rich gravies and flavorful sauces, absorbing every nuance of the dish.
- A Hearty Breakfast Twist: Reimagine your morning meal by serving paratha alongside scrambled eggs or a fried egg. This combination offers a delightful Indian-inspired twist on a classic breakfast.
- Versatile Wrap: Utilize paratha as a delicious and sturdy wrap. Fill it with grilled meats, marinated vegetables, or even a simple paneer scramble for a quick, satisfying meal or snack on the go.
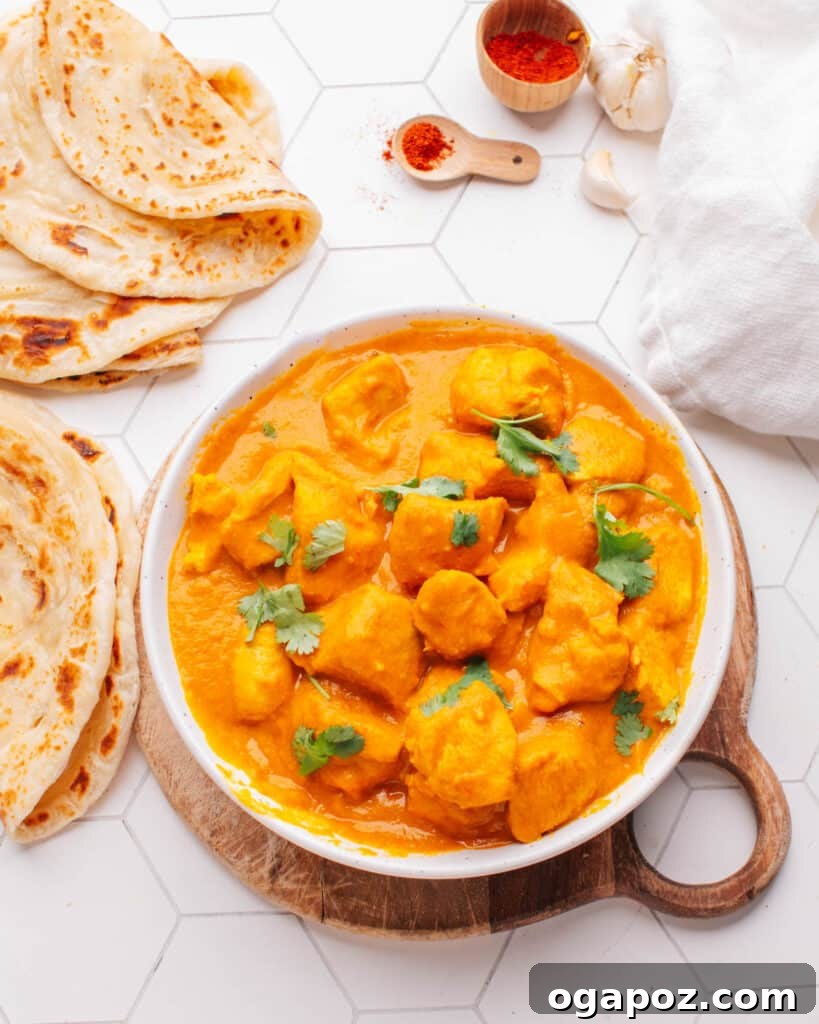
Perfect Pairings: Dishes to Serve with Paratha
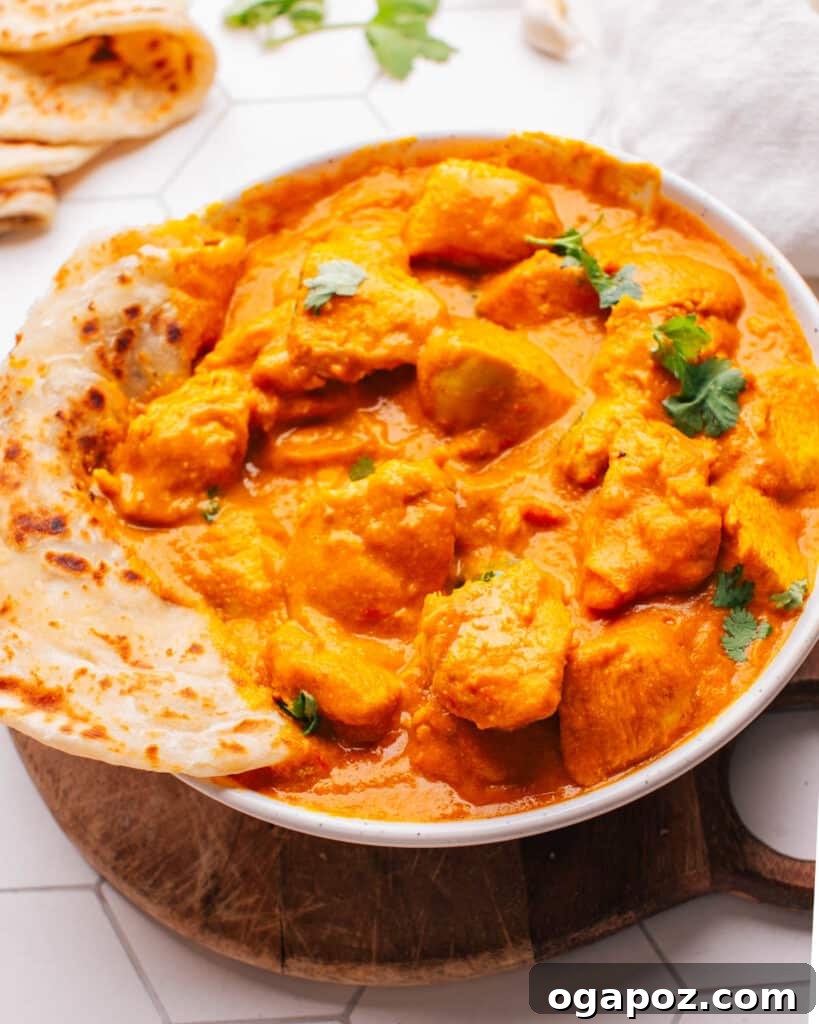
- Rich Curries: Almost any Indian curry finds its ideal match in paratha. I highly recommend pairing it with my almost-famous Butter Chicken, the creamy and delicate Chicken Korma, or for a delightful vegetarian option, the exquisite Malai Kofta.
- Comforting Dal: A simple, flavorful lentil stew or dal is another excellent and nourishing side dish. Explore my favorite Madras Lentils or my Amma’s special Masoor Dal for a truly comforting meal.
- Cooling Raita: This refreshing yogurt-based side dish provides a wonderful cooling contrast, perfectly balancing the warmth and spice of an Indian meal. My father-in-law’s chunky yogurt and cucumber salad (raita) is an absolute must-try!
Make Ahead and Storage Solutions for Your Parathas
Properly storing your parathas ensures that you can enjoy this delicious Indian flatbread even on your busiest days. Planning ahead can save you time and effort.
- Make-Ahead Dough: One of the greatest advantages of this recipe is the ability to prepare the coiled dough in advance. You can store the shaped, coiled dough pieces in an airtight container or wrapped tightly in plastic wrap in the refrigerator for up to 48 hours. Before you begin cooking, it’s crucial to let the dough come to room temperature for about 30-60 minutes; this relaxes the gluten and makes it easier to roll out thinly.
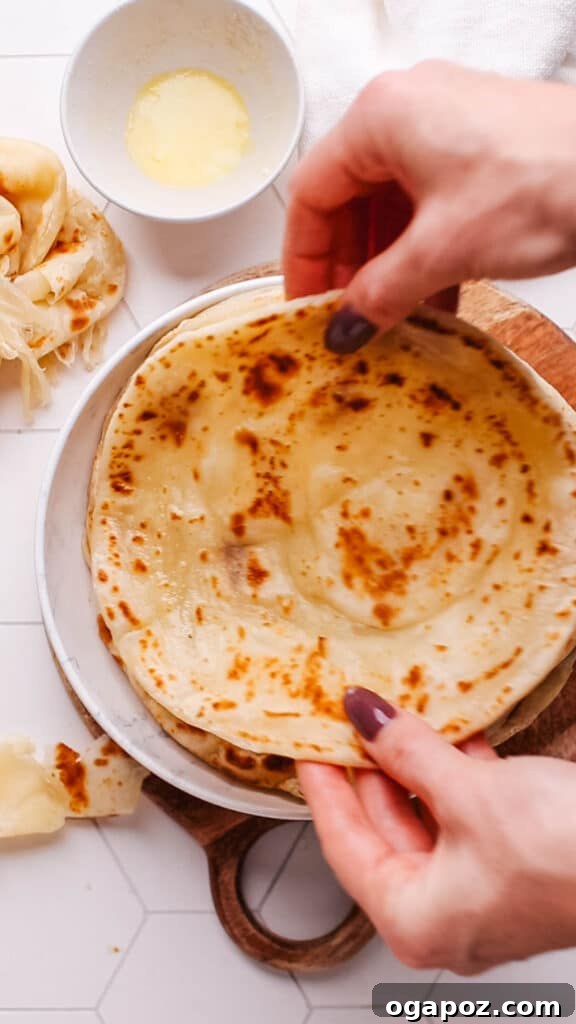
- Storing Cooked Paratha: For best results, cooked parathas should be enjoyed fresh on the day they are made, as their delicate flakiness is at its peak. However, if you have leftovers, store them in an airtight zipper bag at room temperature for 1-2 days.
- Freezing Cooked Paratha: Parathas freeze remarkably well, making them an excellent meal-prep option. After cooking, allow the parathas to cool completely to prevent condensation. Stack them with parchment paper in between, then wrap the stack tightly in aluminum foil and place them in a heavy-duty freezer-safe bag. They can be frozen for up to 2 months without compromising quality.
- Reheating Frozen Paratha: To reheat frozen parathas, simply place them directly from the freezer onto a preheated skillet over low to medium-low heat. Cook for a few minutes on each side, flipping frequently, until they are warm throughout, soft, and slightly crispy again. This gentle reheating method helps restore their texture.
- Important Note: Avoid Refrigerating Cooked Parathas: Unlike the uncooked dough, cooked parathas tend to become stiff and tough if refrigerated. The starches in the flour firm up significantly when chilled, making the texture undesirable. It’s best to either enjoy them fresh or freeze them if you plan to store them for more than a day.
By following these storage guidelines, you’ll always have delicious, homemade paratha ready to complement your meals!
Avoid These 5 Common Mistakes for Perfect Paratha Every Time
Even with a straightforward recipe, certain pitfalls can prevent your parathas from reaching their full potential. Being aware of these common mistakes will help you achieve consistently excellent results:
- Using Cold Water for Dough: Always opt for warm water when kneading your paratha dough. Cold water can tighten the gluten, making the dough less pliable and ultimately resulting in a tougher paratha. Warm water helps create a softer, more extensible dough that’s easier to work with.
- Skipping Essential Rest Times: The resting periods for both the initial dough and the shaped, coiled dough are non-negotiable. Skipping these crucial steps will make the dough difficult to roll out thinly without it snapping back, leading to thick, dense parathas instead of soft, flaky ones. Patience is key to relaxing the gluten structure.
- Over-Kneading the Dough: While kneading is necessary to develop gluten, over-kneading, especially with all-purpose flour, can make the dough excessively elastic and tough. This resistance will make it challenging to roll out thinly, affecting the final texture of your paratha. Stick to the recommended kneading times.
- Cooking on Excessively High Heat: Cooking parathas on a skillet that’s too hot will cause them to burn on the outside before the interior layers have a chance to cook through and separate. This results in a charred exterior and a doughy, uncooked center. Maintain a medium-high heat for even cooking and beautiful browning.
- Inconsistent Dough Thickness During Rolling: Unevenly rolled dough pieces will lead to unevenly cooked parathas. Thicker spots will remain doughy, while thinner areas might become overly crispy or burn. Strive for consistent thickness across the entire surface of each paratha to ensure uniform cooking and a perfectly balanced texture.
Unlock the Secrets to the Best Paratha: Final Notes for Perfection
To truly master the art of paratha-making and ensure every batch is as exceptional as the last, keep these crucial takeaways and insider tips in mind:
- Embrace the Rest: The Ultimate Tenderizer: Remember that resting the dough is not merely a suggestion—it’s the cornerstone of achieving soft, pliable, and easy-to-roll dough. These resting periods allow the gluten to fully relax, resulting in a noticeably softer, more tender, and less resistant final paratha. Don’t rush this step!
- Thin is In: Maximize Your Layers: When rolling out the initial dough pieces and the final coiled dough, strive for maximum thinness. The thinner you can roll the dough, the more distinct and numerous the internal layers will become. This is the secret to that coveted, delicate flakiness that defines a superior paratha.
- Press and Puff: The Cooking Dynamics: During the cooking process, gently pressing the edges of the paratha with a spatula is a technique that encourages it to puff up in various spots. This puffing indicates that the layers are separating beautifully due to steam, ensuring the interior cooks thoroughly and contributes to that light, airy texture within the flaky exterior. Frequent flipping also promotes even cooking and puffing.
- Immediate Layer Separation: The act of scrunching the hot paratha right off the skillet is critical. The residual steam trapped within the layers is what helps them separate easily. If you wait too long, the steam dissipates, and the starches can set, making the layers stick together. Scrunch them as soon as you can handle them without burning yourself!
Frequently Asked Questions About Paratha
For those quickly seeking answers, here are some common questions about paratha, clarified:
Is paratha the same as naan?
No, paratha and naan are distinct Indian flatbreads. Paratha is traditionally made from whole-wheat flour (or all-purpose flour in some regions like Kerala) and is unleavened, meaning it doesn’t use yeast. Naan, on the other hand, is typically made from white flour and is a yeast-leavened bread, traditionally cooked in a tandoor oven.
How is paratha eaten?
Paratha is primarily enjoyed as a versatile side dish, serving as the perfect accompaniment to various Indian curries, savory meats, or vegetable preparations. It can also be stuffed with a range of flavorful fillings like spiced potatoes (aloo paratha) or spinach. It is most commonly eaten by hand, where pieces are torn off and used to scoop up the accompanying dishes.
What is the difference between Parotta and paratha?
While often used interchangeably or to describe similar flatbreads, there’s a regional distinction. Parotta (or Porotta) specifically refers to the layered flatbread popular in South India, particularly Kerala, and is typically made with all-purpose flour (maida). The term “paratha” is a broader term encompassing various unleavened flatbreads from the Indian subcontinent, often made with whole-wheat flour and can be plain, layered, or stuffed.
What is plain paratha made of?
A plain paratha typically consists of basic ingredients: whole-wheat flour (atta), water, salt, and a type of fat such as oil or ghee, which is often brushed on during rolling or cooking.
What does paratha taste like?
Paratha offers a delightful combination of textures and flavors. It has a soft, slightly chewy interior complemented by wonderfully crispy and flaky edges. The flavor is subtle and savory, often with a rich, buttery undertone, which can be further enhanced by added spices or savory fillings.
What do you use paratha for?
Paratha is incredibly versatile. It serves as an excellent vehicle for scooping up curries, stews, and lentil dishes. It can also be used as a wrap for various fillings, from grilled paneer and vegetables to scrambled eggs or seasoned meats, making it suitable for any meal of the day.
What is the most popular paratha?
Among the many delicious variations, Aloo Paratha, which is stuffed with a savory and spiced mashed potato filling, is widely considered one of the most popular and beloved parathas across India.
Is paratha and parotta the same?
As explained above, they are similar but often refer to regional variations. “Paratha” is a general term for unleavened flatbreads, often North Indian and whole-wheat based. “Parotta” (or Kerala Parotta/Malabar Paratha) specifically refers to the layered, flaky flatbread from South India, typically made with all-purpose flour.
What is Kerala parotta made of?
Kerala Parotta is primarily made from all-purpose flour (maida), often includes eggs for added richness and tenderness, and is prepared with ghee or oil to create its distinctive layers.
Is Kerala paratha and Malabar paratha the same?
Yes, Kerala Paratha and Malabar Paratha are indeed different names for the same iconic layered flatbread, widely popular and enjoyed throughout the Malabar region of Kerala in South India.
What is the name of paratha in Kerala?
In Kerala, this particular type of layered flatbread is most commonly known as Parotta or Malabar Paratha.
Explore More: My Indian Husband’s Favorite Recipes
Inspired by the rich flavors of Indian cuisine? Here are some of Adarsh’s cherished recipes, perfect additions to your culinary repertoire:
- The Chicken Korma that he claims will truly change your life with its creamy, delicate flavors.
- Our softest homemade Roti recipe, guaranteed to puff up beautifully every single time.
- The Best-Ever Creamy Butter Chicken – consistently one of the most popular recipes on the entire website!
- An Easy Homemade Butter Paneer, offering a delightful vegetarian alternative to the classic butter chicken.
- Our vibrant Saag Paneer, a truly delicious way to enjoy a substantial amount of fresh spinach.
- A trio of flaky homemade delights: savory Potato Samosas, flavorful Chicken Samosas, and our innovative Samosa Pie (yes, we truly adore samosas!).
- The Butter Naan Recipe that achieved widespread virality for its perfect texture and taste.
- Creamy Madras Lentils, the ultimate vegetarian comfort food, packed with flavor.
- Amma’s special and authentic Masoor Dal recipe, a staple in our home.
- Exquisite Malai Kofta – tender paneer and potato balls simmered in a rich, creamy tomato sauce. It’s my absolute favorite dish to order at an Indian restaurant, and even better when made fresh at home!
- Authentic Indian Chai, teaching you how to prepare this beloved spiced tea the traditional Indian way.
Paratha Recipe (Perfected!)
Video
Ingredients
- 4 cups all-purpose flour
- 1 cup warm water
- ½ cup yogurt
- 6 tbsp vegetable oil
- 2 ½ tsp kosher salt
- 4 tbsp melted butter
Instructions
Prepare the Dough
-
Stir together the flour and salt in the bowl of a stand mixer.
-
In a separate bowl, stir together the water, yogurt and oil. Add this mixture to the flour and stir by hand to combine and form a shaggy dough.
-
Attach the dough hook and knead the dough in the stand mixer for 3 minutes. Don’t worry if the dough is sticky; this is normal. Wet your hands slightly to make it easier to handle the dough, then remove it from the mixer.(Alternatively, you can knead the dough by hand for 5-7 minutes until smooth.)
Divide and Rest the Dough
-
Lightly oil a bench scraper or knife, then divide the sticky dough into 8 equal portions. Cover the dough pieces with a cloth and let them rest for an hour.
Roll and Shape the Dough
-
Flour your work surface and roll out a piece of dough thinly, not worrying too much about its shape.
-
Brush the rolled-out dough with melted butter and roll it up from one of the long edges.
-
Stretch and twist the rolled-up dough to create a long, skinny rope-like shape.
Coil and Rest Again
-
Coil this rope into a snail shape, pinching the end to secure it. Flatten it slightly and let it rest for another hour. Optionally, you can refrigerate it for up to 48 hours, but remember to bring it back to room temperature before proceeding.
Cook the Paratha
-
Flour your surface once more and roll out one of the coiled dough pieces until thin. Use your hands to stretch gently the paratha thinner.
-
Preheat a cast-iron skillet over medium-high heat for about 5 minutes.Place a rolled-out piece of dough in the hot skillet. Flip the dough when the first golden spots appear on the underside (30-60 seconds). Continue flipping every 20 seconds, pressing gently with a spatula to encourage the paratha to puff up in spots.Frequent flipping of the paratha really helps make them puff!
Separate the Layers
-
Remove the cooked paratha from the skillet and place it on a cutting board. While still warm, scrunch up the paratha slightly to help the layers separate and become more visible.
Notes
Nutrition
Nutrition information is automatically calculated, so should only be used as an approximation.
Tried this recipe? Leave a comment!