
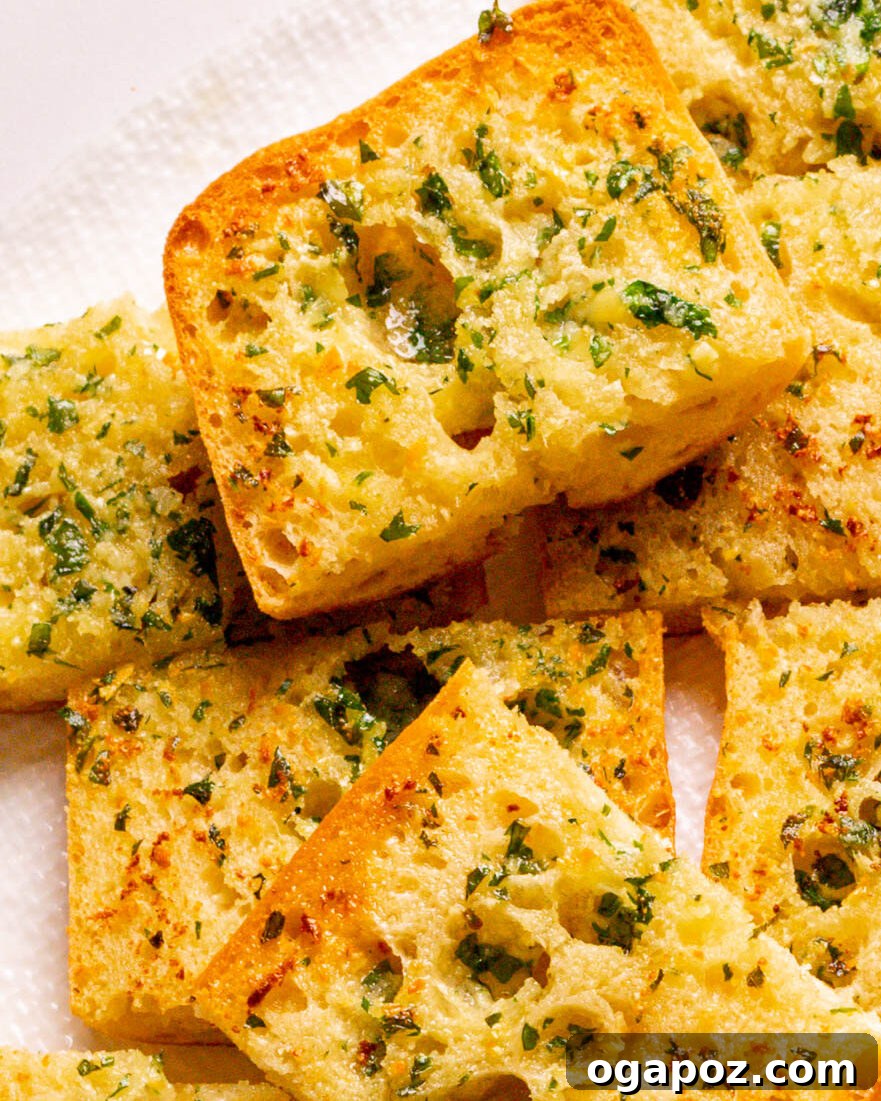
Welcome to the ultimate guide for crafting homemade garlic bread that’s not just good, but truly extraordinary. As a dedicated food scientist, I’ve refined this recipe to deliver a buttery, intensely garlicky experience with perfect crispy edges and a delightfully soft interior. Forget bland, store-bought versions; this is how you achieve restaurant-quality garlic bread right in your own kitchen.
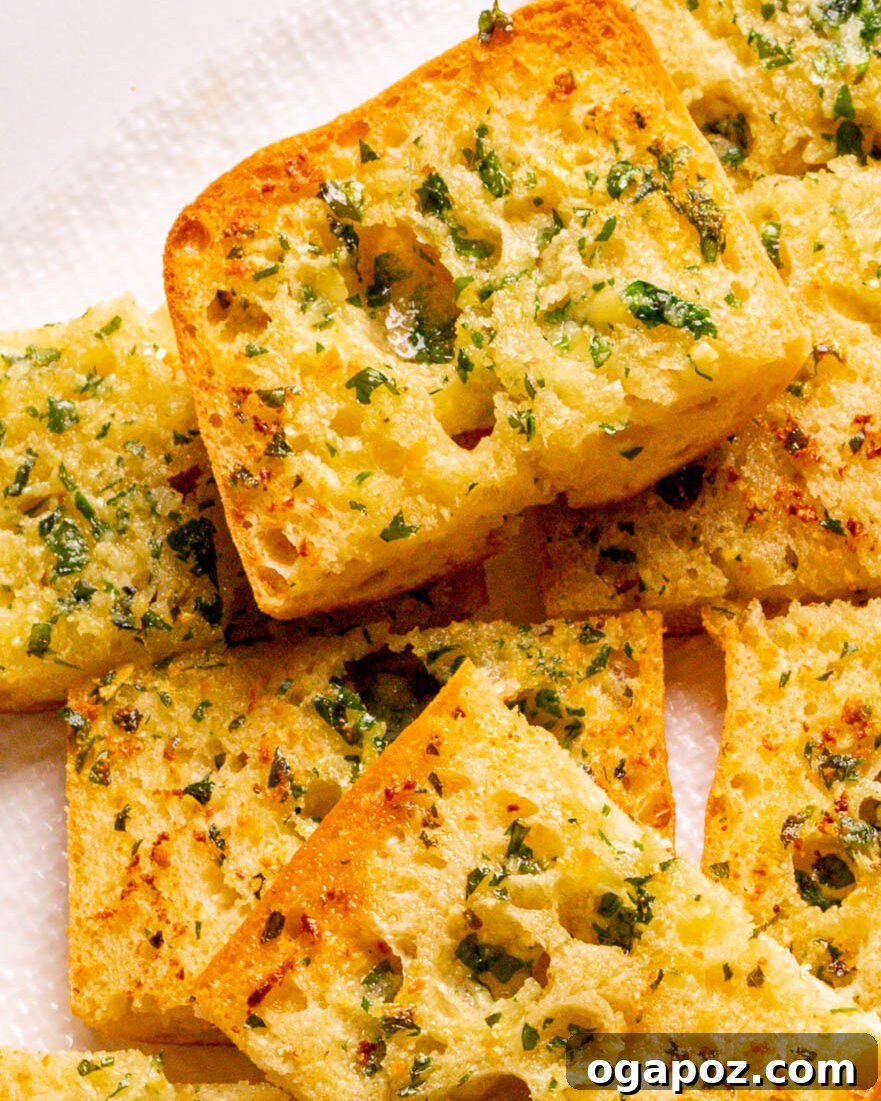
There’s nothing quite like the aroma of freshly baked garlic bread filling your home. This recipe isn’t just about mixing butter and garlic; it’s about understanding the nuances that elevate a simple side dish into a star. I’ll share expert tips, rooted in my food science background, to ensure every bite is bursting with rich flavor and an irresistible texture. This recipe is:
- Quick and Easy: Requires less than a handful of common ingredients, making it perfect for weeknight dinners or last-minute gatherings.
- Customizable Indulgence: Easily add gooey mozzarella cheese for an extra layer of richness, transforming it into cheesy garlic bread.
- The Ultimate Side Dish: Versatile enough to complement almost any meal, from hearty pasta to light salads.
Whether you’re pairing it with my best meatball recipe, a comforting lazy lasagna, or a simple bowl of soup, this garlic bread promises to be a crowd-pleaser every single time. Get ready to impress yourself and your guests with this incredibly simple yet profoundly delicious creation.
Food Science Secrets: Avoid These Common Mistakes for the BEST Homemade Garlic Bread
Achieving truly exceptional garlic bread requires more than just good ingredients; it demands a bit of know-how. As a food science expert, I’ve identified key pitfalls that can prevent your garlic bread from reaching its full potential. Avoid these common mistakes for an unparalleled result:
- Using Cold or Melted Butter: This is a crucial mistake. Cold butter is stiff and will tear the bread when you try to spread it, resulting in uneven coverage and dry spots. Conversely, melted butter is too liquid; it will soak directly into the bread instead of coating the surface, leading to a greasy interior rather than a golden, crisp exterior. The secret lies in using room-temperature, softened butter. This ensures it spreads smoothly and adheres beautifully to the bread, creating that essential barrier for optimal crisping.
- Skimping on the Butter: While it might be tempting to reduce the butter content for health reasons, trust me – for truly restaurant-quality garlic bread, you need to be generous. Butter is the key to both flavor and texture. It promotes a golden-brown crust, ensures a rich mouthfeel, and prevents the bread from drying out in the oven. More butter equals more flavor, more crispiness, and a more luxurious experience. Don’t hold back!
- Skipping the Double Garlic Approach: Many recipes call for either fresh garlic or garlic powder, but the best garlic bread leverages both. Fresh garlic, when minced, releases pungent, sharp, and aromatic compounds that provide an immediate, bright garlic kick. Garlic powder, on the other hand, is dehydrated and roasted, offering a deeper, warmer, and more mellow toasted garlic flavor. Combining the two creates a complex, multi-layered garlic profile that is simply irresistible and far superior to using just one type.
- Baking at Too High a Temperature: While a hot oven is great for crisping, excessive heat can quickly burn the delicate minced fresh garlic before the bread has a chance to toast properly. Burnt garlic tastes bitter and unpleasant. A moderate temperature of 375°F (190°C) allows the bread to gradually toast to a beautiful golden brown while the garlic butter permeates the surface and caramelizes subtly, developing its sweet and savory notes without scorching.
Homemade Garlic Bread Ingredients: Simple Yet Powerful
One of the beauties of this recipe is its simplicity. You only need a few core ingredients to create something truly spectacular, plus a little garnish for freshness:
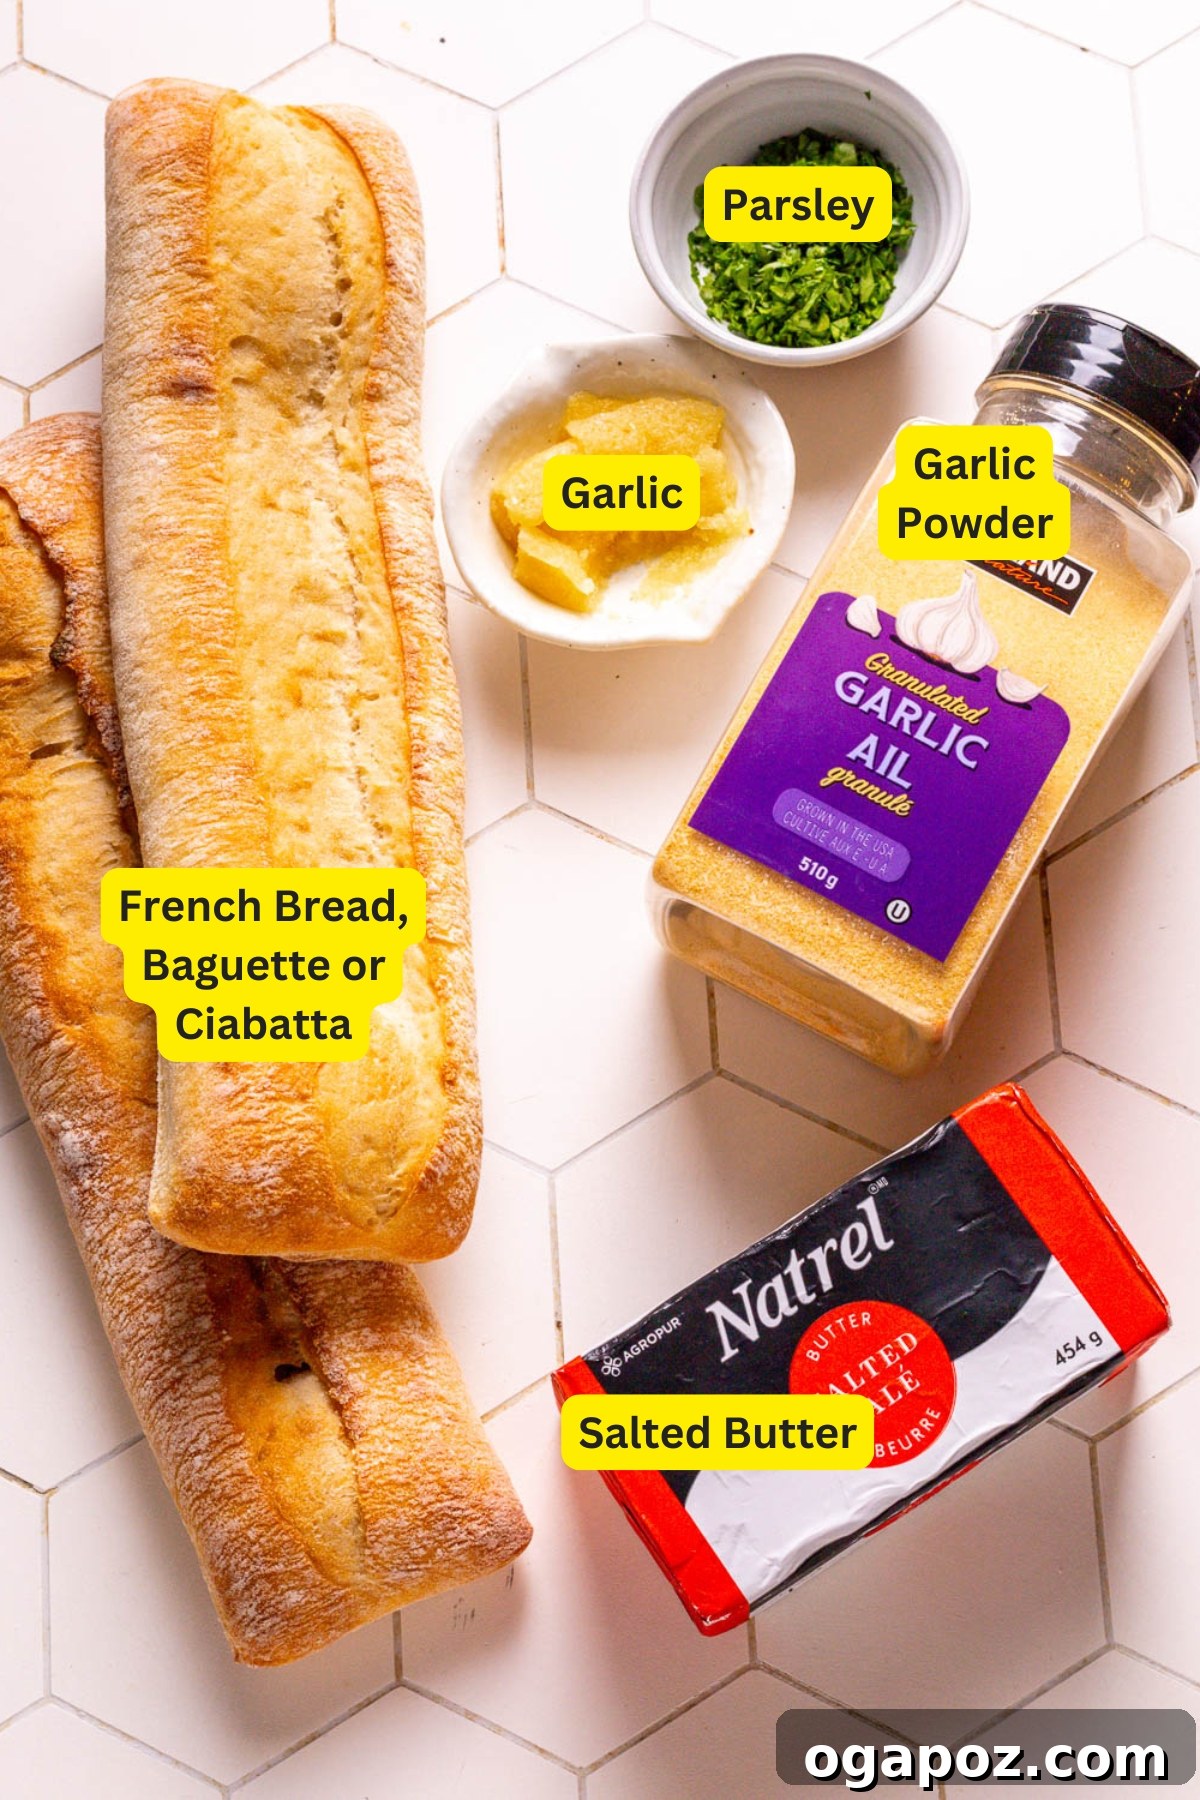
- Loaf of French Bread: A classic choice for its crisp crust and airy interior. A good old store-bought baguette or a rustic French loaf works perfectly. Look for one that feels substantial but not overly dense.
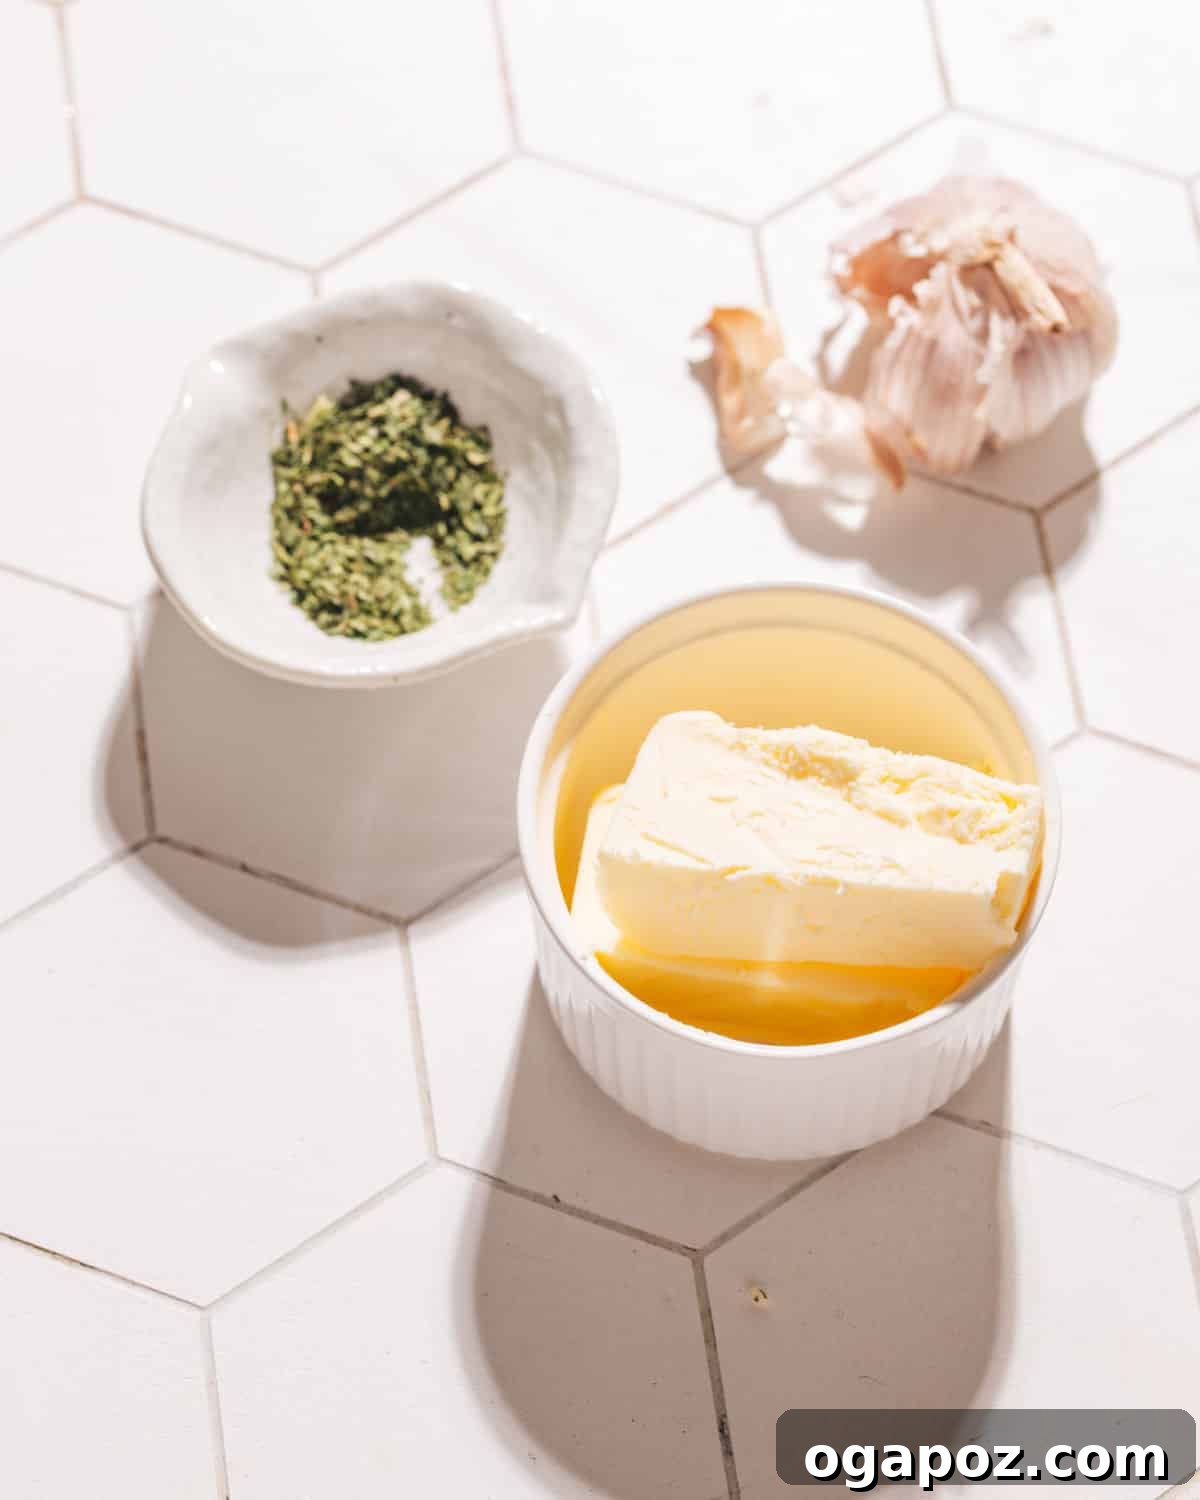
- Salted Butter (Room Temperature): The foundation of our garlic spread. It’s crucial that your butter is at room temperature and softened for easy, even spreading. If you only have unsalted butter, simply add a good pinch (about ¼ to ½ teaspoon) of fine sea salt to the mixture to enhance the flavors.
- DOUBLE Garlic: Fresh and Dried: As discussed, this is where the magic happens. Fresh garlic provides that vibrant, sharp punch, while garlic powder contributes a warm, roasted depth. This combination creates a rich, rounded garlic flavor that is truly addictive.
- Fresh Parsley (Optional but Recommended): A sprinkle of finely chopped fresh parsley adds a beautiful pop of color, a hint of fresh, herbaceous flavor, and cuts through the richness of the butter. You can also use dried parsley, though the fresh variety offers a brighter finish.
Unlock New Flavors: Creative Variations for Your Garlic Bread
While the classic recipe is perfect as is, garlic bread is incredibly versatile. Feel free to experiment with these delicious variations to suit your taste or meal:
- Bread Choices: Don’t limit yourself to French bread! Ciabatta offers a chewier texture with a wonderfully porous interior perfect for soaking up butter. A wider baguette or even a rustic sourdough loaf can also be fantastic options, each lending its unique characteristics to the final product.
- Butter Alternatives: For a dairy-free or vegan option, substitute regular butter with a high-quality, room-temperature vegan butter. Olive oil can also be used for a lighter, Mediterranean-inspired twist, though it will produce a slightly less rich and crisp texture.
- Cheesy Garlic Bread: Elevate your garlic bread by adding cheese! Sprinkle a generous amount of shredded mozzarella over the buttered bread before baking. For a more gourmet touch, consider a blend of mozzarella and Parmesan, or even a hint of provolone for extra tang and stretch.
- Herb & Garlic Infusion: Incorporate more herbs into your butter mixture. Dried Italian seasoning is a convenient choice, or you can use fresh finely chopped oregano, basil, or rosemary for a more aromatic and garden-fresh flavor profile. Each herb brings its unique character to the garlic butter.
- A Spicy Kick: If you enjoy a touch of heat, sprinkle a pinch of red pepper flakes over the cheese before baking. This adds a subtle warmth that beautifully complements the savory garlic and rich butter, creating an exciting flavor dimension.
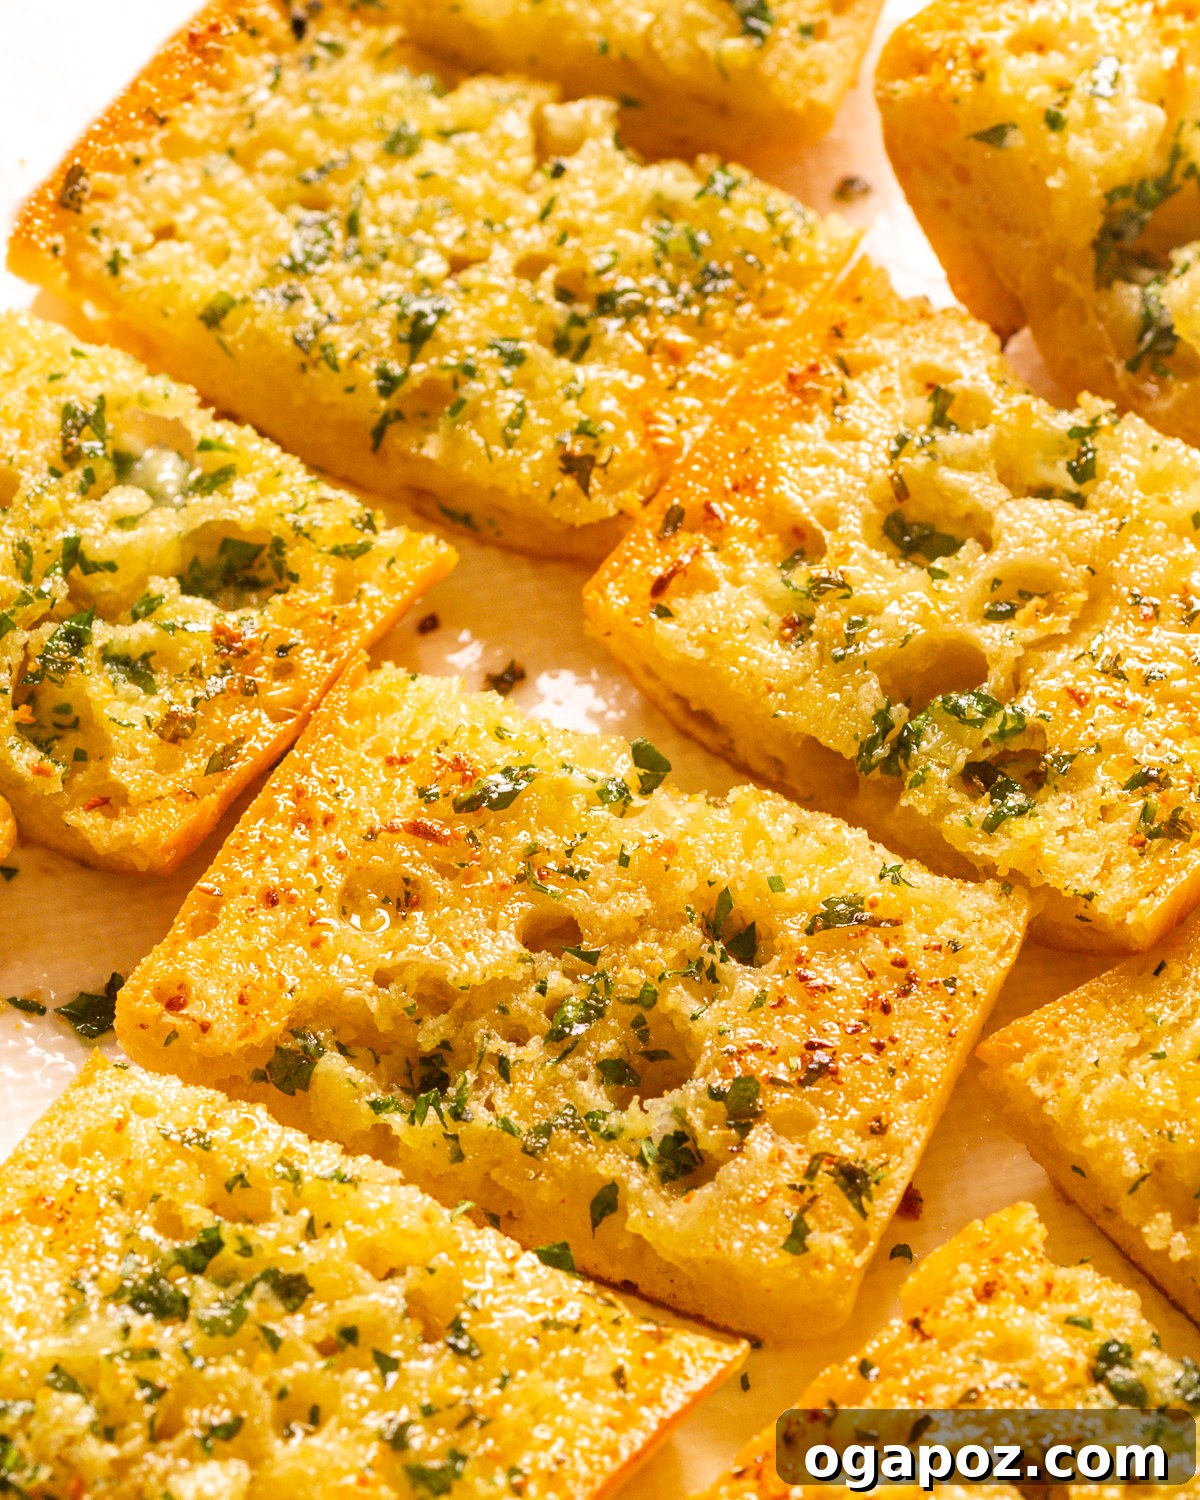
Mastering the Art: Step-by-Step Guide to Homemade Garlic Bread
Creating this irresistible garlic bread is incredibly simple. Follow these easy steps for perfect results every time:
1. Prepare Your Ingredients and Oven
Begin by preheating your oven to 375°F (190°C). This ensures the oven is at the correct temperature for even baking. Next, cut your loaf of French bread in half lengthwise. Place the cut halves, butter-side up, on a sturdy baking sheet. In a small bowl, combine your softened salted butter, finely minced fresh garlic, garlic powder, and chopped fresh parsley. Mix these ingredients thoroughly until you have a smooth, fragrant garlic butter paste.
2. Spread and Top
Using a knife or a spatula, generously spread the garlic butter mixture evenly over the cut surfaces of both bread halves. Make sure to reach all the way to the edges for maximum flavor and crispiness. If you’re making cheesy garlic bread, now is the time to sprinkle a generous layer of shredded mozzarella cheese over the buttered surfaces.
3. Bake to Golden Perfection
Carefully transfer the baking sheet with the bread into your preheated oven. Bake for approximately 10-15 minutes. Keep an eye on it! You’re looking for the edges to become beautifully crispy and golden brown, and if you added cheese, it should be melted and bubbly. For an extra crisp crust, you can broil the bread for 1-2 minutes at the very end, but watch it constantly to prevent burning.
4. Serve and Enjoy
Once baked to perfection, remove the garlic bread from the oven. Let it cool for just a minute or two before slicing into individual portions. Serve immediately and enjoy the warm, buttery, garlicky goodness! This bread is best enjoyed hot and fresh from the oven.
Related Recipe: For more garlic goodness, try my Garlic Butter Sauce.
Pro Tips for Storage and Make-Ahead Garlic Bread
Planning ahead can save time, but it’s important to approach garlic bread storage with safety and quality in mind. While assembling garlic bread in advance might seem convenient, I generally do not recommend preparing the buttered bread too far ahead of time due to the risk of botulism when raw garlic is stored in oil or butter at room temperature. The anaerobic environment can promote bacterial growth.
Refrigeration can mitigate this risk for short periods, but it comes with a trade-off: the refrigerator can cause bread to go stale faster. For the freshest taste and best texture, I recommend preparing the garlic butter mixture ahead of time (store it covered in the fridge for up to a week) and then spreading it on the bread just before baking.
Freezing Assembled Garlic Bread
If you absolutely need to prepare it in advance, freezing is your best option:
- Preparation: Fully assemble your garlic bread, spreading the butter mixture and adding cheese if desired.
- Wrapping: Wrap each half or loaf securely in plastic wrap, then tightly in aluminum foil. This double layer protects against freezer burn.
- Freezing Time: Freeze for up to 2 months.
- Baking from Frozen: When you’re ready to enjoy, simply place the frozen, foil-wrapped bread directly onto a baking sheet in a preheated oven (375°F/190°C). Add an extra 5-10 minutes to the baking time, or until heated through and golden. You can remove the foil for the last few minutes to crisp up the edges.
Storing Leftovers
Leftover garlic bread is a rare treat! To keep it fresh:
- Refrigeration: Store any leftover baked garlic bread in an airtight container or wrap it tightly in aluminum foil. It will maintain its quality for up to 3 days in the refrigerator.
- Reheating for Best Results: For optimal crispiness and flavor, reheat garlic bread in the oven. Place it on a baking sheet at 350°F (175°C) for about 10 minutes, or until warmed through and the edges are crisp. Avoid the microwave, as it tends to make the bread soft and chewy instead of crispy.
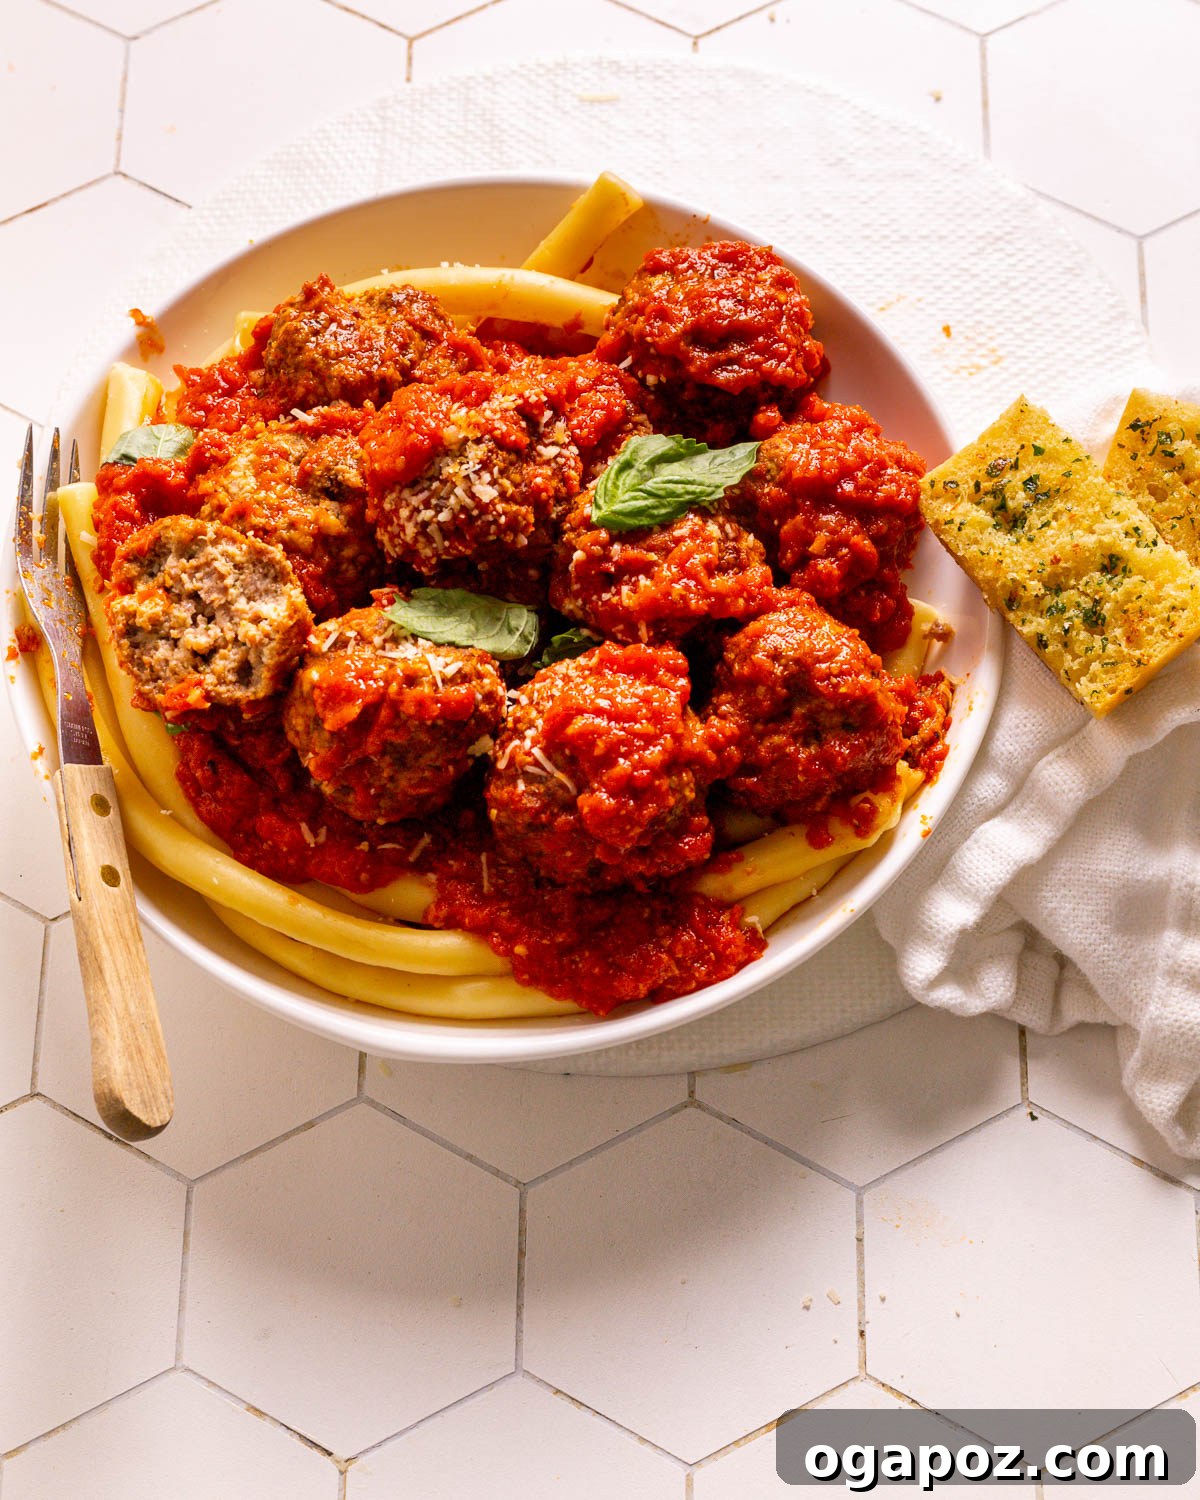
Serving Suggestions: What to Pair with Homemade Garlic Bread
This ultimate homemade garlic bread is a versatile companion to a wide array of dishes. Its rich, savory flavor and satisfying crunch make it a perfect complement to almost any meal. Here are some of my favorite ways to serve it:
- Pasta Perfection: Garlic bread is a natural partner for nearly any pasta dish. Serve warm slices alongside a creamy shrimp pasta, a robust marinara, or a comforting slow cooker lasagna. It’s perfect for soaking up every last drop of delicious sauce.
- Hearty Casseroles: Elevate your favorite casseroles with a side of this crispy bread. It pairs wonderfully with a creamy chicken broccoli casserole, a hearty cheeseburger casserole, or any baked dish that could use a textural contrast.
- Soups and Stews: For the ultimate comfort meal, dunk warm garlic bread into a bowl of French onion soup, a chunky minestrone, or a rich beef stew. The bread adds substance and a delightful garlicky flavor that enhances the soup experience.
- Salads and Appetizers: Cut into smaller pieces, garlic bread can be a fantastic addition to a large green salad, providing a crunchy, flavorful element. It also makes an excellent appetizer on its own, perhaps with a side of marinara for dipping.
Frequently Asked Questions About Homemade Garlic Bread
Got more questions about making the best garlic bread? Here are some key takeaways and answers to common queries:
Absolutely! You can achieve delicious garlic bread using alternative methods. For a stovetop version, heat a large skillet over medium heat, place the buttered bread face-down, and cook for 3-5 minutes per side, or until golden and crispy and the cheese is melted. Alternatively, an air fryer works wonders: set it to 350°F (175°C) and cook for about 5-8 minutes, checking halfway, until golden and bubbly.
Yes, pre-sliced bread is a great option, especially for single-serve portions or when you’re short on time. Texas toast, sourdough slices, or even regular sandwich bread can work. Just be mindful that thinner slices will bake much more quickly, so adjust your baking time accordingly and watch them closely to prevent burning.
For the best results, reheat garlic bread in the oven. Preheat your oven to 350°F (175°C) and bake for approximately 8-10 minutes, or until it’s warmed through and the crust has re-crisped. You can wrap it in foil for the first few minutes to retain moisture, then unwrap to crisp the exterior. Avoid using the microwave, as it will likely make the bread soft, chewy, and even soggy.
Definitely! This recipe is easily adaptable for a vegan diet. Simply substitute the dairy butter with your favorite room-temperature vegan butter. For cheesy garlic bread, use a good quality dairy-free shredded mozzarella or a vegan Parmesan alternative. Olive oil is also a viable substitute for butter if you prefer, offering a different but equally delicious flavor profile.
Explore More Delicious Bread Recipes You’ll Love
If you’ve enjoyed mastering this homemade garlic bread, you might discover a passion for baking other fantastic breads from scratch. Here are a few more easy and delightful recipes to expand your baking repertoire:
- My Turkish bread recipe offers a wonderfully soft and fluffy texture, making it an ideal base for dipping or topping with your favorite spreads.
- For a truly indulgent experience, try cheese naan. This garlicky, cheese-stuffed flatbread is incredibly delicious and makes an insane side to Italian meals, curries, or simply enjoyed on its own.
- These no-knead cheese bread fingers are ridiculously easy to make and serve as a yummy, pull-apart side dish perfect for parties or family dinners.
- If you’re looking for a showstopper with minimal effort, make my 5-minute prep crusty bread. It looks and tastes like it came straight from a professional bakery!
Homemade Garlic Bread (That’s Better Than an Italian Restaurant!)
Ingredients
- 1 (12-oz) loaf of French bread (or ciabatta/baguette)
- 12 tbsp salted butter, softened
- 4 cloves fresh garlic, minced
- ½ tsp garlic powder
- 2 tbsp finely-chopped fresh parsley (or 2 tsp dried)
- Optional: 1-2 cups shredded mozzarella cheese for cheesy garlic bread
Instructions
- Preheat the oven to 375°F (190°C).
- Cut the bread in half lengthwise and place it on a baking sheet.
- In a bowl, mix together the softened butter, minced fresh garlic, garlic powder, and parsley until well combined.
- Spread the garlic butter mixture evenly on both cut halves of the bread.
- If making cheesy garlic bread, sprinkle mozzarella cheese generously on top of the buttered bread.
- Bake for 10-12 minutes, or until the edges are crispy and golden brown. For extra crispiness, you can broil for 1-2 minutes at the end (watch closely to prevent burning!).
- Remove from oven, slice, and serve hot. Enjoy!
Notes
- Don’t use cold or melted butter – Use softened, room-temperature butter for even spreading and a non-greasy finish.
- Use the full amount of butter – Generous butter application is key for restaurant-quality flavor and texture.
- Don’t bake too hot: Stick to a moderate 375°F (190°C) to prevent the garlic from burning before the bread is perfectly toasted.
- Use both fresh and dried garlic – This combination creates a complex, balanced garlic flavor that truly makes the best garlic bread.
Nutrition
Nutrition information is automatically calculated, so should only be used as an approximation.
Tried this recipe? Leave a comment!