
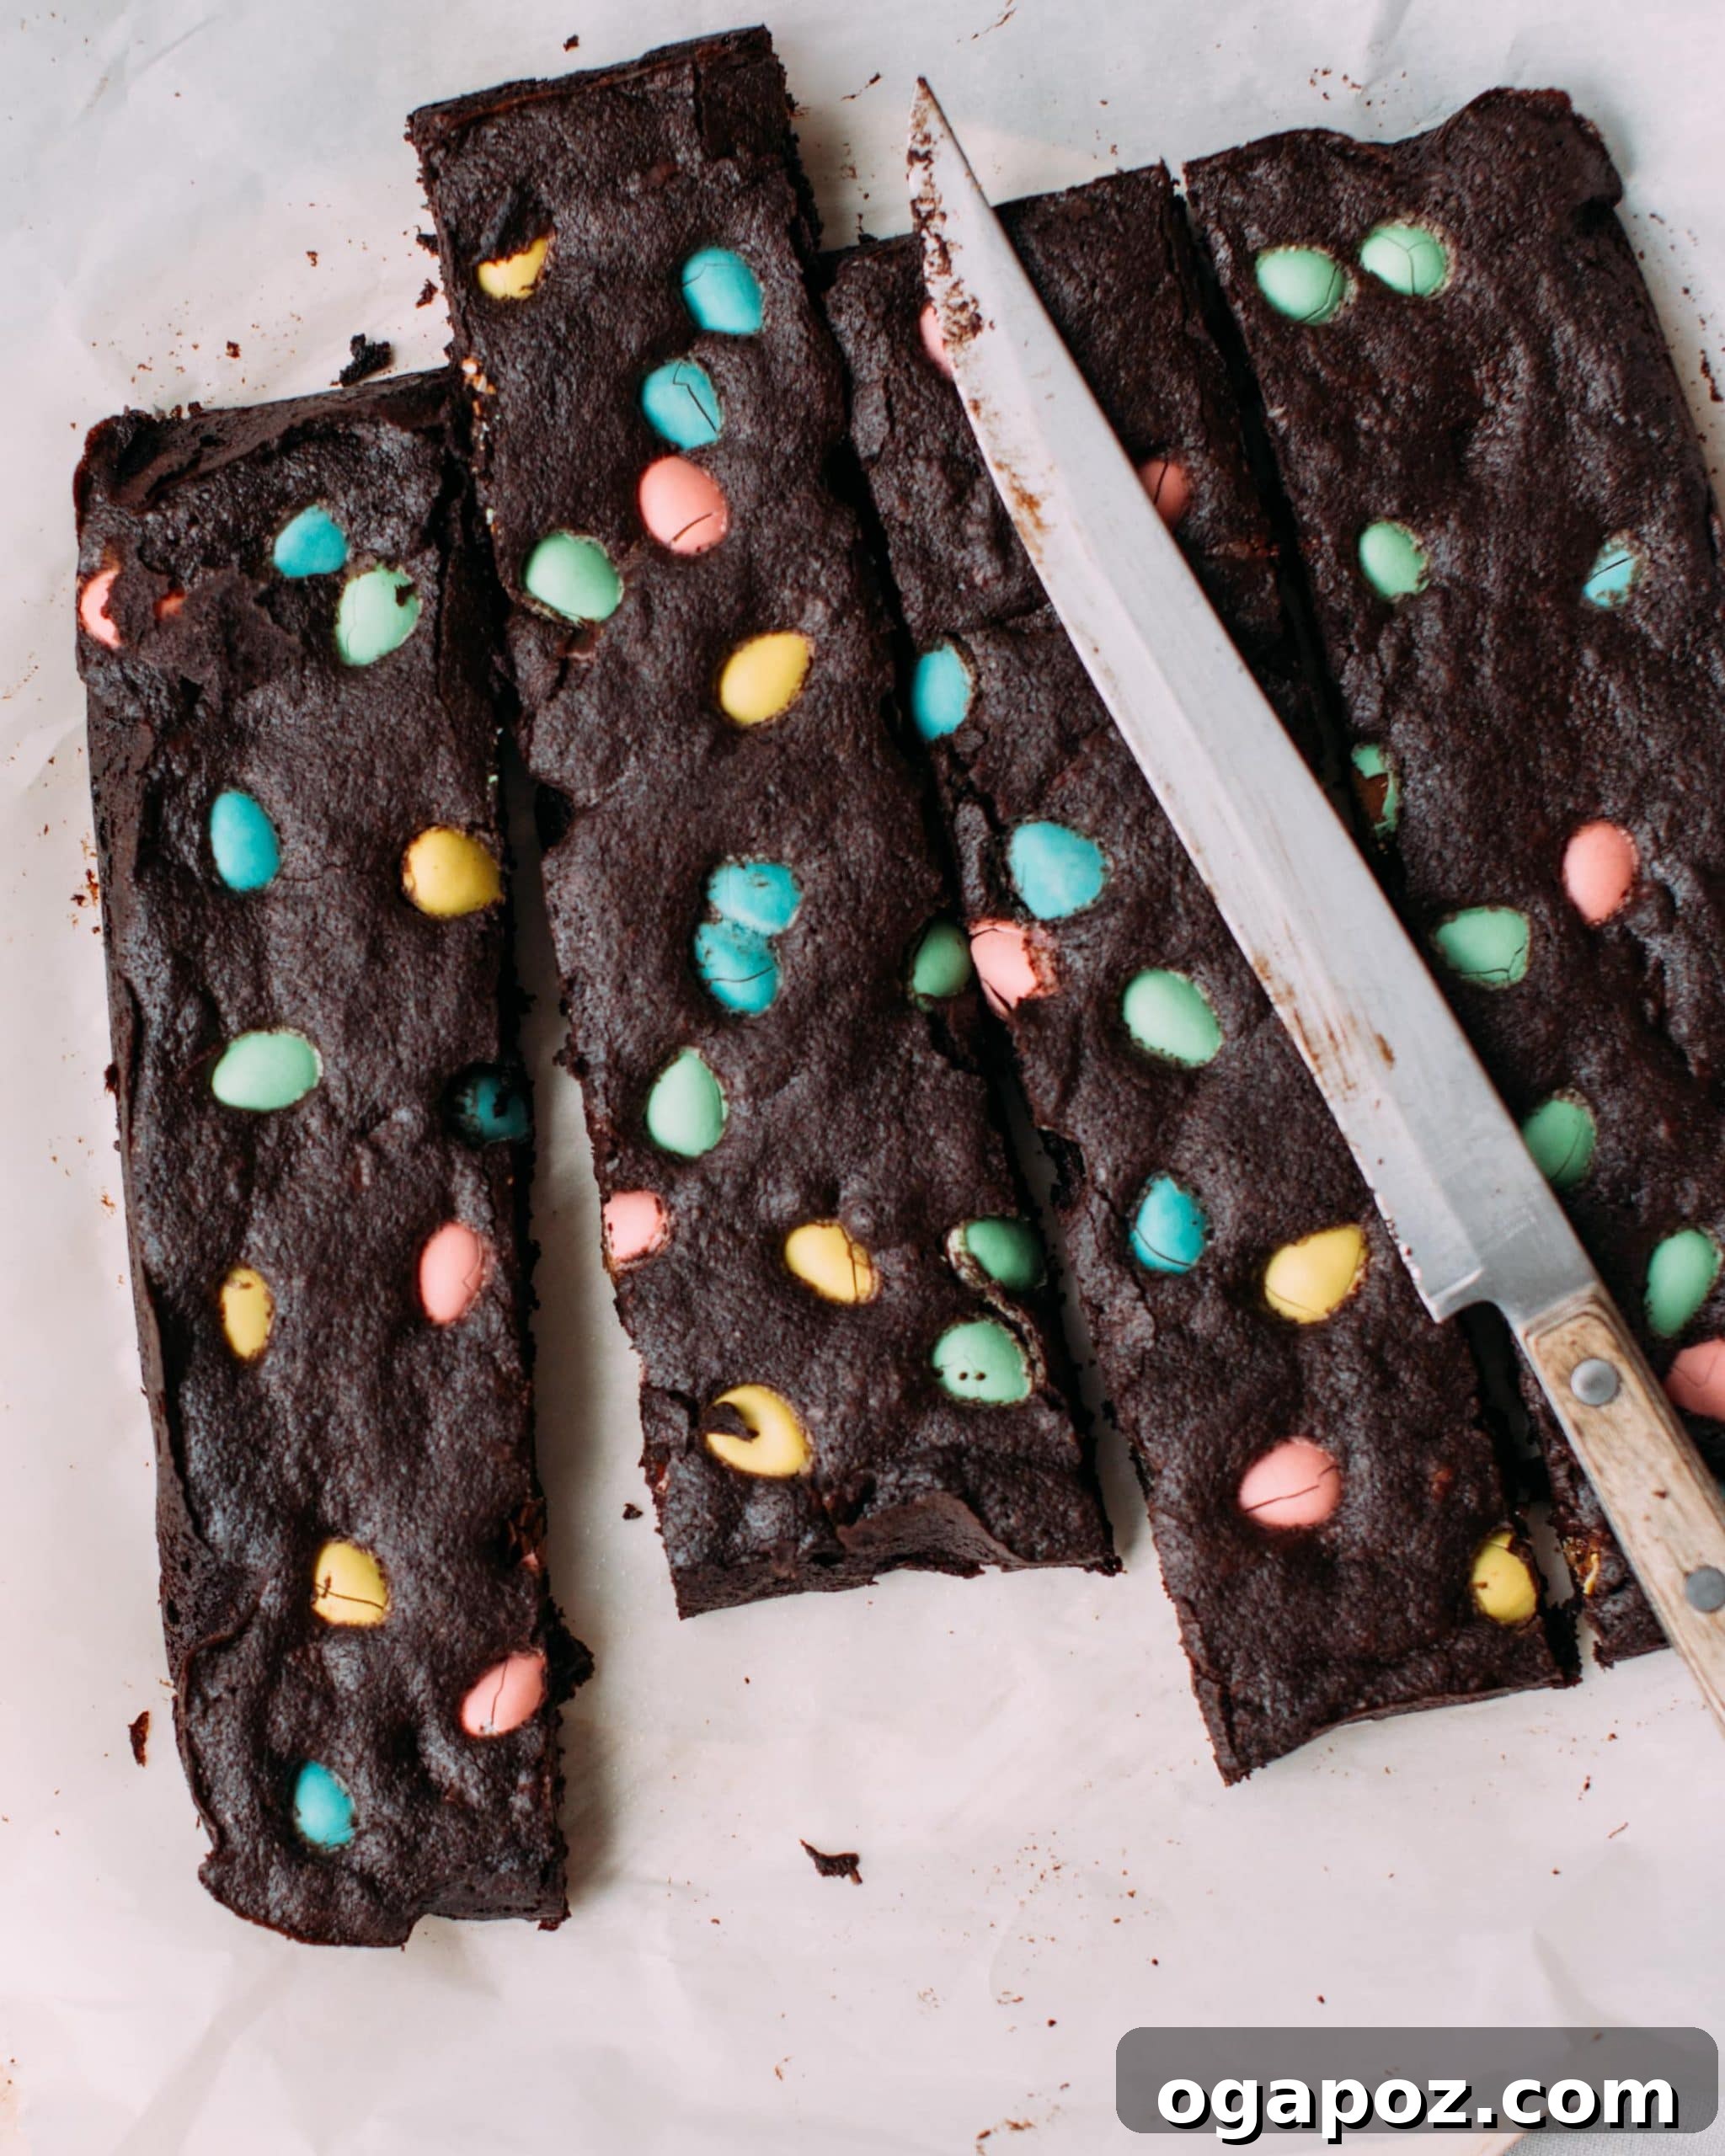
Get ready to bake the most irresistible Easter Brownies you’ve ever tasted! This recipe delivers profoundly chewy chocolate brownies, featuring a delightful combination of rich cocoa, gooey chocolate chunks, and vibrant mini Easter eggs. It’s designed for simplicity and maximum flavor, requiring just one bowl and approximately 5 minutes of active preparation time. Whether you’re an experienced baker or a beginner, you’ll absolutely adore these festive treats, making them an essential addition to your Easter celebrations.
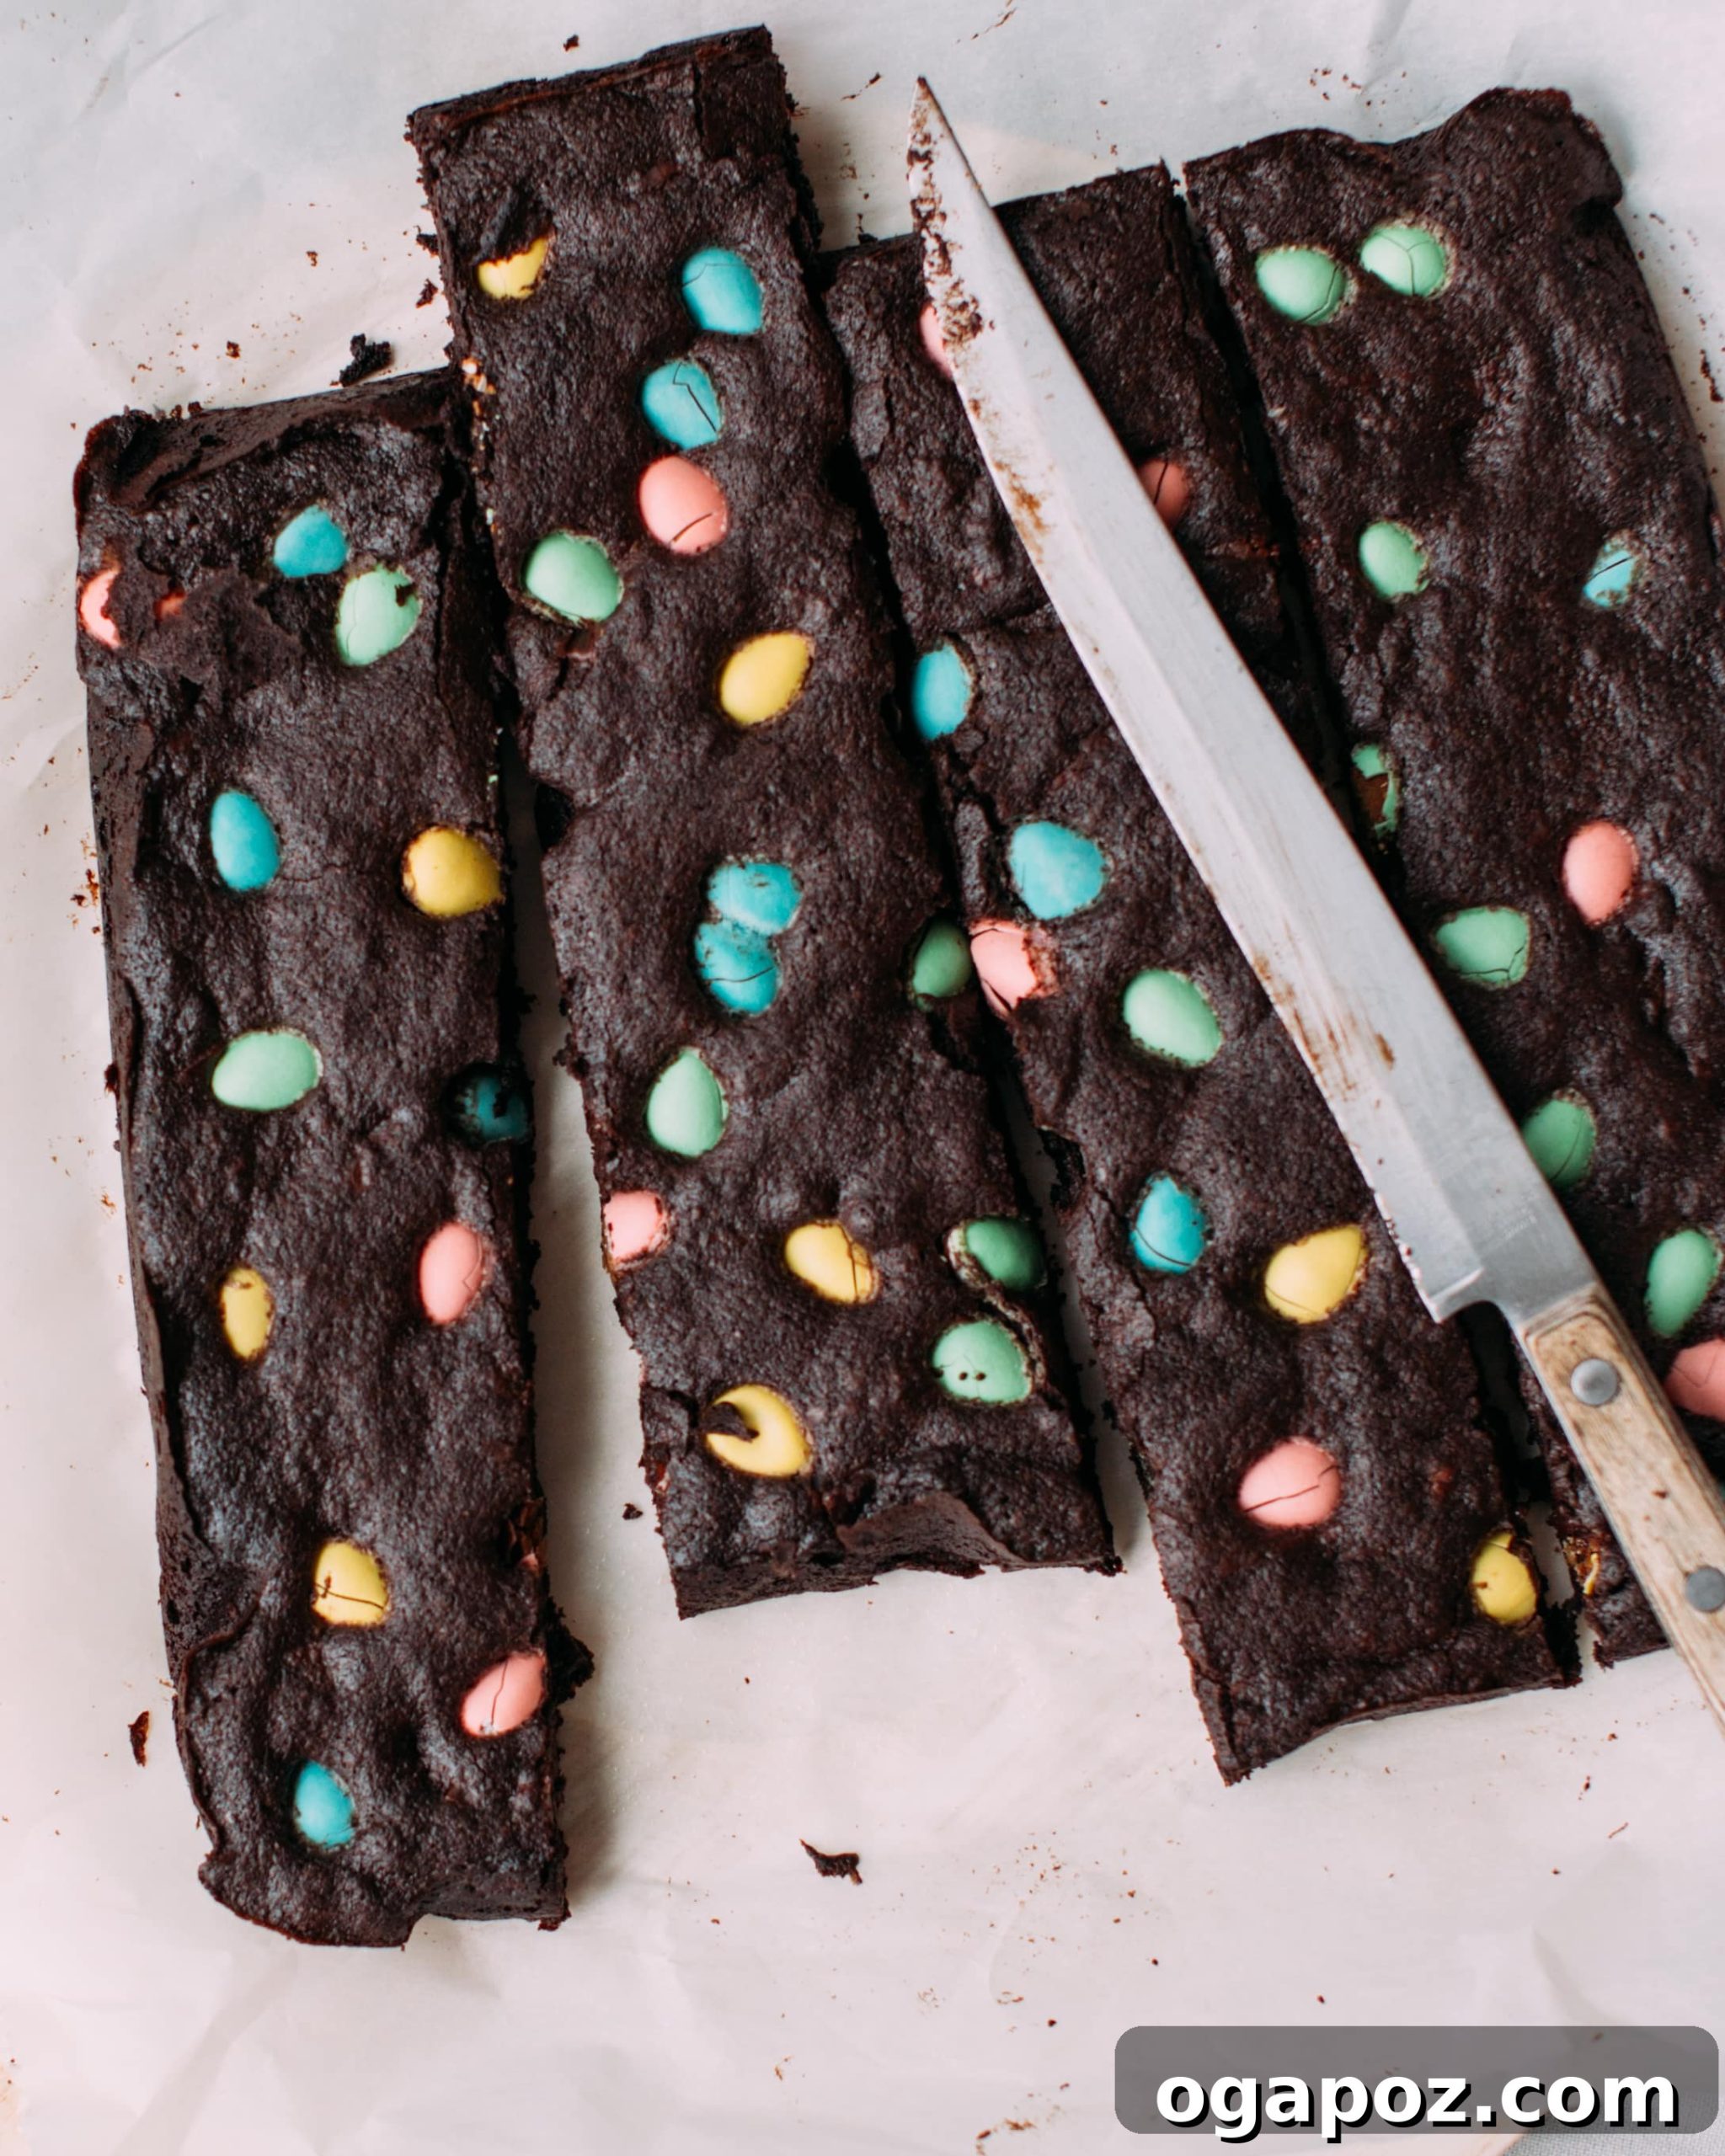
The Ultimate Easter Brownies: A Dessert You’ll Cherish All Season!
Our search for the perfect holiday dessert often ends with something wonderfully chocolatey and easy to make. This particular Easter Brownie recipe stands out for its incredible balance of convenience and decadent flavor. It’s built upon the foundation of our widely beloved chewy brownie base, renowned for its fudgy texture and intense chocolate taste. The sheer ease of this one-bowl method, which comes together in about 5 minutes, makes it almost too simple to be true – but trust us, the results are spectacularly delicious!
Why These Mini Egg Brownies Are an Easter Must-Have
- A Festive Favorite: Cadbury Mini Eggs: For many, Cadbury Mini Eggs are synonymous with spring and Easter. Their crunchy candy shells and smooth milk chocolate centers make them an irresistible seasonal indulgence. Incorporating these adorable mini eggs transforms a classic brownie into a festive masterpiece, making this mini egg brownie recipe a spring obsession. They add not only a burst of color and sweetness but also a delightful textural contrast. If you’re as obsessed as we are, you’ll also love them in these soft and chewy Cadbury Mini Egg Cookies and this light, no-bake Easter Egg Cheesecake.
- A Symphony of Chocolate: Triple the Delight: This cute Easter dessert boasts a glorious triple dose of chocolate. First, high-quality cocoa powder infuses the brownie batter with a deep, rich, and intensely chocolatey flavor. Next, generous amounts of chocolate chips or chocolate chunks melt into the batter during baking, creating luscious pockets of gooey, melty deliciousness throughout each bite. Finally, colorful chocolate Easter eggs (like Cadbury Mini Eggs or similar) are pressed onto the top, providing an appealing visual, an extra layer of chocolatey goodness, and a satisfying textural crunch.
- Effortless Preparation: The One-Bowl Wonder: Say goodbye to stacks of dirty dishes! This recipe is incredibly beginner-friendly and perfect for busy schedules, as all the mixing happens in a single bowl. This minimizes cleanup and maximizes enjoyment, making it ideal for a spontaneous baking session or involving little helpers in the kitchen.
- Perfect for Any Occasion: While designed for Easter, these brownies are so universally appealing that they can be enjoyed throughout the spring season or whenever you crave a rich, chocolatey treat with a festive touch. They are perfect for potlucks, family gatherings, school events, or simply as a comforting indulgence.
Related: Explore more of My Easy Ideas for Easter Dinner to complete your holiday feast!
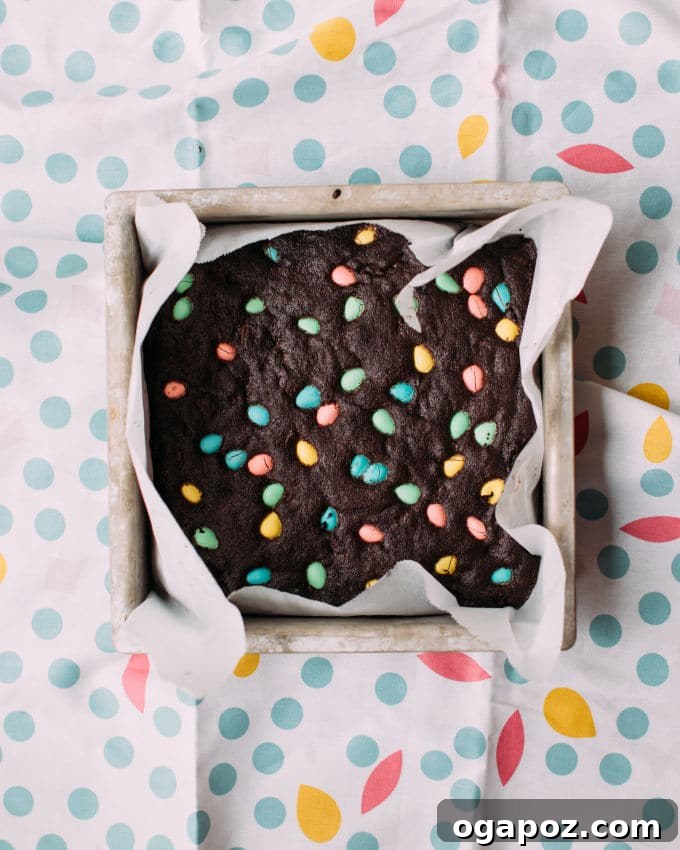
Expert Tips for Achieving Brownie Perfection: Your Best Easter Brownies Yet
Baking brownies might seem straightforward, but a few key tips can elevate your results from good to absolutely phenomenal. Follow these expert recommendations for consistently perfect Easter brownies:
- Avoid Overbaking at All Costs: This is arguably the most crucial tip for chewy brownies. Overbaking leads to dry, cakey brownies, losing that coveted fudgy texture. Begin checking your brownies several minutes before the suggested bake time. A toothpick inserted into the center should emerge with a few moist crumbs clinging to it, not wet batter. If it comes out completely clean, your brownies are likely already overdone.
- Precision with a Thermometer: For those who desire absolute precision, a digital thermometer is your best friend. Brownies are typically perfectly done when their internal temperature reaches around 180ºF (82°C) in the center. This ensures they are cooked through but still delightfully moist and fudgy.
- Choose the Right Baking Pan: The material of your baking pan significantly impacts how your brownies bake. Whenever possible, opt for a metal baking pan. Glass or ceramic pans heat up more slowly and retain heat for longer after being removed from the oven, which can lead to overcooked or dry edges while the center might still be underbaked. Metal pans offer more even heat distribution and cool down faster, preventing unwanted carryover baking.
- Gently Press in Mini Eggs: To ensure your decorative mini eggs remain securely in place and don’t roll off or sink too deeply into the batter during baking, press them in gently after spreading the batter. This small step helps them adhere to the surface, resulting in a beautiful presentation.
- Achieve Clean Slices with a Hot Knife: For perfectly neat and tidy brownie squares, especially when they’re still slightly warm, use a hot knife. Run a sharp knife under very hot water for a few seconds, then wipe it completely dry before making each cut. Repeat this process for every slice to prevent sticking and achieve clean, professional-looking edges.
- Cool Completely Before Storing: Patience is key here! While tempting to devour warm, it’s essential to let your brownies cool completely before transferring them to an airtight container for storage. Warm brownies can trap steam inside the container, leading to a sticky, gummy texture and potentially compromising their freshness.
- Don’t Skimp on Quality Ingredients: Since this recipe uses minimal ingredients, the quality of each component shines through. Use good quality butter, a reputable cocoa powder (Dutch-processed for darker, milder chocolate flavor or natural for a more intense, slightly acidic chocolate flavor), and fresh eggs.
- Line Your Pan: Using parchment paper with an overhang simplifies removal dramatically. It allows you to lift the entire slab of brownies out of the pan, making slicing much easier and cleaner.
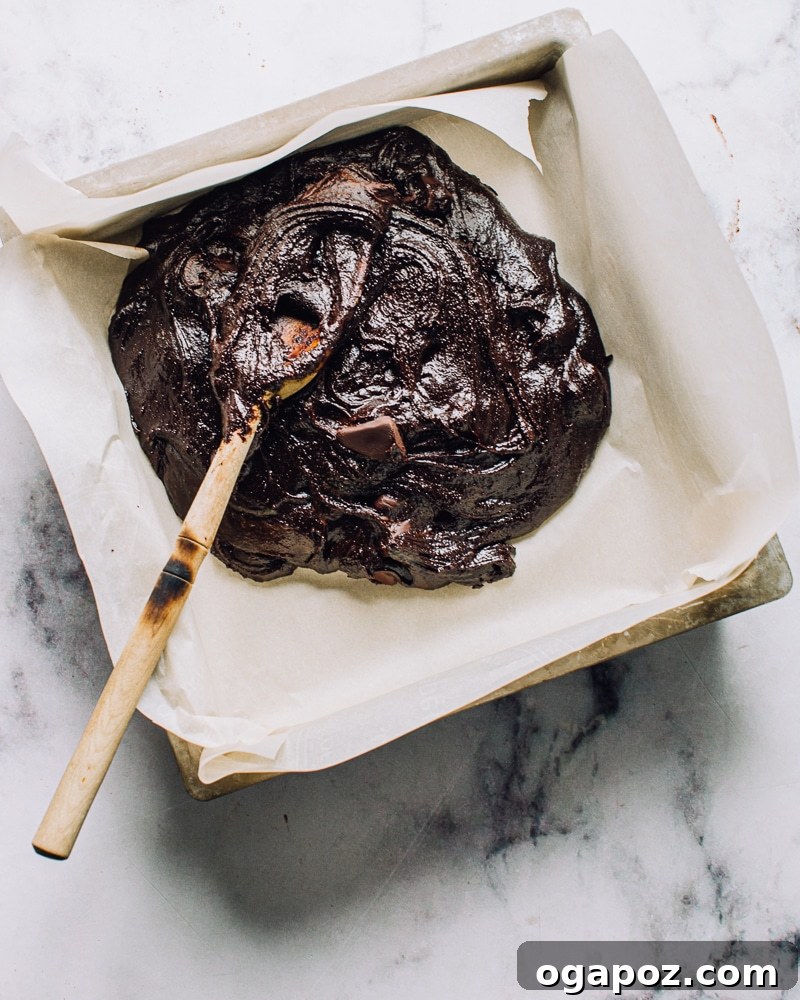
Effortless Preparation: How to Make These Incredible Easter Brownies
You’ll be amazed at how incredibly simple it is to whip up these festive Easter brownies. The beauty of this recipe lies in its one-bowl (or one-pot) approach, making cleanup a breeze. Here’s a detailed look at the process:
- Melt and Mix: Start by melting your butter. You can do this directly in a medium-sized pot on the stove over low heat, or in a large microwave-safe bowl in the microwave. Once melted, remove from heat (if using a pot).
- 👉🏻 **In a pot/bowl:** Add the unsweetened cocoa powder to the melted butter and stir vigorously with a fork or whisk until it’s completely smooth and blended. This step ensures a rich, lump-free chocolate base.
- 👉🏻 **Continue adding ingredients:** Next, whisk in the granulated sugar until well combined. Then, add the eggs one at a time, mixing well after each addition. Incorporate the vanilla extract and salt. Finally, gently fold in the all-purpose flour until just combined – be careful not to overmix, as this can lead to tough brownies. Stir in your chosen chocolate chips or chopped dark chocolate.
- 👉🏻 **Alternative Method:** If you prefer, the entire batter can be prepared in a large microwave-safe bowl. Simply melt the butter in the bowl and then proceed with the rest of the ingredients in the same bowl, ensuring minimal dirty dishes.
- Prepare and Spread the Batter: Line an 8×8-inch (20×20 cm) baking pan with parchment paper, leaving an overhang on two sides to create “handles” for easy removal. If you don’t have parchment paper, a generous spray of cooking spray will also work.
- 👉🏻 **Evenly spread:** Use a stiff spatula or the back of a spoon to spread the thick, luxurious chocolate brownie batter evenly into the prepared baking pan, making sure to push it into all four corners. Dipping your spatula in a little water can help prevent sticking and make spreading easier.
- Add the Festive Topping: Generously sprinkle your choice of Cadbury Mini Eggs, Eggies, or other favorite chocolate Easter candies evenly over the top of the brownie batter. Gently press them down slightly to secure them.
- Bake to Perfection: Transfer the pan to a preheated oven and bake for the recommended time, keeping an eye on them. Remember, a slightly underbaked brownie is always better than an overbaked one for that ultimate chewy texture.
- Cool and Slice: Once baked, remove the brownies from the oven and let them cool in the pan on a wire rack. Resist the urge to slice them immediately! Cooling completely (or at least mostly) allows the brownies to set properly, resulting in cleaner cuts and a more stable, fudgy texture. Once cooled, use the parchment paper overhang to lift the entire brownie slab out of the pan onto a cutting board, then slice into squares or bars.
It’s truly that easy! No fancy stand mixer or complex techniques required. A little too easy, actually, for such a decadent treat.
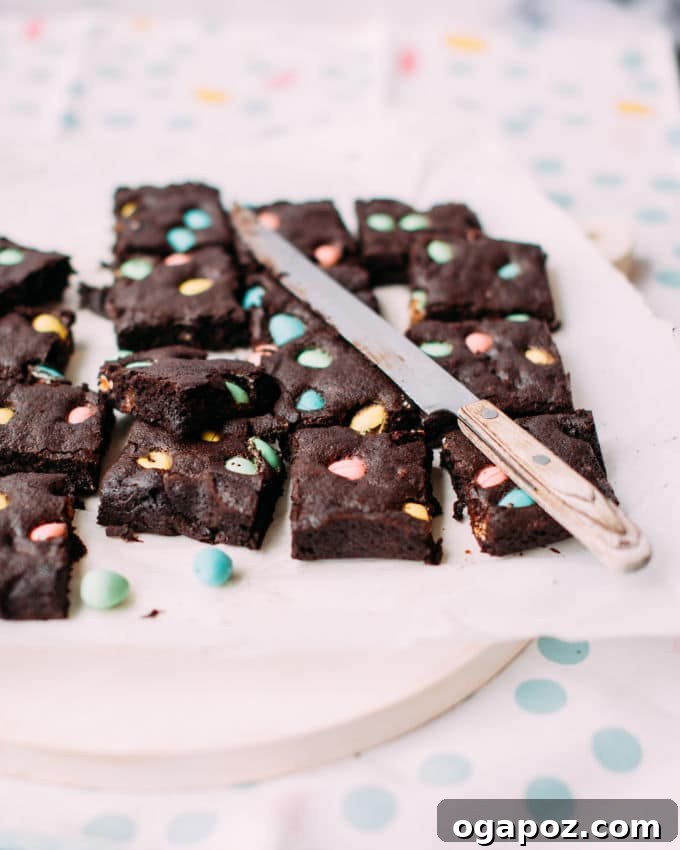
The Essential Ingredients You Need to Make Easter Egg Brownies
This recipe relies on a few simple, high-quality ingredients to achieve its rich, fudgy, and chewy perfection. Here’s what you’ll need:
- Butter: Either unsalted or salted butter will work. If using salted butter, you might consider slightly reducing the added salt in the recipe, but it’s often not necessary. Butter provides richness and contributes to the fudgy texture.
- Unsweetened Cocoa Powder: This is key for the deep chocolate flavor. Both Dutch-process (darker, smoother, less acidic) and natural (lighter, slightly more bitter, more complex) cocoa powders will yield delicious results. Choose your preference.
- Granulated Sugar: Provides sweetness and helps create that signature crackly top crust on the brownies.
- Eggs: Crucial for structure and chewiness. In this recipe, eggs are the sole leavening agent, giving the brownies their characteristic dense and fudgy texture without any baking powder. Using large eggs is generally recommended for consistency.
- Vanilla Extract: Enhances the chocolate flavor and adds a beautiful aromatic depth. Pure vanilla extract is always preferred for the best taste.
- Salt: A pinch of salt balances the sweetness and brings out the full depth of the chocolate flavor. Kosher salt is commonly used in baking.
- All-Purpose Flour: Provides just enough structure to hold the brownies together without making them cakey. Avoid overmixing once the flour is added.
- Chopped Dark Chocolate or Chocolate Chips: These add pockets of intensely melted chocolate throughout the brownies, contributing to their gooey interior. Semi-sweet chocolate is a great choice, but feel free to experiment with milk chocolate or even white chocolate chunks for a different flavor profile.
- Cadbury Mini Eggs or Your Favorite Chocolate Easter Eggs: The festive star of the show! These add crunch, extra chocolate, and vibrant color, making them perfect for Easter.
How to Store and Enjoy Your Easter Brownies
Proper storage ensures your delicious Easter brownies remain fresh and perfectly chewy for as long as possible (which, let’s be honest, won’t be very long once people discover them!).
- Cut these completely cooled brownies into squares or bars. Store them in an airtight container at room temperature for up to 3 days. It’s crucial that they are fully cooled before storage to prevent condensation, which can make them sticky and compromise their texture.
- Do not refrigerate them! While it might seem counterintuitive, refrigerating brownies tends to alter their texture, making them drier and less fudgy. They actually stay fresh longer and maintain a superior texture if left on the counter in an airtight container.
- For longer storage, you can freeze mini egg brownies. Place cooled brownies in a freezer-safe bag or airtight container, separated by parchment paper if stacking. They will last for up to 3 months in the freezer. Thaw them at room temperature when you’re ready to enjoy (yeah right, they’ll never last that long!).
Best-Ever Easter Brownies Recipe (Easy, One-Bowl!)
These truly are the best easy, chewy Easter brownies. Our one-bowl method means minimal fuss for maximum deliciousness. Expect rich cocoa flavor, gooey chocolate chunks, and that irresistible crunch from festive Easter mini eggs. They are the perfect Easter baking project for kids and adults alike.
By: Jennifer Pallian BSc, RD
Summary: Easy, chewy Easter brownie recipe. One-bowl, 5-minute cocoa-y brownies with Easter mini eggs and chocolate chunks. The perfect Easter baking project for kids.
Prep Time: 5 minutes
Cook Time: 30 minutes
Total Time: 35 minutes
Servings: 16 brownies
Ingredients
- ½ cup unsalted butter (or salted)
- ¾ cup unsweetened cocoa powder (Dutch process or natural)
- 1 ⅛ cups granulated sugar
- 2 large eggs
- 1 tsp pure vanilla extract
- ½ tsp kosher salt
- ½ cup all-purpose flour
- ½ cup chocolate chips or chopped dark chocolate (semi-sweet chocolate)
- ½ cup chocolate mini eggs (Cadbury Mini Eggs or your favorite brand)
Instructions
- Preheat oven to 325ºF (160°C). Line an 8×8-inch (20×20 cm) baking dish with parchment paper, ensuring a slight overhang on two sides for easy removal.
- Melt butter in a large microwave-safe bowl (or medium pot on the stove) on high power for about a minute, or until fully melted.
- Using a fork or whisk, stir the cocoa powder into the melted butter until completely blended and smooth.
- Fork-whisk in the granulated sugar, eggs, vanilla extract, and salt until well combined and smooth.
- Add the all-purpose flour and stir until just combined. Be careful not to overmix.
- Fold in the chocolate chips or chopped dark chocolate.
- Use a spoon or stiff spatula to spread the thick brownie batter evenly into the parchment-lined baking dish. If the batter is too stiff, dip your spatula in water to help spread it into the corners.
- Sprinkle the chocolate mini eggs evenly over the top of the batter, gently pressing them down slightly.
- Bake for about 30 minutes, or until the center is set but still has a slight give when lightly touched. A toothpick inserted into the center should come out with moist crumbs, not wet batter.
- Let the brownies cool in the pan for at least 10 minutes before using the parchment paper overhang to lift them out. Transfer to a wire rack and allow to cool completely before slicing for the cleanest cuts and best texture.
Nutrition Information (Approximate Per Serving)
Calories: 194 kcal
Carbohydrates: 27g
Protein: 2g
Fat: 10g
Saturated Fat: 6g
Polyunsaturated Fat: 0.4g
Monounsaturated Fat: 2g
Trans Fat: 0.2g
Cholesterol: 36mg
Sodium: 82mg
Potassium: 105mg
Fiber: 2g
Sugar: 21g
Vitamin A: 210 IU
Calcium: 21mg
Iron: 1mg
Nutrition information is automatically calculated and should only be used as an approximation.
Baking for Easter and Beyond: A Versatile Treat
While these brownies are perfectly themed for Easter, their rich flavor and delightful texture make them a welcome treat for any spring gathering, birthday party, or simply a cozy night in. The versatility of this recipe allows for endless customization. Consider adding different types of chocolate, such as milk chocolate chips or even white chocolate chunks for a varied flavor profile. You could also mix in chopped nuts like walnuts or pecans for an extra layer of crunch and earthy flavor. A sprinkle of sea salt before baking can beautifully enhance the chocolate’s depth, creating a sophisticated sweet and salty balance.
Beyond the simple mini eggs, you can adorn these brownies with other festive toppings. Think pastel-colored sprinkles, a light dusting of powdered sugar, or a simple ganache drizzle. They pair wonderfully with a scoop of vanilla bean ice cream or a dollop of fresh whipped cream for an indulgent dessert experience. For a fun twist, cut them into unique shapes using Easter-themed cookie cutters (after they’ve fully cooled!) before decorating.
Common Questions About Baking Easter Brownies (FAQ)
Here are answers to some frequently asked questions to help you master your Easter brownie baking:
- Can I use salted butter instead of unsalted?
Yes, you can. If using salted butter, you might want to reduce the added salt in the recipe by about ¼ teaspoon, but often the difference is negligible and works fine as is. - What’s the difference between natural and Dutch-process cocoa powder?
Natural cocoa powder is acidic and gives a lighter color and more intense chocolate flavor. Dutch-process cocoa is treated with an alkali, making it darker, milder, and less acidic. Both work in this recipe, but Dutch-process will give you a deeper, darker brownie. - My brownies turned out cakey, what went wrong?
The most common reason for cakey brownies is overmixing the batter (developing too much gluten in the flour) or overbaking. Ensure you mix only until the flour is just combined and watch the baking time carefully. - Can I make these brownies gluten-free?
While this recipe uses all-purpose flour, you can experiment with a 1:1 gluten-free baking flour blend that contains xanthan gum. Results may vary slightly in texture. - How can I make my brownies extra fudgy?
For maximum fudginess, slightly underbake them (a moist crumb on the toothpick, not fully clean), use good quality chocolate, and let them cool completely before cutting. Some bakers also swear by using more brown sugar than granulated sugar, but this recipe is designed for fudginess with the current sugar ratio. - Can I add nuts or other mix-ins?
Absolutely! Feel free to add ½ cup of chopped walnuts, pecans, or even shredded coconut along with the chocolate chips for extra texture and flavor. - What if I don’t have Cadbury Mini Eggs?
No problem! You can use any other chocolate Easter candy, such as Robin Eggs, M&M’s Easter eggs, or even regular M&M’s in festive colors. Chocolate sprinkles or a simple chocolate glaze can also make them festive. - How long do these brownies last?
Stored in an airtight container at room temperature, these brownies are best enjoyed within 3-4 days. They remain wonderfully chewy and delicious.
We hope these tips and the detailed recipe help you create a batch of Easter brownies that will be the highlight of your holiday dessert spread. Happy baking!