
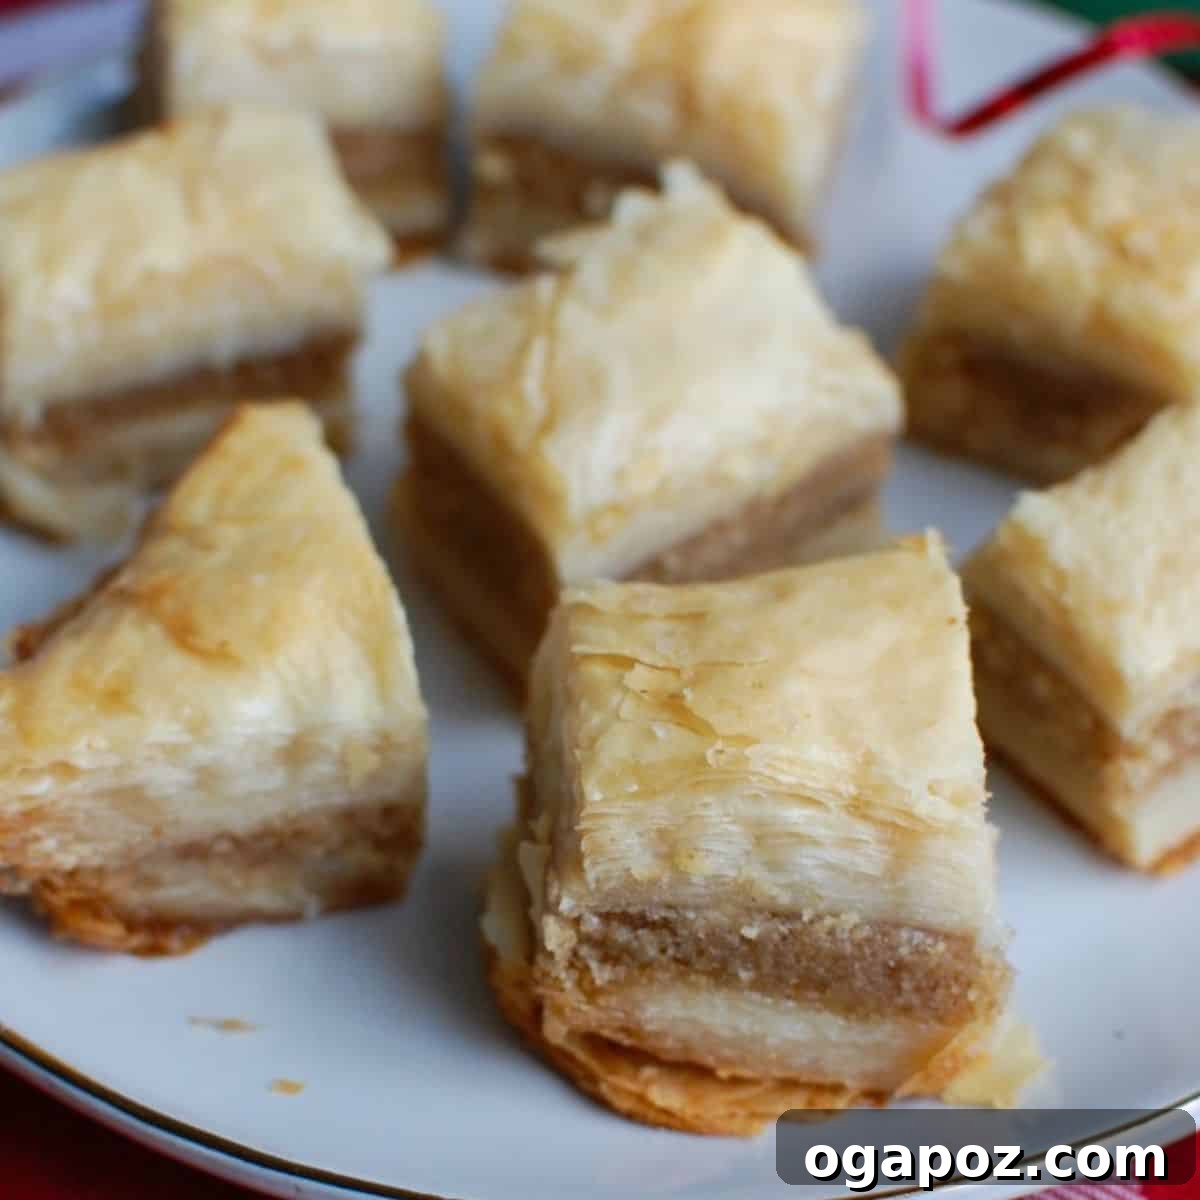
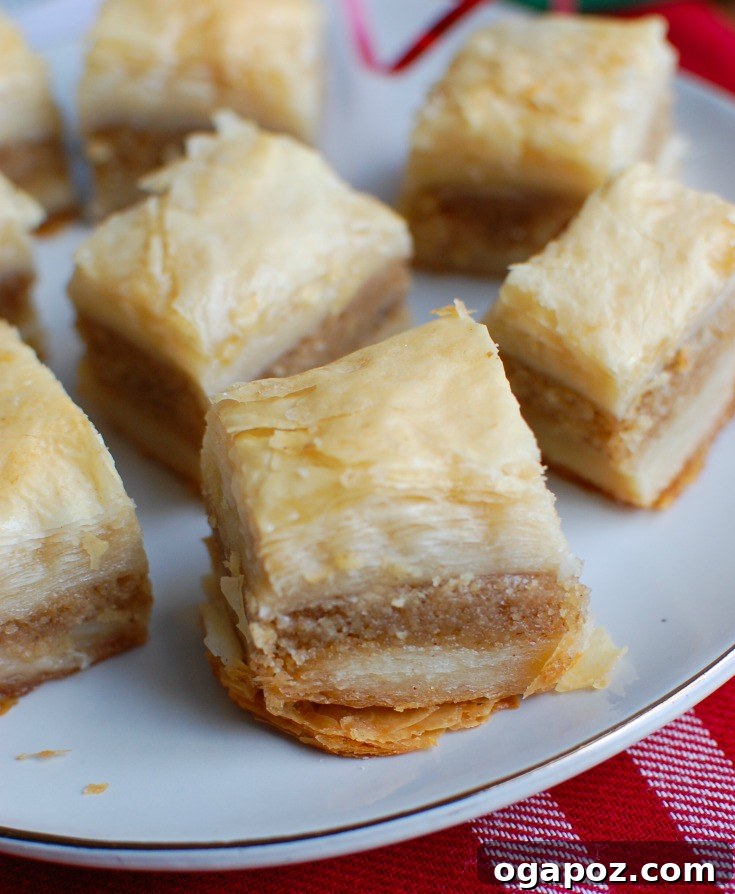
How to Make Authentic Lebanese Baklava: A Timeless Family Recipe
Baklava. Just the name evokes images of festive gatherings, the delicate crunch of golden pastry, and the rich, sweet aroma of nuts and spices. If you’ve ever savored this delightful treat during the holidays or at a special occasion, you understand its irresistible charm. Today, we’re inviting you into our family kitchen to discover How to Make Baklava – a cherished Lebanese recipe passed down through generations. Prepare to impress all your guests with this truly authentic and spectacular dessert.
More than just a recipe, this traditional baklava is a centerpiece of our holiday celebrations and a true labor of love. While it requires a little time and effort, the reward is an unparalleled culinary masterpiece that tastes even better than it looks. Growing up, the scent of baking baklava signaled the start of festive seasons, and the anticipation of its sweet layers was almost as delightful as the dessert itself. The sheer joy and satisfaction of creating this treat from scratch make every moment spent in the kitchen utterly worthwhile.
My journey to mastering this traditional Lebanese dessert began a few holidays ago, with a promise from my sister and mom to finally teach me their secrets. As it turned out, my sister and beloved grandma took on the role of my patient mentors, transforming the learning process into a heartwarming and memorable experience. I had yearned to learn this recipe for years, and finally sitting down with them, hands-on, felt like stepping into a culinary legacy. I have a strong feeling that making baklava will now become a cherished yearly tradition in my own home, just as it has always been a holiday staple in our family. However, let’s be honest, this exquisite treat is so good, I could easily enjoy it any time of the year!
Our family often prepares multiple batches of baklava, sharing them generously with friends, neighbors, and co-workers. It’s always an enormous hit! Want to make instant friends? Bring them a tray of homemade baklava – it’s practically magic. People truly adore this confection. While I won’t claim it’s a health food, its incredible deliciousness makes it a justifiable indulgence. We particularly love to conclude a hearty Lebanese meal, featuring classics like Meat Pies, Lebanese Green Beans (Lubee), Fattoush Salad, and creamy Hummus, with the sweet, nutty embrace of our homemade baklava.
The Enduring Appeal of Baklava: A Sweet History
Baklava is more than just a dessert; it’s a culinary icon with a rich history spanning centuries and cultures. While its exact origins are debated, variations of this layered pastry can be found across the Middle East, the Balkans, and the Mediterranean. From the grand courts of the Ottoman Empire to humble family kitchens in Lebanon, baklava has long been a symbol of hospitality, celebration, and culinary artistry. Our particular recipe hails from the heart of Lebanon, reflecting the country’s unique blend of flavors and traditions, most notably with the distinctive inclusion of rosewater that imparts an unforgettable fragrant note. Each delicate layer of phyllo dough tells a story of heritage, a testament to the timeless appeal of simple ingredients transformed into something extraordinary.
Preparing Your Workspace: Setting the Stage for Baklava Perfection
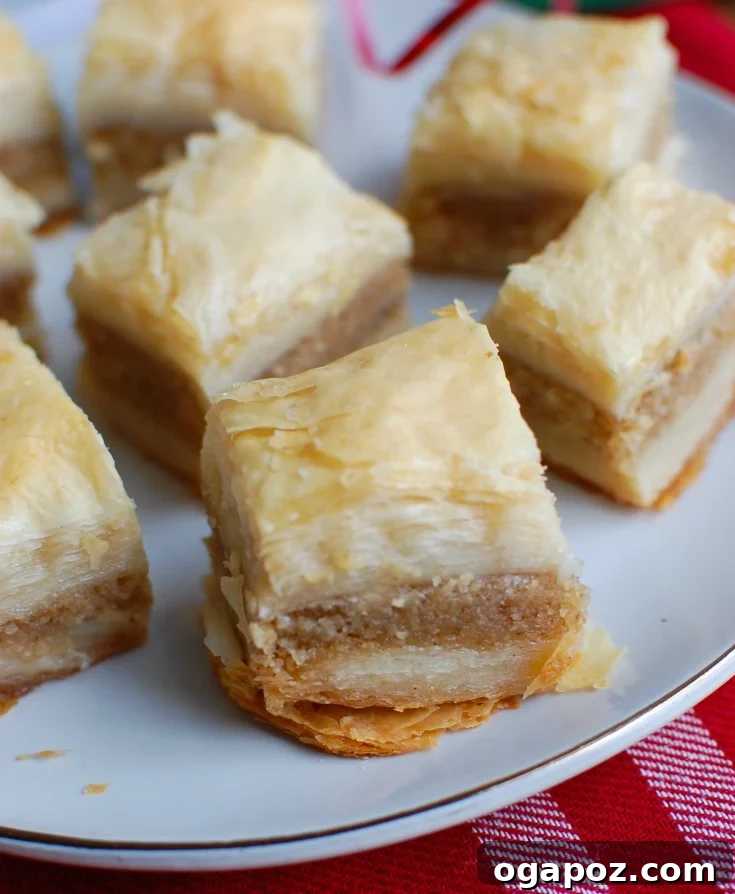
Crafting baklava is a joyful process, but it does require a bit of space and organization. Before you begin, designate a large, clear workspace. It’s wise to cover your work surface with something you don’t mind getting dirty, such as an old tablecloth or parchment paper, as melted butter can splash and stain. You’ll also need a large, soft pastry brush, your delicate phyllo dough, and a baking sheet that perfectly accommodates the size of your phyllo sheets.
The dimensions of your baking sheet are crucial and should correspond to the length of the phyllo dough you purchase. Phyllo sheets come in various sizes, so select a baking pan that allows the sheets to lie flat with minimal trimming. A little bit of careful preparation and hard work upfront ensures a smooth process, culminating in a magnificent final product that will be the talk of any gathering. Remember, the journey of making baklava is as rewarding as the destination!
Essential Tools for Baklava Success:
- Large Baking Pan: Choose one that fits your phyllo dough sheets well. A 14×18 inch rectangular pan is common, but adjust based on your dough size.
- Large Pastry Brush: A wide, soft bristled brush is essential for evenly coating the delicate phyllo layers with butter.
- Sharp Knife: For precise pre-cutting of the baklava into traditional diamond or square shapes. A non-serrated chef’s knife works best.
- Food Processor: Highly recommended for grinding nuts to the perfect consistency for the filling.
- Saucepan: For preparing the aromatic syrup.
- Small Bowl: For mixing the nut filling.
- Damp Cloth/Paper Towels: Crucial for keeping phyllo dough moist while you work, preventing it from drying out and cracking.
Key Ingredients for Authentic Lebanese Baklava
Creating truly outstanding baklava hinges on the quality and careful preparation of each ingredient. Here’s a detailed look at what you’ll need and why:
- Phyllo Dough (Fillo Dough): This delicate, paper-thin pastry is the backbone of baklava, responsible for its signature crispy, layered texture. I often source mine from a local Middle Eastern bakery, as they tend to offer fresher, higher-quality dough, typically with 18-20 sheets per pound. Grocery stores also carry it in their frozen section; just be sure to follow thawing instructions carefully. Handling phyllo requires a gentle touch and keeping it covered with a damp cloth to prevent it from drying out, which can make it brittle and difficult to work with.
- Unsalted Butter: Generous amounts of melted butter are key to achieving those golden, flaky layers. Using unsalted butter allows you to control the overall saltiness of the dessert. You’ll need to melt approximately 1 1/2 pounds (which equates to 32 tablespoons or 3 cups) in a saucepan until it’s fully liquid. Some traditional recipes call for clarified butter (ghee), which offers an even purer butter flavor and higher smoke point, but regular melted unsalted butter works beautifully for this recipe.
For the Aromatic Syrup:
The syrup is more than just a sweetener; it’s what infuses the baklava with its characteristic flavor and keeps it moist. The contrast of cold syrup poured over hot baklava is essential for perfect absorption and a crisp finish.
- Granulated Sugar: Standard white sugar forms the base of this sweet syrup. Its crystalline structure is important for the syrup’s consistency.
- Water: Combined with sugar, water creates the perfect liquid medium for the syrup, ensuring it coats every layer of the baklava.
- Rosewater: This is the secret ingredient that gives Lebanese baklava its distinctive, enchanting floral aroma and delicate taste. Rosewater is a fragrant liquid produced by distilling rose petals with water. Its subtle perfume elevates the baklava from merely sweet to truly ethereal. Do not skip this!
- Fresh Lemon Juice: A squeeze of fresh lemon juice is added to the syrup not just for a hint of tartness, but crucially, to prevent the sugar from crystallizing. This ensures your syrup remains smooth and clear. Always use fresh lemon if possible, and be diligent about removing any seeds. Bottled lemon juice can be used in a pinch, but fresh offers a brighter flavor.
For the Rich Nut Filling:
The heart of our baklava is a robust and flavorful nut filling, perfectly spiced to complement the sweet syrup and delicate pastry.
- Walnuts: Finely ground walnuts create the ideal texture for the filling. You can achieve this using a food processor, pulsing until the nuts are finely chopped but not turned into a paste. If chopping by hand, ensure they are very finely minced for an even distribution. Walnuts offer a robust, earthy flavor that pairs wonderfully with the other ingredients. While walnuts are traditional for Lebanese baklava, some variations use pistachios or almonds, or a mix of nuts.
- Granulated Sugar: A touch of white sugar is incorporated into the filling to enhance the natural sweetness of the nuts and bind the mixture slightly.
- Cinnamon: Ground cinnamon adds a warm, inviting spice note that perfectly balances the sweetness and nuttiness, contributing to the baklava’s complex flavor profile.
- Rosewater: Yes, more rosewater! A small amount is added to the nut filling as well, reinforcing that signature floral essence throughout every bite of the baklava. This dual application ensures the flavor permeates the entire dessert.
Step-by-Step Guide: Crafting Your Perfect Lebanese Baklava
Making baklava is a rewarding experience, a true culinary art. Follow these detailed steps to create a dessert that will be cherished by all.
Step 1: Prepare Your Workspace and Preheat Oven
Before you even touch the phyllo, ensure your ingredients are measured, butter is melted, and your nut filling and syrup are prepared. Lay out a protective covering on your counter. Preheat your oven to 350 degrees F (175 degrees C).
Step 2: Create the Aromatic Syrup
In a medium saucepan, combine the sugar, water, and rosewater. Bring the mixture to a boil over medium-high heat, stirring constantly until the sugar completely dissolves and the liquid becomes clear. Reduce the heat to low, add the fresh lemon juice, and simmer for another 5 minutes without stirring. Remove from heat and set aside to cool completely. The syrup must be cold when poured over the hot baklava to ensure the best texture and absorption.
Step 3: Prepare the Flavorful Filling
In a food processor, combine the ground walnuts, sugar, cinnamon, and rosewater. Pulse until the walnuts are finely chopped and all ingredients are thoroughly mixed. Be careful not to over-process, as you want a fine crumb texture, not a paste. If you don’t have a food processor, you can finely chop the walnuts by hand and then mix thoroughly in a bowl. Set this mixture aside.
Step 4: Assemble the Layers – The Art of Phyllo
Lightly brush your 14×18 inch baking tray (or whatever size fits your phyllo) with a generous amount of melted unsalted butter. Carefully place your first sheet of phyllo dough onto the bottom of the pan. Gently brush the entire surface of this phyllo sheet with melted butter, ensuring full coverage to prevent dryness and promote flakiness. Repeat this process, layering and buttering each individual sheet of phyllo, until you have used half of your phyllo dough (typically 9-10 sheets if using 18-20 sheet packs). Ensure each layer is well buttered, especially the edges. Once half the phyllo is layered, evenly distribute the entire nut mixture over the top. Gently spread it to the edges without pressing down too hard.
Now, continue with the second half of your phyllo dough. Carefully place another sheet on top of the nut mixture and brush it thoroughly with melted butter. Repeat this layering and buttering process for each remaining phyllo sheet until all the dough is used. Pay extra attention to the top layer, ensuring it is very well buttered for a beautiful golden-brown finish.
Step 5: Precisely Cut the Unbaked Baklava
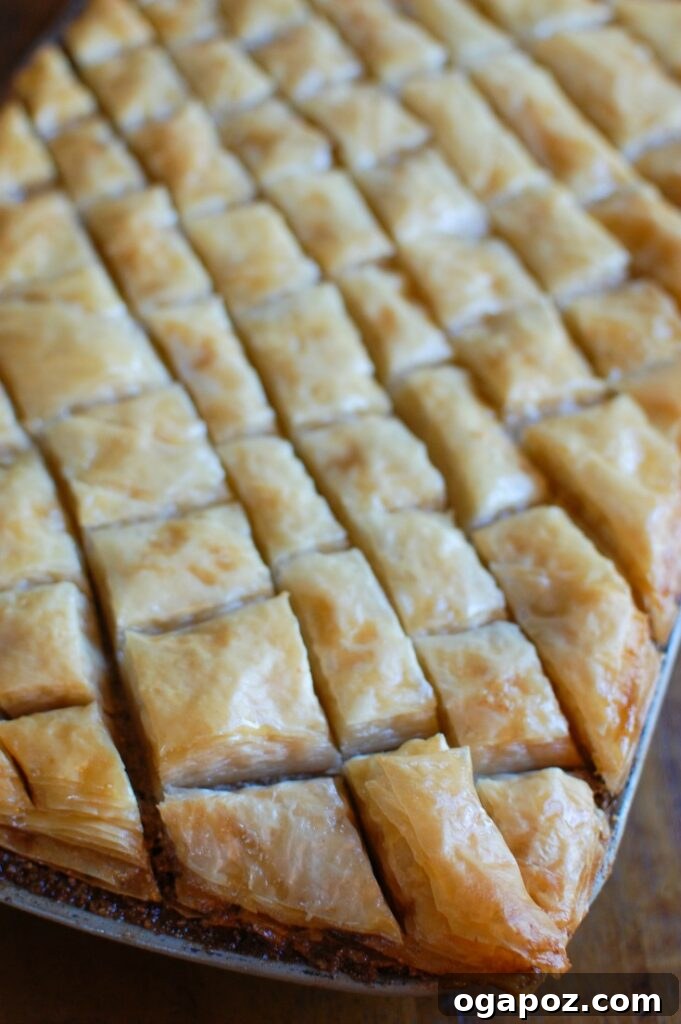
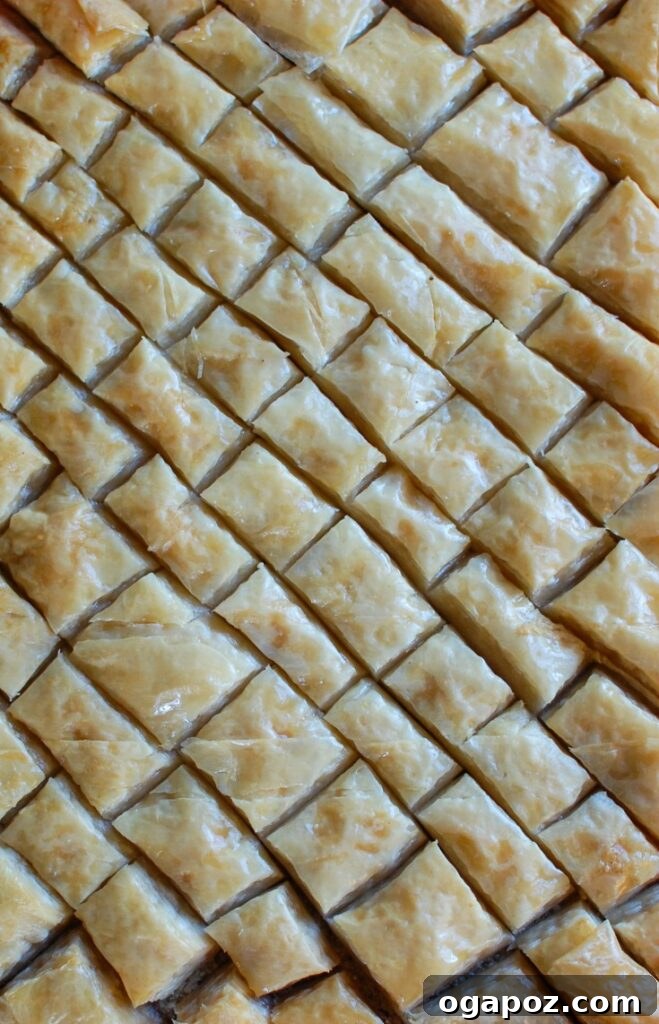
Using a very sharp, non-serrated knife, carefully cut the uncooked baklava into your desired shapes. The traditional Lebanese cut is diamonds: start by making lengthwise cuts, about 1 1/2 inches wide, then cut diagonally across these lines, also about 1 1/2 inches apart, to form diamond shapes. Alternatively, you can cut into squares or triangles. Pre-cutting is crucial as it prevents the pastry from cracking once baked and allows the syrup to penetrate evenly into every piece. For serving individual portions, cutting them small enough to fit into muffin or cupcake tins after cooling is a great idea.
Step 6: Bake to Golden Perfection
Carefully place the pan in the middle rack of your preheated oven. Bake for 35-45 minutes, or until the top turns a beautiful, rich golden brown and the edges are crisp. Keep an eye on it to prevent burning, as oven temperatures can vary. The house will start to smell absolutely incredible at this point!
Step 7: The Final Touch – Syrupy Sweetness
Once the baklava is gloriously golden brown, remove it immediately from the oven. While it is still piping hot, slowly and evenly pour the completely cold syrup over the entire surface of the baklava. You will hear a delightful sizzle as the syrup meets the hot pastry, indicating perfect absorption. Allow the baklava to cool completely, preferably for several hours or even overnight. This crucial resting period allows the flavors to meld, and the pastry to fully absorb the syrup, achieving its perfect crisp-yet-moist texture. Once cooled, re-cut along your original lines if necessary and arrange in small cupcake or muffin tins for elegant serving.
Storage Tips for Keeping Your Baklava Fresh
Proper storage is key to preserving the delicious taste and crisp texture of your homemade baklava. Follow these tips to keep your masterpiece fresh and enjoyable for as long as possible:
- The Essential Rest: After pouring the syrup, allow your baklava to rest on the baking sheet for a minimum of 4-6 hours. Ideally, let it sit overnight. This extended cooling time is crucial for the flavors to fully meld and for the phyllo to properly absorb the syrup, preventing it from becoming soggy and ensuring maximum crispness.
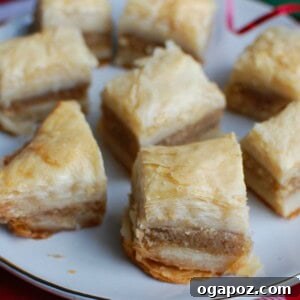
- Transferring for Storage: Once completely cooled, use a sharp knife to carefully re-cut along the original lines if the syrup has caused them to seal slightly. Gently remove the individual pieces from the baking sheet. For a charming presentation, place them into festive holiday muffin or cupcake tins.
- Airtight is Key: Store your baklava at room temperature in an airtight container. This helps maintain its crispness and protects it from drying out. When stored correctly, baklava can stay fresh and delicious for up to a week, and sometimes even two weeks.
- Avoid Refrigeration: It’s best to avoid refrigerating baklava. The moisture in the refrigerator can cause the delicate phyllo pastry to lose its crispness and become chewy, which diminishes its signature texture.
- Freezing (Optional): If you wish to store baklava for longer periods, it can be frozen. Wrap individual pieces tightly in plastic wrap, then place them in an airtight freezer-safe container. Thaw at room temperature before serving. Note that freezing might slightly alter the texture, but it will still be delicious.
Recipe Frequently Asked Questions about Baklava
Absolutely! Most home bakers use frozen phyllo dough, as fresh phyllo can be hard to find. The key is to thaw it properly. Transfer the frozen dough to your refrigerator overnight (at least 8-12 hours) before you plan to use it. Once opened, keep the unused sheets covered with a slightly damp cloth or paper towel while you’re assembling the baklava. This prevents the delicate dough from drying out and becoming brittle, which can make it tear easily.
For the best results, use a very sharp, non-serrated knife to cut the baklava into diamond or triangle shapes *before* it goes into the oven. Pre-cutting is essential because it prevents the baked pastry from cracking when you try to cut it later and ensures the hot syrup can evenly penetrate all the layers. A chef’s knife or a long, thin slicing knife works wonderfully. A serrated knife can tear the delicate phyllo. To prevent the pastry sheets from sticking to your knife, you can lightly dampen your hands or the blade with a little water as you cut, but a truly sharp knife should glide through with ease.
The delicate nature of phyllo dough means it dries out very quickly when exposed to air. To combat this, always keep any unused phyllo sheets covered with a lightly damp cloth or paper towel while you are working. Uncover only the sheet you are currently buttering. Work relatively quickly but carefully, ensuring each layer is brushed with butter to create a protective barrier.
Preparation is key to a stress-free baklava-making experience! It’s highly recommended to have all your components ready before you start assembling the phyllo layers. This means: thaw your phyllo dough overnight in the refrigerator, make your nut filling, prepare your syrup (and let it cool completely), and melt your butter. This organized approach ensures that the phyllo dough doesn’t dry out while you’re scrambling to get other ingredients ready.
For the perfect baklava texture – crisp on top and moist within – a temperature contrast between the baklava and the syrup is crucial. You should either pour cold syrup over hot baklava (immediately after it comes out of the oven) or warm syrup over cold baklava. This contrast helps the phyllo absorb the syrup properly without becoming soggy and ensures that beautiful, shiny, and crisp finish. Our recipe calls for pouring cold syrup over hot baklava, a method favored for achieving optimal crispness.
Absolutely! While walnuts are traditional for Lebanese baklava, you can certainly experiment with other nuts or a combination. Pistachios are very popular in other Middle Eastern variations, offering a vibrant green color and distinct flavor. Almonds also work beautifully, providing a slightly sweeter, milder taste. For best results, ensure any nuts you use are finely ground and fresh.
Several factors contribute to extra crispy baklava: using plenty of butter between layers, ensuring the phyllo doesn’t dry out during assembly, baking it until deeply golden brown, and most importantly, pouring cold syrup over hot baklava. Some also swear by baking at a slightly lower temperature for a longer period to ensure the layers crisp up all the way through.
Why You Should Master This Baklava Recipe
There’s something uniquely satisfying about preparing a traditional recipe like baklava from scratch. It’s not just about the delicious outcome, but the experience itself. As you layer the delicate phyllo, brush each sheet with melted butter, and spread the aromatic nut filling, you connect with a culinary heritage that spans generations. This recipe, straight from the heart of Lebanon, offers an authentic taste that few store-bought versions can match. The golden, flaky pastry, the sweet and spiced nut filling, and the fragrant rosewater syrup combine to create a symphony of flavors and textures that is truly unforgettable. It’s a show-stopping dessert that promises to delight your family and friends, making any occasion feel extra special. Embrace the tradition, savor the process, and enjoy the incredible reward of homemade baklava!
More Delightful Dessert Recipes to Explore
Desserts
Delicious No-Bake Cookie Recipe
Desserts
Irresistible White Chocolate Toasted Coconut Cookies
Desserts
Festive Oatmeal White Chocolate Peppermint Cookies
Desserts
Traditional Christmas Shortbread Cookies
We hope you enjoyed this authentic Lebanese Baklava recipe! Share your experience below or follow us on
Facebook,
Instagram, or
Pinterest for more culinary inspirations.
How to Make Authentic Lebanese Baklava
Print Recipe
Ingredients
- ▢ 2 pounds phyllo dough, approximately 18-20 sheets per lb, thawed
- ▢ 1 1/2 pounds unsalted butter, melted (approx. 3 cups or 32 tablespoons)
For the Syrup:
- ▢ 3 cups granulated sugar
- ▢ 1 1/2 cups water
- ▢ 1 teaspoon rosewater
- ▢ 1 lemon, freshly juiced
For the Filling:
- ▢ 1 pound ground walnuts
- ▢ 1 cup granulated sugar
- ▢ 1 teaspoon cinnamon
- ▢ 1 teaspoon rosewater
Instructions
-
Preheat your oven to 350°F (175°C). Ensure your phyllo dough is thawed in the refrigerator overnight.
-
Prepare the Syrup: In a saucepan, combine 3 cups sugar, 1 1/2 cups water, and 1 teaspoon rosewater. Bring to a boil, stirring until sugar dissolves and mixture is clear. Reduce heat, add lemon juice, and simmer for 5 minutes. Remove from heat and let cool completely. The syrup must be cold when poured over hot baklava.
-
Prepare the Filling: In a food processor, combine 1 pound ground walnuts, 1 cup sugar, 1 teaspoon cinnamon, and 1 teaspoon rosewater. Pulse until walnuts are finely chopped and ingredients are well mixed. Set aside.
-
Assemble the Baklava: Brush a 14×18 inch baking tray with melted unsalted butter. Place one sheet of phyllo dough on the bottom of the pan and brush generously with melted butter. Repeat this process until you have used half of your phyllo dough (typically 9-10 sheets), buttering each individual sheet. Evenly distribute the entire nut mixture over the buttered phyllo layers.
-
Continue layering the remaining phyllo sheets on top of the nut mixture, brushing each sheet thoroughly with melted butter. Ensure the top layer is especially well-buttered for a beautiful golden crust.
-
Cut the Baklava: Using a very sharp, non-serrated knife, carefully cut the uncooked baklava into diamond shapes. Start with lengthwise cuts, approximately 1 1/2 inches wide, then cut diagonally across, also about 1 1/2 inches apart. Pre-cutting is essential for even syrup penetration and to prevent cracking.
-
Bake: Place the pan in the middle rack of the preheated oven and bake for 35-45 minutes, or until the baklava is deeply golden brown and crispy.
-
Syrup and Cool: Remove the hot baklava from the oven and immediately pour the cold syrup slowly and evenly over the entire surface. Let the baklava cool completely at room temperature for at least 4-6 hours, or preferably overnight, allowing the flavors to meld and the syrup to fully absorb. Once cooled, re-cut if necessary and transfer to small cupcake or muffin tins for serving.
Notes
- Knife for Cutting: Use a sharp, non-serrated knife to cut the baklava into diamonds/triangles *before* baking. This prevents cracking and ensures the syrup penetrates evenly. Lightly dampen your hands or the knife blade if needed to prevent sticking.
- Preventing Dryness: Always keep unused phyllo sheets covered with a damp cloth while working to prevent them from drying out and becoming brittle.
- Syrup Temperature: Pour completely cold syrup over hot baklava immediately after it comes out of the oven for the best absorption and a crisp, non-soggy texture.
Storage Tips
- Allow baklava to rest on the baking sheet for at least 4-6 hours (overnight is ideal) for flavors to meld and syrup to absorb fully.
- Once cooled, re-cut and place individual pieces into holiday muffin tins or an airtight container.
- Store baklava at room temperature in an airtight container for up to a week (possibly two). Avoid refrigerating, as it can make the pastry lose its crispness.
Nutrition
Nutrition information is automatically calculated and should be used as an approximation.