
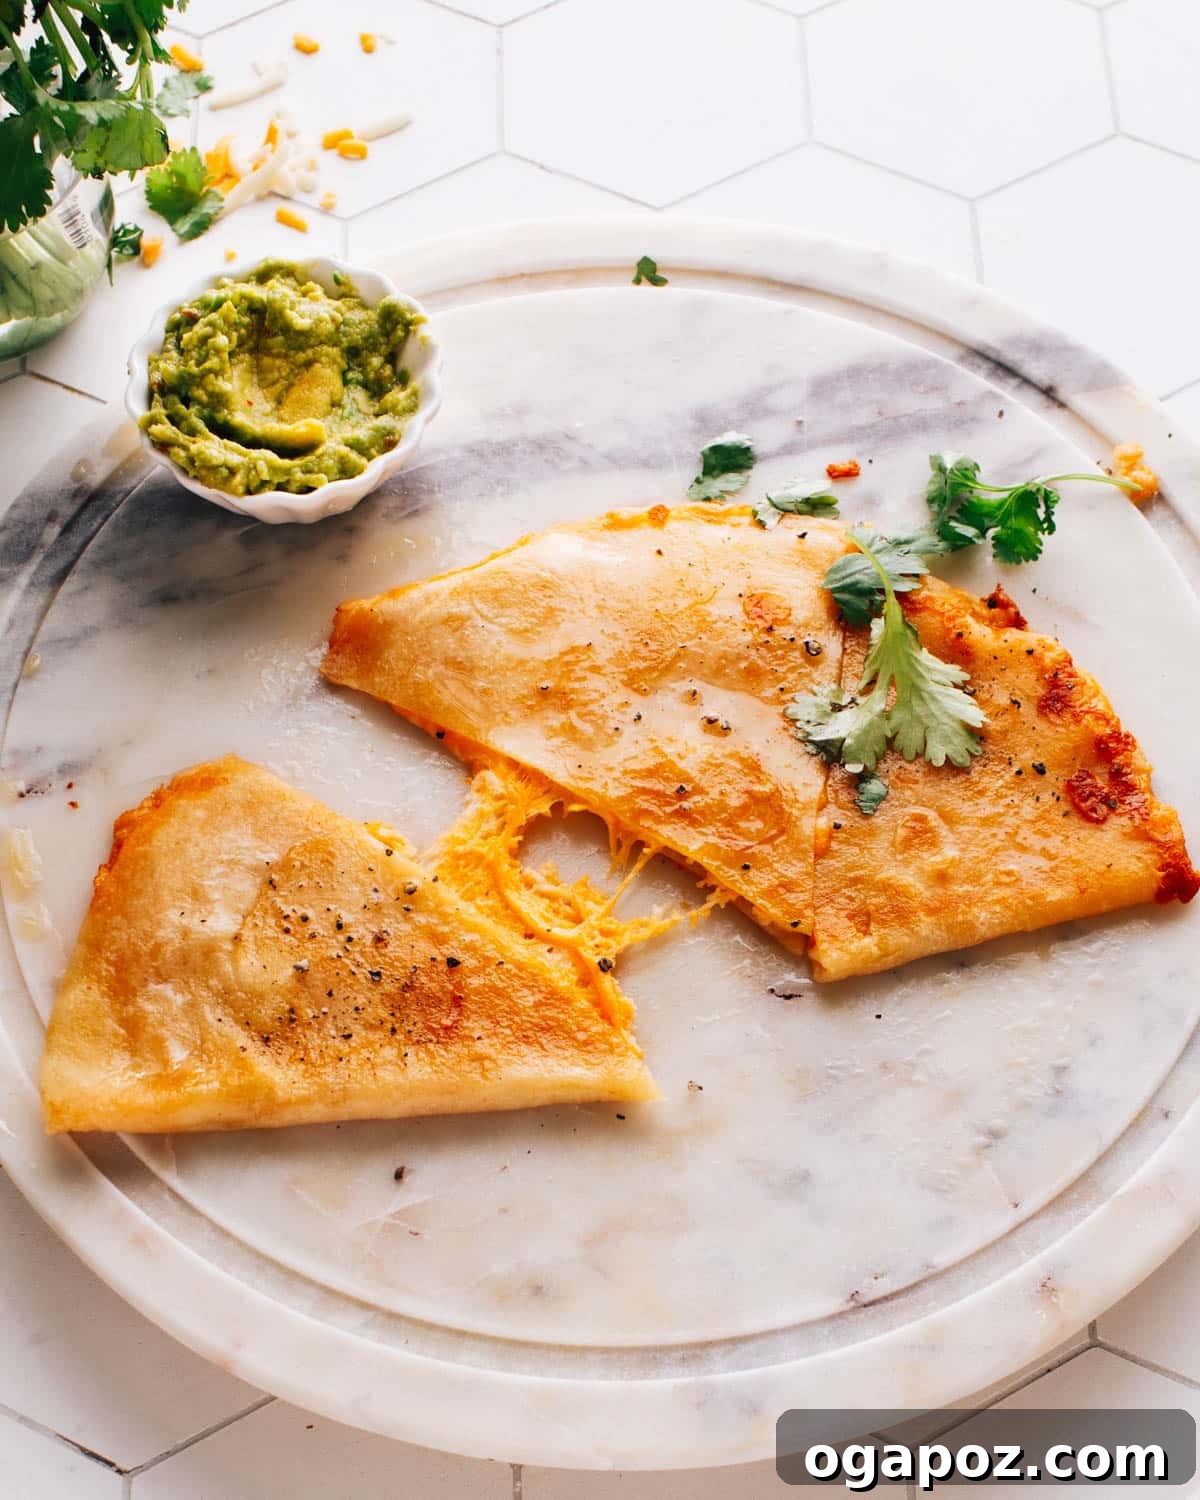
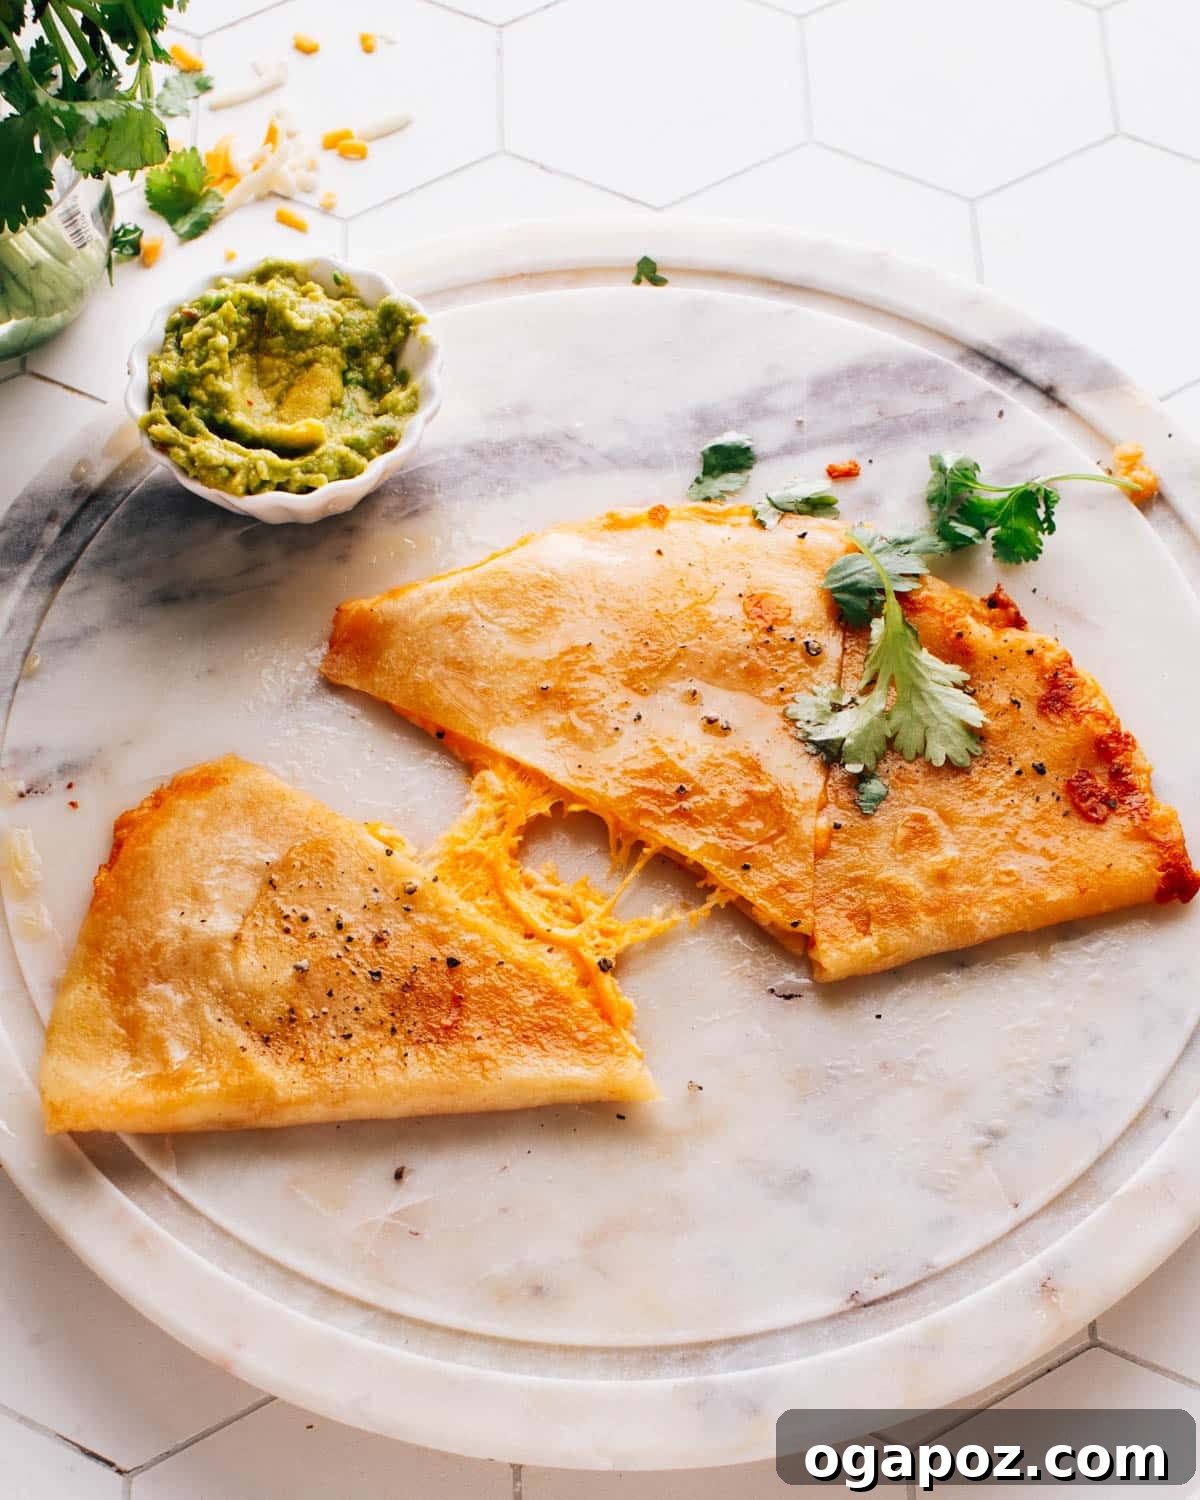
Through countless culinary adventures and cherished trips to Mexico, I’ve had the distinct pleasure of unraveling the authentic secrets behind crafting a truly perfect cheese quesadilla. This isn’t just about melting cheese; it’s about achieving that sublime balance of gooey, melty, golden, and undeniably cheesy deliciousness that transforms a simple dish into an extraordinary comfort food experience. What began as a reliable, easy recipe for busy weeknights has evolved into one of my most beloved and frequently prepared dinners, especially when paired with a side of creamy baja sauce.
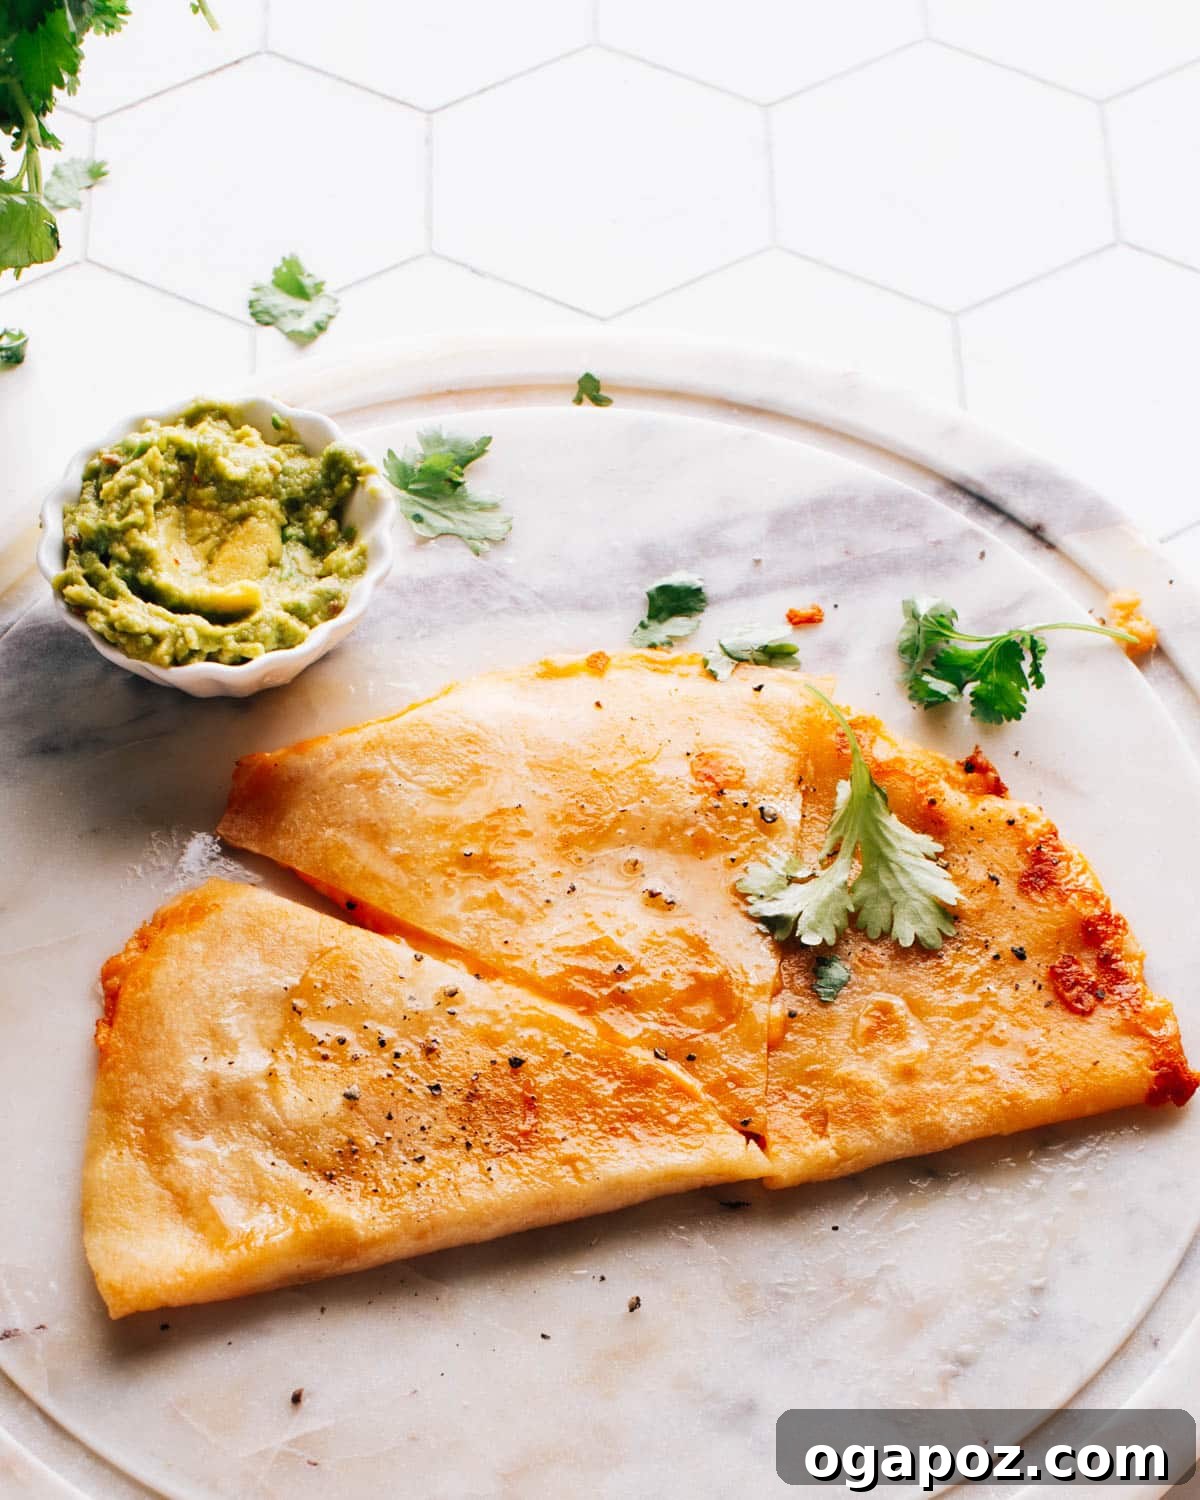
Mastering the Art of the Perfect Cheese Quesadilla
What Defines an Exceptional Cheese Quesadilla?
A truly exceptional cheese quesadilla is more than just cheese between two tortillas. It’s a harmonious blend of textures and flavors, starting with the foundation: a quality tortilla, typically a soft flour tortilla. The journey to perfection begins with warming this tortilla to enhance its pliability, preparing it to cradle a generous filling of delectable, melt-in-your-mouth cheese.
- The Heart of the Dish: Cheese Selection. The choice of cheese is paramount. It’s the ingredient that imparts richness, adds depth of flavor, and creates that irresistible gooey texture crucial to a great quesadilla.
- The Golden Touch: Buttering the Tortilla. Just as you would butter bread for a grilled cheese sandwich to achieve a crispy, golden exterior, buttering your tortilla is a non-negotiable step that significantly elevates the flavor and texture of the quesadilla.
- Perfectly Cooked: Golden-Brown and Gooey. The quesadilla must be cooked until the tortilla achieves a beautiful golden-brown crispness on the outside, while the interior cheese transforms into a luscious, smoothly melted consistency. This contrast between crispy exterior and soft, warm interior is what sets the best quesadillas apart.
This beloved dish stands out as one of the easiest and most satisfying Mexican dishes to prepare, embodying the very essence of comfort food.
Choosing the Best Cheese for Your Quesadillas
The quest for the ultimate cheese quesadilla invariably leads to the critical decision of which cheese to use. The ideal cheese should melt beautifully, offering a creamy, stretchy texture, and possess a flavor profile that complements your chosen fillings. Here’s a deeper dive into top picks and why they excel:
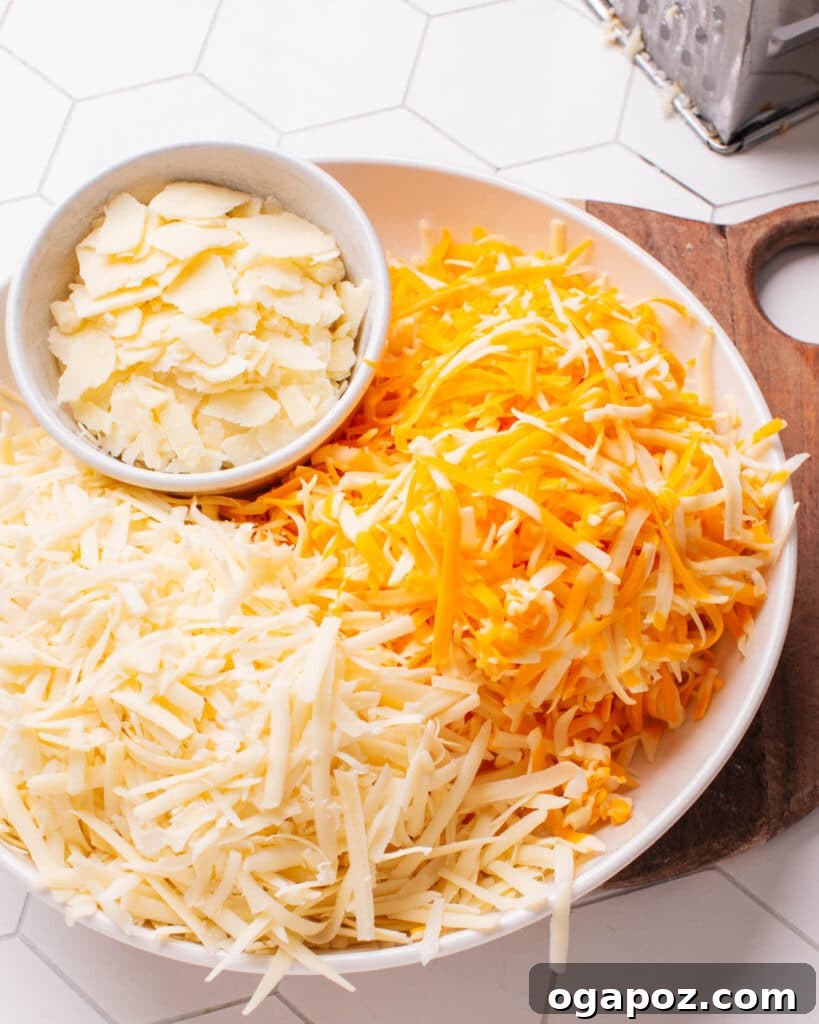
- Monterey Jack Cheese: Often considered the gold standard for quesadillas, Monterey Jack is celebrated for its incredibly creamy texture, mild flavor, and exceptional melting properties. It’s a versatile choice that allows other ingredients to shine.
- Cheddar Cheese: For those who prefer a more pronounced flavor, cheddar cheese, particularly medium or sharp varieties, adds a delightful tang and richness. It’s frequently combined with Monterey Jack to achieve a balanced flavor and superior melt.
- Colby Jack: This popular blend of Colby and Monterey Jack cheeses offers the best of both worlds: a beautifully smooth melt with a mild, approachable flavor that appeals to a wide range of palates.
- Asadero or Queso Quesadilla: These traditional Mexican cheeses are specifically designed for melting. They offer a creamy texture and mild, milky flavor, making them authentic choices that deliver superb results.
- Mozzarella Cheese: While perhaps more associated with Italian cuisine, mozzarella is an excellent option for quesadillas, especially if you desire a very mild flavor and that coveted, satisfyingly stretchy cheese pull.
- Oaxaca Cheese: Hailing from Oaxaca, Mexico, this unique string cheese is a semi-soft, unripened cheese known for its distinct stringy texture and smooth, meltable consistency. Its delicate, milky flavor makes it a fantastic authentic choice for quesadillas and other melted cheese applications.
- Provolone Cheese: A lesser-known but equally effective option, provolone offers a smooth, creamy melt and a slightly sharper flavor than mozzarella, adding an interesting dimension to your quesadilla.
Don’t hesitate to experiment! Mixing and matching different cheeses is a fantastic way to create a more complex and personalized flavor profile. For instance, a blend of Monterey Jack and a sharp cheddar can offer both creaminess and a zesty kick. While pre-shredded cheese blends (like Tex-Mex blends) are convenient, be aware that they often contain anti-caking agents that can hinder optimal melting and sometimes result in a slightly grainy texture. For the absolute best melt and flavor, shredding cheese from a block yourself is always recommended.
Gather Your Essential Ingredients
Embarking on your quesadilla-making journey is simple when you have the right ingredients at hand. Here’s what you’ll need to assemble for a delicious and satisfying experience:
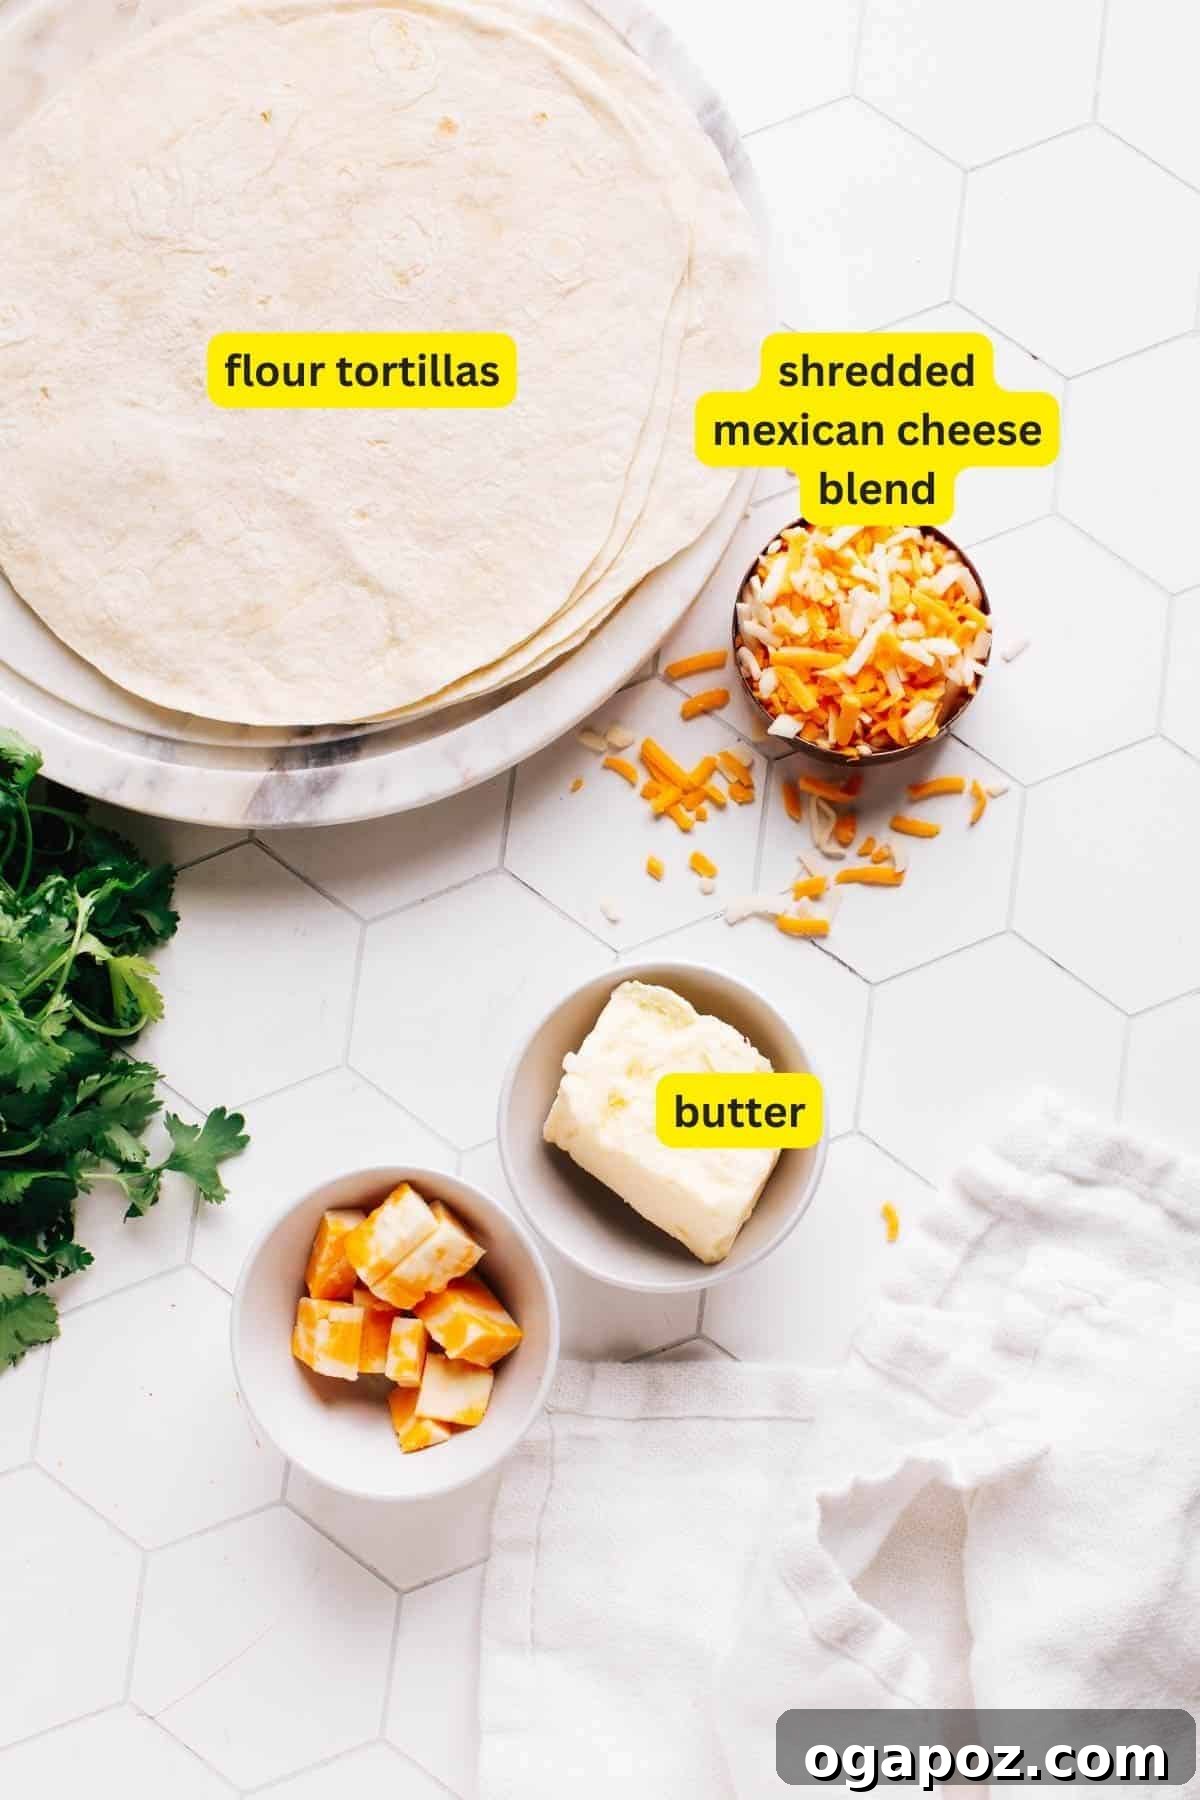
- Large Flour Tortillas: These versatile tortillas serve as the perfect canvas, forming both the base and top layer that neatly encases all your scrumptious fillings. While flour tortillas are most common, you can also opt for soft corn tortillas for a delicious, naturally gluten-free alternative. For an extra special touch, consider making your own homemade flour tortillas.
- Shredded Cheese: As discussed, a high-quality, melty shredded cheese or a blend is crucial. Aim for about ½ cup per quesadilla to ensure a generous, gooey filling.
- Butter: This is a secret weapon for flavor and texture. Butter not only prevents the tortilla from sticking to the skillet but also imparts a rich, golden-brown crispness and a subtly nutty flavor that surpasses alternatives like olive oil.
- Optional Accompaniments for Serving: Elevate your quesadilla experience with classic toppings. Consider serving with cool sour cream, creamy guacamole, vibrant taco salsa, or fresh pico de gallo. These additions provide contrasting textures and flavors that enhance every bite.
Corn vs. Flour Tortillas: Making the Right Choice
The type of tortilla you choose significantly impacts the final taste and texture of your quesadilla. Both corn and flour tortillas offer distinct characteristics, making them suitable for different preferences:
- Flour Tortillas: These are the most common choice for traditional quesadillas due to their inherent softness, flexibility, and larger size. Their pliable nature makes them ideal for folding and accommodating a generous amount of fillings without tearing. Flour tortillas also have a mild flavor that allows the rich taste of the cheese and any additional fillings to truly shine. They cook up to a wonderfully crispy exterior while remaining soft inside.
- Corn Tortillas: Smaller, sturdier, and imbued with a more distinctive, earthy flavor, corn tortillas offer a different quesadilla experience. They can achieve a delightful crunch when cooked, providing a textural contrast that many find appealing. However, their smaller size means they hold less filling, and their sturdier nature can make them a bit more challenging to fold neatly without cracking. If you adore crunch and robust flavor, corn tortillas are a fantastic choice, perhaps even inspiring you to try recipes like my crispy fried tacos! For a truly authentic Mexican experience, many prefer corn tortillas, especially in southern Mexico.
Beyond Cheese: Creative and Delicious Additional Fillings for Quesadillas
While a classic cheese quesadilla is a marvel in itself, its true versatility lies in its ability to embrace a wide array of additional fillings. These additions can transform a simple snack into a hearty meal, offering endless possibilities for customization and flavor exploration. Here are some of the best ways to elevate your quesadilla:
- Proteins for Substance: Adding cooked proteins instantly makes your quesadilla more substantial and satisfying.
- Chicken: Shredded cooked chicken, especially leftover from dishes like chicken street tacos, is a lean and flavorful option.
- Steak: Thinly sliced grilled steak, perhaps from leftover beef fajitas, adds a robust and savory element.
- Pork: Carnitas or slow-cooked pulled pork can bring incredible depth and tenderness.
- Ground Beef: Seasoned ground beef, similar to taco meat, is a popular and easy-to-prepare filling.
- Cured Meats: Fresh chorizo, with its spicy, rich flavor, was a favorite addition during my trips to Mexico. Crumbled bacon or ham can also add a smoky, savory dimension.
- Vibrant Vegetables: Vegetables not only add color and texture but also a boost of nutrients. Ensure they are pre-cooked or chopped finely to prevent sogginess and ensure even heating.
- Sautéed Classics: Softened onions, bell peppers (any color), and mushrooms are popular and lend a sweet, earthy flavor.
- Leafy Greens: Fresh spinach or kale wilts beautifully within the quesadilla, adding a healthy touch.
- Corn: Sweet corn kernels (fresh, canned, or frozen) provide a delightful pop of sweetness and texture.
- Spicy Kicks: Sliced jalapeños or serrano peppers can add a welcome heat. Roasted poblano peppers offer a milder, smoky flavor.
- Fresh Additions (post-cook): Diced fresh tomatoes, cilantro, or green onions can be added after cooking for a burst of freshness.
- Hearty Beans and Legumes: Beans contribute a fantastic creamy texture and make the quesadilla even more filling.
- Black Beans: Drained and rinsed canned black beans are incredibly convenient and add an earthy flavor.
- Pinto Beans: Refried beans offer a smooth, rich base, while whole pinto beans add a different texture.
Remember to keep fillings relatively thin and evenly distributed to ensure your quesadilla cooks thoroughly and is easy to flip. A little seasoning, like a pinch of cumin, chili powder, or garlic powder, can also enhance the overall flavor profile of your fillings.
How to Make the Ultimate Cheese Quesadilla: Easy Step-by-Step Directions
With our ingredients gathered and our filling ideas in mind, let’s dive into the straightforward yet crucial process of crafting your ultimate cheese quesadilla. These steps are designed for a perfect golden crispness and a gloriously melted interior:
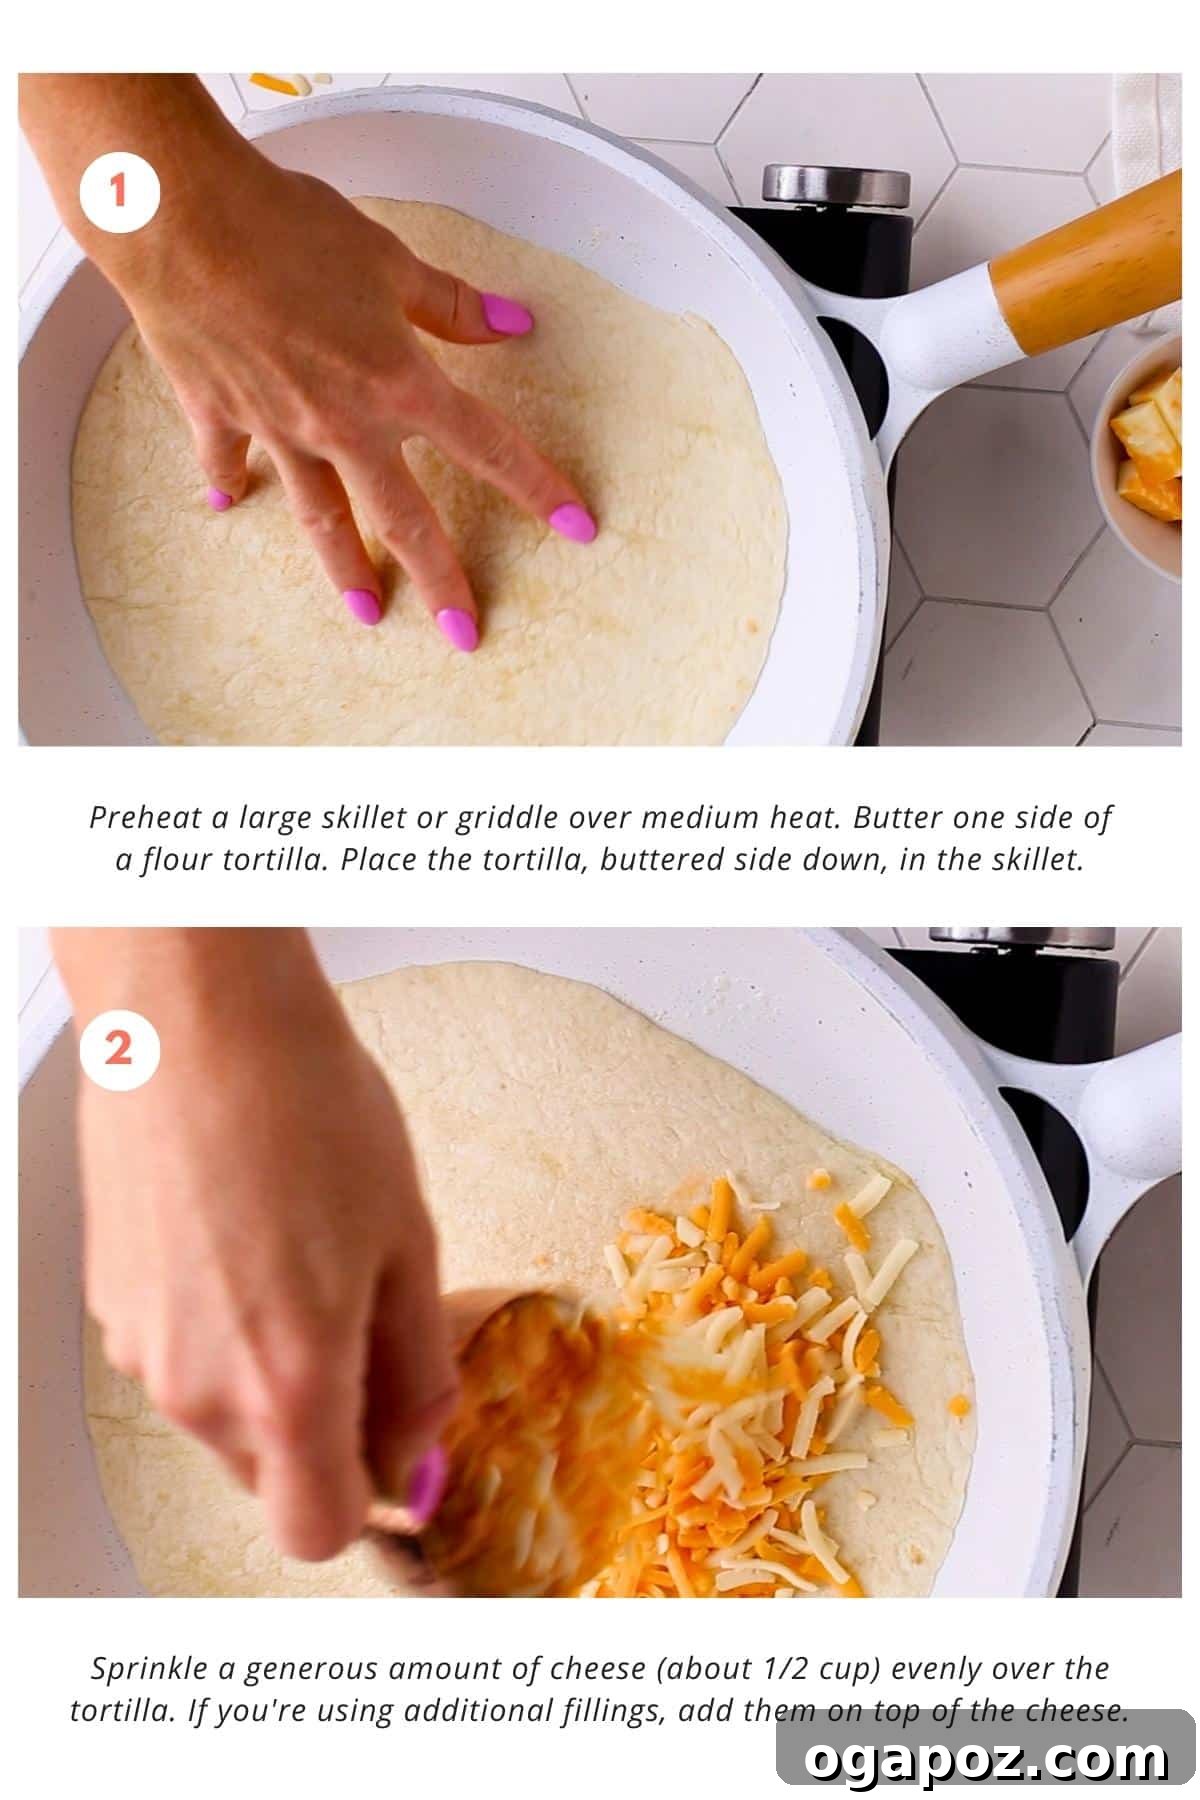
- Step 1: Preheat the Skillet or Griddle. This foundational step is paramount for achieving that desirable crispy exterior. Preheating ensures an even and consistent cooking temperature from the very beginning, preventing hot spots and guaranteeing uniform browning. Use medium heat – too low, and it won’t crisp; too high, and it will burn before the cheese melts.
- Step 2: Butter and Fill One Tortilla. Take one side of a flour tortilla and generously butter it. Place this buttered side down onto your preheated skillet. This direct contact with butter and heat creates a beautiful golden-brown crust and prevents the tortilla from sticking. Immediately sprinkle a generous, even layer of your chosen shredded cheese over one half of the tortilla circle. If you’re adding any optional fillings (like pre-cooked chicken or sautéed veggies), distribute them evenly over the cheese at this point. Be mindful not to overstuff, as this can make folding and flipping difficult.
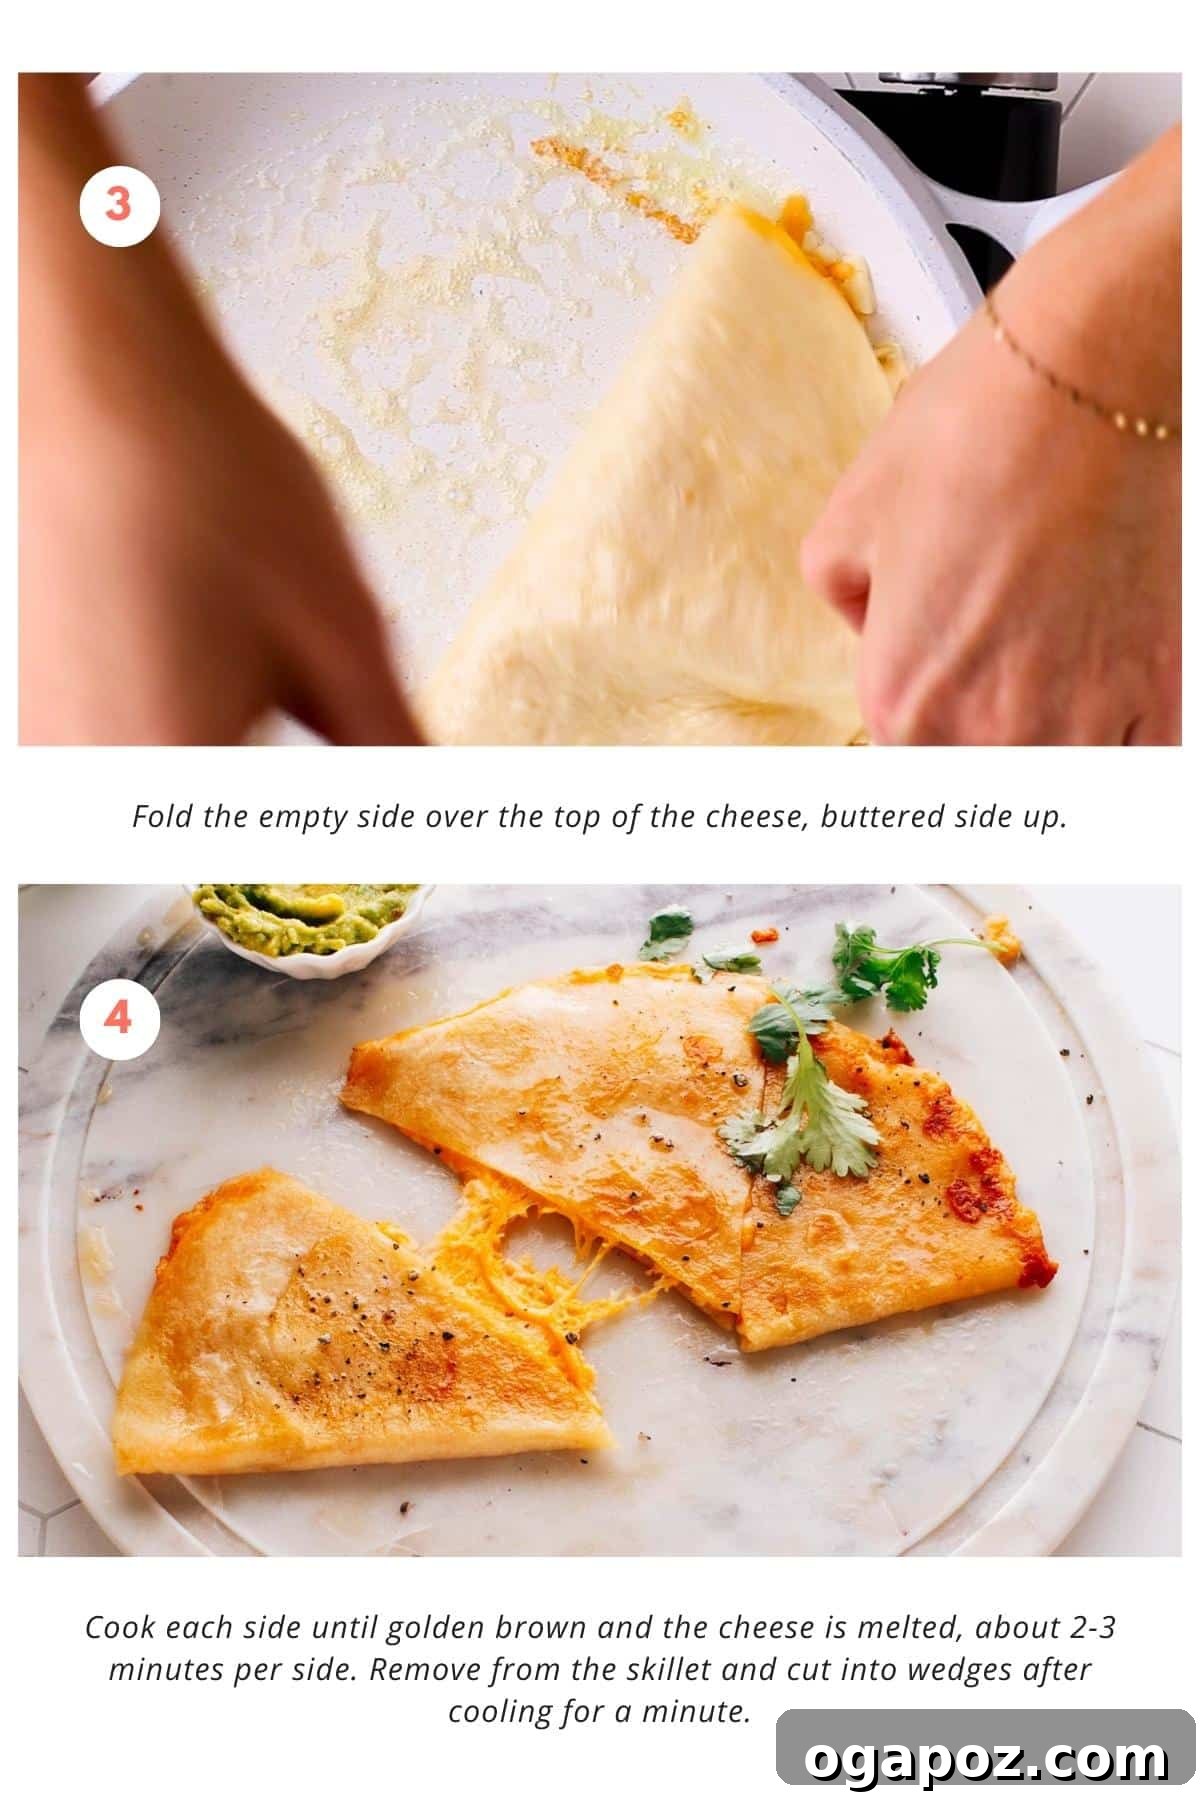
- Step 3: Fold and Initiate Cooking. Once the cheese and any additional fillings are placed, gently fold the empty half of the tortilla over the filled side, creating a half-moon shape. The unbuttered side should now be facing upwards. Allow the quesadilla to cook undisturbed for approximately 2-3 minutes, or until you notice the bottom tortilla turning a vibrant golden brown and the cheese inside just beginning to soften and melt around the edges.
- Step 4: Flip and Finish Cooking. Using a wide, sturdy spatula, carefully flip the quesadilla to cook the second side. Continue cooking for an additional 2-3 minutes, or until this side also achieves a beautiful golden-brown crispness and the cheese inside is completely melted, gooey, and bubbling. The goal is a uniform crispness on both sides and a thoroughly melted interior.
- Step 5: Rest, Cut, and Serve. Once both sides are cooked to golden perfection, remove the quesadilla from the skillet and transfer it to a cutting board. Allow it to cool for just about a minute. This brief resting period allows the cheese to set slightly, making for cleaner cuts. Then, using kitchen scissors, a pizza cutter, or a sharp knife, cut the quesadilla into convenient wedges. Serve immediately with your favorite toppings.
How to Air Fry a Quesadilla for Quick Perfection
For those seeking a quick, mess-free method, or when cooking for a single serving, the air fryer is an excellent tool for making a crispy, melty quesadilla. This approach yields fantastic results with minimal effort:
- Prepare Your Quesadilla: Assemble your quesadilla as usual with cheese and any desired fillings on one half of a buttered tortilla. Fold it into a half-moon. For whole tortillas, lightly butter both sides, place cheese and fillings on one half, and fold the other half over.
- Preheat the Air Fryer: Preheat your air fryer to 375°F (190°C) for about 3-5 minutes. This ensures even cooking and crisping.
- Lightly Oil: Lightly spray both sides of the assembled quesadilla with cooking spray or brush with a tiny amount of butter. This aids in achieving that desired golden crispness.
- Air Fry: Carefully place the quesadilla into the air fryer basket in a single layer. You may need to cook them in batches depending on your air fryer size. Cook for 5-7 minutes, flipping halfway through, until the tortilla is golden brown and crispy, and the cheese is thoroughly melted and bubbly.
- Serve: Remove from the air fryer, let it rest for a minute, then cut into wedges and serve immediately. This method is perfect for a fast lunch or a delightful snack, offering a perfectly crisp texture reminiscent of my air fryer quesadilla recipe.
5 Pro Tips for Crafting the Best Cheese Quesadillas Every Time
Elevate your quesadilla game from good to extraordinary with these expert tips, honed over countless batches of cheesy goodness:
- The Right Cheese Blend is Key: Always prioritize a melty cheese like Monterey Jack, cheddar, Colby, or asadero for that signature gooey interior. Don’t shy away from mixing cheeses to create a more complex flavor profile. For an ultimate cheese pull, consider adding a few small cubes of mozzarella or provolone amidst your shredded cheese.
- Resist the Urge to Overstuff: A common mistake is piling on too many fillings. A light, even layer of cheese and any additional ingredients ensures optimal melting and even cooking. Overstuffing can lead to unevenly cooked quesadillas, messy spills, and tortillas that struggle to crisp up properly.
- Pre-Cook Your Veggies and Proteins: Raw vegetables like onions, bell peppers, or mushrooms contain moisture that can make your quesadilla soggy if not addressed. Always sauté these ingredients beforehand to remove excess moisture and tenderize them, ensuring your quesadilla stays wonderfully crisp. Similarly, any meat additions should be fully cooked before being added.
- Master the Heat: Medium is Your Magic Number: Cooking quesadillas over medium heat is crucial. If the heat is too low, the tortilla won’t achieve that coveted crispy, golden-brown crust, leaving it pale and soft. Conversely, heat that’s too high will burn the tortilla before the cheese has a chance to fully melt and become gloriously gooey. Patience and consistent medium heat are your allies.
- Flip with Care and Confidence: Flipping a quesadilla can be nerve-wracking, but with the right technique, it’s effortless. Use a wide, sturdy spatula to support the entire quesadilla. Alternatively, you can slide the quesadilla onto a plate, then invert the skillet over the plate and carefully flip it back onto the skillet. This method minimizes the risk of losing fillings and ensures a clean flip every time.
What to Serve with Your Perfect Cheese Quesadillas
While cheese quesadillas are undeniably delicious on their own, pairing them with the right accompaniments can transform them into a well-rounded and delightful meal. Here are some of our favorite serving ideas to complement the rich, cheesy flavors:
- Creamy Dips:
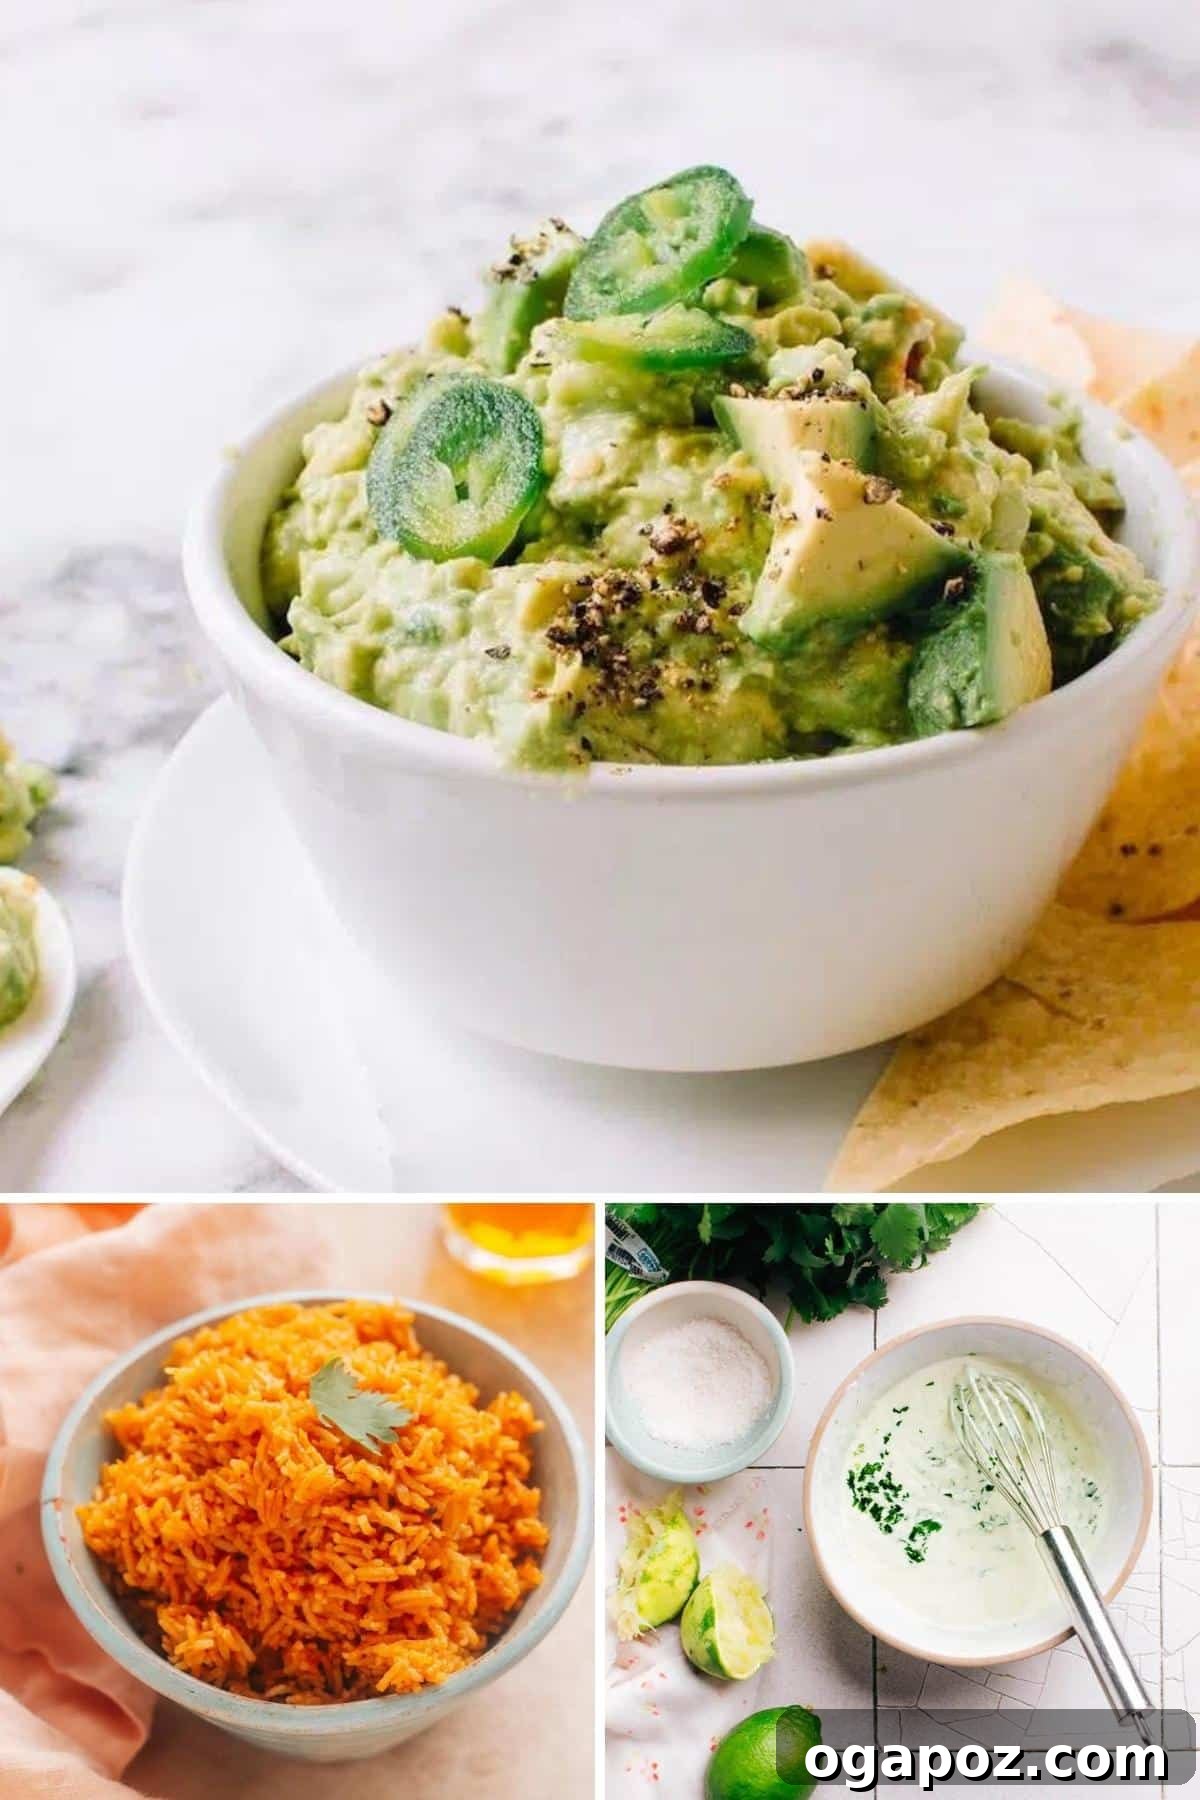
- Cilantro Lime Crema or Sour Cream: These creamy additions provide a refreshing, cooling contrast to the warmth of the quesadilla, perfectly balancing any spicy notes.
- Guacamole: A fresh, homemade guacamole adds a rich, avocado-infused creaminess and vibrant flavor.
- Fresh Salsas:
- Salsa or Pico de Gallo: The zesty freshness of tomato-based salsas or the chunky goodness of pico de gallo cuts through the richness of the cheese beautifully, adding bright, acidic notes.
- Roasted Tomato Salsa: For a deeper, smoky flavor, a roasted tomato salsa can be an excellent choice.
- Light and Zesty Salads:
- Simple Green Salad: A crisp, lightly dressed green salad provides a refreshing counterpoint.
- Slaw: A vibrant slaw, like my slaw for fish tacos, adds crunch and a tangy kick.
- Mexican Street Corn Salad: This vibrant and flavorful salad makes the meal feel more substantial and brings a delightful blend of sweet, tangy, and savory notes.
- Hearty Sides:
- Mexican Rice: A traditional Mexican side, fragrant and flavorful Mexican rice, complements the quesadilla perfectly and makes for a more filling meal.
- Black Beans or Pinto Beans: A simple side of seasoned black beans or refried beans rounds out the meal with additional protein and fiber.
Storing and Reheating Leftover Quesadillas
One of the many benefits of a delicious cheese quesadilla is how well it holds up as leftovers, making it perfect for meal prepping or quick subsequent meals. Storing and reheating is a breeze with these simple guidelines:
- Refrigeration: To store, allow any leftover quesadilla wedges to cool completely to room temperature. Then, place them in an airtight container or wrap them tightly in plastic wrap or aluminum foil. They will keep fresh in the refrigerator for approximately 3 days.
- Optimal Reheating Methods:
- Toaster Oven or Conventional Oven: For the best results in terms of crispness, reheat quesadillas in a toaster oven or a conventional oven. Preheat to 350°F (175°C) and bake for 5-10 minutes, or until the cheese is re-melted and the tortilla is crispy again. This method helps restore much of the original texture.
- Skillet: You can also reheat them in a non-stick skillet over low to medium-low heat. Cook for a few minutes per side, flipping occasionally, until heated through and crisp. Avoid high heat, which can burn the tortilla before the cheese melts.
- Microwave (Not Recommended for Crispness): While convenient, microwaving quesadillas will result in a soft, rather than crispy, tortilla. It’s best reserved for times when speed is the absolute priority and crispness is not a concern.
I often find myself batch prepping simple cheese quesadillas for my kids’ lunch boxes. Even if daycare reheats them, my older children enjoy them perfectly fine cold, making them a versatile and easy option.
How to Freeze and Reheat Quesadillas for Future Meals
Freezing quesadillas is an excellent strategy for convenient future meals. With a few simple steps, you can have delicious, homemade quesadillas ready to go whenever a craving strikes:
- Freezing Prepared Quesadillas:
- Cool Completely: After cooking your quesadillas, let them cool down to room temperature entirely. This prevents ice crystals from forming and maintains texture.
- Flash Freeze: Place the cooled quesadilla wedges or whole quesadillas (if they fit) in a single layer on a baking sheet lined with parchment paper. Freeze until they are solid, typically 1-2 hours.
- Store in Freezer-Safe Packaging: Once solid, transfer the frozen quesadillas to a freezer-safe bag or an airtight container. If stacking, place parchment paper between each quesadilla to prevent sticking. They can be stored in the freezer for up to two months, retaining their quality and flavor.
- Reheating Frozen Quesadillas:
- Oven Method (Recommended): For the best texture, preheat your oven to 375°F (190°C). Place the frozen quesadillas on a baking sheet (no need to thaw first!) and bake for approximately 15-20 minutes, or until they are heated through, the cheese is beautifully melted, and the tortilla is crispy. This method is similar to how you’d get the perfect crispiness with my favorite Crispy Baked Ground Chicken Tacos.
- Skillet Method: You can also reheat frozen quesadillas in a skillet over medium heat. Place the frozen quesadilla in the preheated skillet and cook for about 5-7 minutes per side, ensuring you flip them occasionally for even warming and browning. Cover the skillet for a few minutes during cooking to help the cheese melt more effectively.
Whichever method you choose, the convenience of having ready-to-reheat quesadillas in your freezer is unmatched!
Frequently Asked Questions About Cheese Quesadillas
Traditionally, Mexican cheese blends like Asadero, Queso Oaxaca, or Monterey Jack are favored due to their excellent melting properties and mild flavors. However, you can use any cheese that melts well, such as cheddar, mozzarella, or Colby Jack, depending on your preferred flavor profile.
Quesadillas are incredibly versatile! Popular additions include cooked proteins like chicken, beef, or chorizo, and sautéed vegetables such as onions, bell peppers, mushrooms, or spinach. Black beans, corn, and finely diced tomatoes or jalapeños also make fantastic additions for added flavor and texture.
For the absolute best melting consistency and flavor, grating cheese from a block is highly recommended. Pre-shredded cheeses often contain anti-caking agents that can hinder smooth melting and sometimes result in a grainy texture.
Quesadillas are Mexican by origin, rooted deeply in Mexican culinary tradition. Authentic versions typically feature corn or flour tortillas filled with traditional Mexican cheeses (like Oaxaca or Asadero), and may include fillings common in the region, such as squash blossoms, huitlacoche, or specific meats, all prepared using traditional methods.
Many Mexican restaurants frequently use Queso Oaxaca, Asadero, or a mild, creamy quesadilla cheese blend. These cheeses are chosen for their superior melting capabilities and smooth texture that is characteristic of restaurant-style quesadillas.
Absolutely! The word “quesadilla” itself is derived from “queso,” meaning cheese in Spanish. While some regional variations might feature other fillings without cheese, the presence of cheese is fundamental to the very definition of a quesadilla.
Yes, you can assemble quesadillas ahead of time and refrigerate them for a few hours, or even freeze them for up to two months. When ready to eat, simply cook them directly from the fridge or freezer in a skillet or oven until golden and melted.
More Easy Mexican Recipes You’ll Love
If you’ve fallen in love with the simplicity and flavor of cheese quesadillas, you’re in for a treat with these other mouthwatering Mexican recipes. Each can be whipped up in under 30 minutes, promising a burst of irresistible flavor for any day of the week:
- Chicken Street Tacos: Small, flavorful tacos packed with tender chicken and fresh toppings.
- Tacos Al Pastor: A delicious recipe bringing the iconic marinated pork tacos to your kitchen.
- Fried Tacos: Crispy shells filled with savory ingredients for a delightful crunch.
- Spicy Fish Tacos: Light, flaky fish with a kick, complemented by a refreshing slaw and creamy lime sauce.
- Authentic Ground Beef Tacos: A classic, seasoned ground beef taco recipe that’s always a crowd-pleaser.
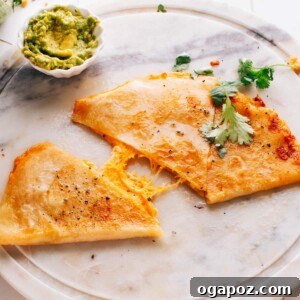
Cheese Quesadilla Recipe
Jennifer Pallian BSc, RD
5
6
11
4 Quesadillas
Equipment
-
Measuring Cups and Spoons
-
Knife
-
Spatula
-
Cast iron skillet
Ingredients
- 4 large flour tortillas
- 2 cups shredded Mexican cheese blend or a mix of cheddar and other favorite melty cheeses, like Monterey Jack
- 4 tablespoons butter
- Sour cream guacamole, salsa, or pico de gallo for serving
- Optional fillings: cooked onions bell peppers, mushrooms, jalapenos, cooked chicken or beef, beans, corn, chopped tomatoes, or any other favorite ingredients
Instructions
-
Preheat a large skillet or griddle over medium heat.
-
Butter one side of a flour tortilla. Place the tortilla, buttered side down, in the skillet.
-
Sprinkle a generous amount of cheese (about 1/2 cup) evenly over the tortilla. If you’re using additional fillings, add them on top of the cheese now. Don’t overfill, or the quesadilla may be difficult to flip.
-
Fold the empty side over the top of the cheese with the buttered side facing upwards.
-
Cook until the bottom tortilla is golden brown and the cheese starts to melt, about 2-3 minutes.
-
Carefully flip the quesadilla and cook until the second side is golden brown and the cheese is fully melted, another 2-3 minutes.
-
Remove from the skillet and let it cool for a minute. Use kitchen scissors, a pizza cutter or sharp knife to cut the quesadilla into wedges.
Nutrition
Carbohydrates: 17g |
Protein: 17g |
Fat: 25g |
Saturated Fat: 15g |
Polyunsaturated Fat: 2g |
Monounsaturated Fat: 6g |
Trans Fat: 0.5g |
Cholesterol: 65mg |
Sodium: 752mg |
Potassium: 94mg |
Fiber: 1g |
Sugar: 1g |
Vitamin A: 683IU |
Calcium: 700mg |
Iron: 1mg
Nutrition information is automatically calculated, so should only be used as an approximation.