
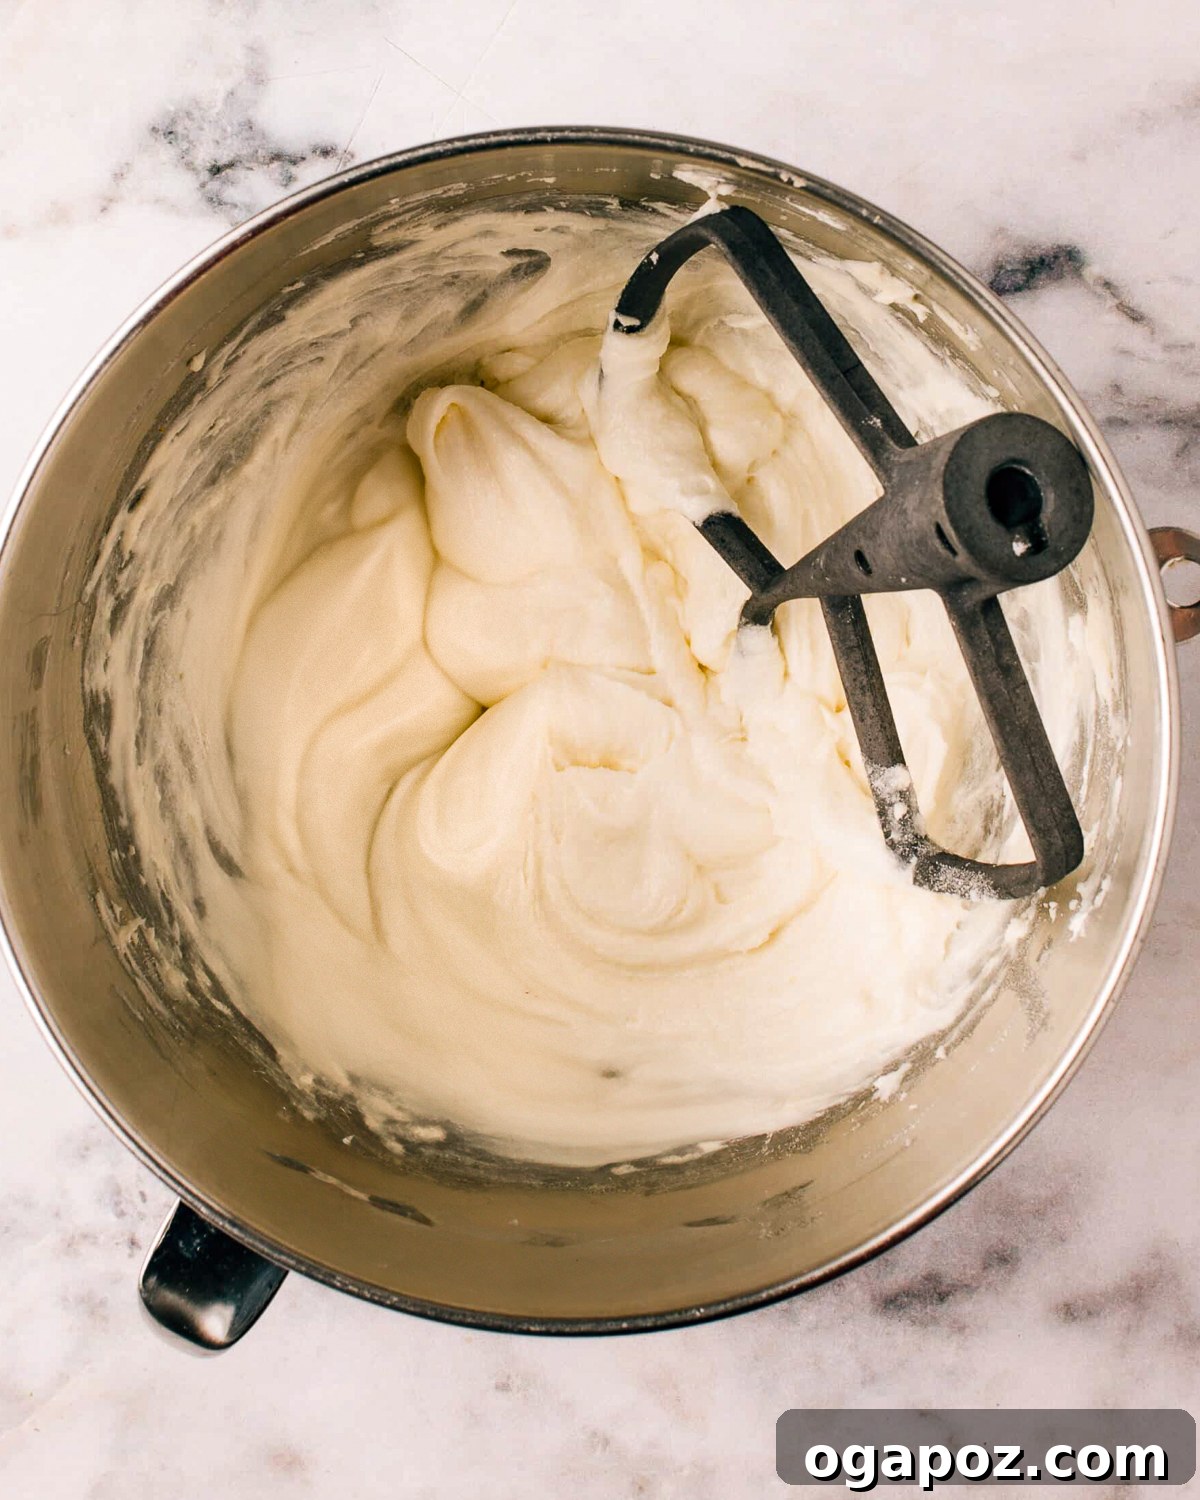
Welcome to the ultimate guide for creating the most heavenly, fluffy, and satiny cream cheese icing! With just 5 simple ingredients and a few easy steps, this will quickly become your go-to cream cheese frosting recipe for everything from luscious cakes and decadent cinnamon rolls to delightful cupcakes and quick breads. Forget store-bought tubs; homemade cream cheese icing is unparalleled in taste and texture, offering a rich, tangy sweetness that complements an array of desserts. This recipe promises a bakery-style finish every single time, ensuring your treats are topped with pure perfection.
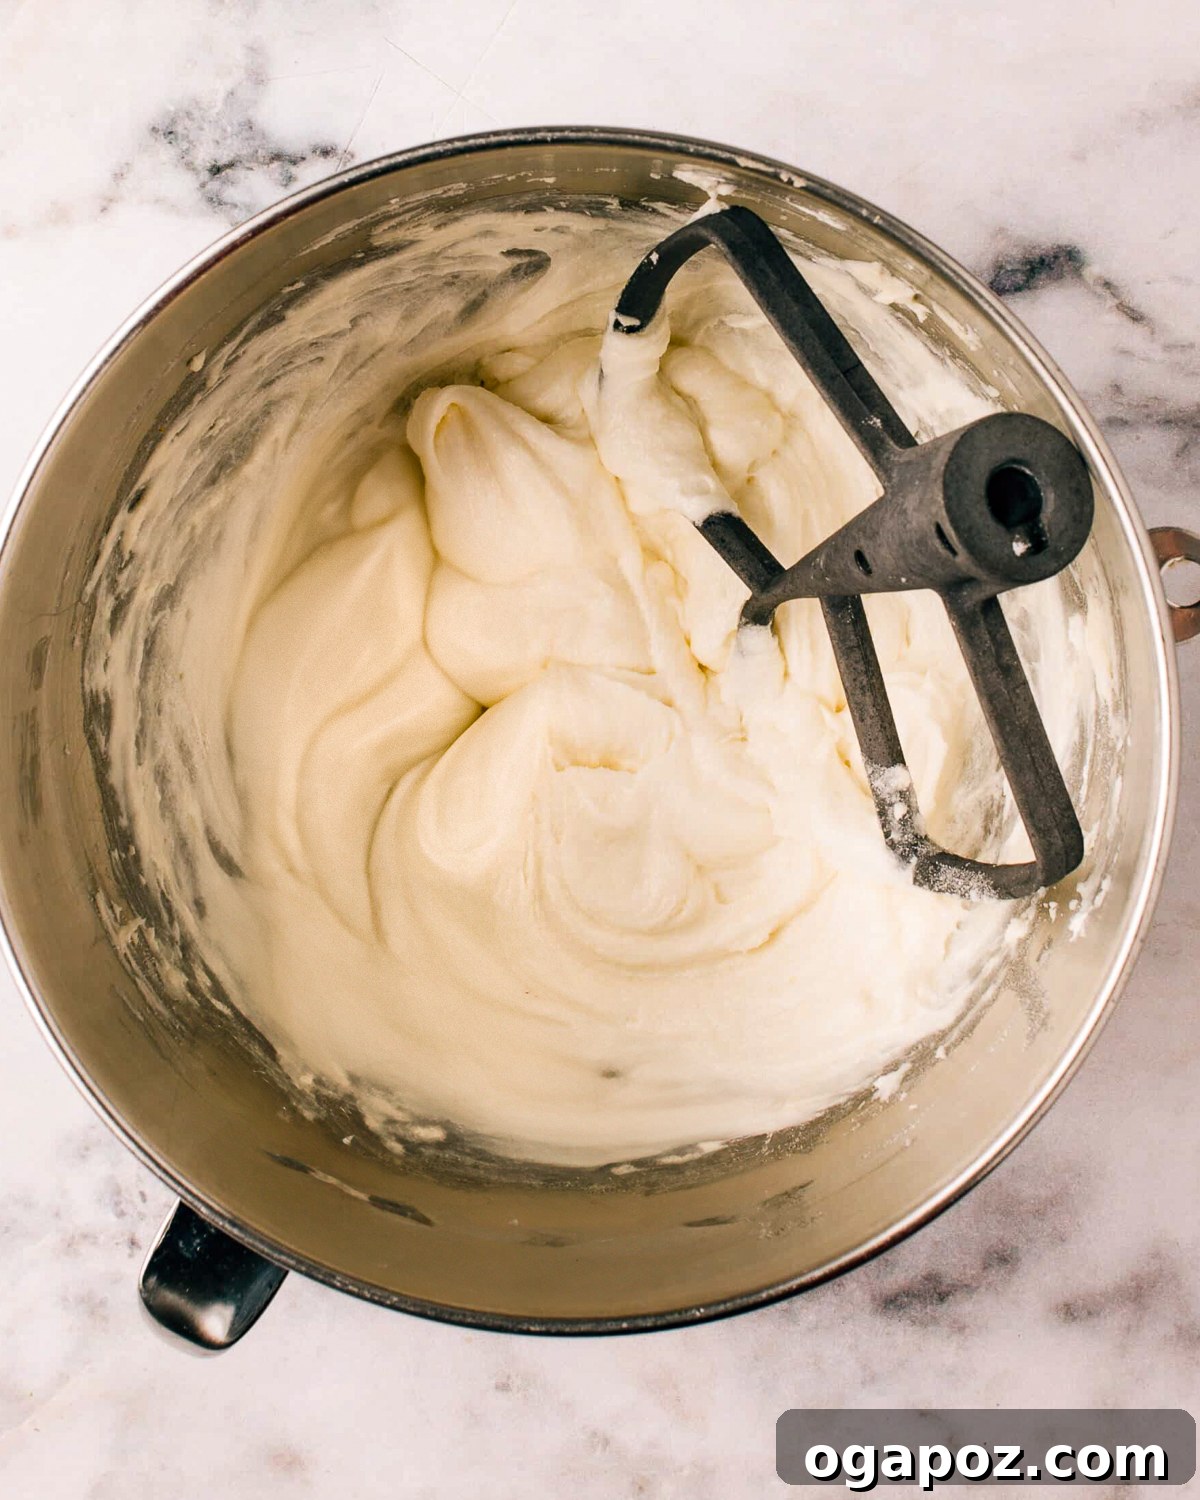
Essential Ingredients and Tools for Perfect Cream Cheese Icing
Crafting the perfect cream cheese icing doesn’t require an arsenal of exotic ingredients or specialized equipment. In fact, you likely already have most of what you need in your pantry! The key to success lies in understanding each component and preparing it correctly. This recipe will guide you to a consistently smooth and lump-free frosting that will elevate any dessert.
Cream Cheese Icing Ingredients: The Foundation of Flavor
Achieving a smooth, silky result with your homemade cream cheese frosting starts with ensuring all your ingredients are at the proper room temperature. This crucial step allows everything to blend seamlessly, preventing lumps and ensuring a light, airy texture.
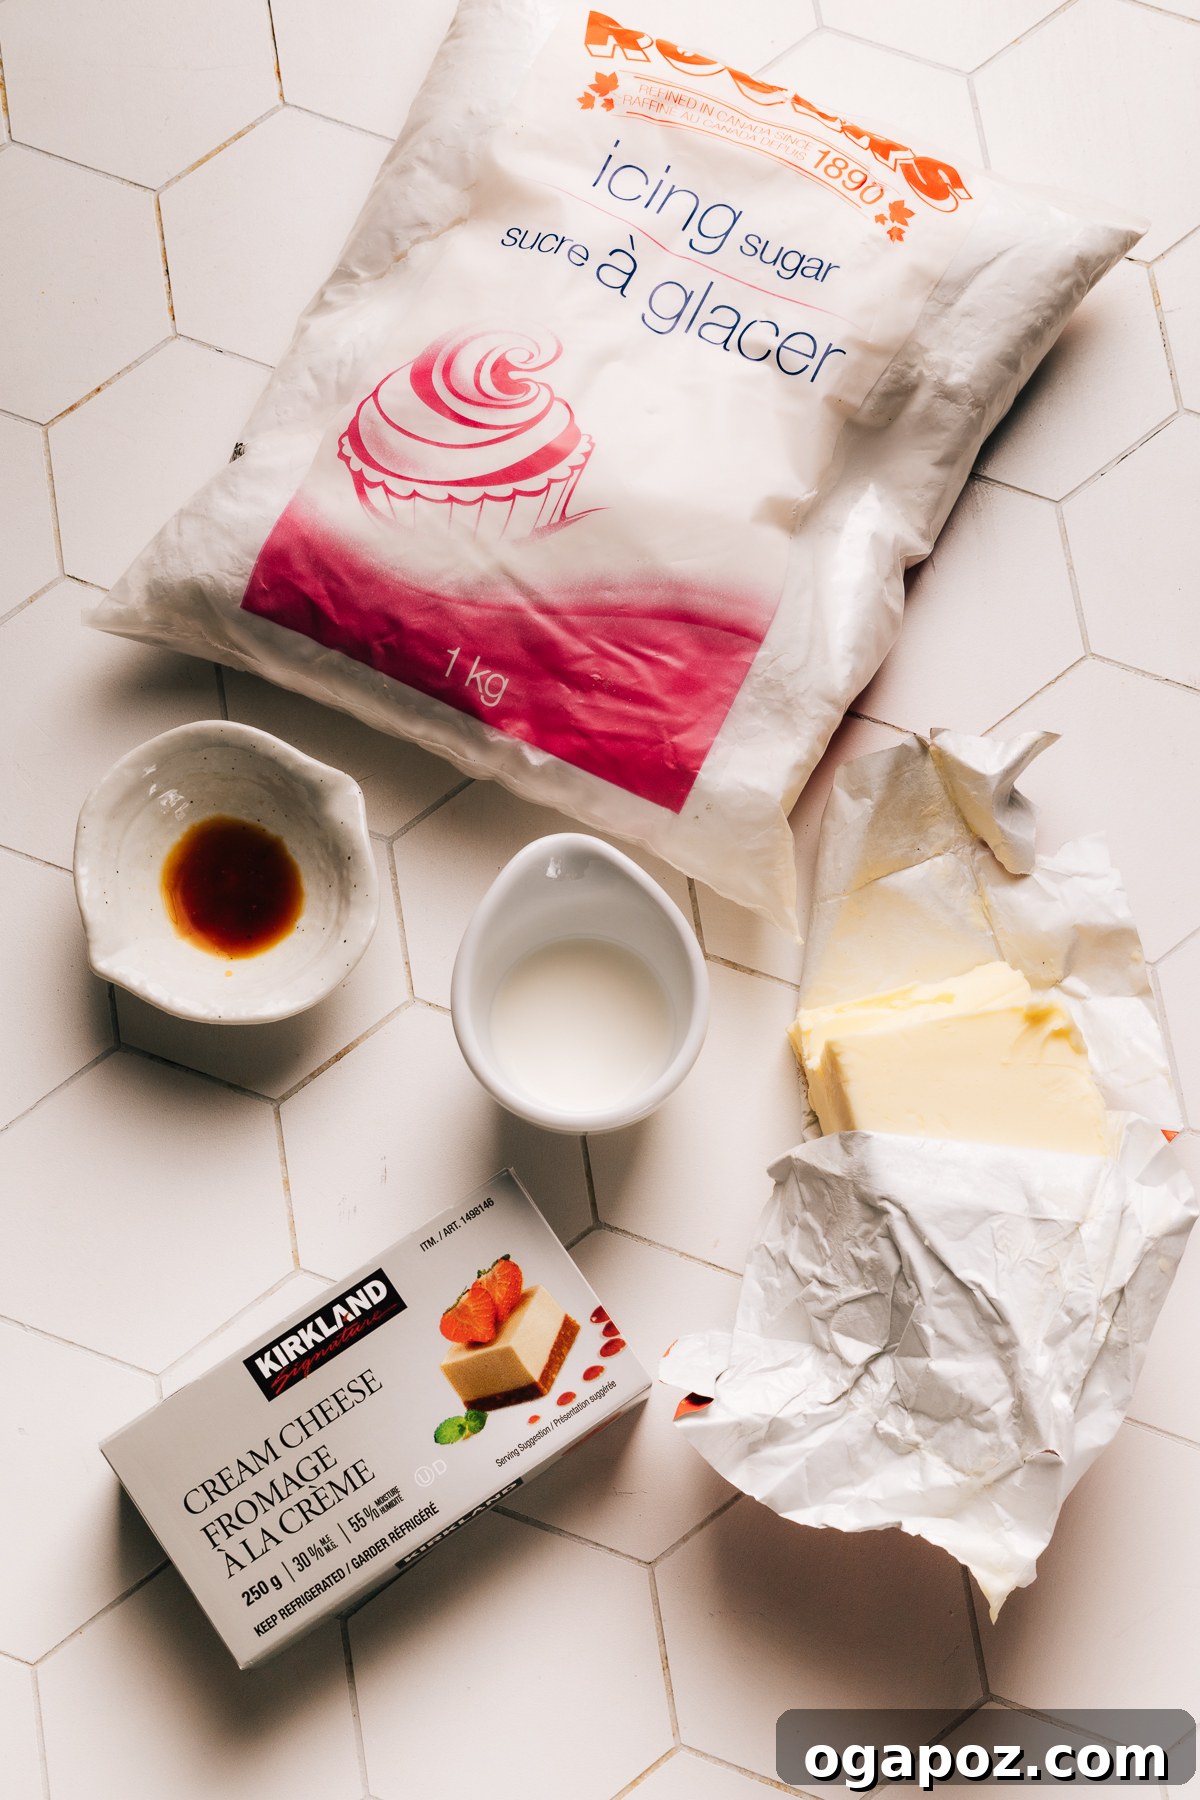
- Cream cheese: This is the star of our show! Always use full-fat, brick-style cream cheese, not the spreadable variety found in tubs. Brick cream cheese has a lower water content, which is essential for a stable, thick frosting that holds its shape beautifully and won’t turn runny. Ensure it’s softened to true room temperature; it should be pliable to the touch, allowing it to blend smoothly with the butter without any stubborn lumps.
- Unsalted butter: High-quality unsalted butter provides richness and structure. Like the cream cheese, it must be at room temperature. Softened butter creams beautifully, incorporating air to give your frosting that desirable fluffy texture. Using unsalted butter gives you full control over the salt content of your icing.
- Powdered sugar: Also widely known as confectioners’ sugar or icing sugar, this finely milled sugar dissolves instantly, ensuring a smooth finish without any gritty texture. Sifting it before adding can help prevent lumps and ensures a truly silky consistency. It provides the sweetness and helps thicken the frosting.
- Vanilla extract: A good quality vanilla extract is paramount. It enhances the overall flavor profile, adding warmth and depth that complements the tang of the cream cheese perfectly. Opt for pure vanilla extract over imitation for the best taste.
- Milk or cream (optional, for thinning): While not always necessary, a splash of milk or heavy cream can be added gradually if you desire a thinner, more pourable consistency for glazes or drizzles.
Exact ingredient quantities are provided in the detailed recipe card at the bottom of this article.
Essential Tools to Grab
While this recipe is simple, having the right tools makes the process even easier and more efficient:
- Stand mixer with paddle attachment: This is my preferred tool for effortless mixing, ensuring the ingredients are thoroughly combined and whipped to perfection. The paddle attachment is ideal for creaming butter and cream cheese without incorporating too much air too early.
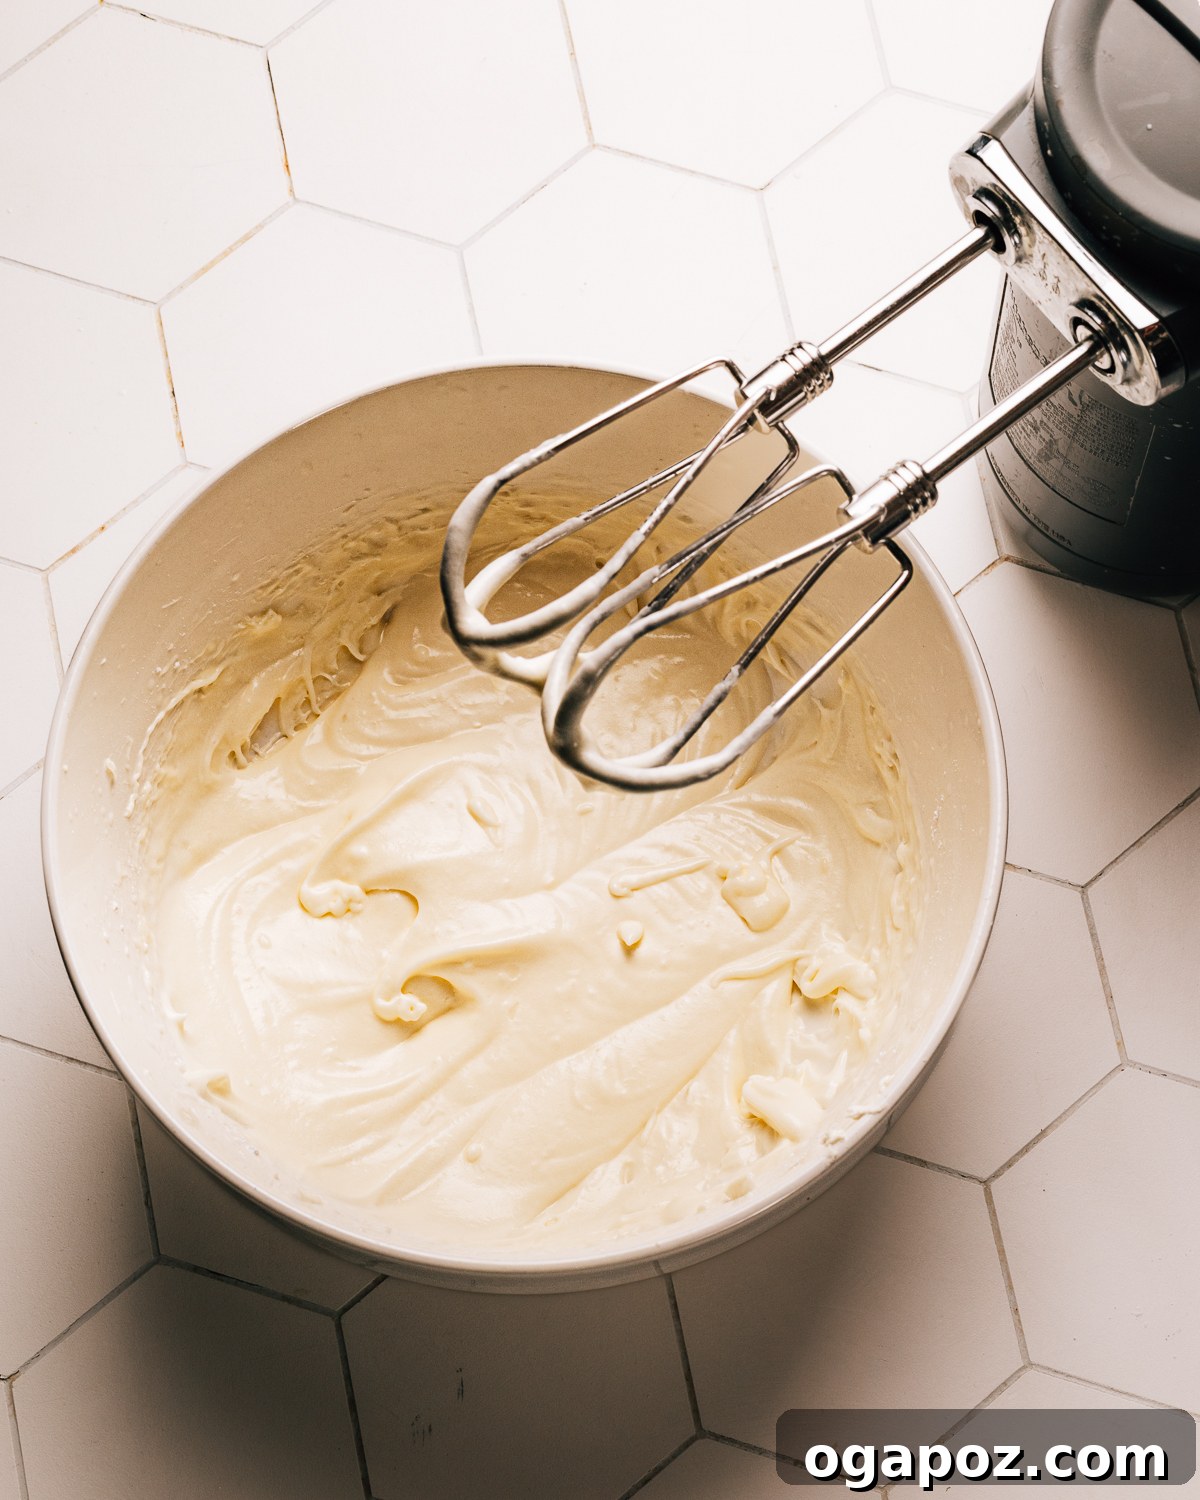
- Electric hand mixer: A fantastic alternative if you don’t have a stand mixer. It provides ample power to achieve the desired fluffy texture.
- Rubber spatula: Indispensable for scraping down the sides of the bowl, ensuring all ingredients are fully incorporated and no unmixed pockets remain.
- Large mixing bowl: Essential for containing your ingredients, especially when using a hand mixer.
- Measuring cups and spoons: Accurate measurements are key to baking success.
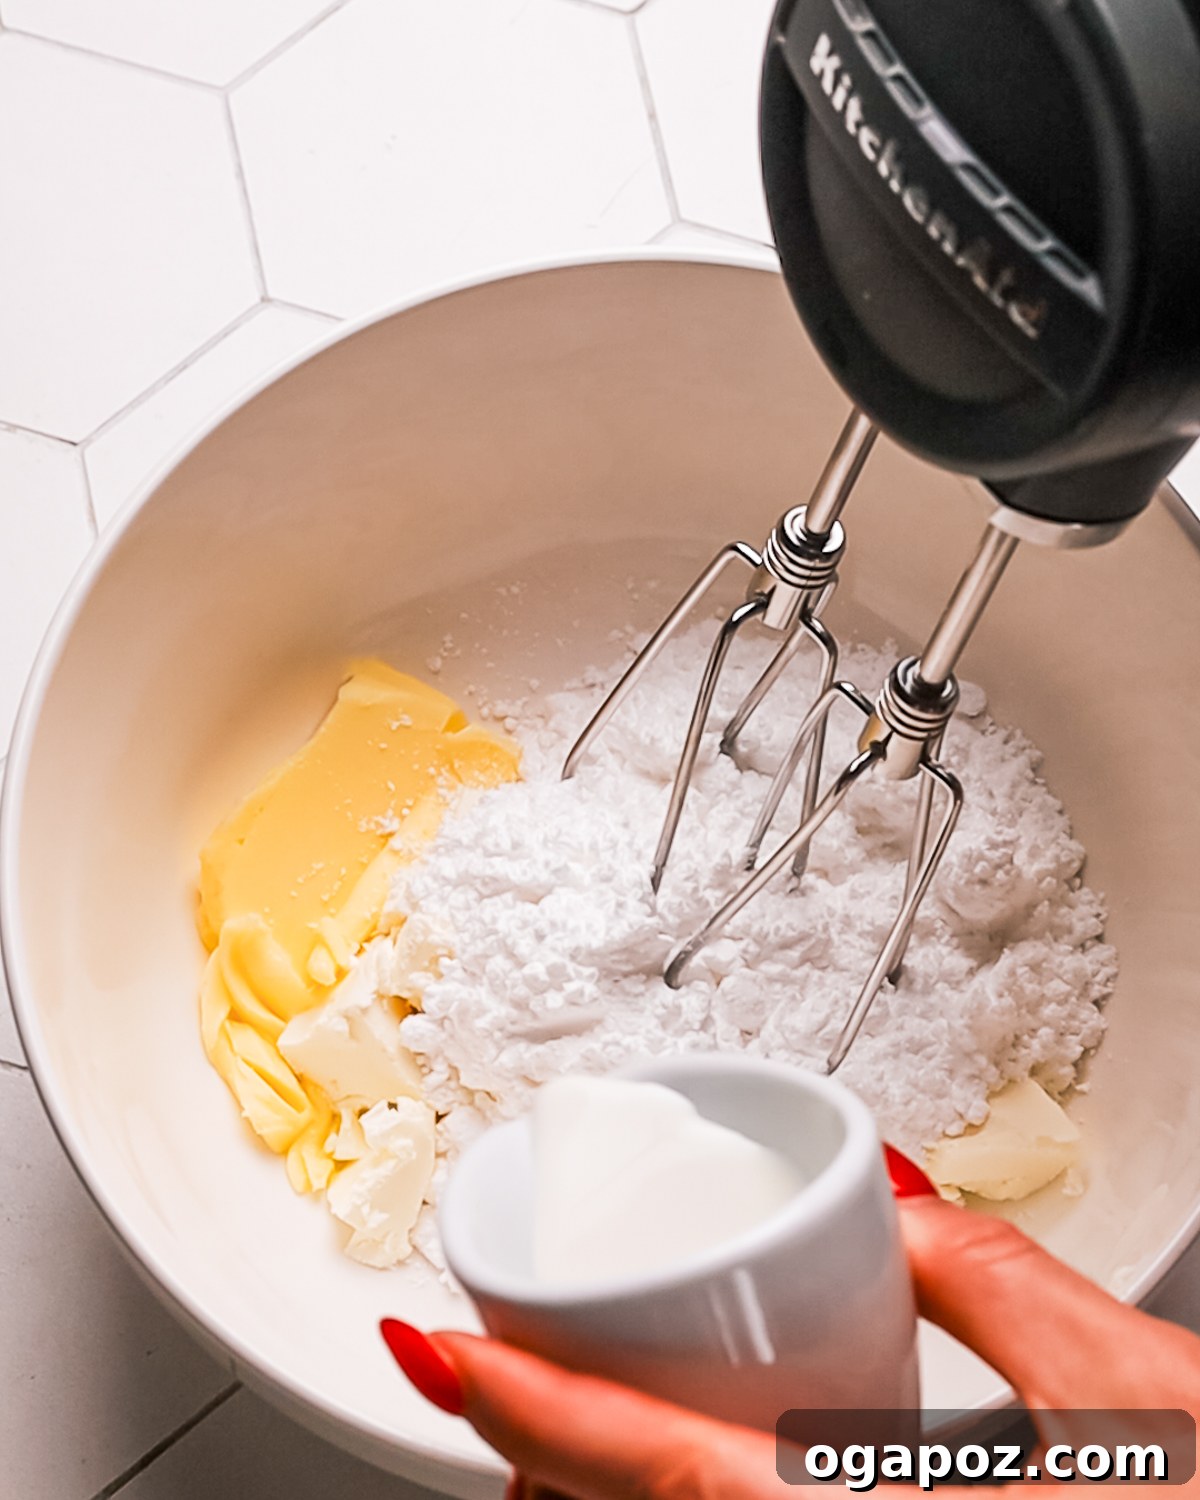
How to Make the Best Fluffy Cream Cheese Icing: A Step-by-Step Guide
Creating this luscious cream cheese icing is surprisingly straightforward. The key is in the order of ingredients and ensuring everything is at the right temperature. Follow these steps for an irresistibly smooth and fluffy frosting:
Step 1: Cream the Cream Cheese and Butter until Silky Smooth
- In a medium-sized mixing bowl, or the bowl of your stand mixer fitted with the paddle attachment, add the softened cream cheese and unsalted butter.
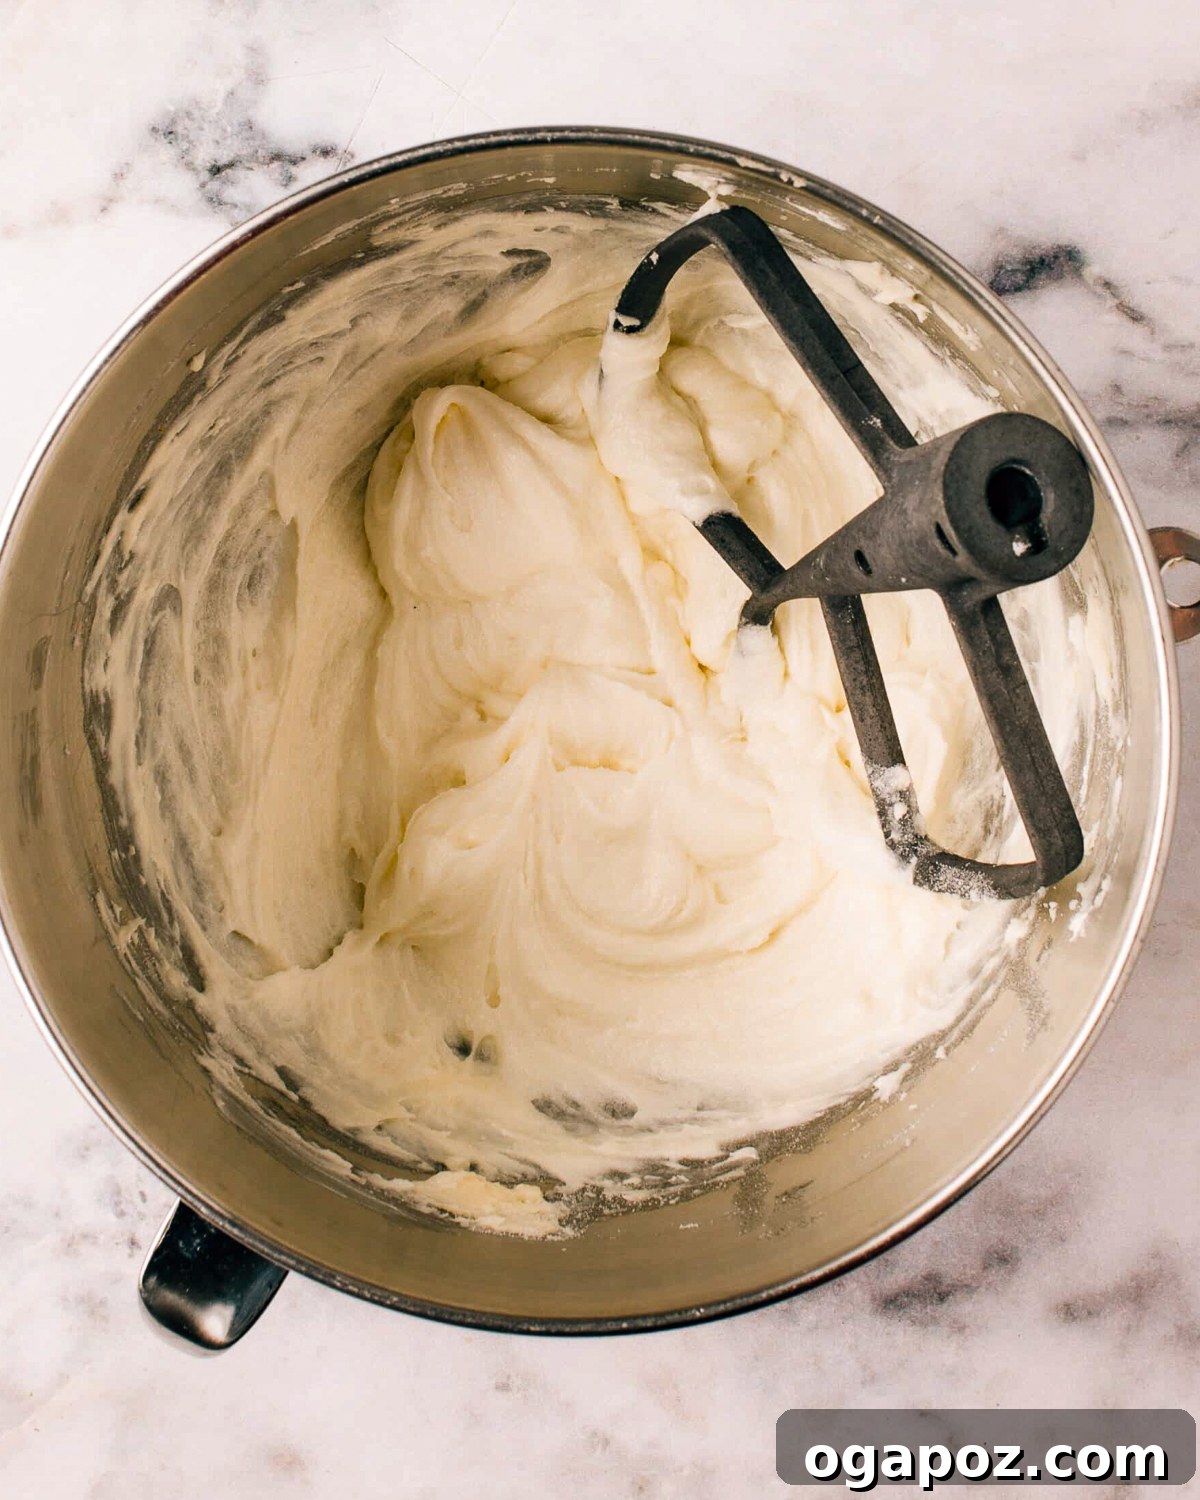
- Beat them together on medium speed for 2-3 minutes, or until the mixture is incredibly smooth, creamy, and well-blended. There should be no visible lumps of butter or cream cheese. This initial creaming is vital for a lump-free final product. Scrape down the sides of the bowl occasionally with your rubber spatula to ensure even mixing.
Step 2: Gradually Incorporate Powdered Sugar and Vanilla for Sweetness and Flavor
- Once your cream cheese and butter mixture is smooth, gradually add the powdered sugar, one cup at a time, beating on low speed until just combined before adding the next. This prevents a cloud of sugar from enveloping your kitchen!
- Pour in the vanilla extract.
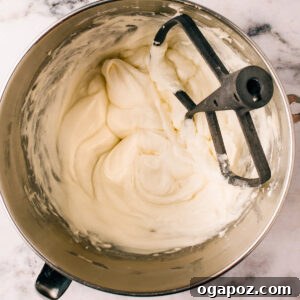
- Increase the mixer speed to medium-high and beat the mixture for another 2-3 minutes. This step is where the magic happens: the frosting will transform, becoming wonderfully creamy, light, and delightfully fluffy. Continue to scrape down the sides of the bowl as needed.
Step 3: Adjust Texture and Enhance Flavor (Optional)
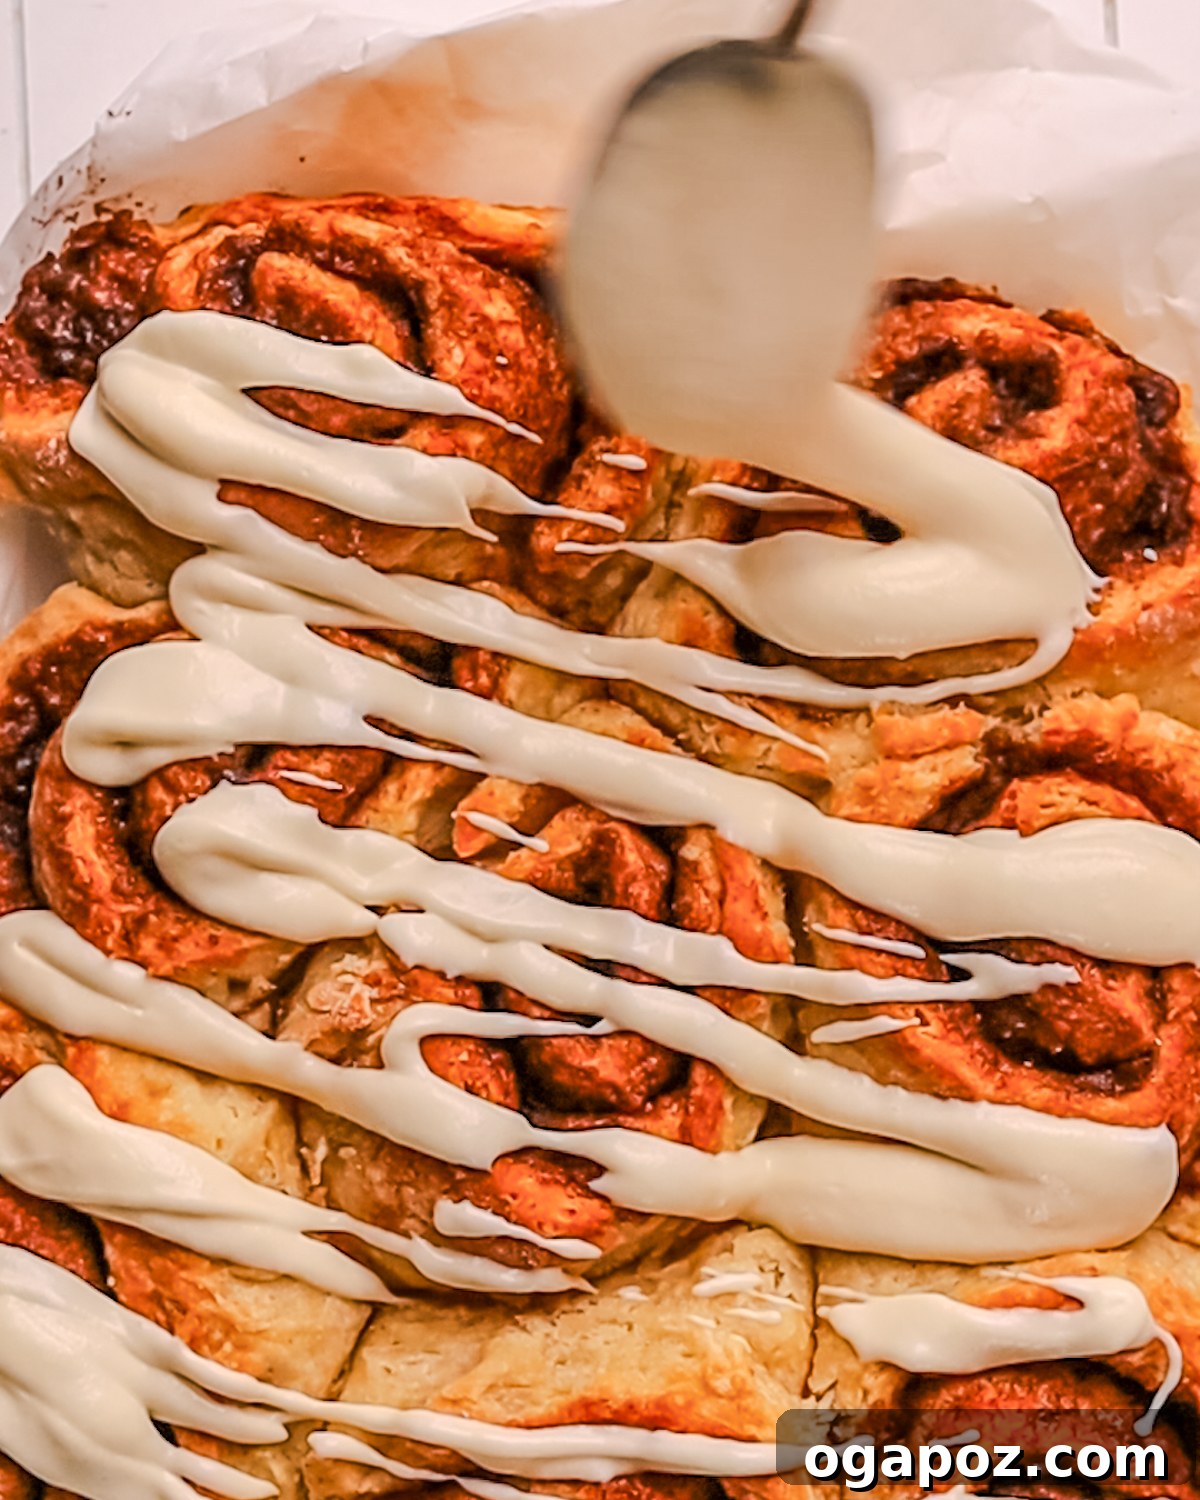
- The frosting at this stage will be thick and perfect for piping or spreading generously on cakes and cupcakes. However, if you’d like a thinner cream cheese frosting – ideal for drizzling over warm Cinnamon Raisin Rolls, glazing cookies, or creating a delicate sheen on a Peach Pound Cake – you can easily adjust its consistency.
- Add a tiny splash of milk or heavy cream, about a teaspoon at a time, and beat until your desired consistency is reached. Continue adding small amounts and mixing until the frosting drizzles smoothly but still holds a slight body. Be careful not to add too much liquid too quickly, as it can make the icing too runny.
Avoid These 3 Common Mistakes for Flawless Cream Cheese Icing
Even the simplest recipes can have pitfalls. Many home bakers encounter issues with cream cheese icing, often leading to lumpy or runny results. By being aware of these common mistakes, you can guarantee a perfect batch every time:
- Using cold ingredients: This is arguably the most frequent culprit behind lumpy frosting. If your cream cheese and butter are not properly softened to room temperature, they will not blend smoothly. Cold butter will resist incorporating with the cream cheese, creating small, hard lumps, and cold cream cheese will be stiff and difficult to whip into an airy consistency. Always plan ahead and allow both ingredients to sit on your counter for at least an hour (or longer if your kitchen is cool) until they are soft to the touch, leaving an indentation when pressed, but not melted or greasy.
- Adding too much liquid at once: When adjusting the consistency, it’s tempting to pour in a generous amount of milk or cream. However, doing so too quickly can rapidly transform your beautifully thick icing into a watery mess that’s impossible to salvage without adding a lot more powdered sugar (which can make it overly sweet). The key is patience: add liquid gradually, a mere teaspoon or tablespoon at a time, beating after each addition until you achieve the desired pourable or drizzling consistency. You can always add more, but you can’t easily take it away!
- Using the wrong type of cream cheese: Not all cream cheese is created equal when it comes to frosting. Light (low-fat), whipped, or spreadable cream cheese varieties contain significantly more water and often have added stabilizers, making them prone to producing runny, less stable frosting. For a rich, thick, and perfectly textured cream cheese icing, always opt for full-fat, brick-style cream cheese. This type has the ideal fat-to-water ratio to ensure your frosting holds its shape beautifully and tastes wonderfully decadent.
Make-Ahead and Storage Tips for Your Cream Cheese Icing
One of the many beauties of this cream cheese icing recipe is its versatility and convenience. You can easily prepare it in advance, saving precious time on your baking day. Proper storage also ensures its freshness and delightful texture.
Preparing Ahead of Time
- This incredible cream cheese frosting recipe can be fully prepared up to 2 days in advance. Once made, transfer it to an airtight container and store it in the refrigerator.
- When you’re ready to use it, simply take it out of the fridge and allow it to come to room temperature for about 30-60 minutes. Before frosting your desserts, give it a quick re-whip with your stand mixer or hand mixer for a minute or two. This will restore its fluffy, creamy consistency, making it smooth and easy to spread or pipe.
Storing Leftover Icing
- To maintain its freshness and prevent it from absorbing any unwanted odors from your fridge, always store leftover cream cheese icing in an airtight container or a tightly sealed tub. It will stay fresh in the refrigerator for up to 3-4 days.
- Just like with make-ahead icing, allow it to come to room temperature and give it another whisking with a spatula or electric mixer just before frosting a cake or serving. This helps to re-emulsify any separated fats and brings back its smooth, luscious texture.
Freezing for Long-Term Storage
- Yes, you can freeze cream cheese icing! It’s a fantastic way to prepare for future baking endeavors. Freeze the icing in an airtight, freezer-safe container for up to 2 months.
- When you’re ready to use it, thaw the frozen icing overnight in the refrigerator. Once thawed, let it sit at room temperature for about 30 minutes, then give it a thorough beating with your mixer to restore its original creaminess and fluffy texture. Freezing and thawing might slightly alter the texture, but re-whipping usually fixes this beautifully.
Serving Suggestions: Endless Possibilities with Cream Cheese Frosting
This easy cream cheese icing recipe is incredibly versatile, making it the perfect accompaniment for a myriad of dessert recipes. Its texture can be effortlessly adjusted from a thick, pipeable frosting to a delicate drizzle simply by adding a touch of milk or cream, opening up a world of culinary creativity.
There are countless ways to enjoy and serve this delightful icing:
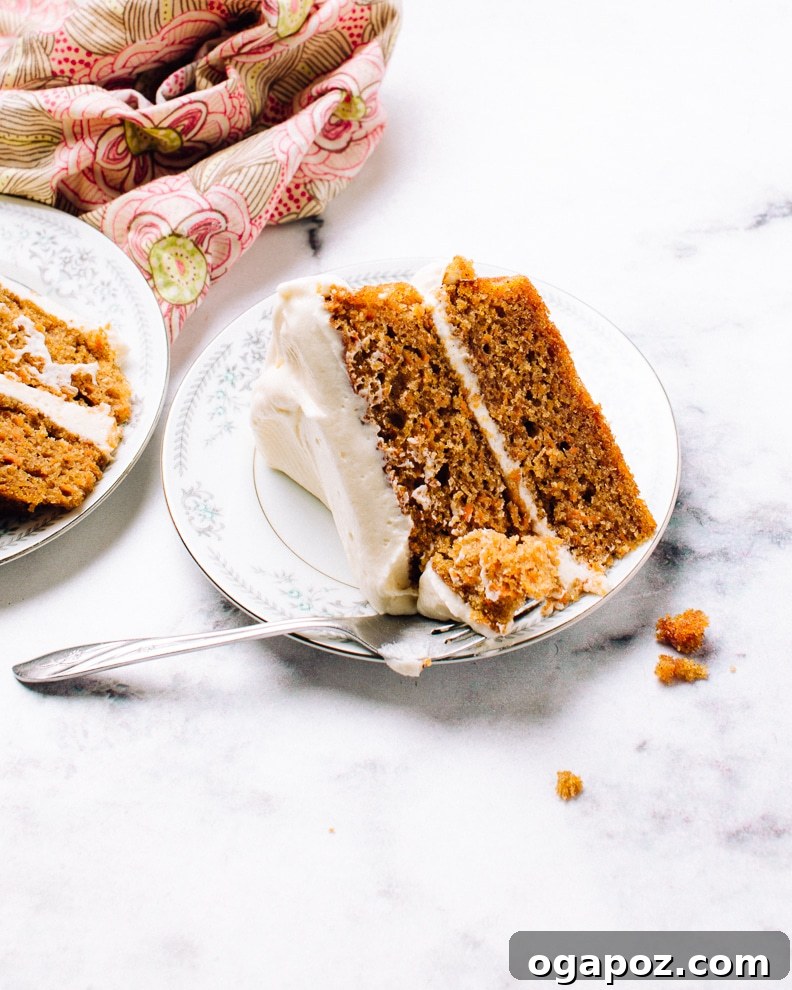
- For Cakes and Cupcakes: Use it as a thick, fluffy frosting to adorn classic cakes like my moist carrot cake with buttermilk, red velvet cake, or even a decadent moist chocolate cake. It’s also perfect for piping beautiful swirls onto cupcakes.
- For Rolls and Buns: Thin it out slightly to create a dreamy drizzle for warm, pillowy biscuit cinnamon rolls or sticky buns. The subtle tang cuts through the sweetness beautifully.
As an Icing for Cookies
- Enhance the flavor of your favorite cookies with a dollop of this frosting. It pairs exceptionally well with:
- Chewy Ginger Cookies
- Hearty Oatmeal Cookies with Dried Fruit
- Soft and spiced Pumpkin Cookies
Perfect for Loaves and Quick Breads
- A thick layer or a simple drizzle of cream cheese icing can elevate any quick bread, turning it into a truly special treat:
- The Best Banana Loaf Ever
- Moist and fragrant Pumpkin Bread
- Classic Zucchini Bread
Elevating Muffins and Cupcakes
- Transform ordinary muffins and cupcakes into extraordinary desserts with a swirl of this rich frosting:
- Sweet and comforting Sweet Potato Cupcakes
- Seasonal Pumpkin Cupcakes
- Warmly spiced Apple Cinnamon Muffins
- Fluffy Moist Vanilla Cupcakes
- Nutrient-rich Moist Pumpkin Zucchini Muffins
No matter the occasion, this cream cheese icing recipe is your secret weapon for adding a touch of homemade elegance and irresistible flavor to virtually any sweet creation. Its balanced sweetness and tangy notes make it a truly versatile and beloved topping.
Frequently Asked Questions About Cream Cheese Icing
Here are answers to some common questions to help you master this delicious frosting:
Absolutely! Cream cheese icing is excellent for preparing in advance. You can make it 1 to 2 days before you plan to use it. Simply store it in an airtight container in the refrigerator. When you’re ready to frost, let it come to room temperature for about an hour, then re-whip it with a mixer until it’s smooth and fluffy again. This step is crucial for restoring its perfect consistency.
If your cream cheese icing turns out too thin or runny, don’t panic! The easiest fix is to gradually add more powdered sugar, a quarter-cup at a time, beating well after each addition until it thickens to your desired consistency. Another trick is to chill the icing in the refrigerator for 20-30 minutes; the cold will help the fats firm up, making the icing thicker. Remember, always use full-fat, brick-style cream cheese to help prevent runny icing from the start.
While you technically can use low-fat cream cheese, it’s generally not recommended for the best results. Full-fat cream cheese provides a superior flavor, richer mouthfeel, and a much thicker, more stable texture. Low-fat versions contain a higher water content, which can result in a thinner, less creamy, and often less flavorful icing that struggles to hold its shape. For that authentic, bakery-style cream cheese frosting, stick with the full-fat brick variety.
Due to the dairy content, cream cheese icing should be stored in the refrigerator. When properly stored in an airtight container, it will last for 3 to 4 days. Any desserts frosted with cream cheese icing should also be refrigerated to maintain freshness and prevent spoilage. Always bring the icing to room temperature and re-whip before using or serving for the best texture.
Yes, you can easily add food coloring to cream cheese icing to match any theme or celebration. Gel food colorings are preferred over liquid ones as they are more concentrated and won’t thin out the frosting significantly. Add a tiny amount with a toothpick and mix well until you achieve your desired shade. This works best with the thick frosting consistency before any milk or cream is added for thinning.
Other Irresistible Icing and Frosting Recipes You’ll Love
If you’ve enjoyed mastering this cream cheese icing, you might be interested in exploring other delicious frosting options to complement your baking repertoire:
- Easy 5-Minute Fluffy Vanilla Frosting (my absolute favorite of vanilla buttercream frostings for classic desserts)
- Whipped Chocolate Frosting (a light and airy chocolate delight)
- Easy Royal Icing (perfect for decorating cookies with intricate designs)
- Bright Lemon Glaze (a zesty, simple glaze for cakes and quick breads)
Happy baking!
Pin Recipe
Print Recipe
Fluffy Cream Cheese Icing Recipe (in 5 Minutes!)
Ingredients
- 8 oz (226g) full-fat cream cheese, room temperature
- 8 tbsp (1/2 cup / 113g) unsalted butter, room temperature
- 3 cups (360g) powdered sugar (confectioners’ sugar), sifted
- 1 tsp pure vanilla extract
For Thinner Icing (Optional)
- 2-4 tbsp milk or heavy cream, as needed
Instructions
- Add the softened cream cheese and butter to the bowl of a stand mixer fitted with the paddle attachment (or use an electric hand mixer). Beat on medium speed until smooth, creamy, and well-blended, about 2-3 minutes. Scrape down the sides of the bowl as needed.
- Gradually add the sifted powdered sugar, one cup at a time, mixing on low speed until combined after each addition. Pour in the vanilla extract. Increase mixer speed to medium-high and beat for another 2-3 minutes until the icing is light, fluffy, and creamy. Scrape down the sides of the bowl to ensure everything is incorporated.
- For frosting cakes or cupcakes, leave the icing as is. It will be thick and perfect for spreading or piping. Your luscious cream cheese frosting is ready!
For Thinner Icing (Optional)
- If you desire a thinner icing for drizzling over cinnamon rolls, glazing cookies, or a lighter coating, gradually beat in milk or cream. Add a little splash (about 1 teaspoon at a time) and mix until the desired consistency is reached. Be careful not to add too much liquid at once.
Notes
- This recipe yields approximately 2 cups of icing, which is enough to generously frost and fill an 8- or 9-inch layer cake, cover a 9×13 inch sheet cake, or frost about 12 cupcakes with a beautiful swirl. For a single batch of cinnamon rolls, you might find halving the recipe is sufficient.
- Ingredient Temperature: The most crucial tip! Always ensure your full-fat cream cheese and unsalted butter are at true room temperature. They should be soft enough to leave a finger indentation but still cool to the touch and not greasy. This prevents lumps and ensures a smooth, creamy result.
- Cream Cheese Type: For the best taste and texture, always use full-fat, brick-style cream cheese. Avoid low-fat, whipped, or spreadable varieties as their higher water content can lead to a runny and less stable frosting.
- Adjusting Consistency: If the icing is too thick, add milk or cream one teaspoon at a time. If it’s too thin, gradually beat in a tablespoon or two of extra sifted powdered sugar until it reaches your desired consistency.
- Storage: Store any leftover icing in an airtight container in the refrigerator for up to 3-4 days. Before using, let it come to room temperature for 30-60 minutes and then re-whip it with a mixer or spatula to restore its smooth, fluffy texture. Cakes frosted with cream cheese icing should always be refrigerated due to the dairy content.
- Freezing: Cream cheese icing can be frozen for up to 2 months in an airtight, freezer-safe container. Thaw it overnight in the refrigerator, then let it warm up slightly at room temperature before giving it a good beating to bring back its creaminess.
- Avoid Overmixing: While whipping is important for fluffiness, be careful not to overmix the frosting, especially after adding the powdered sugar. Overmixing can sometimes incorporate too much air, making it less stable, or if the cream cheese becomes too warm, it can become overly soft and runny.
Nutrition
Calories: 252kcal
|
Carbohydrates: 31g
|
Protein: 1g
|
Fat: 14g
|
Saturated Fat: 9g
|
Polyunsaturated Fat: 1g
|
Monounsaturated Fat: 4g
|
Trans Fat: 0.3g
|
Cholesterol: 39mg
|
Sodium: 61mg
|
Potassium: 28mg
|
Sugar: 31g
|
Vitamin A: 487IU
|
Calcium: 21mg
|
Iron: 0.04mg
Nutrition information is automatically calculated, so should only be used as an approximation.
Tried this recipe? Leave a comment!
Share your experience and tips below!