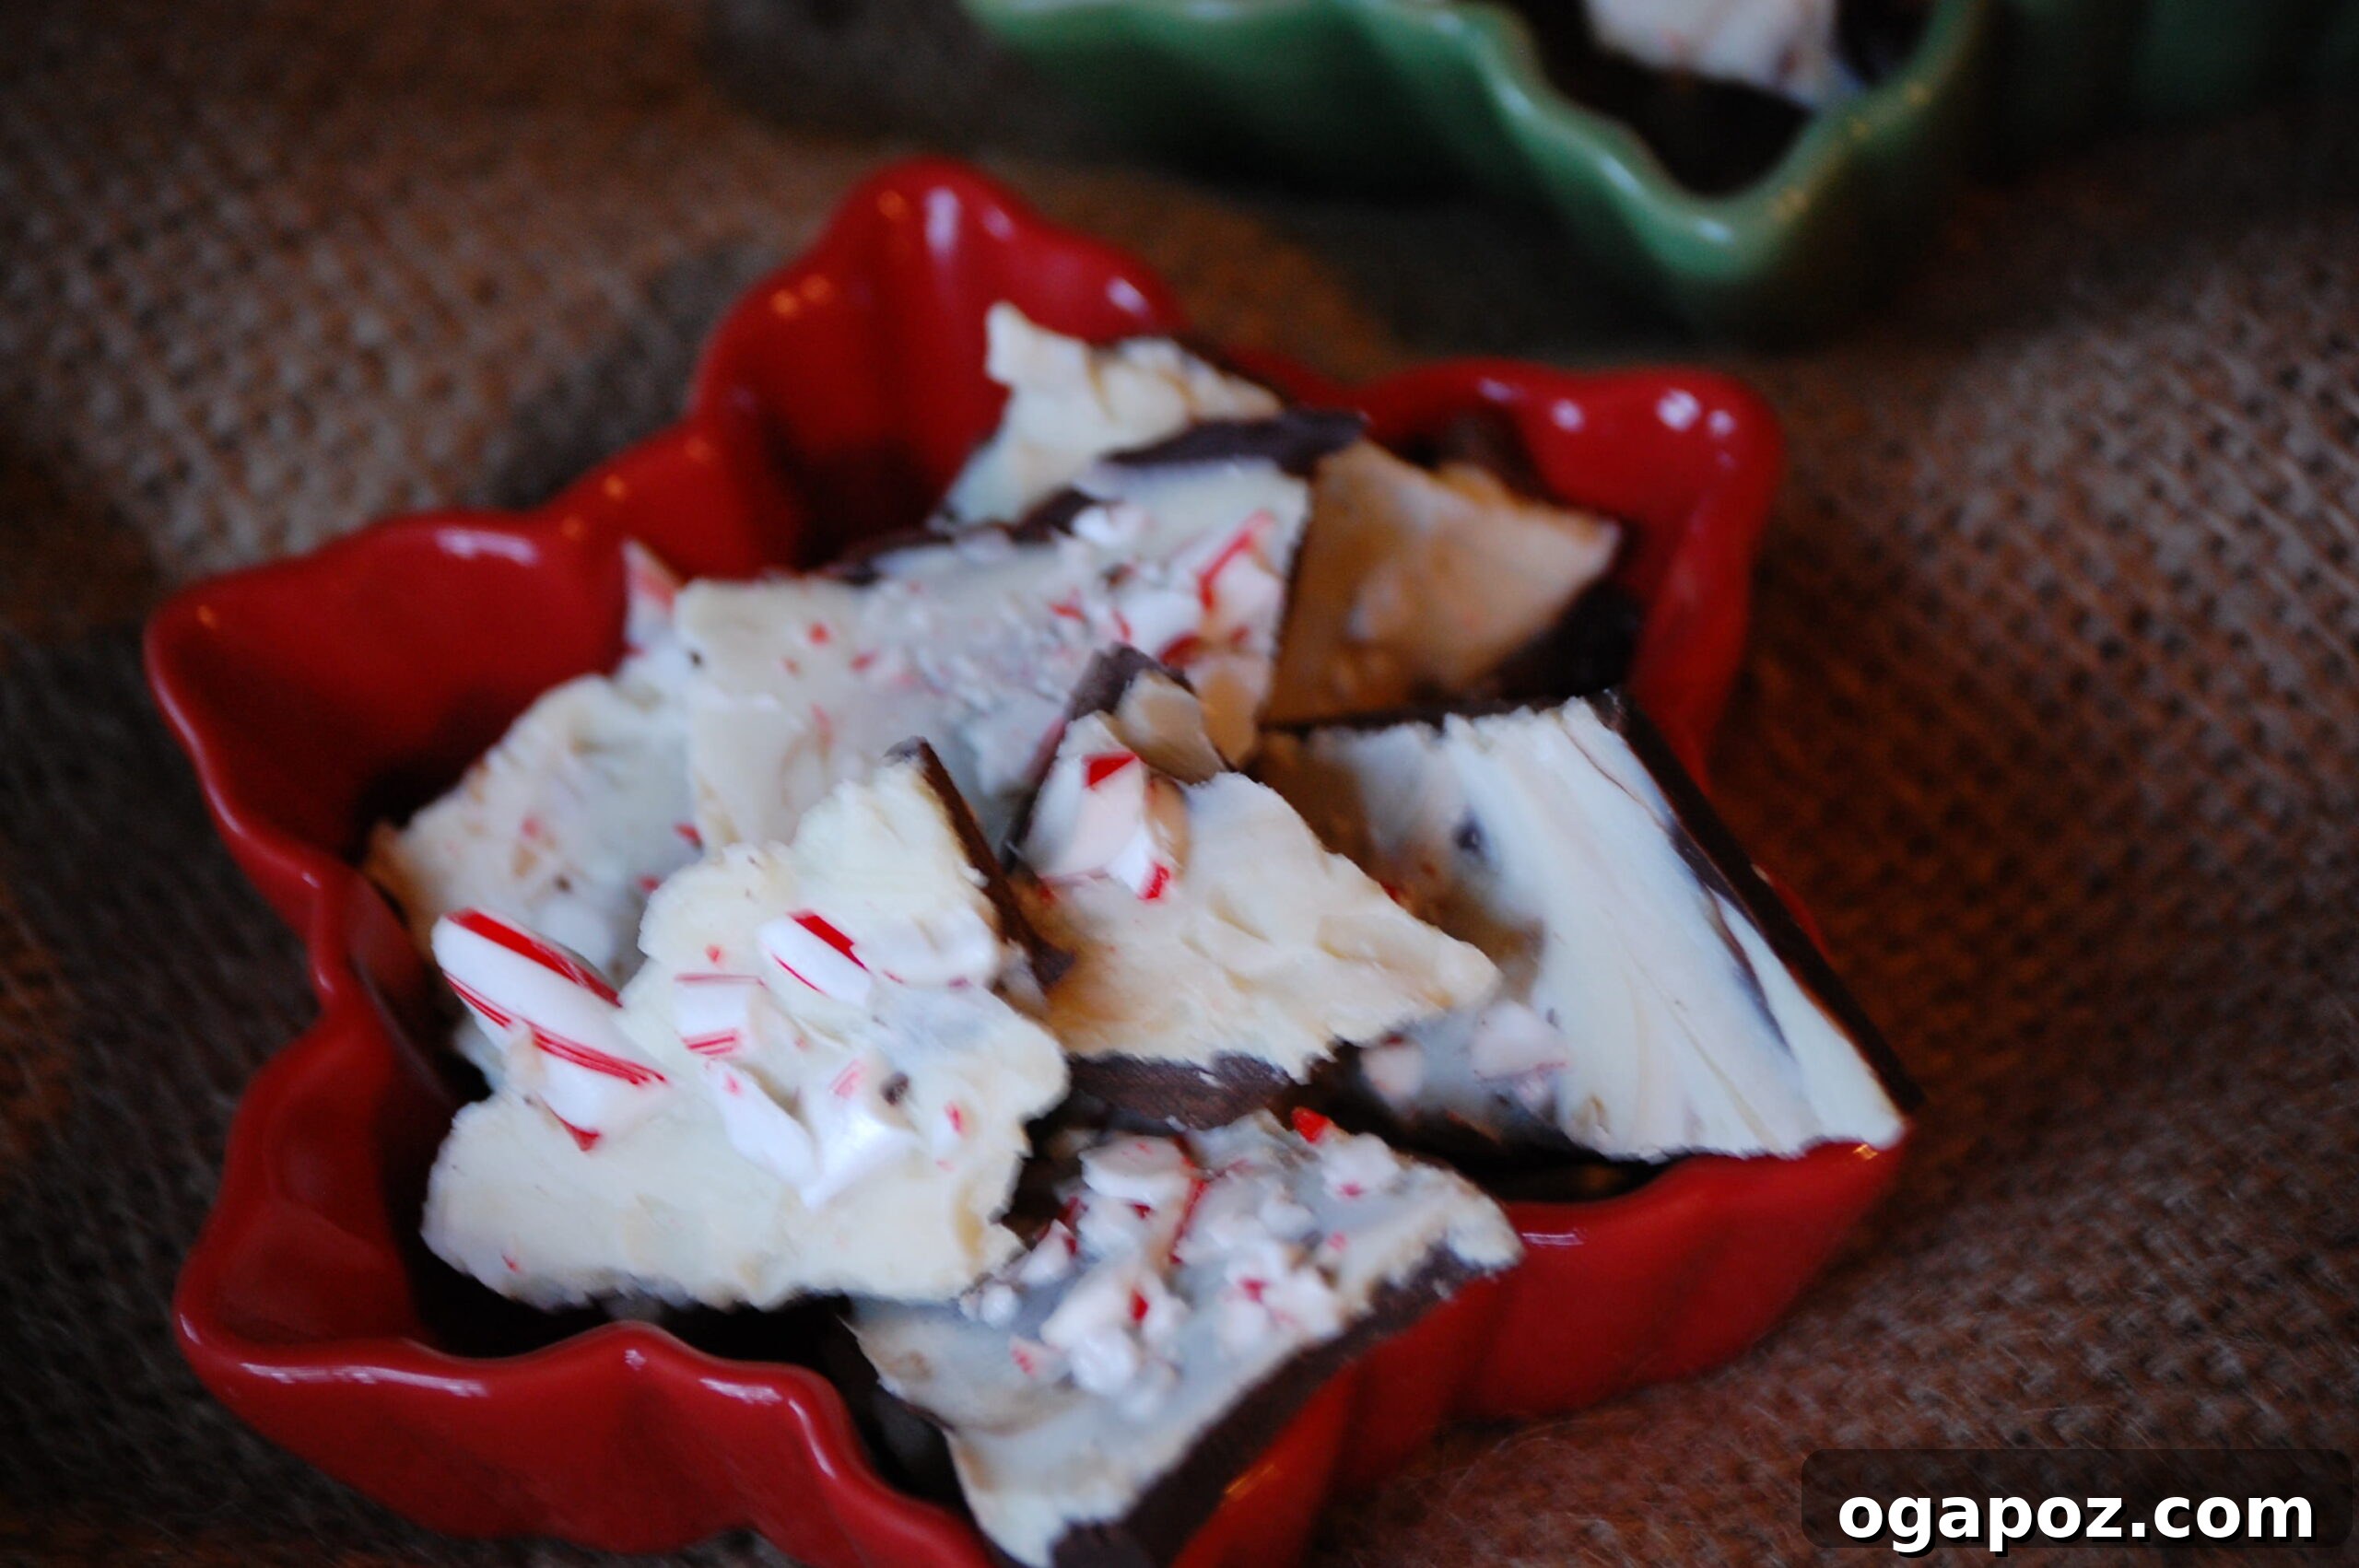
For many years now, the festive season has been synonymous with one particular sweet treat for me: peppermint bark. Whether it arrives as a thoughtful gift from friends or family, that first bite always sparks immediate joy. The exquisite combination of rich, dark chocolate, creamy white chocolate, and the refreshing crunch of peppermint is simply irresistible. It’s a taste that lingers, leaving you eager for another piece, right down to the very last lick of your fingers.
The Ultimate Homemade Peppermint Bark Recipe: Your Perfect Holiday Treat
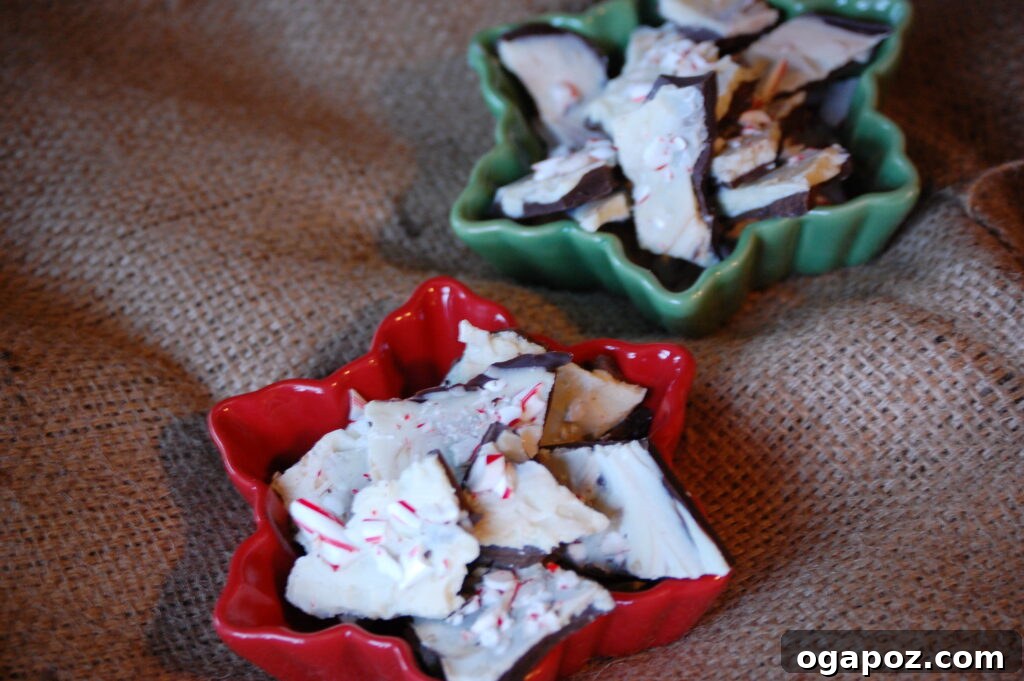
My personal journey into crafting homemade peppermint bark began quite serendipitously after I discovered The Faux Martha, a truly inspiring blog by Melissa. Her website is a beautifully curated space, boasting stunning photography and meticulously detailed recipes that make every dish appear not just delicious, but also entirely achievable. When I came across her particular recipe for peppermint bark, it was a moment of inspiration. I realized it was time to move beyond simply enjoying this classic holiday confection and finally learn to create it myself from scratch.
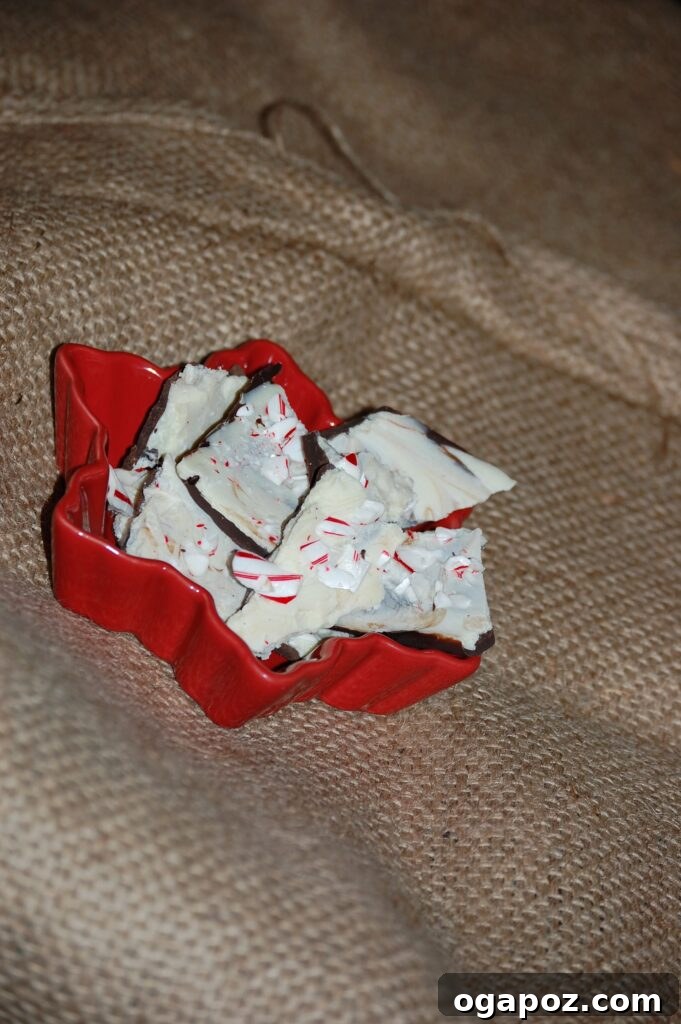
Why Homemade Peppermint Bark is a Must-Try Holiday Delight
To my immense surprise and delight, preparing peppermint bark proved to be one of the easiest and most gratifying sweet recipes I’ve encountered in a long while. It’s a wonderfully straightforward process, making it an ideal candidate to fit into even the busiest holiday baking schedule. You don’t need extensive culinary expertise or a pantry full of obscure ingredients; just a few basic, high-quality items and roughly an hour of your time, much of which is dedicated to passive chilling. The inherent simplicity of this treat lies in its distinct layers: a robust dark chocolate base, crowned with a crisp, cool layer of white chocolate, all festively adorned with vibrant crushed peppermint candy.
Crafting your own peppermint bark at home offers numerous advantages over store-bought versions. You gain complete control over the quality and type of chocolate used, ensuring a richer, more authentic flavor profile. You can customize the thickness of the layers, the amount of peppermint, and even the type of peppermint candy. Beyond the superior taste and texture, there’s an undeniable sense of accomplishment and joy in creating these beautiful pieces yourself. This personal touch makes homemade bark not only a delightful treat for your own enjoyment but also an incredibly special and heartfelt gift for loved ones. Indeed, my initial batch disappeared with such speed (let’s just say some eager taste-testers *accidentally* devoured the intended gifts!), that I’m already planning a second batch to ensure I have plenty for all my upcoming holiday gifting needs. It’s truly a gift that everyone appreciates and nobody forgets.
Essential Ingredients for Your Perfect Peppermint Bark
The remarkable appeal of this peppermint bark recipe stems from its elegant simplicity, requiring only a handful of quality ingredients to yield truly outstanding results. The careful selection of each component is crucial in elevating your bark from merely good to utterly exceptional.
- High-Quality Dark Chocolate (approximately 12 oz / 340g): For the foundational layer, choose a premium dark chocolate bar or baking wafers with a cocoa content ranging between 60% and 70%. This percentage strikes a perfect balance, offering a rich, deep chocolate flavor that beautifully complements the sweetness of the white chocolate and the intensity of the peppermint. While chocolate chips can be used in a pinch, they often contain stabilizers that can prevent them from melting as smoothly or achieving the desirable crisp snap of true bark.
- High-Quality White Chocolate (approximately 12 oz / 340g): Just as with the dark chocolate, the quality of your white chocolate is paramount. Seek out white chocolate that clearly lists cocoa butter as a primary ingredient, rather than relying solely on sugar and vegetable oils. Genuine white chocolate melts into a luxuriously smooth consistency, providing a creamy, sweet contrast that is essential for authentic peppermint bark.
- Peppermint Candies (approximately 1 cup, crushed): Classic candy canes are the quintessential choice for this festive treat, but any hard peppermint candy will work wonderfully. Ensure the candies are pure peppermint flavored, avoiding any multi-flavored or fruit-infused varieties that might detract from the traditional taste. This quantity typically translates to about 10-12 standard-sized candy canes.
- Optional: Food-Grade Peppermint Extract (1/4 teaspoon): For those who desire an intensified burst of mint, a small amount of high-quality, food-grade peppermint extract can be added to the white chocolate layer. Exercise extreme caution with this ingredient, as even a slight excess can cause the chocolate to seize or become overwhelmingly minty.
Step-by-Step Guide to Crafting Delicious Homemade Peppermint Bark
This recipe is thoughtfully designed for both ease of execution and maximum enjoyment, promising a professional-looking and tasting treat with surprisingly minimal effort. Follow these detailed instructions closely to ensure guaranteed success and perfectly layered peppermint bark every time.
Step 1: Prepare Your Baking Sheet for Optimal Results
Begin by meticulously lining a standard baking sheet, typically around 9×13 inches or slightly larger, with either aluminum foil or parchment paper. While aluminum foil offers a robust surface and easy release, parchment paper can sometimes provide an even smoother foundation, which can be beneficial for the bark’s final appearance. Ensure that your chosen lining extends beyond the edges of the pan; these overhangs will serve as convenient “handles” later, allowing you to effortlessly lift the hardened bark for easy removal and breaking. Once lined, set your prepared baking sheet aside, ready for the first layer of chocolate.
Step 2: Precisely Melt the Dark Chocolate
Take your chosen dark chocolate and coarsely chop it into relatively small, uniform pieces. This uniformity is key to promoting even and rapid melting. Transfer all the chopped dark chocolate into a clean, dry, microwave-safe bowl. Place it in the microwave and heat on medium power (typically 50-60% power) for an initial 3-minute interval. After this, remove the bowl and stir the chocolate thoroughly with a rubber spatula, ensuring that you reach the bottom and sides of the bowl. Return the chocolate to the microwave for another 1-minute burst on medium power. Upon removal, continue to stir vigorously until the chocolate is completely smooth, glossy, and entirely free of any solid lumps. If you notice any stubborn, tiny lumps, microwave in very short bursts of 15-30 seconds, stirring diligently after each, until perfect smoothness is achieved. As an alternative, a double boiler method can be used for a more controlled and gentle melting process, stirring continuously over simmering water until velvety smooth.

Step 3: Expertly Create the Dark Chocolate Layer
Carefully pour the entirety of the melted dark chocolate onto the central area of your prepared, foil-lined baking sheet. Using an offset spatula, the back of a large spoon, or even a bench scraper, swiftly and gently spread the chocolate into a thin, consistent layer. It’s important to work with a steady hand and relative speed here, ensuring the chocolate extends all the way to the sides of the baking sheet to achieve a uniform thickness across the entire surface. A thin, even layer is crucial for that delightful, crisp snap when the finished bark is broken. Once evenly spread, immediately transfer the baking sheet into the refrigerator. Allow it to chill undisturbed for approximately 45 minutes, or until the dark chocolate layer is completely set, firm to the touch, and no longer sticky.
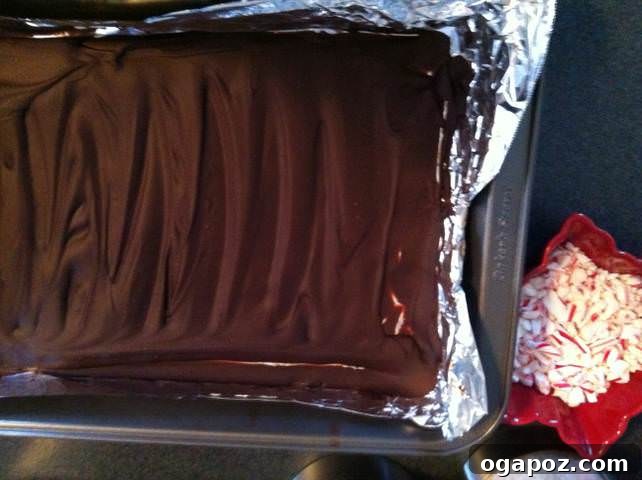
Step 4: Perfectly Crush the Peppermint Candies
While the dark chocolate layer is undergoing its crucial chilling process in the refrigerator, turn your attention to preparing the vibrant peppermint topping. Place your chosen peppermint candies, ideally candy canes, into a sturdy, sealable plastic bag, such as a Ziplock bag. Ensure that the bag is securely sealed, expelling as much air as possible to prevent rupture. Using a kitchen tool like a meat mallet, a rolling pin, or even the solid bottom of a heavy pot, gently but firmly crush the candy canes. Aim for a desirable mixture of fine peppermint dust and small, irregular, crunchy bits; this variety will contribute to both the flavor intensity and the delightful texture of the finished bark. Once crushed to your liking, set the bag of peppermint aside.
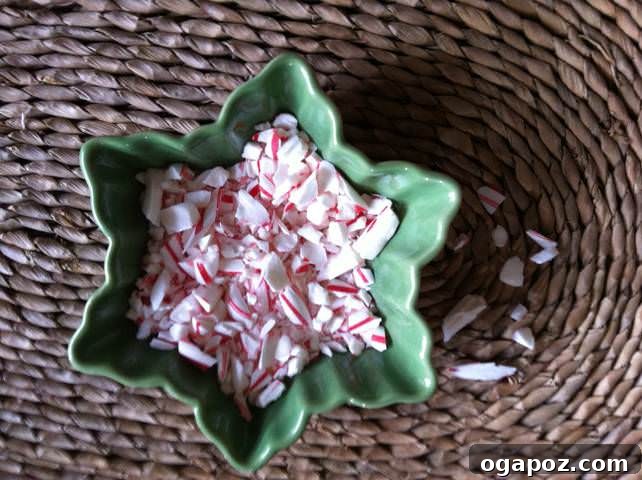
Step 5: Skillfully Melt the White Chocolate
Once the dark chocolate base has fully firmed up, it’s time to prepare the contrasting white chocolate layer. Begin by coarsely chopping the white chocolate into small pieces, similar to how you prepared the dark chocolate. Place these pieces into a separate, clean, and dry microwave-safe bowl. Microwave on medium power (50-60%) for an initial 3-minute period, then remove and stir thoroughly. Return the bowl to the microwave for one more 1-minute interval on medium power. After this, remove and continue stirring until the white chocolate is completely melted, smooth, and lump-free. White chocolate is notoriously more delicate than dark chocolate and can seize or scorch more easily; therefore, be extra vigilant, stirring frequently and opting for shorter, 15-second bursts of microwaving if any small lumps persist. If you plan to add the optional peppermint extract, stir it in now, ensuring it is food-grade and used very sparingly to avoid adverse effects on the chocolate’s consistency.

Step 6: Layer and Adorn with Peppermint
Retrieve the baking sheet with the completely hardened dark chocolate layer from the refrigerator. Pour the smoothly melted white chocolate directly over the firm dark chocolate base. Working quickly and gently, use an offset spatula or the back of a spoon to spread the white chocolate evenly across the entire surface. Ensure it reaches all edges of the dark chocolate, creating a seamless and complete white layer. While the white chocolate is still warm, wet, and pliable, generously sprinkle the previously crushed peppermint candy over the entire surface. Distribute the peppermint as evenly as possible for consistent flavor and visual appeal. Then, gently press the peppermint pieces into the soft white chocolate with your fingertips or the back of a clean spoon to ensure they adhere firmly and don’t fall off once the bark hardens.
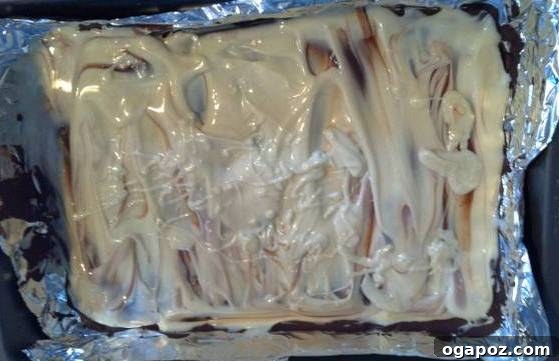
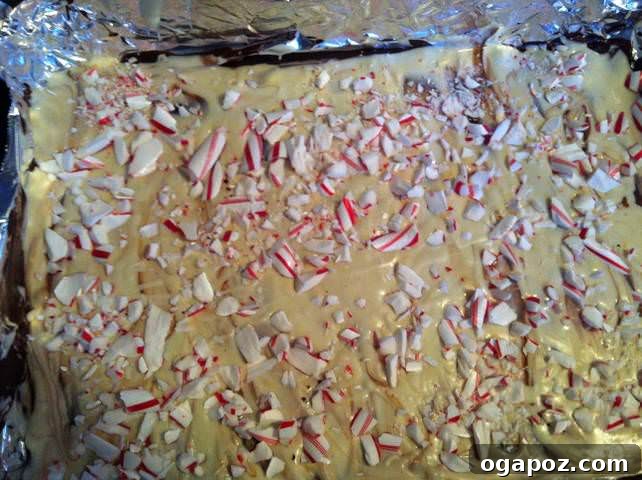
Step 7: Final Chill, Break, and Store Your Masterpiece
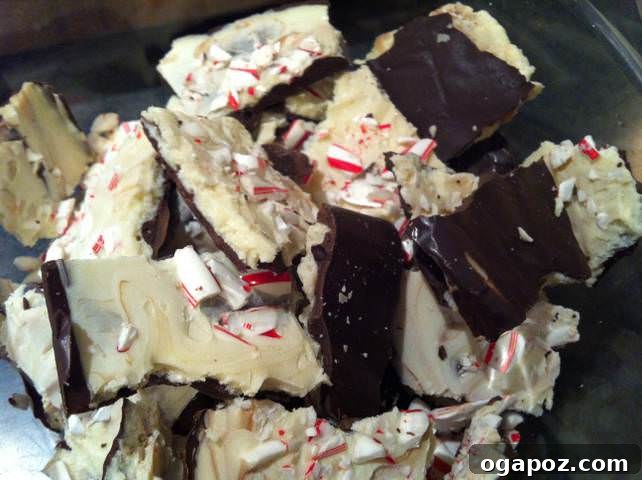
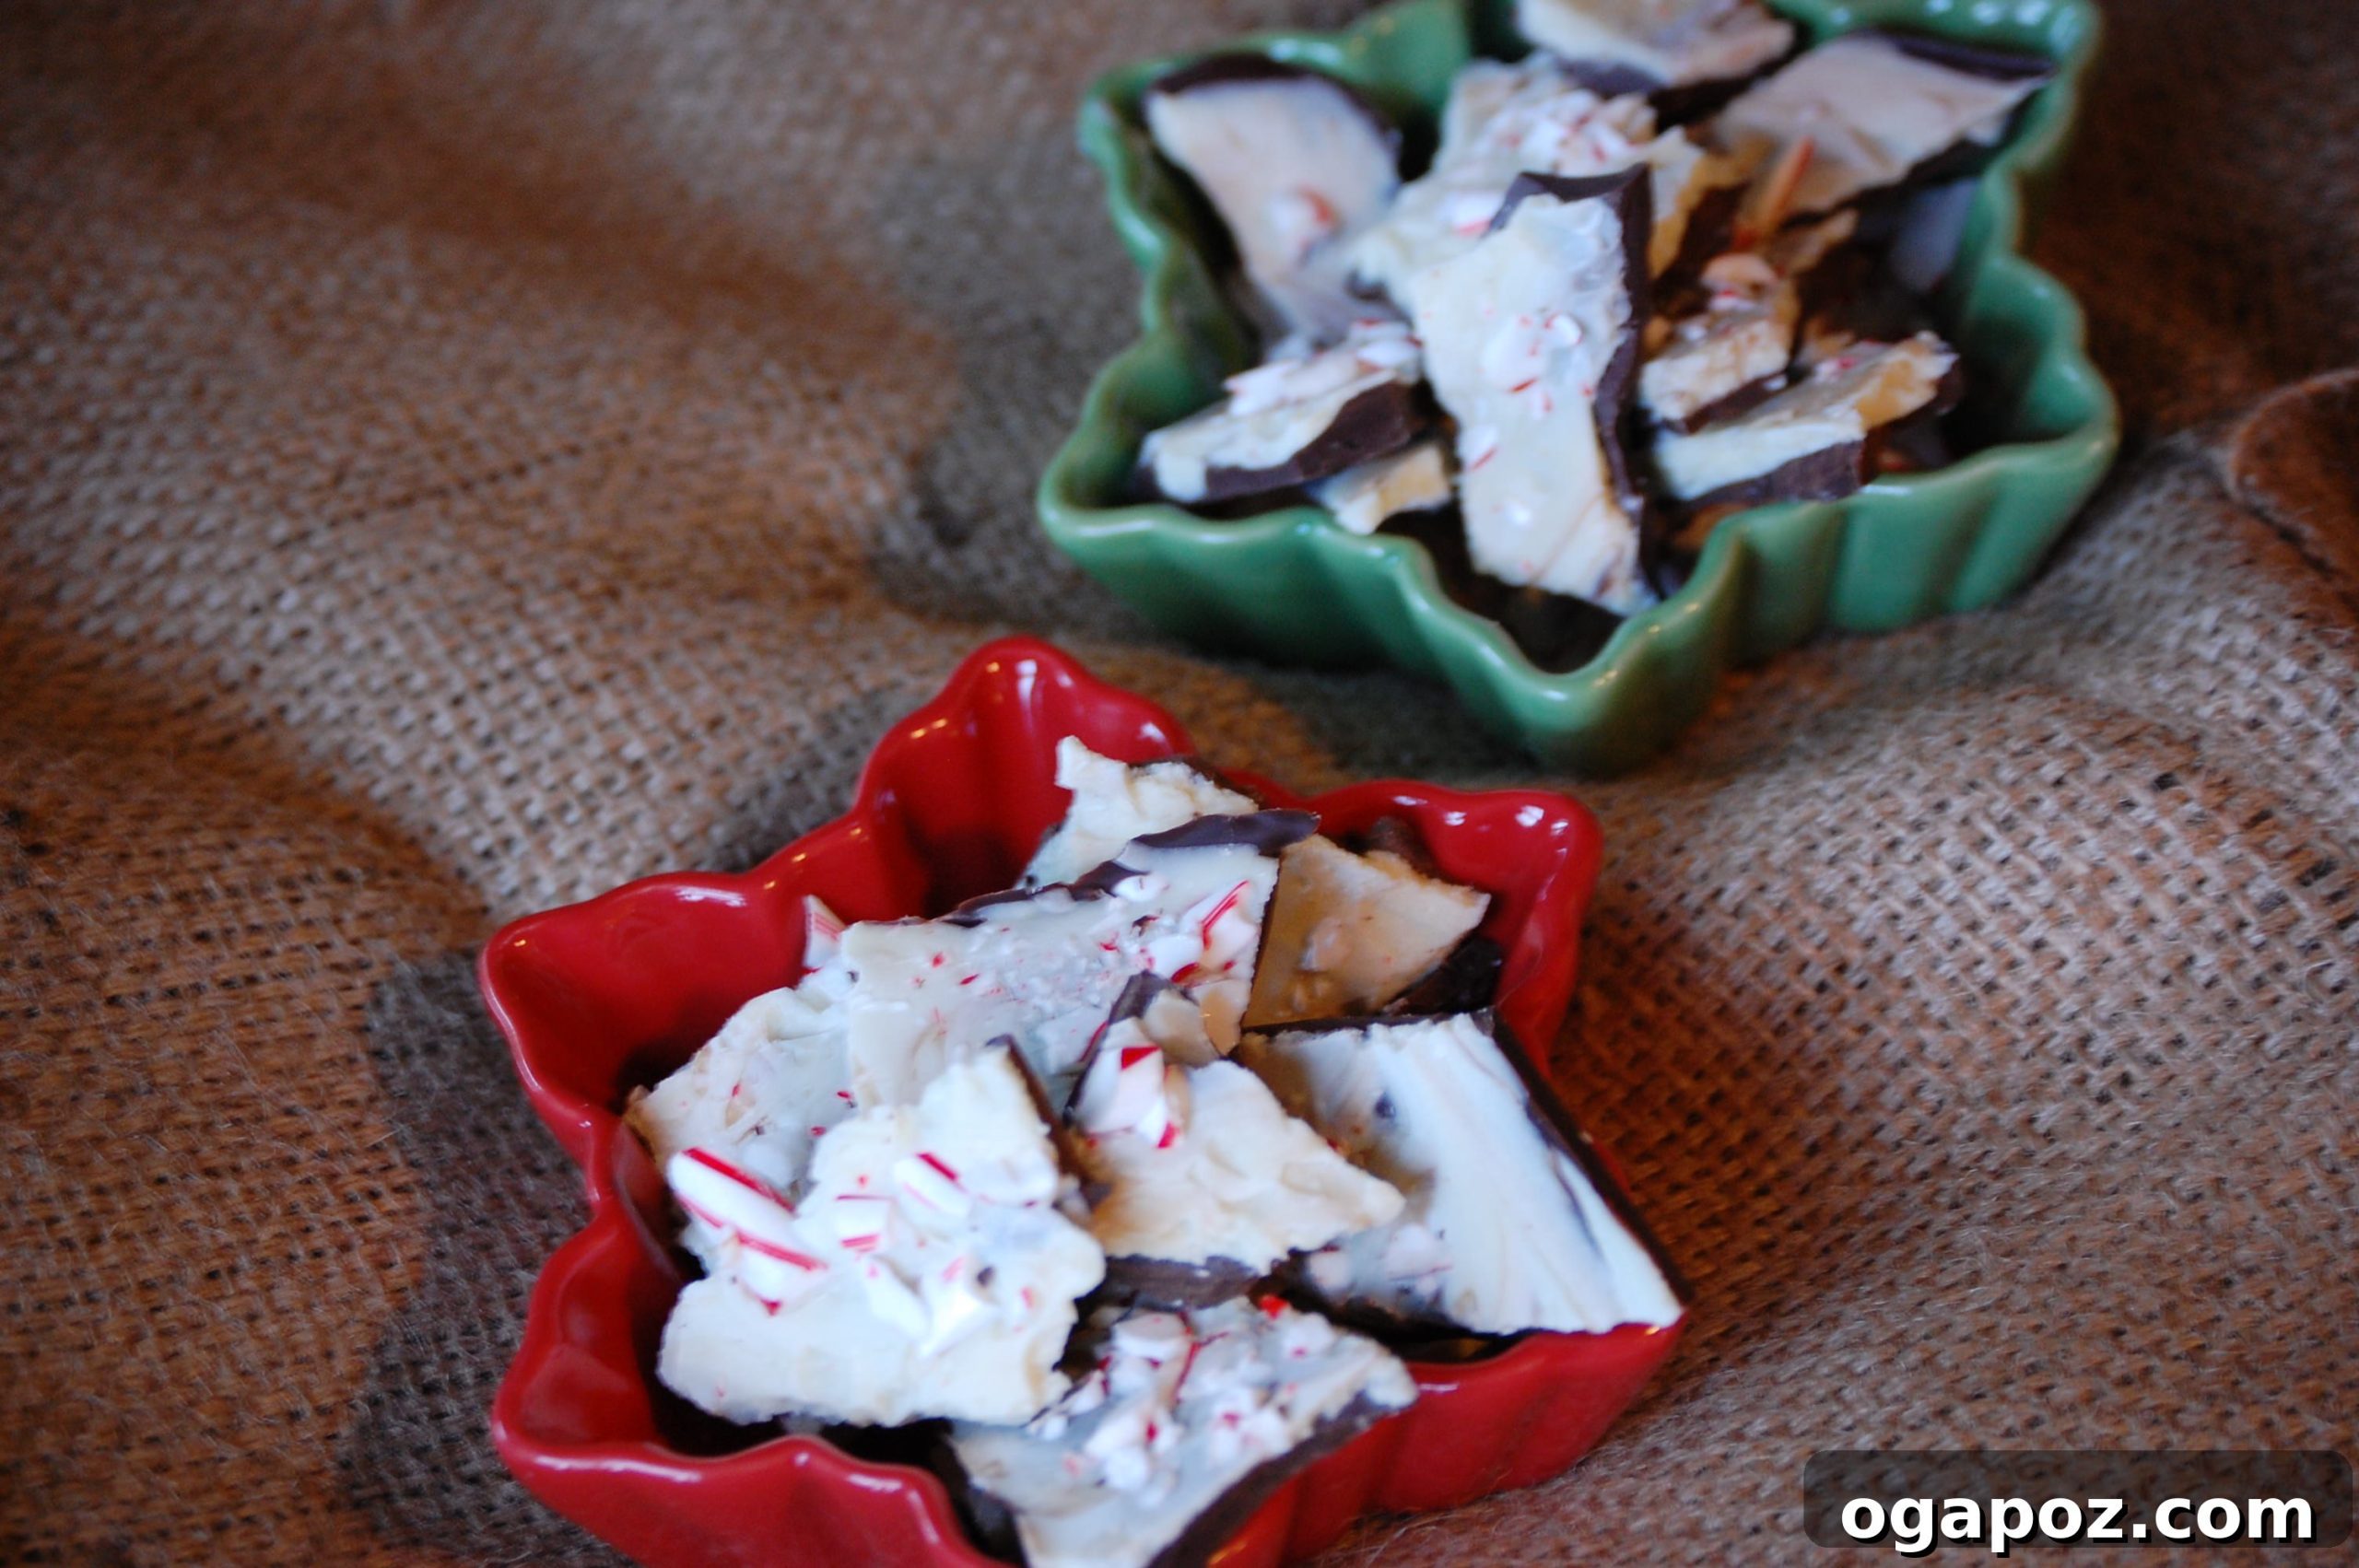
Once the peppermint topping is securely in place, return the baking sheet to the refrigerator for a final chilling period. Allow it to set for at least another 30-45 minutes, or until both chocolate layers are completely firm, brittle, and the entire bark is easy to handle without bending or smudging. Once fully hardened, carefully lift the entire sheet of peppermint bark from the baking pan using the foil or parchment paper “handles.” Gently peel away the lining from the back of the bark. Transfer the bark to a clean cutting board. Now, for the fun part: break it into irregular, rustic pieces by hand, or use a large, sharp knife to cut it into more uniform squares or rectangles, depending on your preference. Store your finished homemade peppermint bark in an airtight container in the refrigerator to maintain its optimal freshness, crispness, and vibrant flavor until you are ready to serve, share, or savor.
Tips for Peppermint Bark Perfection
Achieving truly perfect peppermint bark is simple when you keep a few key tips in mind:
- Quality Truly Matters: The flavor of your bark is only as good as the chocolate you use. Invest in high-quality baking chocolate or couverture chocolate for superior taste and a smoother melt. Avoid generic chocolate chips, which often contain less cocoa butter and more stabilizers, affecting the texture and melt.
- Beware of Moisture: Chocolate is incredibly sensitive to water. Even a minuscule drop can cause it to “seize,” transforming it from a smooth liquid into a grainy, unworkable mess. Always ensure that your bowls, spatulas, and any utensils used are perfectly dry.
- Never Overheat: Overheating chocolate, especially in the microwave, can easily burn it or cause it to seize. Melt it slowly and gradually, stirring frequently. Using lower power settings and shorter heating intervals is always a safer approach.
- Aim for Even Layers: Spreading thin, uniform layers of both dark and white chocolate is crucial. This ensures a consistent texture throughout the bark and contributes to that satisfying, crisp snap when you break a piece.
- Patience with Chilling: Do not rush the chilling process. Allowing each layer to chill completely and harden thoroughly is essential. This prevents the colors from mixing, ensures distinct layers, and makes for clean, sharp breaks.
- Optimal Storage: To maintain its freshness, crispness, and prevent any undesirable “blooming” (a grayish film that can appear due to temperature fluctuations), always store your homemade peppermint bark in an airtight container in the refrigerator.
Creative Ways to Enjoy and Gift Your Homemade Bark
Peppermint bark is far more than just a delicious sweet; it’s an incredibly versatile treat perfect for enhancing any holiday celebration or for thoughtful gifting:
- Festive Holiday Platters: Arrange artfully broken pieces of peppermint bark on a beautiful festive platter alongside other holiday cookies, fudge, and confections for an eye-catching display.
- Heartfelt Homemade Gifts: Package individual portions or small stacks of bark in clear cellophane bags tied with elegant ribbons, small decorative tins, or charming glass jars. A homemade gift like this speaks volumes and is always cherished!
- Decadent Hot Cocoa Topping: Roughly chop some of your bark into small pieces and sprinkle them generously over a steaming mug of hot cocoa. The melting chocolate and peppermint create an extra rich and minty indulgence.
- Elegant Dessert Decorations: Use smaller shards or finely crushed bark to elegantly decorate cakes, cupcakes, brownies, or even scoops of vanilla ice cream for an instant festive touch.
Common Questions About Peppermint Bark
Here are answers to some frequently asked questions about making and enjoying peppermint bark:
- Can I use chocolate chips instead of baking bars? While technically possible, baking bars or couverture chocolate are highly recommended. Chocolate chips often contain additives that can make them difficult to melt smoothly and may result in a less desirable final texture and snap compared to higher-quality chocolate.
- How long will homemade peppermint bark last? When stored properly in an airtight container within the refrigerator, homemade peppermint bark can maintain its freshness, flavor, and texture for approximately 2 to 3 weeks.
- Why did my chocolate seize or become grainy? Chocolate typically seizes when it comes into contact with even a minuscule amount of moisture (like steam or water droplets) or if it’s heated too quickly and scorches. Always ensure your equipment is completely dry and melt chocolate gradually.
- Is it okay to add peppermint extract to the dark chocolate layer as well? While you could, it’s traditionally added sparingly to the white chocolate layer to avoid overwhelming the dark chocolate’s richness. If you choose to add it, be extremely cautious with the quantity, as extracts are oil-based and can affect chocolate consistency if too much is used.
This delightful homemade peppermint bark recipe truly embodies the spirit of the holidays in every irresistible bite. It offers a perfect, harmonious blend of rich chocolate and invigorating mint, making it an incredibly easy, impressive, and utterly delicious way to spread festive cheer. I sincerely hope this comprehensive guide inspires you to confidently create your very own batch of this timeless holiday treat. It’s more than just a recipe; it’s an experience that will undoubtedly get you into the most wonderful mood for celebration!
This detailed recipe was slightly adapted from the wonderful The Faux Martha, whose inspiring content sparked this delightful culinary adventure.
_________________________________________________________
What is your favorite holiday sweet to make? Share your festive creations, cherished traditions, and ingenious ideas below in the comments section! Your insights could inspire fellow bakers.
Julia