
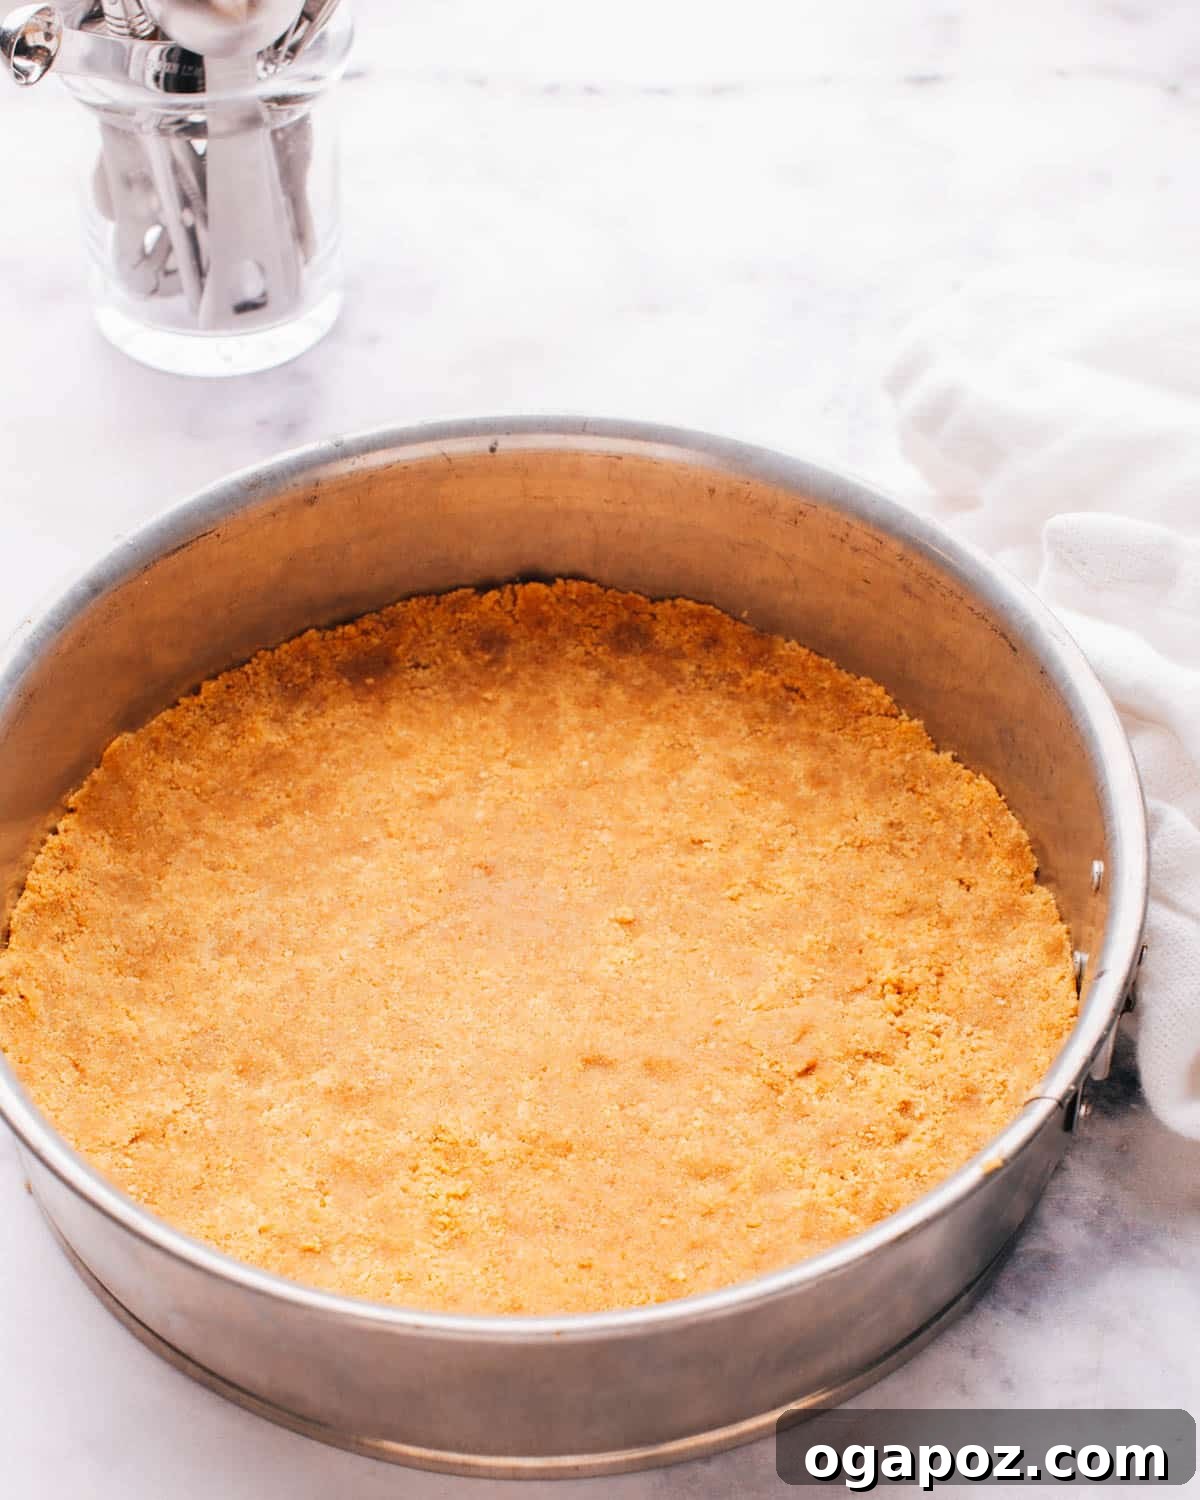
Welcome to the ultimate guide for crafting the **perfect graham cracker crust**! Of all the recipes out there, this one truly stands out. With just **3 essential ingredients**, you’ll create a crust that slices cleanly, holds its shape beautifully, and delivers an irresistible flavor profile. The best part? You don’t even have to bake it, making it incredibly quick – ready in as little as **5 minutes**!
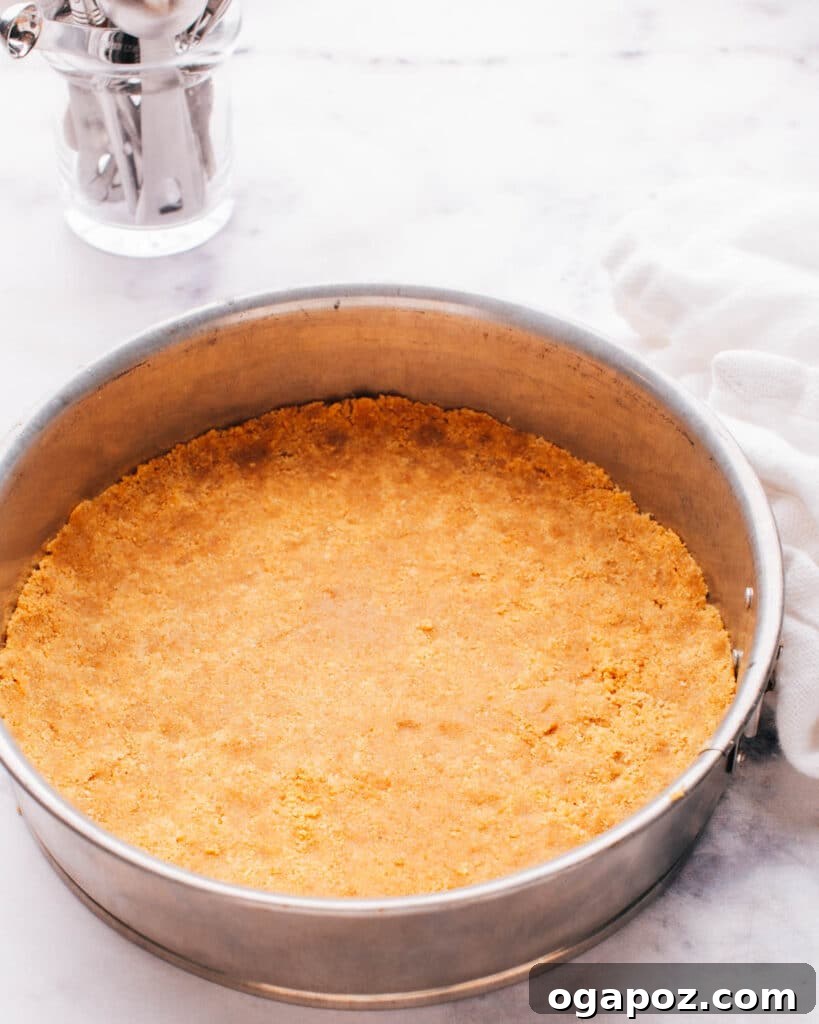
The Ultimate 3-Ingredient Graham Cracker Crust Recipe
Forget store-bought crusts that often lack flavor and crumble too easily. This homemade graham cracker crust recipe is superior in every way, offering a rich, buttery foundation for all your favorite desserts. Its simplicity and robust structure make it an absolute winner in any kitchen.
Why This Graham Cracker Crust Recipe Wins
What makes this particular recipe so exceptional? It’s a combination of ease, reliability, and fantastic flavor. Here’s why it consistently earns top marks:
- Effortless Preparation: With just three ingredients and minimal steps, anyone can master this crust.
- Perfect Texture: Whether you choose to bake it or not, the crust achieves an ideal balance of crunch and tenderness.
- Sturdy & Clean Slices: The secret lies in firmly pressing the mixture, ensuring your finished dessert presents beautifully without crumbling.
- Versatile Use: This crust is a dream for both baked and no-bake cheesecakes, tarts, and pies.
- Quick Assembly: From start to finish, you can have this crust ready in mere minutes.
Essential Ingredients for Your Perfect Crust
You only need three fundamental ingredients to create this delicious, sturdy base. Quality ingredients make all the difference, enhancing the overall flavor and texture of your dessert.
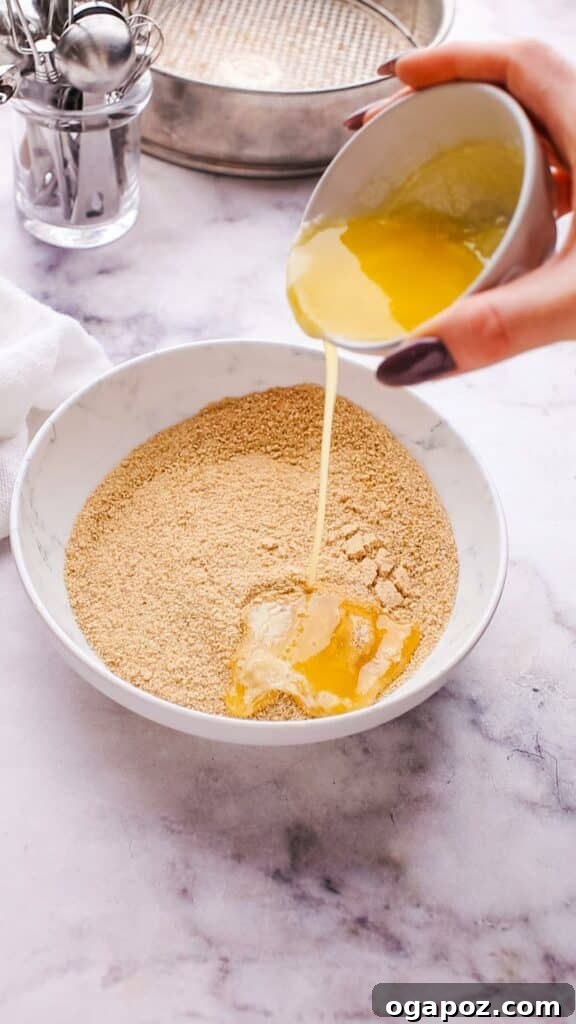
- Graham Cracker Crumbs: You’ll need approximately 11 full graham cracker sheets to yield 1 ½ cups of finely crushed crumbs. The key is fineness; coarser crumbs might result in a less cohesive crust. A food processor makes quick work of this, but a rolling pin and a Ziploc bag work just as well for a satisfying crushing experience.
- Salted Butter: This is the binding agent and a major flavor contributor. Melted butter coats the crumbs, allowing them to stick together when pressed. Using salted butter perfectly balances the sweetness of the crackers and sugar, adding depth without making the crust overtly salty. If you only have unsalted butter, simply add a small pinch (about ¼ teaspoon) of fine salt to the mixture.
- Granulated Sugar: Sugar isn’t just for sweetness; it plays a crucial role in binding the crust. When baked, the sugar slightly caramelizes, enhancing the flavor and contributing to a firmer, crispier texture. White granulated sugar is standard, but brown sugar can also be used for a slightly chewier texture and a deeper, molasses-like flavor.
Variations and Creative Substitutions
While the classic graham cracker crust is a staple, don’t hesitate to experiment with these delicious twists to match your dessert’s flavor profile or dietary needs.
- Unsalted Butter Adjustment: If you’re using unsalted butter, don’t forget to incorporate a pinch (about ¼ teaspoon) of fine salt to achieve that balanced, irresistible flavor.
- Flavorful Crumb Swaps:
- Oreo Cookie Crust: For a decadent chocolate base, substitute crushed Oreo cookies (creams included!) for graham crackers.
- Biscoff or Digestive Biscuit: These offer a unique, spiced, and buttery flavor, perfect for coffee- or caramel-based desserts.
- Shortbread Cookies: Crushed shortbread creates a rich, buttery, and slightly denser crust.
- Ginger Snaps: Ideal for pumpkin or fall-spiced desserts, offering a warm, spicy kick.
- Spice It Up: A pinch of ground cinnamon, nutmeg, or even cardamom can add an extra layer of warmth and complexity to your classic graham cracker crust.
- Make it Gluten-Free: Simply opt for gluten-free graham-style crackers, and you can enjoy this versatile crust without compromise.
Tools You’ll Need for Easy Crust Preparation
Making this graham cracker crust requires only basic kitchen tools, most of which you likely already own. No fancy equipment is needed to achieve professional-level results.
- 9-inch Springform Pan, Pie Plate, or Muffin Pan: The choice depends on your dessert. A springform pan is ideal for cheesecakes, allowing for easy removal and presentation. A standard pie plate works perfectly for pies and tarts. For delightful mini cheesecakes or dessert bars, a muffin pan or an 8×8 inch baking dish is excellent.
- Medium Mixing Bowl: Essential for combining your crumbs, melted butter, and sugar. Choose one large enough to mix comfortably without spills.
- Measuring Cups or Flat-Bottomed Glass: These are your best friends for pressing the crust firmly and evenly into your pan, ensuring a consistent thickness and sturdy structure.
- Parchment Paper and Cooking Spray: For guaranteed easy release, especially with springform pans. Lining the bottom with parchment and lightly spraying the sides prevents sticking and ensures your dessert lifts out perfectly.
- Food Processor (Optional but Recommended): While a rolling pin works, a food processor provides the finest, most consistent crumbs in seconds, leading to a smoother, more uniform crust.
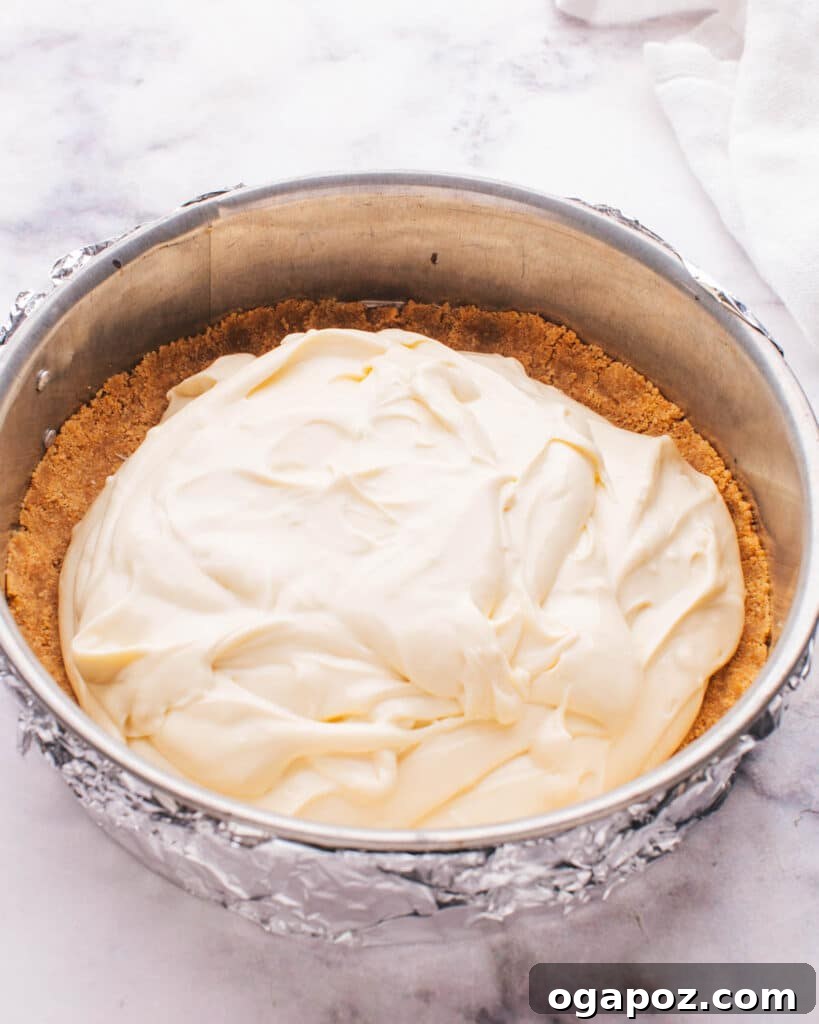
How to Make the Best Homemade Graham Cracker Crust
This recipe is incredibly straightforward, taking mere minutes from start to finish. The decision to bake or not to bake depends on your desired texture and the type of filling you’re using. Follow these simple steps for a flawless crust every time.
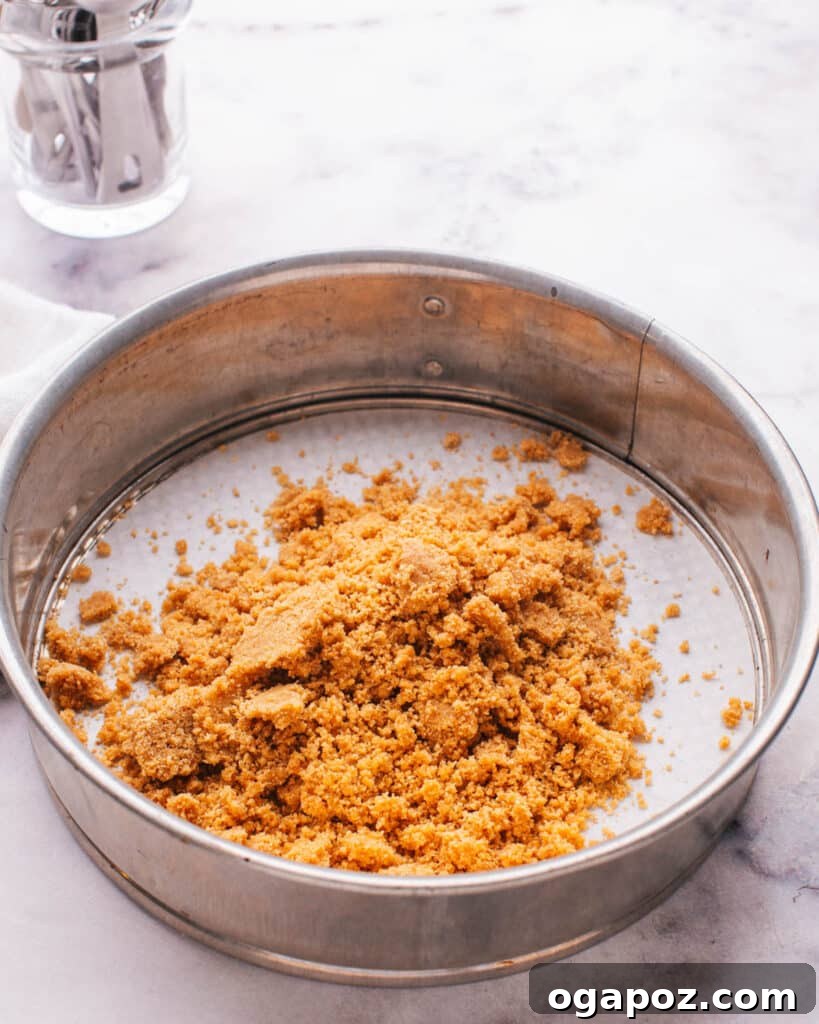
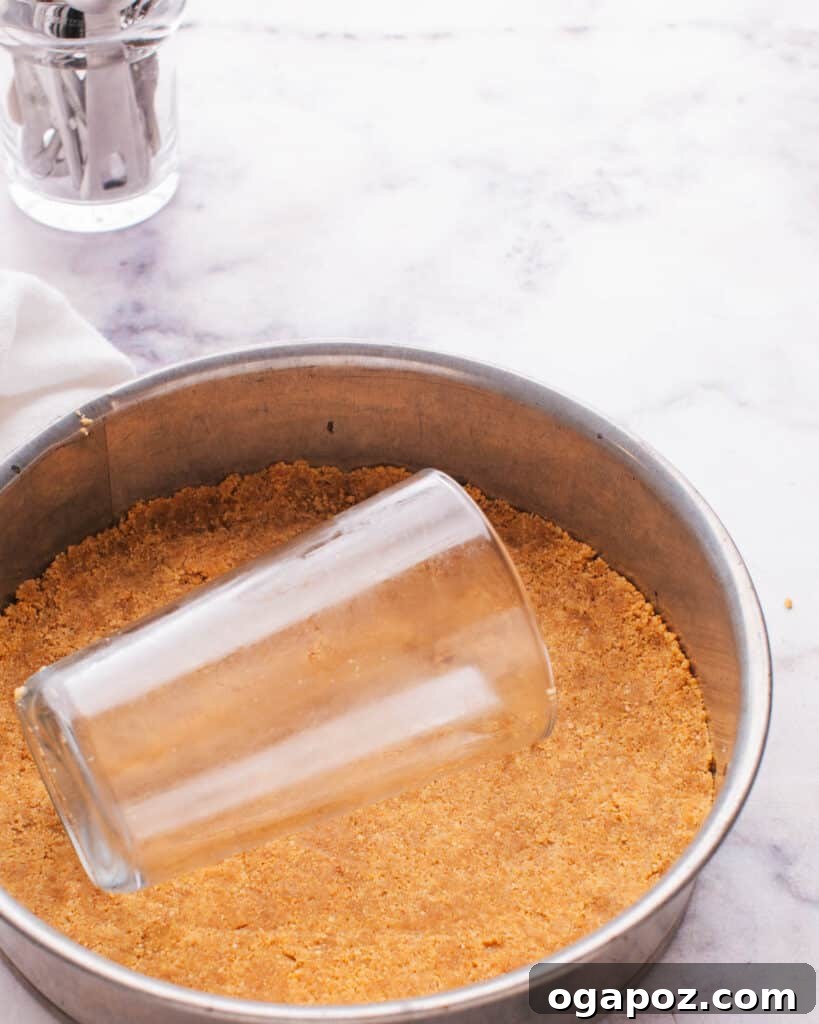
1. Prepare Your Pan for Success
- For a 9-inch springform pan, line the bottom with a circle of parchment paper. This simple step is a game-changer for easy removal of your finished cheesecake.
- Lightly spray the bottom and sides of the pan with cooking spray. This, combined with the parchment, ensures your slices lift out cleanly and beautifully, leaving no delicious crust behind.
2. Mix the Simple Ingredients
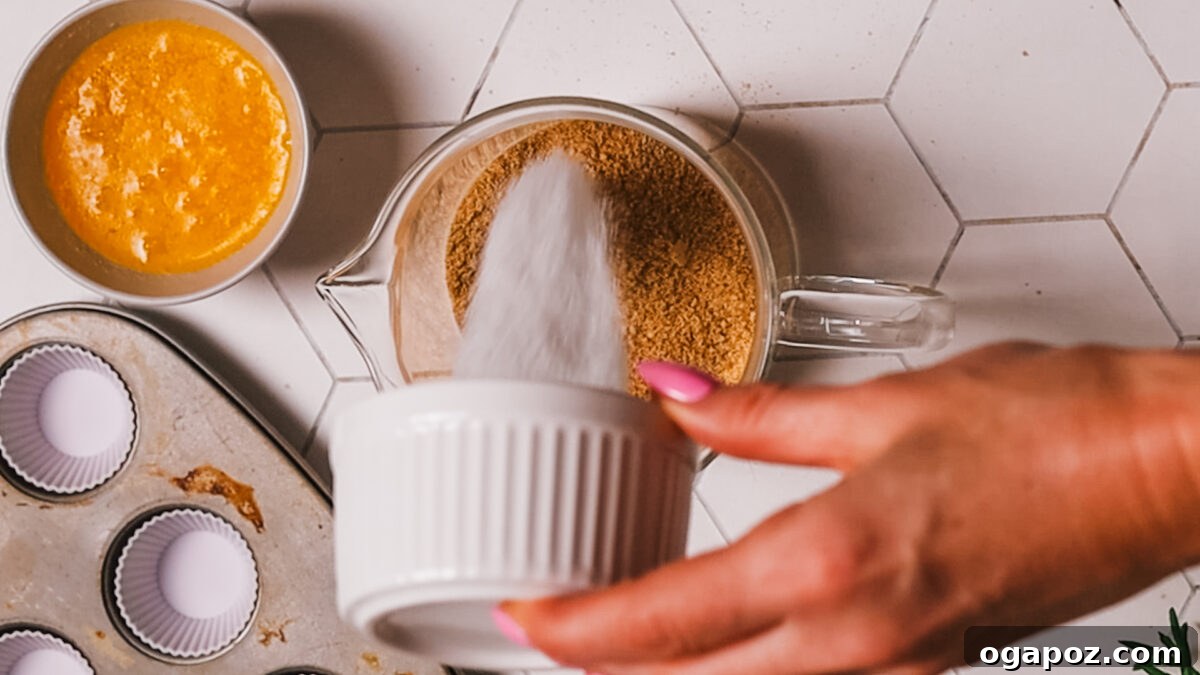
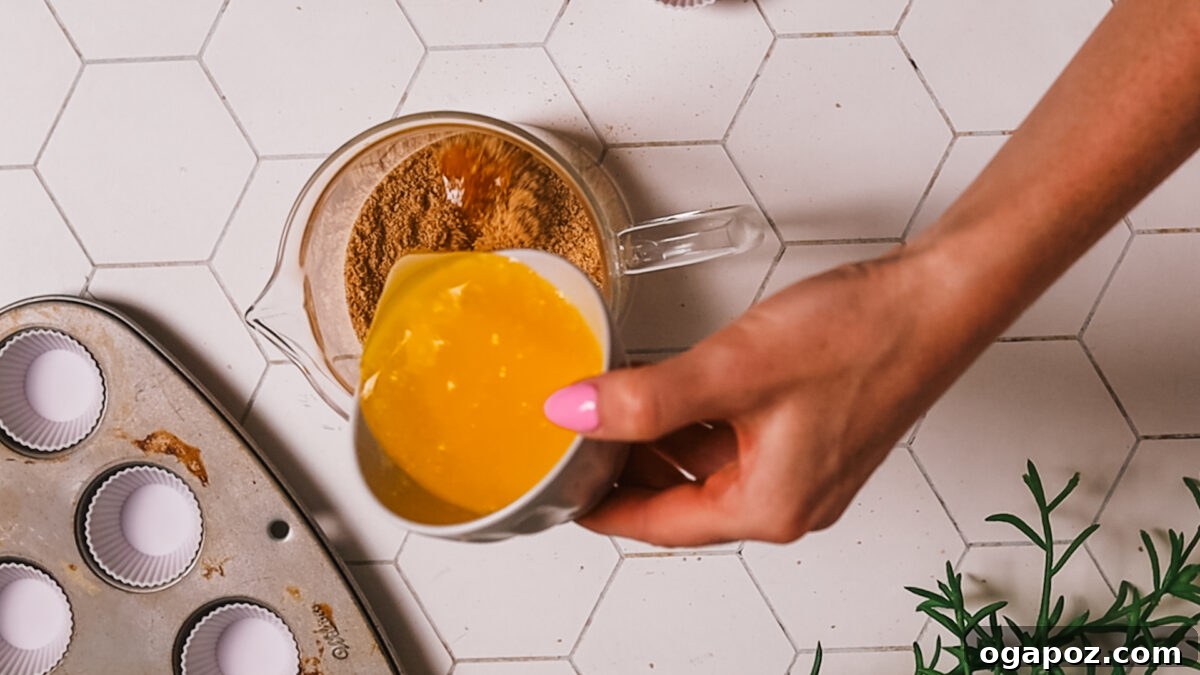
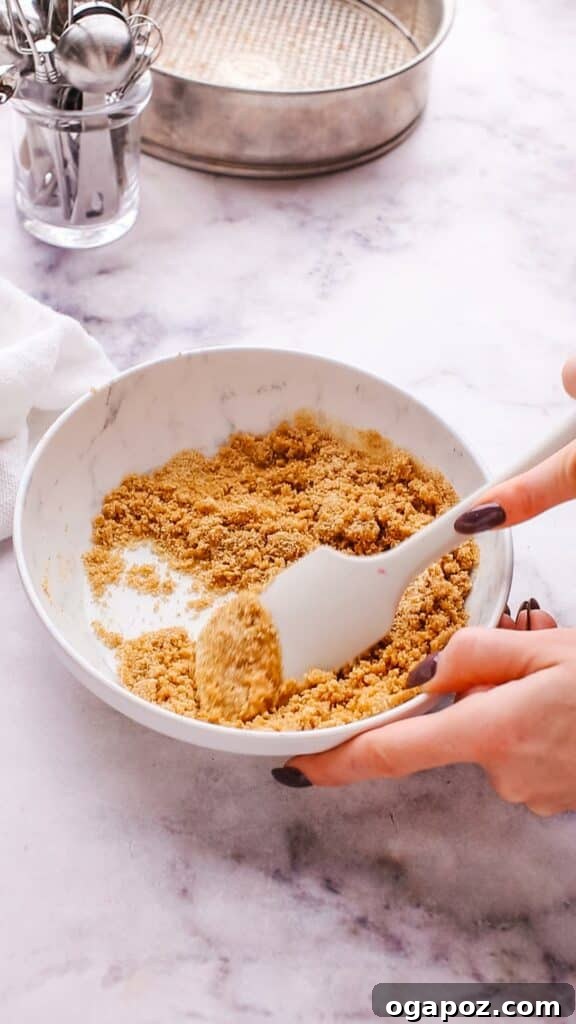
- In a medium bowl, combine your finely crushed graham cracker crumbs, melted salted butter, and granulated sugar.
- Stir everything together thoroughly until the crumbs are evenly moistened. The mixture should resemble wet sand and hold together easily when squeezed in your hand. If it feels too dry, add a tiny bit more melted butter, a teaspoon at a time. If it’s too wet, a tablespoon of extra crumbs can help.
3. Press the Crust Firmly into Place
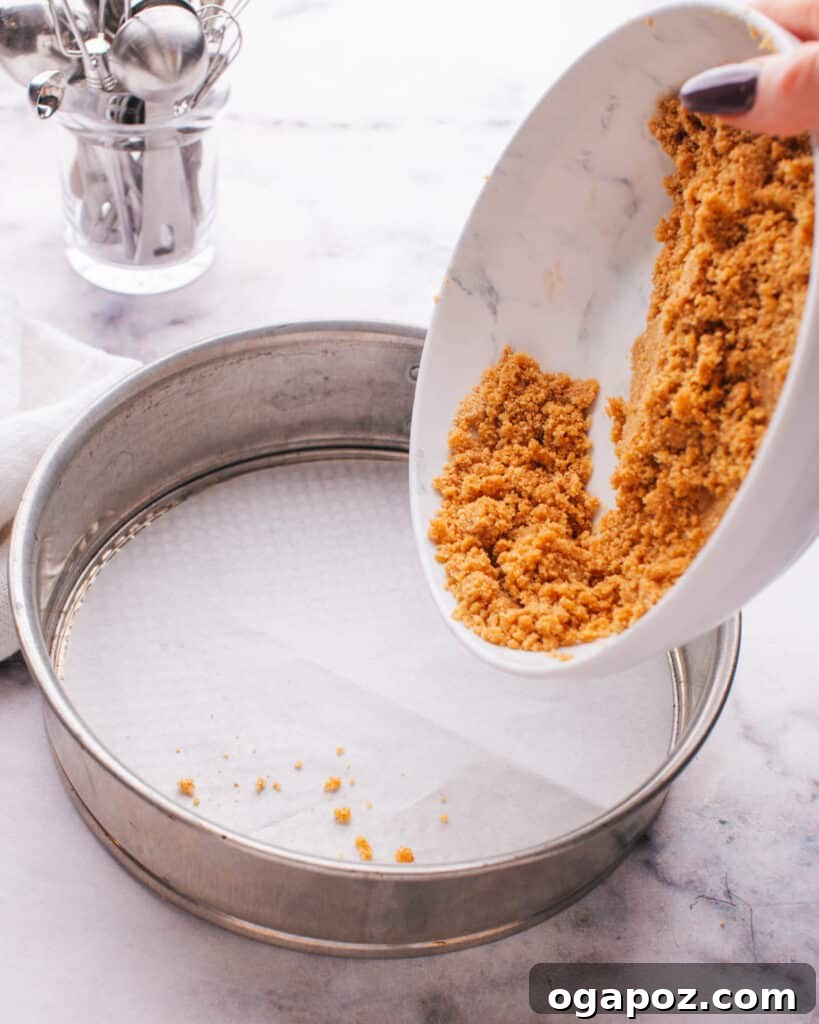
- Transfer the moistened crumb mixture into your meticulously prepared pan.
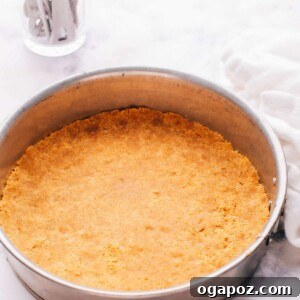
- Using the bottom of a flat-bottomed measuring cup or a glass, press the mixture firmly and evenly across the bottom of the pan and about 1 inch up the sides. **This step is CRUCIAL for a sturdy, sliceable crust.** Firm pressure compacts the crumbs, ensuring they bind together securely and won’t fall apart when cut. Take your time to create a uniform layer.
4. Chill or Bake – Your Choice!
- For a No-Bake Filling: If your dessert requires a no-bake filling, such as cherry cheesecake bars or a mousse pie, simply freeze the crust for at least 10-15 minutes. This allows the butter to firm up, setting the crust. Keep it chilled until you’re ready to add your filling.
- For a Baked Filling (or extra crispness): If you prefer a firmer texture, a slightly toasted flavor, and an excellent moisture barrier for baked fillings like classic Philadelphia cheesecake, bake the pressed crust in a preheated oven at 350°F (175°C) for 8–10 minutes, until lightly golden and fragrant. Allow it to cool completely on a wire rack before pouring in your filling.
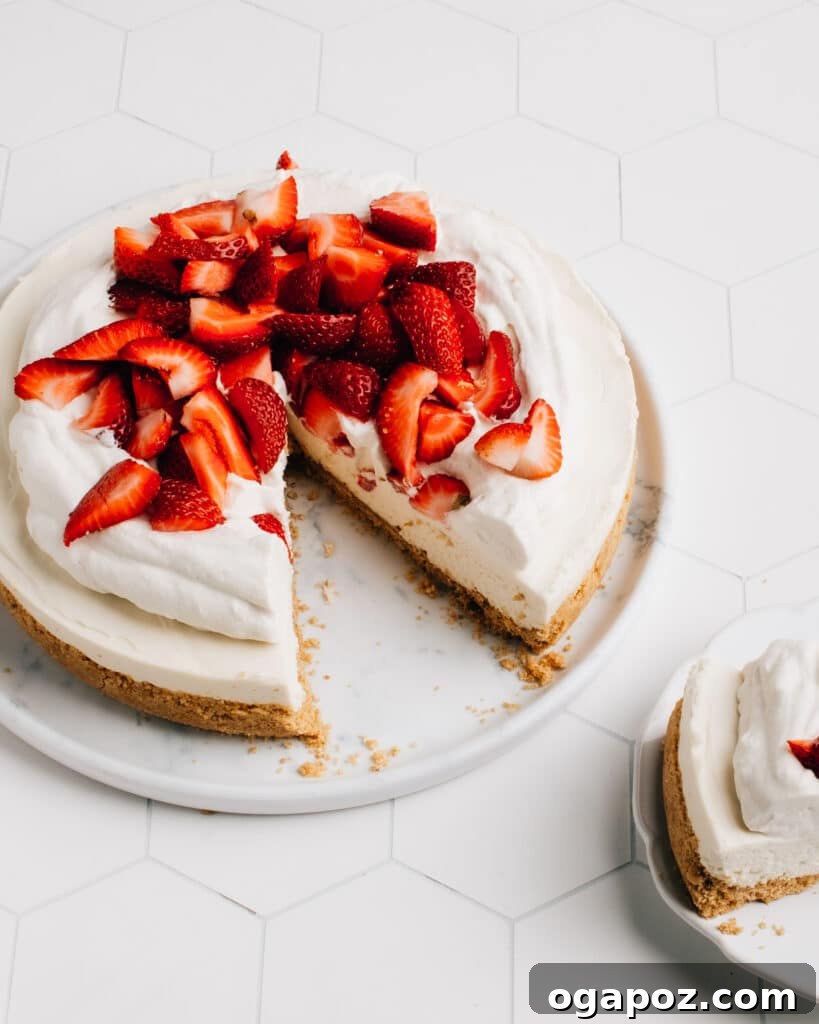
To Bake or Not to Bake: Making the Right Choice for Your Crust
Deciding whether to pre-bake your graham cracker crust is a common question, and the answer largely depends on your desired outcome and the type of dessert you’re creating. Both methods yield delicious results, but they offer distinct advantages.
The Benefits of a No-Bake Crust
A no-bake crust is the ultimate time-saver, perfect for quick desserts and hot summer days when you want to avoid turning on the oven. It remains soft, buttery, and has a milder, pure graham cracker flavor. When using a no-bake filling (like mousses, puddings, or no-bake cheesecakes), simply chilling the crust is often sufficient. The butter solidifies in the cold, holding the crumbs together. However, it’s important to note that a no-bake crust will be more delicate and might soften more quickly at room temperature compared to a baked one.
Why You Might Opt for a Baked Crust
Baking the crust for 8-10 minutes transforms it in several beneficial ways:
- Enhanced Flavor: Baking brings out a deeper, toastier graham cracker flavor. The sugar in the crust also caramelizes slightly, adding a subtle richness.
- Firmer Texture: The heat from the oven helps to set the crust more permanently. As it cools, the melted sugar acts as a glue, creating a significantly sturdier and crispier base that holds together exceptionally well when sliced.
- Moisture Barrier: For recipes with liquid fillings, especially baked cheesecakes, a pre-baked crust forms a protective barrier. This prevents the crust from becoming soggy as it absorbs moisture from the filling during baking, ensuring a perfectly crisp bottom every time.
- Clean Slices: If presentation is key and you desire perfectly defined, clean slices of your dessert, a baked crust is almost always the better choice due to its increased stability.
My Recommendation
While a no-bake crust is perfectly acceptable and convenient for many desserts, I generally lean towards pre-baking it, especially for cheesecakes or any dessert where clean, firm slices are desired. That extra 8 minutes in the oven is a small investment for a significantly improved texture, enhanced flavor, and greater structural integrity. It truly makes a noticeable difference in the final result of your masterpiece.
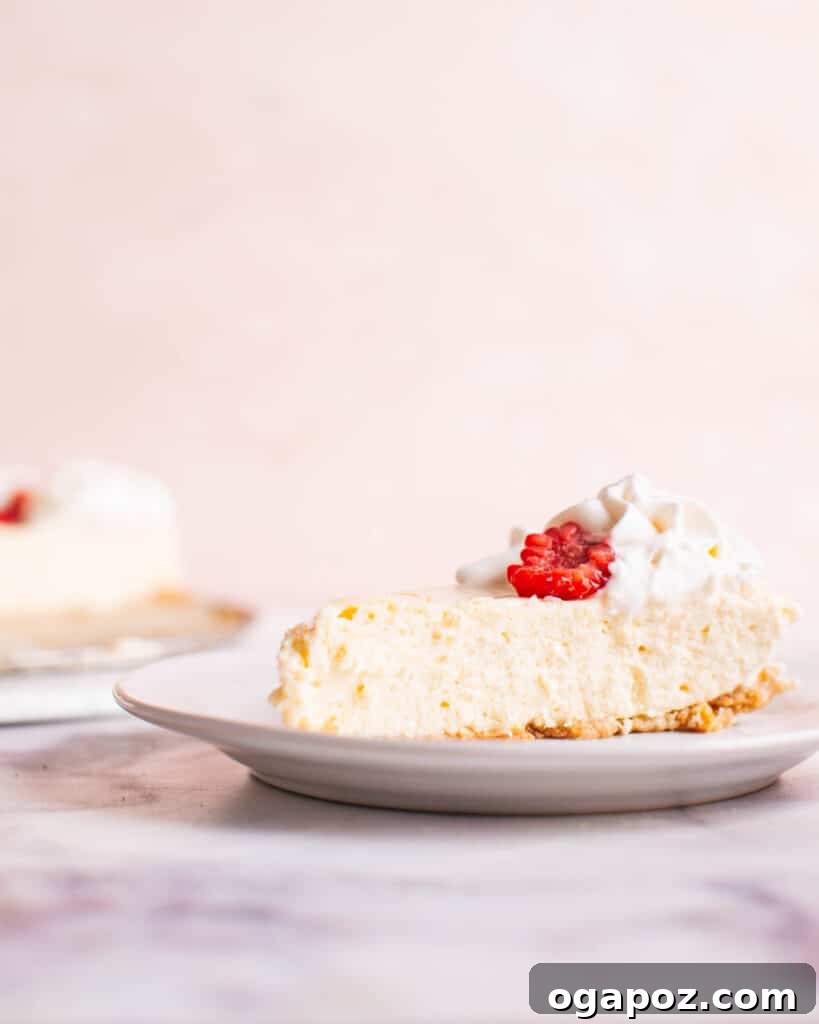
Make Ahead and Storage Solutions
This versatile graham cracker crust can be prepared in advance, making your dessert assembly even faster and more convenient. Proper storage ensures your crust remains fresh and delicious.
Storing Leftovers (Filled Desserts)
- For any dessert made with this crust, once filled and chilled, ensure it is tightly covered with plastic wrap or stored in an airtight container.
- Refrigerate for up to 5 days. The crust, especially if firmly packed and pre-baked, will hold up beautifully when kept cold.
Freezing Homemade Crust (Unfilled)
- You can prepare the empty crust (baked or unbaked) well in advance. Once pressed into the pan, wrap it tightly first in plastic wrap, then in aluminum foil, to prevent freezer burn.
- Store in the freezer for up to 3 months. When ready to use, thaw in the refrigerator for a few hours before filling.
- You can also freeze an entire cheesecake or pie after it’s been filled and set. Wrap securely and thaw overnight in the fridge before serving.
Perfect Pairings: Cheesecake Recipes to Try!
A delicious, buttery **graham cracker crust** is the ideal foundation for an endless array of baked and no-bake cheesecake recipes. Here are some of my top recommendations that truly shine with this crust:
- Pumpkin Cheesecake Bars: The warm spices of pumpkin pair wonderfully with the sweet graham crust.
- Lemon Swirl Cheesecake: The tart lemon offers a delightful contrast to the buttery crust.
- Cheesecake Bites: Perfect for individual servings, with the crust holding firm in mini portions.
- Chocolate Cheesecake: A classic pairing where the graham crust provides a subtle counterpoint to rich chocolate.
- Caramel Mascarpone Cheesecake: The sweetness of caramel is beautifully complemented by the simple graham base.
- Easter Cheesecake Recipe: A festive treat that benefits from a sturdy, flavorful crust.
Beyond Cheesecake: Graham Cracker Pie Crust Versatility
Don’t limit this fantastic graham cracker crust to just cheesecakes! It works beautifully pressed into and up the sides of a 9-inch pie plate, offering a delightful and incredibly easy alternative to traditional pie crust, especially when you’re short on time or prefer a crumbly texture.
- For No-Bake Pies: For pies that don’t require baking, such as ice cream pies, pudding pies, or creamy fruit tarts, simply chill the crust as directed. If your pie filling is warm, it’s advisable to pre-bake the crust to prevent it from softening too much underneath. A baked crust provides superior structural integrity and a lovely toasty flavor that perfectly balances sweet, rich fillings.
- For Baked Pies: This crust can also be used for baked pies that don’t need extensive oven time. Use the blind baking method (par-bake the empty crust in the pie pan) for 8–10 minutes, then add your filling and bake as your recipe calls for. It adds a buttery, crunchy contrast that’s especially good with custard pies, fruit tarts, or pudding-based pies.
- It’s particularly excellent with creamy, cold-set pies like no-bake chocolate tart, strawberry white chocolate mousse tart, or peanut butter pie. The sturdy base perfectly supports these decadent fillings.
To save this recipe, simply bookmark this page in your browser for easy access anytime!
☆
☆
☆
☆
The BEST of ALL Recipes for Graham Cracker Crust (3 Ingredients!)
5
0-10
5-15
12
Ingredients
- 1 ½ cups graham cracker crumbs (~11 full graham cracker sheets)
- ¼ cup salted butter melted
- 2 tbsp granulated sugar
Instructions
-
Line the bottom of a 9” springform pan with parchment paper. Spray the bottom and sides with cooking spray for easy release.
-
In a large bowl, stir graham cracker crumbs, melted butter, and sugar together until evenly moistened. The mixture should resemble wet sand and hold together when squeezed.
-
Press the mixture firmly into the bottom and 1 inch up the sides of the prepared pan using a flat-bottomed measuring cup or glass. Firm pressure is key for a sturdy crust that won’t fall apart.
No-Bake Option
-
Freeze the crust for at least 10 minutes while you prepare the filling. Keep it cold until the cheesecake is served.
Baked Option
-
Bake the crust in a 350°F (175°C) oven for 8 to 10 minutes, until lightly golden and fragrant. Let it cool completely before adding the filling.
Notes
- For baked cheesecakes (with liquid batter), baking the crust helps create a moisture barrier to prevent the crust from getting soggy before the filling sets.
- No-bake crust is quicker and works perfectly, but is softer and more delicate.
- Either way, pressing the crumbs firmly is key for a stable crust.
Graham Crackers: You’ll need 11 full graham cracker sheets to yield 1 ½ cups of fine crumbs. Crush finely using a food processor or a rolling pin.
Butter: Salted butter adds balance. If using unsalted, add a small pinch of salt (approx. ¼ teaspoon).
Packing the Crust: Use firm, even pressure when pressing the crumbs in so the crust stays together after slicing. A flat-bottomed glass or measuring cup works perfectly for this.
Storage: The unfilled crust can be made ahead and kept in the fridge for up to 3 days or frozen for 3 months.
Nutrition
Carbohydrates: 11g |
Protein: 1g |
Fat: 5g |
Saturated Fat: 3g |
Polyunsaturated Fat: 0.2g |
Monounsaturated Fat: 1g |
Trans Fat: 0.2g |
Cholesterol: 10mg |
Sodium: 101mg |
Potassium: 20mg |
Fiber: 0.4g |
Sugar: 5g |
Vitamin A: 120IU |
Calcium: 10mg |
Iron: 0.4mg
Nutrition information is automatically calculated, so should only be used as an approximation.
Tried this recipe? Leave a comment!Share your experience and any delicious modifications you made!
Frequently Asked Questions (FAQ) About Graham Cracker Crusts
How do I get my graham cracker crust to be perfectly crisp?
For the crispiest crust, pre-baking is your best bet. Bake it at 350°F (175°C) for 8-10 minutes until golden. This sets the sugar, creating a firm, crunchy texture that resists sogginess from fillings. Also, ensure you press the crumbs very firmly into the pan before baking or chilling.
My crust crumbles when I cut it. What went wrong?
The most common reason for a crumbly crust is not pressing it firmly enough. You need to really compact the mixture into the pan using the bottom of a glass or measuring cup. The butter acts as a binder, but it needs sufficient pressure to create a cohesive structure. If it’s still too crumbly, you might need a tiny bit more melted butter in your mix.
Can I make this crust gluten-free?
Absolutely! Simply substitute regular graham crackers with your favorite brand of gluten-free graham-style crackers. The ratios of butter and sugar should remain the same.
What if I don’t have a food processor to crush the crackers?
No problem! Place the graham cracker sheets in a large zip-top bag, seal it, and use a rolling pin to crush them into fine crumbs. This method can be quite therapeutic and is just as effective, though it might take a few extra minutes.
How do I prevent the crust from sticking to the pan?
Proper pan preparation is key. Always line the bottom of a springform pan with parchment paper. Additionally, lightly spray both the bottom and sides of your pan (whether it’s a springform or pie plate) with cooking spray. This double layer of protection ensures a clean release every time.
Final Thoughts on This Essential Crust
Mastering the perfect graham cracker crust is a fundamental skill for any home baker. This 3-ingredient recipe provides an incredibly easy, reliable, and delicious base that elevates everything from classic cheesecakes to creative pies and tarts. With its firm structure and rich flavor, it truly is the ultimate all-purpose crust. So go ahead, whip up a batch, and prepare to impress with your next homemade dessert!