

Welcome to your new favorite breakfast staple! This incredible Chaffles Recipe, affectionately known as cheese and egg waffles, is about to revolutionize your low-carb lifestyle. If you’re searching for a simple, quick, and remarkably satisfying meal that fits perfectly into a keto, gluten-free, or generally healthy eating plan, look no further. These protein-packed wonders are not only a delicious way to start your day or enjoy a snack, but they’re also incredibly easy to prepare and remarkably freezer-friendly, making meal prep a breeze.
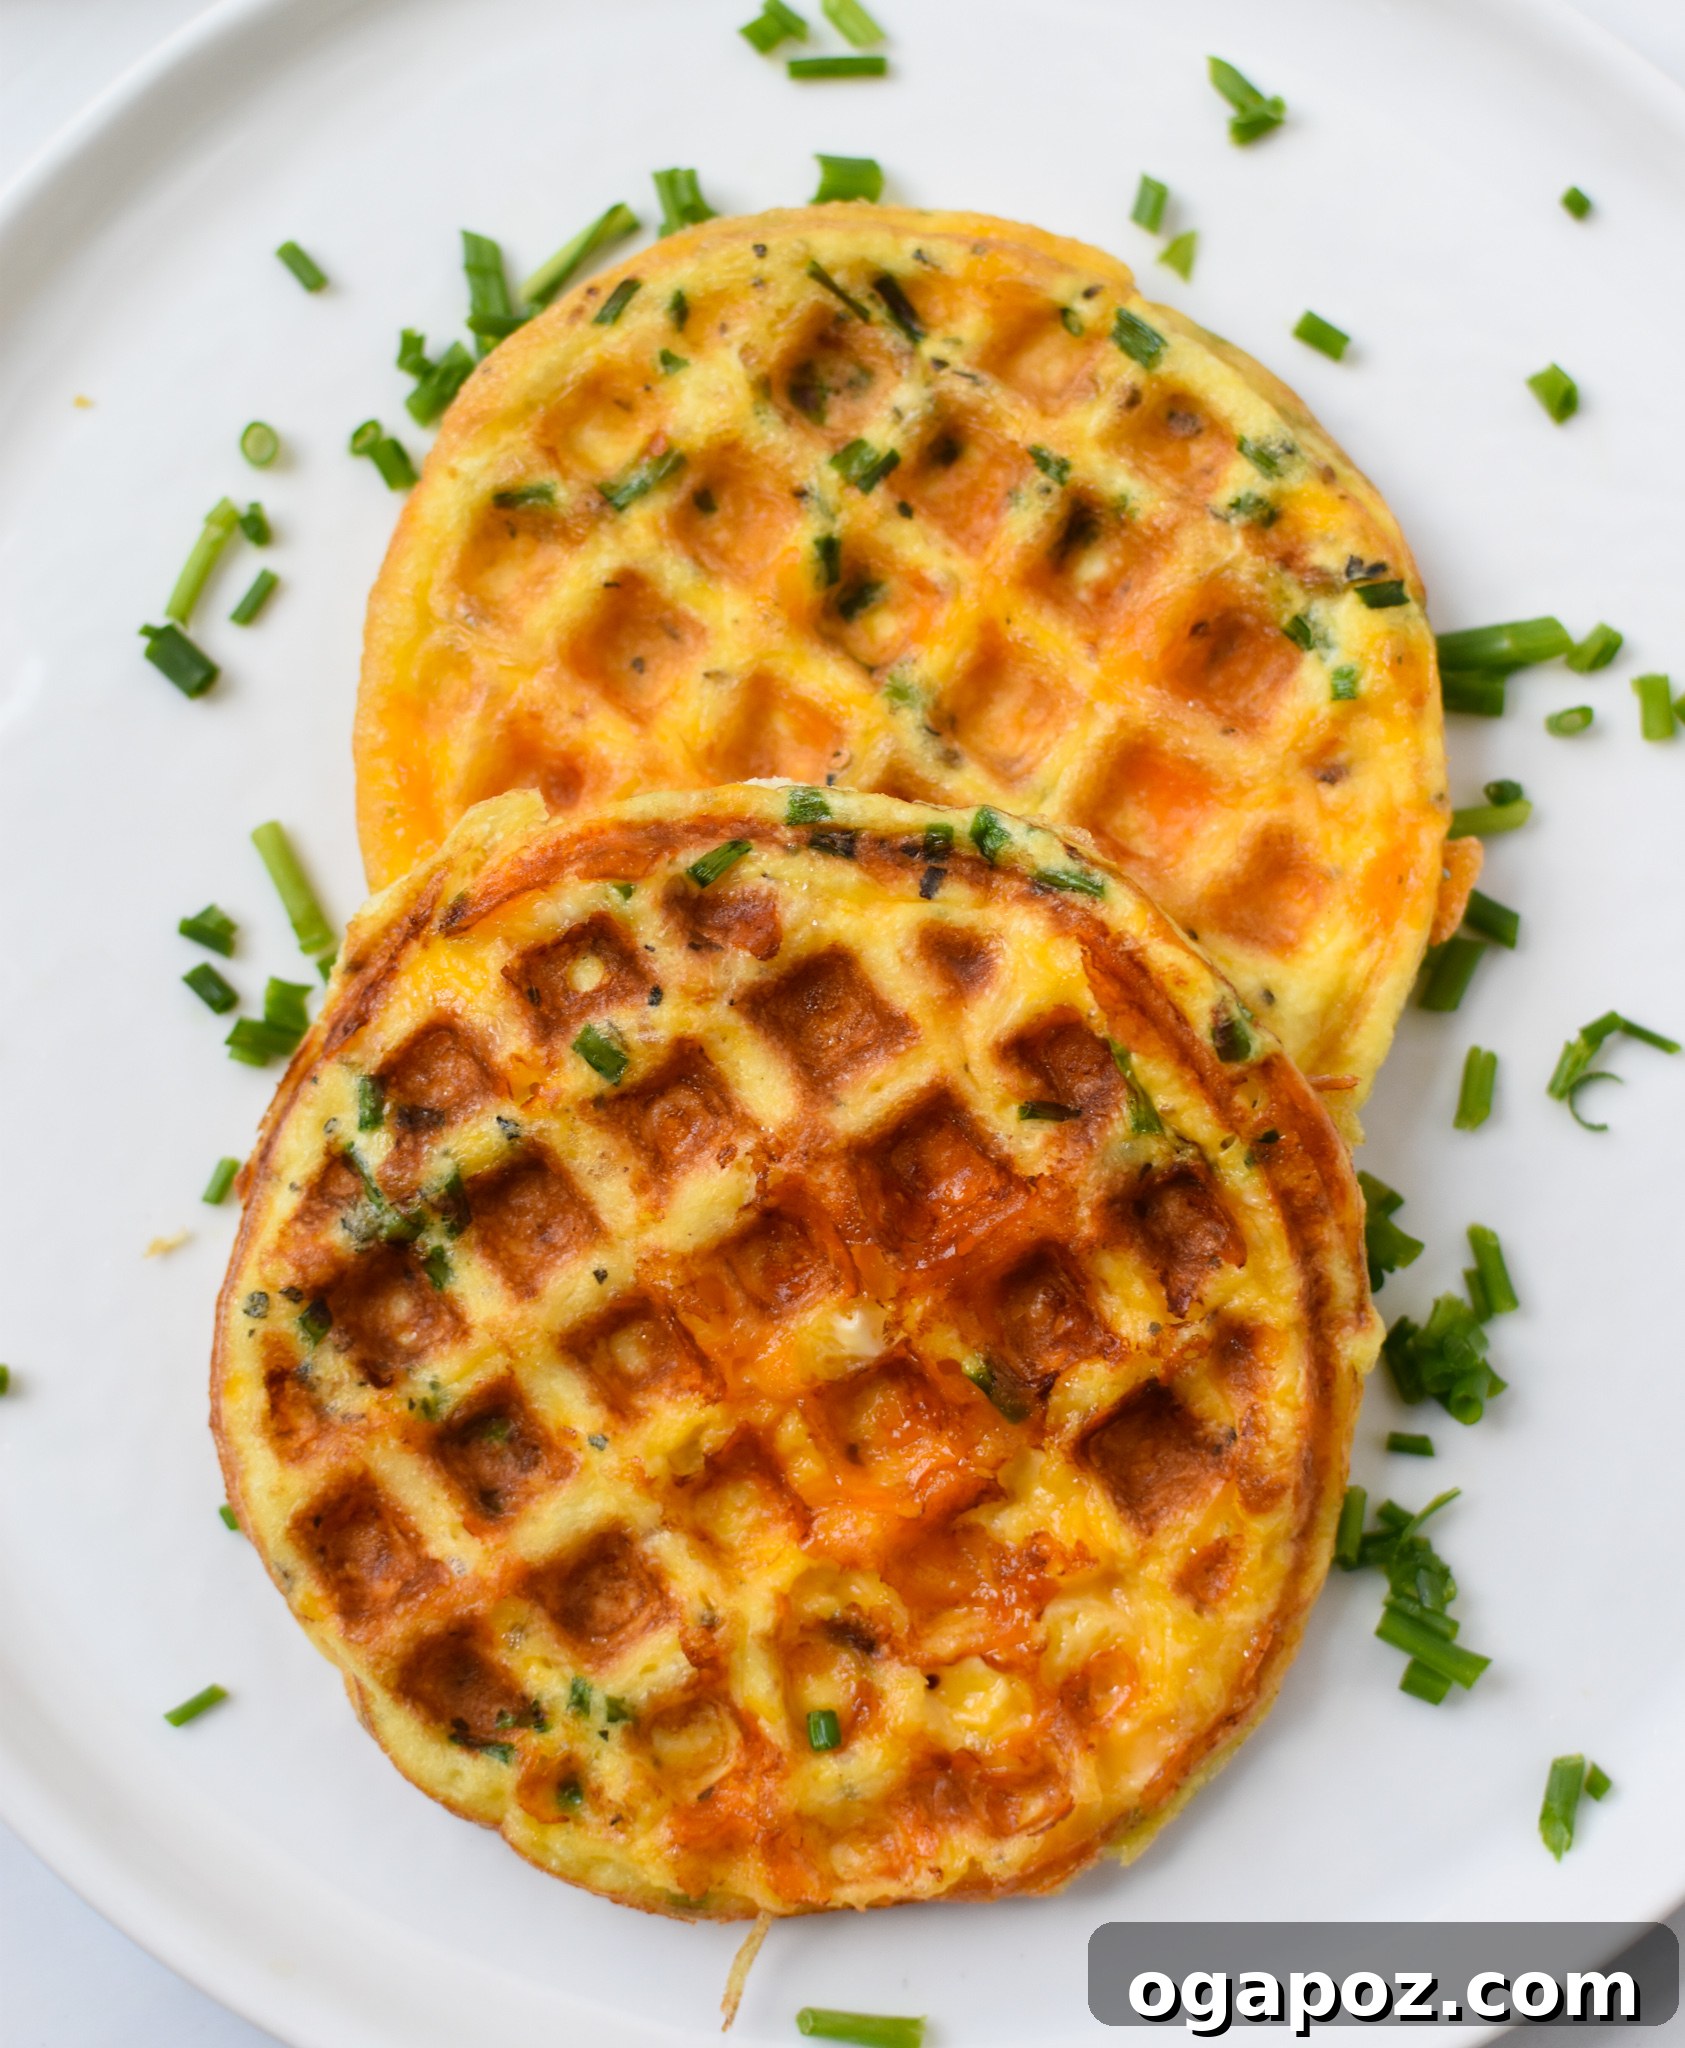
Life can be incredibly hectic, especially during the back-to-school season or any busy week for that matter. Parents, students, and professionals alike often find themselves in a constant quest for quick, nutritious, and filling breakfast ideas that don’t compromise on taste or health. That’s precisely where chaffles shine brightest, offering a smart solution to morning madness.
Today, in collaboration with the wonderful Ohio Poultry Association, we are thrilled to share this fantastic Chaffles Recipe, an innovative take on the classic waffle that centers around the wholesome goodness of eggs and cheese. These delightful creations are inspired by the versatility of waffles, much like my popular Falafel Waffles, but with a unique, savory, and undeniably cheesy twist that uses eggs as the primary binder and protein source. It’s truly an ingenious way to kickstart your day with a burst of energy.
One of the most appealing aspects of this recipe is its sheer simplicity and affordability. Requiring just two core ingredients – eggs and cheese – it’s a budget-friendly option that doesn’t skimp on flavor or nutrition. While the basic recipe is fantastic on its own, I personally love to elevate mine with fresh chives and a sprinkle of my favorite spices, such as aromatic za’atar or classic Italian seasoning. This simple addition transforms them into a gourmet experience without any extra effort or cost. With eggs being one of the most affordable sources of high-quality protein, typically costing just pennies per serving, you can nourish your family without straining your grocery budget, which is a huge win for any busy household!
If you’re a fan of versatile egg-based meals, this chaffle recipe will quickly become a household favorite. Eggs are a powerhouse of nutrition, offering essential vitamins and minerals that support overall health, making them a cornerstone of many healthy diets. Their incredible adaptability means they can be transformed into countless delicious dishes. For more inspiration, be sure to explore my collection of egg recipes here. You might also enjoy these other protein-rich, easy-to-make options: Pizza Egg Muffins, Hearty Egg Sausage Casserole, Savory Bacon Egg Salad, or these elegant Caprese Egg Muffins.
Essential Ingredients for Perfect Chaffles
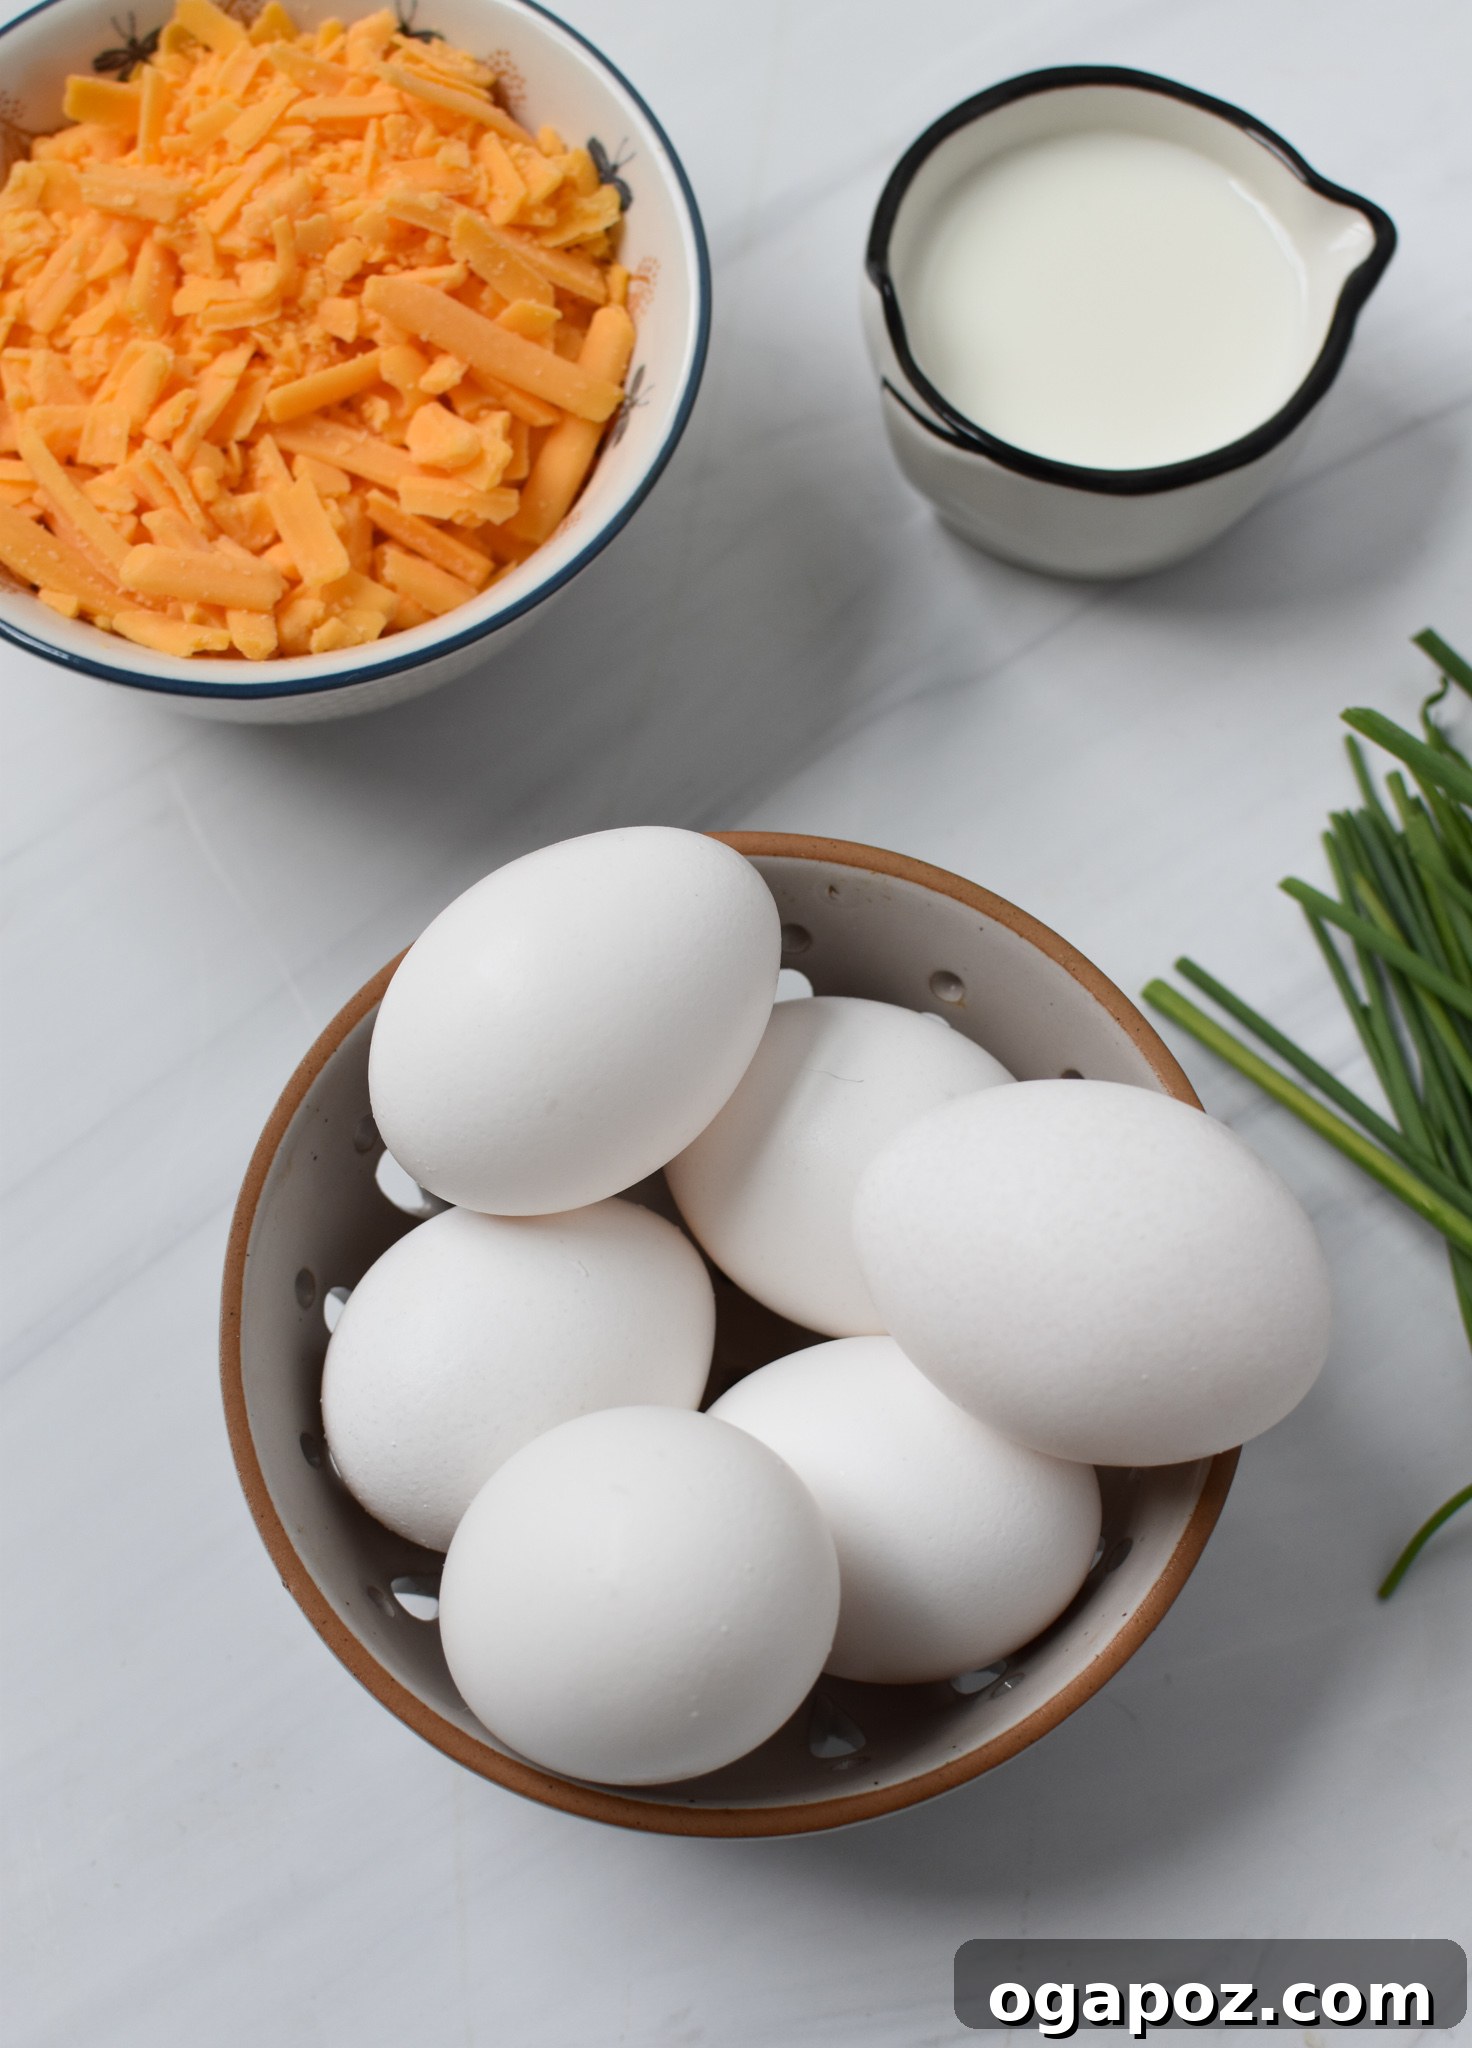
Crafting perfect chaffles starts with understanding the role of each simple ingredient. Below is a detailed look at what you’ll need, along with helpful tips and variations to customize your batch. The full list with exact measurements is provided in the comprehensive recipe card below.
- Eggs: The foundational ingredient for these waffles, eggs provide essential protein, healthy fats, and vital nutrients like Vitamin D, choline, and B vitamins. For this recipe, I typically use six large eggs, which yields approximately six small, individual chaffles, perfect for single servings or a delightful side. Eggs are the primary binder, creating the waffle-like texture.
- Cheese: The ‘cha’ in chaffle! Shredded cheese is key for both flavor and binding. My personal preference is sharp cheddar cheese for its robust flavor, but the possibilities are endless. Feel free to experiment with a blend of mozzarella and cheddar for a milder taste and a great melt, or try pepper jack for a spicy kick. Other delicious options include Gruyere, Monterey Jack, or even a sprinkle of Parmesan for an umami boost. Pre-shredded cheese works well for convenience, but freshly shredded often melts more smoothly.
- Chives: While optional, fresh chives add a wonderful subtle oniony flavor and a pop of green to your chaffles. If chives aren’t available, or you prefer a different herb, consider finely chopped parsley, dill, or even a hint of green onion for a similar fresh aromatic touch. You can also omit them entirely for a pure cheese and egg flavor.
- Spices: Chaffles are delightful even without extra seasoning, relying on the natural flavors of egg and cheese. However, a touch of spice can truly elevate them. I often reach for Italian seasoning for a herbaceous profile, paprika for a mild, smoky sweetness, or za’atar for an authentic Middle Eastern twist with its blend of thyme, sesame seeds, and sumac. Don’t hesitate to get creative – a pinch of garlic powder, onion powder, or a dash of cayenne pepper for heat can also be fantastic additions to your chaffle batter.
- Milk (Optional): A small amount of milk (any kind works, including unsweetened almond milk for keto) can be added to the egg mixture. It helps achieve a slightly lighter, fluffier texture in your chaffles. This is entirely optional and can be skipped if you prefer a denser chaffle or want to keep the ingredient list minimal.
Step-by-Step Guide to Making Delicious Chaffles
Making these cheese and egg waffles is incredibly straightforward, perfect for even the most novice cooks. Follow these simple steps for perfectly golden and fluffy chaffles every time:
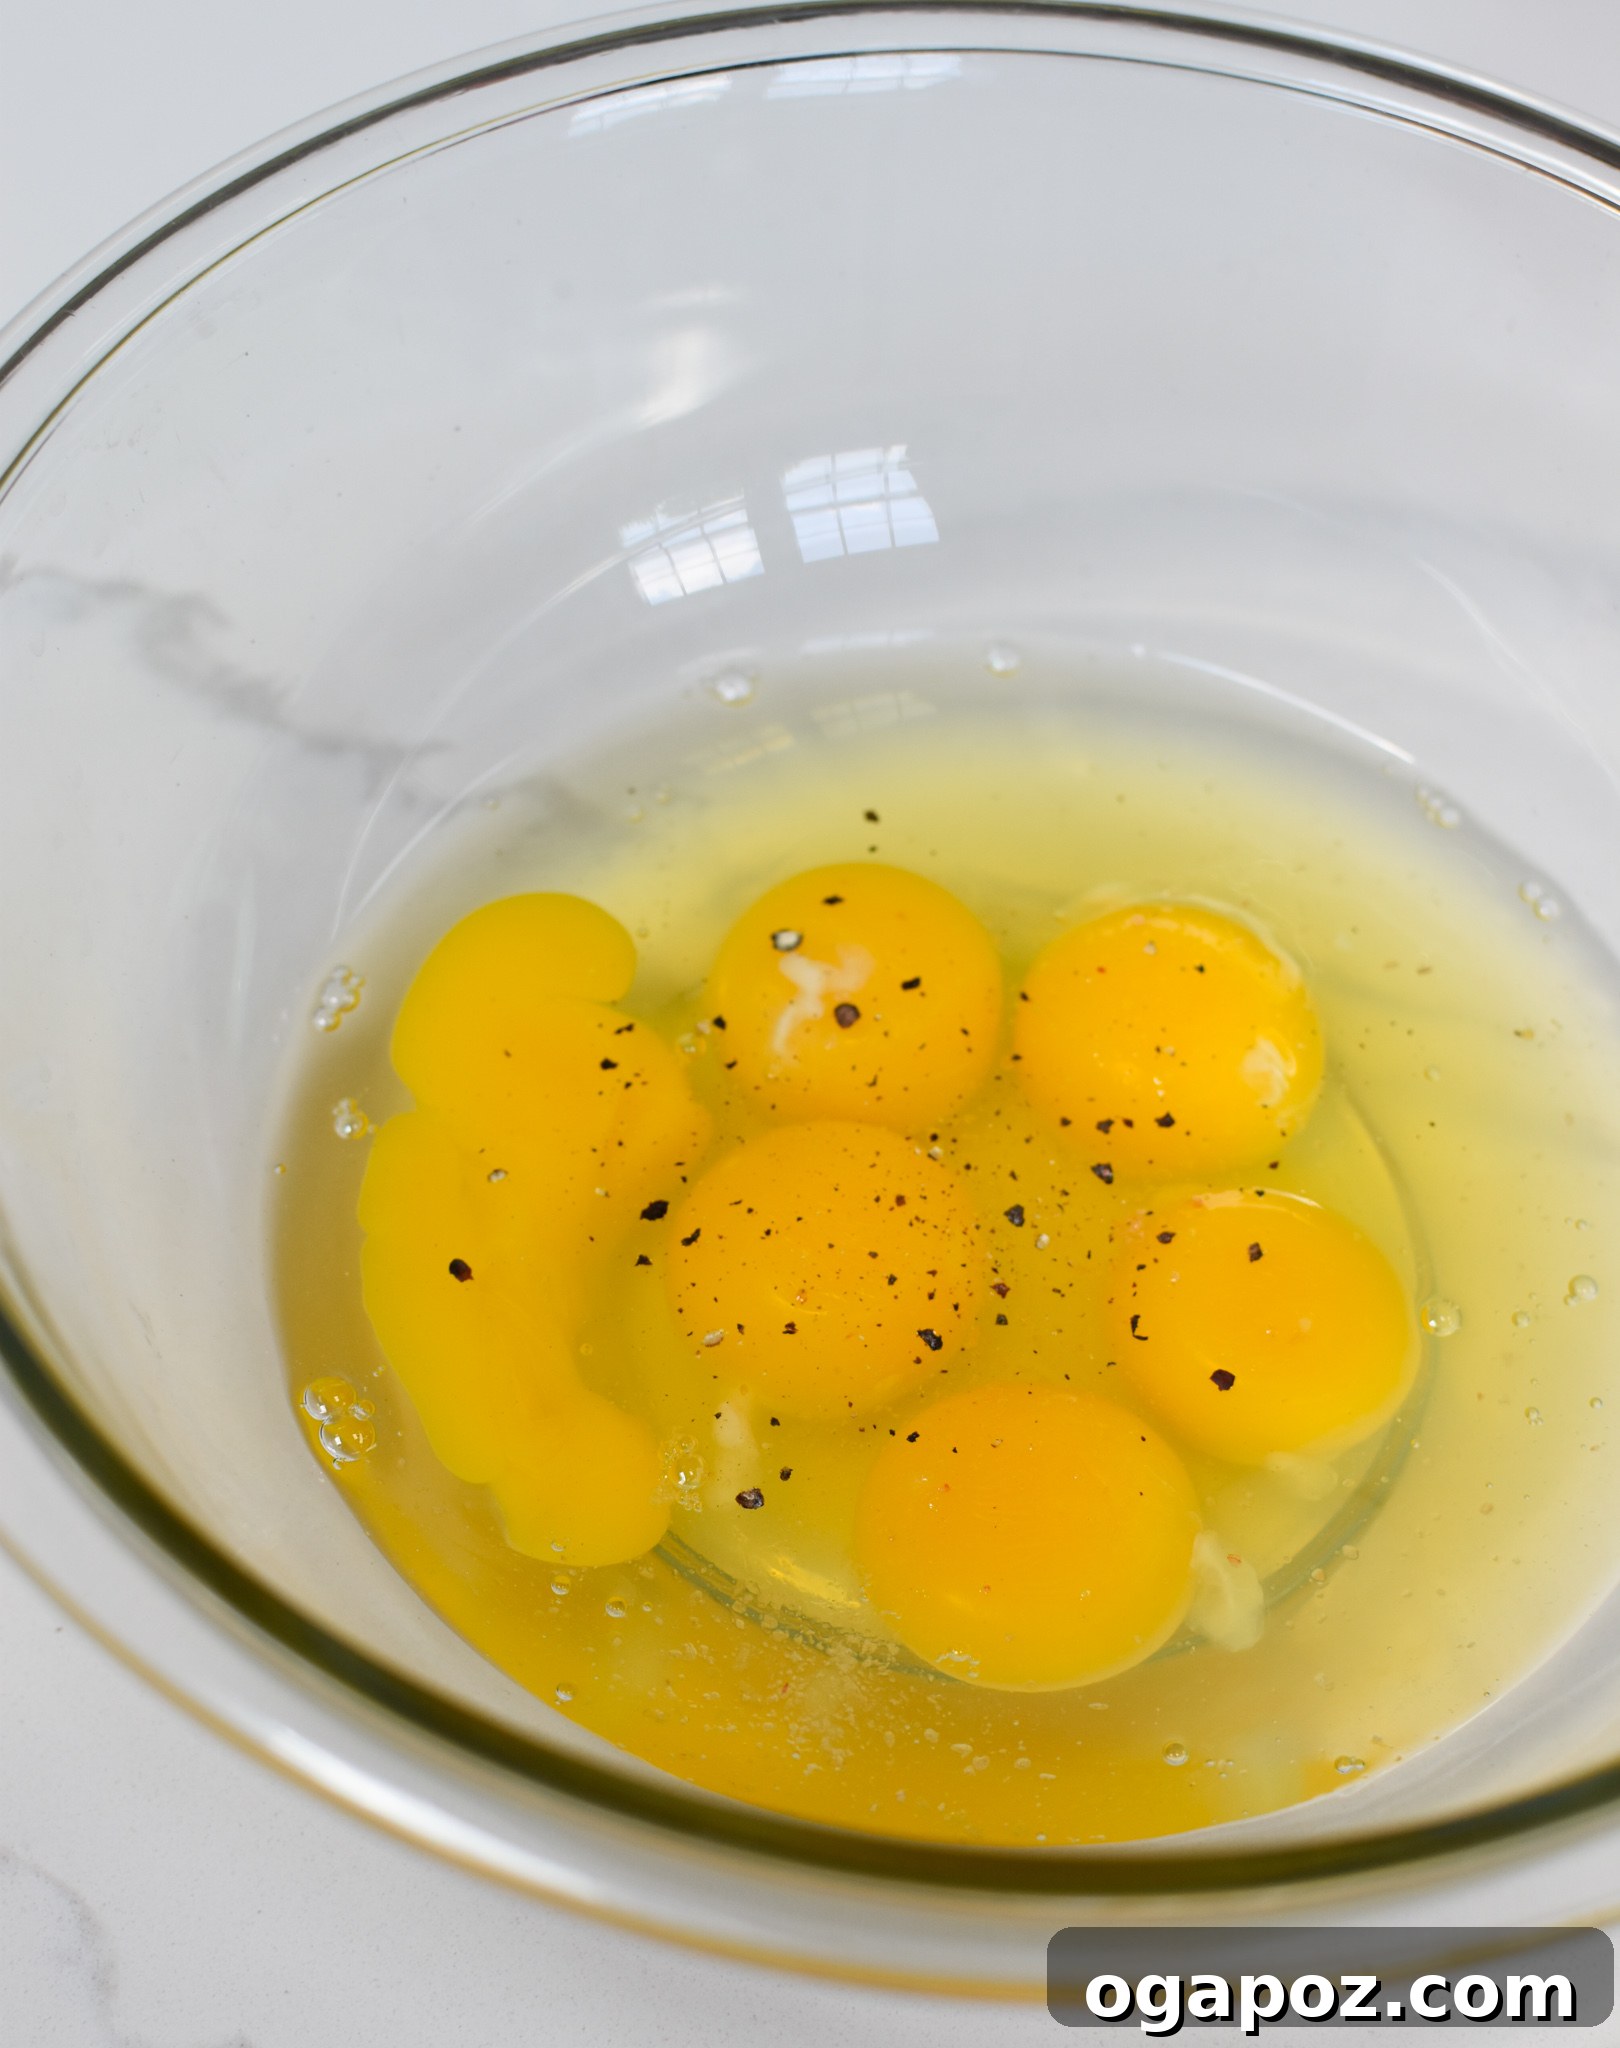
Step 1: Prepare the Egg Base. Begin by cracking your eggs into a medium-sized mixing bowl. Add the optional milk at this stage if you choose to use it. Using a whisk or a fork, thoroughly whisk the eggs until they are light, frothy, and uniformly yellow. This aeration is important for creating a lighter chaffle texture.
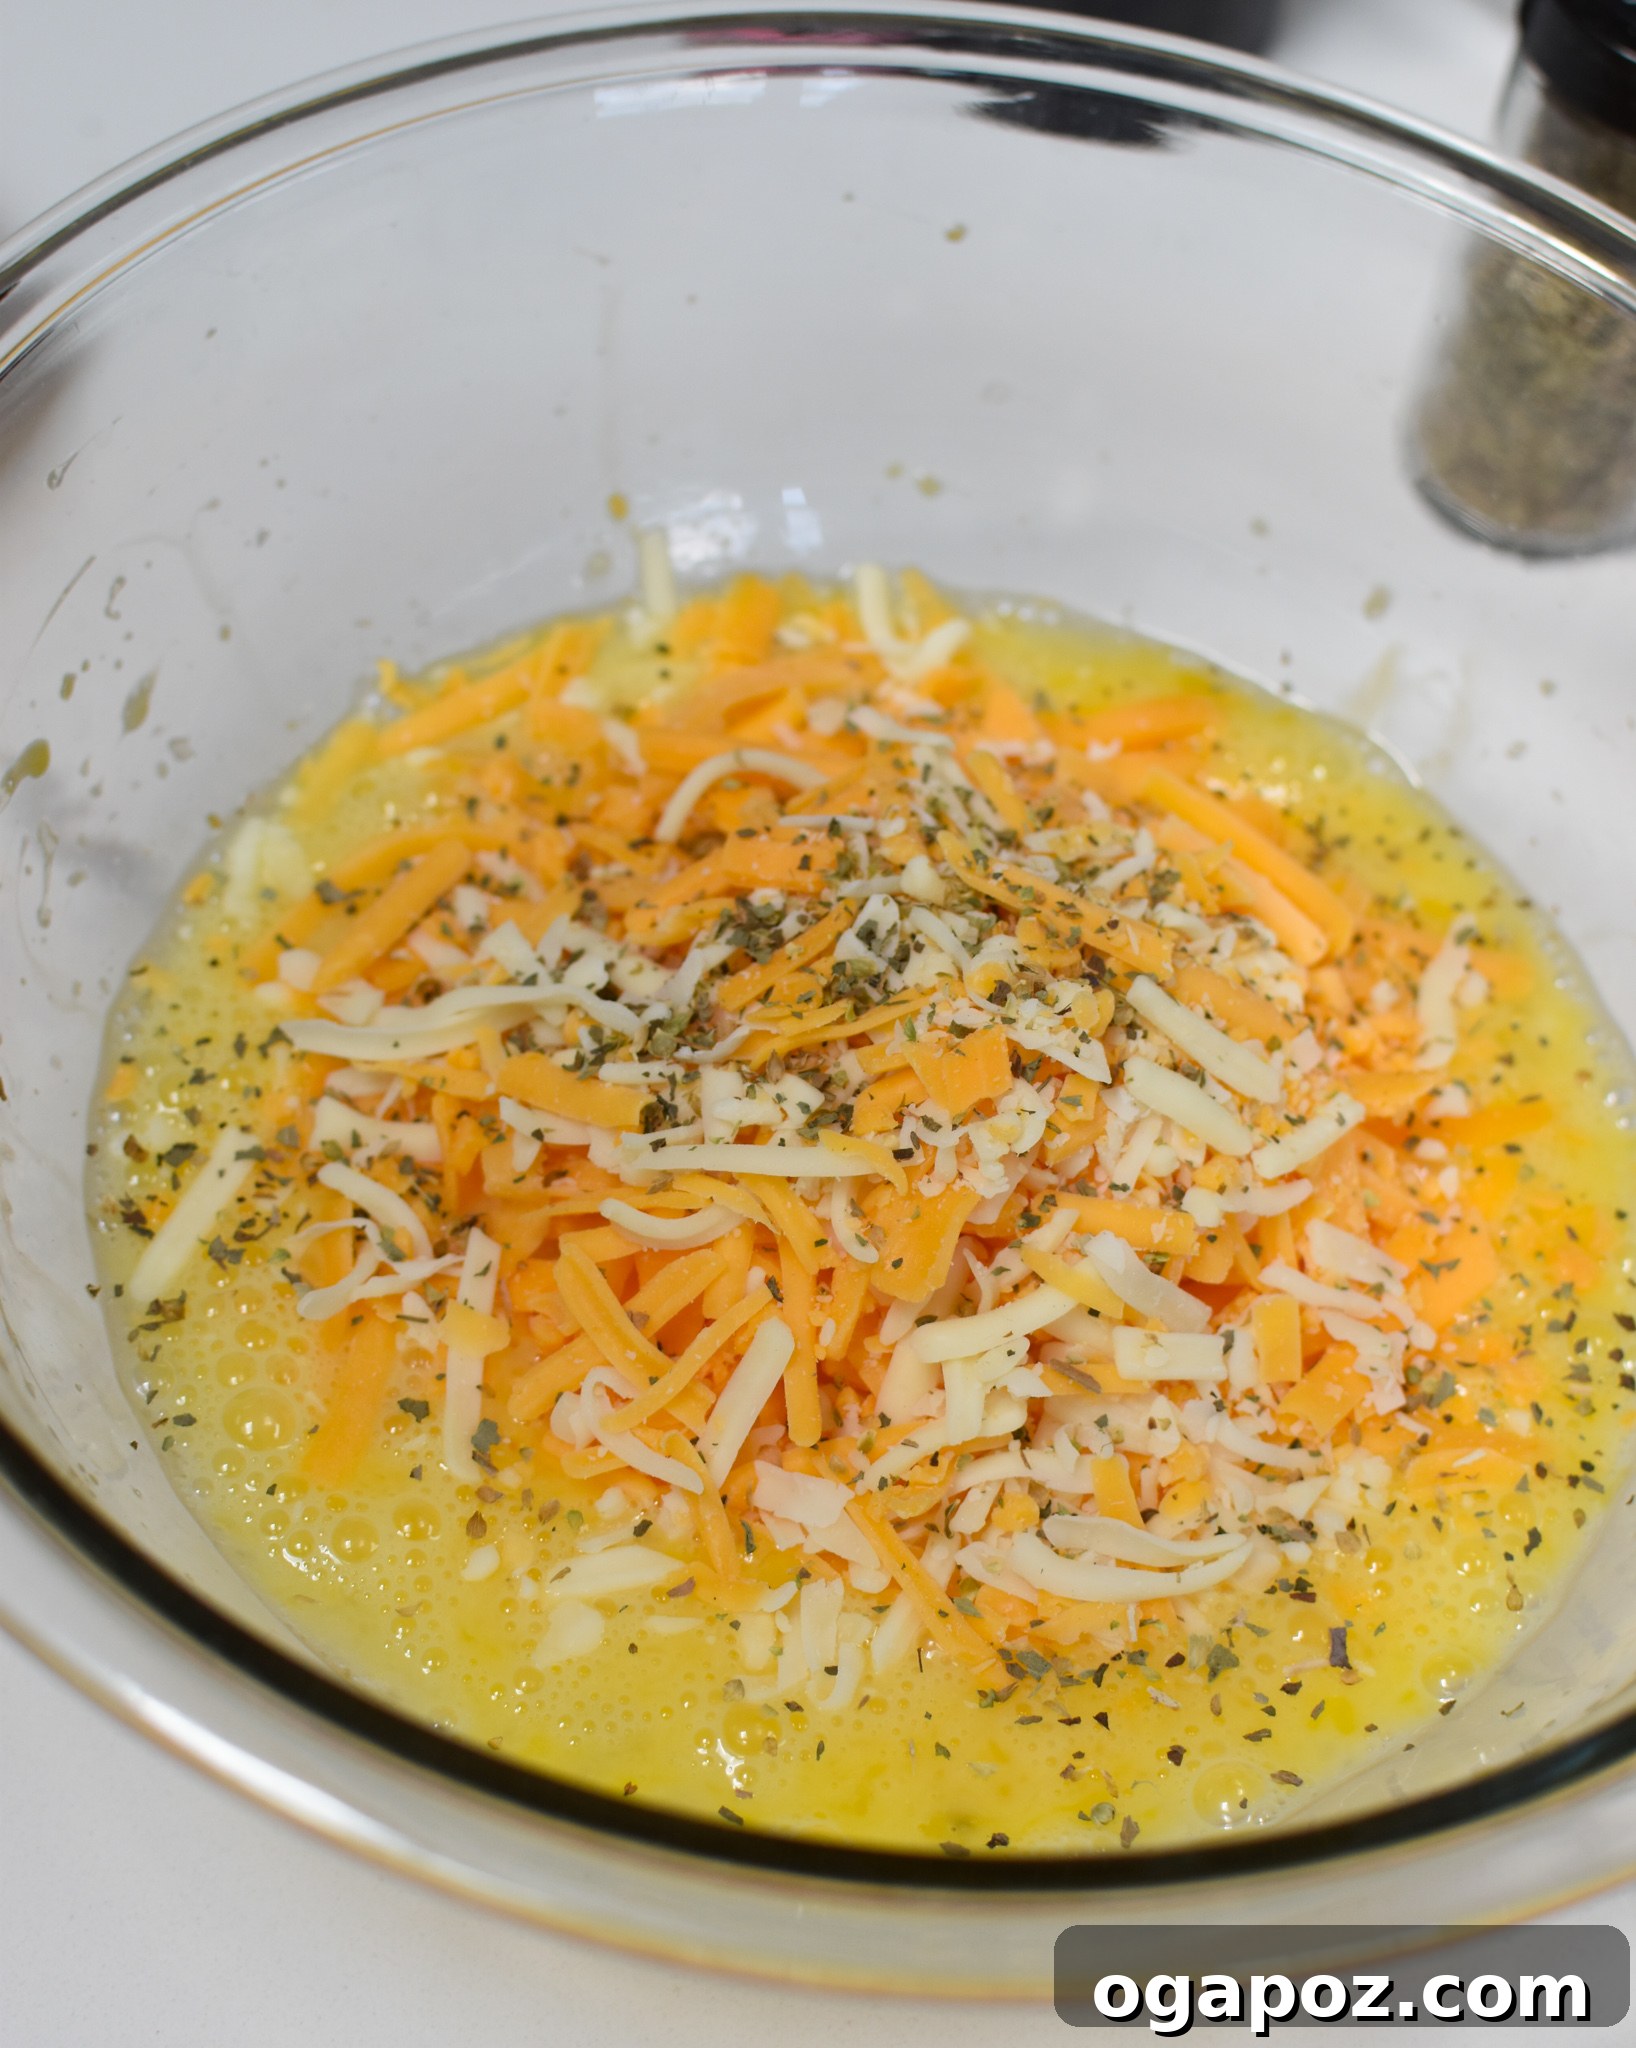
Step 2: Combine All Ingredients. To your whisked egg and milk mixture, add the shredded cheese, chopped chives (if using), your chosen spices (Italian seasoning, paprika, or za’atar are great), salt, and black pepper. Stir all the ingredients together gently until they are well combined. Ensure the cheese is evenly distributed throughout the batter. Do not overmix; just enough to incorporate everything.
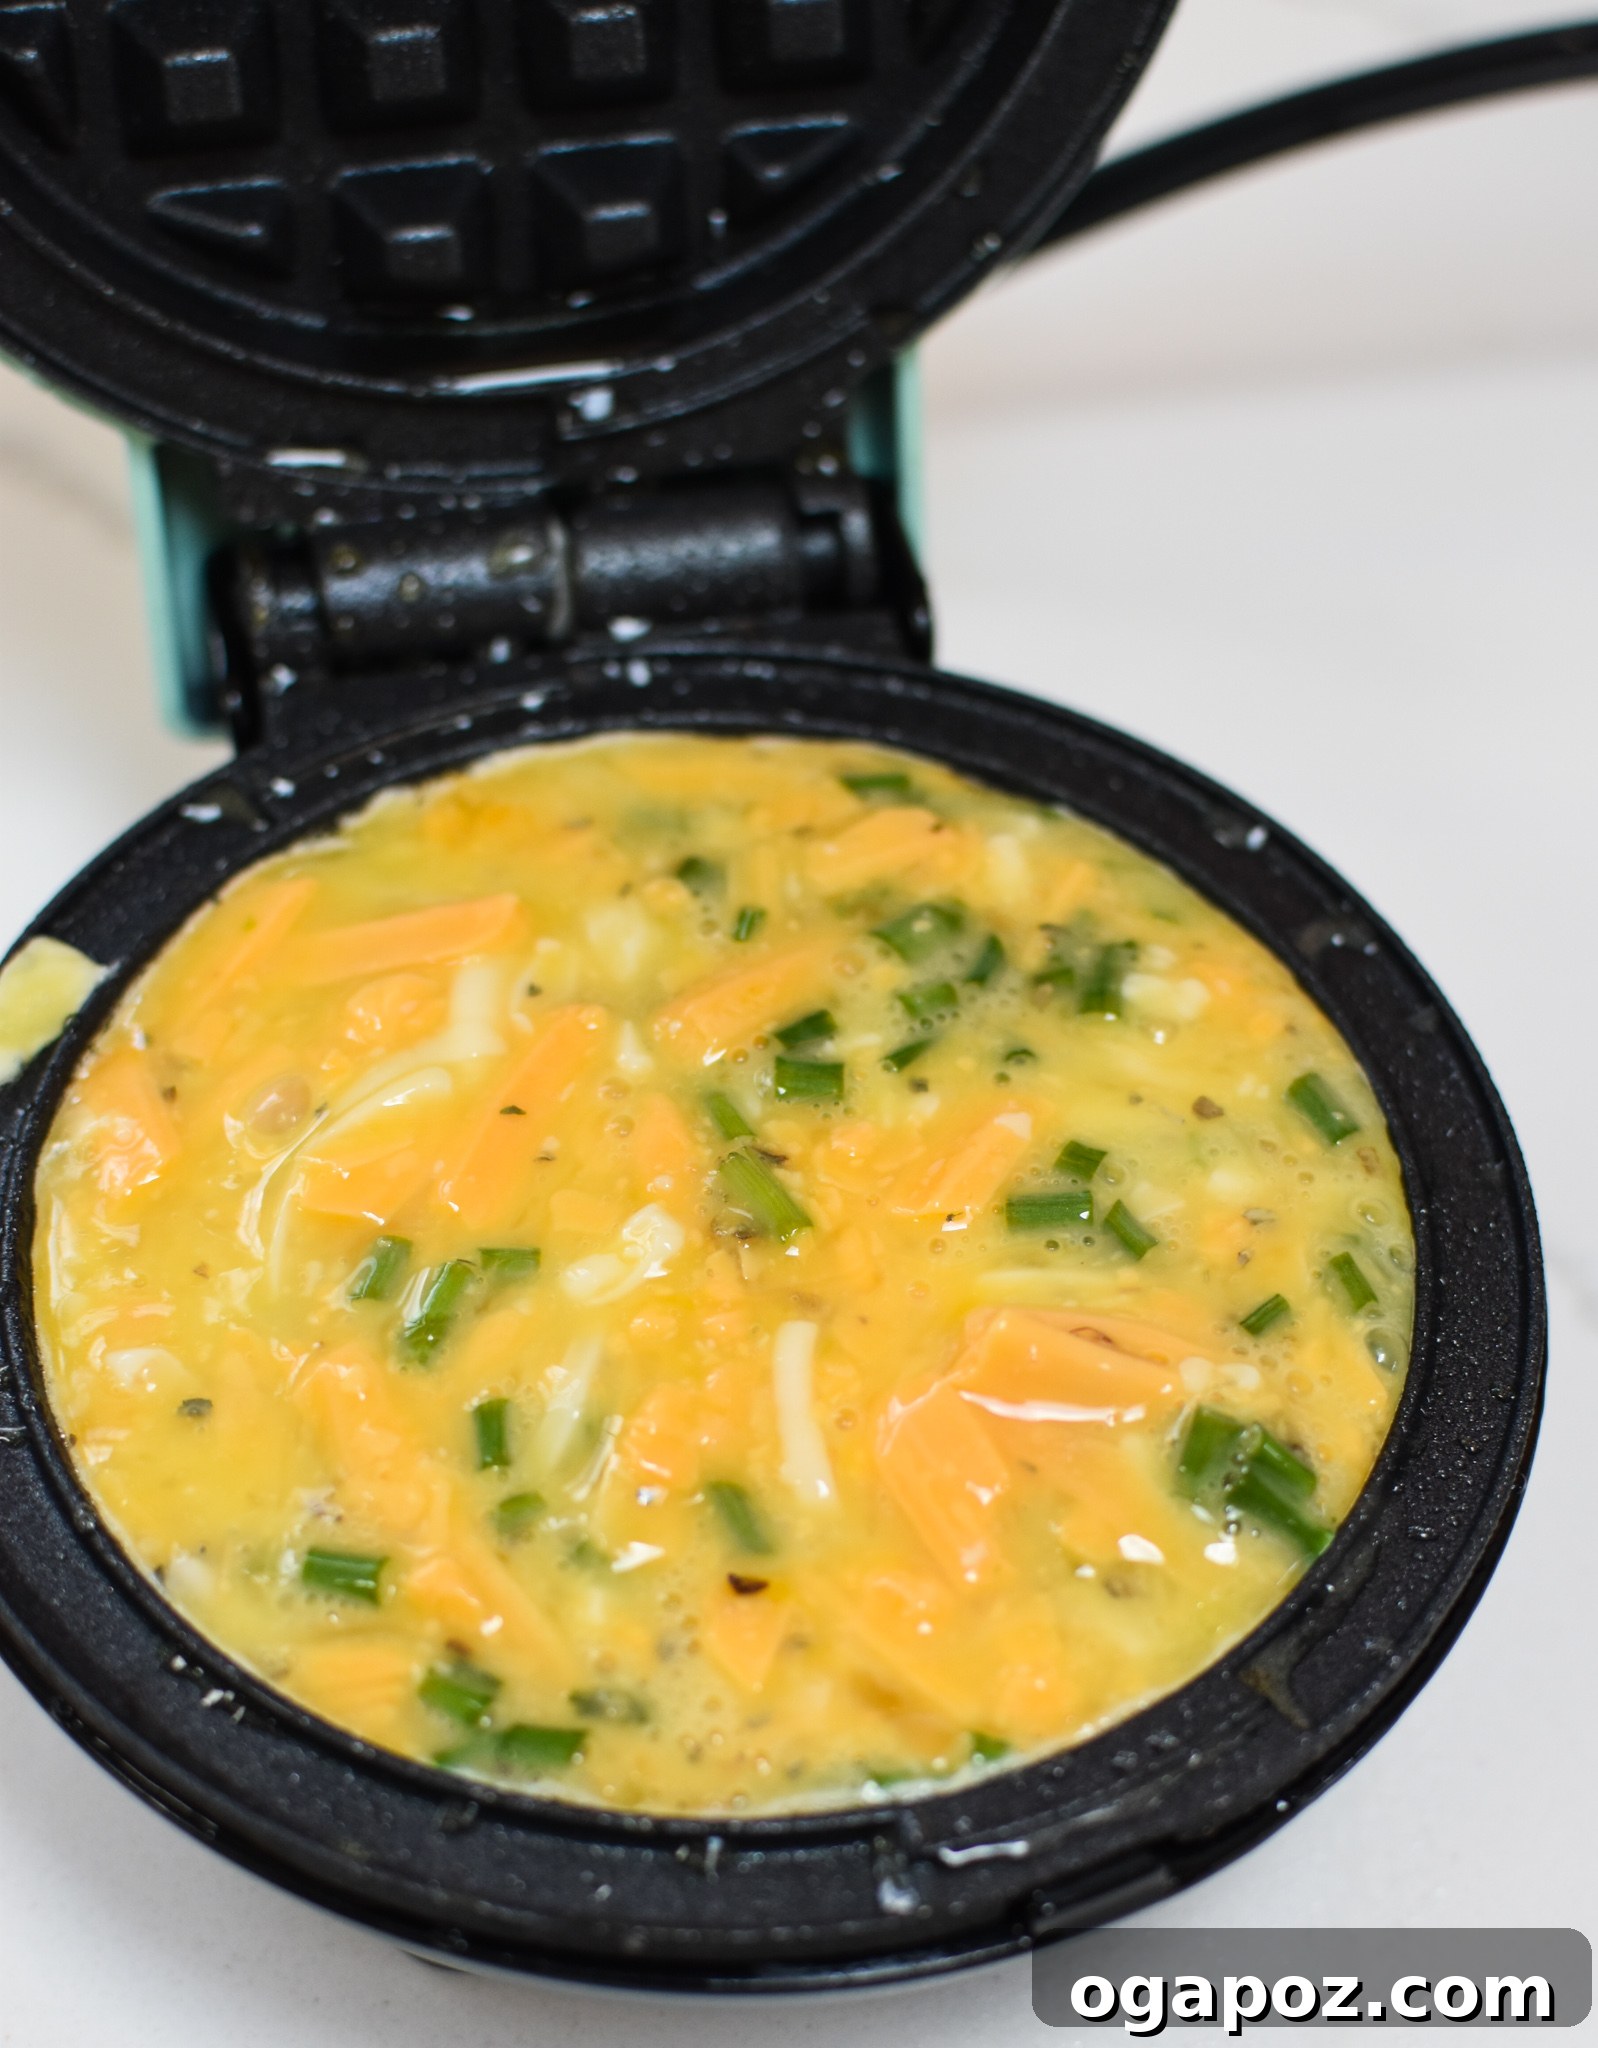
Step 3: Preheat and Cook the Chaffles. Heat your waffle iron according to the manufacturer’s instructions. A well-preheated waffle iron is crucial for a crisp exterior. Once hot, lightly spray the cooking plates with a non-stick cooking spray to prevent sticking, especially if your waffle iron isn’t naturally non-stick. Pour approximately one-fourth of the mixture into the hot waffle iron. The exact amount will depend on the size of your waffle maker; aim to fill it without overfilling, leaving a little room for expansion. Close the lid and cook for 2-3 minutes, or until the chaffles are golden brown and cooked through. The steam will usually stop escaping when they are done. For extra crispiness, you can cook them for an additional 30 seconds.
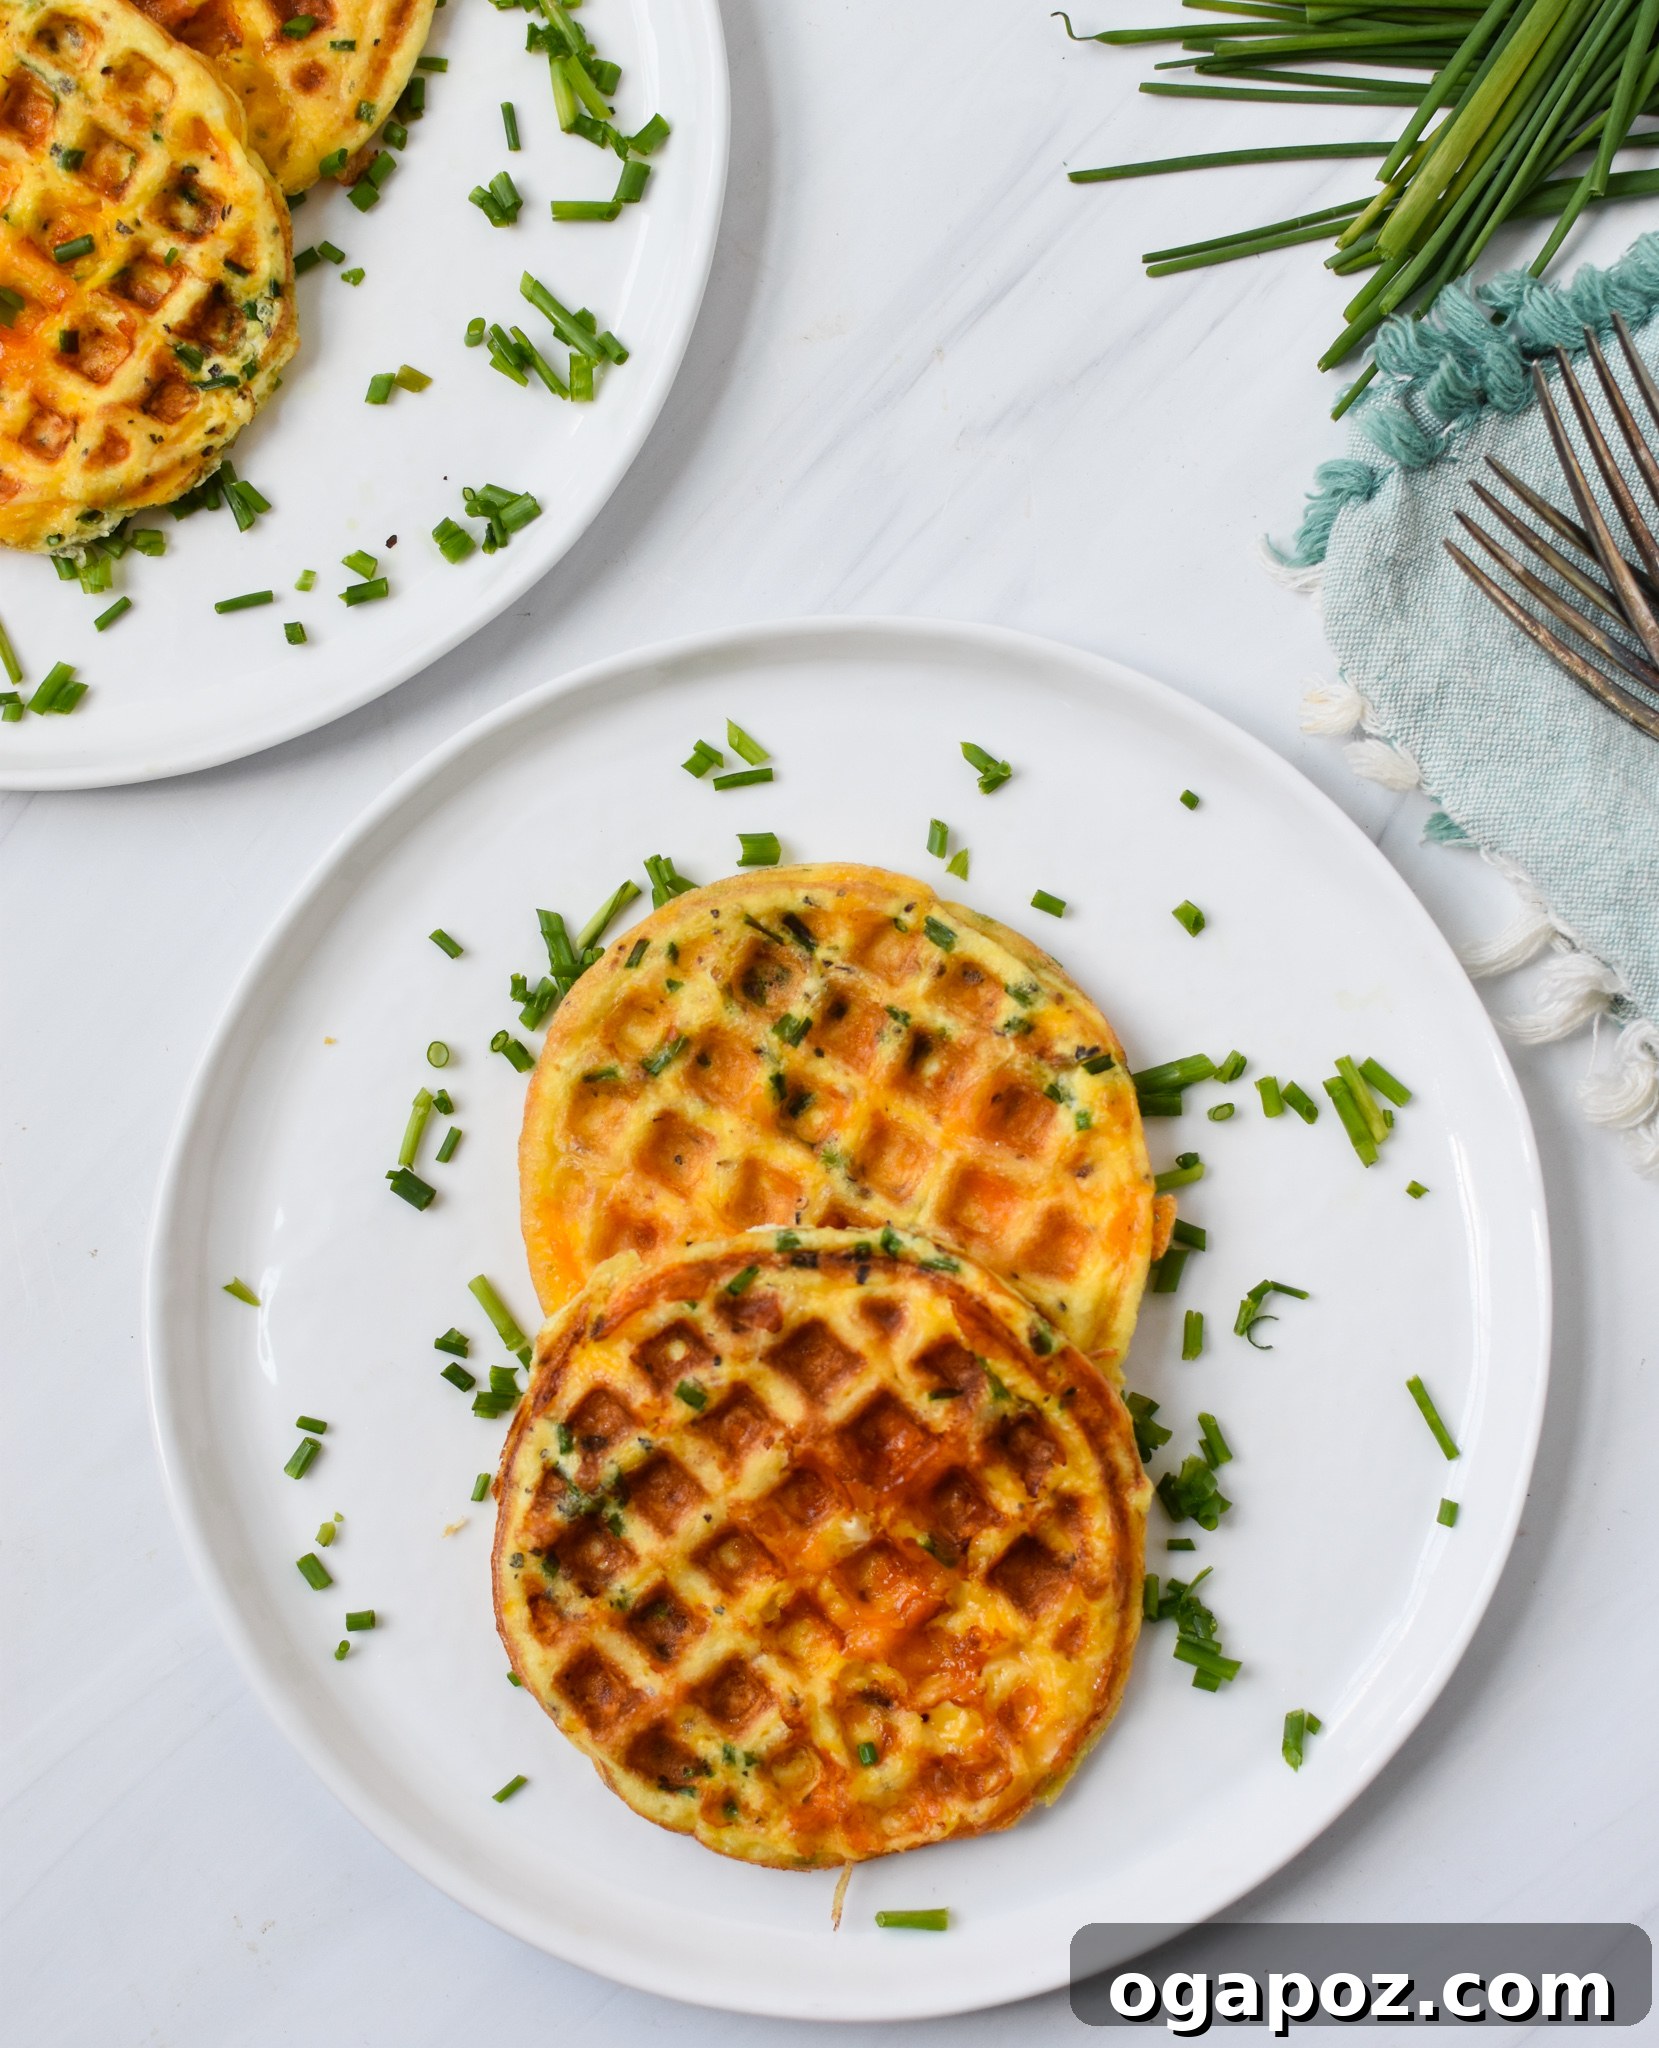
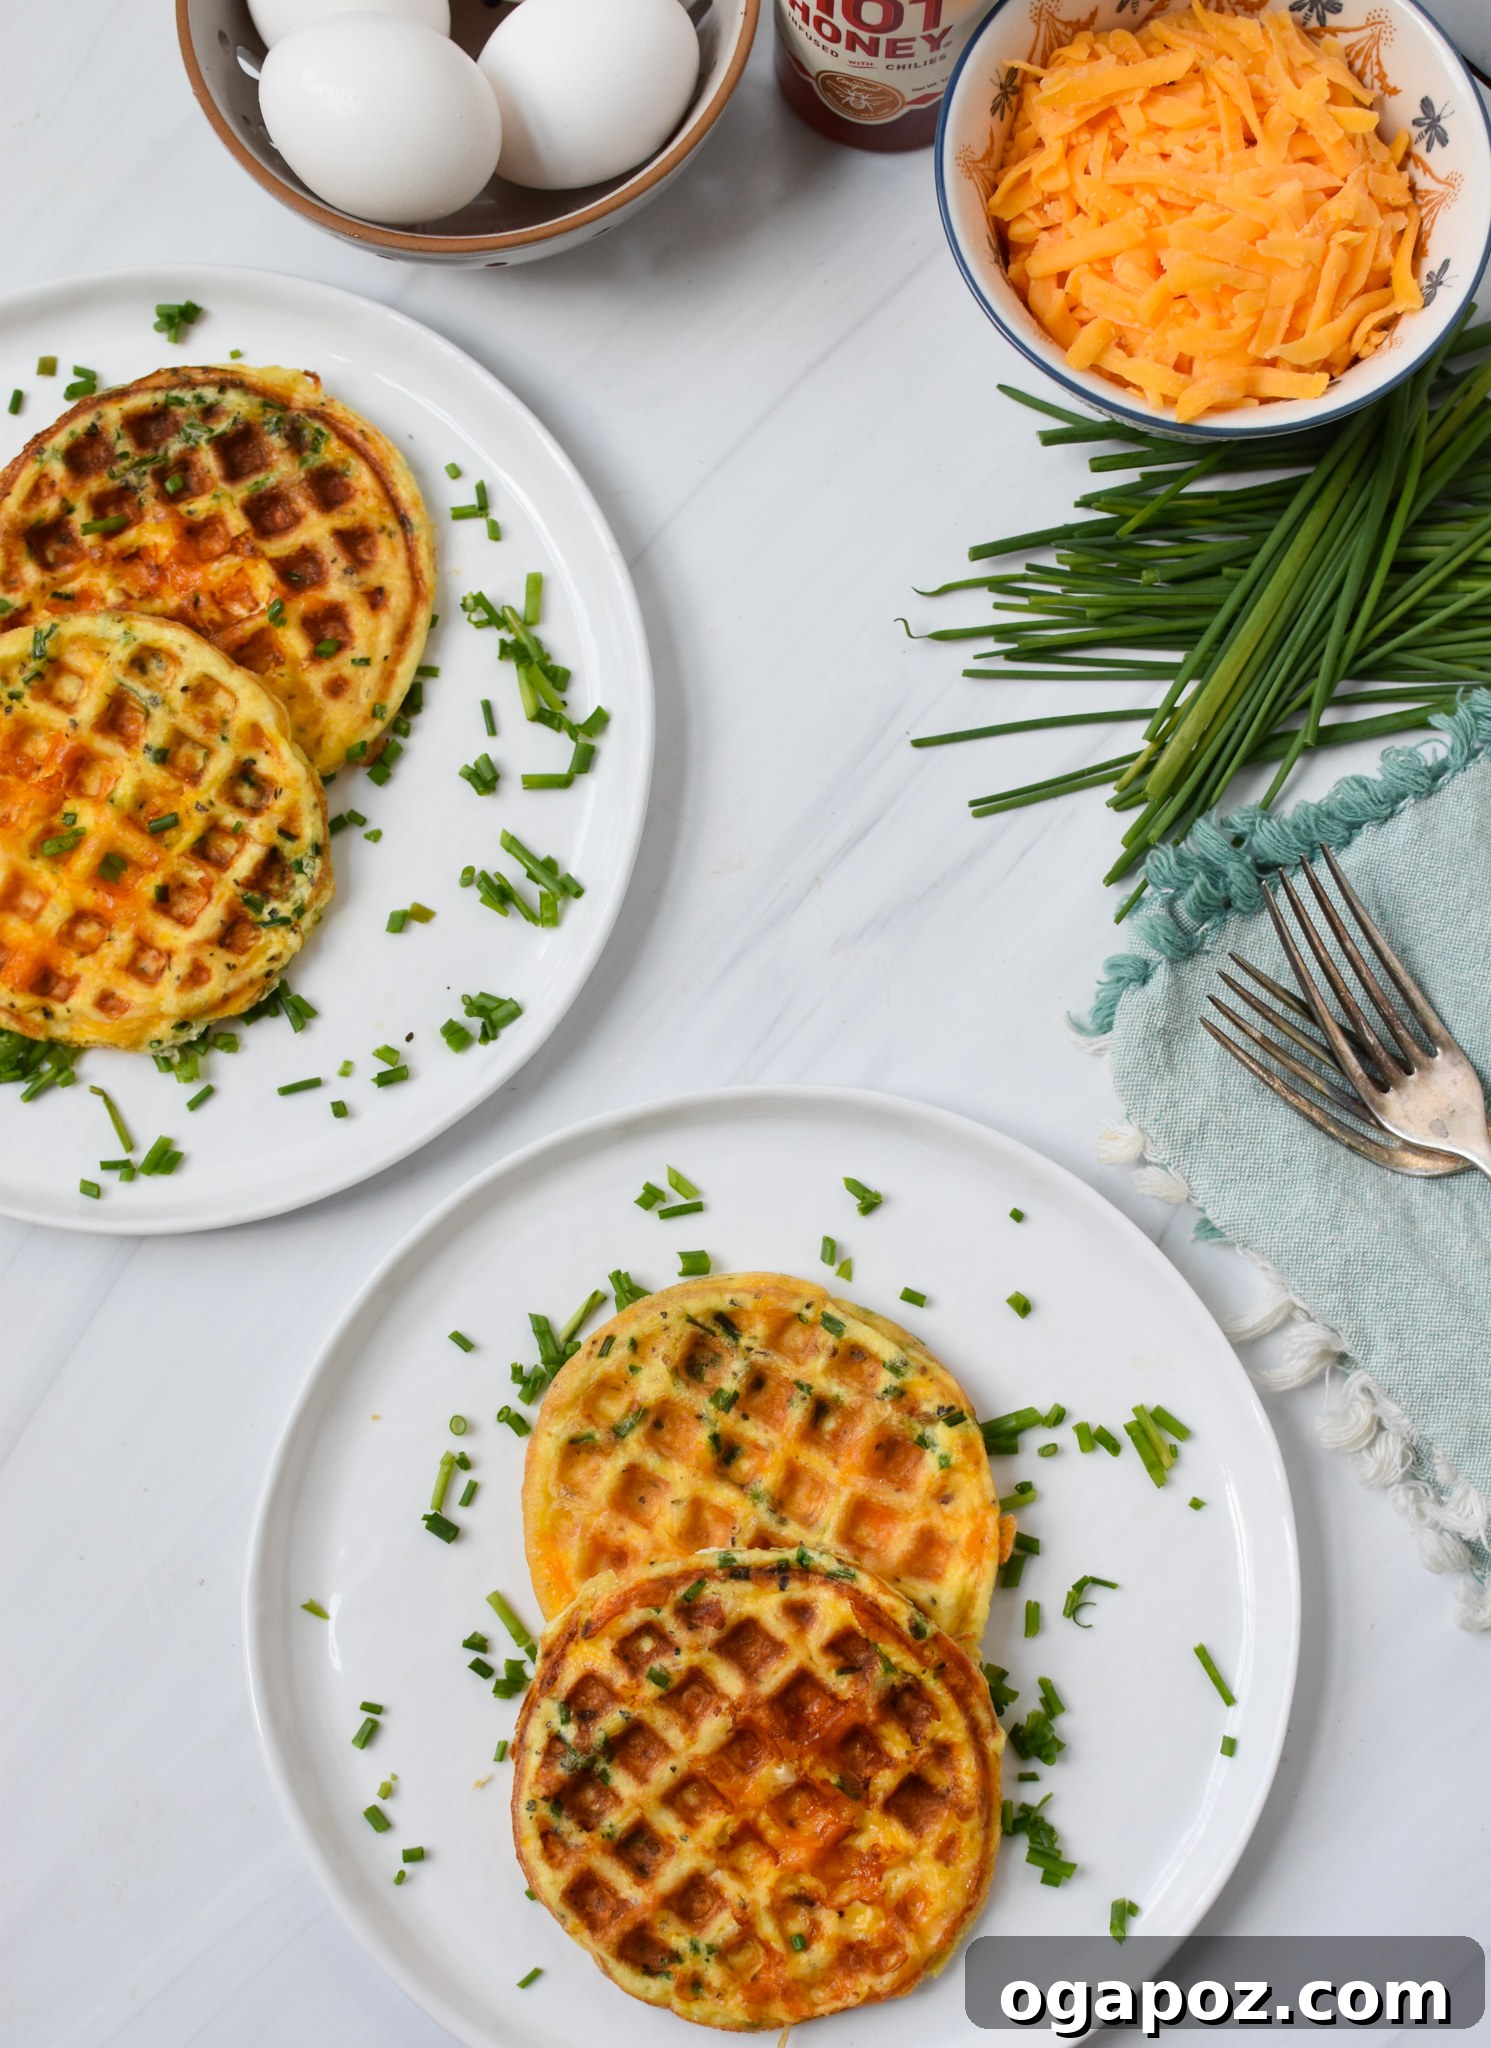
Step 4: Serve and Garnish. Carefully remove the cooked chaffle from the waffle iron using a non-scratch utensil. Repeat the process with the remaining batter until all your chaffles are cooked. Serve the chaffles immediately for the best texture. Garnish with a sprinkle of fresh chives and, for a delightful sweet and savory contrast, a light drizzle of honey or sugar-free maple syrup if you’re keeping it strictly keto. They are also fantastic with a dollop of sour cream or a side of salsa.
Storage & Freezing Tips for Chaffles
One of the many advantages of chaffles is how well they store, making them an excellent option for meal prepping throughout the week. You can easily make a big batch and enjoy them whenever hunger strikes.
Refrigeration: To store freshly made chaffles, allow them to cool completely to room temperature. This is crucial to prevent condensation, which can make them soggy. Once cool, place them in an airtight container. You can stack them, but for best results, place a piece of parchment paper between each chaffle to prevent them from sticking together. They will stay fresh in the refrigerator for up to 5 days. To reheat, simply pop them into a toaster or toaster oven for a few minutes until warmed through and crispy. A microwave can also be used for 30-60 seconds if you prefer a softer texture, though it won’t yield the same crispness.
Freezing: Chaffles are incredibly freezer-friendly, offering a convenient grab-and-go option for busy mornings. Again, ensure they are completely cool before freezing. For best results, flash freeze them: arrange the chaffles in a single layer on a baking sheet and place them in the freezer for about 1-2 hours until solid. This prevents them from sticking together when stored in a bag. Once frozen, transfer them to a freezer-safe ziplock bag or an airtight container. They will maintain their quality in the freezer for up to 3 months. When you’re ready to enjoy one, simply take it directly from the freezer and reheat it in a toaster or toaster oven until hot and crisp. No thawing is necessary!
Customizing Your Chaffles: Endless Variations
The beauty of the chaffle recipe lies in its versatility. While delicious as is, you can easily customize them to suit your taste preferences or dietary needs. Here are a few ideas:
- Spice it Up: Beyond Italian seasoning or za’atar, try adding a pinch of smoked paprika, chili powder, a dash of garlic or onion powder, or even a sprinkle of everything bagel seasoning for an extra flavor boost.
- Herb Garden: Experiment with different fresh herbs like finely chopped rosemary, thyme, or oregano for a more aromatic chaffle.
- Veggie Boost: For added nutrition, finely grate some zucchini or carrots and squeeze out excess moisture before mixing into the batter. Finely chopped spinach or bell peppers can also work.
- Protein Power-Up: Incorporate crumbled, cooked bacon bits, finely diced ham, or cooked sausage into the batter for an even heartier meal.
- Sweet Chaffles (with caution for Keto): If you’re not strictly keto or want a slightly sweet option, a tiny amount of sweetener (like erythritol or stevia) and a dash of cinnamon can be added to the batter. Serve with sugar-free syrup and berries.
Serving Suggestions for Every Meal
Chaffles are incredibly versatile and can be enjoyed in numerous ways beyond a simple breakfast. Here are some ideas to incorporate them into your meals:
- Classic Breakfast: Serve warm with a side of avocado, a fried egg, or a slice of crispy bacon. A drizzle of hot sauce is also a fantastic addition.
- Keto Sandwich/Burger Bun: Their sturdy texture makes chaffles an excellent low-carb alternative to bread. Use them as buns for burgers, deli meat sandwiches, or even grilled cheese.
- Savory Snack: Enjoy them plain, or dip them in salsa, guacamole, or a creamy Greek yogurt dip for a quick, satisfying snack.
- Dinner Side: Serve them alongside grilled chicken, steak, or a fresh salad as a flavorful, high-protein alternative to traditional bread or potato sides.
- Appetizer Base: Top mini chaffles with smoked salmon and cream cheese, or a spoonful of bruschetta for an impressive low-carb appetizer.
More Delicious Egg-Based Recipes to Try
Beef
Southwestern Taco Egg Muffins
Vegetarian
Breakfast Egg Muffins
Breakfast
Vegetarian Breakfast Egg Burritos
Breakfast
Southwest Breakfast Egg Tacos
Tried this recipe? Share your thoughts and follow us on
Facebook,
Instagram, or
Pinterest for the latest recipes and updates!
The Best Chaffles Recipe (Cheese & Egg Waffles)
Julia Jolliff

Print Recipe
10 mins
15 mins
25 mins
6 chaffles
Ingredients
- 6 large eggs, whisked
- 2 tablespoons milk {optional, for a fluffier texture}
- 1 1/2 cups shredded cheese {sharp cheddar, mozzarella, or your favorite blend}
- 1 teaspoon your favorite spice {such as Italian seasoning, paprika, or za’atar}
- 2 teaspoons chives, freshly chopped {optional}
- 1/4 teaspoon salt
- 1/8 teaspoon black pepper
Instructions
-
In a medium bowl, whisk the eggs thoroughly. If using, add the milk and whisk until well combined and slightly frothy.
-
Stir in the shredded cheese, chives (if using), chosen spices, salt, and pepper into the egg mixture. Mix until all ingredients are evenly incorporated.
-
Preheat your waffle iron according to its instructions. Once hot, lightly spray the cooking surfaces with non-stick spray.
-
Pour approximately one-fourth of the chaffle mixture onto the hot waffle iron (adjusting for your waffle maker’s size). Close the lid and cook for 2-3 minutes, or until the chaffle is golden brown and appears firm.
-
Carefully remove the cooked chaffle and set aside. Repeat with the remaining batter until all chaffles are cooked.
-
Serve your chaffles warm, garnished with extra chives and a light drizzle of honey (or sugar-free syrup for keto) if desired.
Notes
- For meal prep, chaffles can be frozen. Once completely cooled, place them in a freezer-friendly bag or container, separating layers with parchment paper. Freeze for up to 3 months.
- To reheat frozen chaffles, place them directly into a toaster or toaster oven for a crispy texture, or microwave for 30-60 seconds for a softer option.
- Adjust cooking time based on your waffle iron’s heat and desired crispiness.
Nutrition Information (per serving)
Carbohydrates: 2g,
Protein: 12g,
Fat: 14g,
Saturated Fat: 7g,
Polyunsaturated Fat: 1g,
Monounsaturated Fat: 4g,
Trans Fat: 0.02g,
Cholesterol: 193mg,
Sodium: 346mg,
Potassium: 96mg,
Fiber: 0.2g,
Sugar: 1g,
Vitamin A: 549IU,
Vitamin C: 0.2mg,
Calcium: 236mg,
Iron: 1mg
Nutrition information is automatically calculated and should only be used as an approximation. Factors such as specific brands, cooking methods, and ingredient variations can affect the actual nutritional content.
Today’s post is sponsored by The Ohio Poultry Association. As always, all opinions expressed are 100% my own and reflect my genuine experience with their products.