
The Ultimate Salted Chocolate Chip Cookie Recipe: Chewy, Gooey, and Irresistibly Delicious
Ah, the classic chocolate chip cookie. It’s more than just a dessert; it’s a comforting memory, a delightful treat, and for many of us, a constant temptation. I confess, I have what I affectionately call a “CCC problem” – a Chronic Cookie Craving! And it seems I can never resist diving into a new recipe, especially when it promises to elevate this beloved classic. These are the extraordinary Salted Chocolate Chip Cookies that I’ve been raving about, and for good reason. They hail from the celebrated cookbook Date Night In, a book I’ve also been eager to share with fellow food enthusiasts.
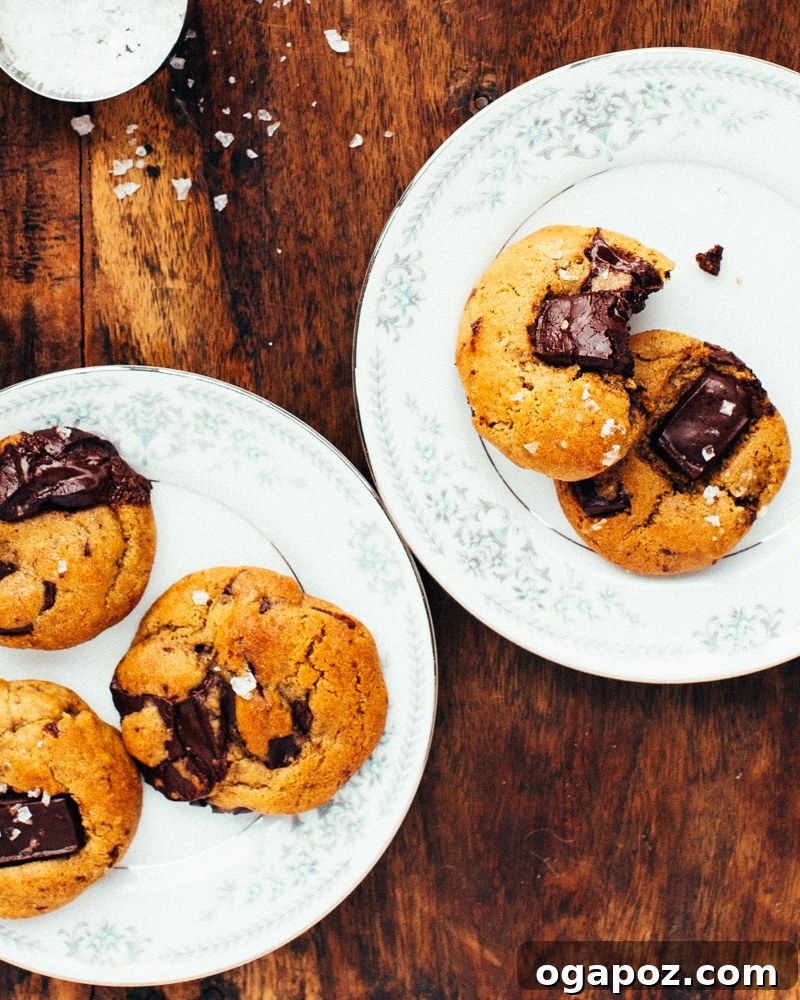
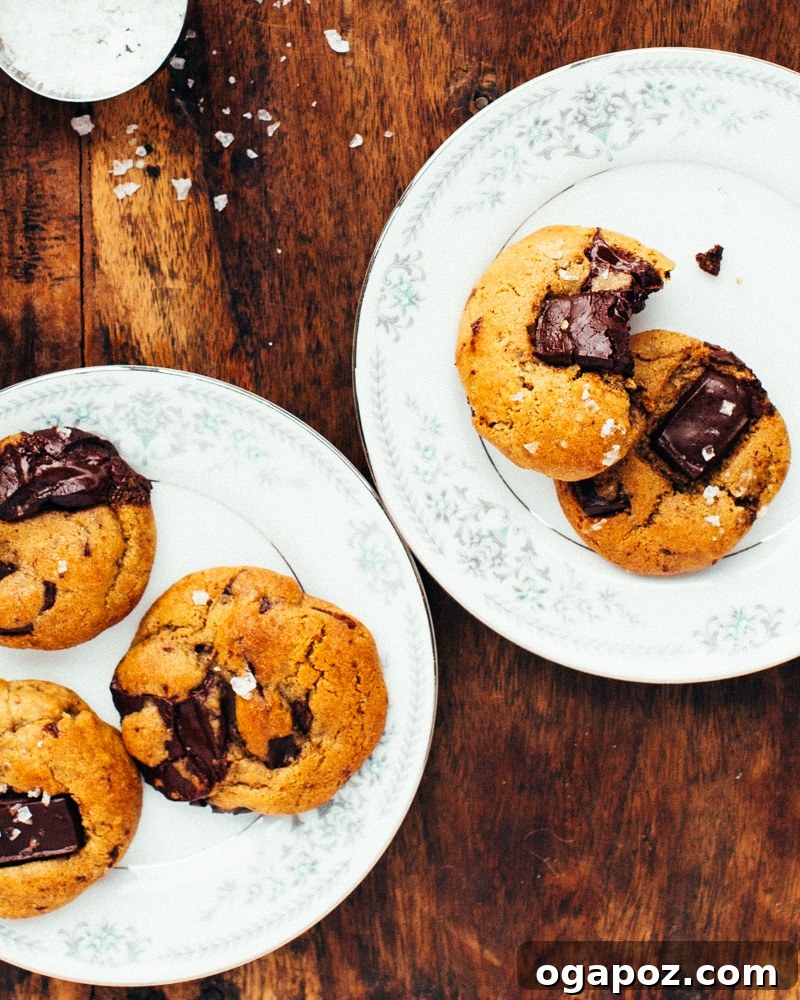
What makes these cookies truly special? Imagine pulling them from the oven, allowing them to cool for just an hour, then taking that first perfect bite. You’re met with a symphony of textures and flavors: intensely melty chocolate chunks nestled in a perfectly chewy middle, embraced by crisp, golden-brown edges. But the true magic lies in the subtle sparkle of flake salt on top. It’s not just a beautiful garnish; it delivers an utterly addictive little crunch and a sublime balance to the rich, dark chocolate. As a devoted fan of salty-sweet combinations, I can tell you this pairing is nothing short of divine.

Why These Salted Chocolate Chip Cookies Stand Out
My curiosity was piqued by this recipe’s unique flour-to-butter ratio, which is notably higher than my usual go-to chocolate chip cookie standby. This difference is key to achieving their exceptional texture. The result is a cookie with a truly fantastic thickness – not a puffy cake-like consistency, which in my opinion, is not ideal for a chocolate chip cookie. Instead, these cookies boast a substantial, toothsome, and satisfyingly chewy bite. They were absolutely phenomenal on the first day, especially while still warm, with the chocolate still wonderfully molten.
Ashley, the talented author of the recipe, emphasizes that these cookies are truly at their peak on the day they’re baked. This crucial insight led me to a brilliant strategy for enjoying them fresh whenever the craving strikes. For my second batch, I opted to bake only a half-dozen immediately, freezing the remaining dough in convenient balls for future indulgence. Baking them from frozen simply requires a slightly lower temperature and a slightly longer baking time, ensuring warm, fresh cookies with minimal effort. This approach has proven to be incredibly convenient and guarantees that perfect, just-baked experience every single time.
Mastering the Perfect Cookie: Tips and Techniques
Achieving the perfect salted chocolate chip cookie involves a few key steps and a little patience. Let’s delve into the details that make these cookies truly irresistible.
The Importance of Quality Ingredients
- Butter and Eggs: Always use unsalted butter and eggs at room temperature. This allows them to cream together more effectively, creating a smoother, more emulsified batter that traps air for a lighter texture.
- Sugar Blend: The recipe’s blend of granulated, turbinado, and dark brown sugar is intentional. Granulated sugar contributes to crispiness, turbinado adds a subtle crunch and molasses notes, and dark brown sugar provides moisture, chewiness, and deep caramel-like flavors.
- Bittersweet Chocolate: This is not the place to skimp! Using high-quality bittersweet chocolate is paramount. Cut it into irregular 1/2-inch chunks with a serrated knife. These varying sizes create pockets of melty, gooey chocolate throughout the cookie, offering different textures and intensities in every bite.
- Flake Salt: The flake salt is non-negotiable. It’s sprinkled on top just before baking, providing that signature addictive crunch and enhancing the sweetness of the chocolate.
The Art of Mixing
- Creaming Butter and Sugars: In a medium bowl, cream the room temperature butter and all three types of sugar together with an electric mixer on medium speed. This step is crucial and should take about 5 minutes, until the mixture is light in color and fluffy in texture. Don’t rush it; proper creaming creates air pockets that contribute to the cookie’s texture. Remember to scrape down the sides of the bowl with a rubber spatula as needed to ensure even mixing.
- Adding Wet Ingredients: Incorporate the eggs and vanilla extract into the creamed mixture, mixing well until fully combined. Again, pause to scrape down the bowl with a spatula to prevent any unmixed streaks.
- Combining Dry Ingredients: In a separate medium bowl, whisk together the all-purpose flour, baking soda, and kosher salt. Whisking ensures these dry ingredients are evenly distributed, which is important for uniform leavening.
- Gentle Flour Incorporation: With the mixer on low speed, slowly add the dry flour mixture to the wet ingredients. Mix just until streaks of flour still run throughout the dough. The key here is to avoid overmixing. Overmixing develops the gluten in the flour, leading to tougher cookies.
- Folding in Chocolate: Finally, add the chopped bittersweet chocolate. Mix on low speed until everything is just combined. Finish mixing the dough by hand with a spatula, carefully scraping the sides and bottom of the bowl to ensure the chocolate is evenly distributed without overworking the dough.
The Essential Chill: 24 Hours for Perfection
At this stage, the dough is ready for its most crucial step: refrigeration. While it might be tempting to bake immediately, resisting for 24 hours will profoundly impact the final cookie. Resting the dough allows the flour to fully hydrate, preventing a cakey texture and encouraging a chewier result. More importantly, it intensifies the deep, complex toffee-like flavors from the brown sugar. The flavors meld and deepen, resulting in a cookie that is far richer and more nuanced than one baked immediately. This patience is truly rewarded.
Baking to Perfection
- Preparation: When you’re ready to bake, preheat your oven to 360ºF (182°C). Line two baking sheets with parchment paper. This prevents sticking and helps with even baking.
- Scooping and Salting: Scoop uniform balls of dough onto the prepared baking sheets. For consistency, a cookie scoop is highly recommended. Just before placing them in the oven, top each cookie with a generous pinch of flake salt. This ensures the salt adheres beautifully and provides that delightful salty kick.
- Baking and Rotation: Bake the cookies for 10 to 12 minutes. Pay close attention to how they are baking. If you notice one side of the oven baking faster, rotate the sheets halfway through the baking time for even golden edges. The cookies should be lightly golden on the outside but still appear quite gooey and slightly underbaked in the center. This underbaking is essential for achieving that desirable chewy, soft-center texture once cooled.
- Cooling Process: Immediately upon removing from the oven, let the cookies cool on the baking sheets for at least 5 minutes. They are very delicate when hot and need this time to set. After 5 minutes, carefully transfer the cookies to a wire rack to finish cooling completely. This allows air to circulate around them, preventing sogginess and ensuring crispy edges.
- Storage: These salted chocolate chip cookies are undoubtedly best enjoyed the day they are baked, ideally while still slightly warm. If you have any leftovers (a rare occurrence!), store them in an airtight container at room temperature for up to 2 days to maintain their freshness.
The Recipe: Salted Chocolate Chip Cookies
Get ready to bake a batch of the most delicious salted chocolate chip cookies you’ve ever tasted – perfectly chewy, wonderfully thick, and loaded with melty dark chocolate and a delightful crunch of flaky sea salt.
Prep Time: 15 minutes
Cook Time: 10 minutes
Total Time: 25 minutes (plus 24 hours chilling time)
Servings: 4 dozen cookies
Ingredients
- 1 cup unsalted butter, at room temperature
- ¼ cup granulated sugar
- ¼ cup turbinado sugar
- 1 ¾ cup dark brown sugar, packed
- 2 large eggs, at room temperature
- 2 tsp vanilla extract
- 3 ½ cups all-purpose flour
- 1 ½ tsp baking soda
- 1 tsp kosher salt
- 12 ounces bittersweet chocolate, use the best quality you can find, cut into roughly 1/2-inch chunks with a serrated knife
- Flake salt, for finishing
Instructions
- In a medium bowl, cream the butter and sugars together with an electric mixer on medium speed until light in color and texture, about 5 minutes. Scrape down the sides of the bowl with a rubber spatula as needed.
- Add the eggs and vanilla extract and mix well to combine. Again, stop the machine and scrape down the bowl with a spatula.
- In a separate medium bowl, whisk together the flour, baking soda, and kosher salt.
- With the mixer on low speed, slowly add the flour mixture to the wet ingredients. Mix until streaks of flour still run throughout. Add the chopped bittersweet chocolate and mix until everything is just combined. Finish folding the dough by hand, taking care to scrape the sides and bottom of the bowl to ensure all ingredients are evenly distributed.
- At this point, it is highly recommended to refrigerate the dough for a minimum of 24 hours. Resting the dough significantly intensifies the deep toffee flavors and greatly improves the texture of the baked cookie, making it chewier and less prone to spreading.
- When ready to bake, preheat the oven to 360ºF (182°C). Line two baking sheets with parchment paper.
- Scoop the dough onto the prepared baking sheets, leaving enough space between cookies for spreading. Top each cookie with a pinch of flake salt just before baking.
- Bake for 10 to 12 minutes. If your oven bakes unevenly, rotate the baking sheets halfway through. The cookies should be lightly golden on the edges but still appear quite gooey in the center.
- Allow the cookies to cool on the baking sheets for at least 5 minutes before carefully transferring them to a wire rack to finish cooling completely.
- These cookies are best enjoyed the day they are baked. If stored in an airtight container at room temperature, they will keep for up to 2 days.
Freezing Dough for Future Cravings
One of the best ways to always have freshly baked cookies on hand is to freeze the dough. This method is a game-changer for spontaneous dessert cravings or when you simply want a small batch without baking all four dozen at once. To freeze the dough, prepare it as instructed up to step 4. Then, scoop the dough into individual balls and place them on a parchment-lined baking sheet. Freeze until solid (a few hours), then transfer the frozen dough balls to an airtight freezer-safe bag or container. They can be stored in the freezer for up to 3 months.
When you’re ready to bake from frozen, there’s no need to thaw the dough! Simply preheat your oven to a slightly lower temperature, around 350°F (175°C), and bake for a slightly longer time – typically 12-15 minutes, depending on your oven and the size of your cookies. Keep an eye on them, looking for those golden edges and gooey centers. This method ensures you can enjoy warm, perfectly fresh salted chocolate chip cookies whenever the mood strikes, without any extra prep work.
Pairing Suggestions & Variations
These salted chocolate chip cookies are phenomenal on their own, but they also make a delightful companion to various beverages and desserts. A cold glass of milk is a timeless pairing, enhancing the richness of the chocolate and the sweetness of the cookie. For adults, a warm cup of coffee or a robust espresso creates a sophisticated contrast with the cookie’s flavors. Consider crumbling them over a scoop of vanilla bean ice cream for an elevated dessert experience, adding both texture and an extra layer of flavor.
While the recipe is perfect as is, feel free to experiment with minor variations to suit your taste. For a nutty twist, you could gently fold in a half cup of toasted pecans or walnuts with the chocolate chunks. If you prefer a different chocolate profile, a mix of milk chocolate and bittersweet chocolate chips can offer a sweeter, creamier bite. Or, for an extra depth of flavor, try browning a portion of your butter before creaming it with the sugars – just be sure to cool it slightly before adding. Remember, these small tweaks can lead to exciting new discoveries while still maintaining the essence of this fantastic recipe.
Baking these Salted Chocolate Chip Cookies is more than just following a recipe; it’s an experience. From the delightful aroma that fills your kitchen to the first bite of a warm, chewy cookie, it’s a journey of sensory pleasure. We hope you’ll try this recipe and discover your new favorite chocolate chip cookie. Happy baking!
Tried this recipe? We’d love to hear from you!
Share your experience and leave a comment below.