
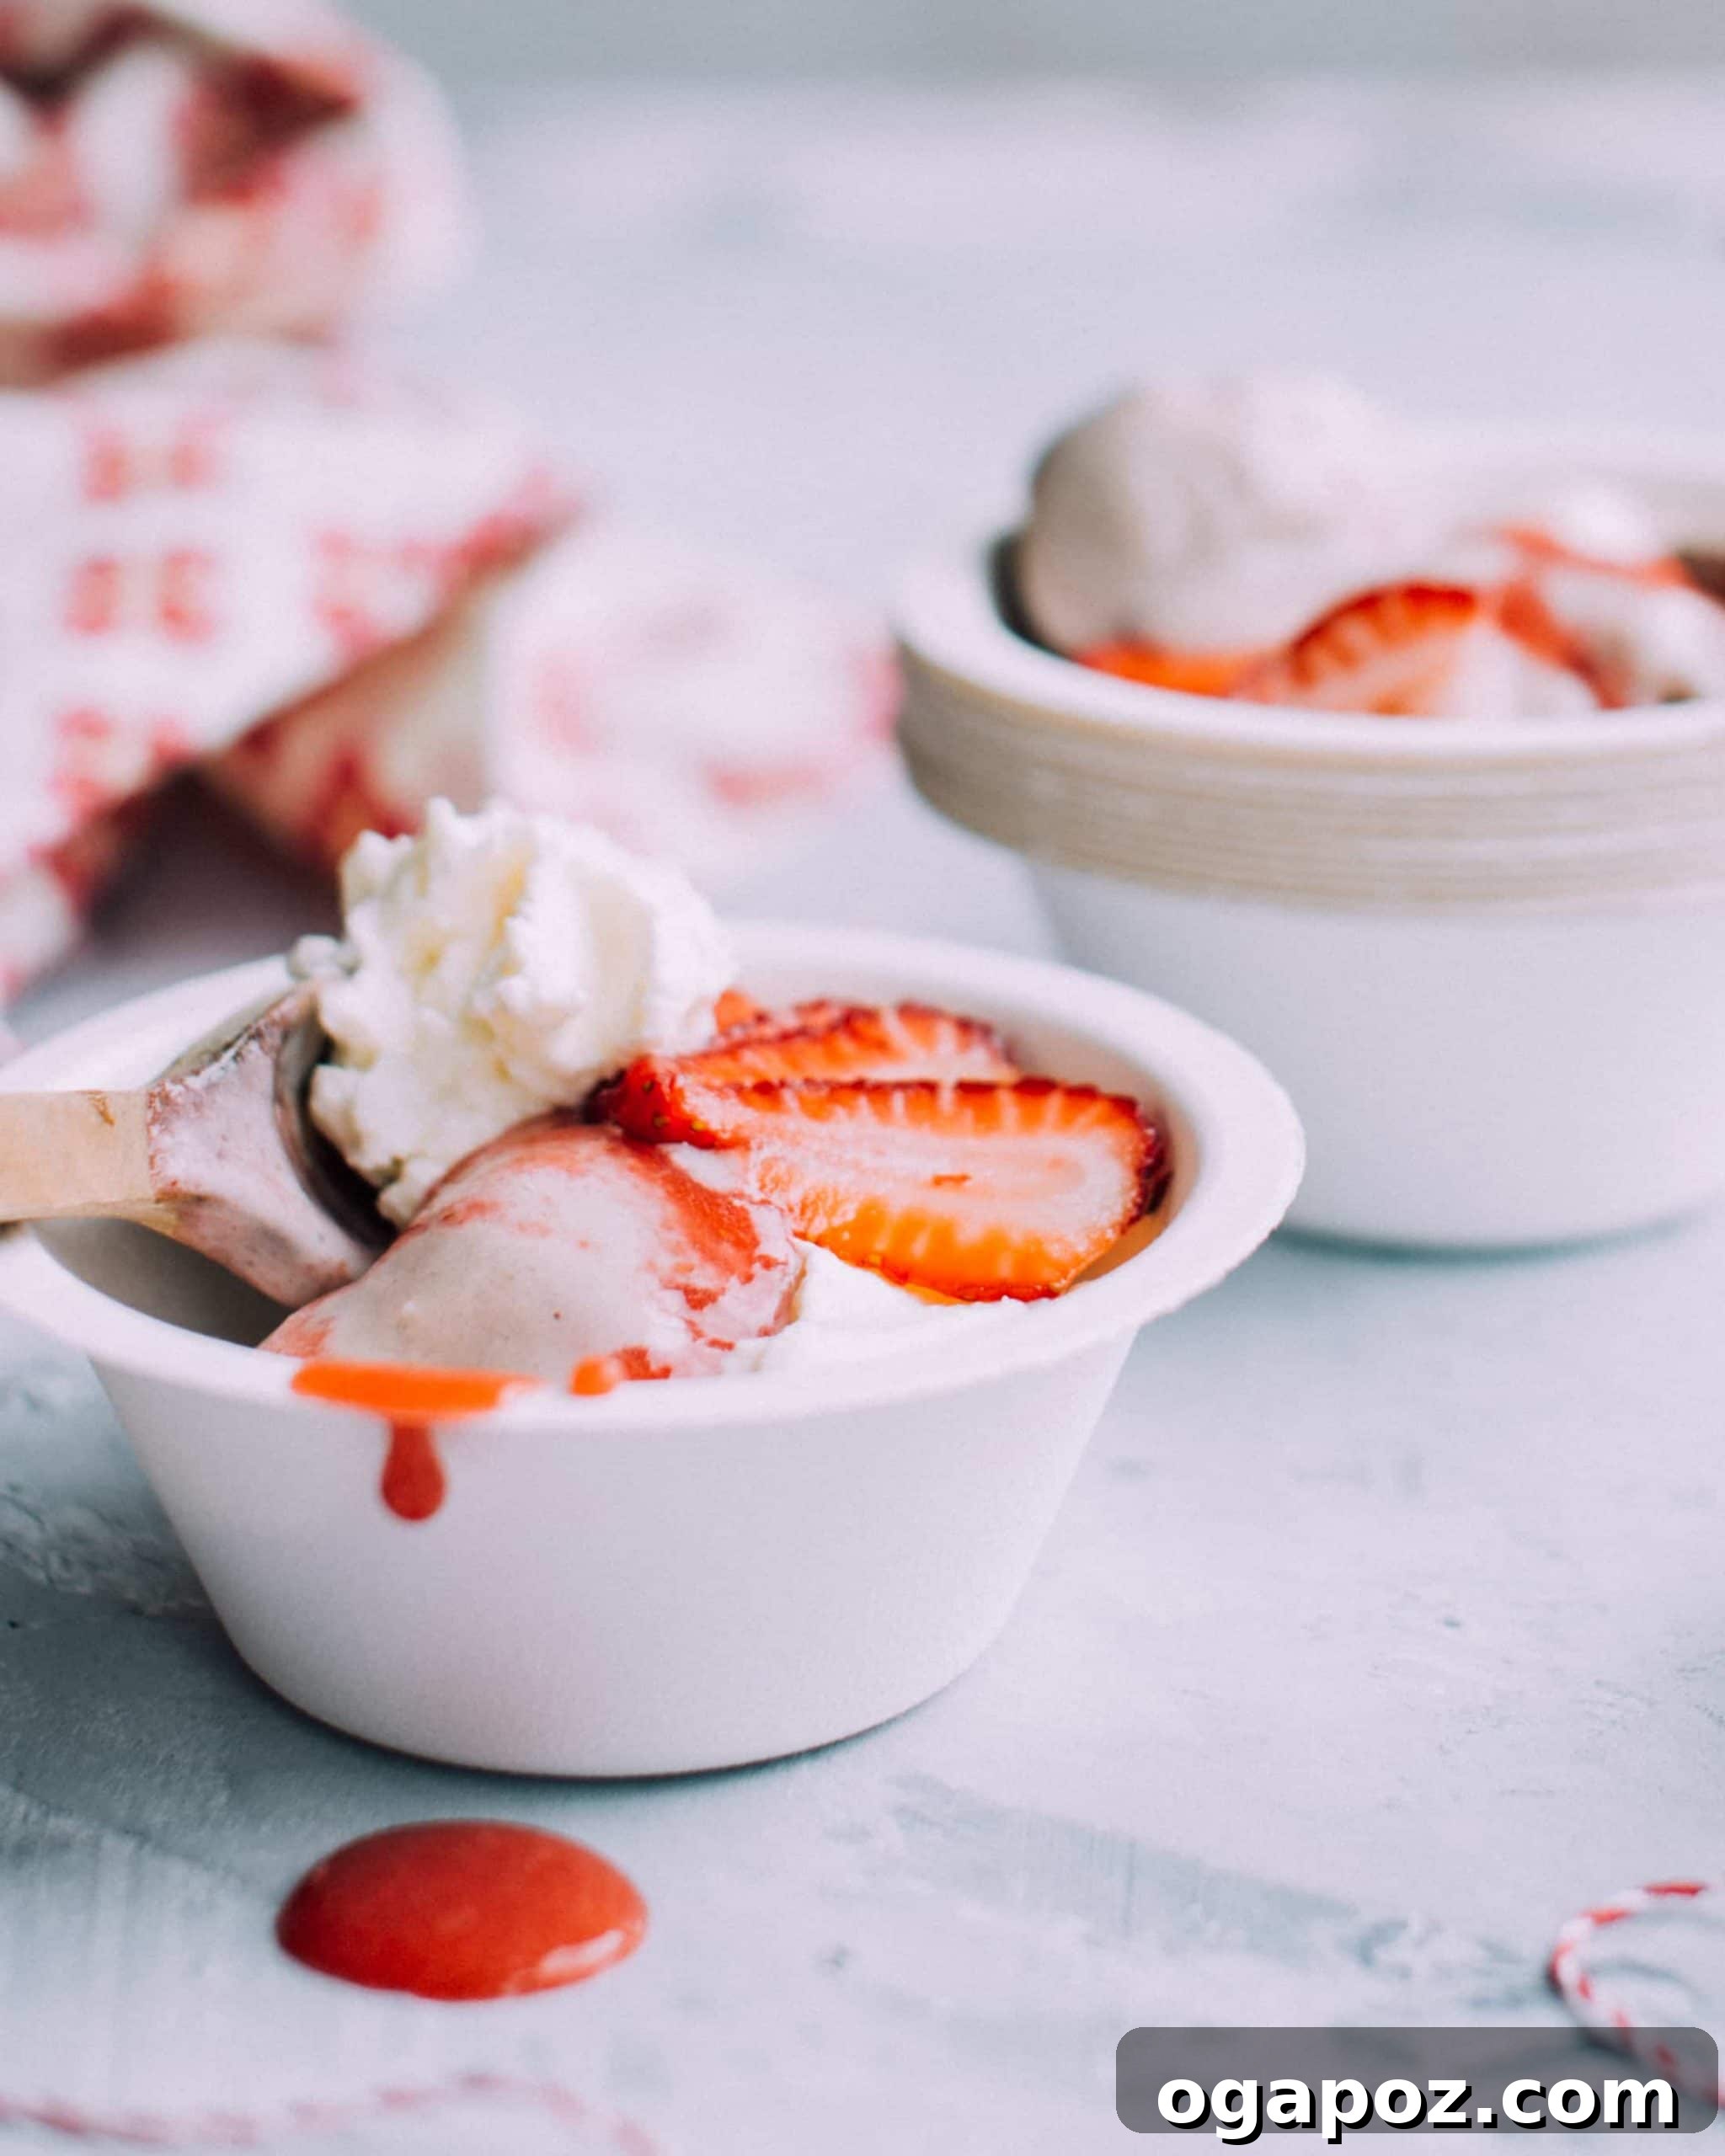
Healthy & Delicious 3-Ingredient Homemade Banana Ice Cream
Craving a refreshingly creamy, cold dessert that’s also light, healthy, and incredibly easy to make? Look no further than this delightful 3-Ingredient Homemade Banana Ice Cream recipe! Often called “nice cream,” this treat transforms simple frozen bananas into a luxurious, soft-serve-like dessert that satisfies your sweet tooth without the guilt of traditional ice cream.
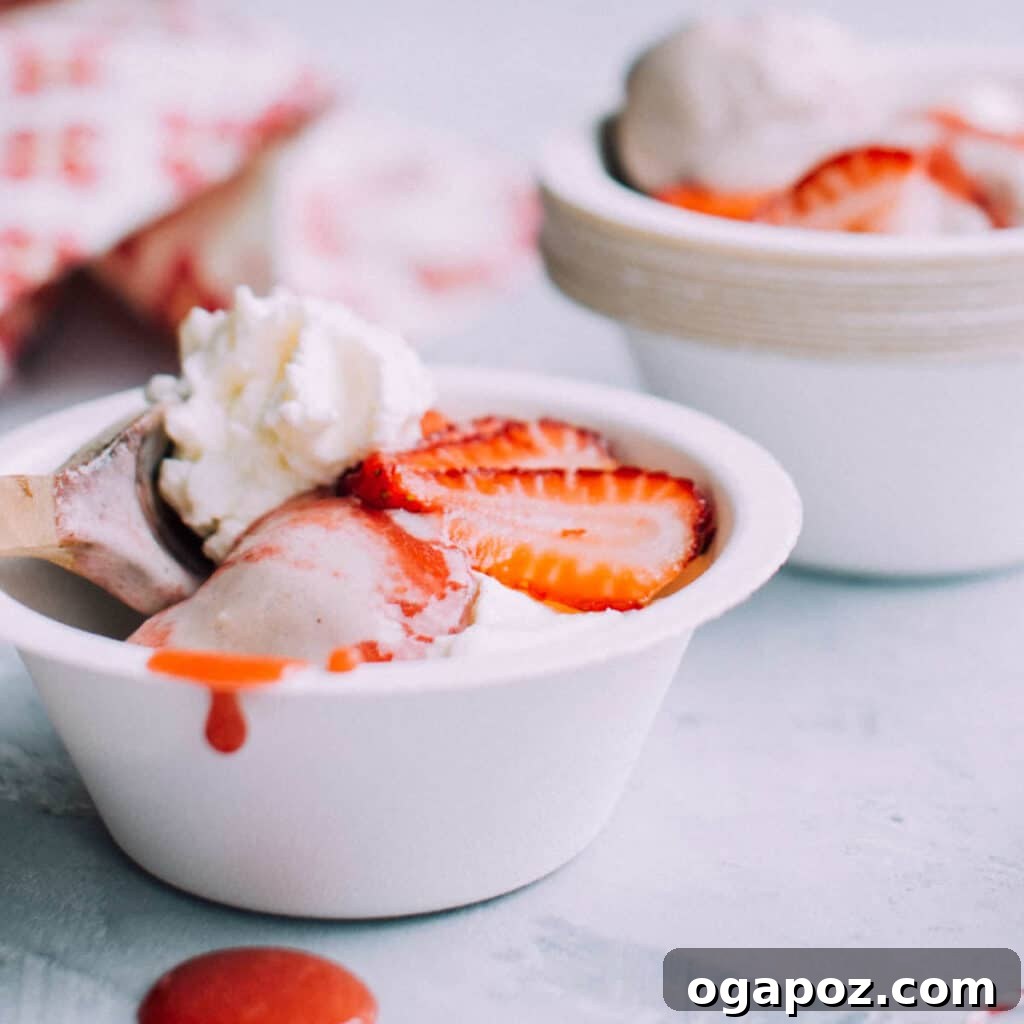
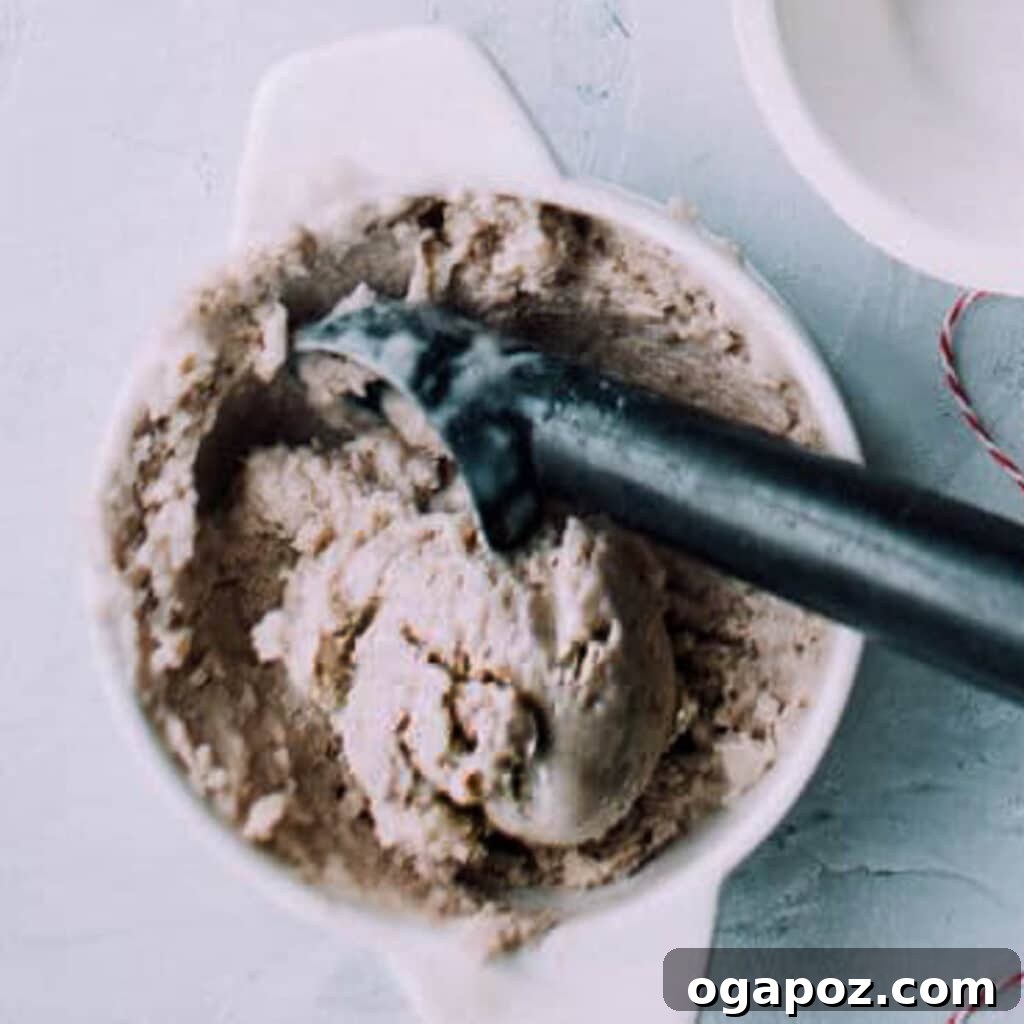
The beauty of homemade banana ice cream lies in its simplicity and versatility. With just three core ingredients – frozen bananas, a splash of milk, and a hint of vanilla – you can whip up a batch of this luscious dessert in mere minutes. Its texture is initially like a rich soft-serve, perfect for immediate indulgence. If you prefer a firmer, more scoopable consistency akin to traditional ice cream, simply freeze it for a short while longer.
Why You’ll Adore This Healthy Homemade Banana Ice Cream
There are countless reasons why this 3-ingredient banana ice cream recipe is about to become your new favorite go-to treat. Here are just a few compelling benefits that make it stand out:
- Unbeatably Healthy & Light: Unlike conventional ice cream, which can be high in refined sugars and saturated fats, this “nice cream” is made from natural, wholesome ingredients. It’s primarily sweetened by bananas, providing essential vitamins, minerals, and dietary fiber, and can be made dairy-free and vegan-friendly. It’s a smart choice that offers natural energy without the heavy feeling.
- Effortlessly Easy & Quick to Prepare: Forget the need for an expensive ice cream maker or complicated techniques. All you need is a reliable blender or food processor and a few minutes of your time. From start to finish, you can have a fresh batch of delicious banana ice cream ready to serve in under 10 minutes, making it ideal for spontaneous cravings or last-minute dessert solutions.
- Luxuriously Creamy & Delicious: Despite being free from cream, eggs, or added sugar, this ice cream boasts an incredibly rich and velvety texture. The magic happens when frozen bananas are blended, creating a smooth, silken consistency that rivals premium soft-serve. The vanilla extract further enhances the natural sweetness and adds a warm, inviting aroma, making every spoonful a pure delight.
- Infinitely Customizable & Versatile: While phenomenal on its own, this banana ice cream serves as the perfect canvas for endless flavor variations and toppings. Whether you want to mix in other fruits, chocolate, nuts, or spices, it adapts beautifully to your culinary imagination. It’s a dessert that never gets boring!
Gather Your Essential Ingredients for Homemade Banana Ice Cream
Before you embark on making your super easy 3-Ingredient Banana Ice Cream, ensure you have these simple, foundational ingredients ready:
- Milk or Milk Substitute: This liquid component forms the base of your ice cream, providing the necessary moisture to blend the frozen bananas into a smooth, creamy consistency. You have the flexibility to use any type of milk you prefer. For a traditional flavor, cow’s milk works wonderfully. To make this recipe completely dairy-free and vegan, opt for unsweetened almond milk, soy milk, oat milk, or for an extra rich and tropical twist, full-fat coconut milk. Adjust the amount slightly to achieve your desired thickness.
- Frozen Banana Slices: The star of the show! You’ll need about three large, ripe bananas, chopped into coin-sized pieces and thoroughly frozen. The freezing process is crucial as it creates the necessary firm texture and concentrated sweetness that allows the bananas to transform into an ice cream-like consistency when blended. Riper bananas will yield a sweeter, more intense banana flavor.
- Pure Vanilla Extract: A small yet mighty ingredient, pure vanilla extract adds a subtle depth and warm fragrance to your banana ice cream. It complements the natural banana flavor without overpowering it, enhancing the overall dessert experience. A high-quality vanilla extract makes a noticeable difference.
Essential Kitchen Tools
Making this healthy banana ice cream requires minimal specialized equipment. Here are the simple tools you’ll need:
- High-Speed Blender or Food Processor: This is the most crucial tool. A powerful blender or food processor is essential for breaking down the frozen banana chunks into a smooth, creamy mixture. Less powerful machines might require more liquid and scraping down the sides.
- Baking Sheet and Parchment Paper (for freezing bananas): These are used to spread out banana slices in a single layer for freezing, preventing them from clumping together. This step ensures easy blending later.
- Freezer-Safe Container: An airtight container is necessary for storing any leftover banana ice cream, keeping it fresh and minimizing ice crystal formation.
How to Make Healthy Homemade Banana Ice Cream: Step-by-Step Directions
Get ready to whip up this amazing 3-ingredient treat with these straightforward instructions. The secret to success lies in properly frozen bananas and a good blending technique!
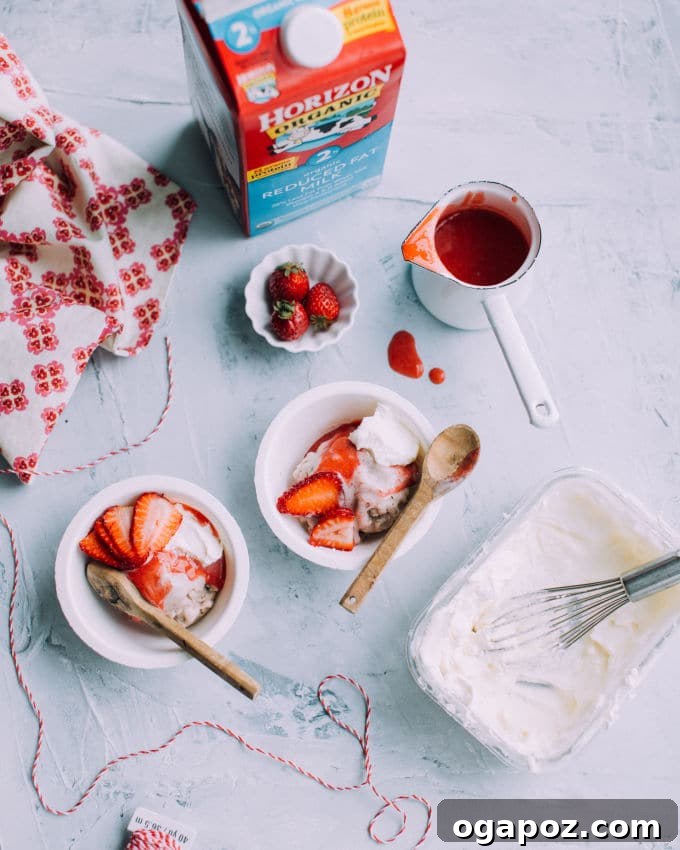
- Prepare and Freeze Bananas: Begin by peeling three large, ripe bananas. Chop them into small, approximately ½-inch thick slices. Arrange these slices in a single layer on a baking sheet lined with parchment paper. This prevents them from sticking together. Transfer the baking sheet to the freezer and allow the banana pieces to freeze completely solid. This usually takes at least 4-6 hours, or ideally, overnight. Ensure they are rock-hard for the best “nice cream” texture.
- Blend All Ingredients: Once your banana chunks are fully frozen, transfer them to a high-speed blender or a robust food processor. Add 1 cup of your chosen milk (or milk substitute) and the ¼ teaspoon of pure vanilla extract. Begin blending on a low setting, gradually increasing the speed. You might need to pause and scrape down the sides of the blender with a spatula occasionally to ensure all ingredients are incorporated. If the blades are struggling or the mixture is too thick to blend smoothly, add extra milk, just one tablespoon at a time, until a thick, uniform, and creamy consistency is achieved. Avoid adding too much liquid, as this will result in a milkshake rather than ice cream.
- Serve Immediately or Freeze for Later: Your banana ice cream is now ready! It will have a wonderfully soft-serve texture, perfect for enjoying right away. If you prefer a firmer, more scoopable ice cream, transfer the mixture to a shallow, freezer-safe dish. Freeze it for an additional 30 to 60 minutes. A shallow dish allows it to firm up more quickly and evenly compared to a deep container.
- Store Leftovers Properly: Should you have any delightful leftovers, transfer them to an airtight container. This helps prevent freezer burn and ice crystal formation. Store it in the freezer for future enjoyment. When you’re ready to eat it again, simply remove the container from the freezer and let it sit at room temperature for about 15-20 minutes to soften slightly. If ice crystals have formed, use a fork to break them up and stir well before scooping and serving.
Creative Ways to Serve Your Healthy Homemade Banana Ice Cream
Now that you’ve crafted your perfect 3-Ingredient Banana Ice Cream, it’s time for the fun part: serving and customizing it! While it’s delicious on its own, these ideas will elevate your treat to new heights:
- Fresh Fruit Fiesta: A classic pairing! Top your scoops of banana ice cream with a vibrant array of fresh fruits. Sliced bananas add extra banana flavor and texture, while juicy strawberries, plump blueberries, raspberries, or kiwi slices provide a beautiful contrast in taste and color.
- Decadent Chocolate Drizzle: For the chocolate lovers, a warm drizzle of chocolate sauce is irresistible. Try my favorite easy hot fudge sauce, which you can quickly make in the microwave with cocoa powder. A rich caramel sauce or even a simple melted chocolate ganache would also be incredibly delicious.
- Crunchy Toppings: Add an exciting textural element by sprinkling some chopped nuts (almonds, walnuts, pecans), granola, or even a handful of toasted coconut flakes on top. This provides a satisfying crunch that complements the creamy ice cream.
- Chunky Monkey Twist: Embrace the classic combination of peanut butter and banana! Melt some creamy or crunchy peanut butter in the microwave until it’s pourable, then generously drizzle it over your banana ice cream. Finish with a sprinkle of chopped, salted, and roasted peanuts for an authentic “Chunky Monkey” experience. A few mini chocolate chips wouldn’t hurt either!
- Tropical Paradise: Blend in a handful of mango or pineapple chunks with your bananas for a tropical “nice cream,” then top with shredded coconut and a lime zest.
- Berry Blast: Incorporate frozen mixed berries into your blend for a fruity, antioxidant-rich variation, then garnish with more fresh berries.
- Spice It Up: A dash of cinnamon, nutmeg, or even a pinch of cardamom can add a surprising and delightful warmth to your banana ice cream.
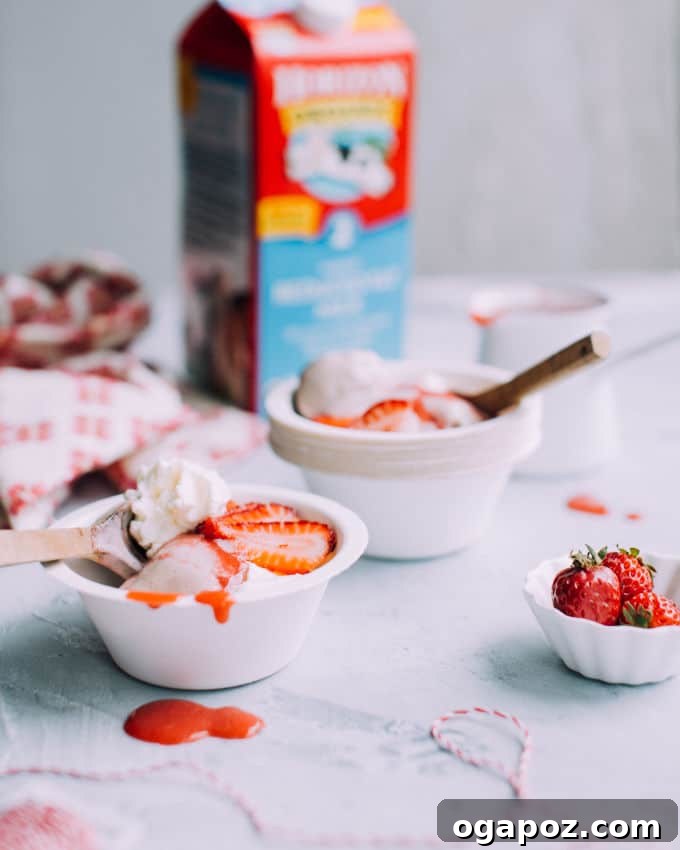
Storage Tips for Optimal Freshness
While freshly made banana ice cream offers the best taste and consistency, you can certainly store leftovers for later enjoyment. The shelf life of homemade banana ice cream, like any natural frozen dessert, depends on several key factors, including the ingredients used and the storage conditions.
- Enjoy Fresh for Best Quality: For the most delightful experience, banana ice cream is truly at its peak immediately after blending, when it has that perfect soft-serve consistency. The flavors are brightest and the texture is silkiest at this stage.
- Proper Freezer Storage: If you find yourself with leftover banana ice cream, or if you’re intentionally making a larger batch for future treats, it’s crucial to store it correctly. Transfer the ice cream to an airtight, freezer-safe container. Press a piece of parchment paper or plastic wrap directly onto the surface of the ice cream before sealing the lid to minimize air exposure, which helps prevent ice crystal formation. When stored properly in a cold freezer (preferably at 0°F / -18°C or below), homemade banana ice cream can typically last for about 1 to 2 months.
Important Notes on Freezer Storage:
- Texture Changes Over Time: It’s natural for homemade ice cream, which lacks commercial stabilizers and preservatives, to develop ice crystals over time. This can lead to a slightly less creamy and more icy texture after a few weeks in the freezer. While still safe to consume, the quality will gradually diminish.
- Flavor Deterioration: The vibrant, fresh banana flavor may also begin to fade after prolonged freezer storage. For the best flavor, aim to consume your banana ice cream within 2-4 weeks.
- Thawing Before Serving: To restore some of its creaminess after freezing solid, always allow stored banana ice cream to soften at room temperature for 15-20 minutes before attempting to scoop. You can then break up any ice crystals with a fork and stir it vigorously to re-emulsify slightly before serving.
Frequently Asked Questions About Banana Ice Cream
Absolutely! Banana ice cream, widely known as “nice cream,” is generally considered a significantly healthier alternative to traditional ice cream for several compelling reasons:
- Superior Nutritional Content: Bananas are nutritional powerhouses, packed with essential vitamins (like Vitamin C and B6), vital minerals (such as potassium and magnesium), and beneficial dietary fiber. When you freeze and blend bananas, they create a naturally creamy texture and sweet flavor without the need for additional sugars, artificial flavors, or synthetic additives often found in commercial ice creams.
- Lower in Calories and Fat: Traditional dairy ice cream is typically high in calories, saturated fats, and cholesterol. Banana ice cream, on the other hand, is inherently lower in calories and contains minimal to no fat, especially if you opt for a low-fat or plant-based milk substitute. This makes it an excellent choice for those managing their calorie intake or seeking to reduce fat in their diet.
- Naturally Dairy-Free and Vegan-Friendly: A major advantage of banana ice cream is its natural suitability for those following a vegan, dairy-free, or lactose-intolerant diet. By simply using a plant-based milk alternative (like almond, oat, or coconut milk), you can enjoy a rich and creamy dessert that aligns with your dietary preferences without compromising on taste or texture.
- Fiber-Rich: The fiber content in bananas contributes to a feeling of fullness and supports digestive health, benefits rarely associated with conventional ice cream.
The transformation of a simple frozen banana into a creamy, ice cream-like delight is a marvel of culinary science. Here’s why it works so well:
- Concentrated Natural Sugars: Bananas are naturally sweet, primarily due to fructose. When bananas are frozen, their water content solidifies, which effectively concentrates these natural sugars. This intensifies their inherent sweetness, making the blended product taste richer and more dessert-like.
- Remarkable Texture Transformation: Freezing bananas significantly alters their cellular structure. The water within the banana expands and forms ice crystals. When these frozen, solid bananas are rapidly blended, these ice crystals, along with the banana’s natural starches and fibers, break down into incredibly fine particles. This process creates an incredibly smooth, thick, and velvety texture that closely mimics the mouthfeel of dairy-based ice cream. The high pectin content in bananas also contributes to this desirable emulsified consistency.
- Starch Content and Ripeness: As bananas ripen, their starches convert into sugars. Overripe bananas (the ones with brown spots) have a higher sugar content and a softer texture even before freezing, which makes them ideal for “nice cream.” When frozen and then blended, these more developed starches contribute further to the smooth consistency and enhanced sweetness, creating a truly authentic ice cream experience.
- Cold Temperature and Mouthfeel: The cold temperature of the frozen, blended bananas, combined with their natural sweetness and creamy texture, creates a sensory experience that is undeniably reminiscent of eating traditional ice cream. It cools the palate while delivering a satisfying sweetness and rich mouthfeel.
Properly freezing your bananas is the first and most critical step to achieving the perfect creamy banana ice cream. Follow these steps for optimal results:
- Choose Ripe Bananas: Select bananas that are fully ripe. Look for peels that are bright yellow with plenty of brown speckles. These bananas will be sweetest and have the softest texture, which is ideal for blending into a creamy “nice cream.” Avoid green or underripe bananas, as they will not yield the same sweet flavor or smooth texture.
- Peel the Bananas: Always peel your bananas before freezing. Trying to peel a rock-solid frozen banana is a frustrating task!
- Slice or Break into Chunks: While you can technically freeze whole peeled bananas, slicing them into approximately ½-inch thick coins or breaking them into smaller chunks (about 1-2 inches) is highly recommended. Smaller pieces freeze more quickly and are much easier for your blender or food processor to process smoothly without straining the motor.
- Prepare a Tray for Freezing: Line a baking sheet or a large plate with parchment paper or a silicone mat. This crucial step prevents the banana pieces from sticking to the surface and to each other as they freeze.
- Arrange in a Single Layer: Place the peeled and sliced banana pieces on the prepared tray in a single layer, ensuring they are not touching one another. This allows them to freeze individually, so you can easily grab just the amount you need for your recipe without having to chip away at a giant frozen banana block.
- Freeze Thoroughly: Transfer the tray of bananas to the freezer. Allow them to freeze completely solid. For sliced bananas, this typically takes 2-4 hours. Whole or larger chunks might take 4-6 hours or even overnight. They should be firm and frosty.
- Transfer to a Storage Container: Once the banana pieces are fully frozen, you can transfer them from the tray into a freezer-safe zip-top bag or an airtight container. Squeeze out as much air as possible from the bag to prevent freezer burn. Label the container with the date for future reference.
- Store in the Freezer: Keep your frozen banana stash in the freezer for up to 3-4 months. Having them pre-frozen and ready means you can whip up banana ice cream whenever the craving strikes!
Absolutely! Banana ice cream is wonderfully versatile and serves as an excellent base for incorporating other frozen fruits. For best results, use other fruits that are also frozen. Popular additions include frozen berries (strawberries, blueberries, raspberries), mango chunks, pineapple chunks, or even pitted cherries. Add them along with the frozen bananas to your blender. The bananas will still provide the creamy base, while the added fruit will introduce new flavors and colors. Experiment to find your favorite combinations!
If your bananas aren’t completely frozen solid, you won’t achieve the thick, creamy “nice cream” texture. Instead, you’ll likely end up with a very thick smoothie or a soft, runny consistency that won’t hold its shape like ice cream. It’s crucial for the bananas to be rock-hard before blending. If you’ve started blending and realize they’re too soft, you can try adding a few ice cubes (though this might dilute the flavor slightly) or simply transfer the mixture back to the freezer for a longer period until it firms up more, then re-blend. Always plan ahead and freeze your bananas overnight for the best results.
More Delicious Ice Cream & Frozen Treat Recipes to Try
If you loved this healthy banana ice cream, you’re in for a treat with these other frozen dessert delights:
- Homemade Ice Cream Sandwich Wafers
- Irresistible Frozen S’Mores Pops
- No-Churn Cookies and Cream Ice Cream (4-Ingredient Recipe!)
- Creamy Cherry Cheesecake Popsicles
Even More Healthy Frozen Treats
Looking for more wholesome ways to beat the heat or satisfy your sweet tooth? Explore these other healthy frozen delights:
- Delightful Peanut Butter Frozen Yogurt Bites
- Viral Strawberry Frozen Yogurt Bites
- Decadent Chocolate Date Bark
- Refreshing Frozen Yogurt Bark
- Easy Chocolate Peanut Butter Banana Bites
- Guilt-Free Cookie Dough Bites
- Healthy Homemade Fudgesicles (Only 4 Ingredients!)
NEXT READING: 3-Ingredient Banana Pancakes
Pin Recipe
Print Recipe
Healthy 3-Ingredient Homemade Banana Ice Cream
Learn how to make the BEST creamy homemade healthy banana ice cream in just 5 minutes with this easy 3-ingredient recipe. It’s a truly guilt-free treat!
Ingredients
For Banana Ice Cream
- 1 to 1 ¼ cups milk or milk substitute
- 3 large chopped bananas (frozen)
- ¼ tsp pure vanilla extract
Instructions
- Combine 1 cup milk (or milk substitute), the frozen banana chunks, and vanilla extract in a high-speed blender or food processor. Blend until the mixture is very smooth and creamy, which typically takes about 60 seconds on a blender’s full speed. If the blades are catching or the mixture is too thick, add more milk, just a splash (1 tablespoon) at a time, to help the ingredients blend.
- Serve the ice cream immediately for a soft-serve consistency. For a firmer, more scoopable texture, transfer the mixture to a shallow, freezer-safe dish and freeze for about 30 minutes. Note that in a deep container, it will take longer to firm up.
- To store any leftovers, transfer the ice cream to an airtight container and place it in the freezer. When you’re ready to enjoy it again, let it stand at room temperature for approximately 15 minutes to soften. Then, use a fork to break up any ice crystals and stir well before scooping and serving.
Notes
Make-Ahead Reminder
Don’t forget to Pre-Freeze Banana Slices! This ensures you always have ripe bananas on hand for whenever your ice cream cravings strike, making preparation even quicker.
Storage
Banana ice cream can typically be stored in an airtight container in the freezer for 1 to 2 months while maintaining decent quality. However, it’s best to consume it within a few hours of making for optimal flavor and texture. For prolonged storage, ensure the container is airtight to minimize ice crystal formation.
Nutrition Information (Approximate Per Serving)
Nutrition information is automatically calculated and should be used as an approximation. Values may vary based on specific ingredients and brands used.