
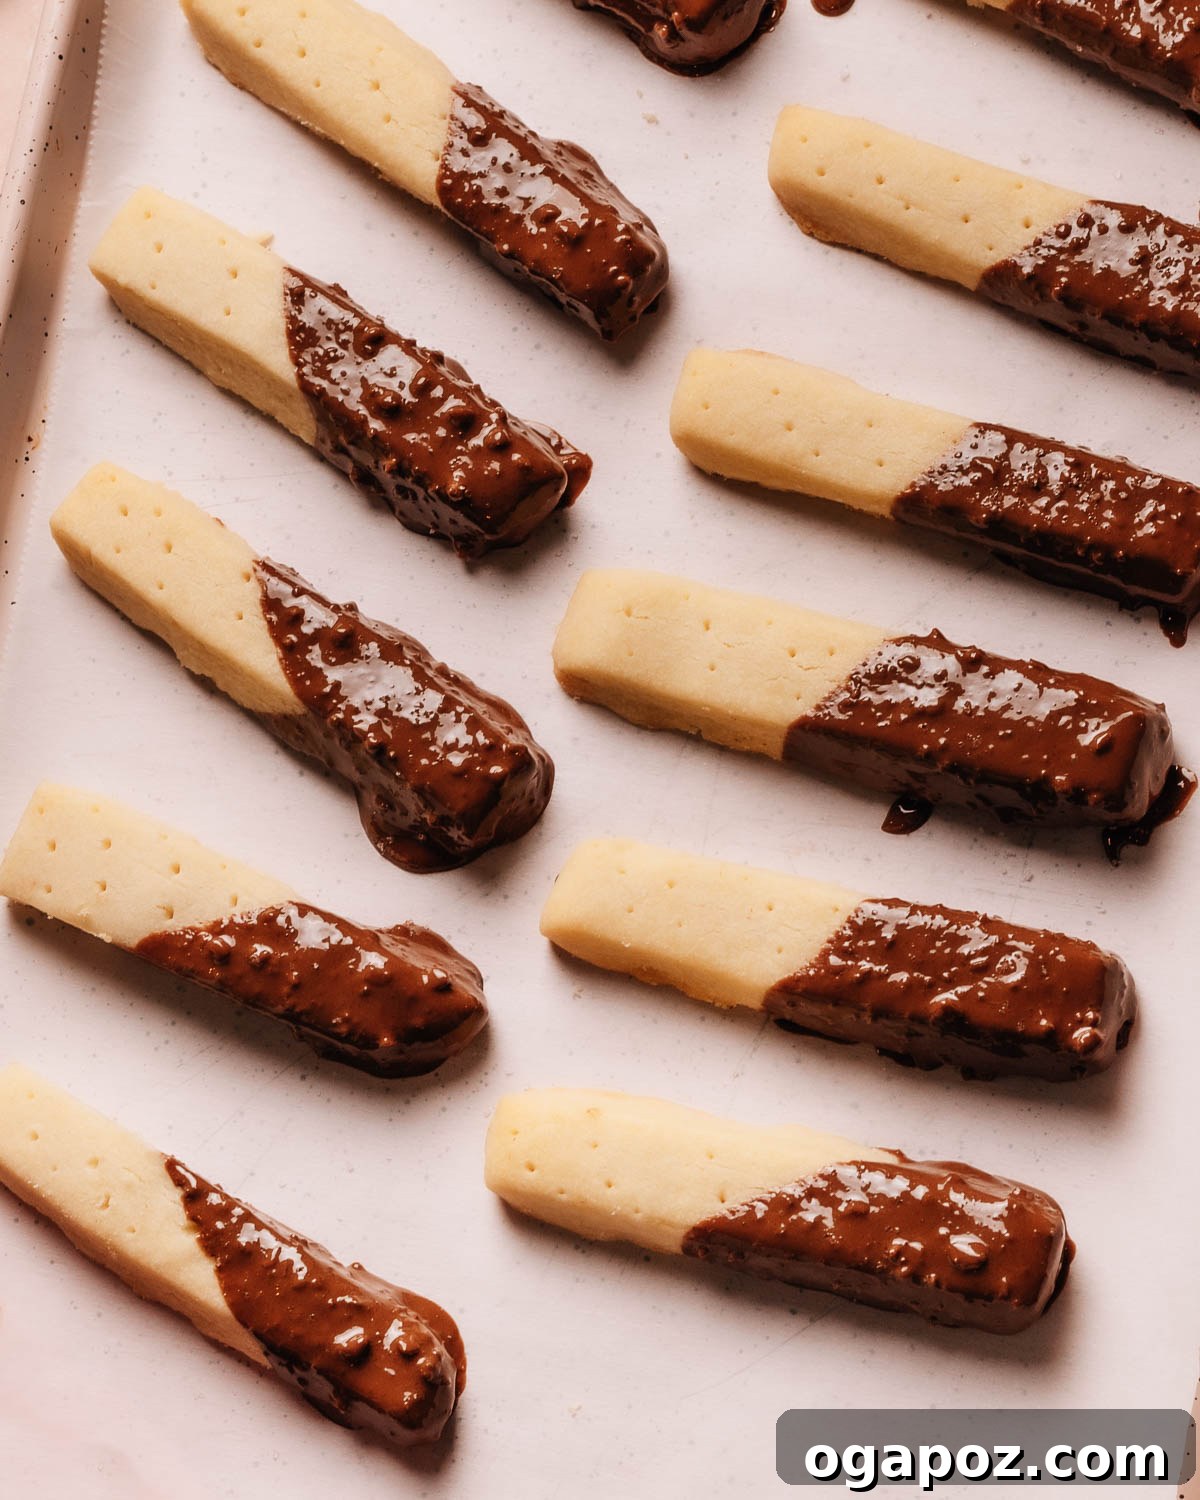
Embark on a delightful baking journey to create the BEST melt-in-your-mouth Chocolate Dipped Shortbread Cookies. This incredibly simple recipe requires just 3 core ingredients and comes together in a single bowl, making it perfect for both novice and experienced bakers alike. We’ll guide you through every step, from selecting the finest ingredients to mastering the perfect chocolate dip, and share crucial tips to avoid common mistakes. Prepare to impress with these tender, buttery, and elegantly chocolate-kissed treats!
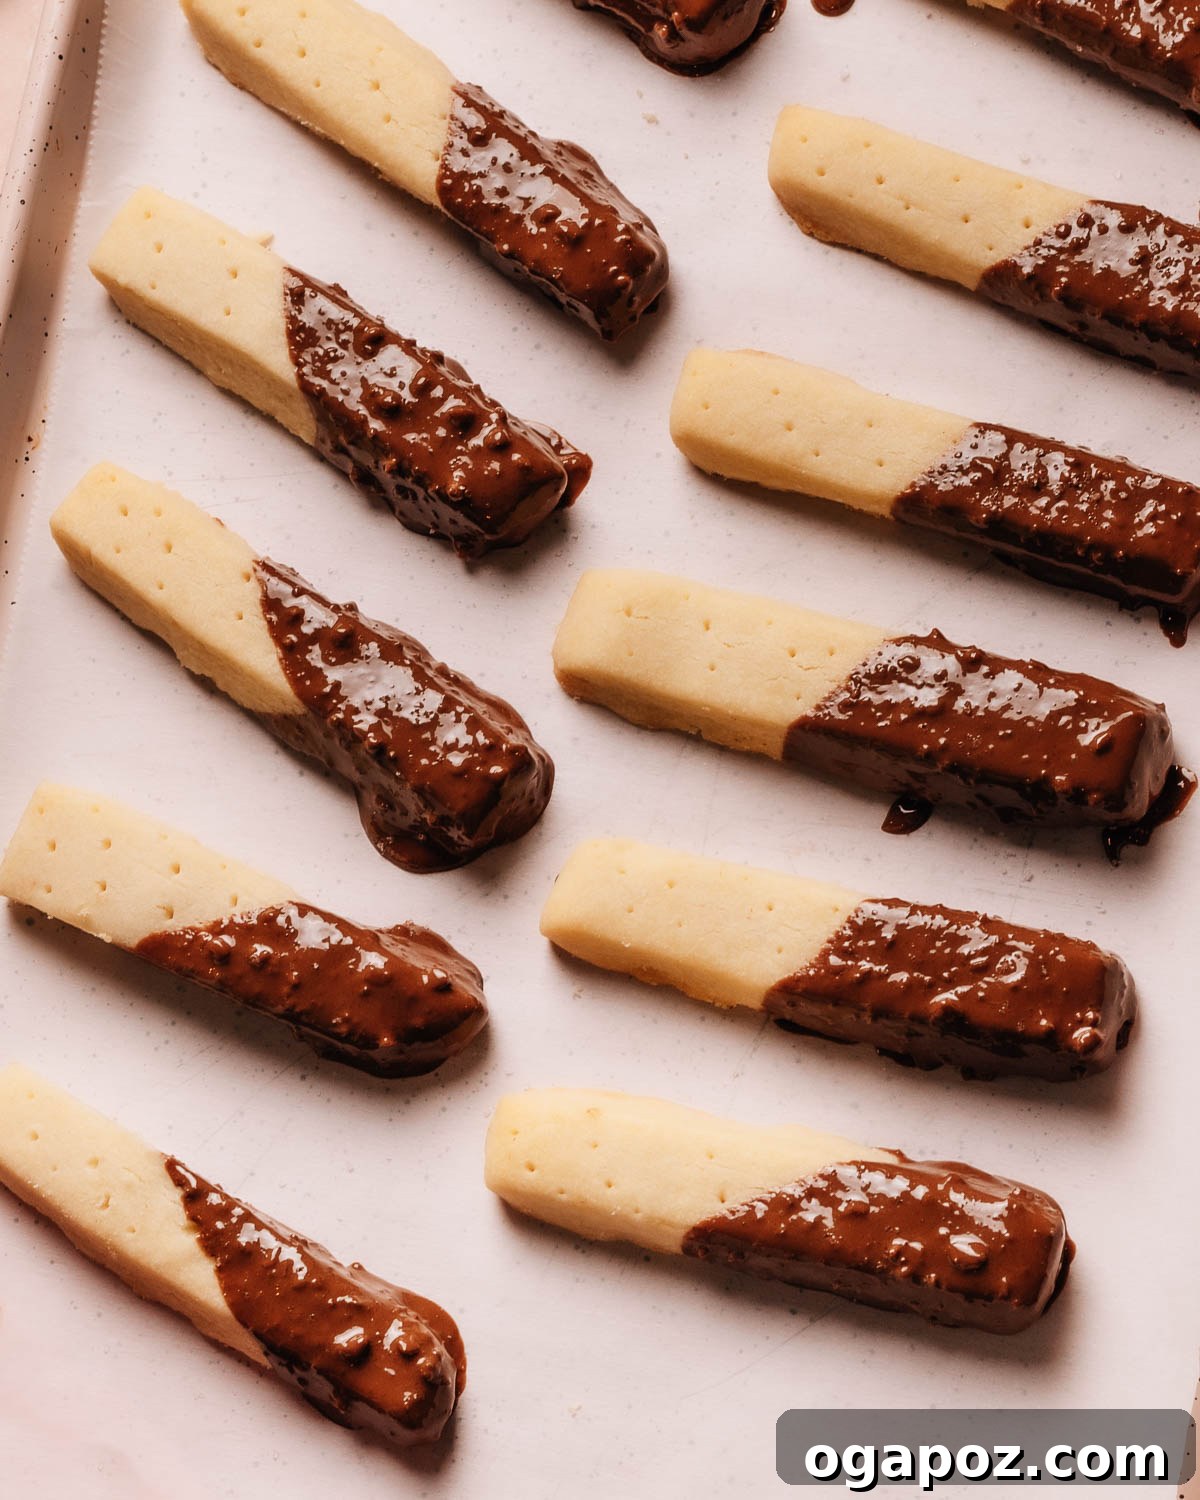
Why You’ll Fall in Love with These Chocolate Dipped Shortbread Cookies
There’s something uniquely enchanting about classic shortbread, and when it meets a luxurious chocolate coating, it transforms into an irresistible indulgence. This recipe isn’t just easy; it’s a celebration of simple perfection. You’ll be truly obsessed with how effortless these cookies are to create, using basic pantry staples that deliver extraordinary flavor and texture.
The Essential Ingredients for Shortbread Perfection
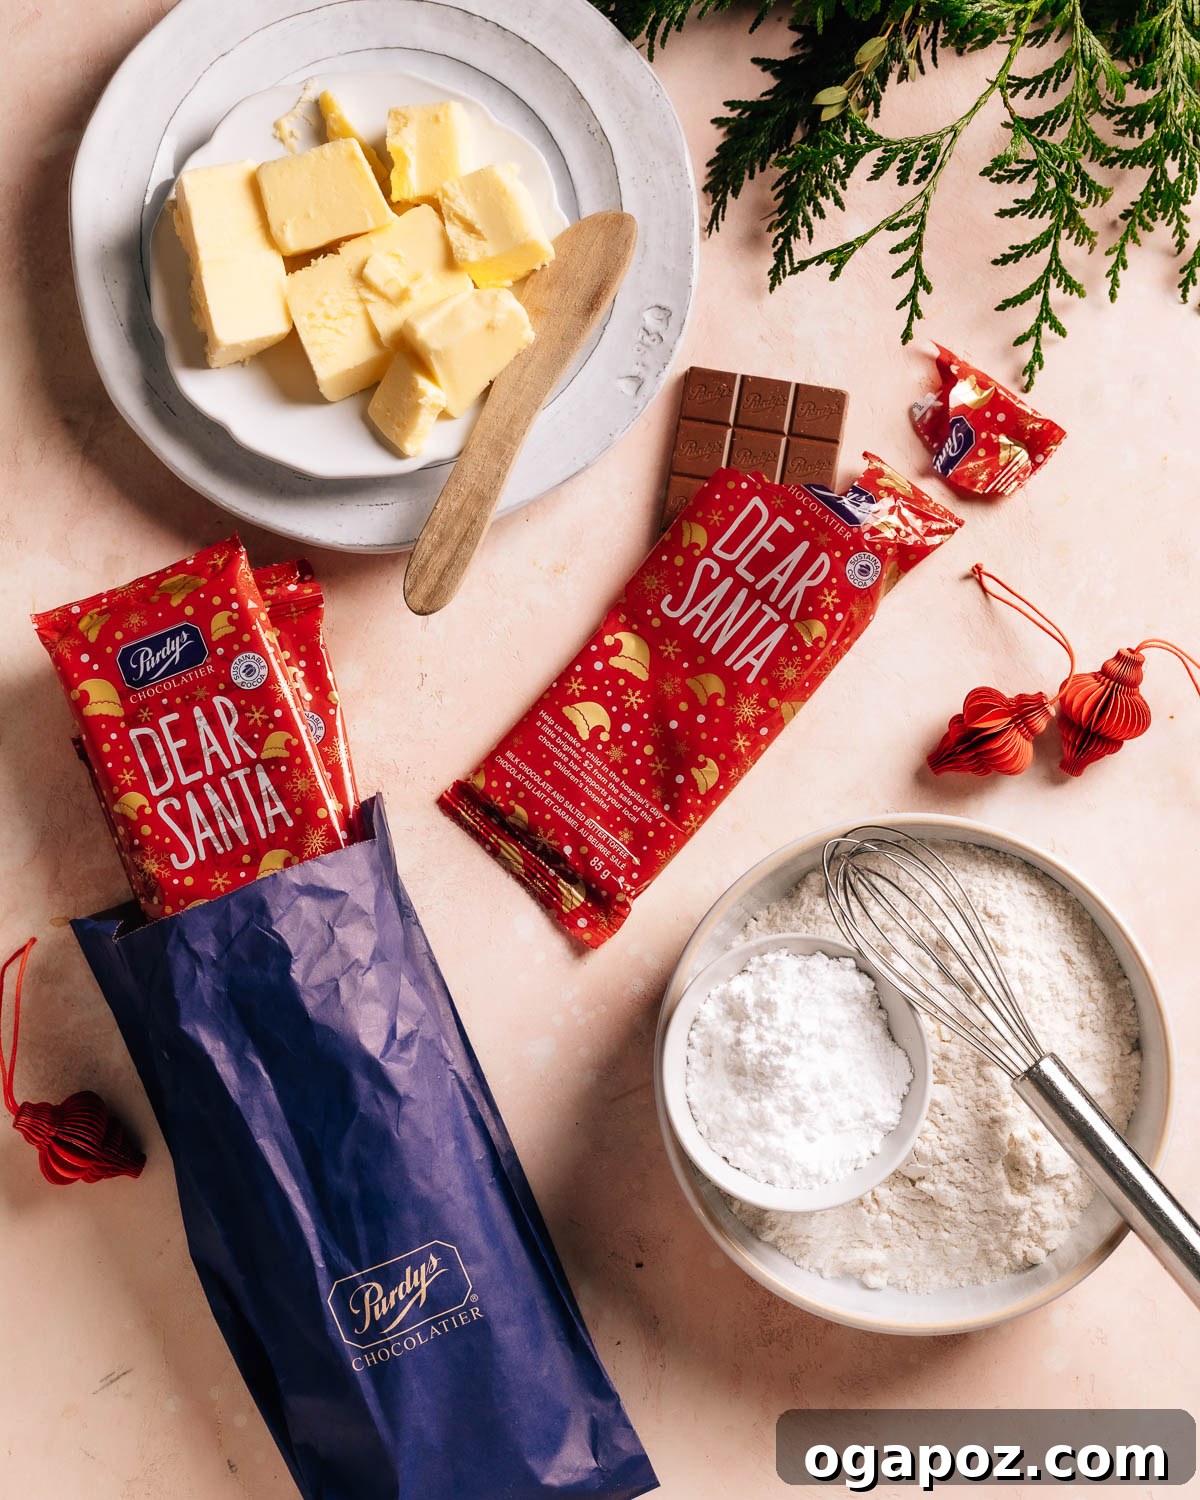
The beauty of classic shortbread lies in its simplicity. With so few components, the quality of each ingredient truly shines. Here’s a detailed look at what you’ll need for this buttery, melt-in-your-mouth shortbread recipe and why each plays a crucial role:
- Salted Butter: This is unequivocally the star of the recipe, contributing profoundly to the shortbread’s signature richness and its characteristic melt-in-your-mouth texture. Using high-quality butter is non-negotiable here; it provides the deep, creamy flavor that defines excellent shortbread. If you only have unsalted butter, simply add a pinch (about ¼ teaspoon) of fine sea salt to balance the flavors. Ensure your butter is softened to room temperature for optimal creaming.
- Powdered Sugar (Confectioners’ Sugar): Unlike granulated sugar, powdered sugar dissolves more completely into the butter, resulting in a smoother, finer crumb texture that’s incredibly tender. It adds the perfect amount of sweetness without making the dough gritty or tough. Sifting it can prevent lumps and ensure even distribution.
- All-Purpose Flour: The foundation of our shortbread, all-purpose flour provides the necessary structure while allowing the delicate, crumbly texture to develop. It balances the richness of the butter and the sweetness of the sugar. Proper measuring is key: spoon the flour into your measuring cup and level it off, rather than scooping directly, to avoid over-packing.
- Dark or Milk Chocolate: With such a minimalist ingredient list for the cookies themselves, choosing good-quality chocolate for dipping elevates these treats from good to truly exceptional. While chocolate chips can be used, high-quality chocolate bars (chopped yourself) tend to melt more smoothly and offer a richer flavor profile. Whether you prefer the intensity of dark chocolate or the creamy sweetness of milk chocolate, select one you genuinely enjoy. For a special touch, I often use milk chocolate with toffee bits for an added layer of flavor and crunch.
(Explore More: Understanding Unsweetened vs. Bittersweet Chocolate) - Oil (Vegetable or Coconut): A small amount of neutral oil, such as vegetable or refined coconut oil, is crucial for achieving that beautifully smooth, glossy finish on your dipped chocolate. It helps to thin the melted chocolate slightly, making it easier to dip and ensuring it sets with a desirable sheen, preventing dullness or streaks.
RELATED: Indulgent Chocolate Christmas Desserts You Don’t Want to Miss
Elevate Your Shortbread: Variations and Creative Substitutions
While the classic recipe is perfect as is, sometimes it’s fun to switch things up or make do with what you have on hand. Here are a few ideas to customize your chocolate dipped shortbread cookies:
- Unsalted Butter Swap: As mentioned, if you only have unsalted butter, simply add a generous pinch (about 1/4 teaspoon) of fine sea salt to your dough. This will ensure the flavor is perfectly balanced and prevents the cookies from tasting flat.
- White Chocolate Wonderland: For a completely different flavor profile and aesthetic, try dipping your shortbread in melted white chocolate. You can even tint white chocolate with food coloring for festive occasions, or add a few drops of peppermint extract for a refreshing twist.
- A World of Toppings: Before the chocolate sets, this is your chance to get creative!
- Festive Flair: Sprinkle with colorful sprinkles, crushed candy canes (especially for holidays), or edible glitter.
- Fruity & Nutty: Chopped dried cranberries, candied orange peel, toasted pistachios, finely chopped pecans, almonds, or walnuts add wonderful texture and flavor.
- Spice It Up: A light dusting of cinnamon or cardamom over the wet chocolate can add warmth.
- Bright Citrus Zest: Infuse your shortbread dough with vibrant flavor by mixing in 1-2 teaspoons of finely grated orange or lemon zest. The citrus oils provide a bright, zippy counterpoint to the buttery richness and pair beautifully with chocolate.
- Extract Excitement: A teaspoon of pure vanilla extract is always a welcome addition to the shortbread dough. Other extracts like almond, peppermint, or even a touch of rum extract can add unique layers of flavor, especially when paired thoughtfully with your chosen chocolate.
Essential Baking Tools for Stress-Free Shortbread
Having the right tools on hand makes the baking process smooth, efficient, and enjoyable. Here’s what you’ll need to ensure stress-free baking and perfect results:
- Mixing Bowls: You’ll need at least two: one for creaming the butter and sugar for your shortbread dough, and a separate, heatproof bowl for melting your chocolate for dipping. Using distinct bowls prevents cross-contamination and ensures each component is prepared perfectly.
- Electric Mixer: An electric hand mixer or a stand mixer fitted with the paddle attachment is highly recommended. It makes creaming the butter and powdered sugar a breeze, achieving that light, fluffy consistency crucial for tender shortbread. While possible by hand, a mixer saves time and effort and ensures a consistently aerated base.
- Parchment Paper: An absolute baking essential! Lining your baking sheets with parchment paper makes your shortbread incredibly easy to remove without sticking, and significantly simplifies cleanup. It also aids in rolling out the dough evenly and chilling. (See: What is Parchment Paper Made Of?)
- Rimless Baking Sheet: While a basic sheet pan will certainly do the trick, a rimless baking sheet is my preference for shortbread. Its design allows for better air circulation, promoting more even baking and resulting in uniformly golden edges.
- Wire Rack: Essential for cooling your baked shortbread cookies completely. Cooling on a wire rack allows air to circulate around all sides of the cookie, preventing sogginess and ensuring they set up properly before being dipped in chocolate.
- Fork: Don’t underestimate this humble tool! A simple dinner fork is perfect for creating those classic pricks in the shortbread dough. These perforations are not just for aesthetics; they help the cookies bake more evenly and prevent them from puffing up excessively.
- Microwave or Double Boiler: For melting your chocolate. A microwave offers speed and convenience, while a double boiler provides gentle, controlled heat, both of which are excellent for achieving perfectly smooth, dippable chocolate.
RELATED: Irresistible Chocolate Snowball Cookies
How to Make Chocolate Dipped Shortbread: An Easy Step-by-Step Guide
Crafting these delectable shortbread fingers is a simple and incredibly satisfying process. Follow these detailed steps to create buttery, tender cookies with perfectly glossy chocolate-dipped ends that will disappear quickly!
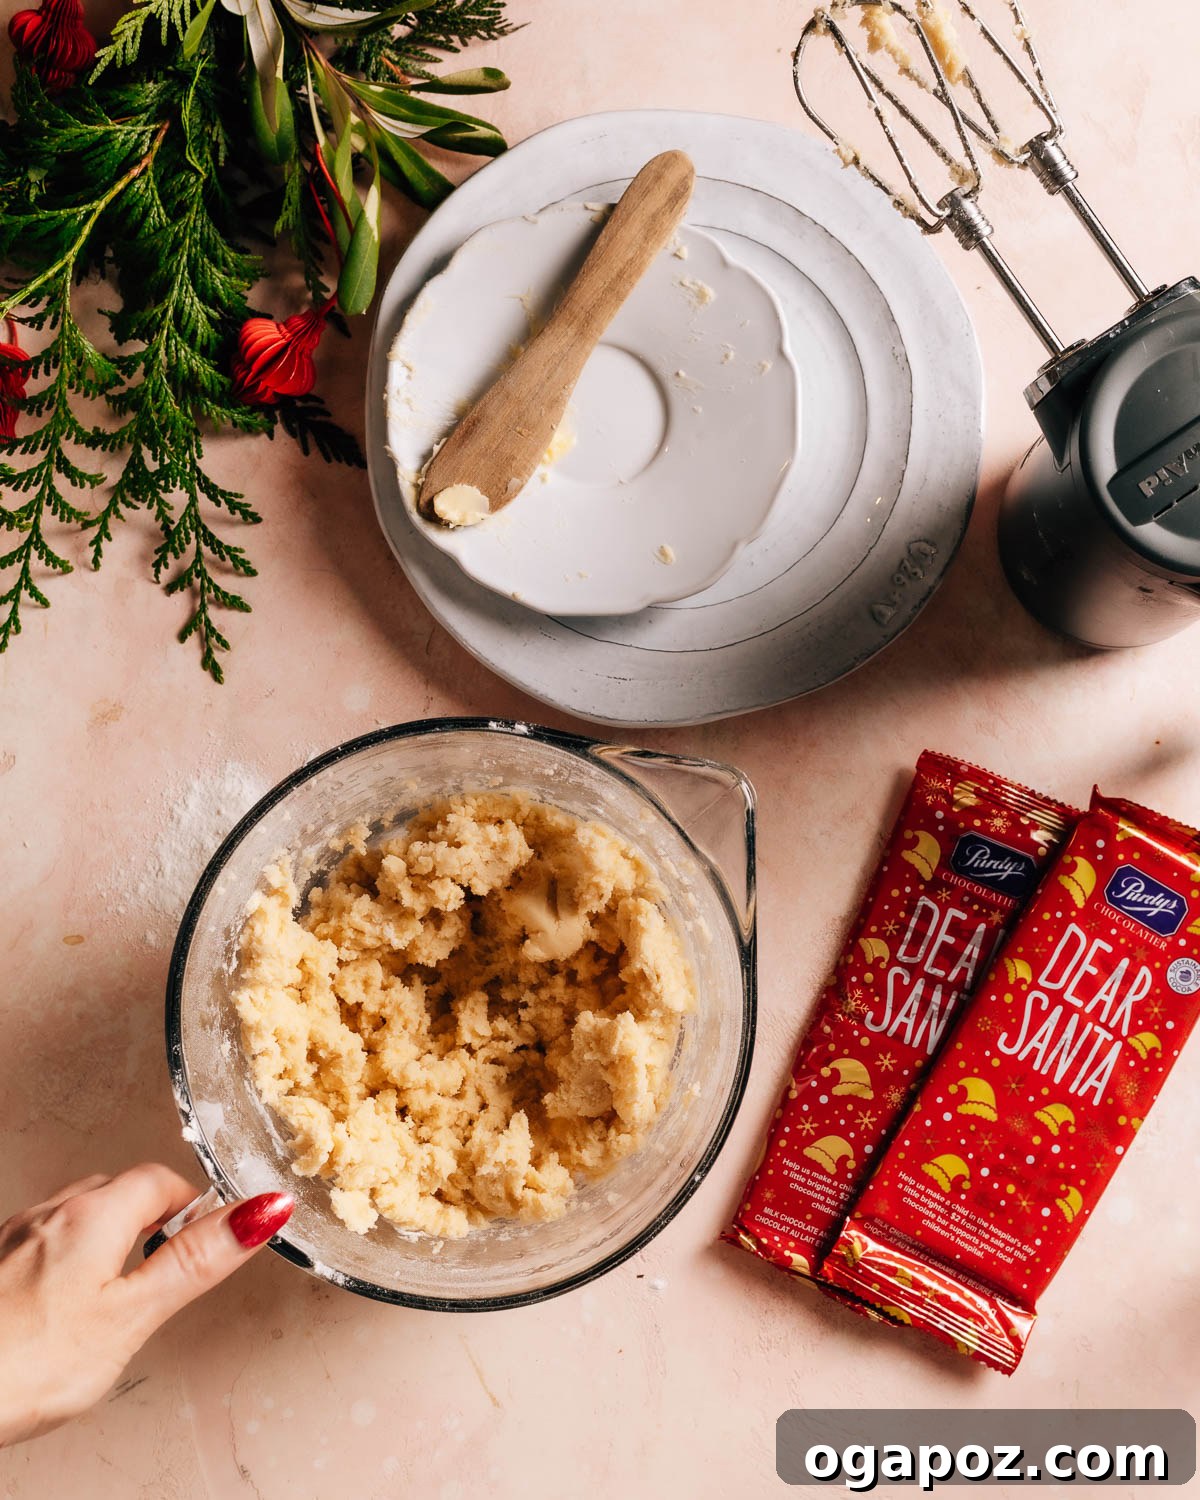

Making the Buttery Shortbread Dough
The foundation of these exquisite cookies begins with perfectly mixed dough. Start by combining the basic shortbread ingredients until they form a smooth, cohesive mixture:
- Cream Butter and Sugar: In a large mixing bowl (preferably using an electric mixer), combine the softened salted butter and powdered sugar. Beat on medium speed until the mixture is light, fluffy, and pale yellow. This process incorporates air, which is vital for the shortbread’s tender texture. Scrape down the sides of the bowl as needed to ensure everything is well combined.
- Incorporate Flour: Gradually add the all-purpose flour to the creamed butter mixture, mixing on low speed. Mix just until the dough comes together and no streaks of dry flour remain. Be careful not to overmix, as this can develop the gluten in the flour, resulting in tough rather than tender cookies. The dough should be soft and pliable.
Shaping and Chilling for Structure
Proper shaping and chilling are crucial for achieving the classic shortbread finger appearance and preventing excessive spreading during baking:
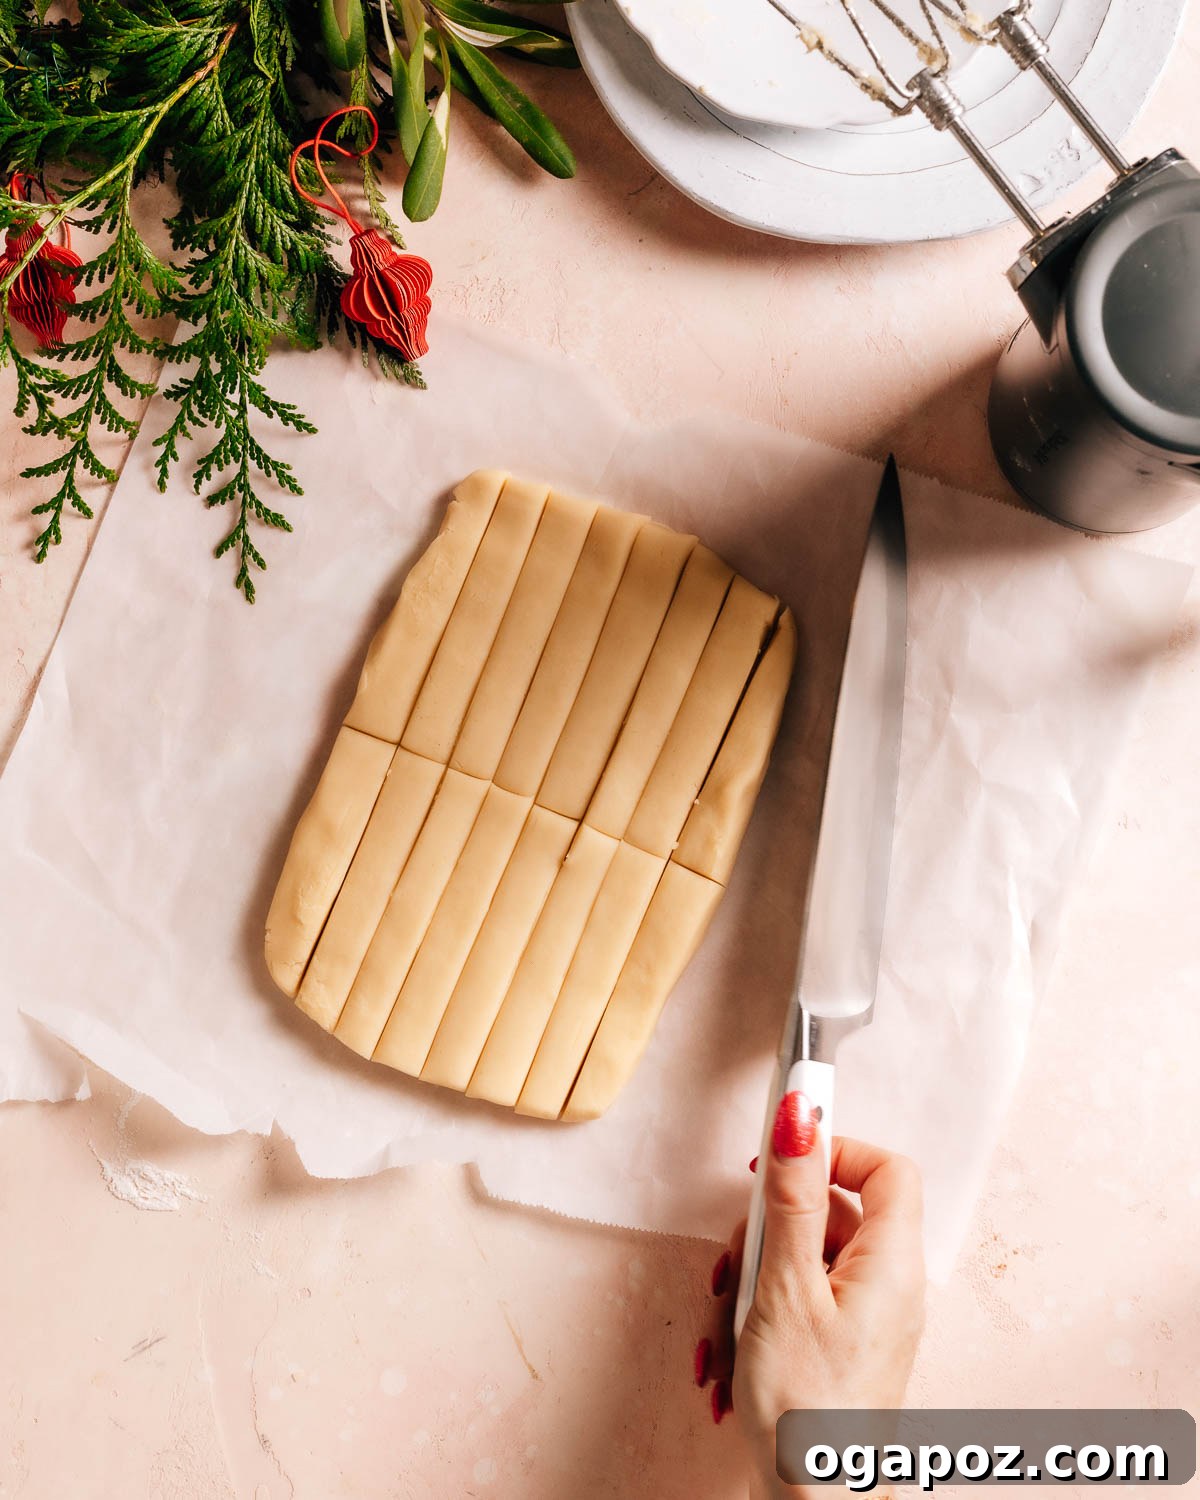
- Roll the Dough: Place the dough between two sheets of parchment paper. Using a rolling pin, roll the dough evenly into a rectangle approximately 1/2 inch thick. The parchment paper prevents sticking and ensures a uniform thickness. Once rolled, carefully peel off the top sheet of parchment paper, leaving the dough on the bottom sheet.
- Cut into Fingers: Using a sharp knife or a pastry wheel, gently cut the dough into 16 equal fingers. A simple way to do this is to first divide the large rectangle in half lengthwise, then each half into quarters crosswise, and finally slice each quarter into four skinny rectangles. This method helps maintain consistency.
- Prick for Perfection: Take a fork and gently prick the top of each shortbread finger several times. These pricks are not just for tradition; they help to vent steam during baking, ensuring a flat, evenly baked cookie that doesn’t puff up too much.
- Chill the Dough: Carefully slide the parchment paper with the intact, cut dough onto a rimless baking sheet. Transfer the baking sheet to the refrigerator and chill for a minimum of 15 minutes. This chilling period is essential; it firms up the butter, helping the shortbread fingers hold their shape beautifully in the oven.
VARIATION: For a different look, you can certainly roll the dough out and use your favorite cookie cutters to create festive shapes, if you prefer. Just be sure to still chill them before baking!
Baking the Shortbread to Golden Perfection
Achieving that perfectly tender, slightly crisp texture with a subtle golden hue is key for these delicate cookies:
- Preheat Oven: While your dough is chilling, preheat your oven to 325°F (160°C). A consistent oven temperature is vital for even baking.
- Bake Until Just Golden: After chilling, you can slightly separate the shortbread fingers on the parchment paper if they’ve stuck together. Bake for 18-20 minutes, or until the edges are just lightly golden. Shortbread should not be deeply browned; it should remain pale with only the faintest golden tint around the edges. Overbaking will result in dry, crumbly cookies.
- Cool Completely: Remove the baking sheet from the oven and allow the shortbread to cool on the sheet for a few minutes before carefully transferring them to a wire rack. It is absolutely crucial for the shortbread to cool completely on the wire rack before you attempt to dip them in chocolate. This allows them to firm up fully and prevents the chocolate from melting or sliding off.
The Grand Finale: Finishing Your Chocolate Dipped Shortbread Cookies
Now for the most exciting part – the glorious chocolate dip! This step transforms simple shortbread into an elegant dessert.
- Melt the Chocolate: Combine your chosen chopped chocolate and oil in a heatproof bowl.
- Microwave Method: Heat in the microwave at 50% power, stirring with a spoon every 30 seconds. Continue until the chocolate is about 80% melted, then remove from the microwave and stir vigorously until completely smooth and shiny. This technique prevents scorching.
- Double Boiler Method: Place the heatproof bowl over a saucepan of simmering water, ensuring the bottom of the bowl does not touch the water. Stir gently and continuously until the chocolate is mostly melted. Remove from heat when 80% melted and stir until fully smooth. This is a gentler method that gives more control.
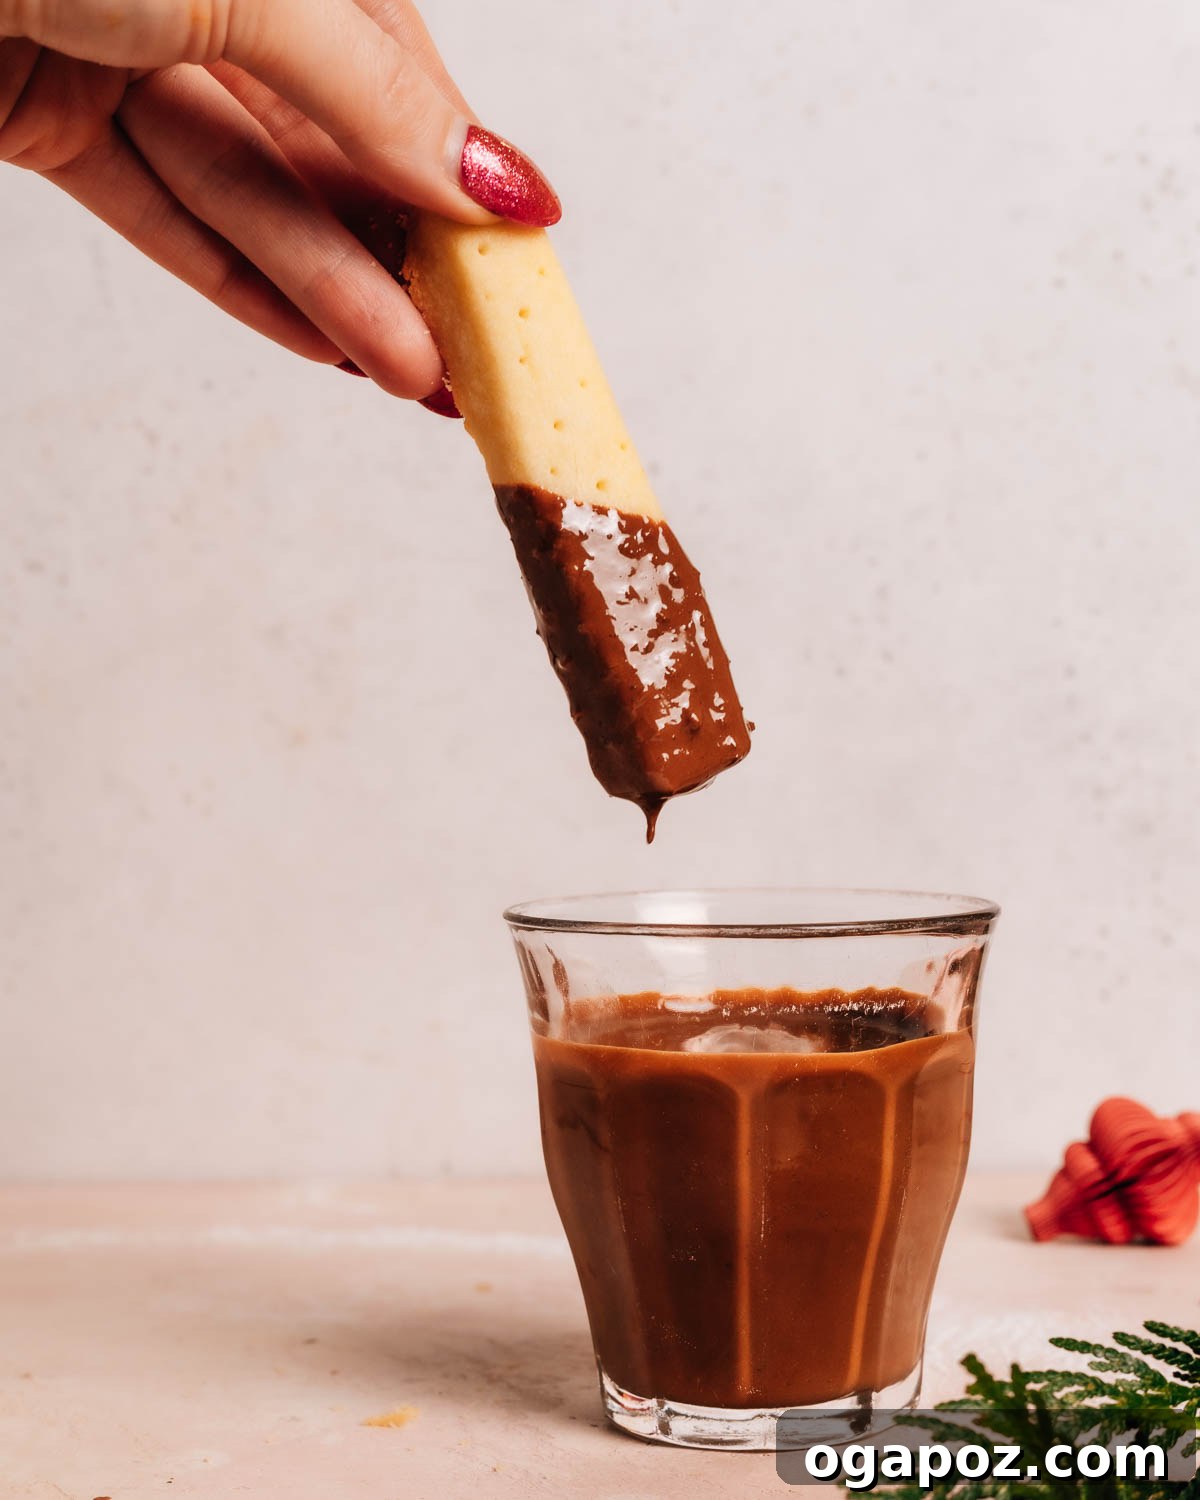
- Dip and Set: Take each completely cooled shortbread finger and dip one end into the melted chocolate, allowing any excess to drip off gently back into the bowl. For a cleaner look, you can lightly scrape the bottom against the edge of the bowl. Place the dipped cookies on a fresh sheet of parchment paper. Allow the chocolate to set fully at room temperature for at least an hour, or accelerate the process by chilling them in the refrigerator for about 15-20 minutes.
Mastering Shortbread: 4 Common Mistakes to Avoid for Perfect Results
Even with simple recipes, small details can make a big difference. I love sharing pro tips rooted in my science degree in food. Here are the most frequent mix-ups to avoid when making these delicate shortbread fingers, ensuring your cookies turn out perfectly every time:
- Skipping the Chill Time: This is a common oversight that can lead to disappointment. If you skip or shorten the recommended chilling time, the butter in the dough will be too warm and soft. This causes the dough to spread excessively in the oven, losing its defined finger shape and resulting in thin, misshapen cookies. Chilling firms up the butter, helping the fingers maintain their classic, neat appearance.
- Overbaking the Shortbread: Shortbread is meant to be tender, buttery, and only lightly golden. Overbaking will dry out the cookies, making them tough, crumbly, and less enjoyable. Keep a close eye on them towards the end of the baking time. Remove them from the oven as soon as the edges turn a very subtle, pale golden brown. The centers might still look slightly soft, but they will firm up as they cool.
- Melting Chocolate Too Quickly or Overheating: Chocolate is temperamental. Exposing it to too high a heat or melting it too rapidly can cause it to “seize” – it will become thick, grainy, and unusable for dipping. Always melt chocolate gently: use medium power in the microwave (stirring frequently) or a double boiler. Crucially, stop heating when the chocolate is about 80% melted, then rely on the residual heat to melt the rest while you stir vigorously until it’s perfectly smooth and shiny.
- Ignoring Spreading Cookies: Despite your best efforts, sometimes cookies can still spread slightly more than desired during baking. Don’t fret! As soon as they come out of the oven and are still warm and pliable, use a sharp knife to gently trim the edges to your preferred shape. This quick fix ensures they look perfectly even and professional, ready for their elegant chocolate dip.
Chocolate Dipped Shortbread Cookie Make Ahead and Storage Tips
These shortbread cookies are wonderful for making ahead, and they store beautifully, making them ideal for gifting or enjoying over several days. Here’s how to store and even freeze your chocolate dipped shortbread biscuits to keep them tasting fresh and delightful:
- Storing Baked Cookies: Once the chocolate has fully set, place the baked and dipped shortbread cookies in an airtight container. They will stay wonderfully fresh at room temperature for up to one week. For best results, store them in a cool, dry place away from direct sunlight.
- Freezing Baked Cookies: These cookies freeze exceptionally well! After the chocolate has completely set, arrange the cooled cookies in a single layer on a tray and flash freeze them for about 30 minutes until solid. Then, transfer the frozen cookies to a freezer-safe, airtight container or a heavy-duty freezer bag. Layer them with parchment paper in between to prevent sticking. They’ll maintain their quality in the freezer for up to 3 months. Thaw at room temperature before serving.
- Dough Make-Ahead Option: You can also prepare the shortbread dough in advance. Wrap the shaped dough fingers tightly in plastic wrap and refrigerate for up to 2-3 days before baking. You can even freeze the unbaked, shaped dough for up to a month. Thaw slightly in the fridge before baking as directed.
- Chocolate-Dipped Storage Tip: Always allow the chocolate to fully set and harden before attempting to store or stack your cookies. If stacking, use sheets of parchment paper between layers to prevent the chocolate from sticking or smudging. This ensures they maintain their pristine appearance.
More Irresistible Christmas Recipe Collections to Explore
- Easy No-Bake Christmas Treats
- Italian Christmas Desserts you MUST Try!
- My Best Christmas Cookies
- Saltine Cracker Toffee (a.k.a. Christmas Crack)
Easy Chocolate Dipped Shortbread Cookies (1-Bowl Recipe!)
Jennifer Pallian BSc, RD
20 minutes
18 minutes
16
Ingredients
For shortbread cookies:
- 1 cup salted butter softened
- ½ cup powdered sugar
- 2 cups all-purpose flour
For chocolate dipping:
- 1 cup chopped dark or milk chocolate
- 1 tsp oil
Instructions
To Make Shortbread Cookies
-
Cream the softened butter with the powdered sugar until smooth and fluffy. Gradually mix in the flour until the dough just comes together. Do not overmix.
-
Roll the dough between two sheets of parchment paper until it’s about 1/2 inch thick. Remove the top sheet, leaving the dough on the bottom sheet.
Cut the dough in half crosswise, then lengthwise into quarters. Divide each quarter into four equal rectangles to make 16 fingers.
Gently prick each one with a fork.
Leave the dough on the bottom parchment sheet and slide it onto a rimless baking sheet. Chill for 15 minutes. -
Preheat the oven to 325°F (160°C). After chilling, carefully separate the cookies on the parchment paper so they are spaced slightly apart.
Bake for 18-20 minutes, until the edges are lightly golden. Cool completely on a wire rack.
To Dip in Chocolate
-
Melt the chocolate with the oil together in the microwave at 50% power, stirring every 30 seconds, or in a heatproof bowl placed over simmering water.
Stop heating when the chocolate is about 80% melted and stir vigorously until smooth. -
Dip one end of each cooled shortbread finger into the melted chocolate, letting any excess drip off.
Place on parchment paper and let the chocolate set at room temperature for at least 1 hour before storing.
Notes
Cookie Cutters: You can roll the dough out and cut shapes with cookie cutters, if you prefer.
Storage: Store cookies in an airtight container or freeze for up to 3 months.
Nutrition
Carbohydrates: 22g |
Protein: 2g |
Fat: 15g |
Saturated Fat: 9g |
Polyunsaturated Fat: 1g |
Monounsaturated Fat: 3g |
Trans Fat: 0.5g |
Cholesterol: 31mg |
Sodium: 93mg |
Potassium: 34mg |
Fiber: 2g |
Sugar: 10g |
Vitamin A: 360IU |
Calcium: 21mg |
Iron: 1mg
Nutrition information is automatically calculated, so should only be used as an approximation.