
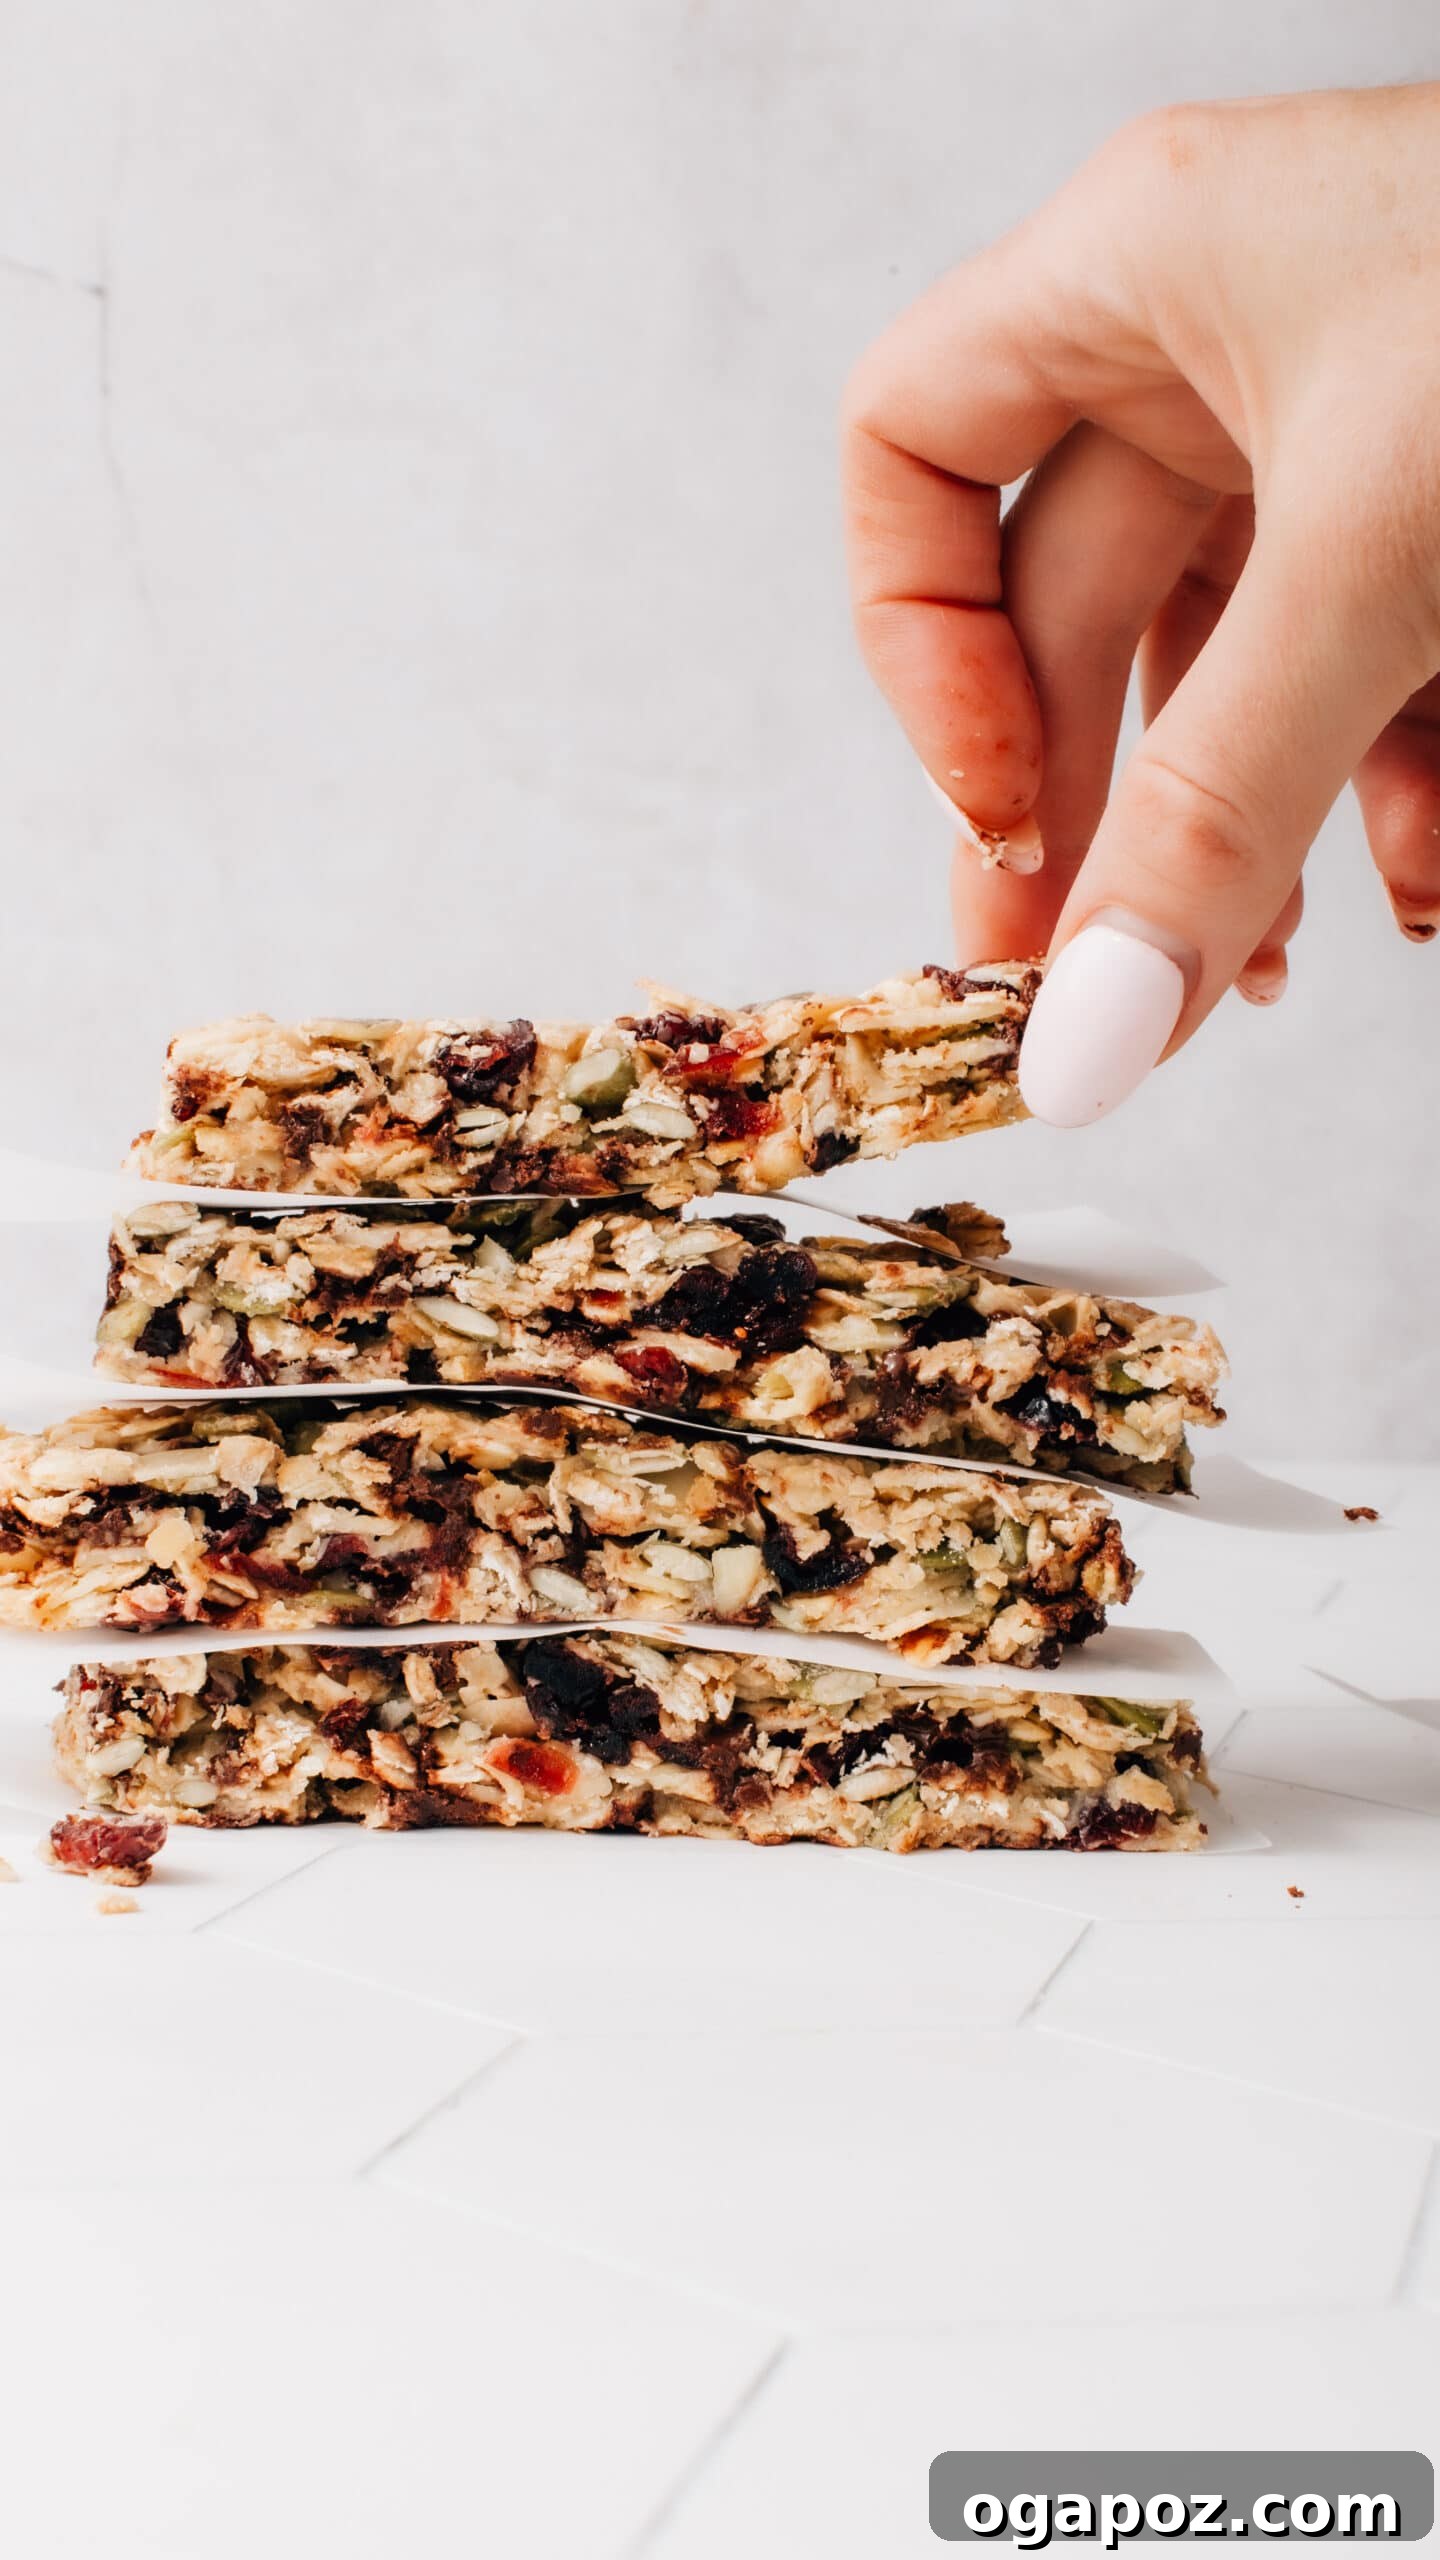
Welcome to the ultimate guide for crafting the most delightful and wholesome chewy granola bars right in your own kitchen! Forget the store-bought varieties loaded with artificial ingredients and excessive sugar. This easy homemade granola bar recipe is not only incredibly simple to follow but also packs a nutritious punch, making it perfect for lunchboxes, quick breakfasts, or an energizing snack any time of day. We’re talking about a sweet-and-salty masterpiece that uses a special secret ingredient as both a powerful binder and natural sweetener, delivering a significant 30-gram boost of protein per batch. Prepare yourself for a texture and flavor profile that is truly unmatched, transforming how you think about healthy snacking.
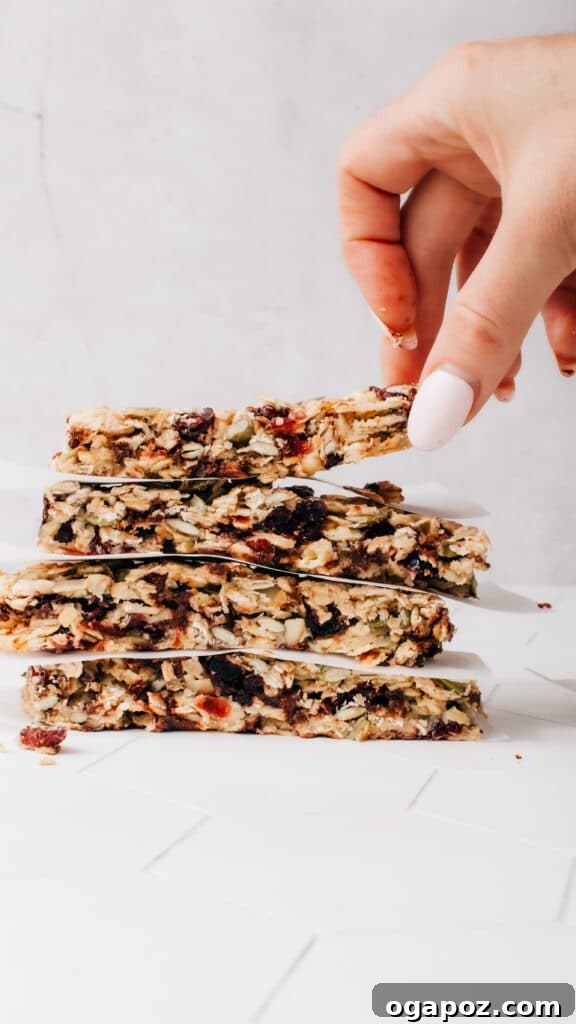
Unlocking Unbeatable Flavor: 3 Game-Changing Secrets for Perfect Granola Bars
Many people have tried making homemade granola bars, only to be disappointed by a dull, dry, or crumbly result. But what if we told you there are a few simple tricks that can elevate your homemade bars from merely “okay” to absolutely irresistible? These aren’t just any granola bars; these are the kind you’ll genuinely crave, packed with wholesome goodness and incredible taste. Let’s dive into the three game-changing secrets that guarantee a successful batch every time.
-
The Magic of Toasted Oats: A Foundation for Flavor
This first trick might seem small, but it’s fundamentally important for unlocking deep flavor. Raw oats often have a somewhat dusty taste and a pasty mouthfeel, which is why many homemade granola bars fall flat. Even when baked into bars, the majority of the oats remain somewhat raw in the center. By simply toasting your oats before combining them with other ingredients, you infuse your entire recipe with a wonderfully nutty, caramelized flavor that transforms the final product. This extra step requires minimal additional time or effort. Simply spread your large-flake oats evenly on the same baking pan you plan to use for the granola bars. While your oven preheats, or even during the first few minutes of heating, let the oats bake until they turn a beautiful golden brown and become fragrant. Keep a close eye on them to prevent burning, but don’t be afraid to let them get nicely golden. This simple technique alone makes a world of difference, providing a richer, more complex base for your delicious bars.
-
Our Unexpected Protein-Packed Binder: Sweetened Condensed Milk
When it comes to binding and sweetening granola bars, most recipes call for classic choices like maple syrup or honey. However, our secret weapon is a can of sweetened condensed milk, and for good reason! While it might seem unorthodox, condensed milk is essentially just milk that has been slowly boiled down with sugar until it becomes thick and syrupy. This means you’re not only adding natural sweetness but also concentrated milk, which contributes essential calcium and a significant protein boost. A single can of sweetened condensed milk adds an impressive 30 grams of protein to your entire batch of granola bars, a nutritional benefit that honey or maple syrup simply cannot provide. Beyond the protein, it layers the bars with a unique, complex milky, and toasty flavor that truly makes these bars stand out. It creates an incredibly chewy texture and binds all the ingredients together flawlessly.
-
The Role of a Little Healthy Fat: Enhancing Texture and Taste
While we’re aiming for healthy, a small amount of fat plays a crucial role in the overall appeal of these granola bars. For a batch of 18 bars, we recommend a scant 4 tablespoons of butter. While it might be possible to omit it entirely, even this modest amount of fat acts as an important flavor carrier, distributing the sweet and savory notes throughout the bar. Furthermore, fat aids in achieving that perfect golden-brown exterior during baking, adding to both the visual appeal and a slight crispness at the edges. If you prefer a dairy-free option or a different flavor profile, feel free to swap the butter for an equal amount of melted coconut oil. This small addition is key to the luxurious texture and rich taste of these homemade treats, making them truly irresistible.
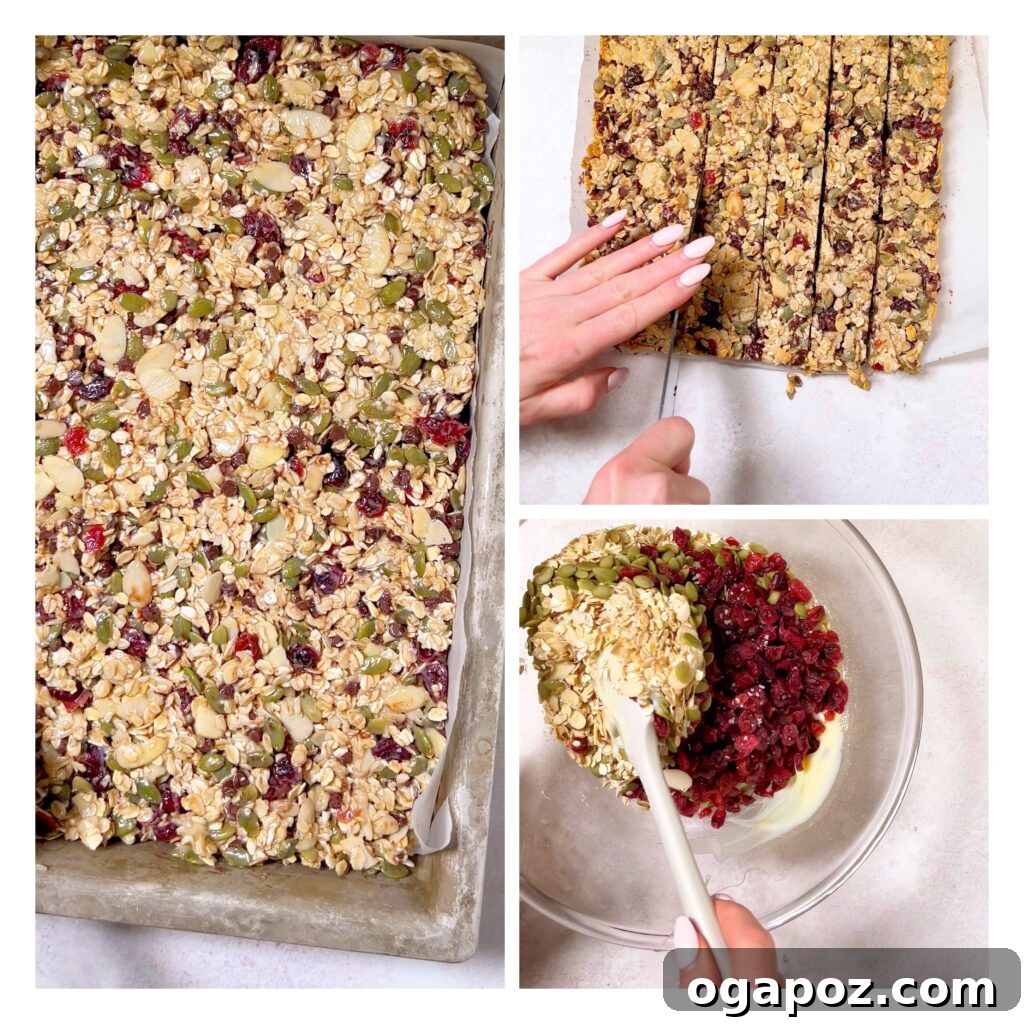
Essential Ingredients for Your Healthy Granola Bars
Crafting the perfect granola bar starts with selecting the right ingredients. Each component in this recipe is chosen for its flavor, texture, and nutritional benefits, ensuring your homemade bars are not only delicious but also wholesome. Let’s explore the key players that come together to create these delectable treats.
-
Choosing the Right Oats: Old-Fashioned for Optimum Health
To maximize the health benefits and achieve the ideal chewy texture for your homemade granola bars, always reach for oats labeled “old-fashioned” or “large flake.” These oats undergo minimal processing; they are simply steamed and then rolled flat. In contrast, “instant” or “quick-cooking” varieties are pre-cooked and dried, which means they are digested more rapidly by your body. This quicker digestion can lead to a higher glycemic index and a faster spike and subsequent crash in blood sugar levels. Opting for large-flake oats ensures a slower release of energy, keeping you feeling full and sustained for longer. If you require gluten-free granola bars due to dietary restrictions, be sure to choose oats that are specifically certified and labeled as “gluten-free.” While oats are naturally gluten-free, they are often processed in facilities that also handle wheat, leading to potential cross-contamination unless explicitly stated otherwise.
-
Powering Up with Seeds: A Nut-Free Protein Boost
One of the best ways to enhance the nutritional profile of your homemade granola bars, especially for school lunchboxes where nut allergies are a concern, is to generously pack them with a variety of seeds. Seeds are nutritional powerhouses, rich in healthy fats, fiber, vitamins, and minerals. They contribute substantial protein and healthy fats, which are crucial for energy and satiety. In this recipe, we recommend a mix of roasted unsalted sunflower seeds and pumpkin seeds. These seeds not only provide a delightful crunch and nutty flavor but also help to bulk up the bars, making them more substantial and satisfying without relying on nuts. They are a fantastic way to boost the protein content and add texture, ensuring your bars are both delicious and incredibly wholesome.
-
Adding Natural Sweetness: Dried Fruits & Flavor Boosters
Dried fruits are a fantastic natural sweetener and add a burst of flavor and chewiness to your granola bars. While we used dried cherries in our recipe because they were readily available and perfectly suited for the sweet-and-salty profile, the beauty of this recipe lies in its flexibility. Feel free to swap them out for your favorite dried fruits. Dried cranberries offer a tart contrast, raisins provide classic sweetness, and chopped dried apricots add a lovely tangy note. Each option brings its unique flavor and texture to the mix. Alternatively, if you prefer a less sweet bar or wish to increase the protein and fiber further, you can completely omit the dried fruit and simply add another cup of seeds or nuts (if not making for a nut-free environment). Our personal preference for a less sweet snack is often just seeds and nuts, but for kids (and many adults!), the dried fruit makes these bars exceptionally appealing.
-
The Irresistible Touch: Mini Chocolate Chips (Optional Indulgence)
For that extra touch of deliciousness that makes these bars a hit with both kids and adults, mini chocolate chips are a fantastic addition. Their small size ensures that every bite gets a hint of chocolatey goodness without being overwhelmingly sweet. They provide a delightful textural contrast and an irresistible flavor that elevates the granola bars from a simple snack to a cherished treat. While mini chocolate chips make the bars undeniably appealing, remember they are an optional indulgence. You can adjust the quantity to your liking or even omit them if you’re aiming for a strictly no-added-sugar profile (beyond the condensed milk). However, a little chocolate often goes a long way in making healthy eating more enjoyable!
The beauty of homemade granola bars is the endless potential for customization. Feel free to swap out any of the add-ins mentioned for your personal favorites, just be sure to keep the total amount of “mix-ins” roughly the same to maintain the correct binder-to-dry-ingredient ratio. Consider additions like sliced almonds or pecans for extra crunch and healthy fats (if nuts are allowed), dried blueberries for a different fruit flavor, shredded coconut for a tropical twist, or even white chocolate chips for a creamier sweetness. Some even add a bit of rice cereal to lighten them up for calories, though this reduces the fiber content. The possibilities are truly boundless, allowing you to tailor each batch to your taste preferences and dietary needs.
Step-by-Step Guide: How to Bake Your Own Chewy Granola Bars
Making your own homemade granola bars is a surprisingly simple and rewarding process that requires minimal equipment, mostly just a large bowl and a sturdy spoon. It’s a fantastic activity to do with children, as my own kids love getting involved. Here’s a detailed, step-by-step guide to help you create a batch of perfectly chewy, flavorful granola bars:
- Prepare Your Oven and Oats: Begin by preheating your oven to 350ºF (175ºC). As a time-saving trick, you can spread your large-flake oats evenly in the 9×13-inch metal baking dish you intend to use for the bars. Place the dish in the oven as it preheats and continue to toast the oats for approximately 20 minutes, stirring them every 5 minutes. This ensures they achieve a beautiful golden-brown color and a wonderfully nutty aroma. Keep a close watch to prevent burning, as ovens can vary in their heating intensity.
- Line Your Baking Dish: While the oats are toasting, prepare your baking dish. Once the oats are removed, run the hot baking dish under cold water to cool it down quickly. Then, line the entire 9×13-inch dish with parchment paper, allowing a generous overhang on the sides. This parchment “sling” will be invaluable later for effortlessly lifting the entire baked slab of granola bars out of the pan.
- Melt and Cool the Butter: In a microwave-safe bowl, melt the butter (or coconut oil) for about 30 seconds on high power until fully liquefied. It’s crucial to let this melted fat cool completely to room temperature before combining it with your other ingredients. This cooling step is particularly important if you are including chocolate chips, as warm butter would cause them to melt prematurely, potentially turning your bars entirely brown instead of having distinct chocolate morsels. While still tasty, they would lose some of their visual appeal.
- Combine Dry and Wet Ingredients: In your largest mixing bowl, combine the thoroughly cooled, toasted oats with the coarse salt. Stir these dry ingredients together to ensure the salt is evenly distributed. Next, pour in the sweetened condensed milk and the cooled melted butter (or coconut oil). Add the roasted sunflower and pumpkin seeds, your choice of dried fruit (cherries, cranberries, raisins, or apricots), and finally, the mini chocolate chips. Stir everything vigorously with a sturdy spoon or spatula until all ingredients are well combined and coated with the sticky liquid. It should be a cohesive mixture.
- Press into the Pan: Transfer the granola bar mixture from the bowl into the parchment-lined baking dish. Now comes the important part: pressing it down firmly and evenly. To make this task easier and tidier, lightly moisten your hands with water or use a rubber spatula. Press the mixture down into a compact, uniform layer across the entire bottom of the pan. The more firmly you press, the more likely your bars are to hold together beautifully once baked.
- Bake to Perfection: Place the prepared pan in your preheated oven and bake for approximately 15 minutes. You’ll know they’re ready when the edges appear a shade darker golden brown. For gloriously chewy granola bars, remove them from the oven while the center still looks slightly soft or “underdone.” They will continue to firm up considerably as they cool. If you prefer a crunchier bar, you can opt to leave them in the oven for a few extra minutes, but be careful not to overbake them, which could lead to dryness. Remember, slightly soft is key for chewiness!
- Cool, Slice, and Store: Once baked, lift the entire slab of granola bars out of the pan by holding onto the overhanging parchment paper. Transfer the slab to a wire rack and allow it to cool completely to room temperature. This cooling period is critical for the bars to set and achieve their desired texture. Once fully cooled, slice the slab into 18 individual bars. We like to make them long and skinny to resemble commercial granola bars, but you can cut them into smaller, bite-sized squares for convenient snacks. Store your delicious homemade granola bars in an airtight container at room temperature for up to 5 days, or for longer storage, pack them into a large freezer bag and freeze for up to 3 months. For an easy grab-and-go option, pop a frozen bar directly into lunchboxes; they will thaw perfectly within 20 minutes, ready to enjoy.
- Optional Drizzle: For those Instagram-worthy photos, you can lightly drizzle your cooled bars with warm, melted chocolate. While visually appealing, for maximum “healthy” points and less mess, it’s probably best to omit this step for everyday snacking.
With these straightforward steps, you’ll be enjoying perfectly crafted, delicious, and healthy homemade granola bars in no time!
Storage Tips & Making Ahead
Proper storage is essential to keep your homemade granola bars fresh, chewy, and delicious for as long as possible. Once your bars have completely cooled and been sliced, transfer them to an airtight container. At room temperature, they will maintain their quality for up to 5 days. For longer-term storage, which is highly recommended for meal prepping and always having a healthy snack on hand, these granola bars freeze beautifully. Place them in a freezer-safe airtight container or a large freezer bag, separating layers with parchment paper if stacking, and they will keep well for up to 3 months. When packing lunchboxes, you can simply grab a frozen bar; it will thaw to a perfect chewy consistency within 20 minutes, making it a convenient and wholesome addition to any meal.
Frequently Asked Questions (FAQ) about Granola Bars
Can I make these granola bars gluten-free?
Absolutely! The base of these granola bars is oats, which are naturally gluten-free. However, oats are often processed in facilities that also handle wheat, barley, and rye, leading to potential cross-contamination. To ensure your granola bars are truly gluten-free, make sure to purchase certified gluten-free large-flake oats. This label guarantees that the oats have been processed and packaged in a way that prevents cross-contamination, making them safe for those with celiac disease or gluten sensitivity.
How long do homemade granola bars last?
When stored in an airtight container at room temperature, these chewy granola bars will stay fresh and delicious for up to 5 days. For longer storage, they freeze exceptionally well. Place them in a freezer-safe bag or container, and they can be kept in the freezer for up to 3 months. They thaw quickly, making them a perfect make-ahead snack.
Can I substitute the sweetened condensed milk?
Sweetened condensed milk is our “secret ingredient” and plays a crucial role as both a binder and a primary sweetener, also contributing a significant amount of protein. Substituting it would drastically change the texture, sweetness, and protein content of the bars. While other recipes use honey or maple syrup as binders, they typically require different ratios of ingredients and might result in a different texture (often more crumbly or harder). For this specific chewy, protein-boosted recipe, we highly recommend sticking with sweetened condensed milk to achieve the intended results.
What makes these granola bars “healthy”?
These granola bars earn their “healthy” title through several key components: They feature wholesome large-flake oats, which are rich in fiber for sustained energy and digestive health. They are packed with protein-rich seeds, offering healthy fats and essential nutrients. The use of sweetened condensed milk provides a protein boost (30g per batch) and calcium, while dried fruits offer natural sweetness and additional vitamins. By making them at home, you have complete control over the ingredients, allowing you to avoid artificial preservatives, excessive sugars, and unhealthy fats often found in commercial varieties. This recipe balances natural sweetness with nutrient-dense ingredients, making them a much healthier alternative.
Why are my granola bars falling apart?
Granola bars typically fall apart for a few reasons related to the binding agents. In this recipe, the sweetened condensed milk and butter are the primary binders. If your bars are crumbly, consider these points:
- Insufficient Pressing: The most common reason is not pressing the mixture firmly enough into the pan. Use moistened hands or a sturdy spatula to really compact the mixture into an even, dense layer.
- Overbaking: Baking them for too long can dry out the binding agents, making the bars brittle. For chewy bars, they should still look slightly soft in the center when removed from the oven.
- Cooling Time: It’s crucial to let the bars cool completely in the pan (or on a wire rack after lifting) before slicing. Cooling allows the binding agents to set and firm up properly.
- Ingredient Ratios: Ensure you are accurately measuring all ingredients, especially the condensed milk and butter. Adjusting the amount of dry add-ins can also affect the binding.
Other Delicious Granola Bar Recipes to Explore
If you’ve loved making these healthy chewy granola bars and are craving more homemade snack options, our blog is full of exciting variations! Expand your repertoire and discover new favorite flavors with these fantastic recipes:
- Vegan Chocolate & Coconut Granola Bars: A dairy-free delight with rich chocolate and tropical coconut notes.
- Chewy Chocolate Cherry Granola Bars: For lovers of classic flavor combinations, combining the tartness of cherries with sweet chocolate.
- Chewy Homemade Granola Bars with Cranberries and Pistachios: A sophisticated blend of crunchy pistachios and sweet-tart cranberries, elevated with a touch of chocolate.
Easy Healthy Granola Bars
Ingredients
- 3 cups large-flake oats
- ½ tsp coarse salt
- 1 10 oz can sweetened condensed milk (300 mL)
- ¼ cup butter or coconut oil (2 oz, 1/2 stick)
- ½ cup roasted unsalted sunflower seeds
- ½ cup roasted unsalted pumpkin seeds
- 1 cup dried cherries (cranberries or raisins)
- ¾ cup mini chocolate chips
Instructions
-
Preheat oven to 350ºF (175ºC). Spread oats evenly in a 9×13″ metal baking dish and toast for 20 minutes, stirring every 5 minutes until golden brown and fragrant.
-
While oats are toasting, melt butter (or coconut oil) in the microwave for 30 seconds on high power. Let it cool completely to room temperature.
-
When oats are deeply golden brown and nutty, spread them out over a cold baking sheet to cool them quickly. Run the hot baking dish under cold water to cool it down, then line it with parchment paper, leaving an overhang on all sides to create a “sling.”
-
In a large bowl, combine the cooled oats and salt. Then, stir in the sweetened condensed milk, cooled butter, sunflower seeds, pumpkin seeds, dried fruit (cherries, cranberries, or raisins), and mini chocolate chips. Mix thoroughly until all ingredients are well combined.
-
Dump the mixture into the parchment-lined baking dish. Using lightly moistened hands or a rubber spatula, press the mixture down very firmly and evenly into a compact layer.
-
Bake for 15 minutes, or until the edges are a shade darker golden brown. For chewy bars, remove them when they still look slightly soft in the center; they will firm up significantly as they cool. If you prefer crunchier bars, you can bake for a few more minutes, watching carefully to prevent burning.
-
Using the parchment paper overhang, lift the entire baked slab out of the pan and transfer it to a wire rack to cool completely. Once fully cooled, slice into 18 bars. Store in an airtight container at room temperature or freeze for longer storage.
Nutrition
Per Serving (approx. 1 bar):
- Calories: 131 kcal
- Carbohydrates: 20g
- Protein: 4g
- Fat: 4g
- Saturated Fat: 2g
- Polyunsaturated Fat: 1g
- Monounsaturated Fat: 1g
- Trans Fat: 0.02g
- Cholesterol: 1mg
- Sodium: 72mg
- Potassium: 76mg
- Fiber: 2g
- Sugar: 9g
- Vitamin A: 260 IU
- Vitamin C: 0.1mg
- Calcium: 24mg
- Iron: 1mg
Nutrition information is automatically calculated and should be used as an approximation. Individual results may vary based on ingredient brands and exact measurements.
Tried this recipe? Leave a comment!
Share your experience and tips below.